
 Tweet
Tweet
Hi! I'm André from Sweden. I have been a member on this forum for a while now and thought it was time for me to start my own project tread.
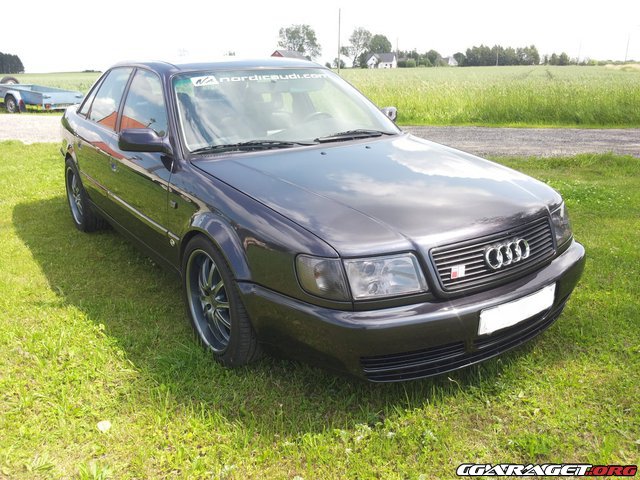
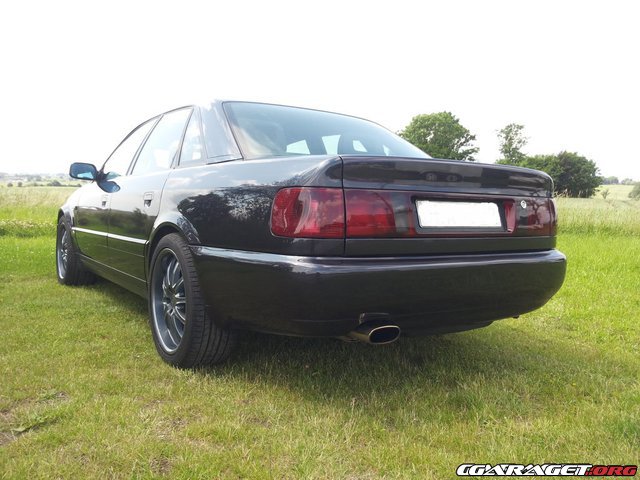
The car is a Urs4 -93 2.2T bought in Stockholm when i was about 17 years old (now 25).
The days after i bought it:
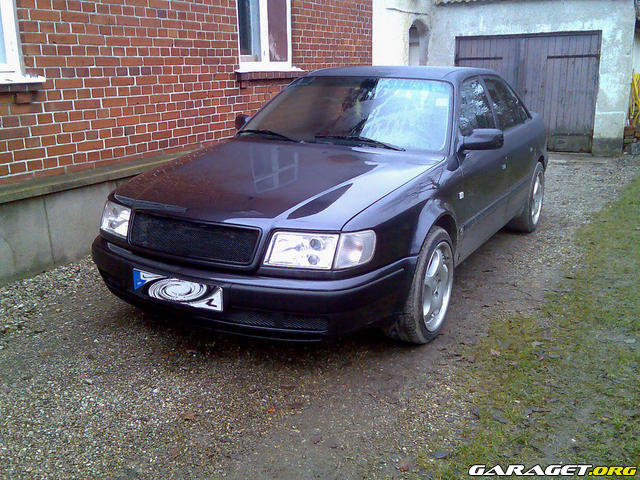
The mods when i bought it was dual IC and a modified ecu. I was happy at the time...
In the beginning of the owner ship i was in school and didn't have the money to do something with the car. But as the years passed and school was done i thought it was time to have some fun with the car. The hours spent on youtube, dragstrip and night events watching quick Audi's I5s and the sound of them really made me want one myself
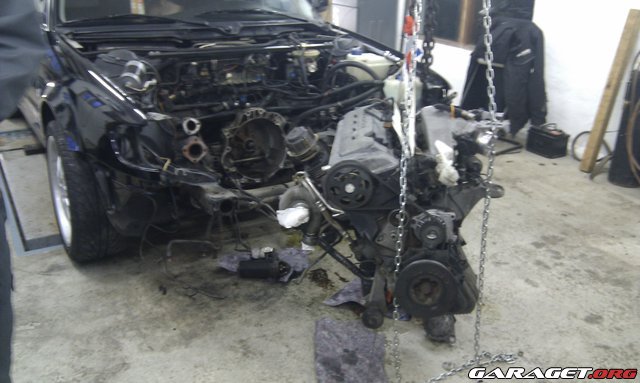
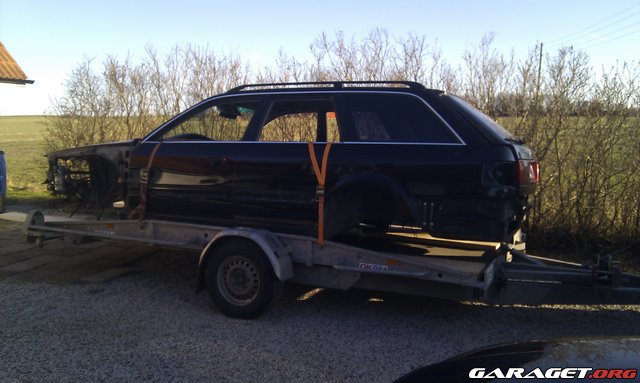
The first thing i did was to look for a engine so i could drive the car while i was building the new engine. Luckily i found a -95 S6 Avant with destroyed Auto-gearbox for a decent price. Deal!!
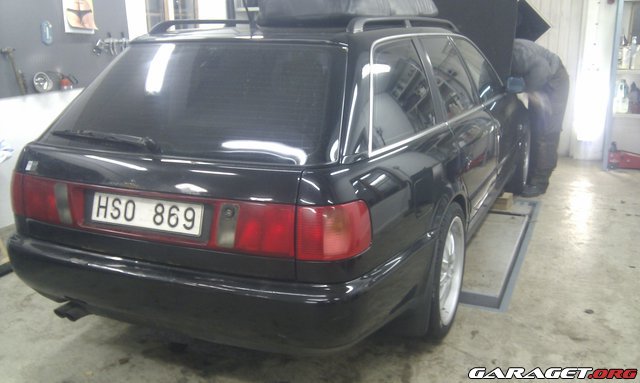
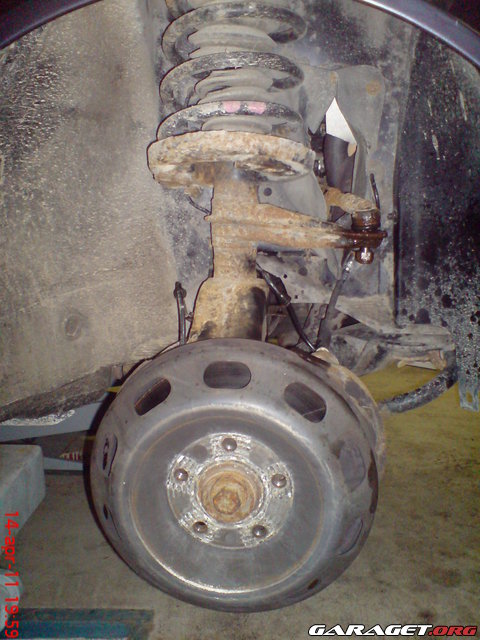
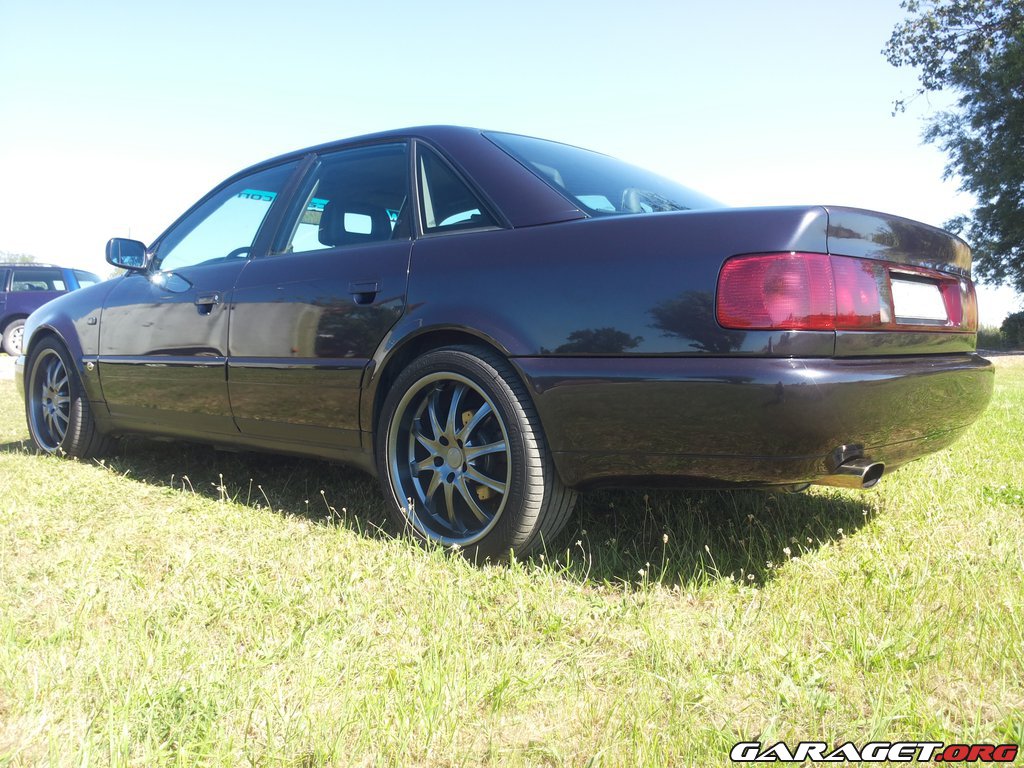
I decided i wanted to get rid of the Urs4 stock bumpers and door trims and replace them with the ones from the Urs6. I also wanted the brakes from the Urs6. That took a while to finish but i think it was worth it.
Then it was time to collect some new parts for the engine..

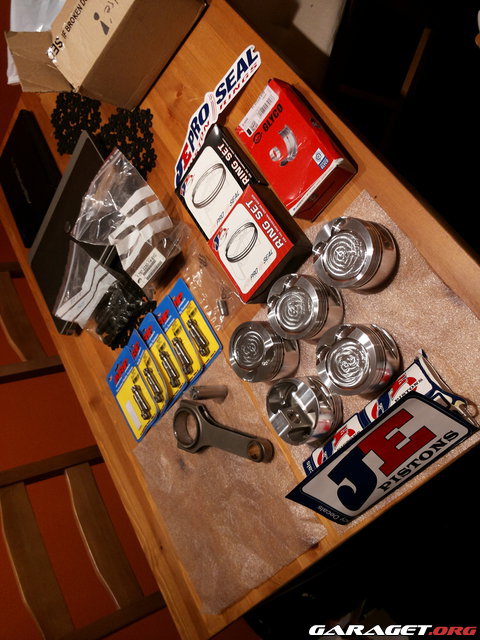
Pistons 81.5
7A-flywheel

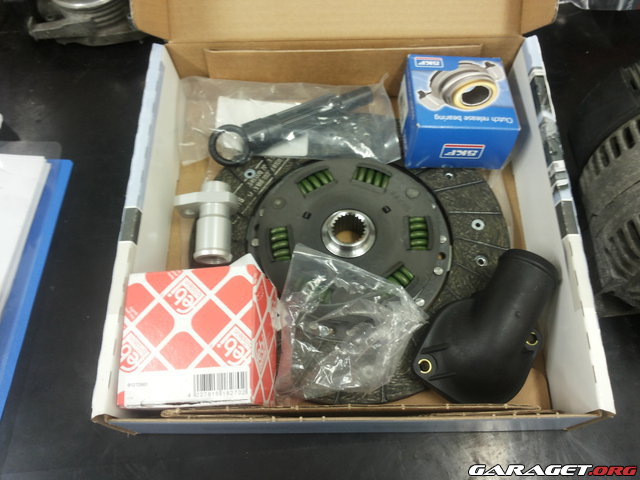
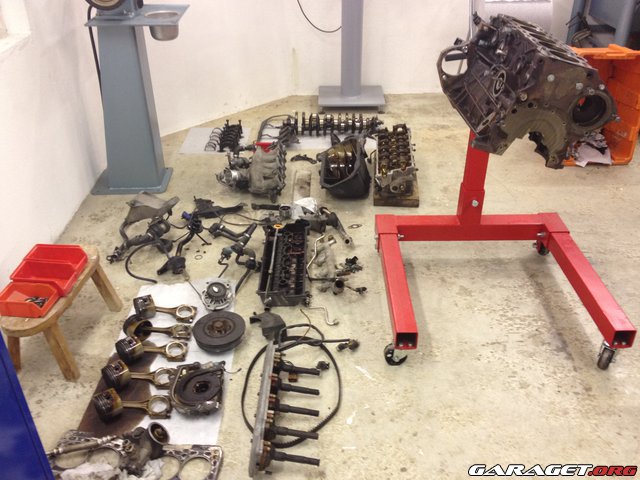
Time to start the work on the engine
Disassembled engine
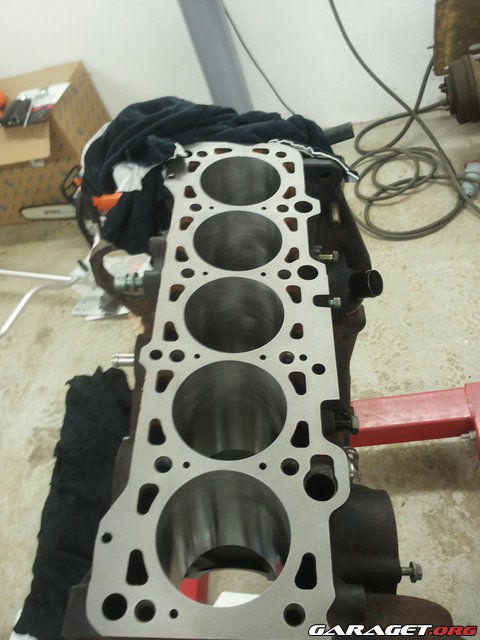
Engine block back from the engine workshop. Bore 81.5 and fully balanced bottom end.
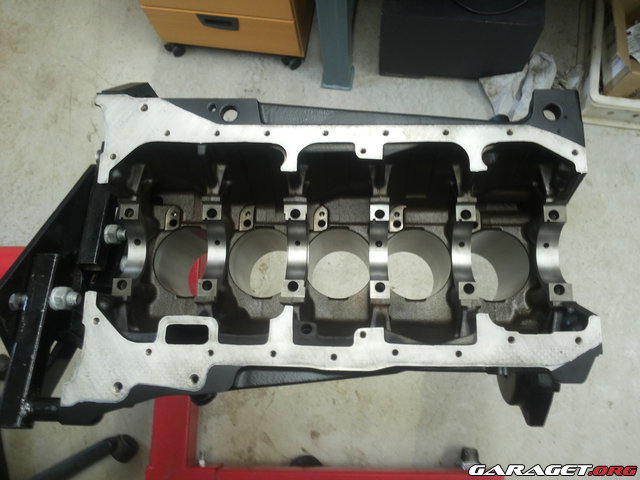
Engine block painted Satin black

Time to assemble the engine!
Block with cleaned oil/water channels
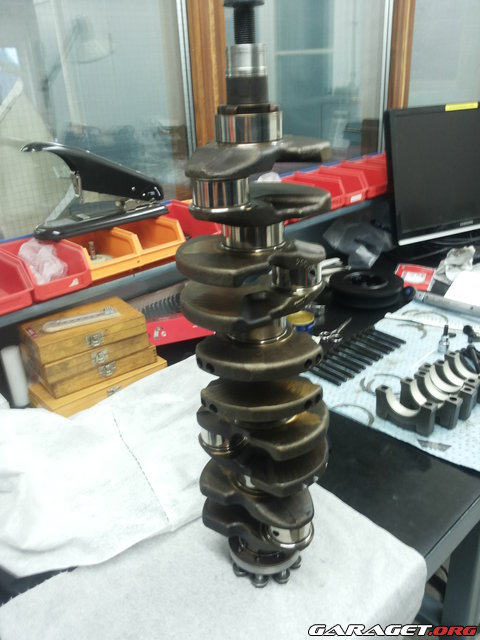
Crankshaft cleaned
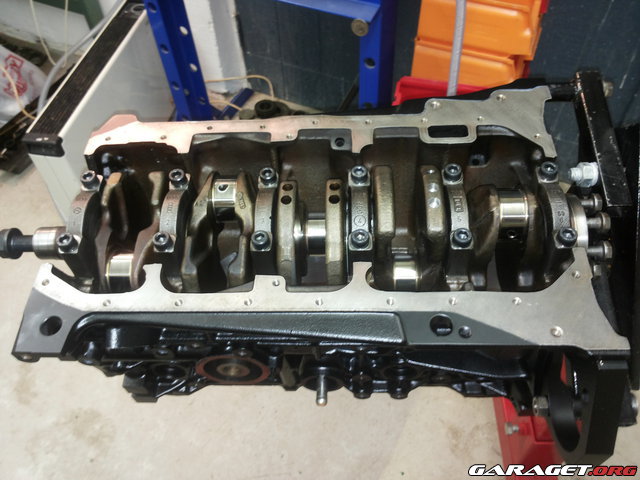
New bearings, fitted crankshaft with 12.9bolt to the main caps
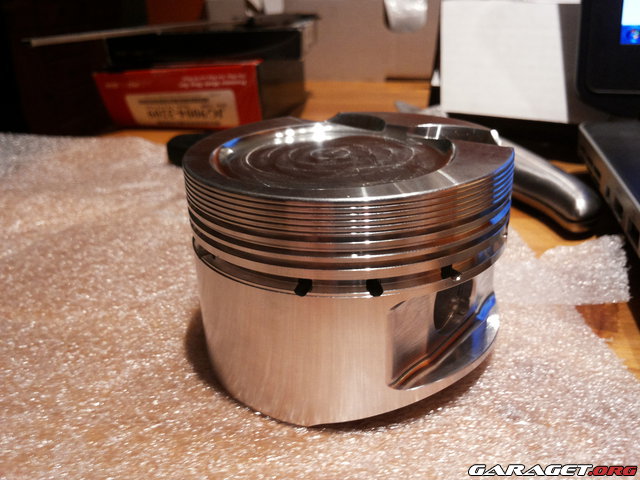
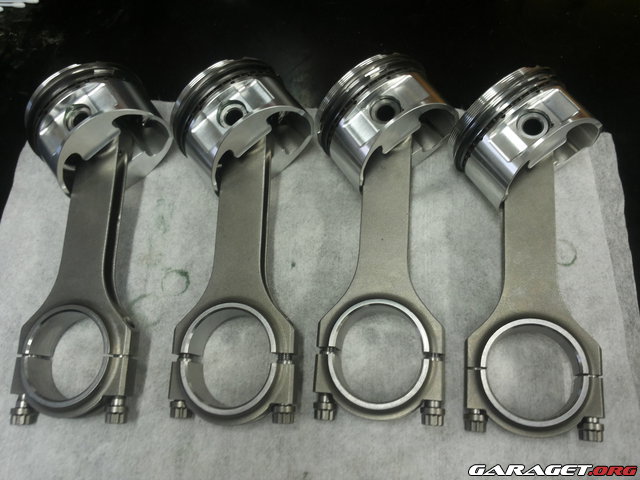
Custom Je-pistons with H-beam rods ready to mount (missing one)
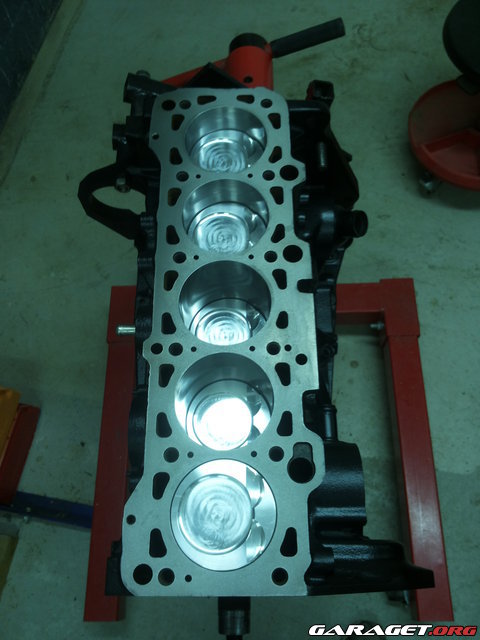
Pistons have found their new home..
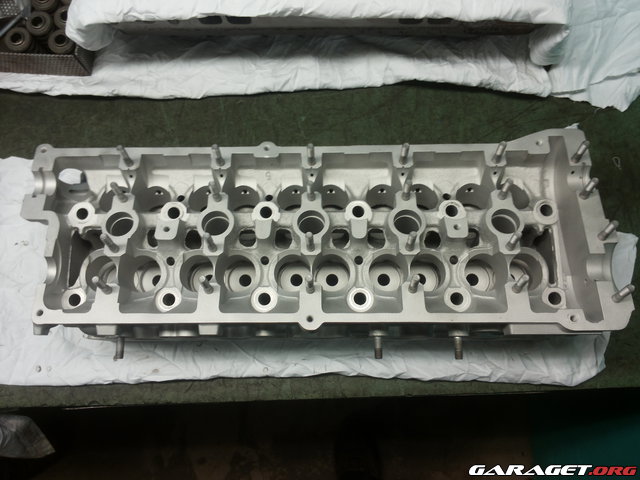
The head under overhaul, new valve guides mounted, valves grinded, pressure tested, and cleaned.
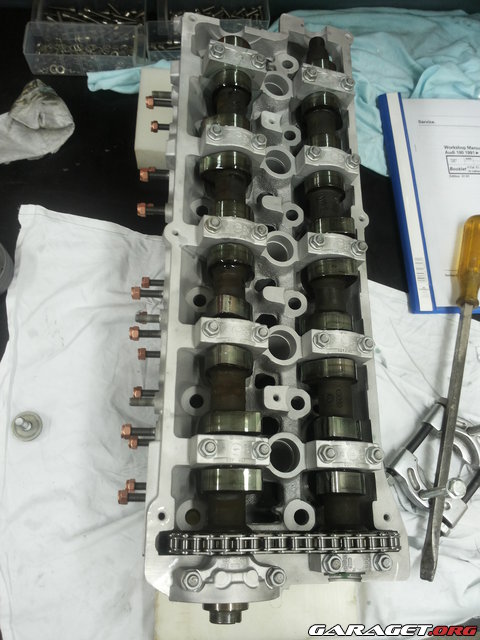
Head assembled, new lifters, stock AAN camshafts
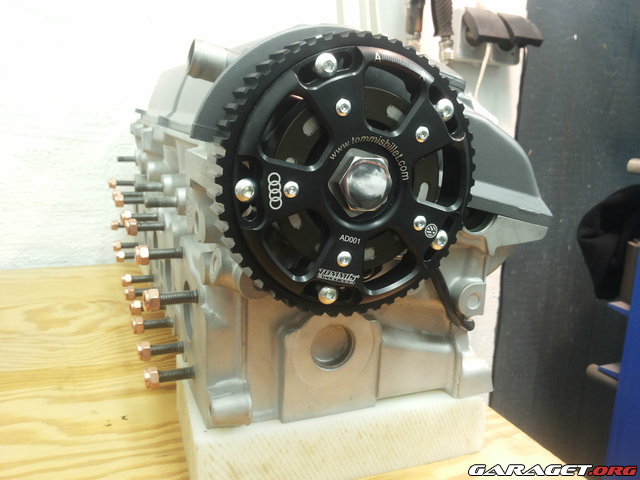
Thought it was worth a new camsprocket
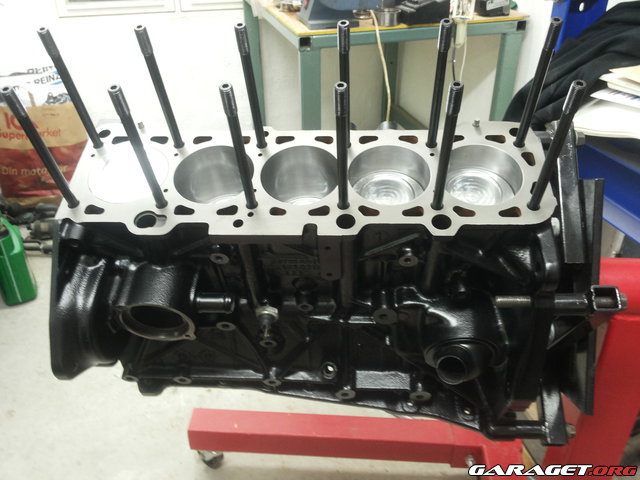
Stock headbolts was deleted, Arp's mounted in the block.
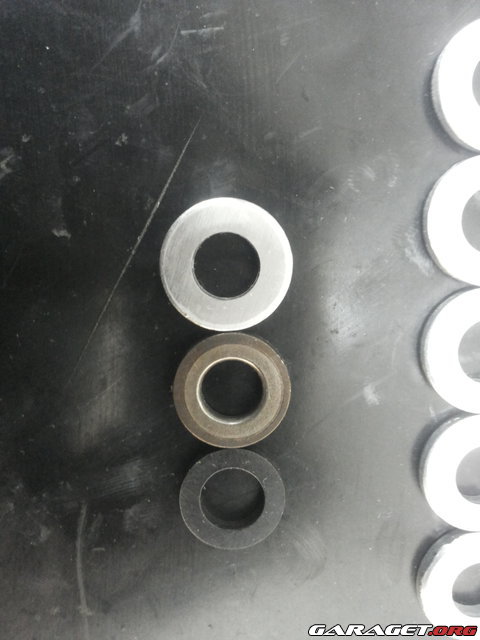
Decided after some reading on the forum to make me som SPQ-washers for the head.
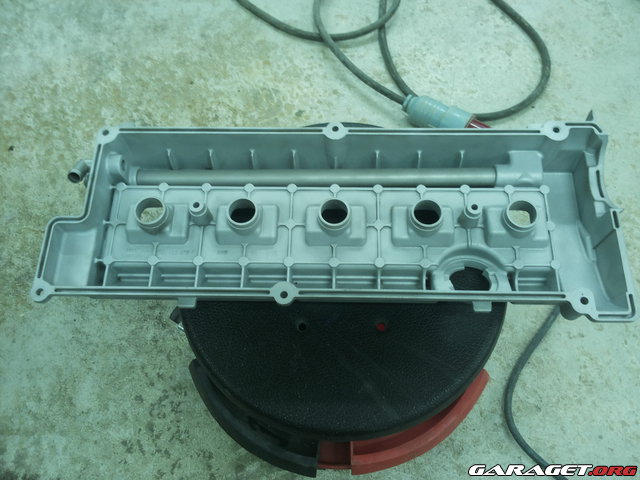
Decided to sandblast a lot of engine parts to get rid of dirt and old burnt oil..
Before

After
Some parts sandblasted and base coated.
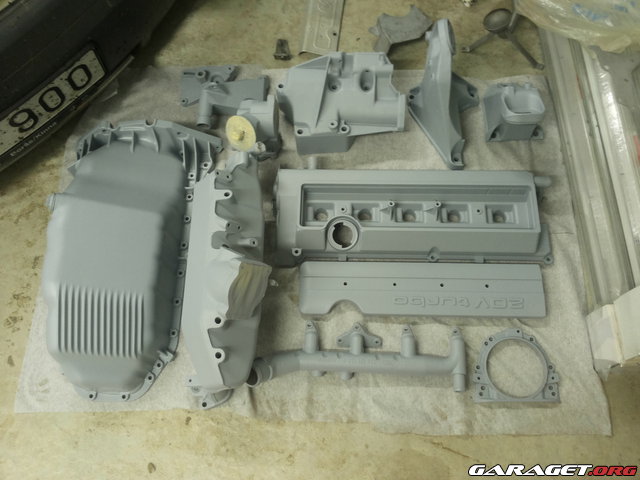
Parts premounted and with the finished colour.
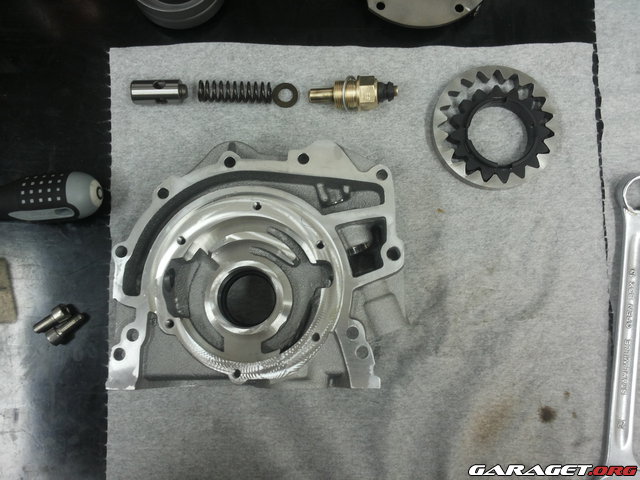
New oilpump disassembled and put together again
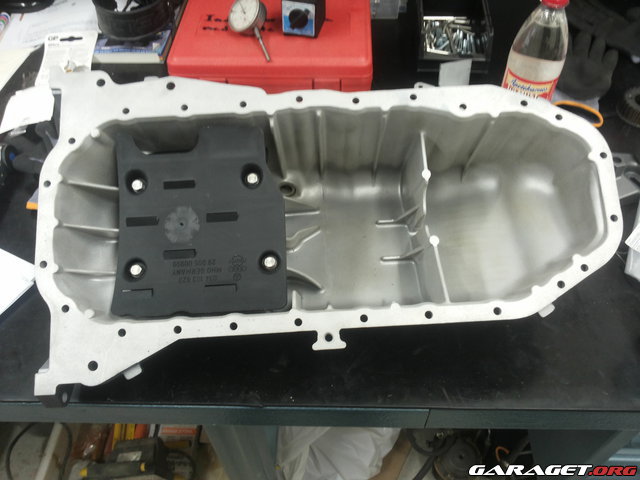
Oilpan with fitted oil "catch"
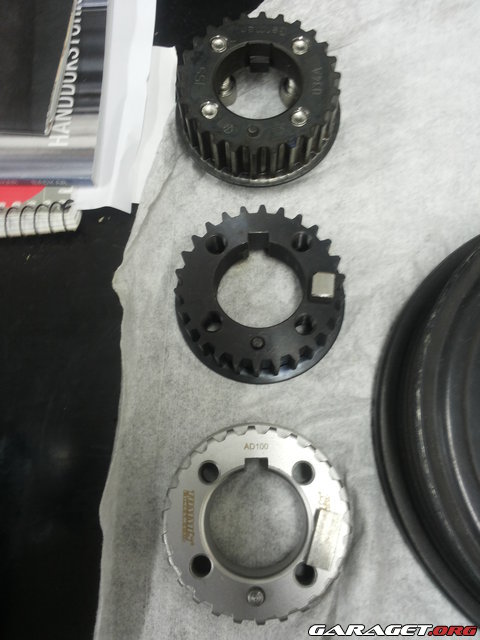
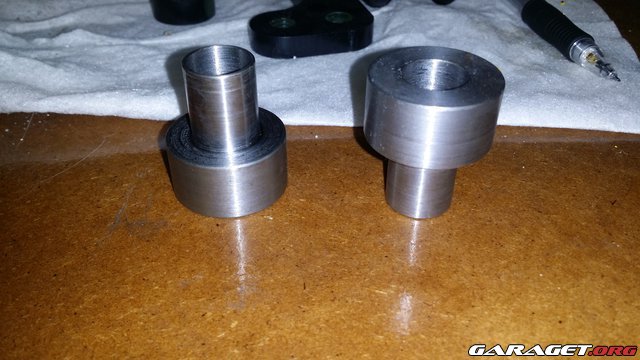
Stock crankshaft sprocket vs SPM and Tommi's billet. I decided to go with Tommis one.
Torqed the f*cking bolt to 450nm with my home made locking tool.
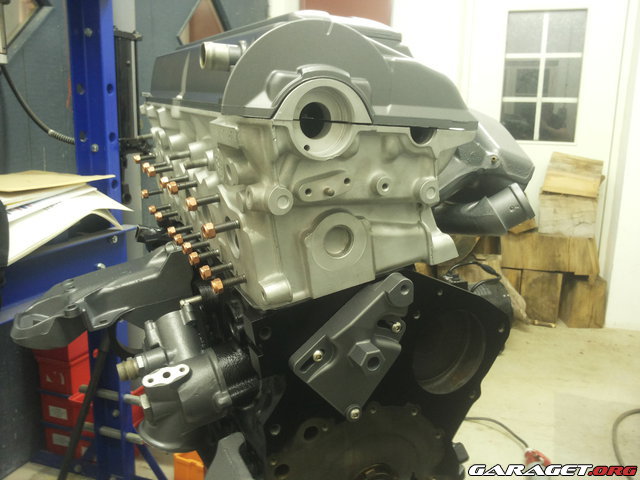
The head is mounted
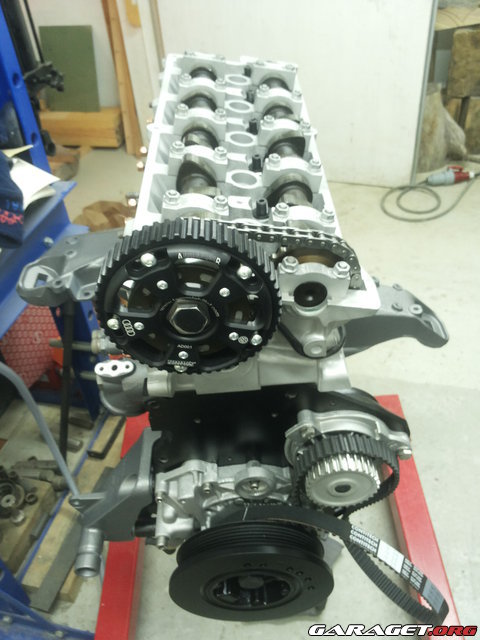
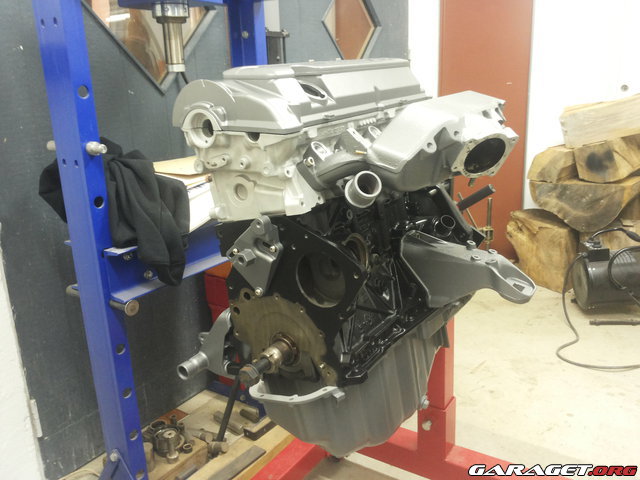
Starts to look like a engine again

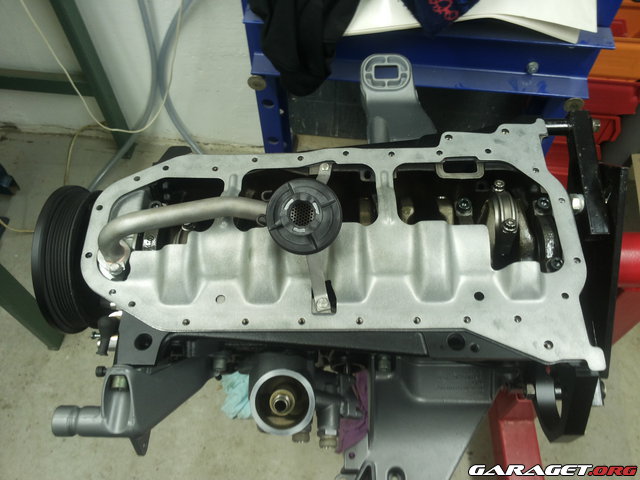
More parts mounted, everything with ss-bolts and nuts.
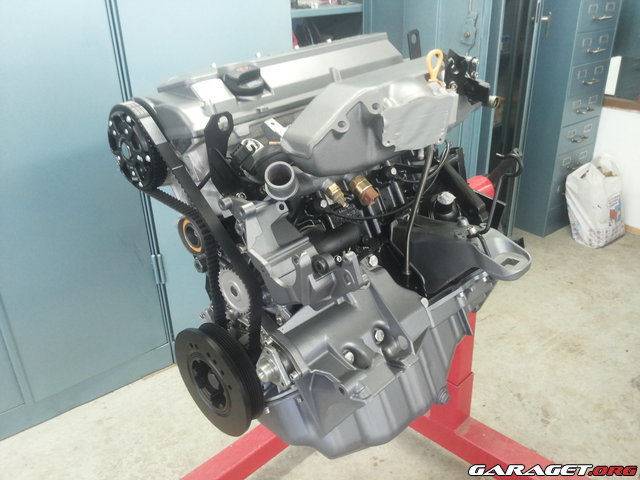
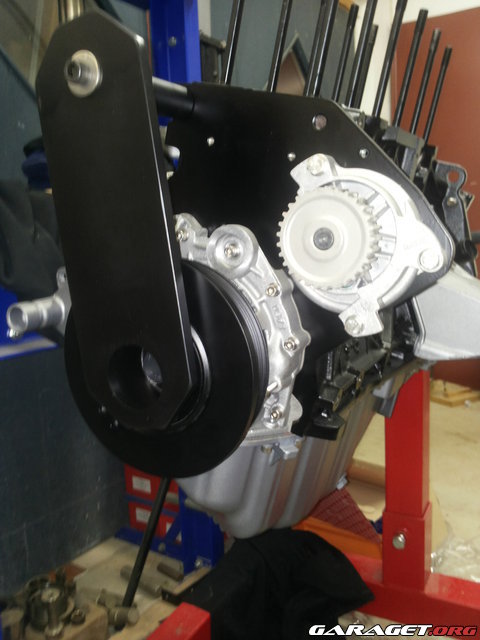
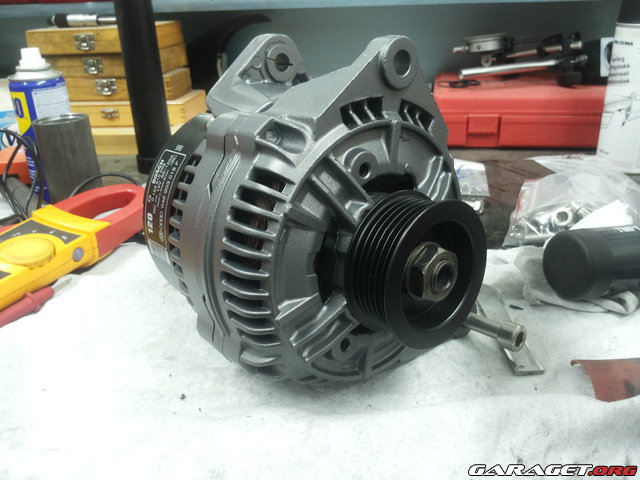
Just couldn't put the alternator on like that...

Thats better
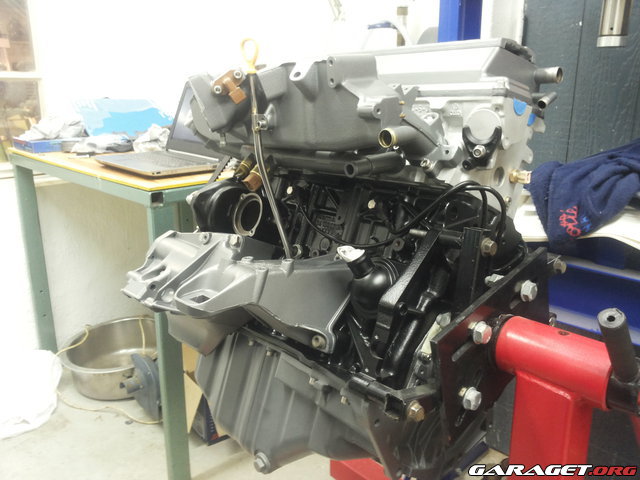
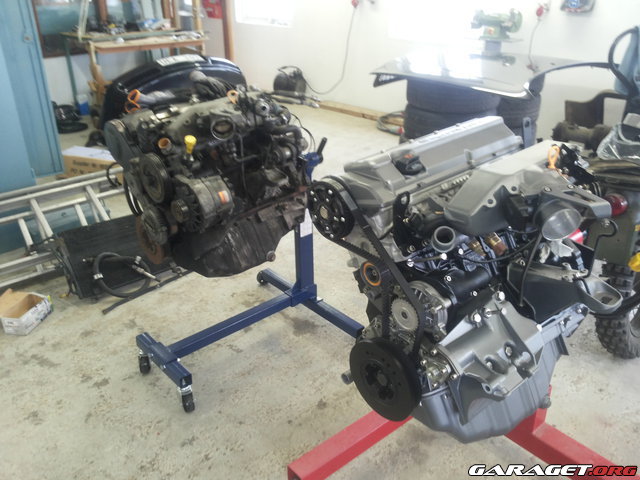
So looks like it's time to get it in to the car!

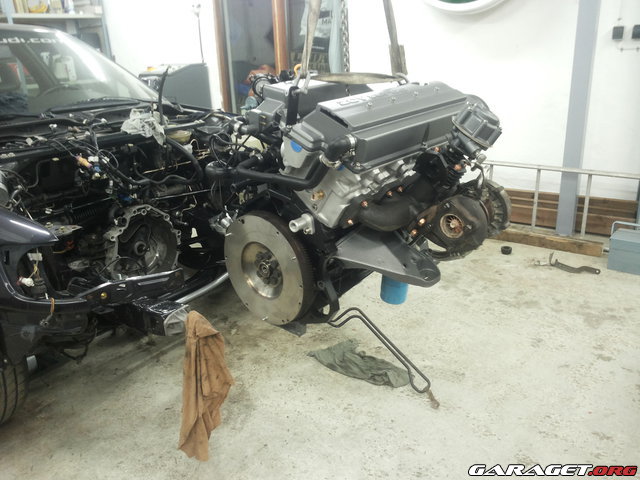
Old vs "new" engine
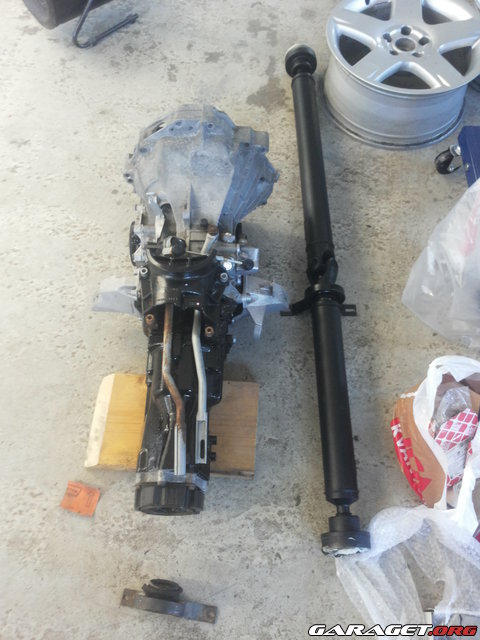
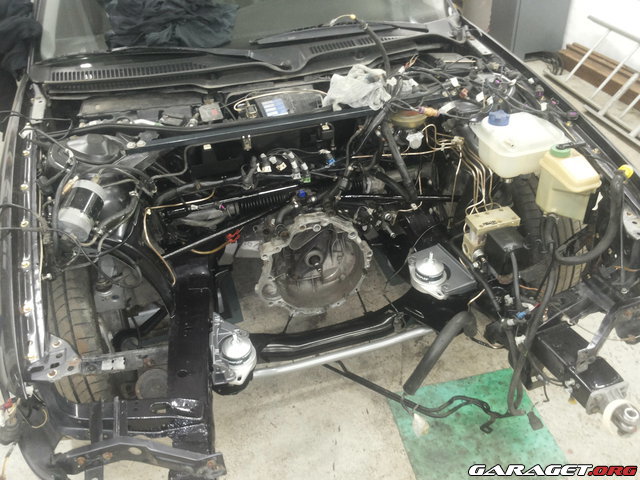
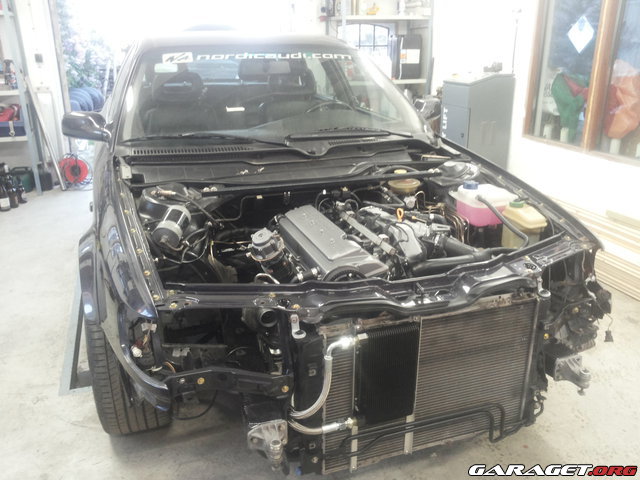
Before installing the rebuilt engine i decided to do some overhaul to the gearbox, propshaft, subframe and enginebay
Washed and painted gearbox, painted propshaft with new bearing
Blasted and powder coated subframe fitted with new bushings
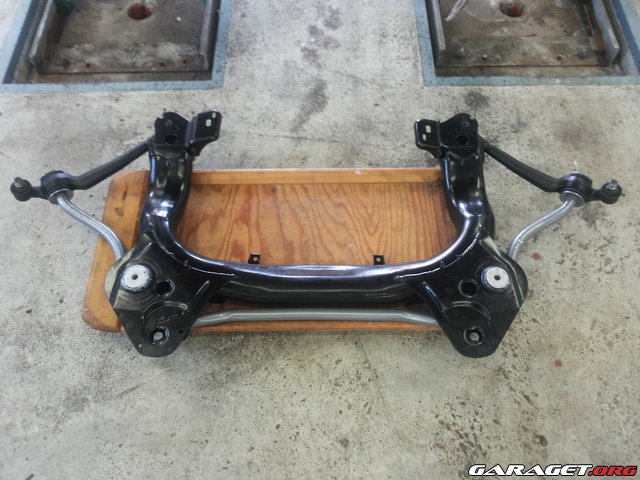
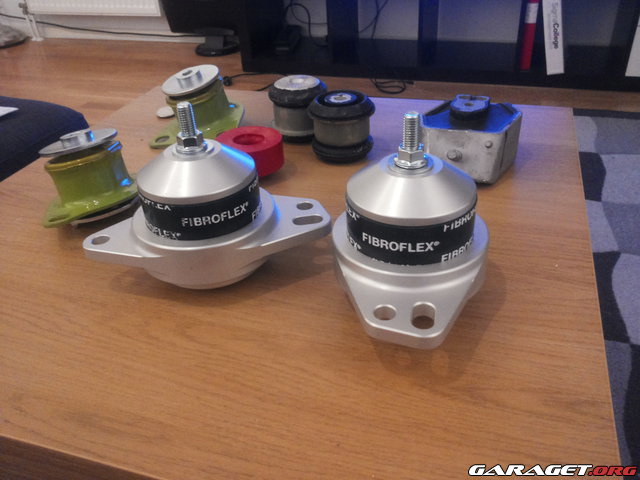
Some bushings
Waiting for an engine!
Engine mounted
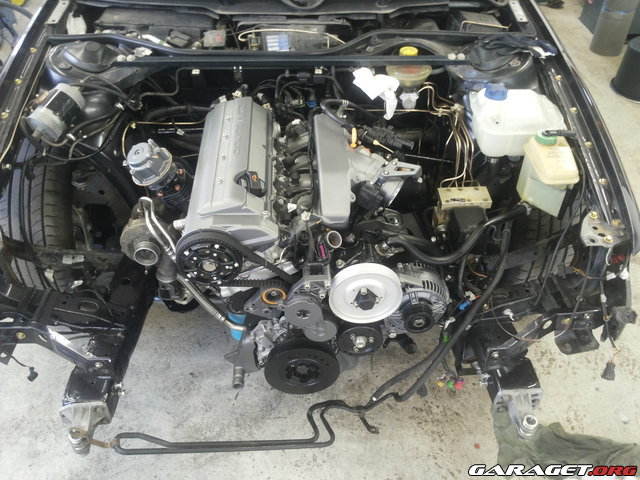
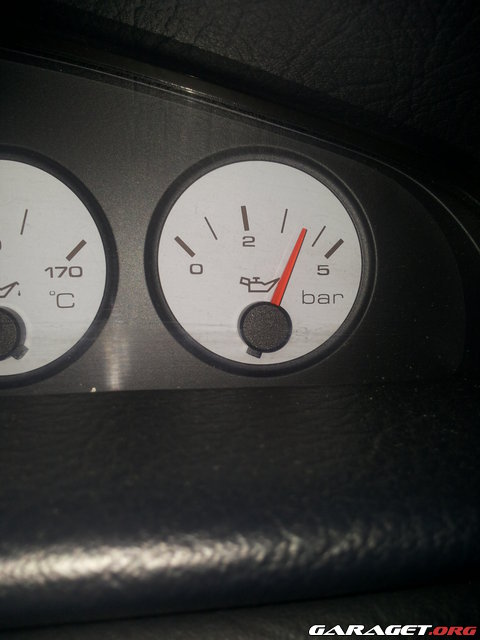
We got oil pressure!
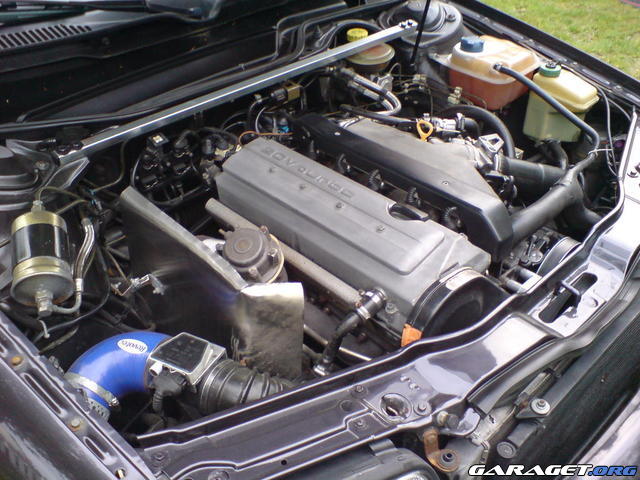
The car was running the summer of 2014 with stock turbo/ex manifold, stock ecu and so on to verify that it would hold together before i started to buy the "fun" parts!
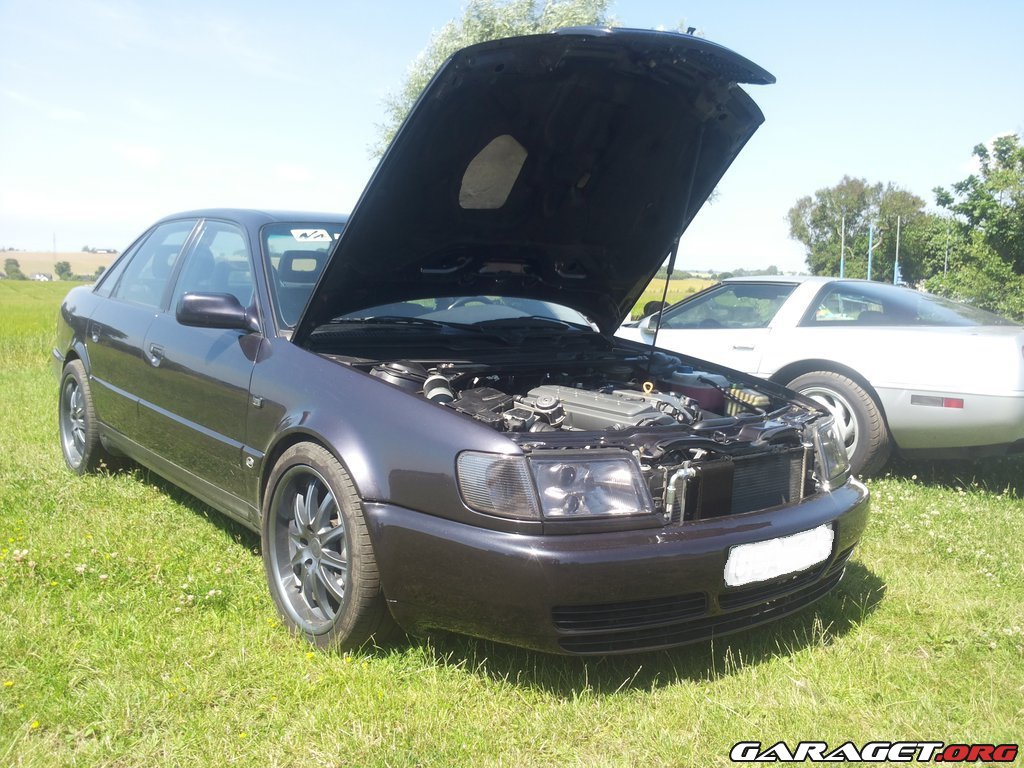
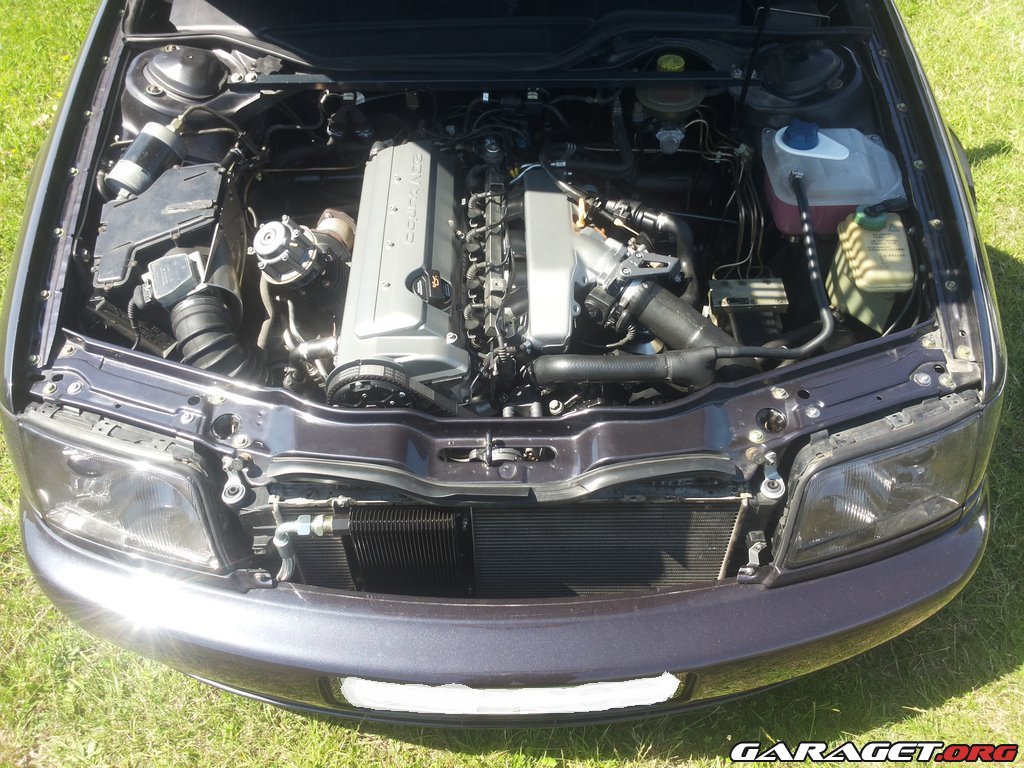
The car held up just fine, ran wery good. Now it time for the fun to begin
The winter 2014 i started to collect the new performance parts for the build.
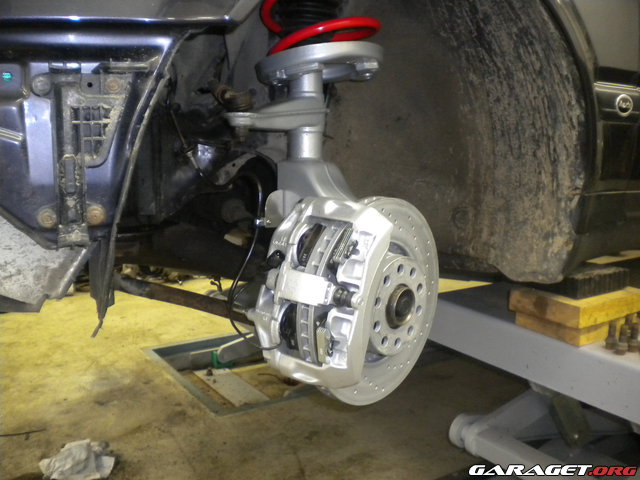
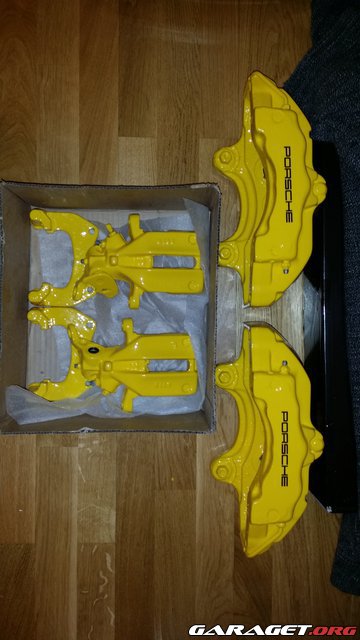
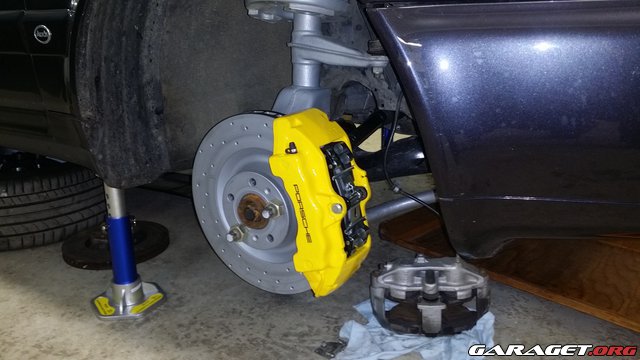
My aim with the build is a fun streetcar with sleeper look. As always i started in the wrong direction of going fast. With the brakes.. I've always liked big *** brakes. Therfore i bought me a set of Brembo 18Z calipers to the front. On the rear i decided to go with Thuppu's brackets for larger discs and stock calipers.
Calipers sandblasted and powdercoated. First yellow, then stickers and then a layer of powdercoat clearcoat. turned out nice i think.
Some bushes to fit the front calipers
Calipers fitted with 350mm discs
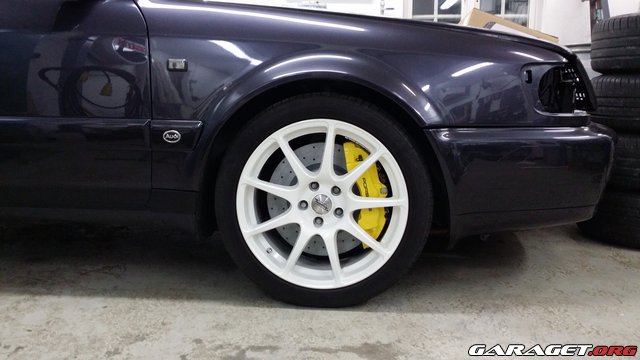
Of course my rims didn't fit with the new setup, luckily i found me a nice set of wheels for a descent price.
So that was little about the brake upgrade that i soon will have finished.
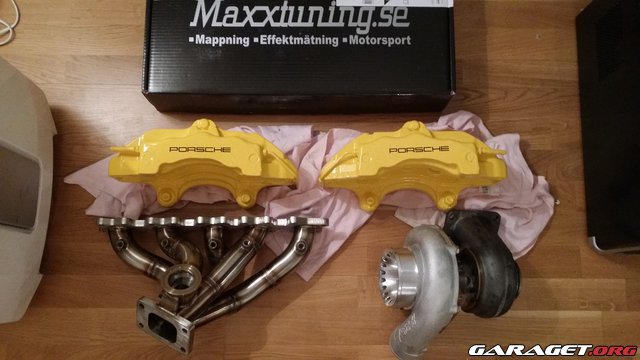
Lets start looking at the preformance. I ordered me a little package for christmas
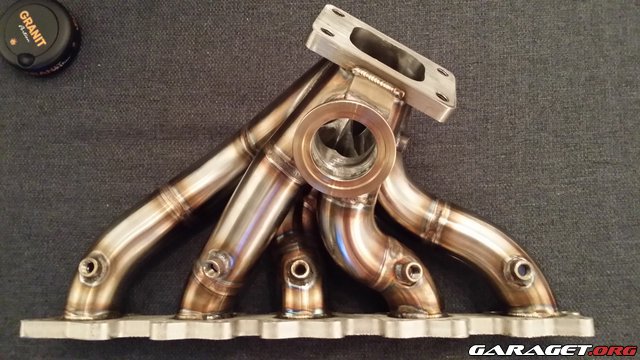
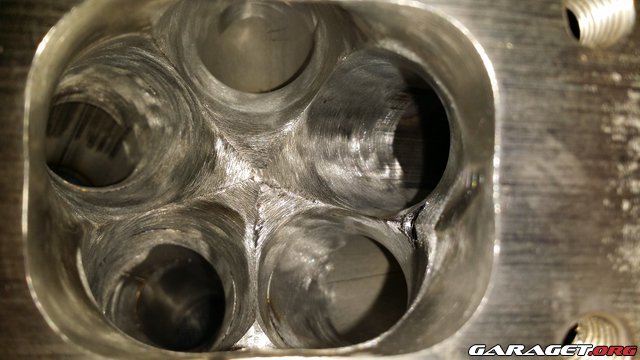
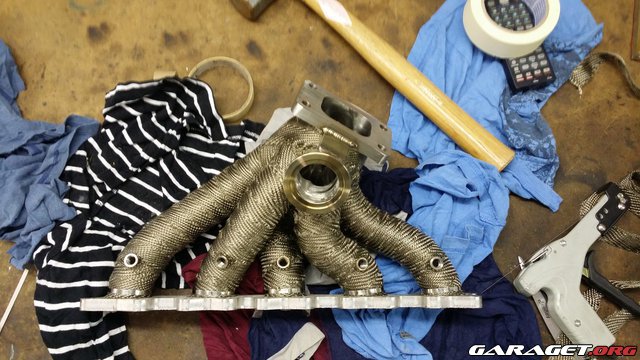
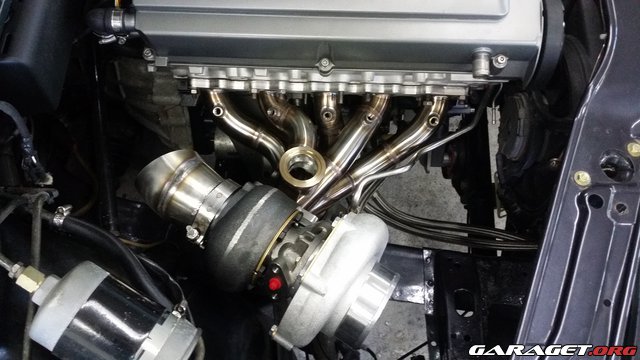
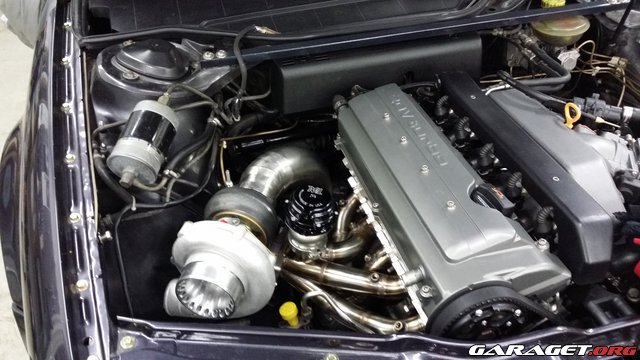
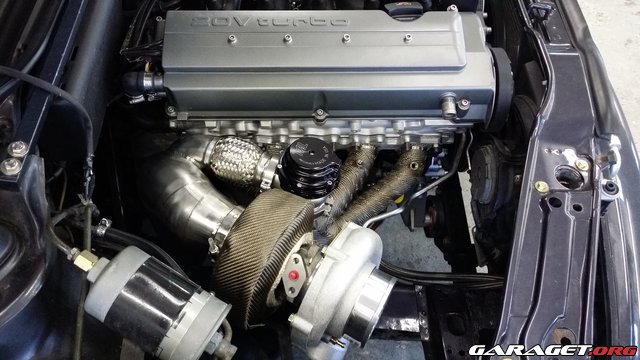
Maxxecu, Precision 58/58, CP-S ss-exhaust manifold and Tial 44mm wg. Hopefully this will make the car run a little quicker
So some pictures of the progress so far of this year!
The beautiful Em
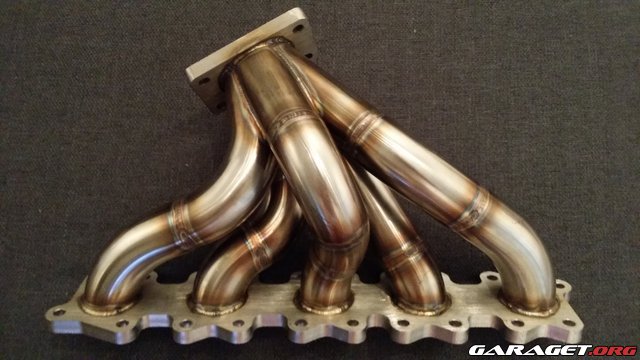
Test mounted
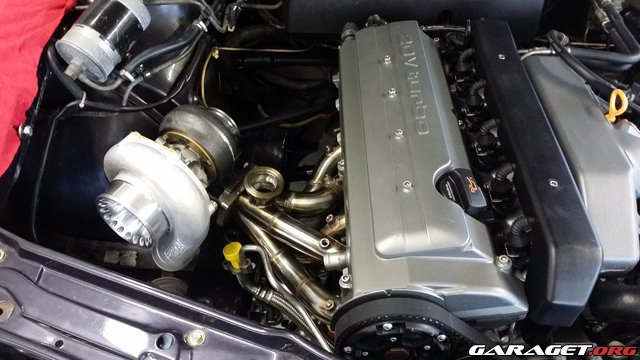
A shame to hide it but..
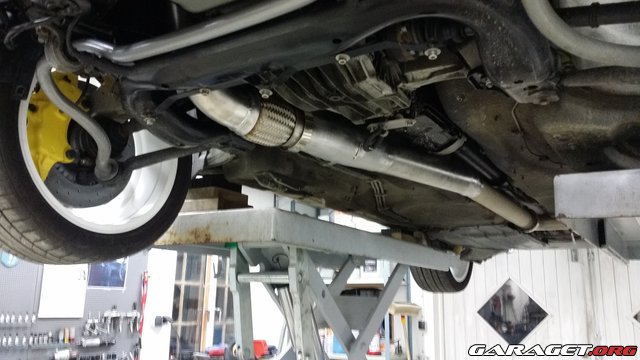
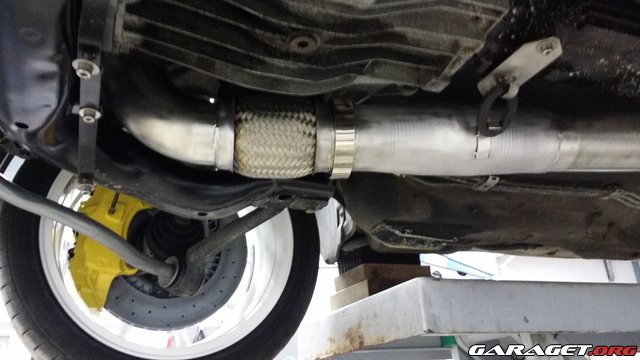
Beginning to build my 3.5" Dp
3,5" Dp finished
Decided to go with 3,5" about 0,5M after the cat, then it drops to 3"
Winter costume

So this is where i'am at the moment. Waiting for my new alu radiator so i can start building my IC piping.. Hopfully i will have this thing running before summer. I have a lot of work before i can fire her up. But i have god hope and i will write here as i go along with the build. I hope you will enjoy the project!
The car is a Urs4 -93 2.2T bought in Stockholm when i was about 17 years old (now 25).
The days after i bought it:
The mods when i bought it was dual IC and a modified ecu. I was happy at the time...
In the beginning of the owner ship i was in school and didn't have the money to do something with the car. But as the years passed and school was done i thought it was time to have some fun with the car. The hours spent on youtube, dragstrip and night events watching quick Audi's I5s and the sound of them really made me want one myself
The first thing i did was to look for a engine so i could drive the car while i was building the new engine. Luckily i found a -95 S6 Avant with destroyed Auto-gearbox for a decent price. Deal!!
I decided i wanted to get rid of the Urs4 stock bumpers and door trims and replace them with the ones from the Urs6. I also wanted the brakes from the Urs6. That took a while to finish but i think it was worth it.
Then it was time to collect some new parts for the engine..
Pistons 81.5
7A-flywheel
Time to start the work on the engine
Disassembled engine
Engine block back from the engine workshop. Bore 81.5 and fully balanced bottom end.
Engine block painted Satin black
Time to assemble the engine!
Block with cleaned oil/water channels
Crankshaft cleaned
New bearings, fitted crankshaft with 12.9bolt to the main caps
Custom Je-pistons with H-beam rods ready to mount (missing one)
Pistons have found their new home..
The head under overhaul, new valve guides mounted, valves grinded, pressure tested, and cleaned.
Head assembled, new lifters, stock AAN camshafts
Thought it was worth a new camsprocket
Stock headbolts was deleted, Arp's mounted in the block.
Decided after some reading on the forum to make me som SPQ-washers for the head.
Decided to sandblast a lot of engine parts to get rid of dirt and old burnt oil..
Before
After
Some parts sandblasted and base coated.
Parts premounted and with the finished colour.
New oilpump disassembled and put together again
Oilpan with fitted oil "catch"
Stock crankshaft sprocket vs SPM and Tommi's billet. I decided to go with Tommis one.
Torqed the f*cking bolt to 450nm with my home made locking tool.
The head is mounted
Starts to look like a engine again
More parts mounted, everything with ss-bolts and nuts.
Just couldn't put the alternator on like that...
Thats better
So looks like it's time to get it in to the car!
Old vs "new" engine
Before installing the rebuilt engine i decided to do some overhaul to the gearbox, propshaft, subframe and enginebay
Washed and painted gearbox, painted propshaft with new bearing
Blasted and powder coated subframe fitted with new bushings
Some bushings
Waiting for an engine!
Engine mounted
We got oil pressure!
The car was running the summer of 2014 with stock turbo/ex manifold, stock ecu and so on to verify that it would hold together before i started to buy the "fun" parts!
The car held up just fine, ran wery good. Now it time for the fun to begin
The winter 2014 i started to collect the new performance parts for the build.
My aim with the build is a fun streetcar with sleeper look. As always i started in the wrong direction of going fast. With the brakes.. I've always liked big *** brakes. Therfore i bought me a set of Brembo 18Z calipers to the front. On the rear i decided to go with Thuppu's brackets for larger discs and stock calipers.
Calipers sandblasted and powdercoated. First yellow, then stickers and then a layer of powdercoat clearcoat. turned out nice i think.
Some bushes to fit the front calipers
Calipers fitted with 350mm discs
Of course my rims didn't fit with the new setup, luckily i found me a nice set of wheels for a descent price.
So that was little about the brake upgrade that i soon will have finished.
Lets start looking at the preformance. I ordered me a little package for christmas
Maxxecu, Precision 58/58, CP-S ss-exhaust manifold and Tial 44mm wg. Hopefully this will make the car run a little quicker
So some pictures of the progress so far of this year!
The beautiful Em
Test mounted
A shame to hide it but..
Beginning to build my 3.5" Dp
3,5" Dp finished
Decided to go with 3,5" about 0,5M after the cat, then it drops to 3"
Winter costume
So this is where i'am at the moment. Waiting for my new alu radiator so i can start building my IC piping.. Hopfully i will have this thing running before summer. I have a lot of work before i can fire her up. But i have god hope and i will write here as i go along with the build. I hope you will enjoy the project!


Comment