You can change the style the forum displays by selecting your preferred style at the bottom left of the site.
We have made an enhancement so that old threads should now link from search results to the correct thread. This is not yet in place for single post links
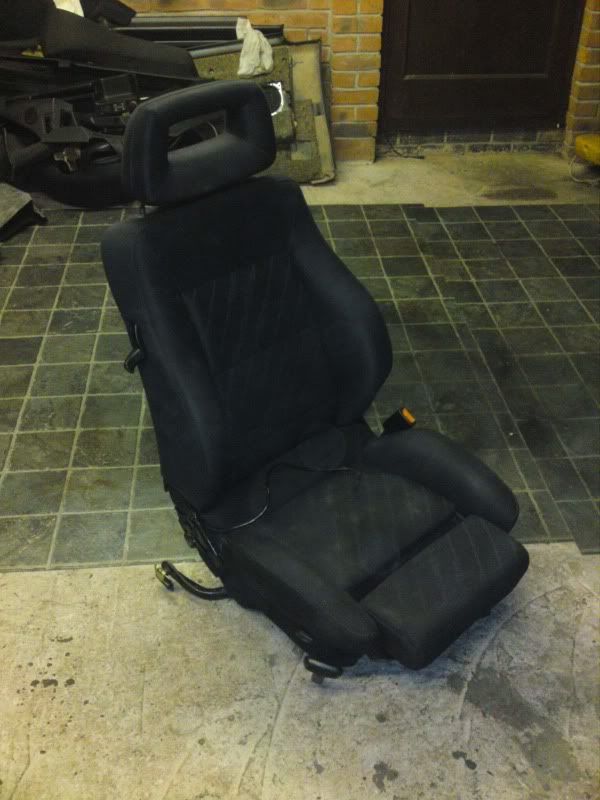
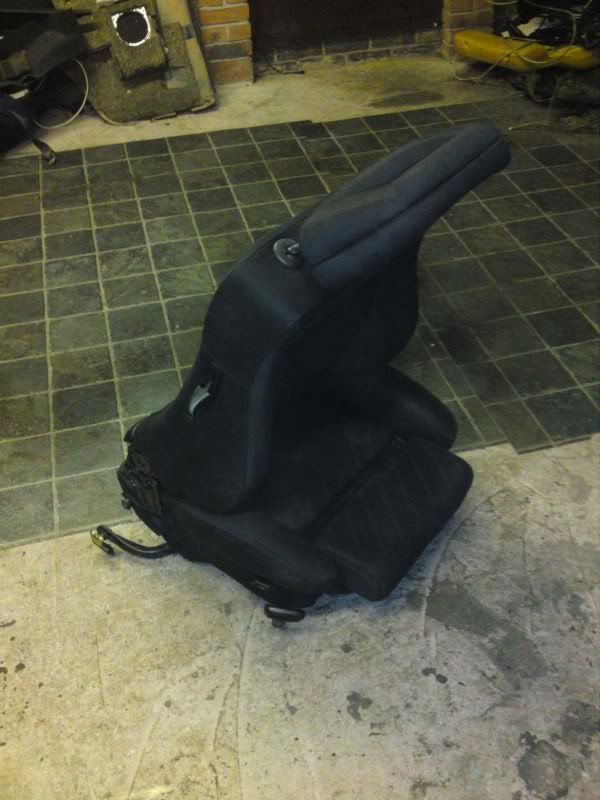
Did my other seat today, just need to sort out the pics and i'll load up a how-to over the next few days
Well pleased with the result, these just need a nice clean now, and for me to refit my interior (the pile in the background )
haha.. yeah i am impatient
i just butchered my stock seats in the end... at one point I had 5 seats in bits on the floor thinking "WTF am I doing?" lol.
and I guess my text earlier wasn't much of a help was it
haha.. yeah i am impatient
i just butchered my stock seats in the end... at one point I had 5 seats in bits on the floor thinking "WTF am I doing?" lol.
Teaser pics - the work on the first urS4 backrest is done. Heated elements installed and the handle, cable and catches installed to allow them to work properly in a coupe - works perfectly :mischeif:
I'll try and take some pics during the conversion of the second one - its not for the feint hearted!
I used a mini grinder to grind the spot welds off the pins, then tapped them out, then swapped the bases over and refitted the pins and clips - easy
The tilt conversion is a LOT of work and requires stripping the seat down to the bare frame, some grinding, cutting and welding from your old seat, but will be like OEM when its done. I'll do a how-to when I do my second seat, I'm swapping the heated elements from my old S2 seats too.
These urS4 ones are a massive improvement on the stock coupe ones, sooo much more comfy and look like the car rolled out the factory with them in
You should see the angle grinding pics I have of sorting mine!! They do look nice in the car, very standard looking, even though I have a black interior and grey UrS4 seats! I'm doing 200 miles a week in them and they are very nice, especially with my CG lock which helps support my weakling of a lower back. I'm 6'4" and noticed that these seats don't drop down as far as the old ones (my head grazes the rooflining unless I have a grade 2!) They also don't go as far back but this isn't a problem (the old ones go back too far for me to touch the pedals comfortably), and are now as far back as these'll go. It looks like there is less backseat room but how often do you sit in them?! I noticed that if the drivers seat is anything other than all the way back, it squeaks on the centre console. This can be remedied by putting it back all the way or removing the plastic side cover on the 'hinge' between the seat back and squab.
I used a mini grinder to grind the spot welds off the pins, then tapped them out, then swapped the bases over and refitted the pins and clips - easy
The tilt conversion is a LOT of work and requires stripping the seat down to the bare frame, some grinding, cutting and welding from your old seat, but will be like OEM when its done. I'll do a how-to when I do my second seat, I'm swapping the heated elements from my old S2 seats too.
These urS4 ones are a massive improvement on the stock coupe ones, sooo much more comfy and look like the car rolled out the factory with them in
Mine are in my saloon now, I don't think you'll be able to make them tilt easily though! I used 10v 5cyl coupe subframes with height adjust on both passenger and driver sides (the other non height adjust type won't work) I found it easiest to cut the subframes off of both my seats and cut the front lugs off the coupe seats to remove the subframes as all had spot welds on. Then all that was required was manipulating the front of the subframe (including bar) in between the two lugs which had been splayed out, then bend them back using a g-clamp and grips!
We process personal data about users of our site, through the use of cookies and other technologies, to deliver our services, personalize advertising, and to analyze site activity. We may share certain information about our users with our advertising and analytics partners. For additional details, refer to our Privacy Policy.
By clicking "I AGREE" below, you agree to our Privacy Policy and our personal data processing and cookie practices as described therein. You also acknowledge that this forum may be hosted outside your country and you consent to the collection, storage, and processing of your data in the country where this forum is hosted.
 was nice to meet ya Alex


 )


 i've had them in the back of a coupe before

Leave a comment: