
awesome job ,I hope you can get a dump pipe down past the bar work, but iam sure you have something special in mind
also the opening for the steering arms where they pass through the inner arch i had to clearance the back of them because of the move in the strut tops?? it may have just been the straight 034 arms but i wasnt impressed about burning the paint after i had assembled it
thanks
mal
-
I wouldn't want to run the drive shafts at such angles just by pushing the engine back. You can push it back enough with the rack in its standard position.Leave a comment:
-
Looks awesome. I suppose my only criticism would be why not change the rack setup and move the engine back a little ?
Cracking on though. Good stuffLeave a comment:
-
Progress has been a bit slow of late due to various other commitments. I have managed to get the front subframe points connected into the cage. Also slimmed down the front chassis legs:
So chassis legs first. I wanted to remove the front section as it had a lot of weight in it that I didn't need and I didn't like it aesthetically.

Chopped out and painted up, inside the chassis rails are in very good condition.

New piece folded up and welded into place.

Next I welded the bosses into 4 tubes and cut holes through the shell to bolt them onto the jig. The rear tubes come through the bulkhead and weld under the cross for the front turrets. Also ties into the inner arch which strengthens the steering rack mount.


The front bars are let into the inner wings to allow them to be welded between the subframe boss and top mounts.


Finally I pulled the engine mounts off the other car and bolted my spare block into place to check everything lined up before the engine mounts are re-made. Everything fitted perfectly.


The new job on the list is to make new engine mounts as I have never liked the standard set up and it seems silly not to tie them into the cage structure on each side.Leave a comment:
-
Managed a bit of work in the Christmas holidays. The strut tops are now welded on and the cage tied into them. Also got the scuttle panel squared up welding over all the unused holes.


The next job on the list is to tie the front subframe pick ups into the cage. Same as the rear I have machined 4 bosses to replace the standard captive nuts which have a habit of stripping. They are machined to accept a male boss on the subframe so it isn't relying on the bolt in sheer, also went up in size to M12 x 1.5mm.


Next job is to get them mounted in tubes and tied into the cage which will finally complete all the tube work on the shell.Leave a comment:
-
Said it on E38 but amazing attention to detail as normal. Always look forward to updates :-)Leave a comment:
-
Looking amazing Hamish !!
I always look forward to your updates.
All the best.
Craig.Leave a comment:
-
Cheers for the compliments chaps.
A few reasons for left hand drive. I prefer LHD from a driving position. It means I can put the big exhaust tunnel in and have space on the LHS for a proper pedal box. Also thinking about re-sale value when the time comes to move it on.Leave a comment:
-
Nice update, I must have missed the last one, that is a really tidy way of "boxing" in the hoop feet without adding a box.Leave a comment:
-
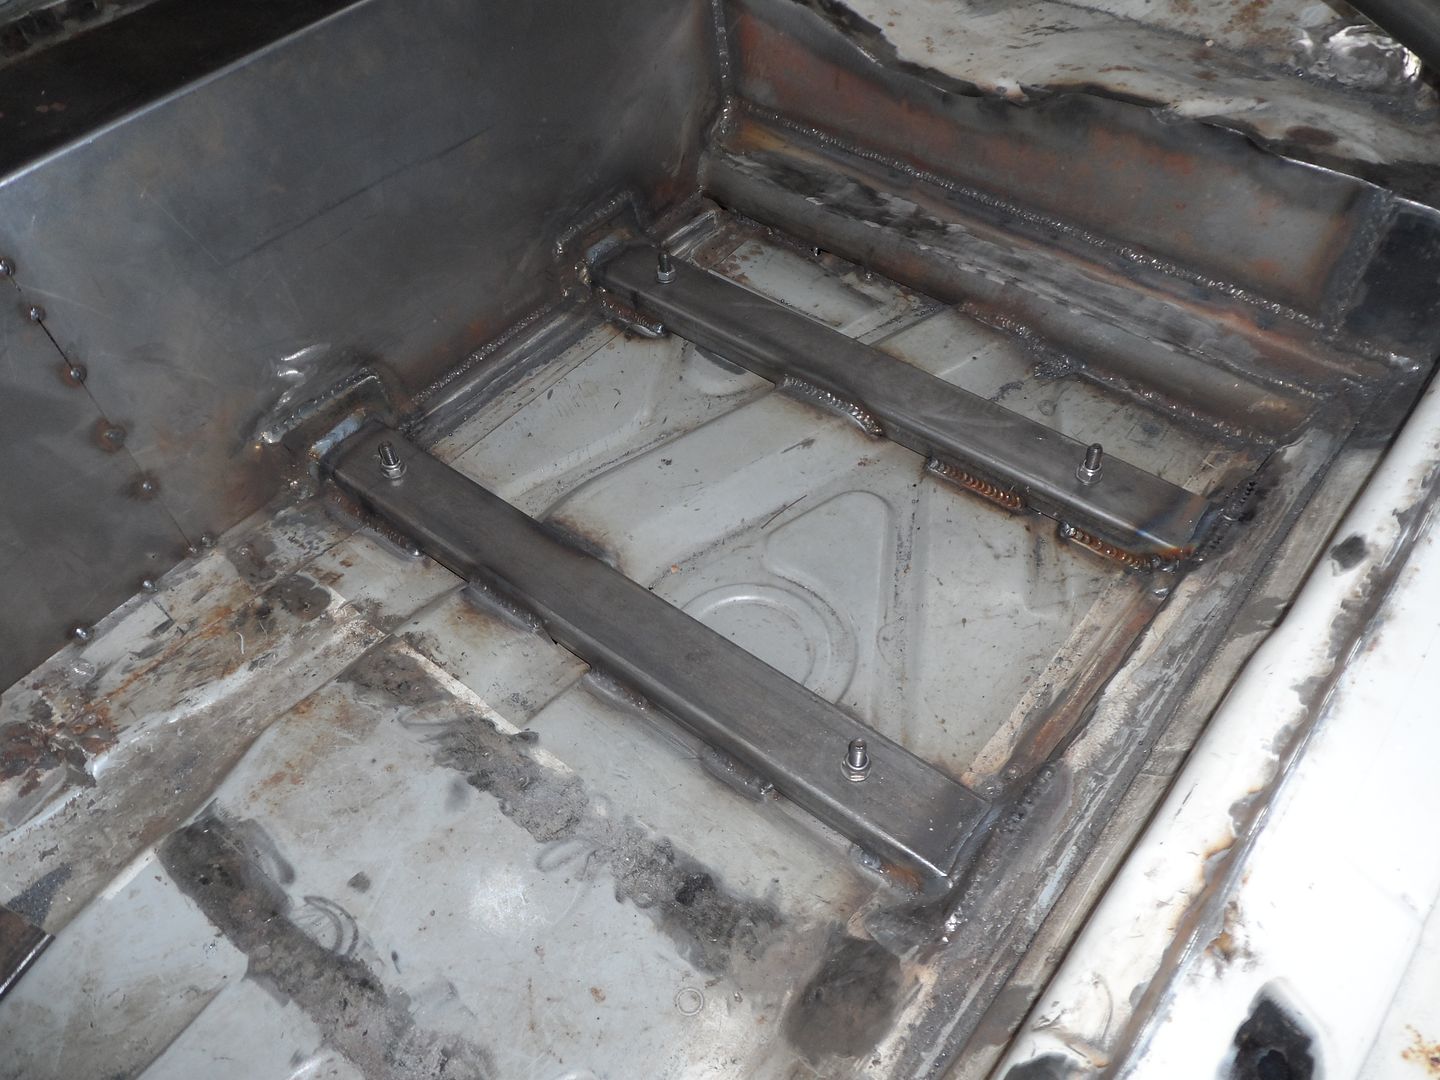
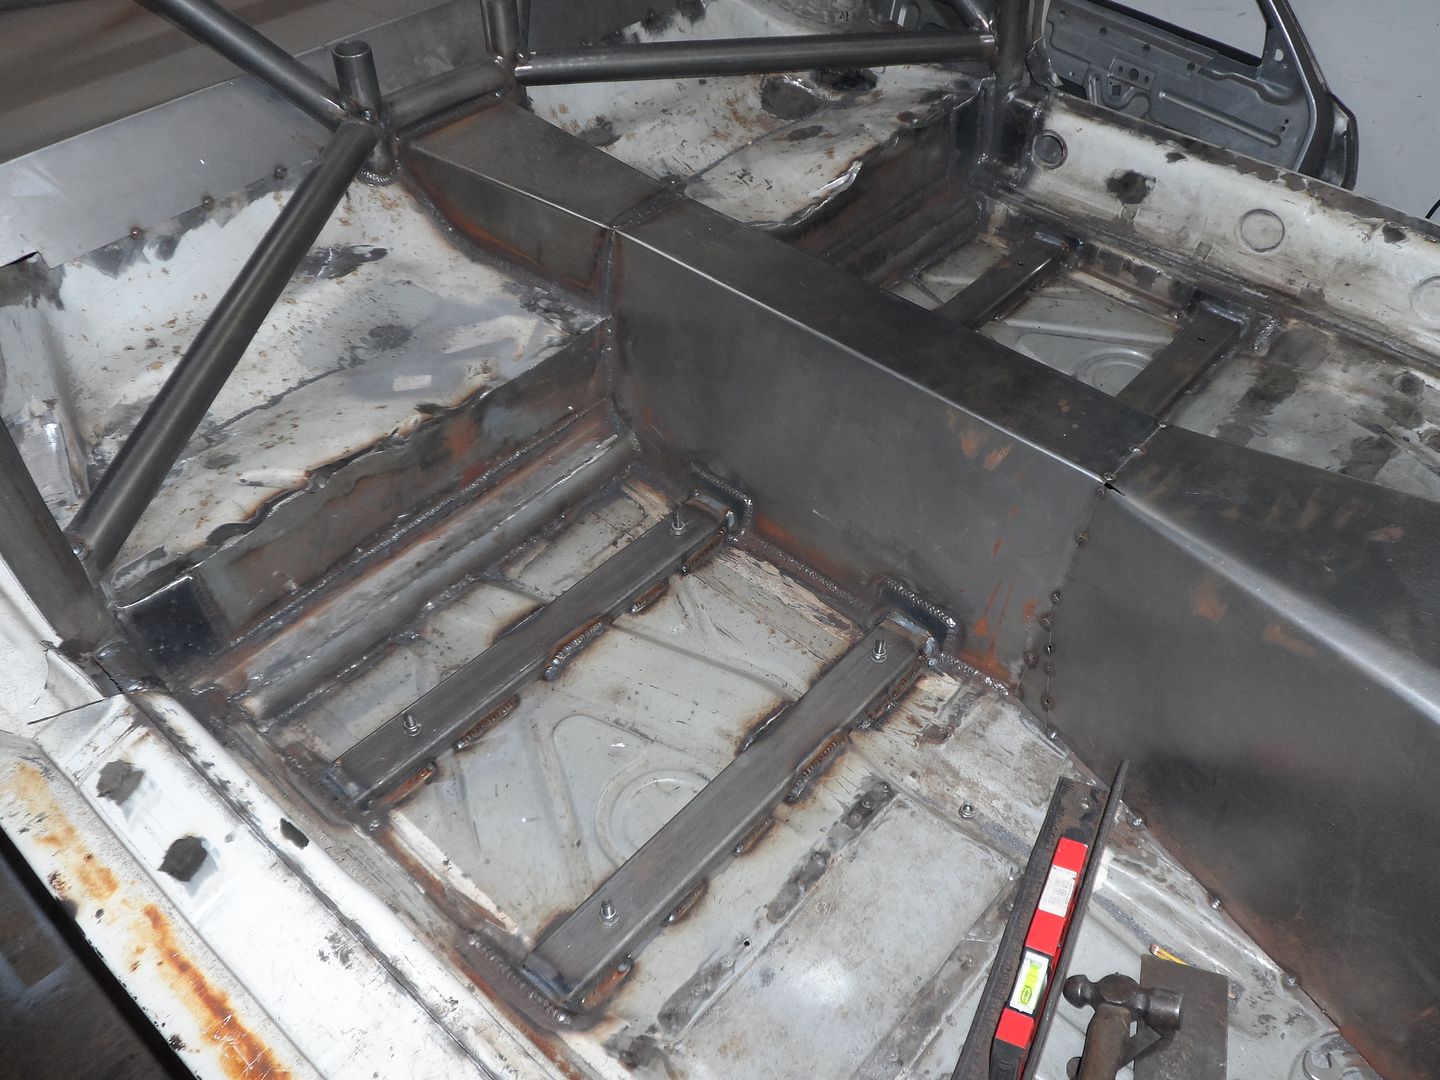
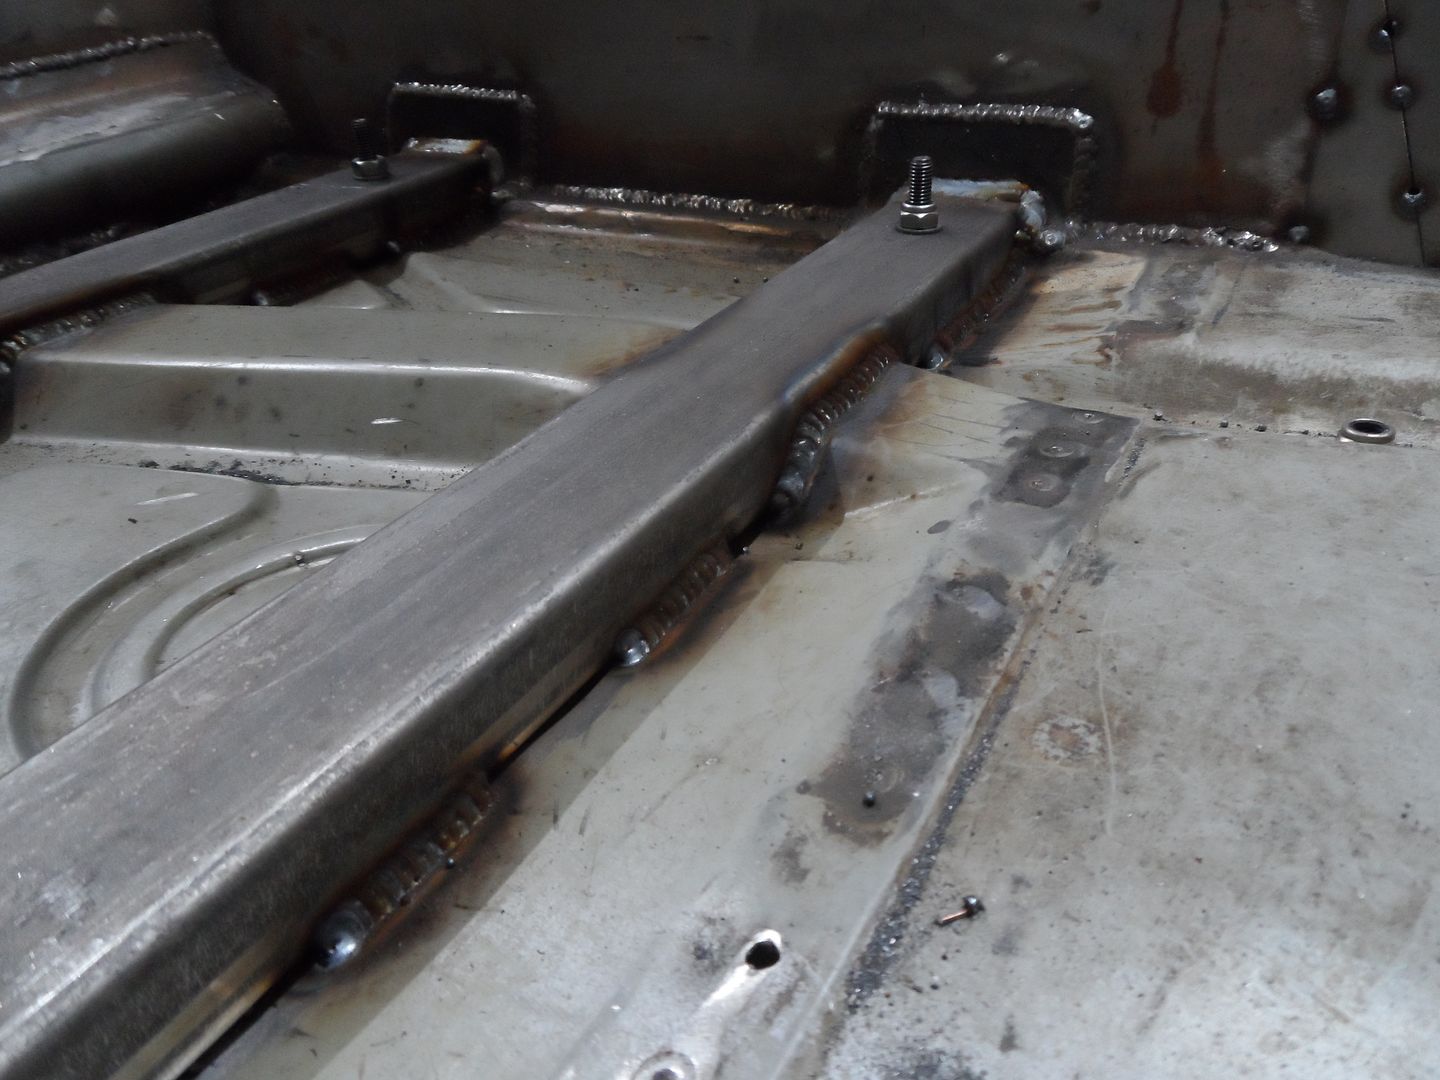
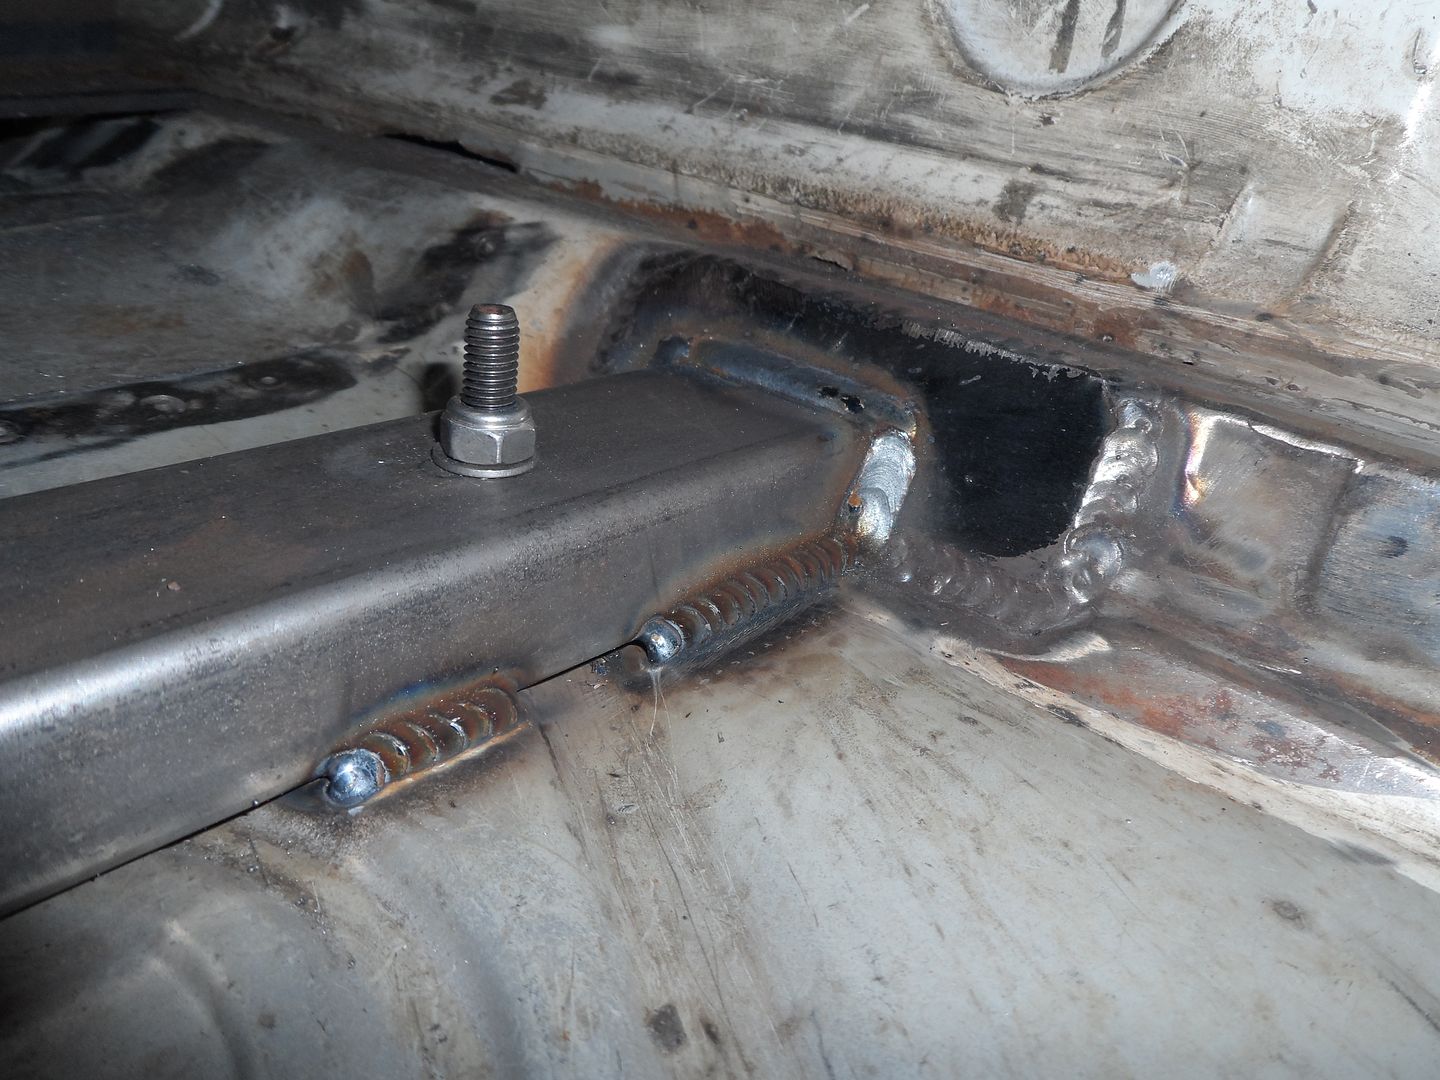
I have been working away on the shell over the past few months. First job was to do the seat rails. I wanted them nice and low as I am tall so like to be well down inside the car. First job was to weld some spreader plates in, then I sliced through the high point on the floor to get them to touch so it could be stitched into it for more strength.
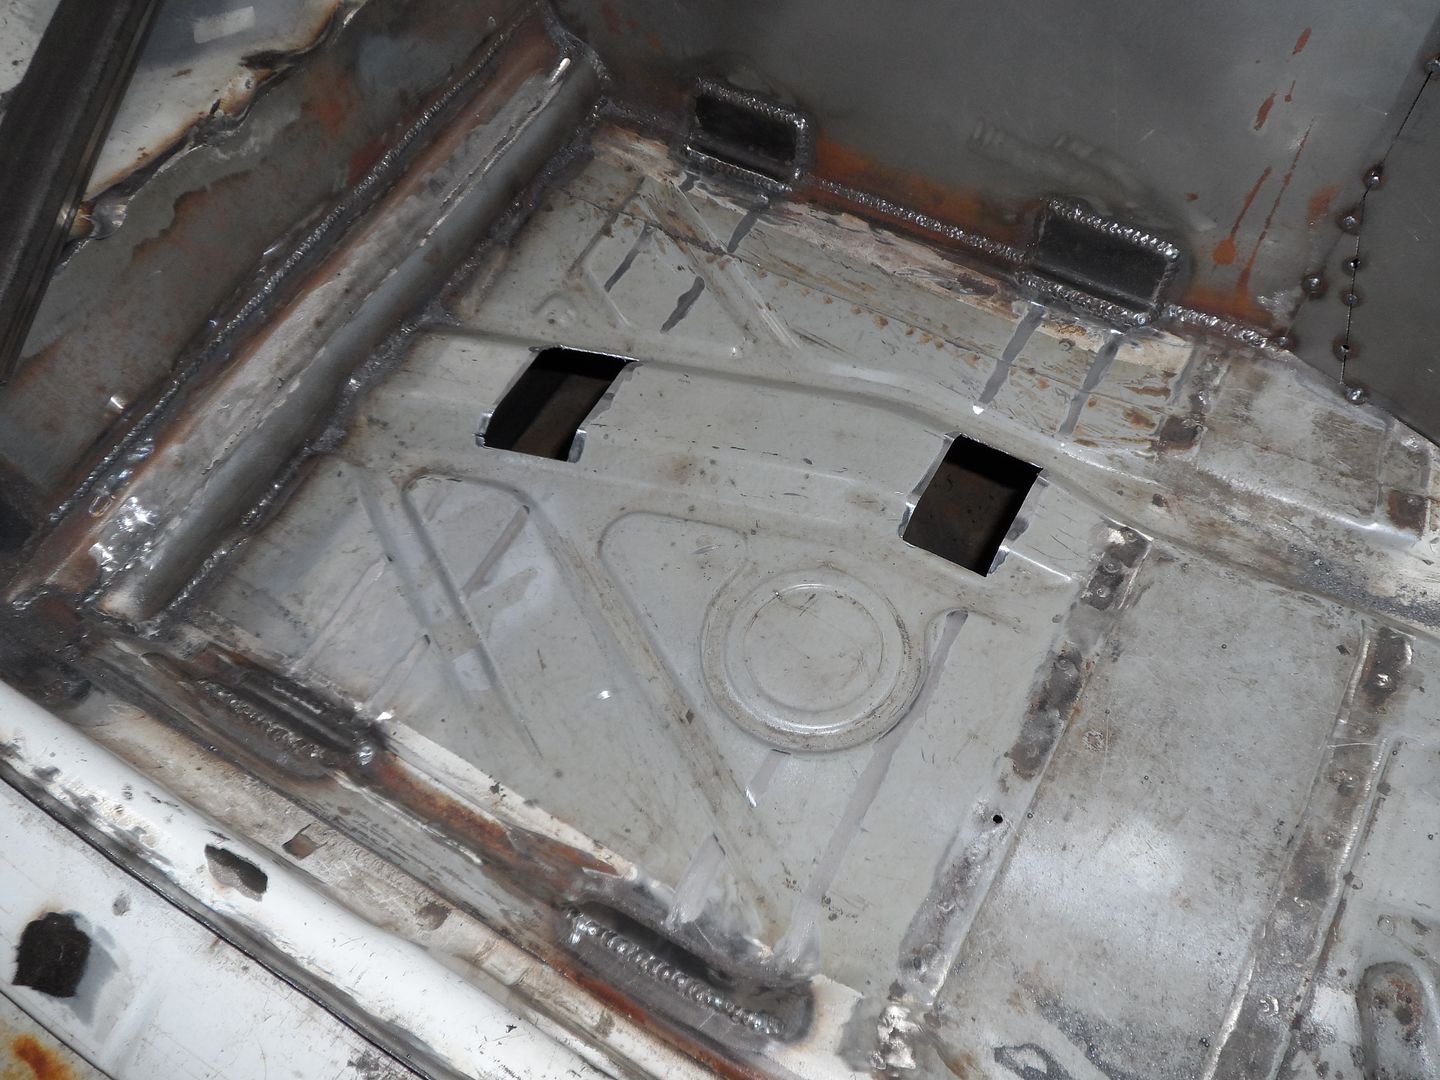
Rails are 50 x 25mm box and the bolts pick up right through the floor to make access easier as that's something that's bugged me on the other car.
Next I moved onto finishing the mounting of the steering rack. Obviously it was right hand drive to begin with so the inner arch on the left required modifying so the rack could be bolted through it and also 50mm higher as per the centre mount.
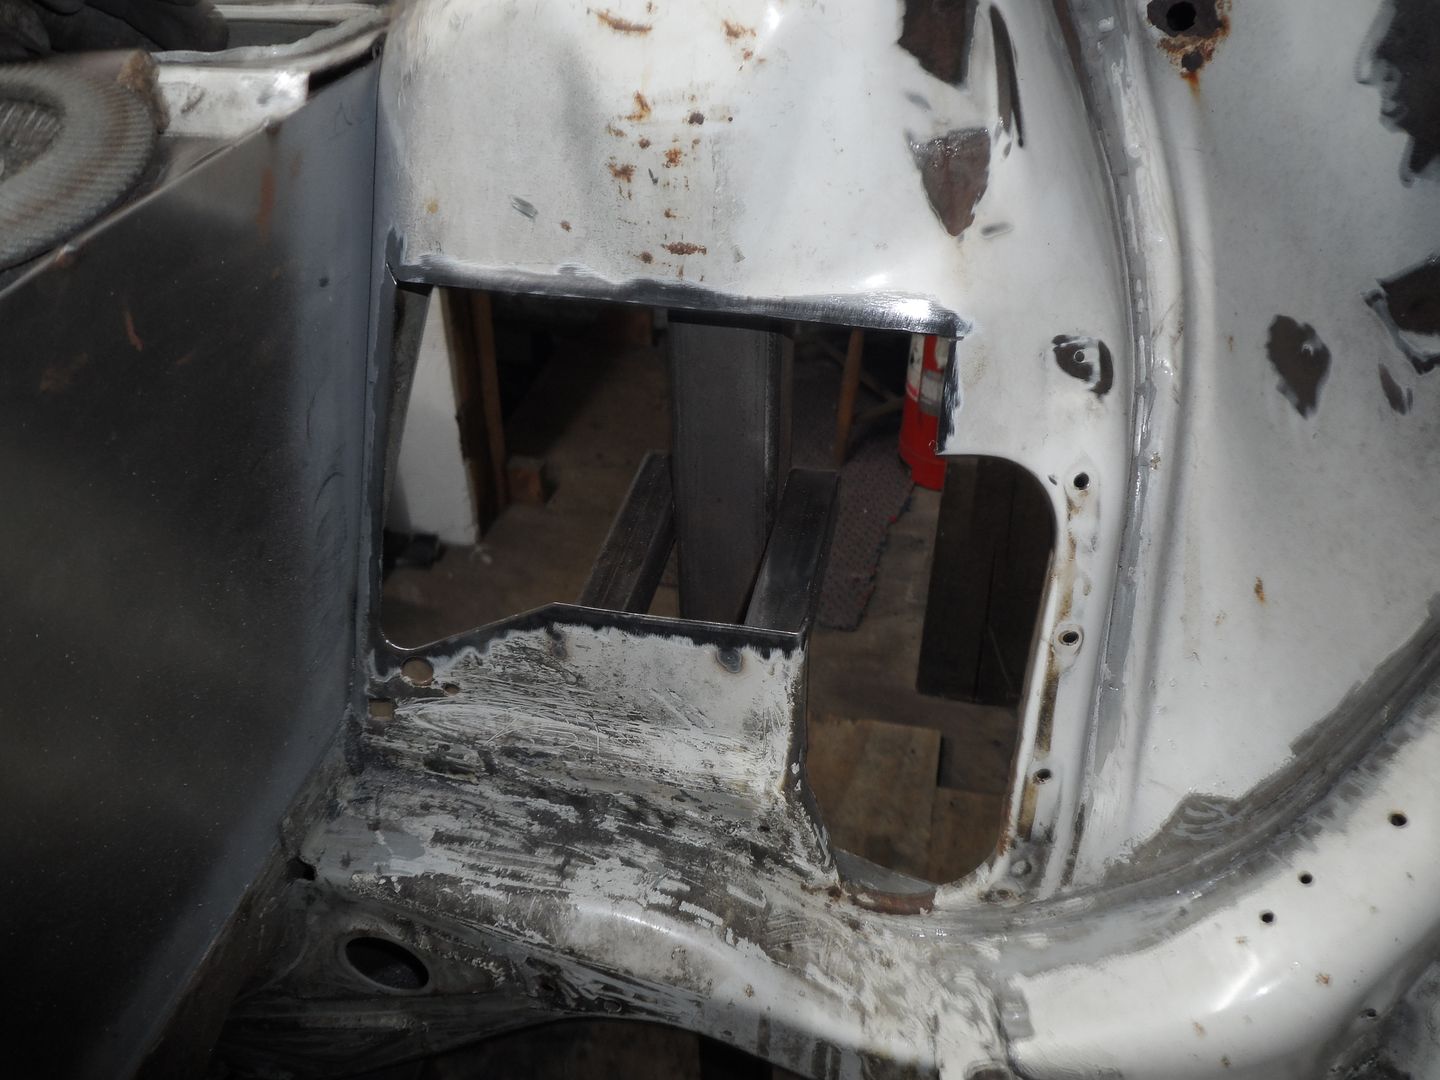
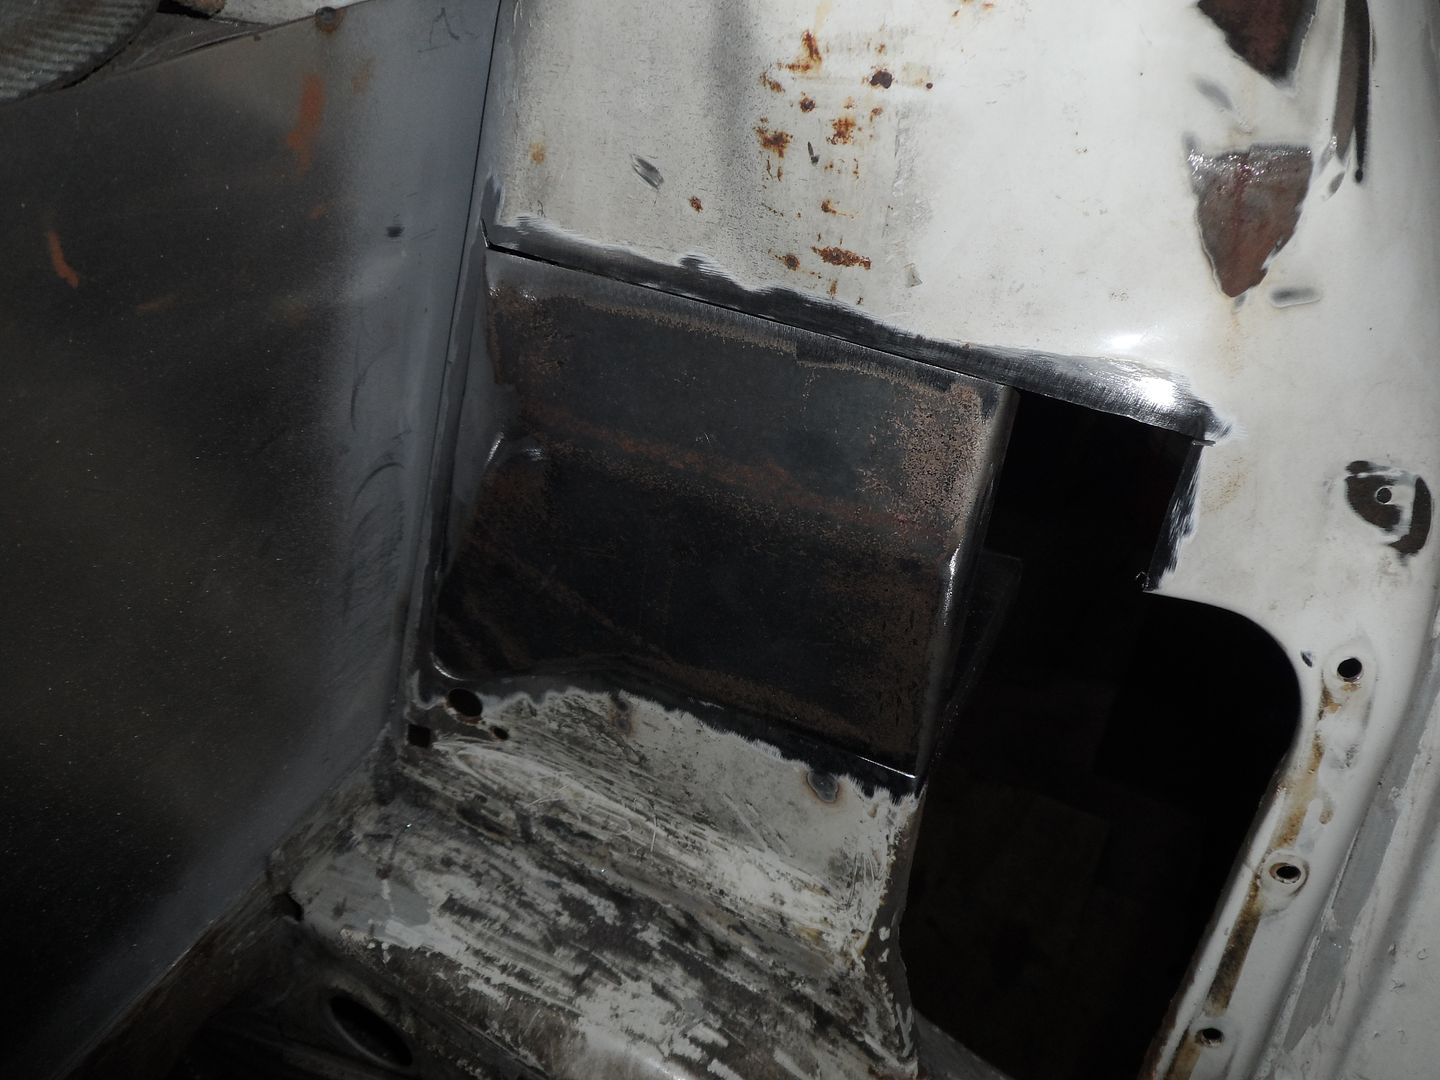
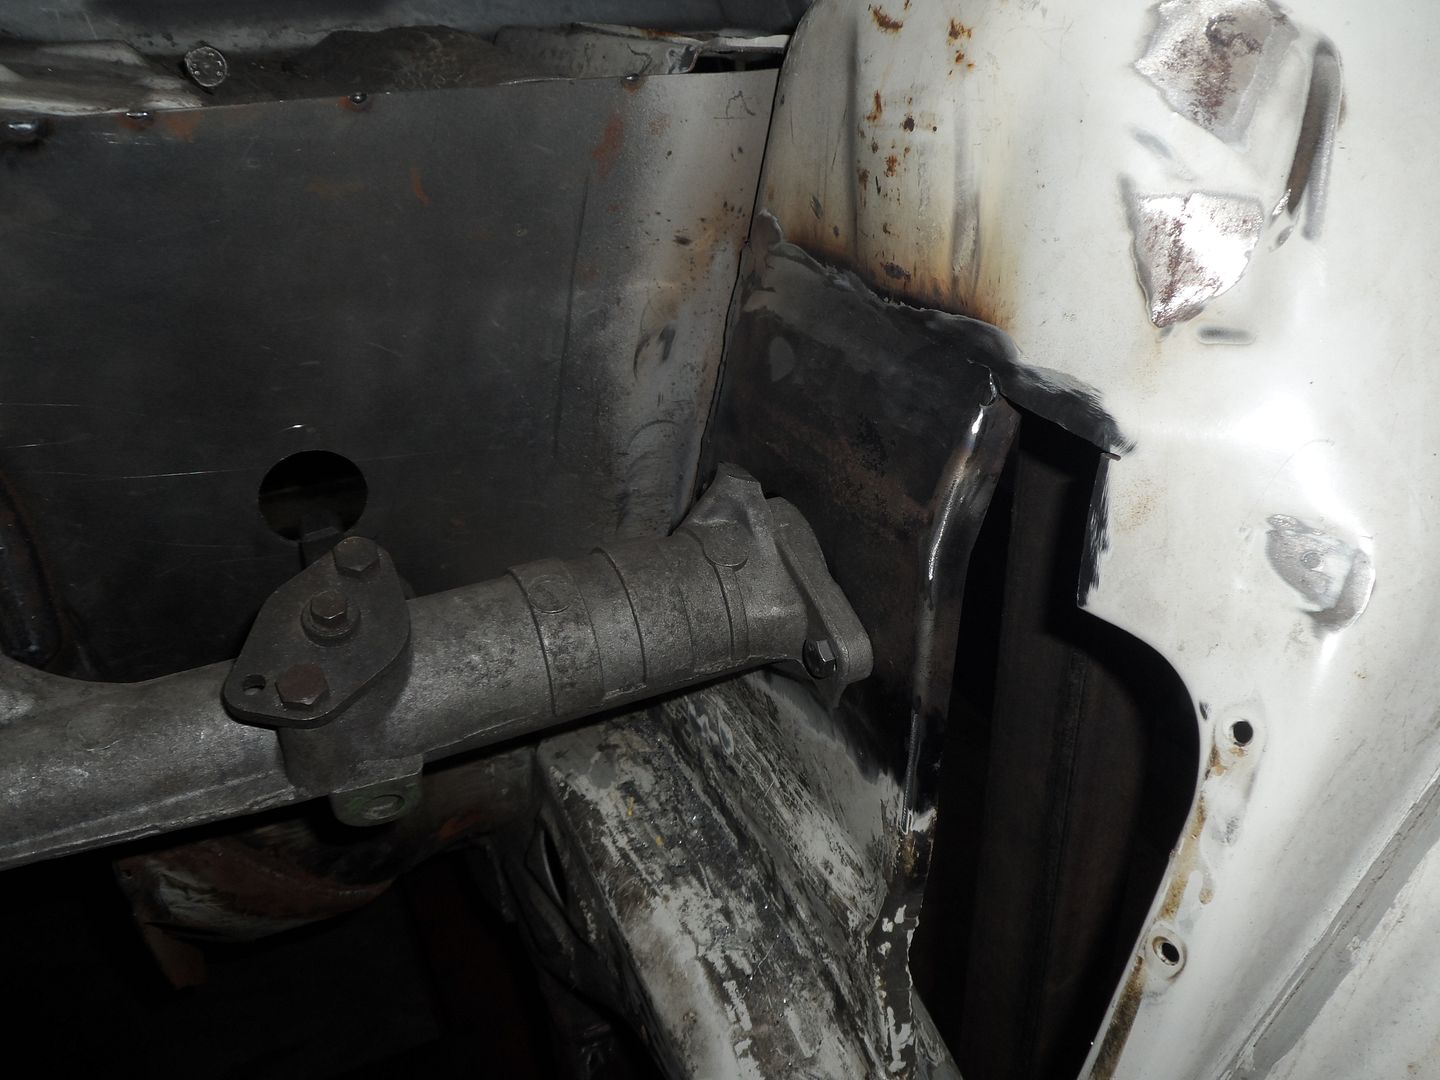
Also extended the steering arm hole 50mm higher at the same time.
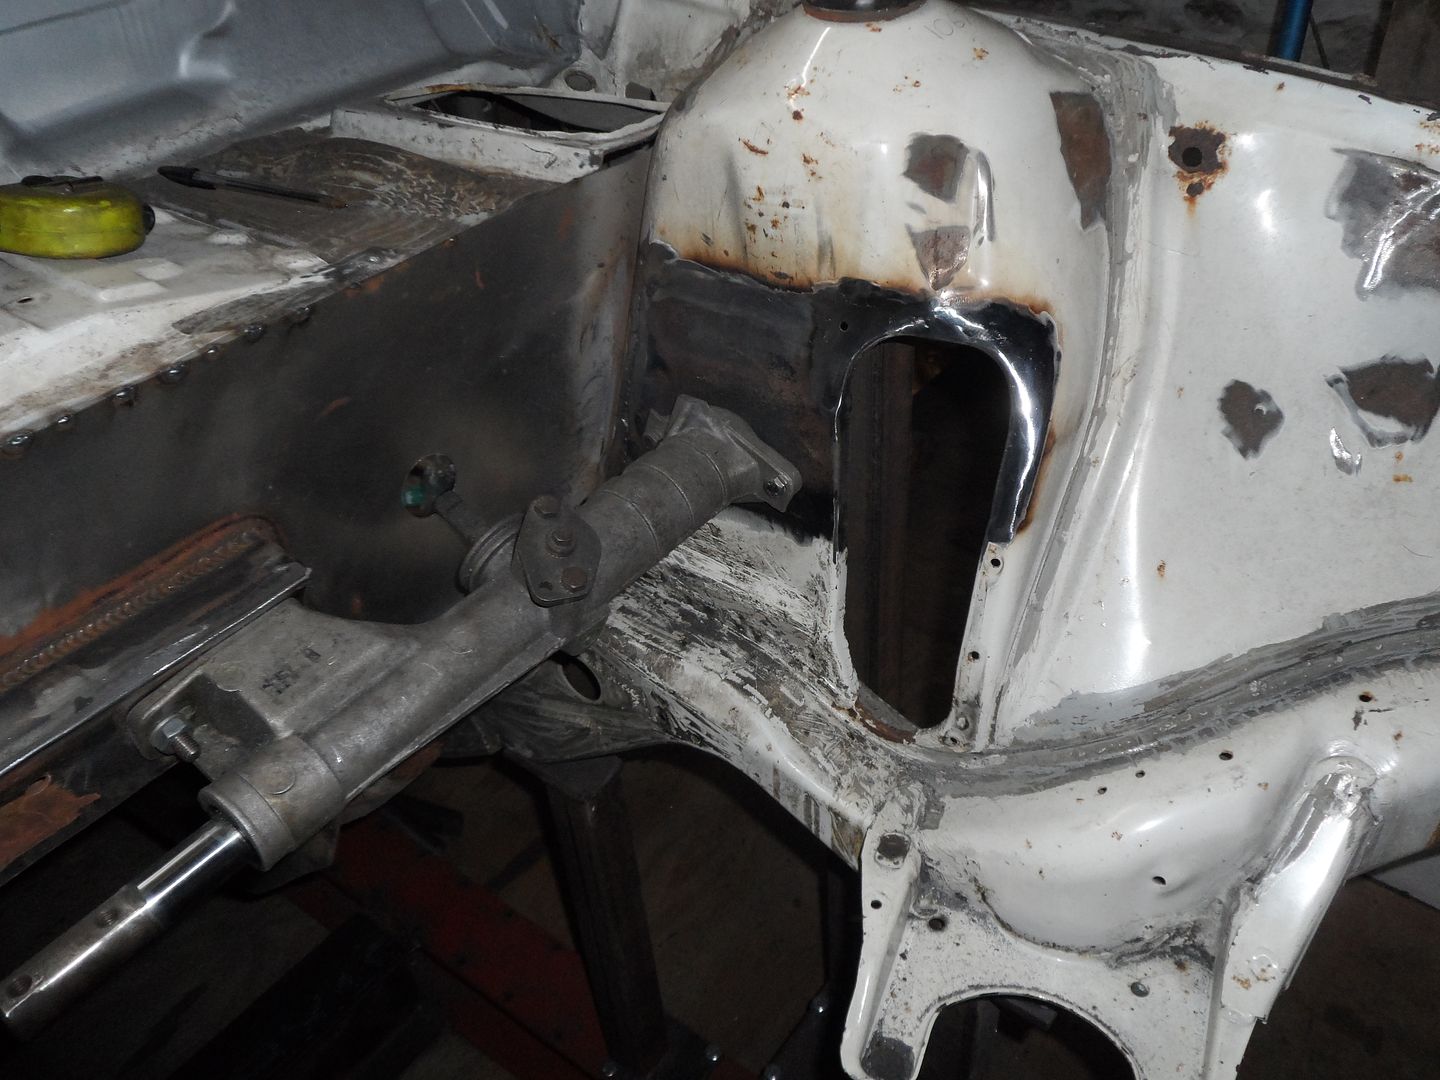
The opposite side had the RHD steering mounting and it had all sorts of bulges which I didn't like so that got chopped out and a new piece let in.
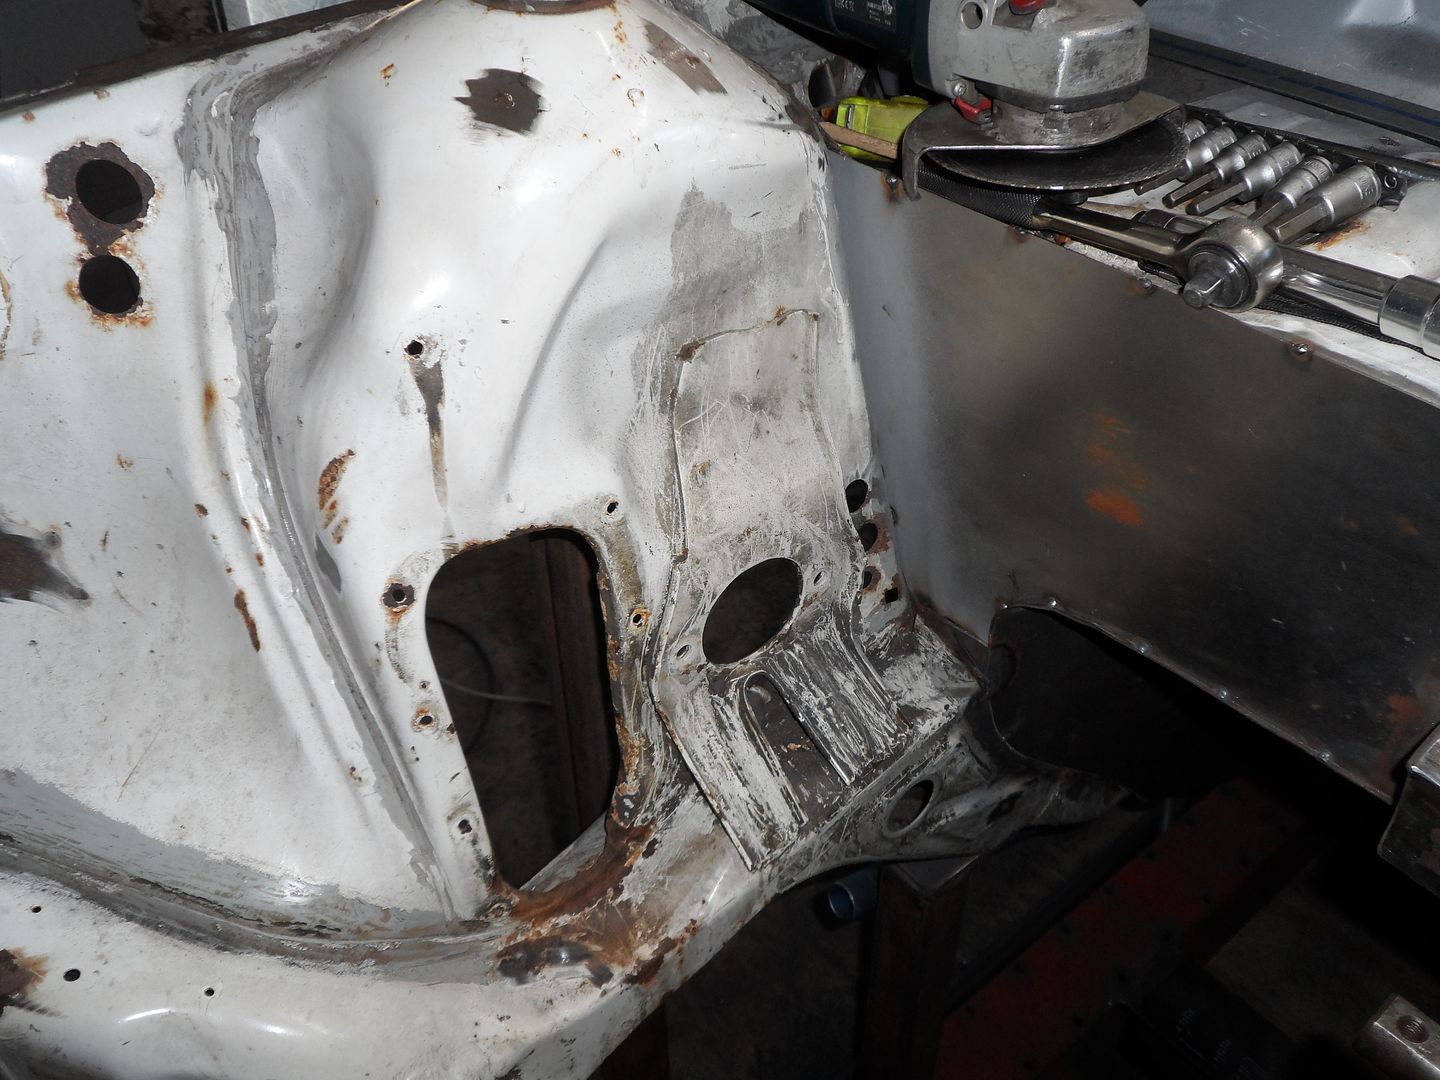
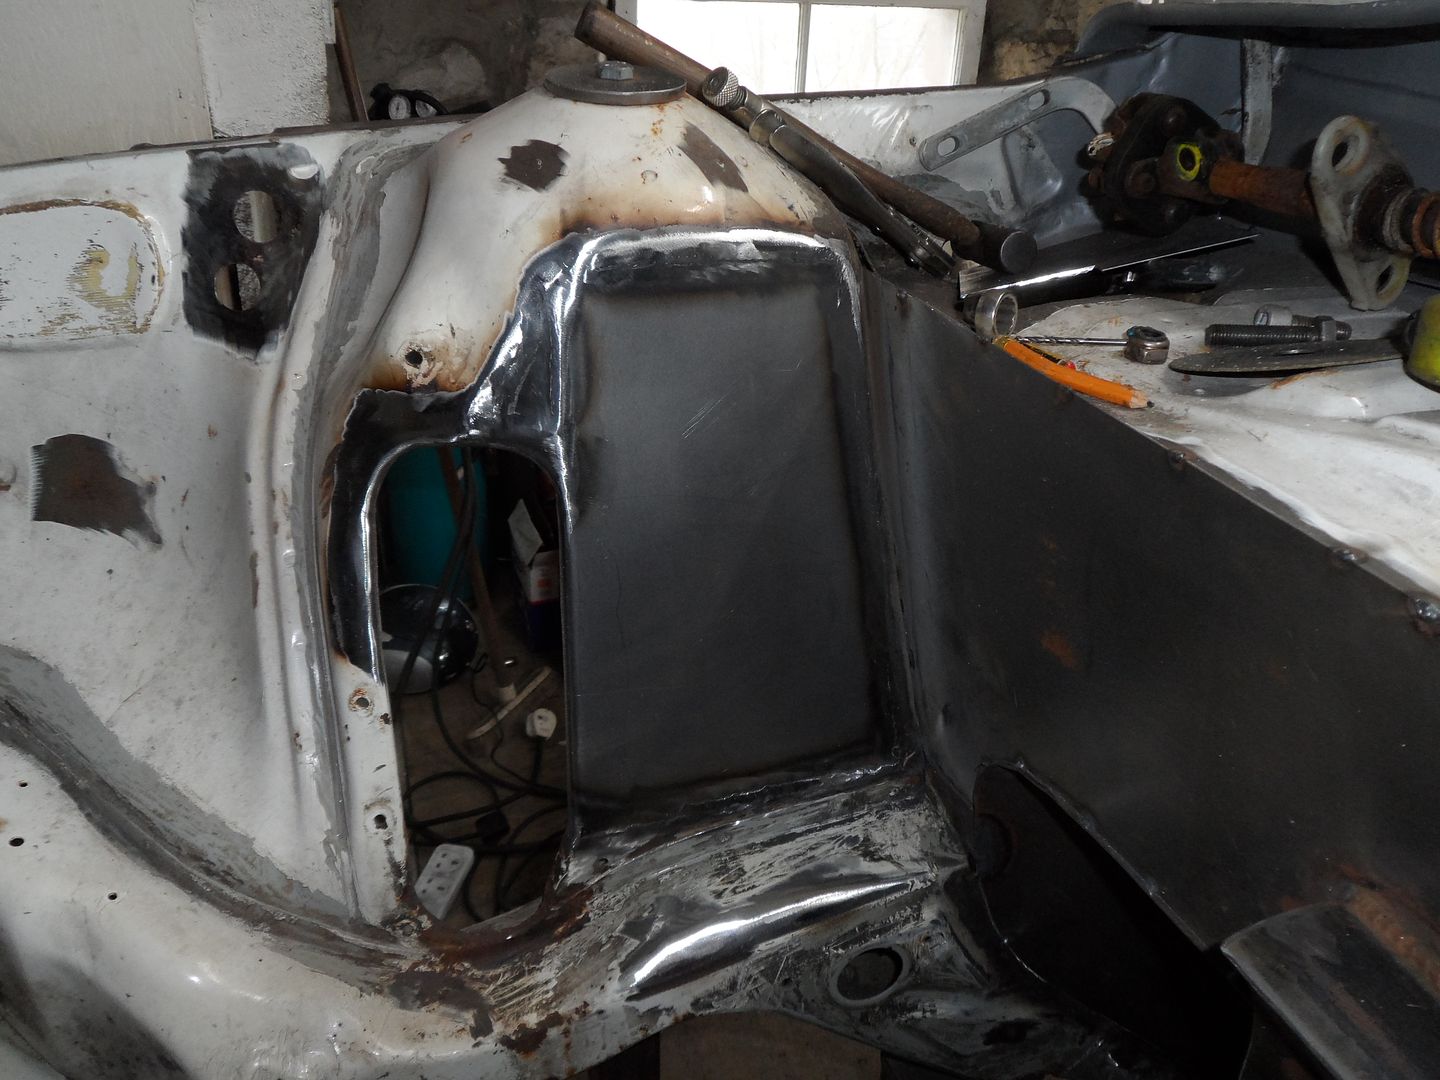
Finally I moved onto the top mounts. Same as the rear lathed some up out of billet.
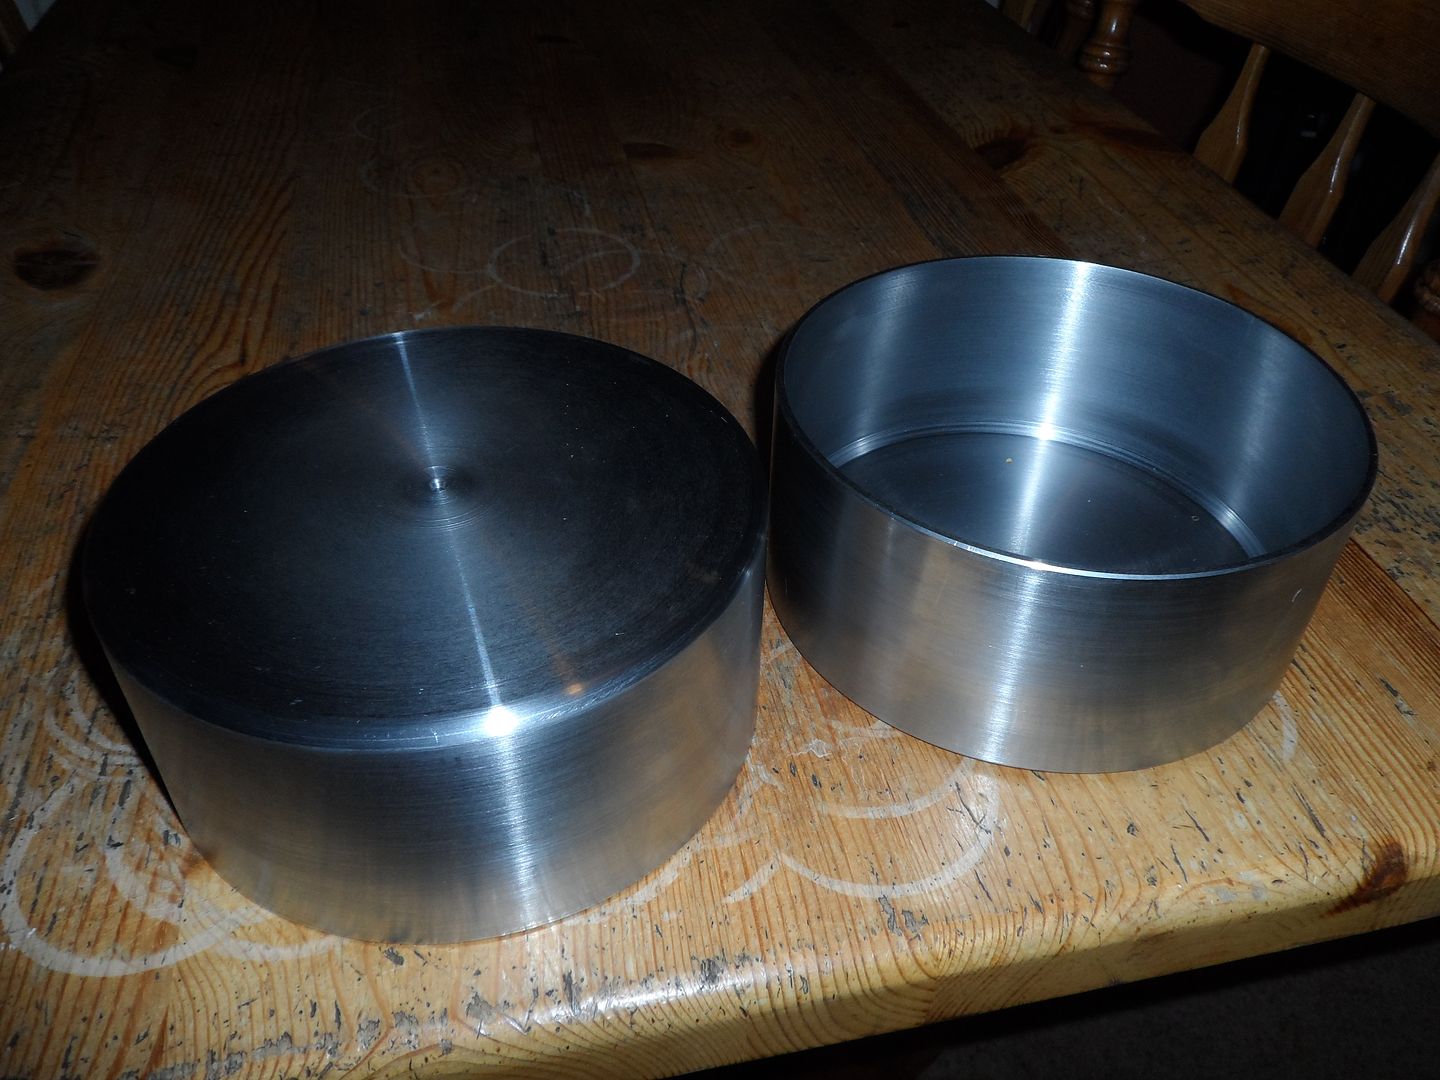
Couldn't get them as high as I had wanted as the bonnet limits them even with the bulge on the S1 E2 bonnet. They are offset rearwards by 25mm to give more caster angle.
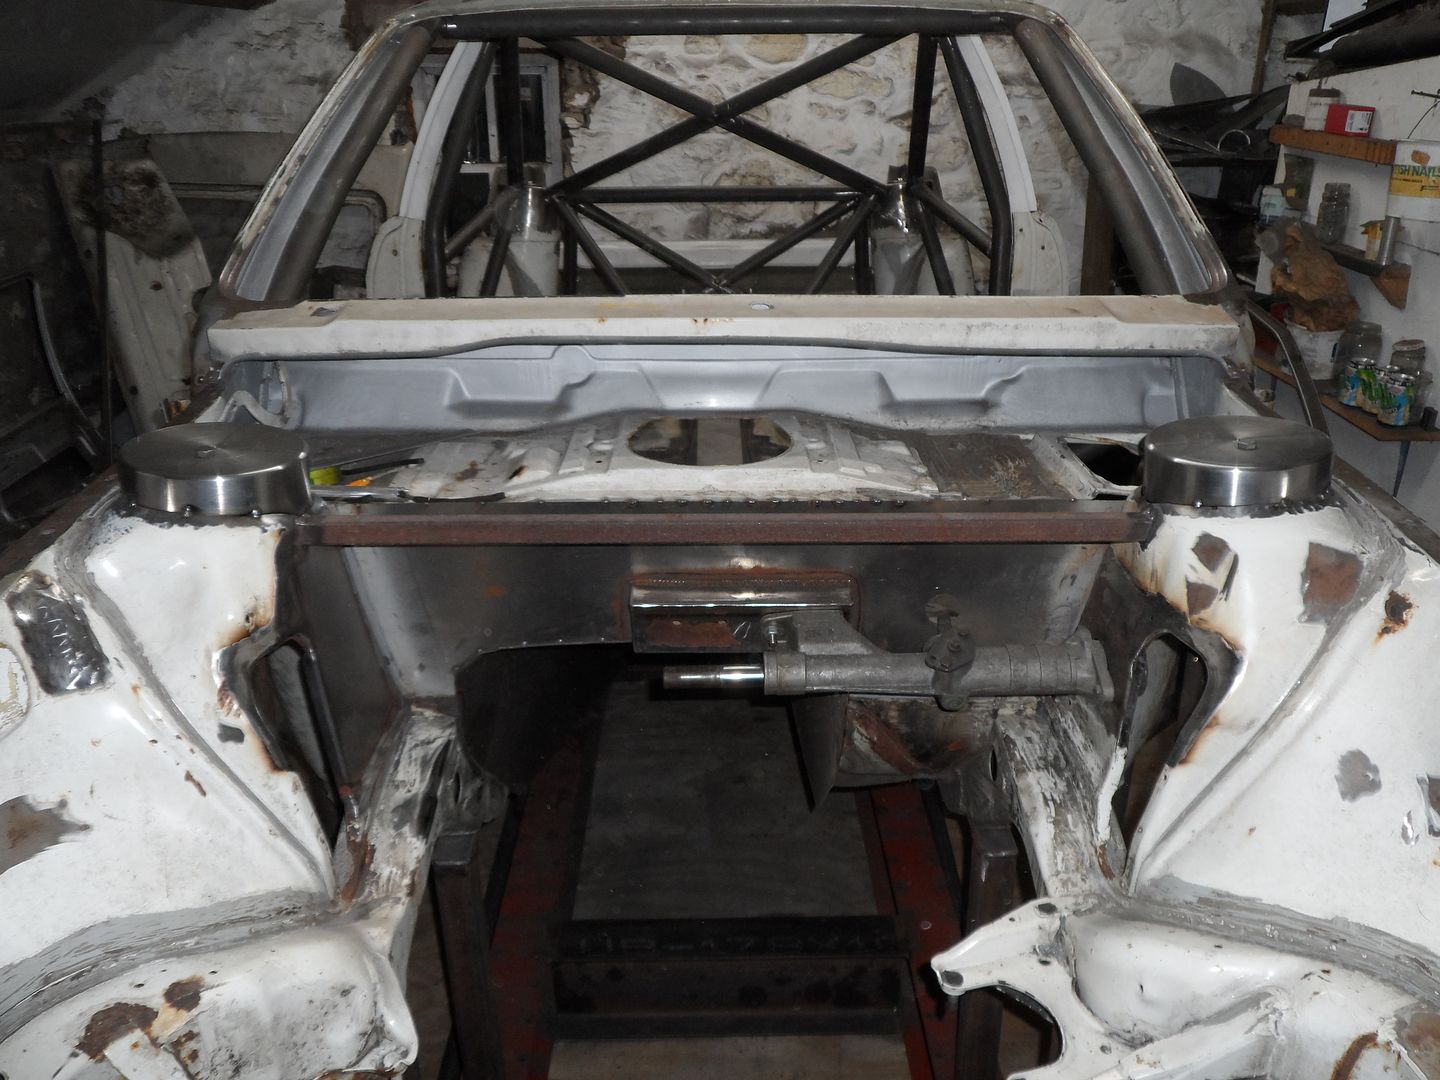
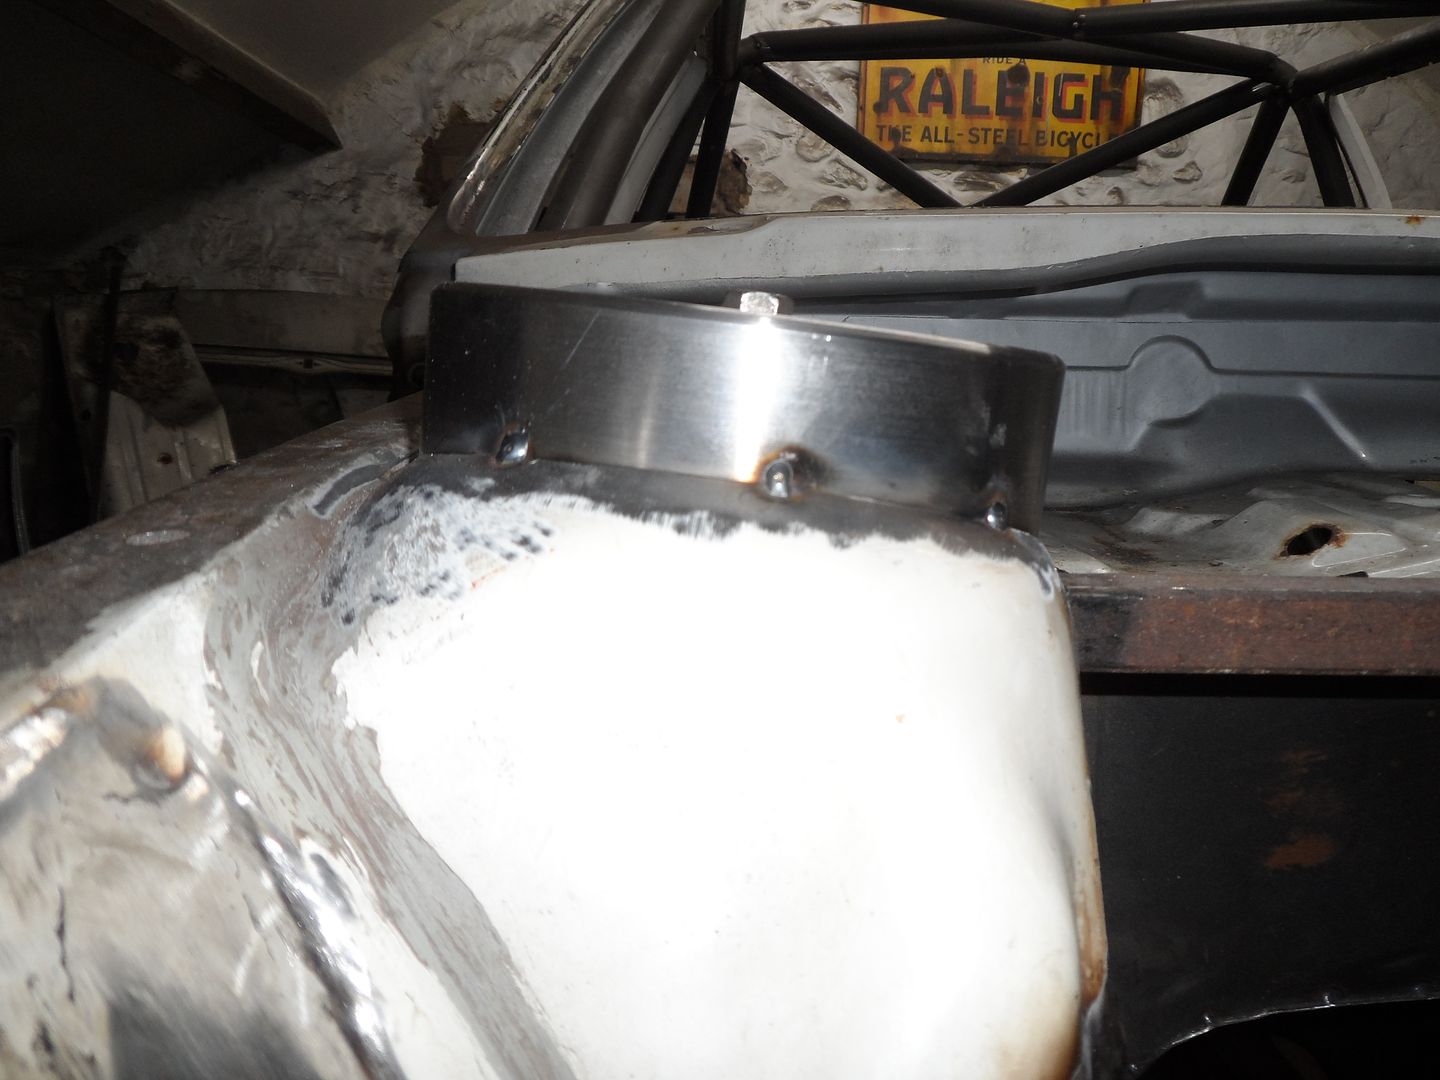
Couldn't go back any further with them.
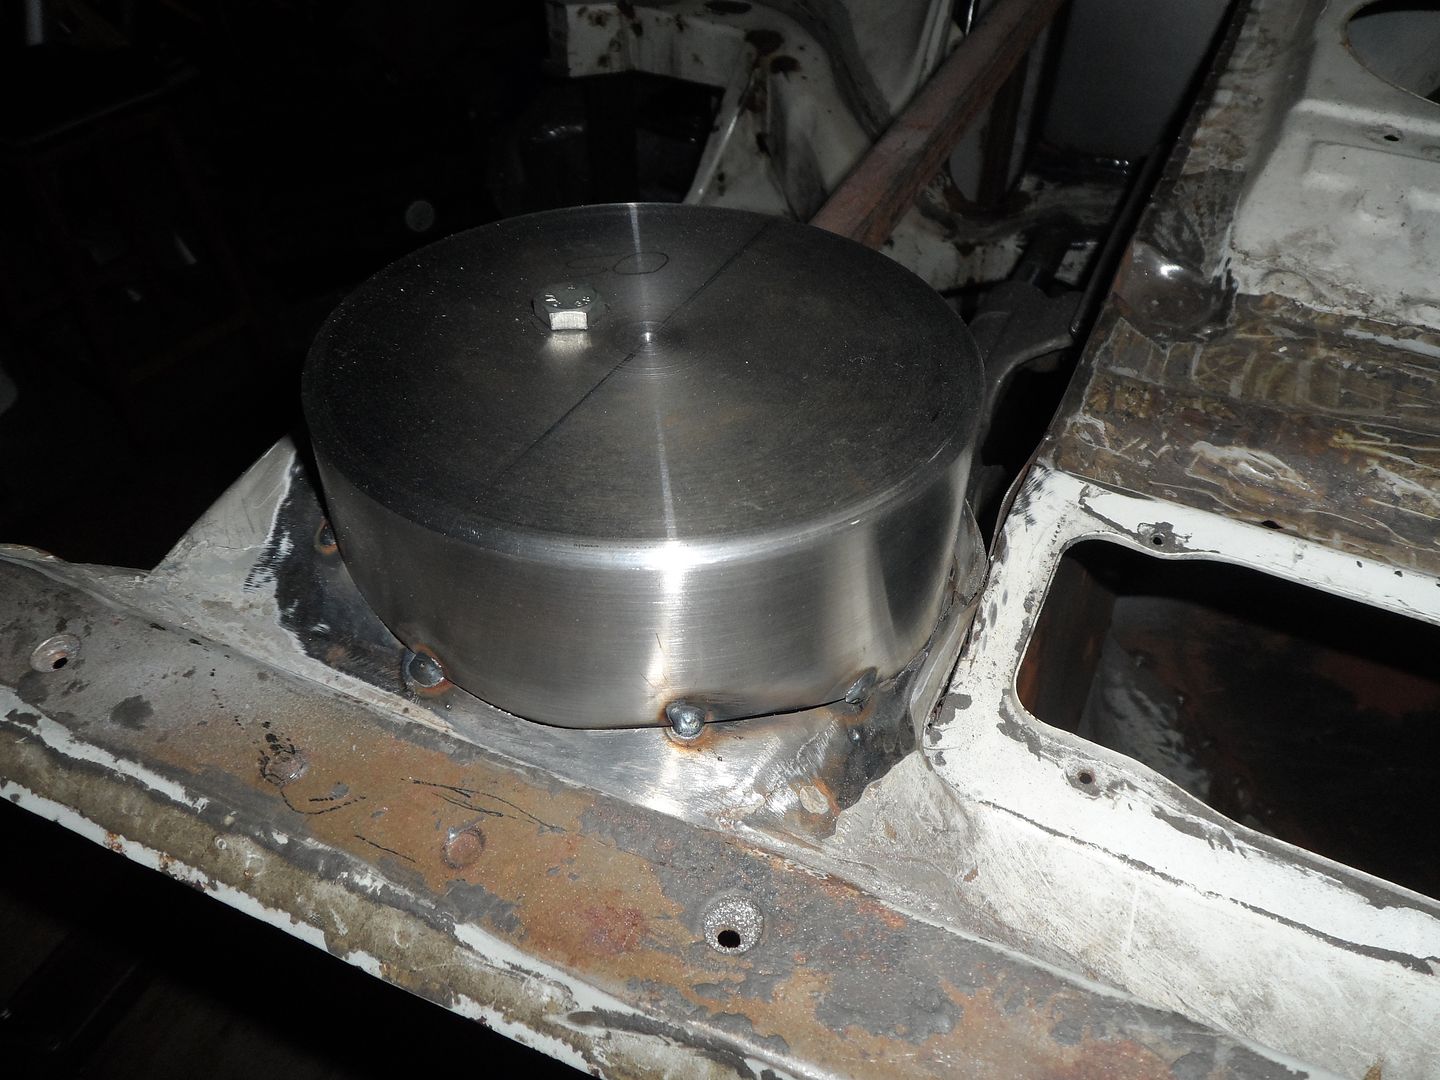
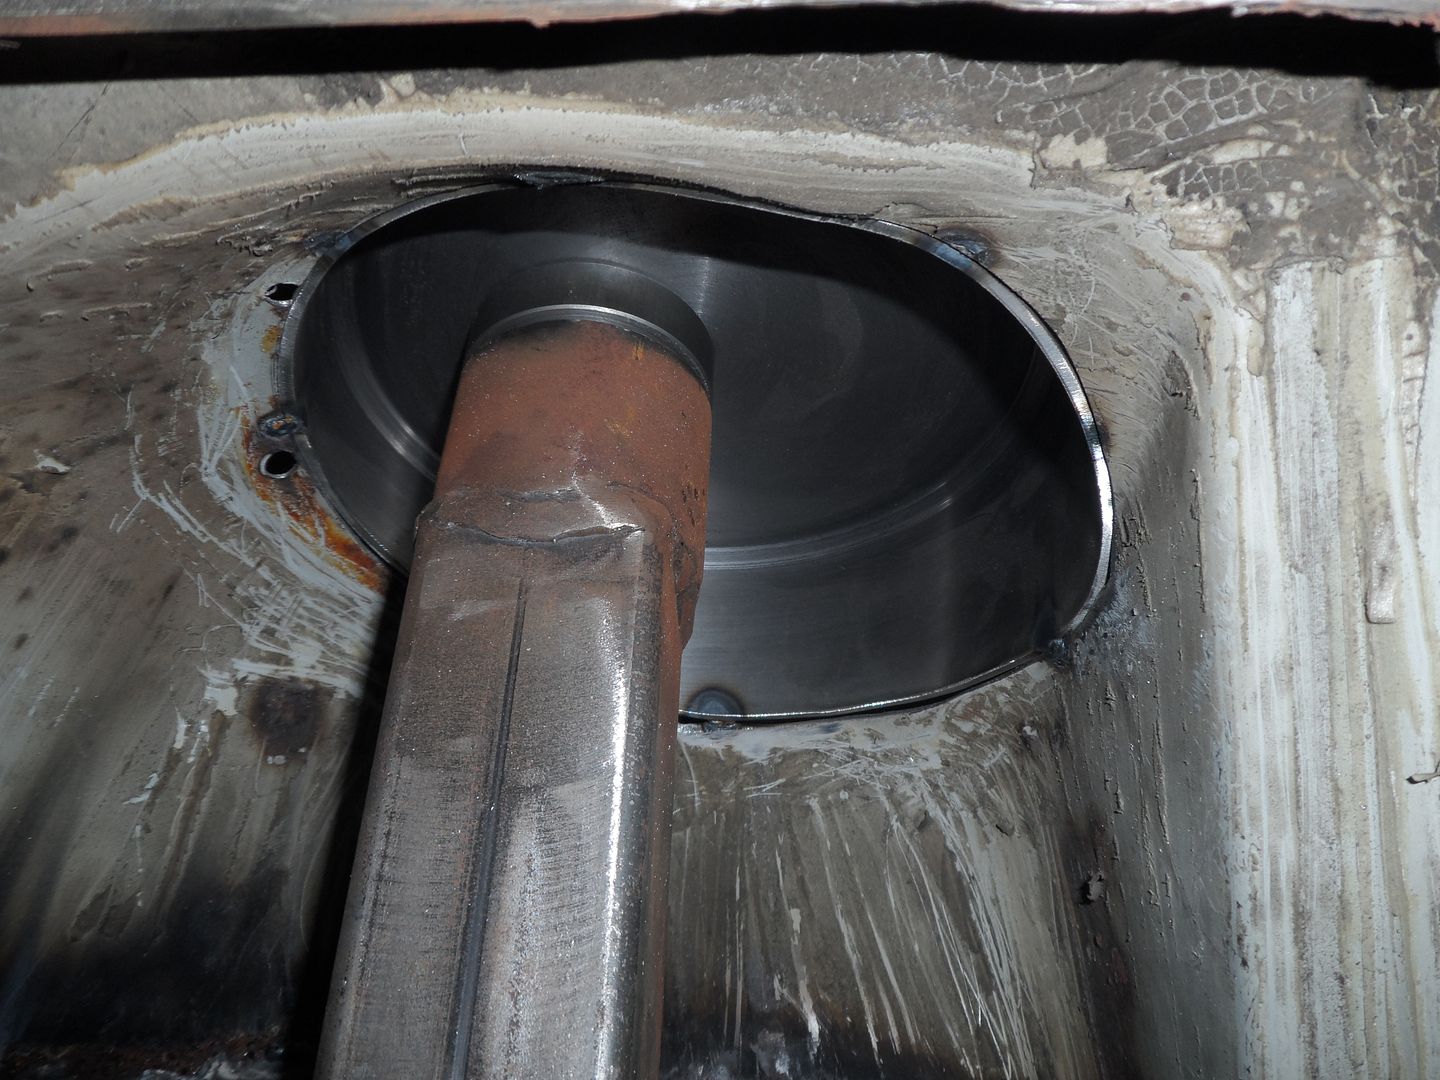
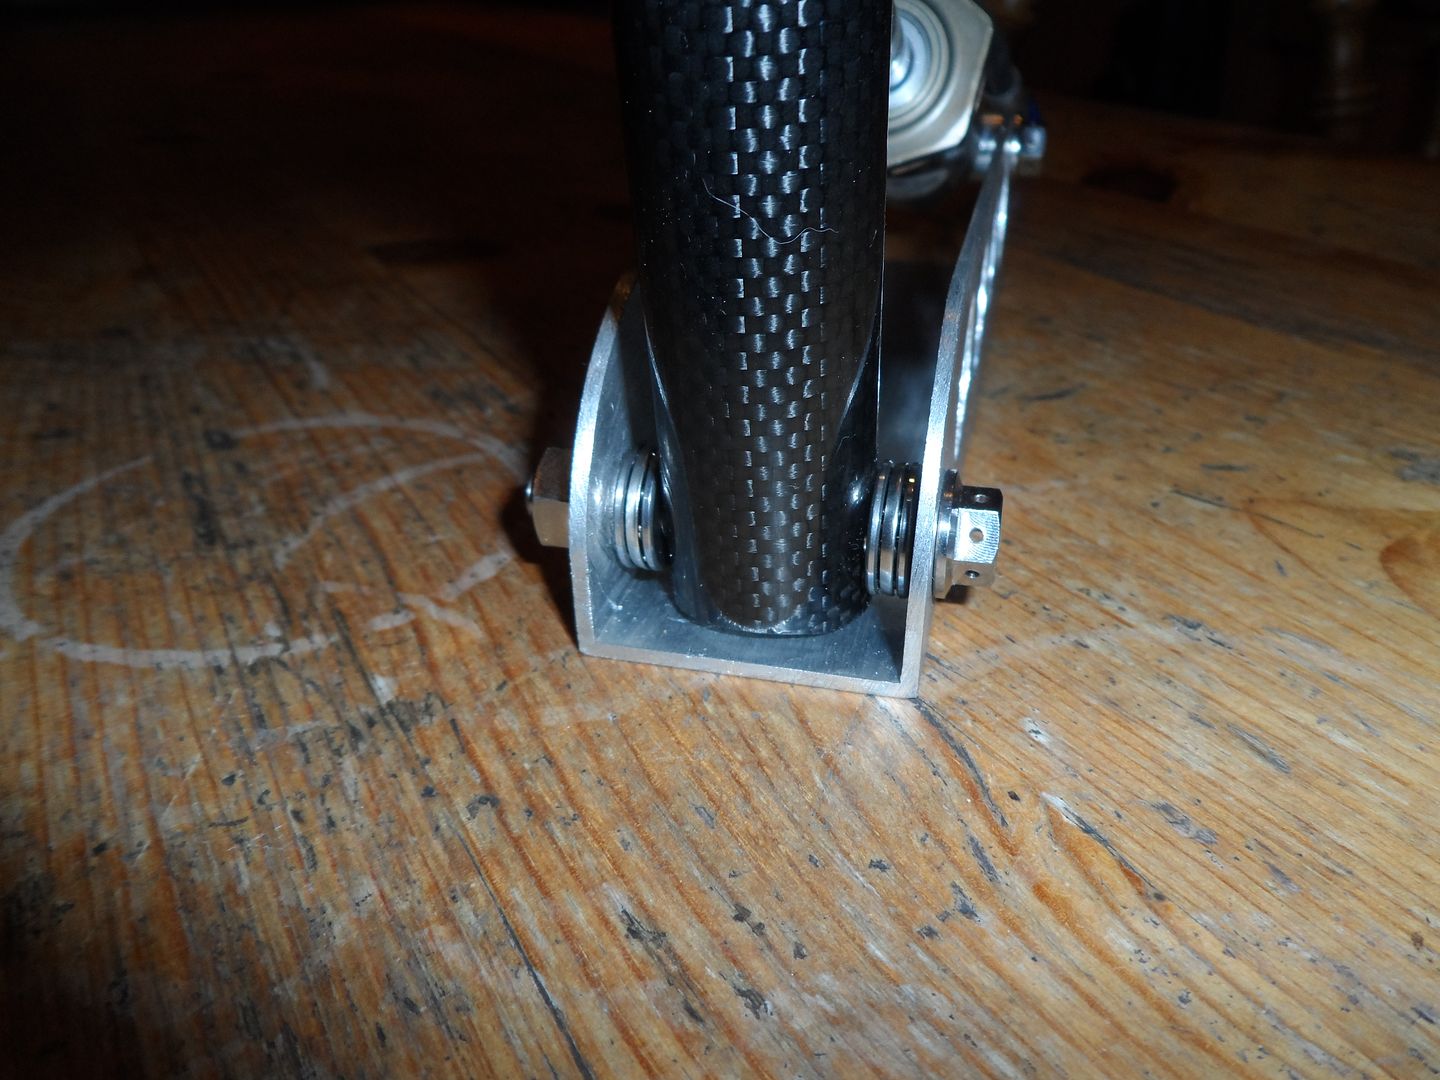
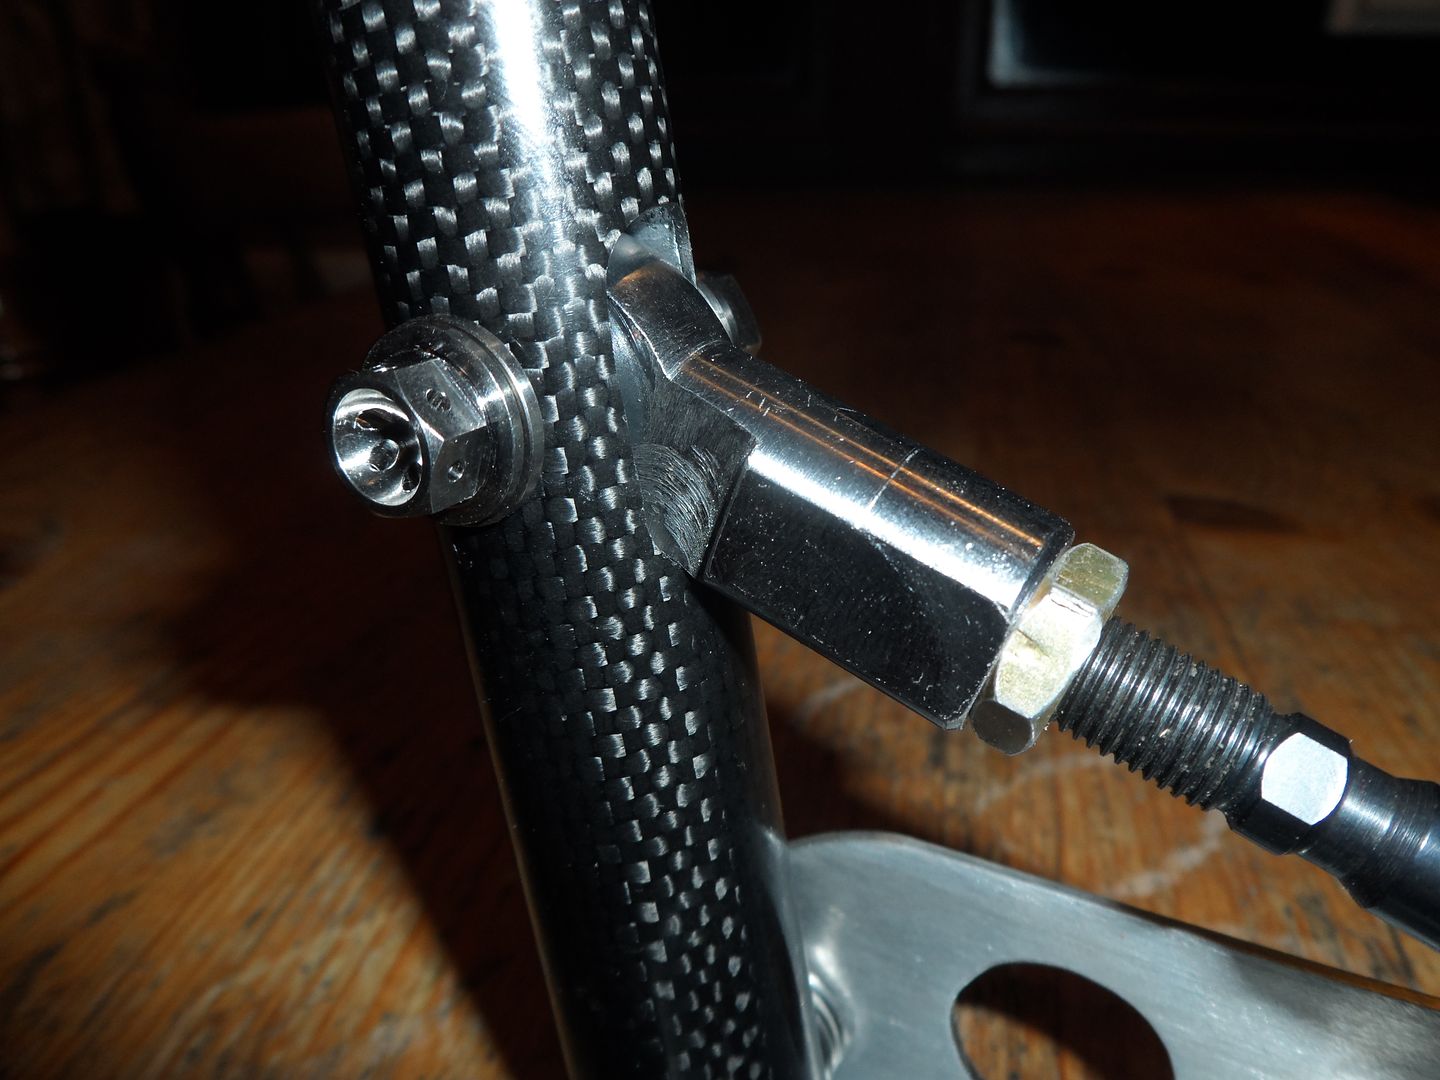
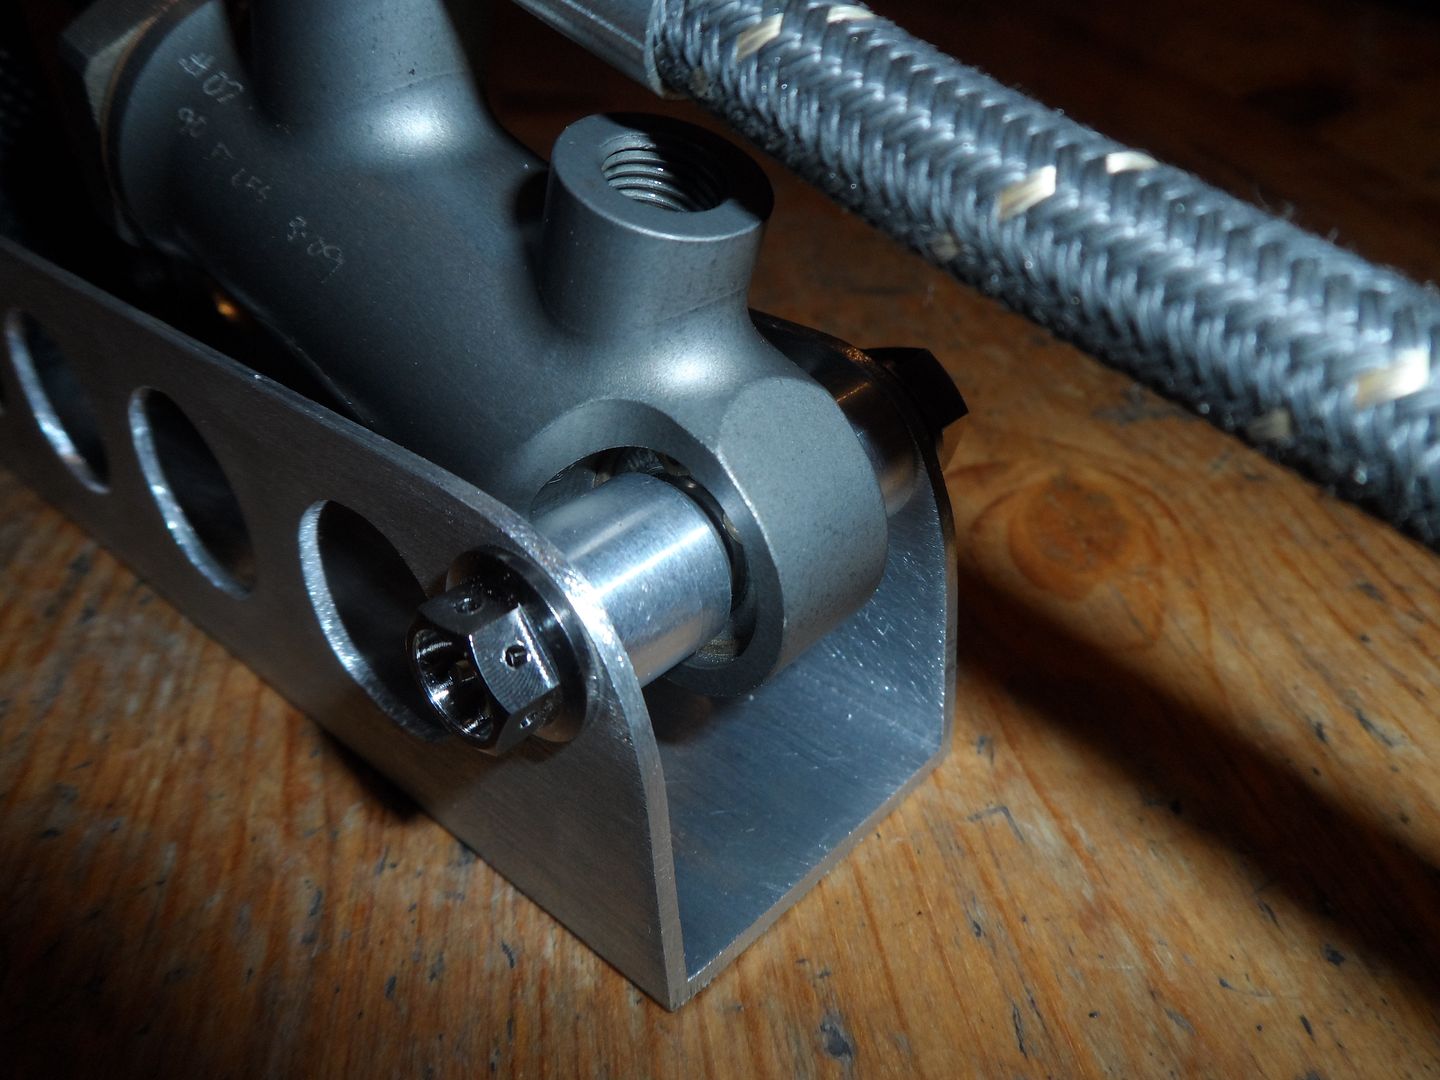
I had mentioned to a good mate of mine I was buying an AP racing handbrake as I was starting to mount up all the driver controls. He convinced me that I should make one, said it would be much nicer and a lot cheaper! Well its probably cost a lot more with my labour but it has turned out rather well if I do say so!
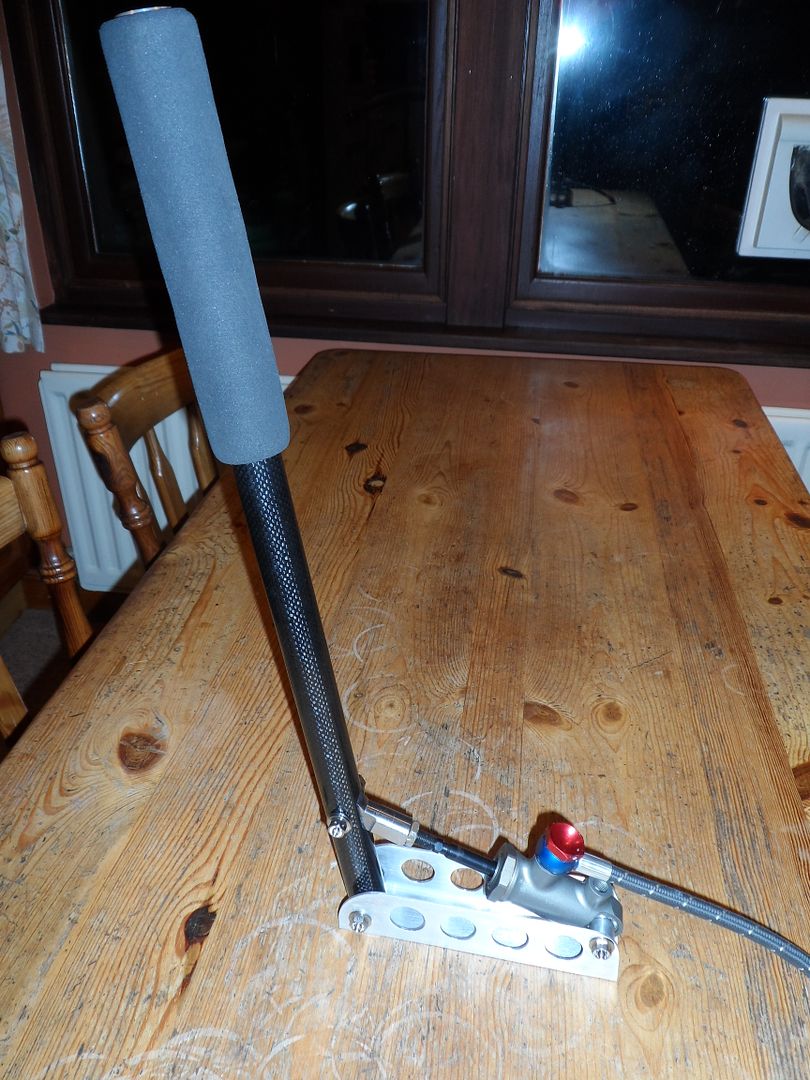
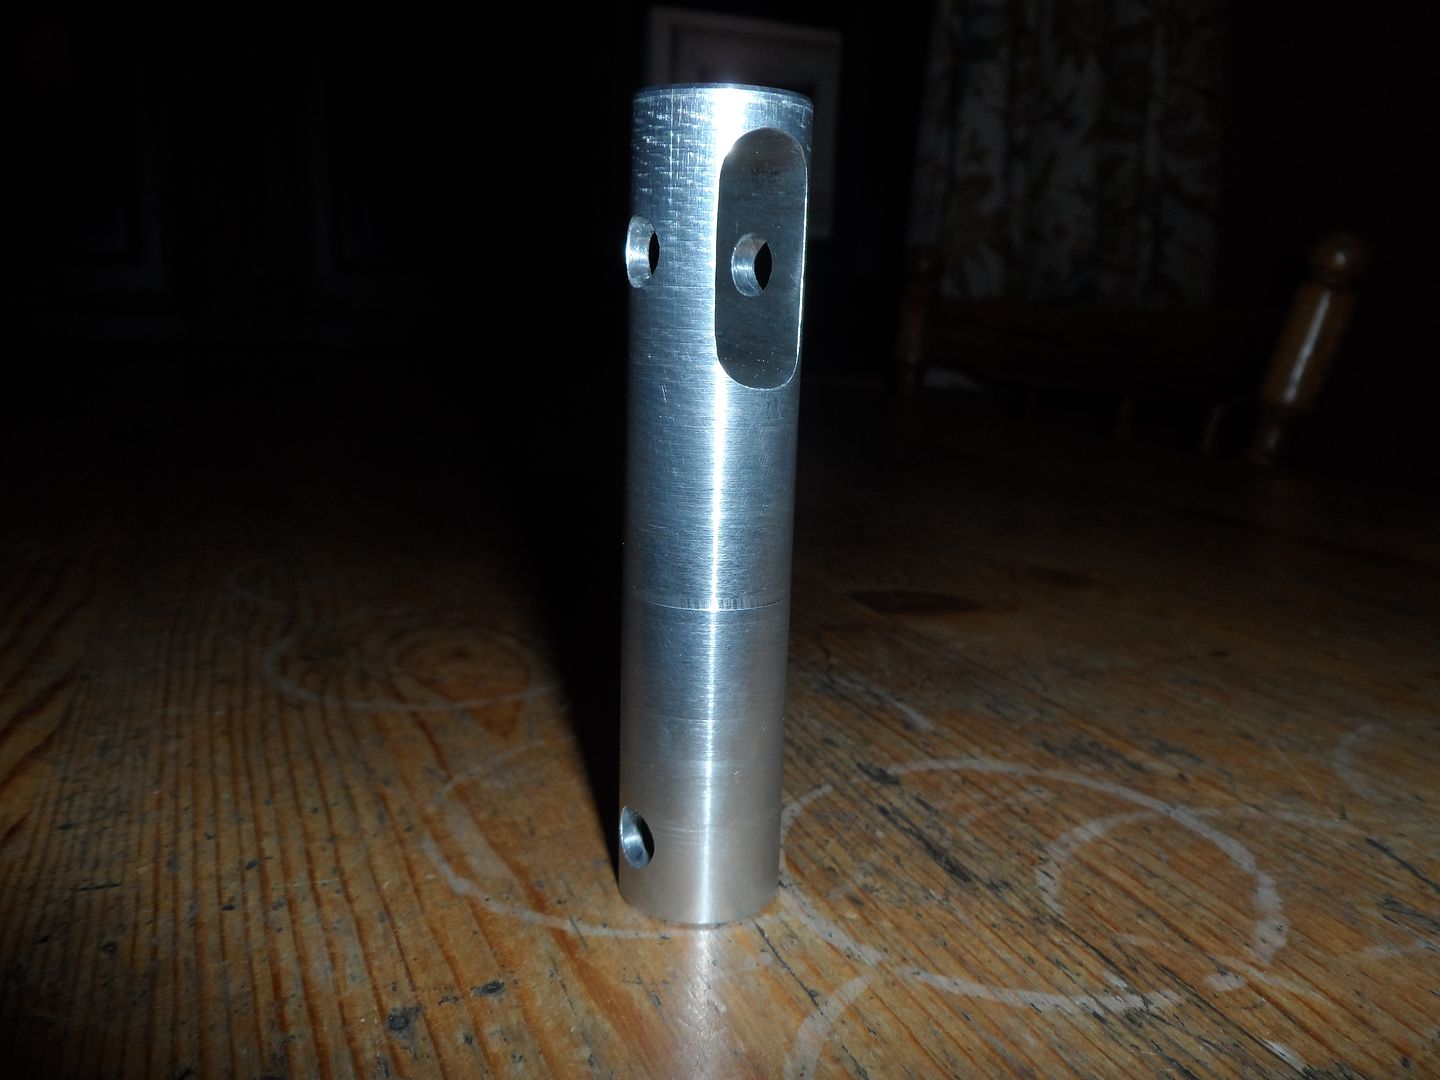
Uses a 25mm carbon shaft with an alloy insert in the base to help with the loading. Its bored up the centre so its super light.
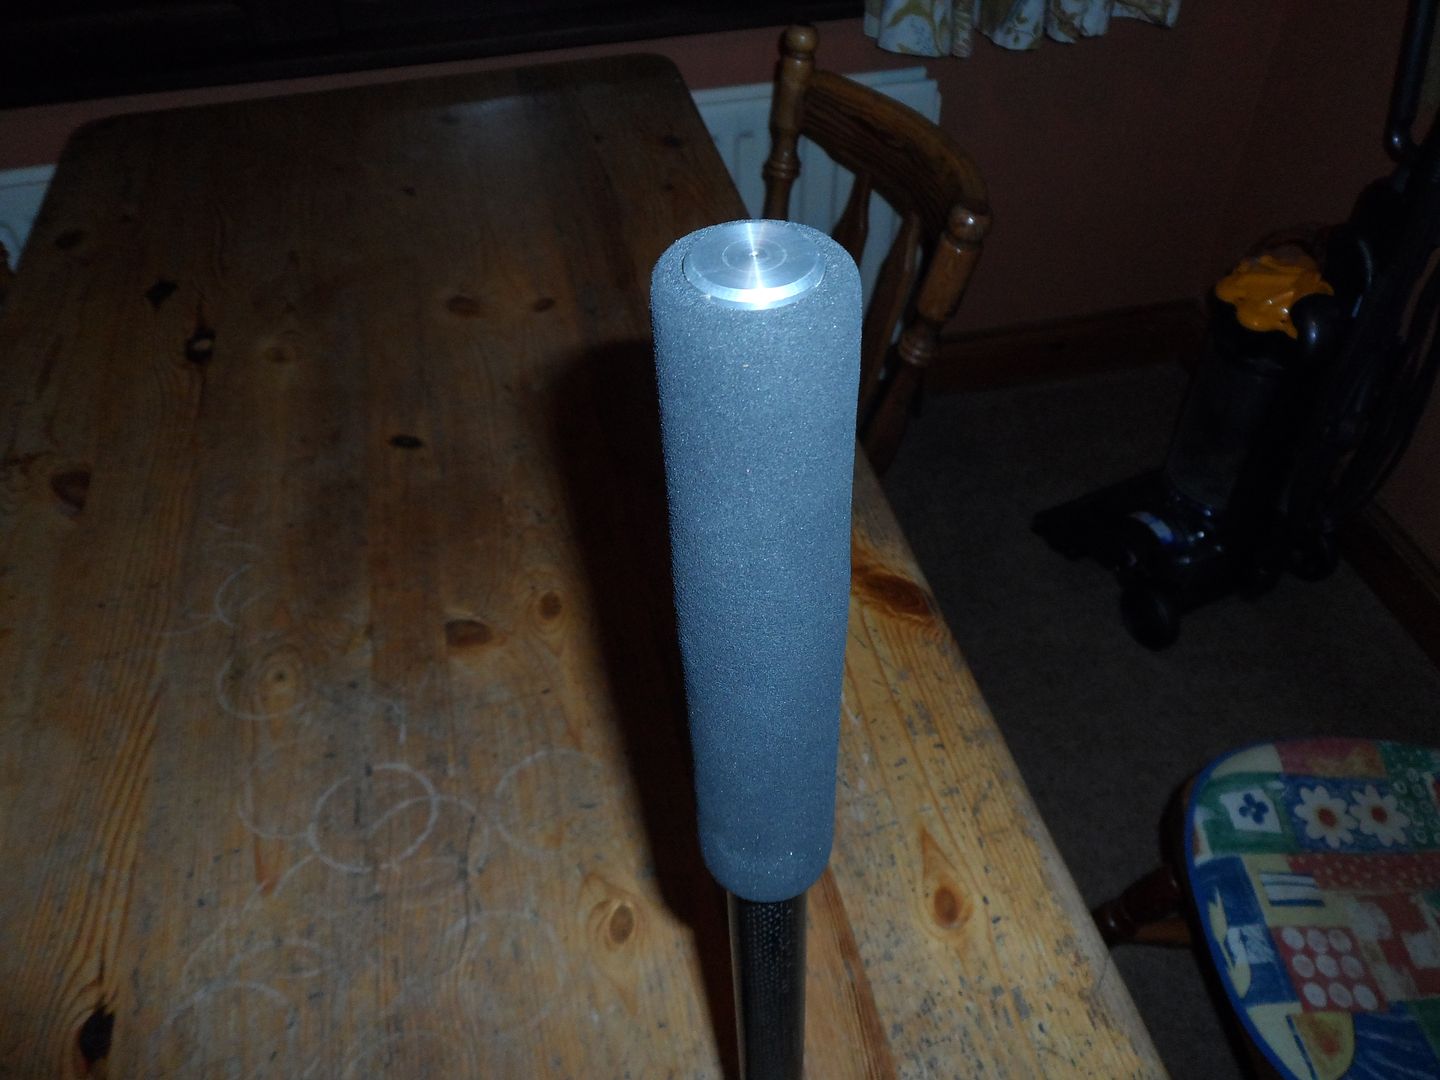
Shaft uses a bike grip and an alloy plug to finish it off.
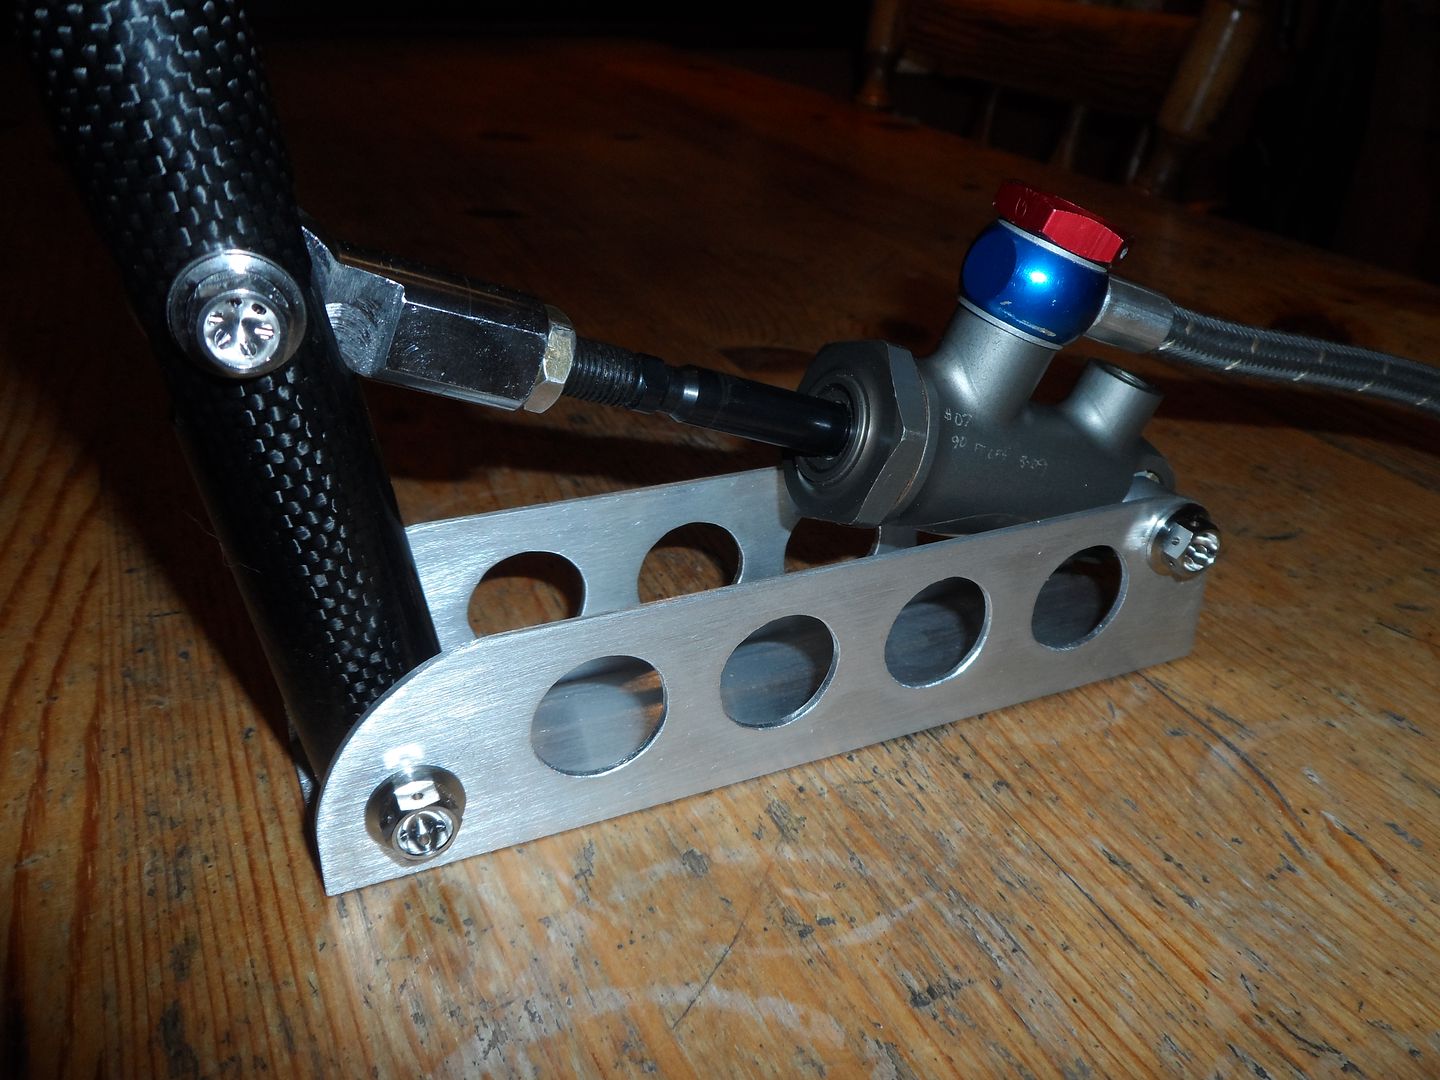
All bolted together with titanium bolts, nuts and washers. Shaft pivots on roller thrust bearings.
Now the top mounts are in I am going to get them tied into the cage and then from there drop down and pick up the front subframe points. Hopefully get a bit done over the festive period!Leave a comment:


Leave a comment: