
 Tweet
Tweet
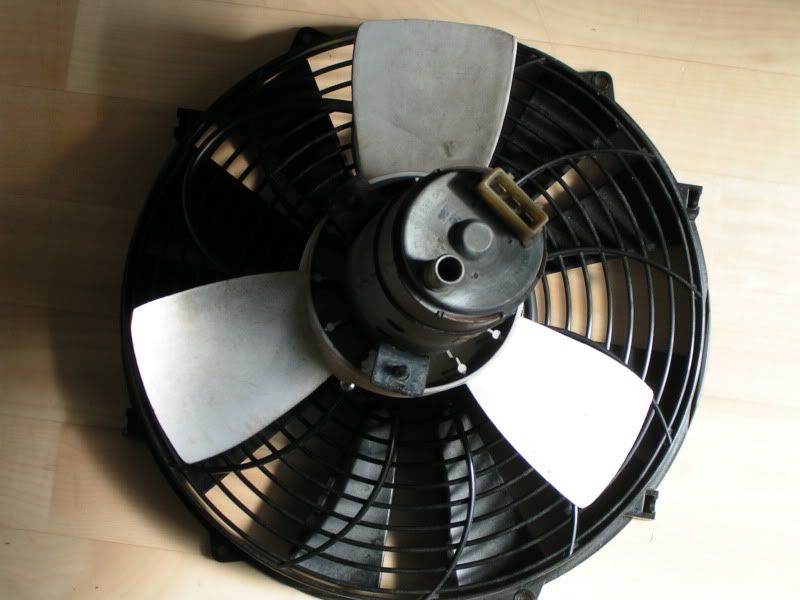
thought i would document the steps to change the 3b Bosch OEM fan motor and blade to an aftermarket 13inch Pacet Pro Fan unit.
Usual caveats about at your own risk etc
I wanted to change the unit because mine was goosed but also to try and increase some of the underbonnet space without relocating the battery tray and hopefully have an equal or better efficiency than the original unit.
After looking around, it seemed that the profans shift the most air compared to equivalent Spal or Kenlowe units.
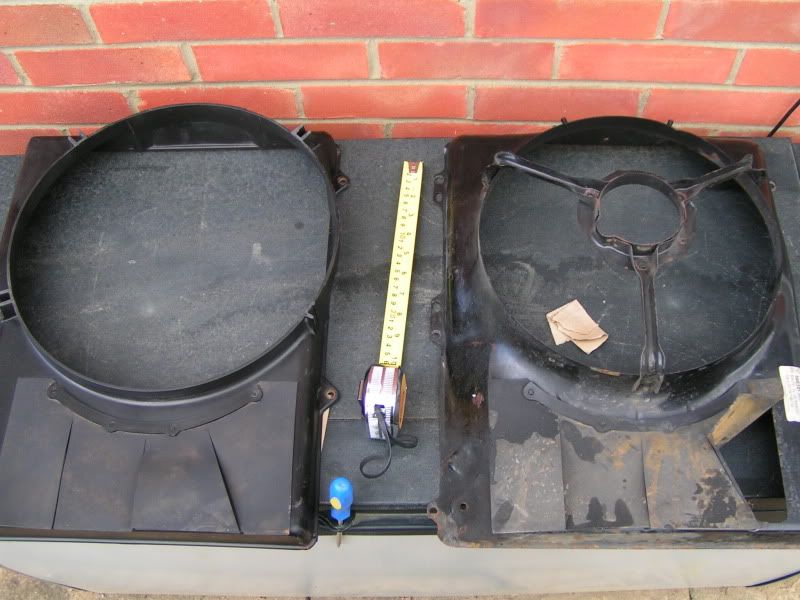
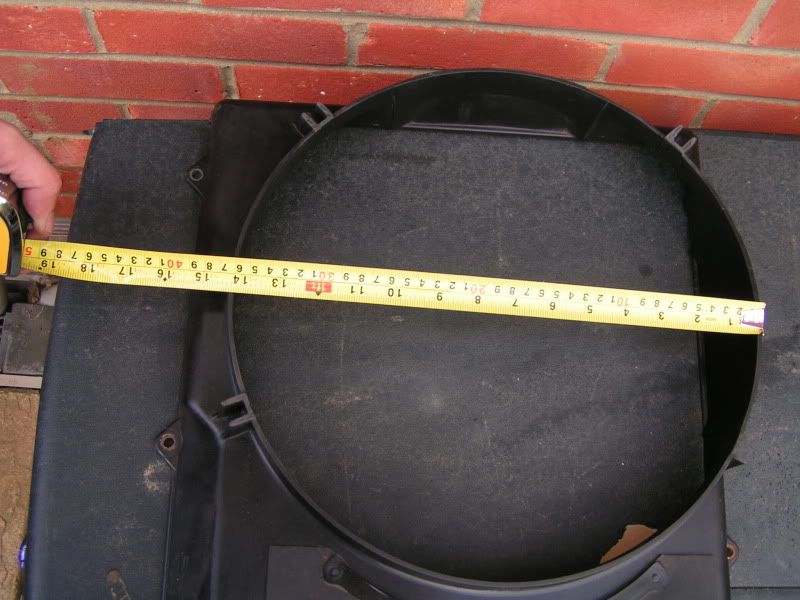
In order to create the extra space, i decided to ditch the metal 3b fan shroud/cowl in favour of the ABY version which is plastic. Initially I was also concerned that the 13inch fan unit wouldnt fit under the 3b cowl too. Whilst this in the end didnt prove to be an issue, the aperture for the air to flow out from is significantly smaller so i continued with my plan to get shot of it.
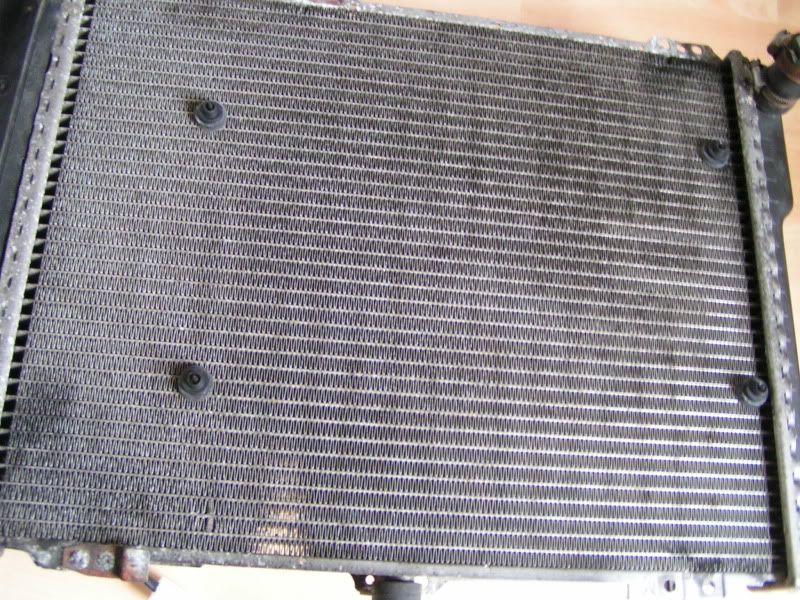
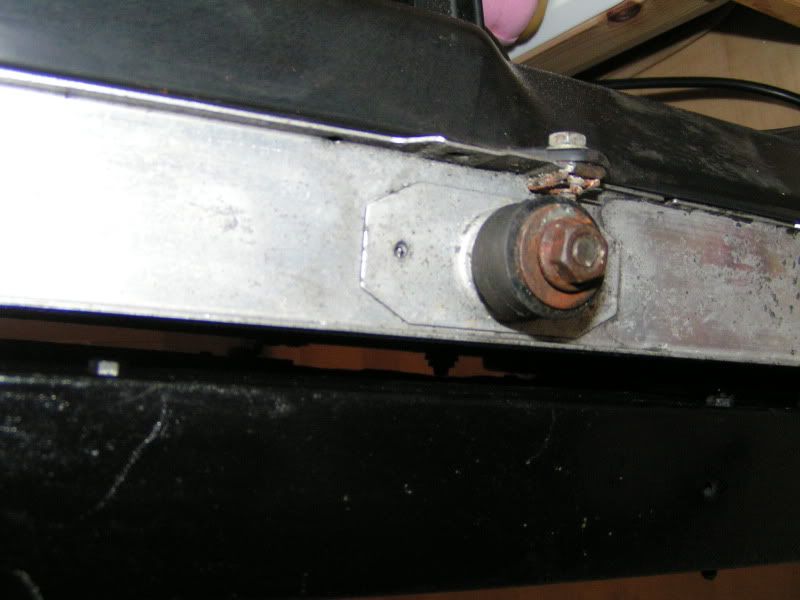
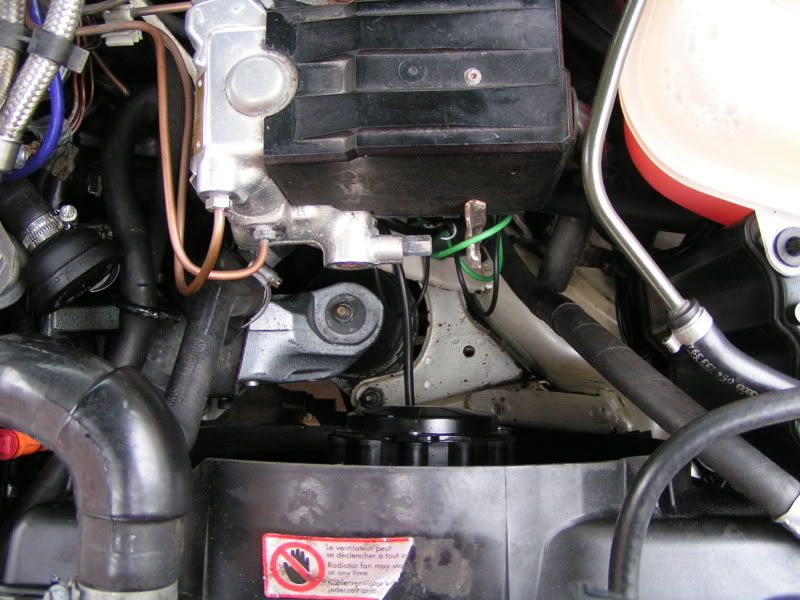
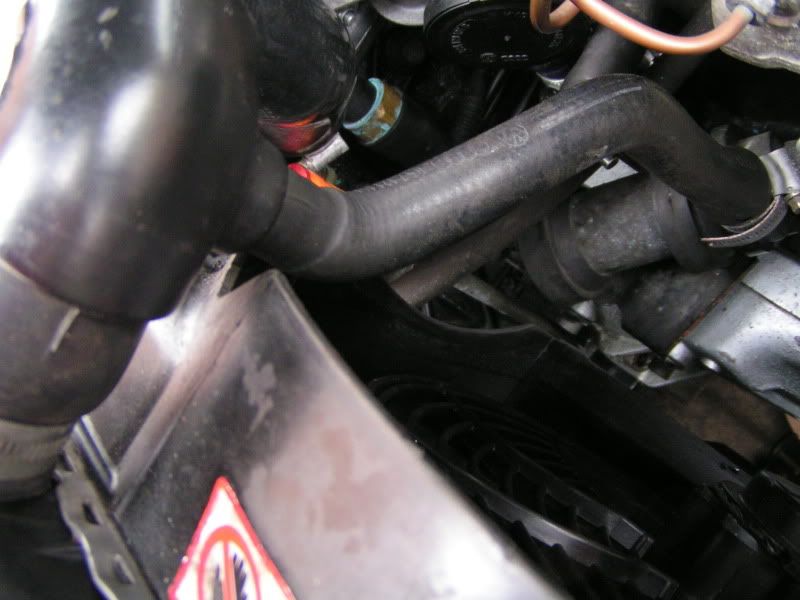
Basically you just need to remove the radiator from the car, its held on with 3 bolts, 1 at the top, one on the right side (when facing the engine) and one underneath on the metal support. NB: If you have aircon, you need to crack off the bolts of these too and responsibly recover any refrigerant in the system. As mine was empty this wasn't an issue...
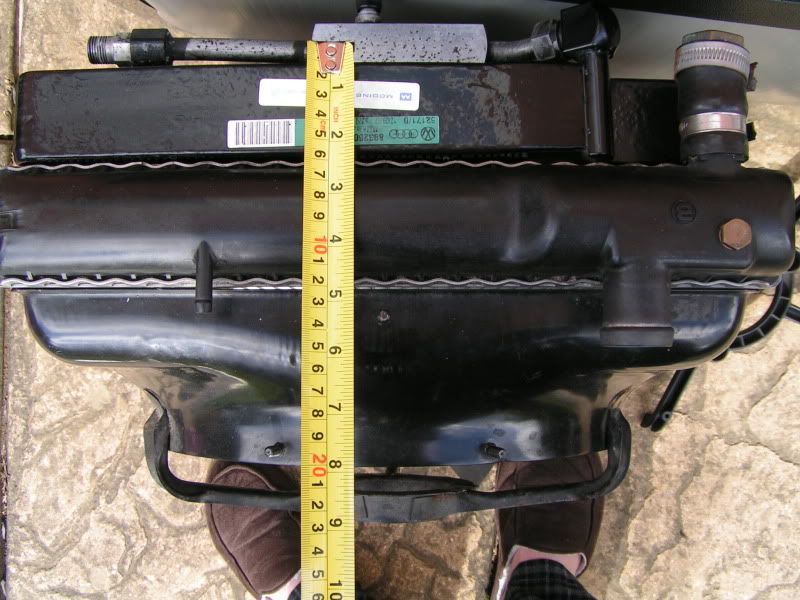
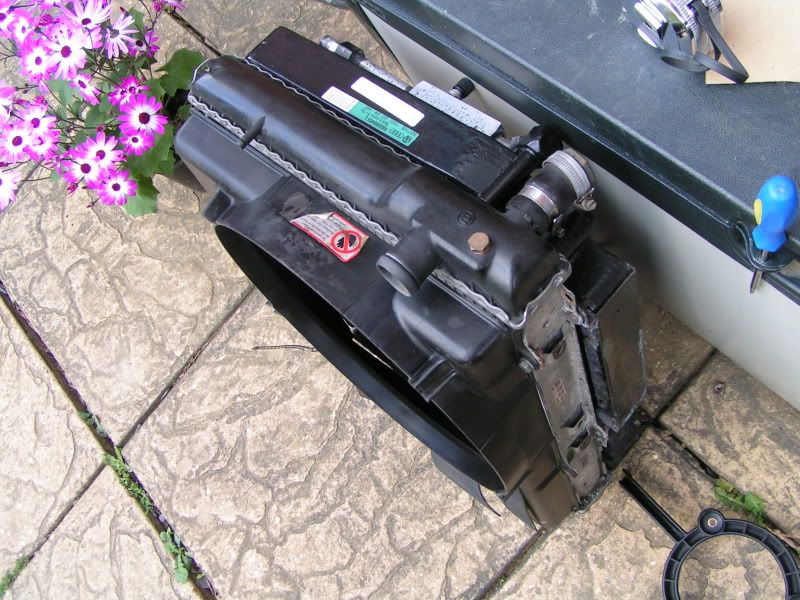
Get the rad/condenser unit onto the bench and using a 10mm socket and spanner, set about splitting the condenser from the radiator unit. The condenser is held on with 2x10mm bolt and 2 brackets which slide onto mounts on the radiator - once the bolts are undone, just lift it off though it might require a tap if the brackets have corroded
Remove the cowl by removing the 5 x 10mm bolts holding it to the rear of the radiator with the fan unit attached.
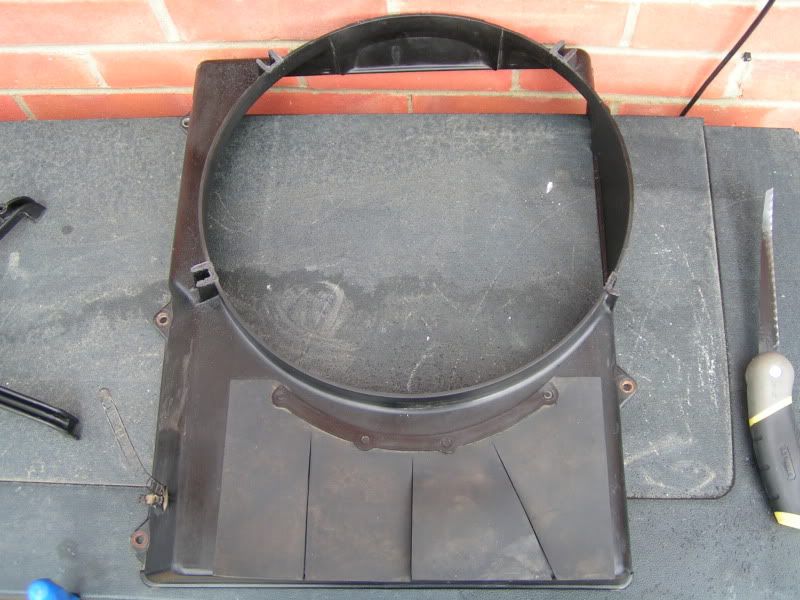
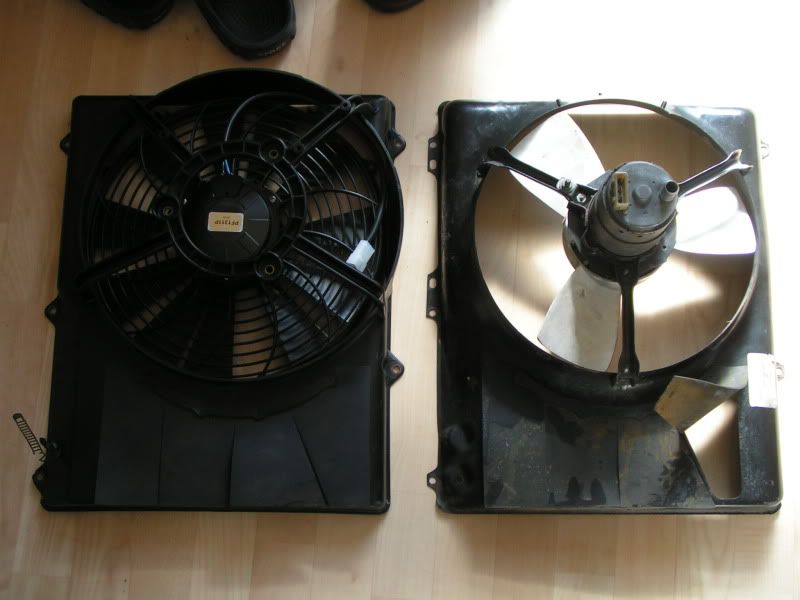
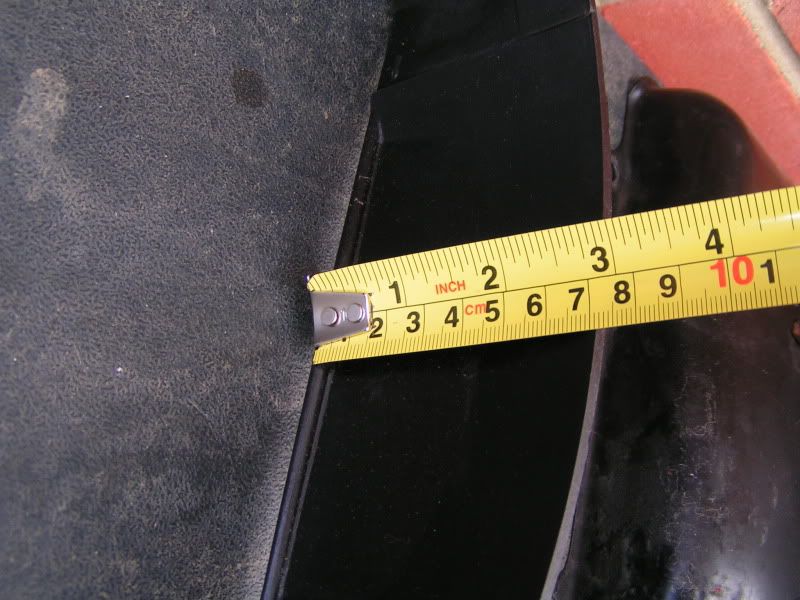
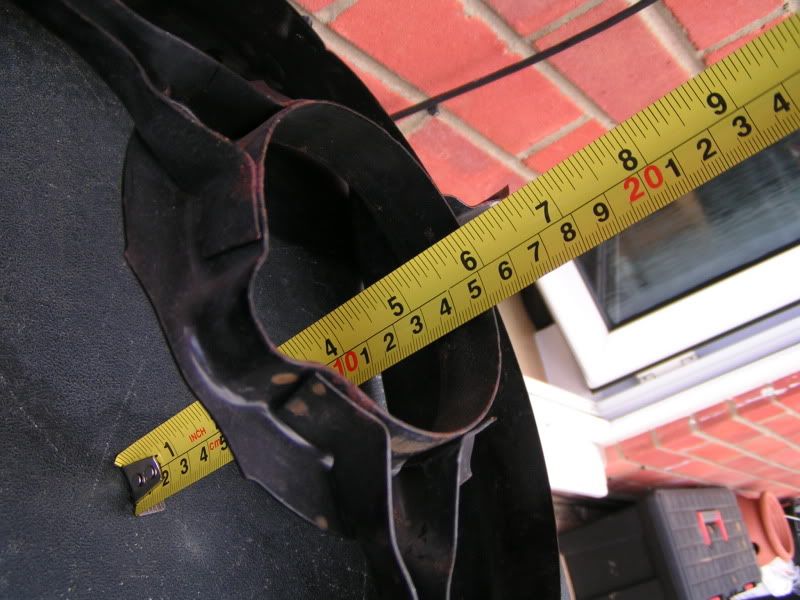
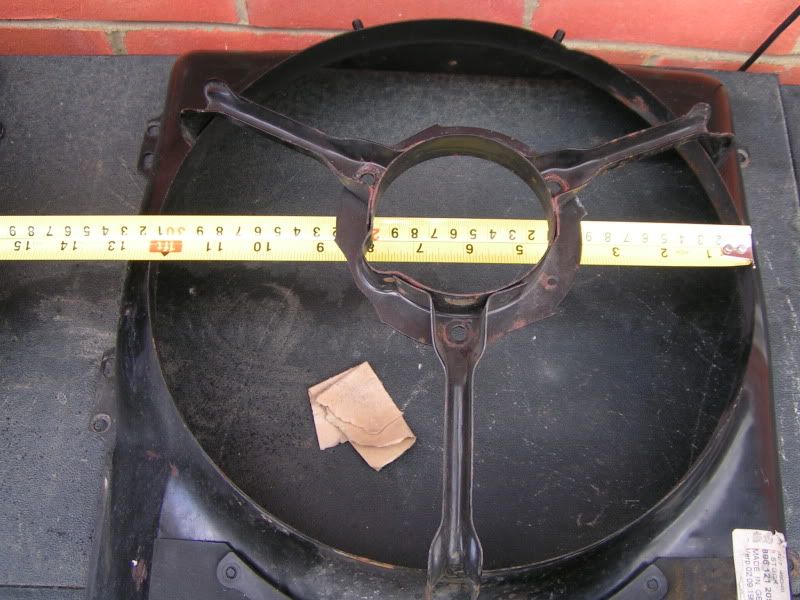
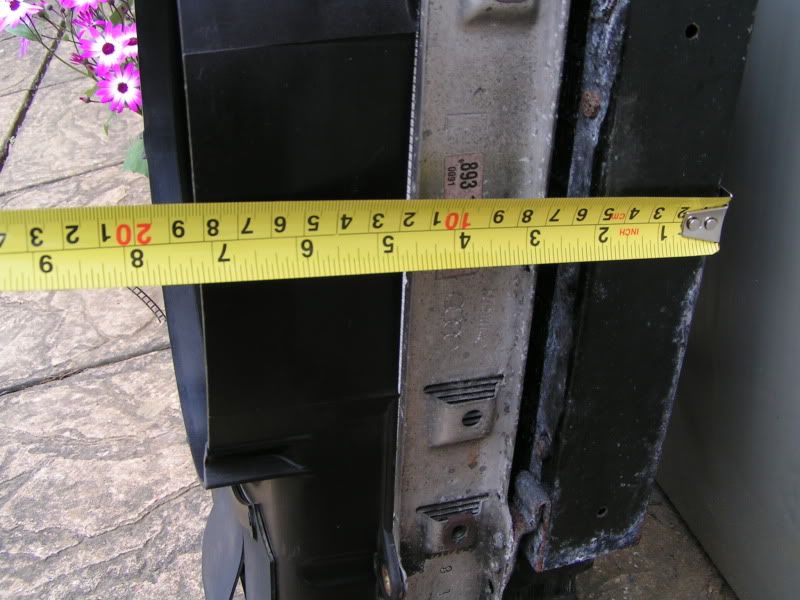
At this point you have two options - continue with the 3b cowl and decide whether to cut off the support frame for the fan unit which will need a hack saw to cut through the 3 arms or as I did, source an ABY cowl and hack saw off the 4 arms and tidy up with some sandpaper to smooth off. As you can see this saves a massive amount of depth compared to the 3b cowl evn with the support removed.
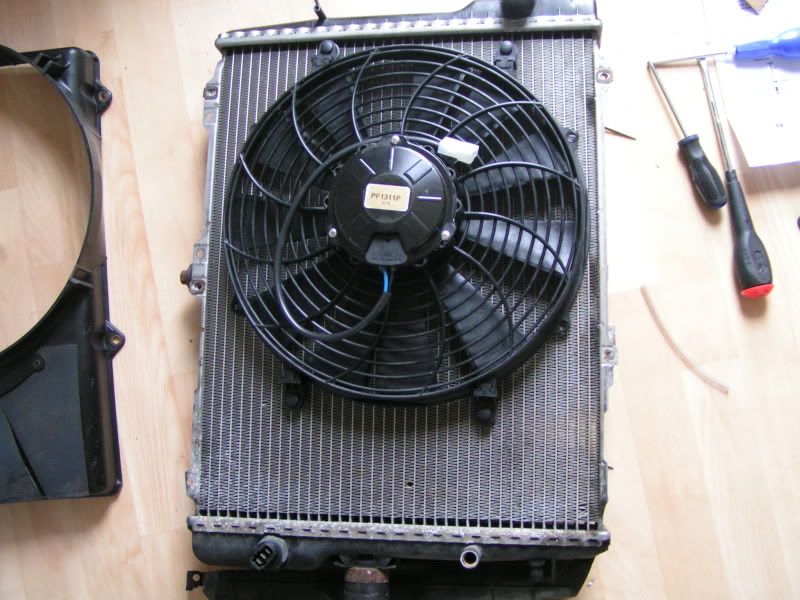
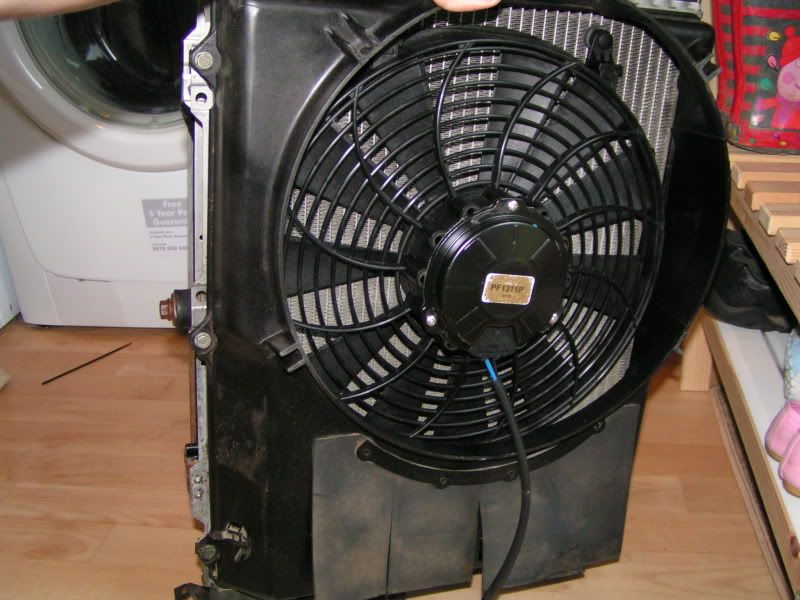
Take the pacet unit and position on the rear of the radiator and mark out where to push through the matrix.
Use a small, then larger pozidrive screwdriver to ease through the fins being careful not damage anything. Cut the supplied clear plastic pipe to the correct length to slot into the matrix which acts as protection for the special plastic pins which hold the fan unit to the radiator.
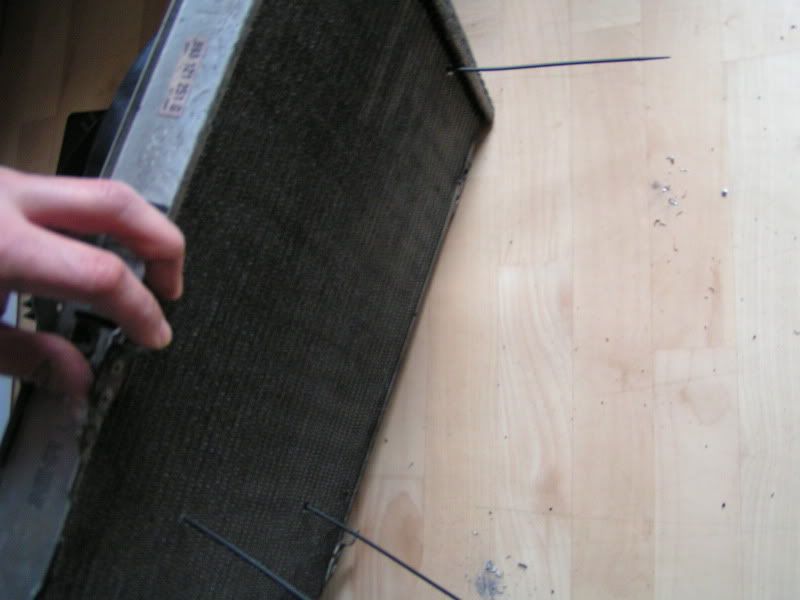
Place a neoprene washer between the fan unit mounting foot and the rear face of the radiator before pushing the plastic pin through the foot and into the tube in the matrix. Slot another neoprene washer on the front side and then slot the gripper onto the pin and pull until tight. Repeat for the 3 remaining mounts. These can be tensioned by placing a 10m spanner on the front side of the grippers and then using some pliers, pulling the pin through until it is taught. Cut off the excess and the fan is now firmly attached to the radiator
Note, there is*just* enough room between these grippers on the front face of the radiator and the condenser unit when it is remounted (reverse of removal - slot onto the brackets then secure with the to 10mm 's)
Slot the cowl over the rear and re-secure and job done
It wasnt possible to square up exactly the fan with the supplied mounting feet however there are other mount points on the fan which you could use. I felt the push on ones looked more robust so hence the slight offset alignment which i doubt will make any difference to efficiency...
Usual caveats about at your own risk etc
I wanted to change the unit because mine was goosed but also to try and increase some of the underbonnet space without relocating the battery tray and hopefully have an equal or better efficiency than the original unit.
After looking around, it seemed that the profans shift the most air compared to equivalent Spal or Kenlowe units.
In order to create the extra space, i decided to ditch the metal 3b fan shroud/cowl in favour of the ABY version which is plastic. Initially I was also concerned that the 13inch fan unit wouldnt fit under the 3b cowl too. Whilst this in the end didnt prove to be an issue, the aperture for the air to flow out from is significantly smaller so i continued with my plan to get shot of it.
Basically you just need to remove the radiator from the car, its held on with 3 bolts, 1 at the top, one on the right side (when facing the engine) and one underneath on the metal support. NB: If you have aircon, you need to crack off the bolts of these too and responsibly recover any refrigerant in the system. As mine was empty this wasn't an issue...
Get the rad/condenser unit onto the bench and using a 10mm socket and spanner, set about splitting the condenser from the radiator unit. The condenser is held on with 2x10mm bolt and 2 brackets which slide onto mounts on the radiator - once the bolts are undone, just lift it off though it might require a tap if the brackets have corroded
Remove the cowl by removing the 5 x 10mm bolts holding it to the rear of the radiator with the fan unit attached.
At this point you have two options - continue with the 3b cowl and decide whether to cut off the support frame for the fan unit which will need a hack saw to cut through the 3 arms or as I did, source an ABY cowl and hack saw off the 4 arms and tidy up with some sandpaper to smooth off. As you can see this saves a massive amount of depth compared to the 3b cowl evn with the support removed.
Take the pacet unit and position on the rear of the radiator and mark out where to push through the matrix.
Use a small, then larger pozidrive screwdriver to ease through the fins being careful not damage anything. Cut the supplied clear plastic pipe to the correct length to slot into the matrix which acts as protection for the special plastic pins which hold the fan unit to the radiator.
Place a neoprene washer between the fan unit mounting foot and the rear face of the radiator before pushing the plastic pin through the foot and into the tube in the matrix. Slot another neoprene washer on the front side and then slot the gripper onto the pin and pull until tight. Repeat for the 3 remaining mounts. These can be tensioned by placing a 10m spanner on the front side of the grippers and then using some pliers, pulling the pin through until it is taught. Cut off the excess and the fan is now firmly attached to the radiator
Note, there is*just* enough room between these grippers on the front face of the radiator and the condenser unit when it is remounted (reverse of removal - slot onto the brackets then secure with the to 10mm 's)
Slot the cowl over the rear and re-secure and job done
It wasnt possible to square up exactly the fan with the supplied mounting feet however there are other mount points on the fan which you could use. I felt the push on ones looked more robust so hence the slight offset alignment which i doubt will make any difference to efficiency...


Comment