
 Tweet
Tweet
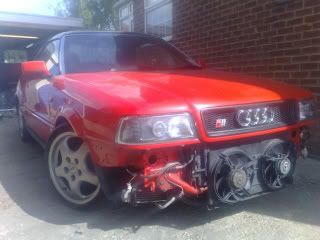
This isn't really S2 / RS2 specific but should be a useful guide for anyone needing to cleanly extract the main loom that is carried in the dashboard and connects to instrument cluster, ignition switch, radio, central switches etc
There are some pre-requisites before you can start the main sequence here...
0 - Disconnect the battery
1 - remove centre console, radio and heating controls
2 - remove the glovebox and the dash trim above drivers pedals
3 - remove the instrument cluster
4 - have the dashboard essentially ready for removal (two screws each side and that pesky awkward one where the central heating duct connects... you need to slide the dash towards the seat an inch or so to give clearance for removal as the loom is very tight to the steering column.
Now we can begin the main flow of things, working from drivers side towards passenger side --->
5 - Disconnect ALL the plugs at the wiring panel above drivers pedals
6 - Unplug at the ignition switch and unclip the indicator relay
7 - Remove the 3 screws that connecting the loom channel to the dash - above the drivers pedals
8 - Unplug the red 5-pin connector on drivers side of centre console, nr footwell
9 - Unplug at the chunky 2-pin connector near the previous step
10 - Unplug at the brake light switch
11 - Unplug at the heater controls and radio
12 - Unplug at the auxiliary guages and illumination booster
13 - Unplug at all the central cabin switches (fog lights etc etc)
14 - Unplug at the glovebox lamp (probably done already when removing glovebox)
15 - Unplug at the cabin fan blower
16 - Unplug at the air temp switch/sensor in the plenum (HVAC vehicles only)


Comment