You can change the style the forum displays by selecting your preferred style at the bottom left of the site.
We have made an enhancement so that old threads should now link from search results to the correct thread. This is not yet in place for single post links
Ok, think I will get the 567, as the Dirko I have is listed as not suitable for thread sealing.
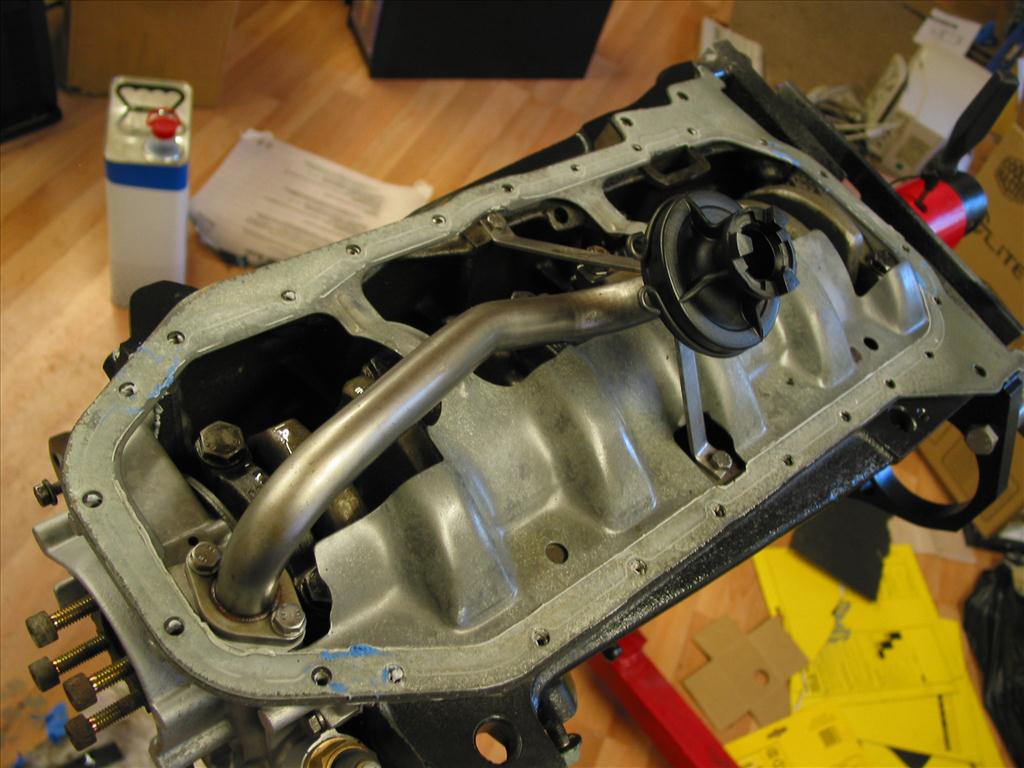
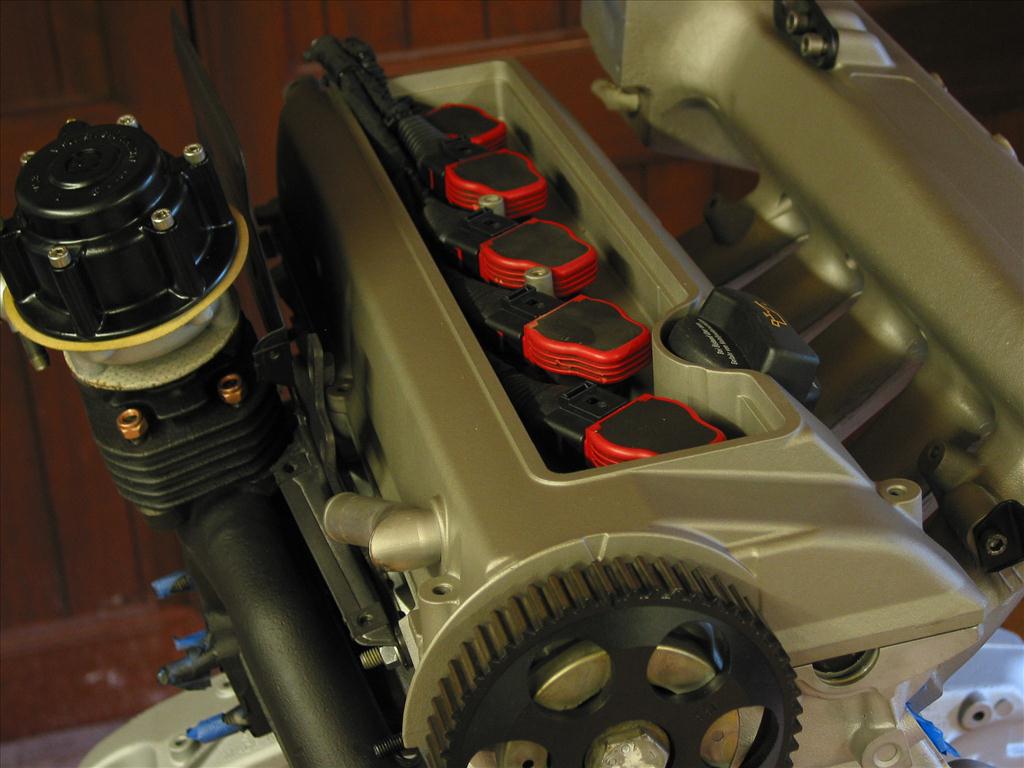
Got a little bit done last night.
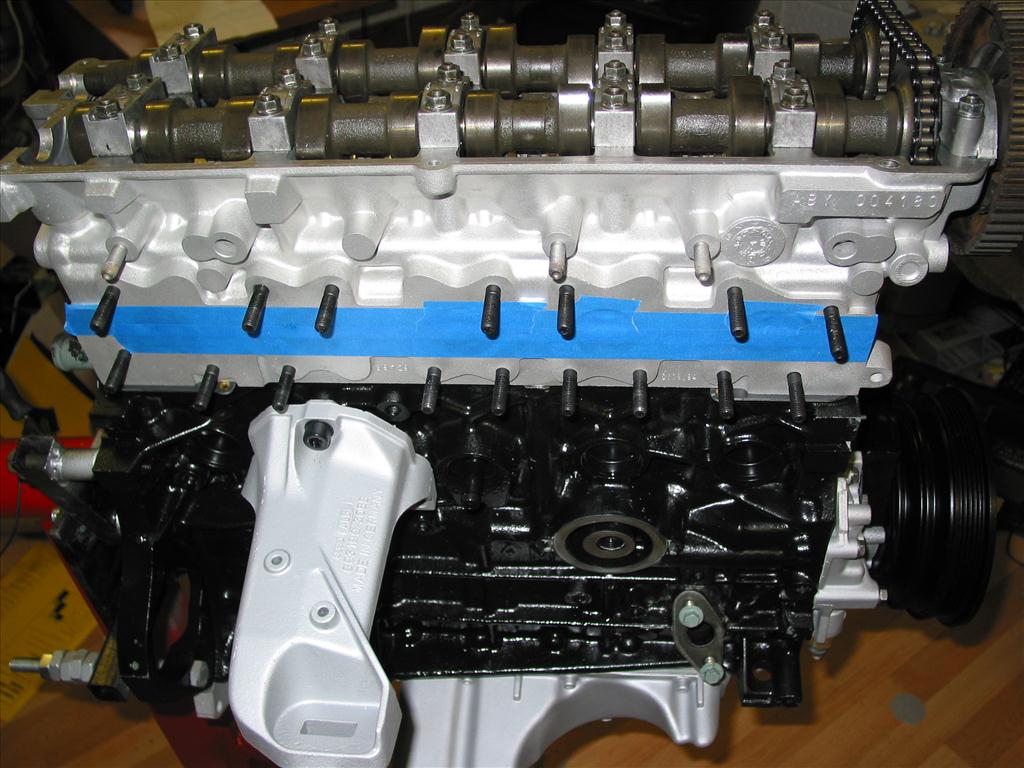
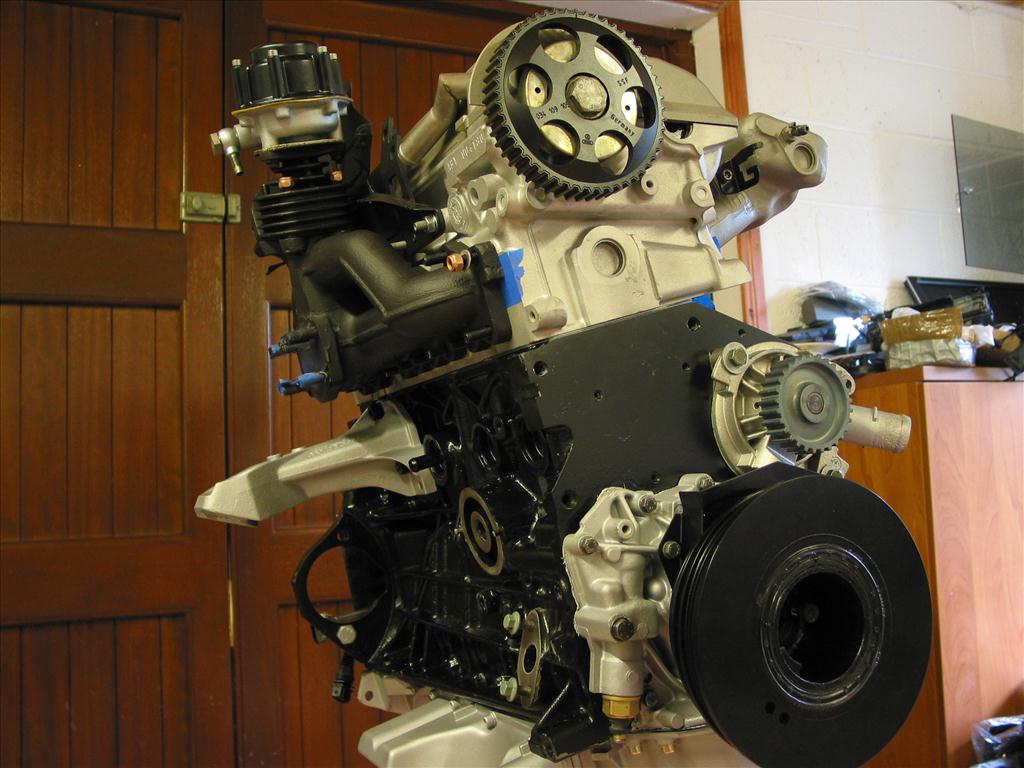
Got my sump, oil pickup and oil pump installed.
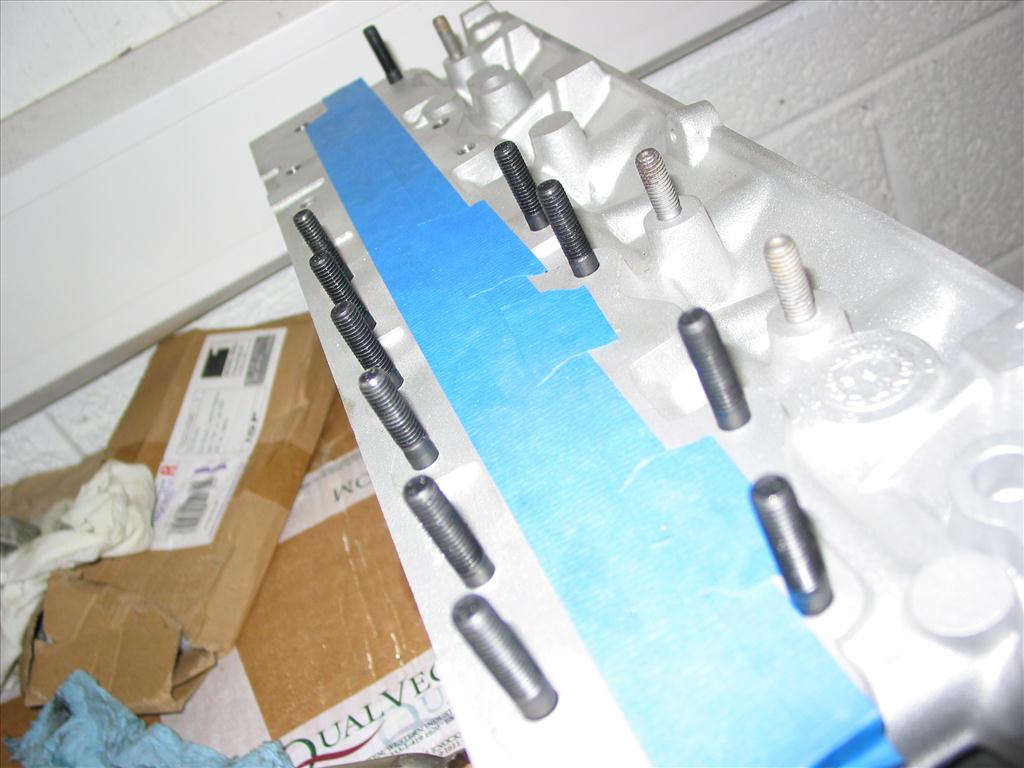
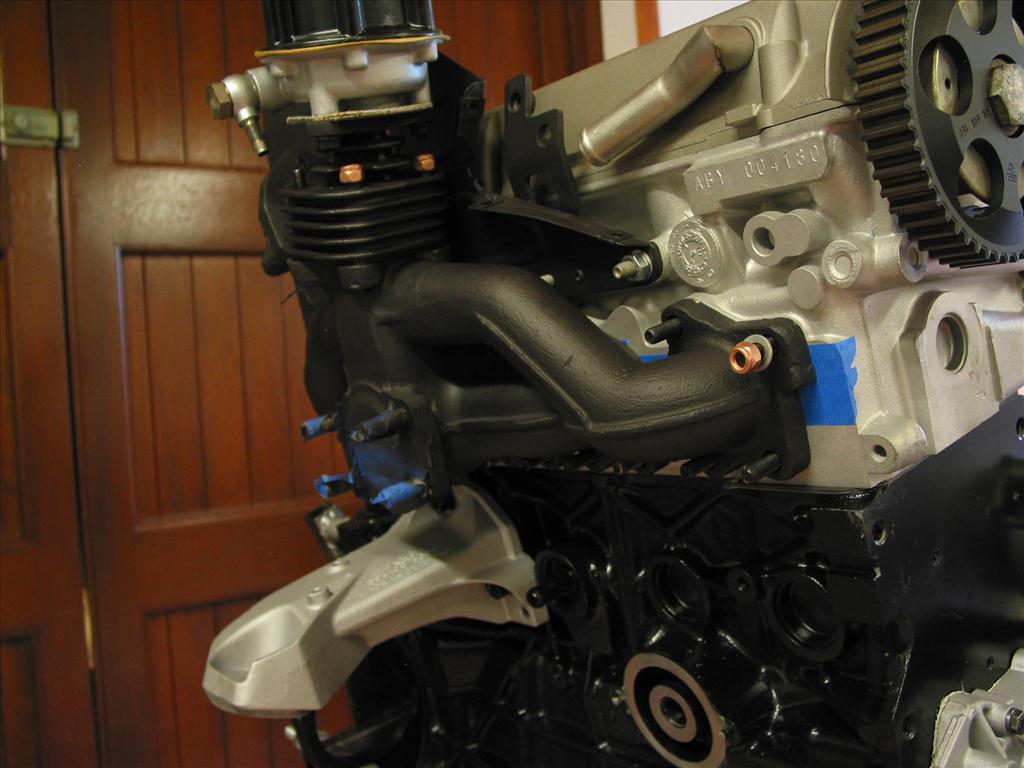
Put new exhaust studs into the head, I was very nervous doing this. As the new studs had didn't have the same tapered start to the stud, they were quite difficult to get them in without crossthreading. Thankfully all went well.
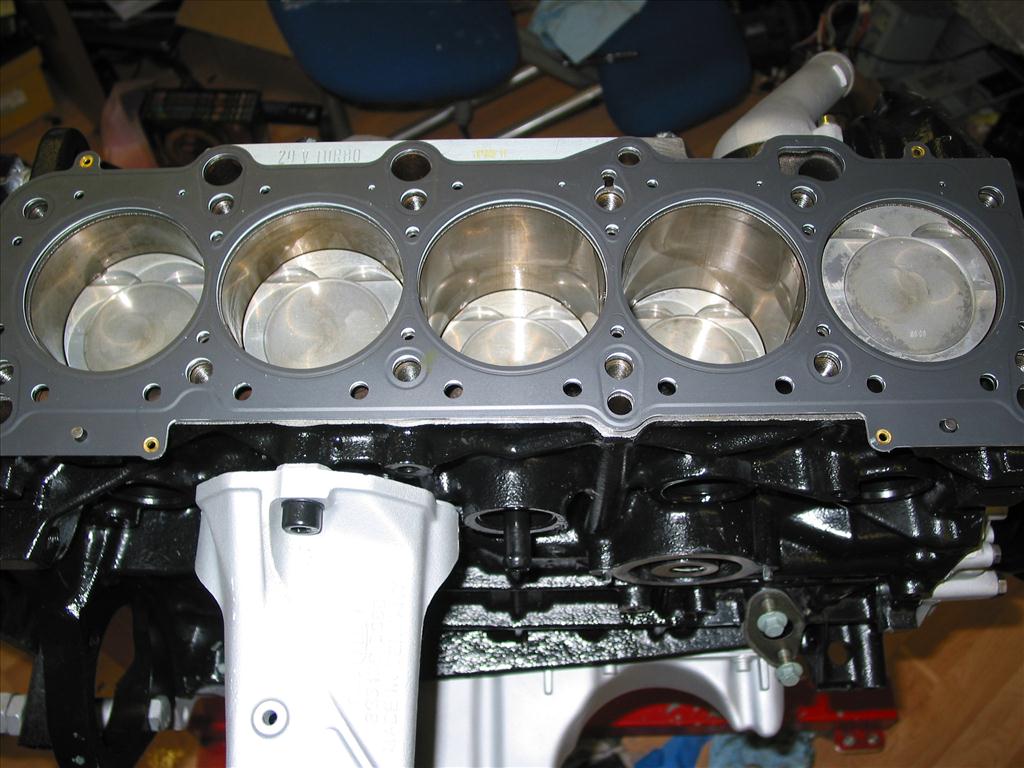
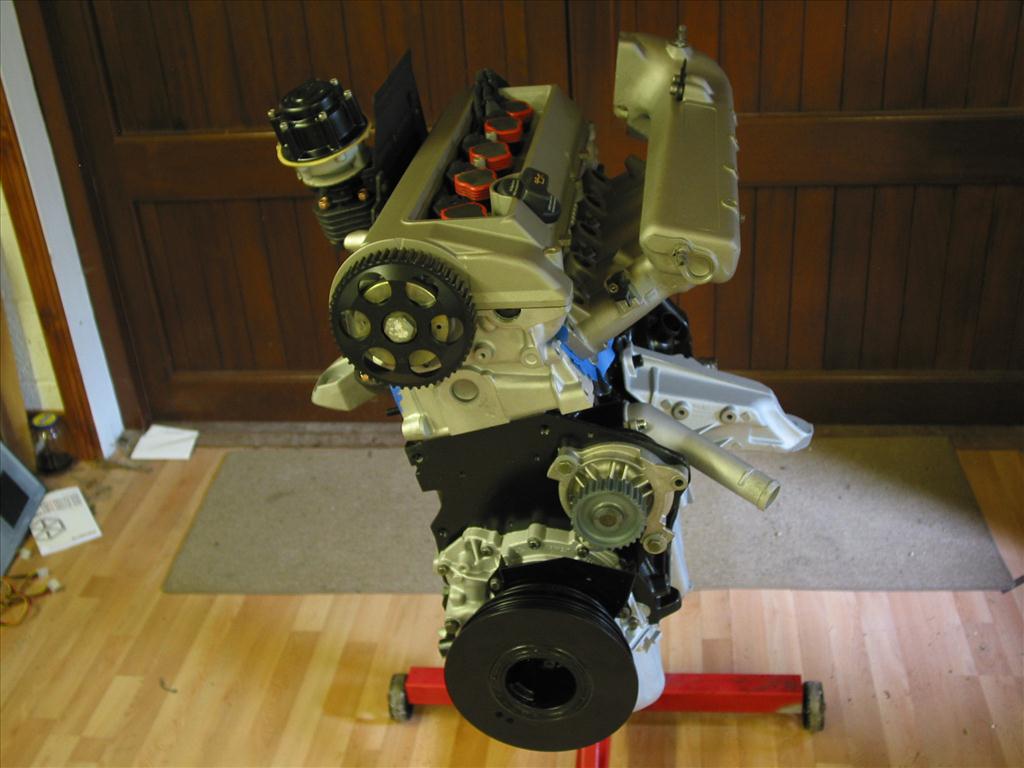
Then brought the crank up to the timing mark. Same with the head.
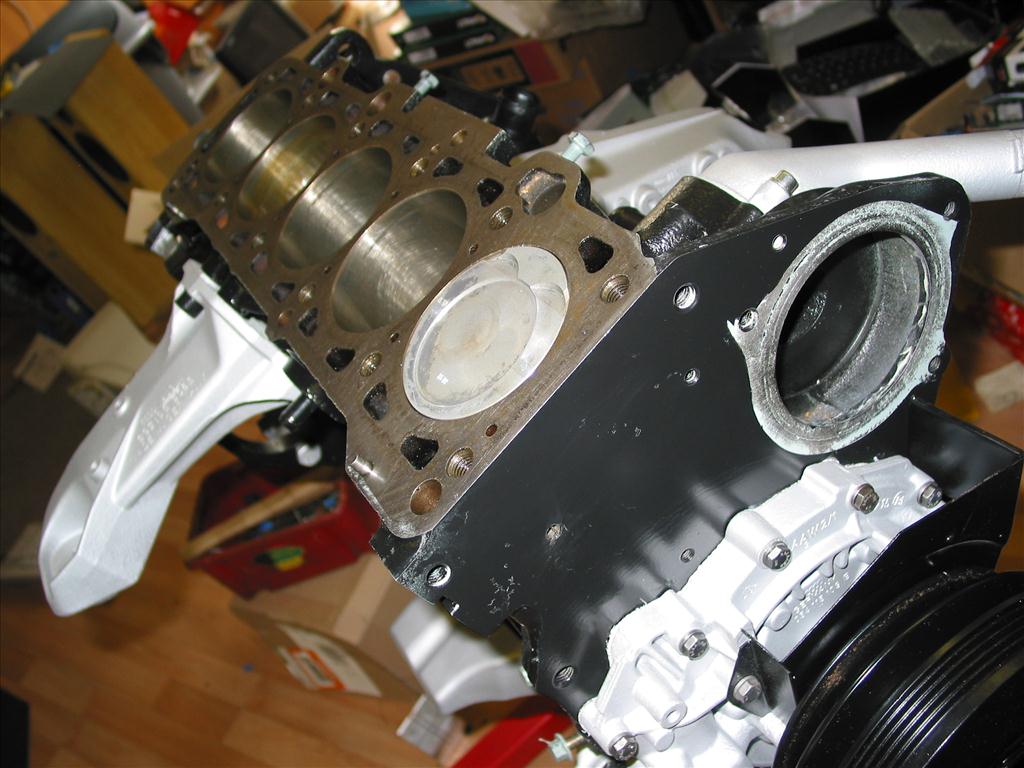
Havnt torqued the head down yet.
But just wanted to see what the overall engine would look like
Yea I noticed that, but I don't think temps would ever get to 100c or over on the intake side. But might as well go the 567 if the price isn't way more than the other.
This website is for sale! iloctite.com is your first and best source for information about iloctite. Here you will also find topics relating to issues of general interest. We hope you find what you are looking for!
i see ptfe tape used on compressor fittings ect.. and they do get hot. but i cant vouch for your need, it can be got in a paste with an aplicaition brush aswell
I slightly hurt myself last week doing the waterpump on a my 2.5 T5 transporter, so I limited myself to small jobs until I recover.
But here is a little catch up.
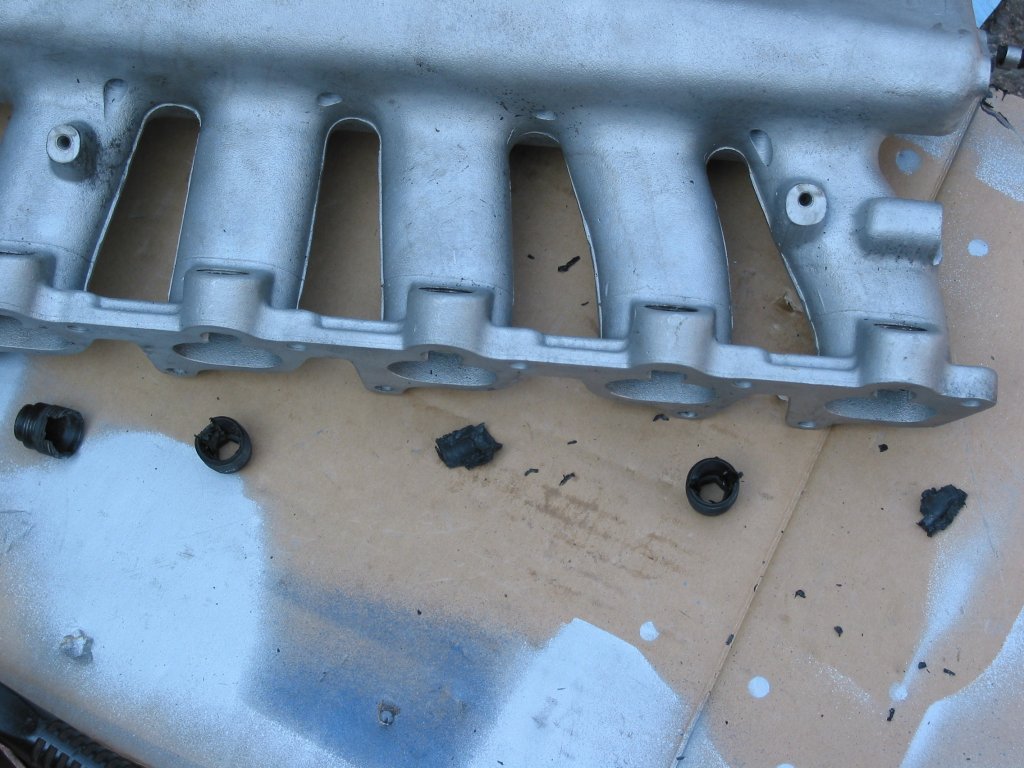
Got the inserts out of my inlet manifold, was a bit of trouble, as they were very brittle. I had to use a hot screwdriver to scrap a line in the plastic and that worked for some of them, the others had to be chipped out. A dremel and small wire wheel was used to clean the threads afterwards.
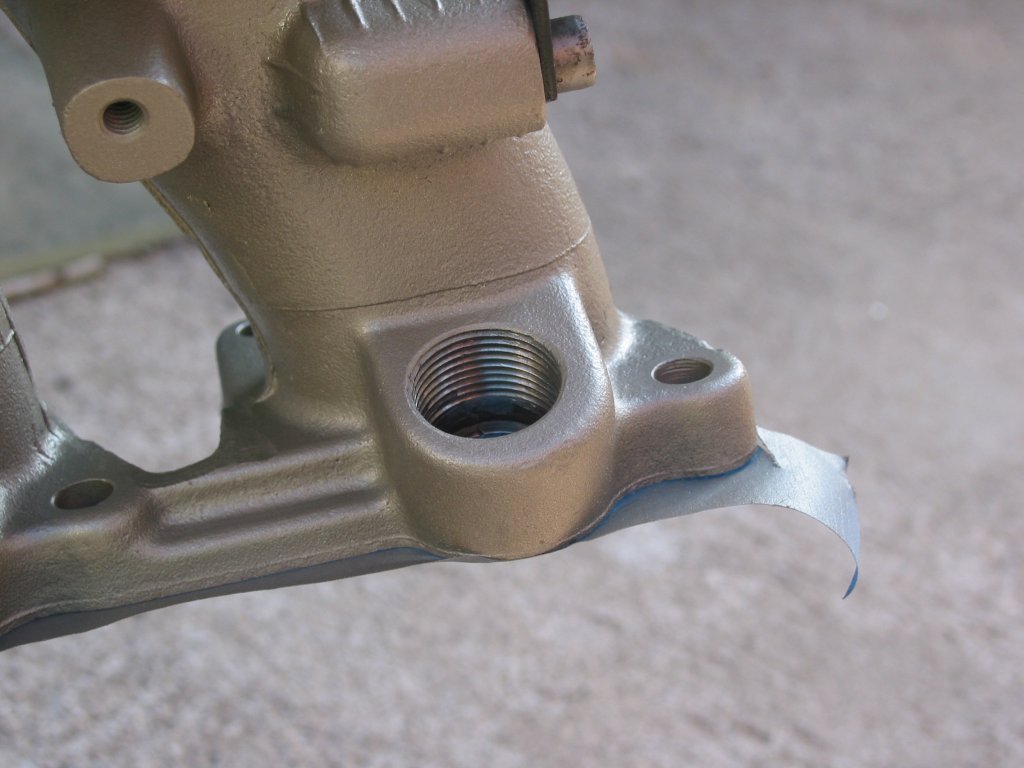
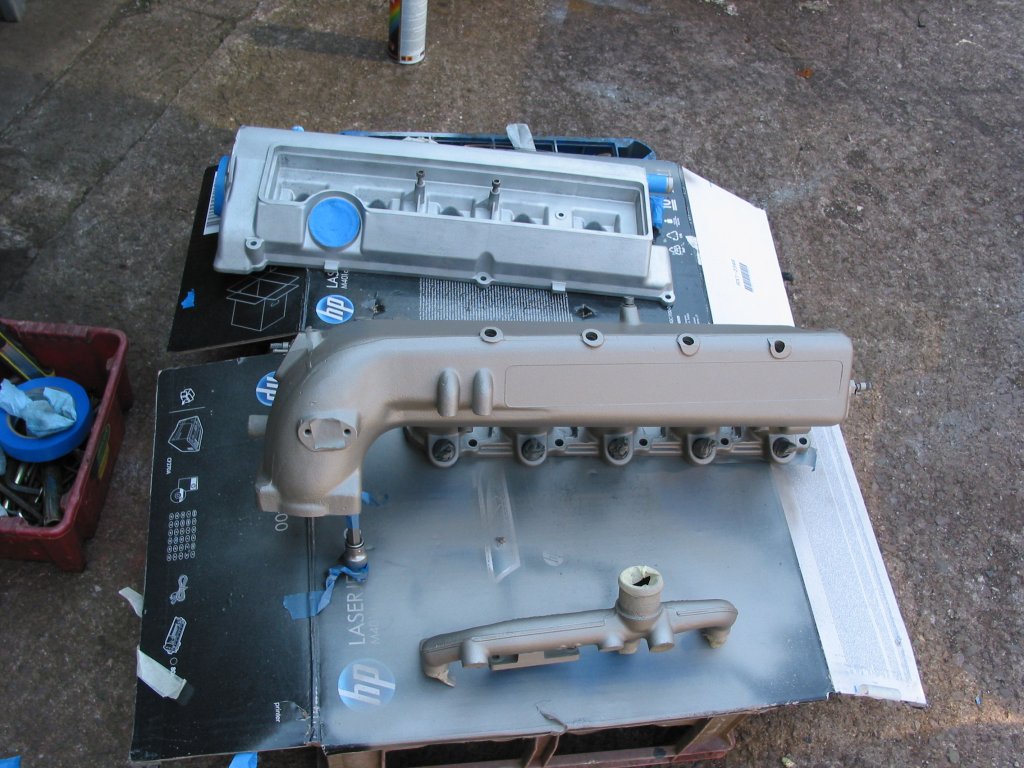
Paint started on some of the major engine components.
Just a teaser pic
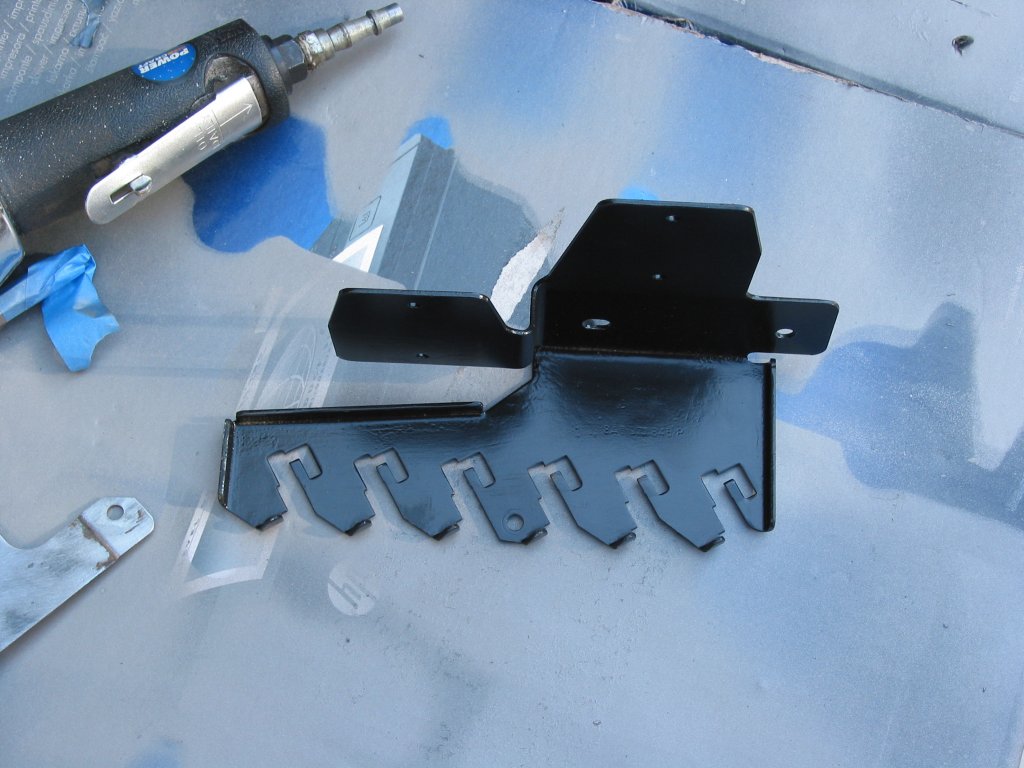
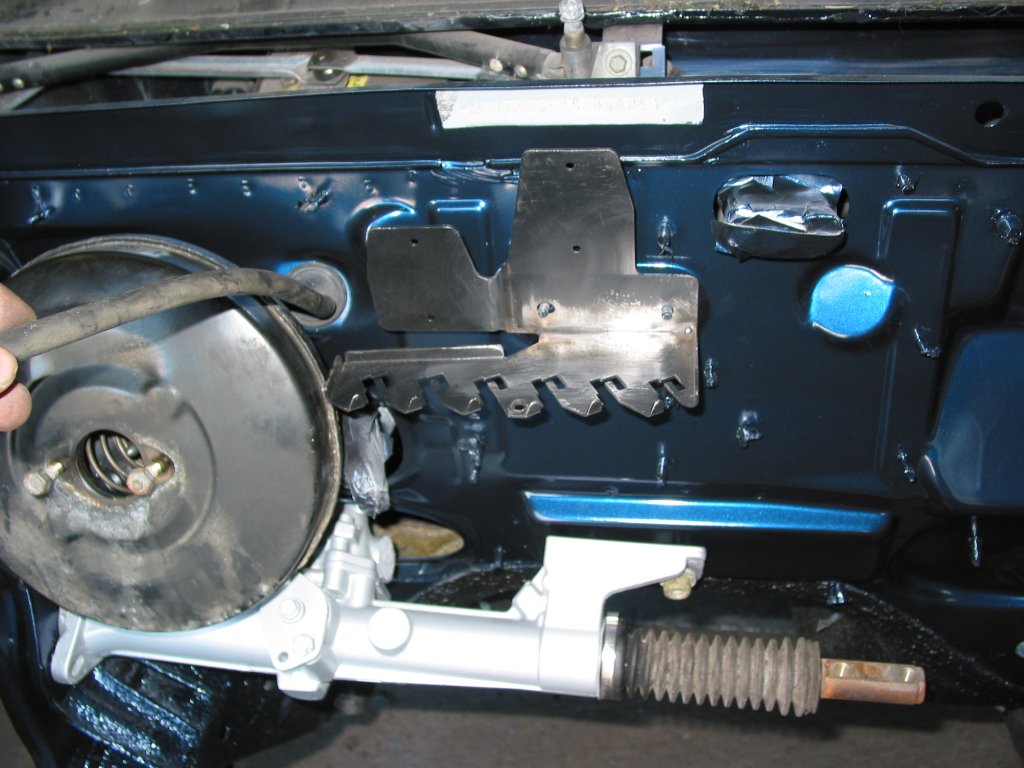
I also found out that the plug bracket in the engine bay wont fit with the vacuum servo. So that had to be modified.
Before
After. The bracket was cut along the back and moved over about 1".
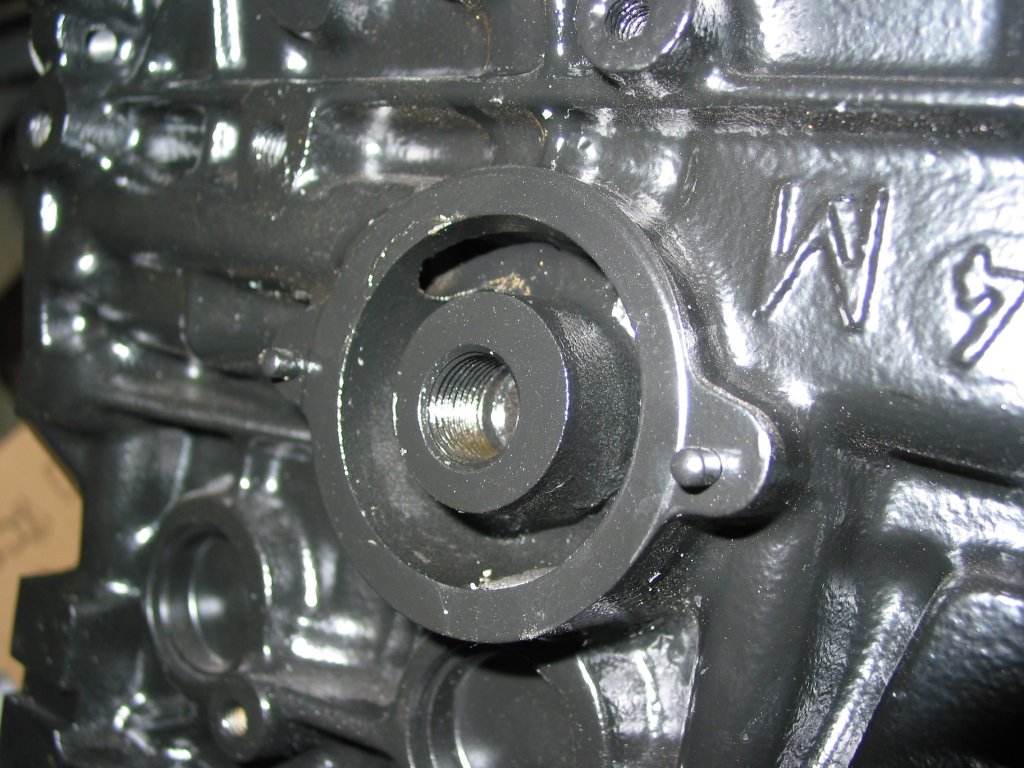
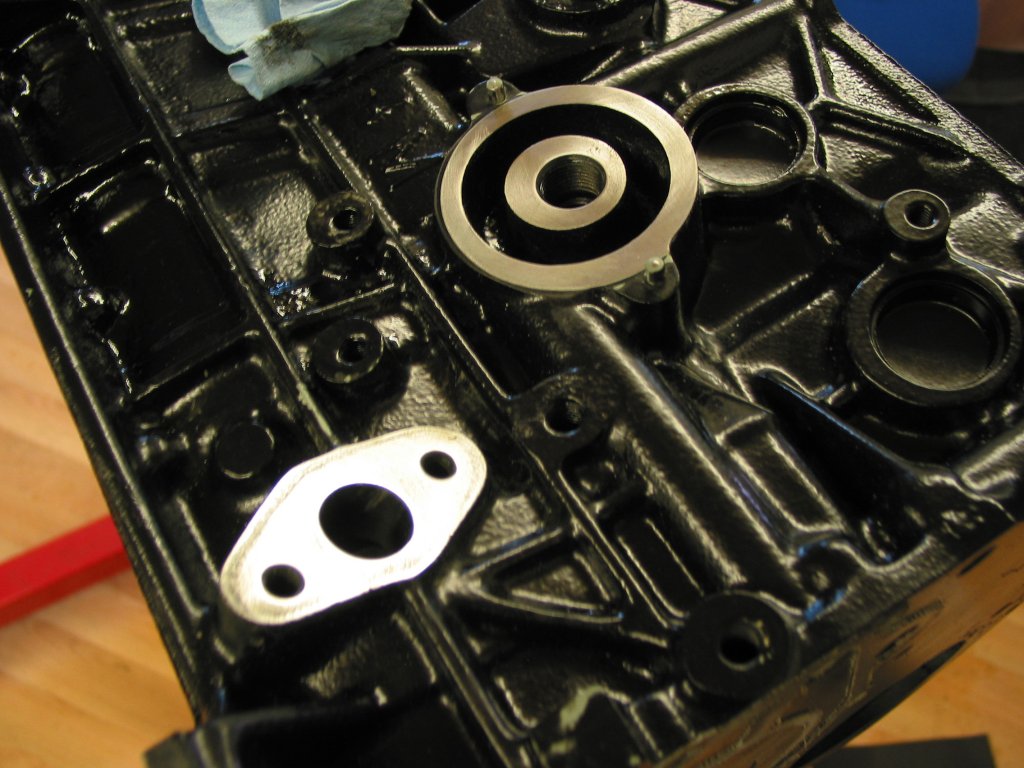
Wasn't happy that these surfaces on the engine block had paint, so the sealing surfaces were wet blocked until they were shiny and flat. The same was done on the waterpump mating surface.
Before, notice the surface isnt completely flat.
FLAT!
Just waiting for a 3/8" torque wrench to arrive and assembly can begin on the engine.
Looks straight as an arrow to me. A job well done and on a budget too. I love it.
I have this looming over me and will be doing it "soon". I have been looking at line straighteners also and could not believe how much they cost. I've already dropped a pretty penny on the correct flare tool and now I've got to spend more for the straightener. I might make one also. Don't get me wrong, I'm a tool collector, but 200USD for a tubing straightener is a bit mad.
We process personal data about users of our site, through the use of cookies and other technologies, to deliver our services, personalize advertising, and to analyze site activity. We may share certain information about our users with our advertising and analytics partners. For additional details, refer to our Privacy Policy.
By clicking "I AGREE" below, you agree to our Privacy Policy and our personal data processing and cookie practices as described therein. You also acknowledge that this forum may be hosted outside your country and you consent to the collection, storage, and processing of your data in the country where this forum is hosted.





 I have been looking at line straighteners also and could not believe how much they cost. I've already dropped a pretty penny on the correct flare tool and now I've got to spend more for the straightener.
 I might make one also. Don't get me wrong, I'm a tool collector, but 200USD for a tubing straightener is a bit mad.
Leave a comment: