I take it the the prop is going above that bar through a too be made hole in the new sheetmetal? That should stiffen things up a lot compared to standard!
What about the exhaust?
-
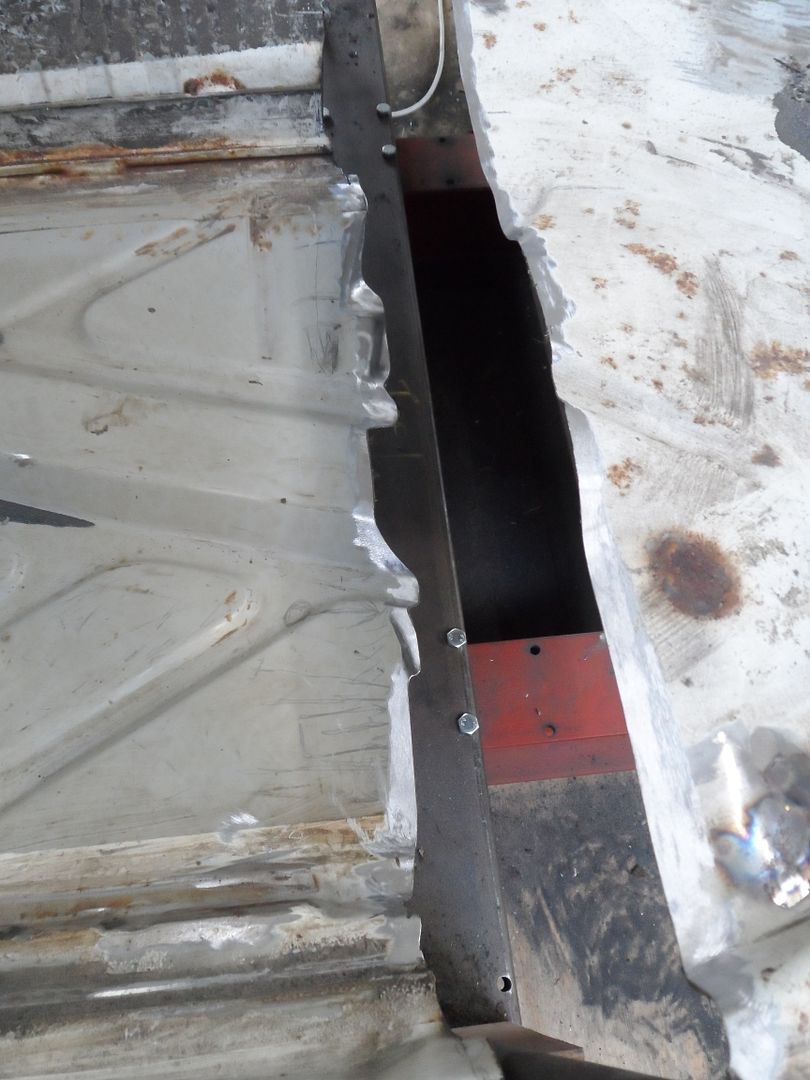
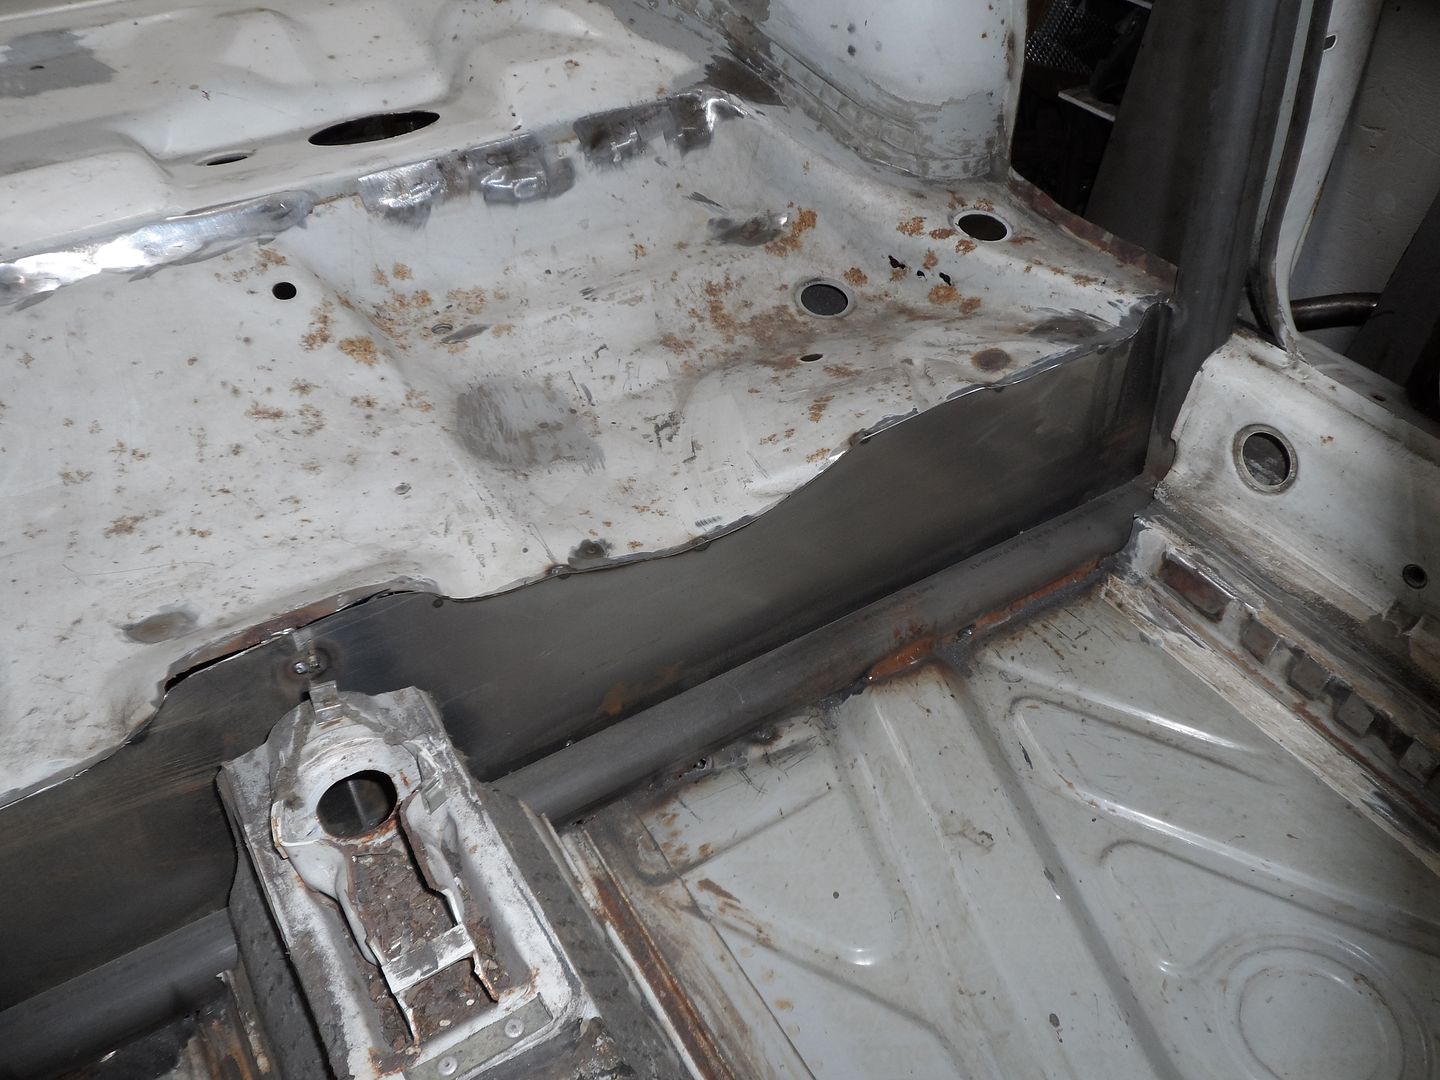
Done a bit more this week and today. I decided to put a bar in at the base of the main hoop. This obviously adds massive side impact strength and ties the 2 floor pans together at the same time. I am also going to use it to pick up for the rear seat mounting.
Firstly the floor got cut back to sink the bar into:
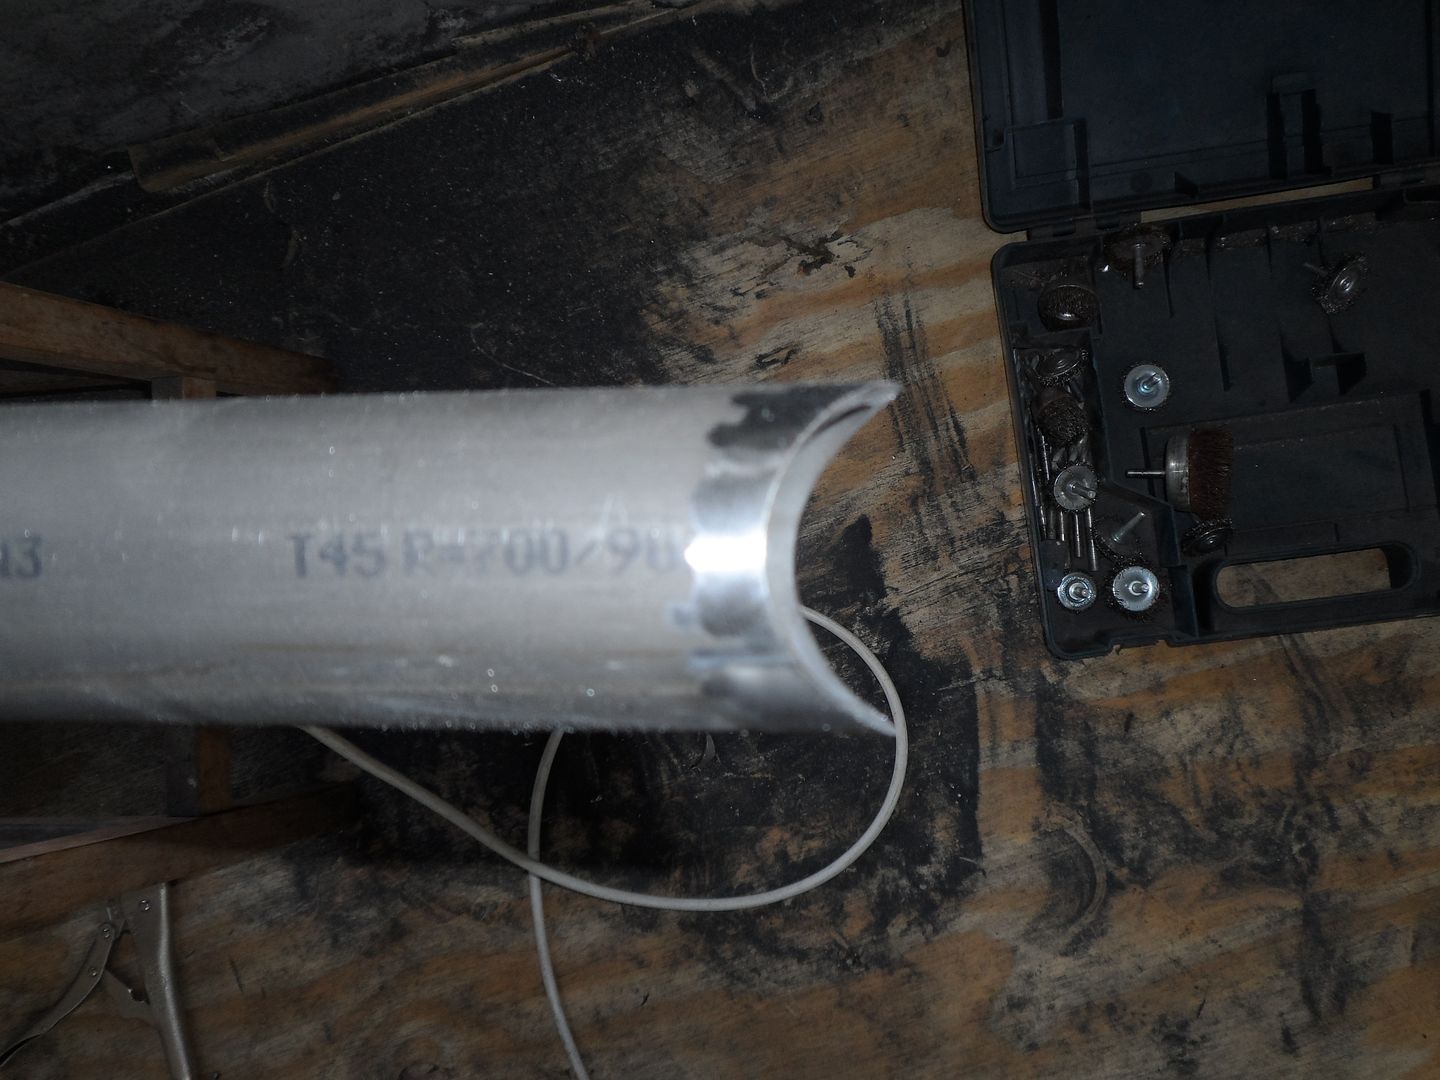
Took a bad picture of a notch all done with a grinder:
Then welded the bar in place and cut some floor sections:
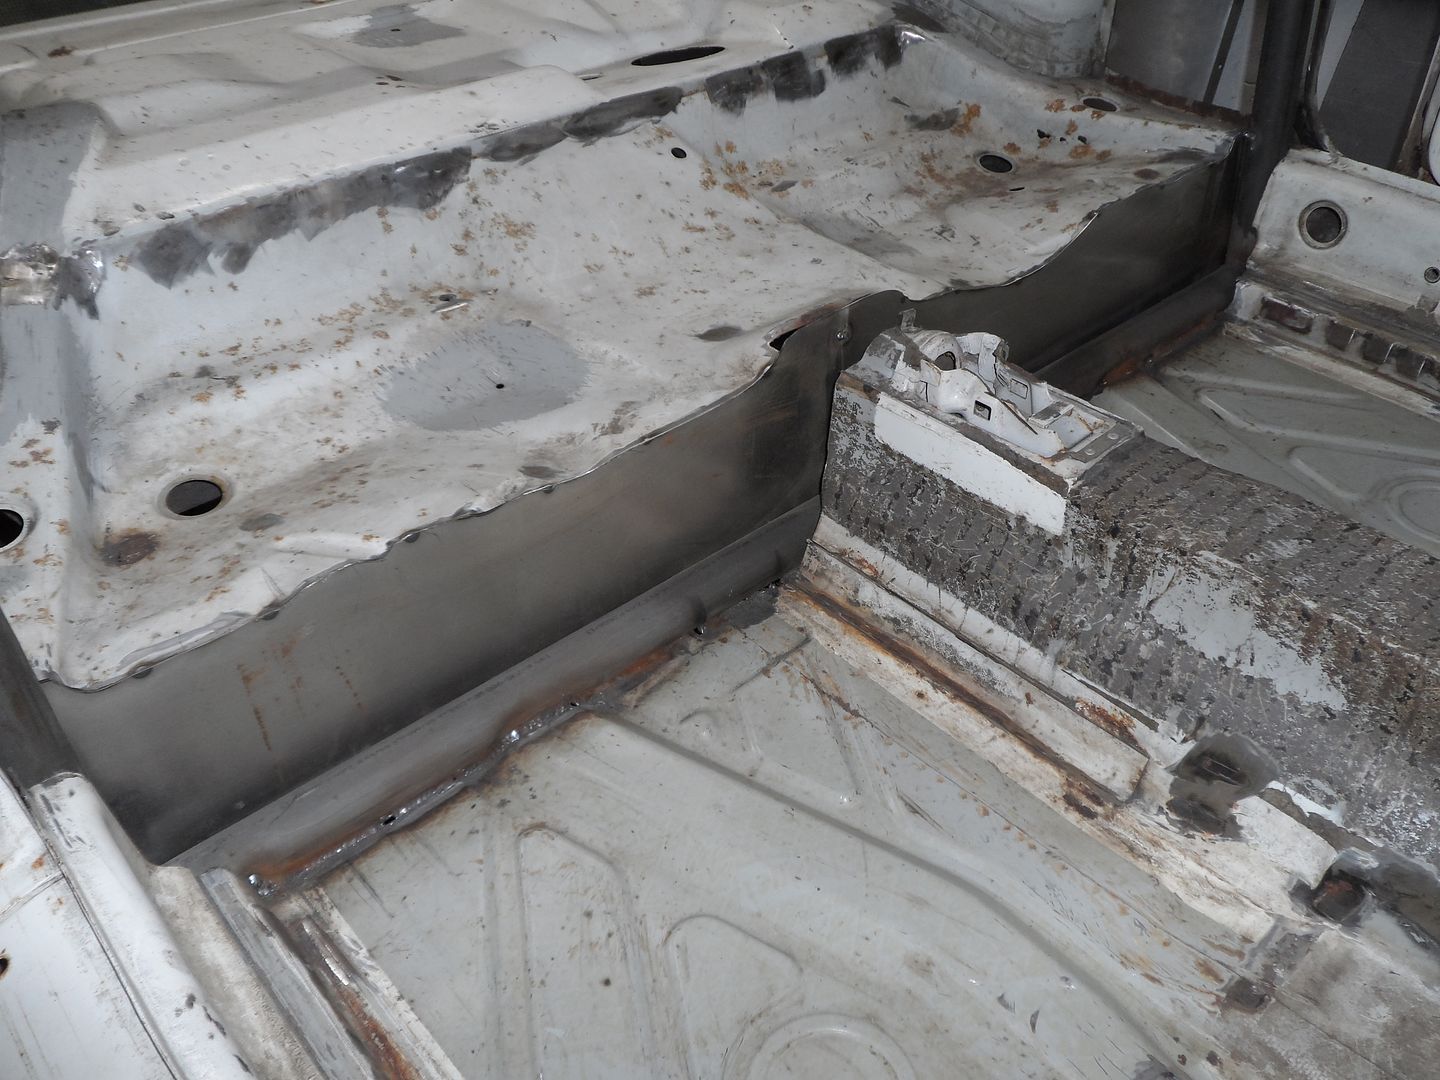
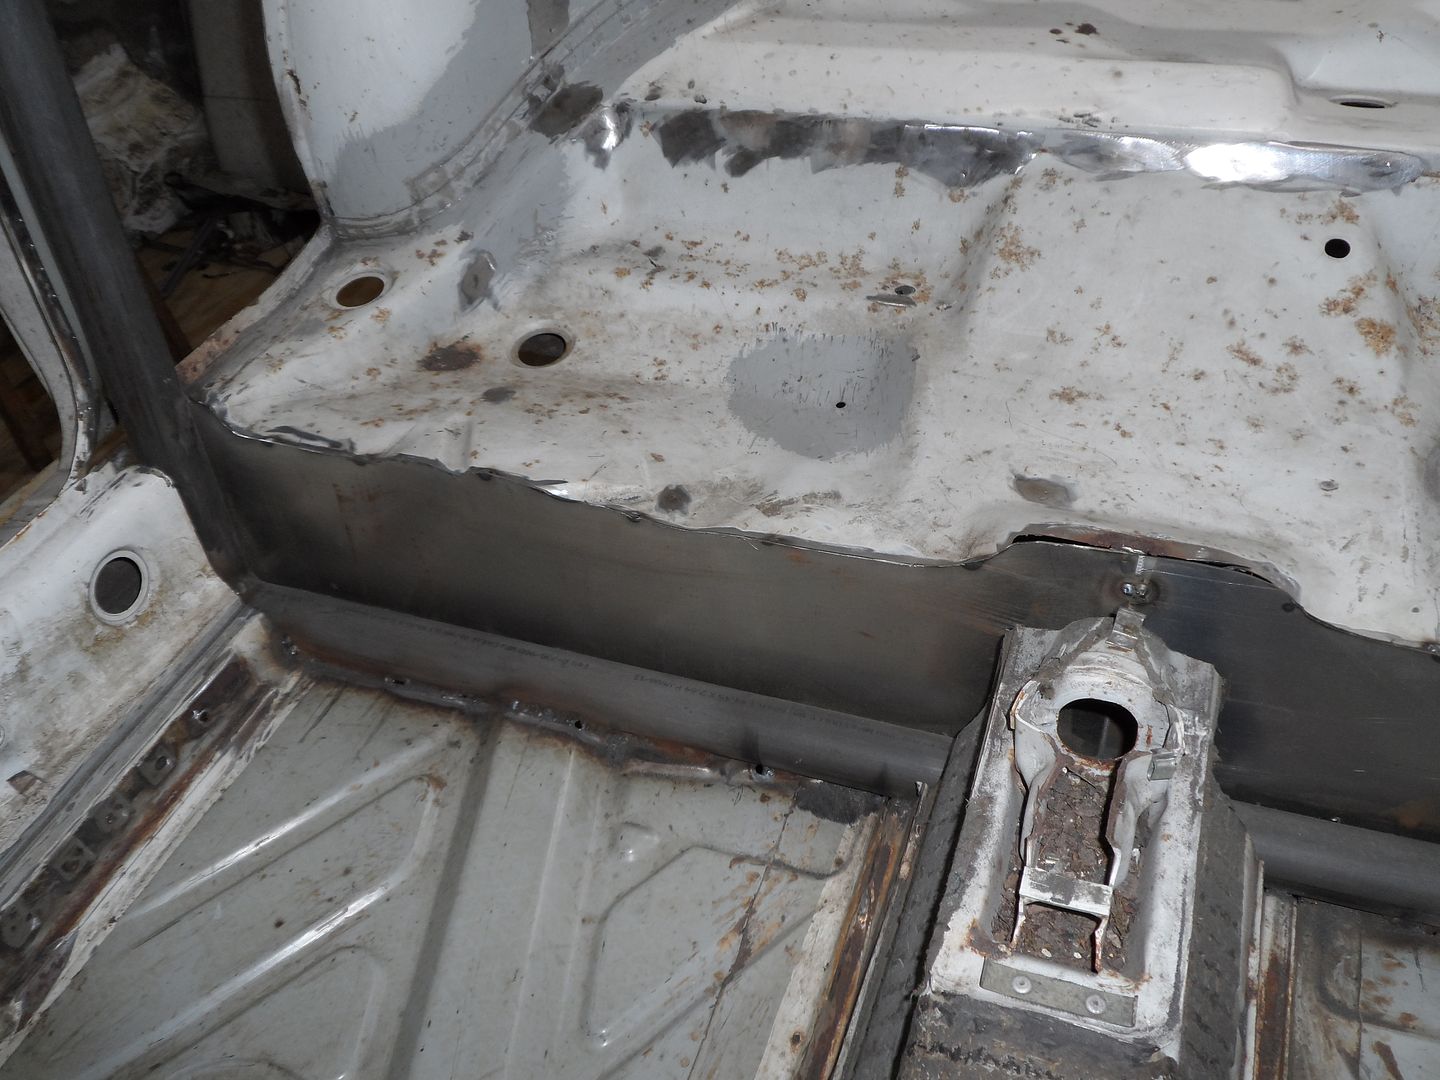
Underside of the floor/ tube tacked together. This will be welded and smoothed off. The main hoop will be cut back but left slightly low as a jacking point.
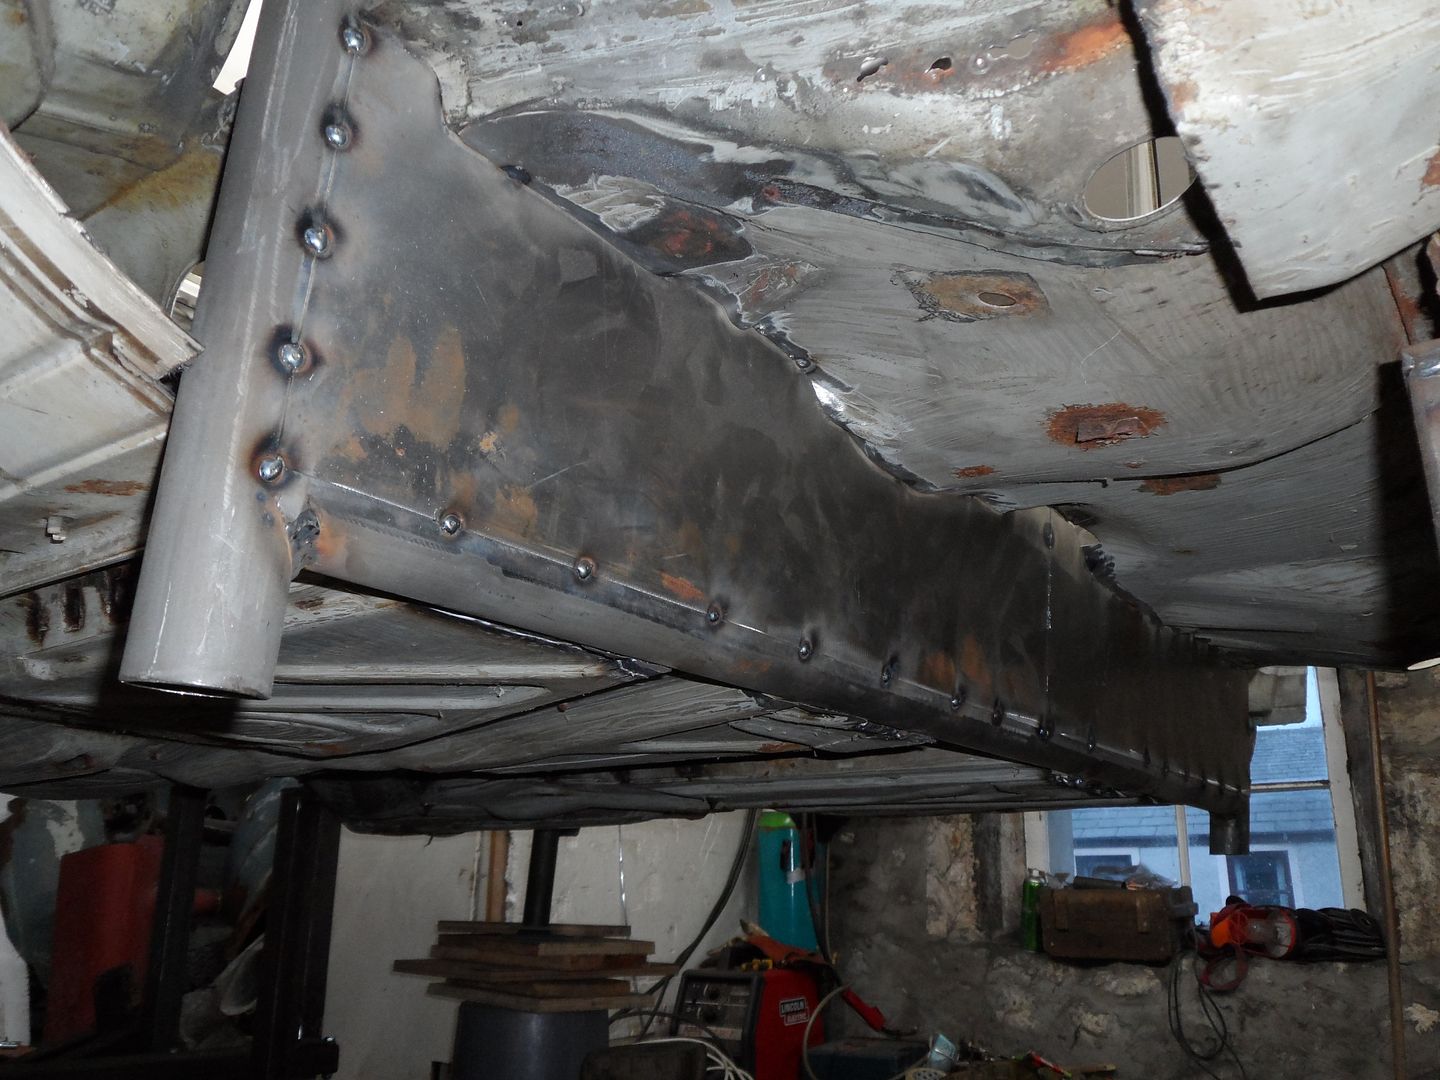
Its coming along nicely now. Next big job is to weld the scuttle/ A pillars into position then the A pillar bars can be welded in to complete the core of the cage.Leave a comment:
-
All hand notched with a grinder. Takes a lot of time but the sander type notchers are big money and the hole saw ones are a joke.Leave a comment:
-
I have finally had some time to get stuck into this build again. I have the core of the cage notched and tacked in place.
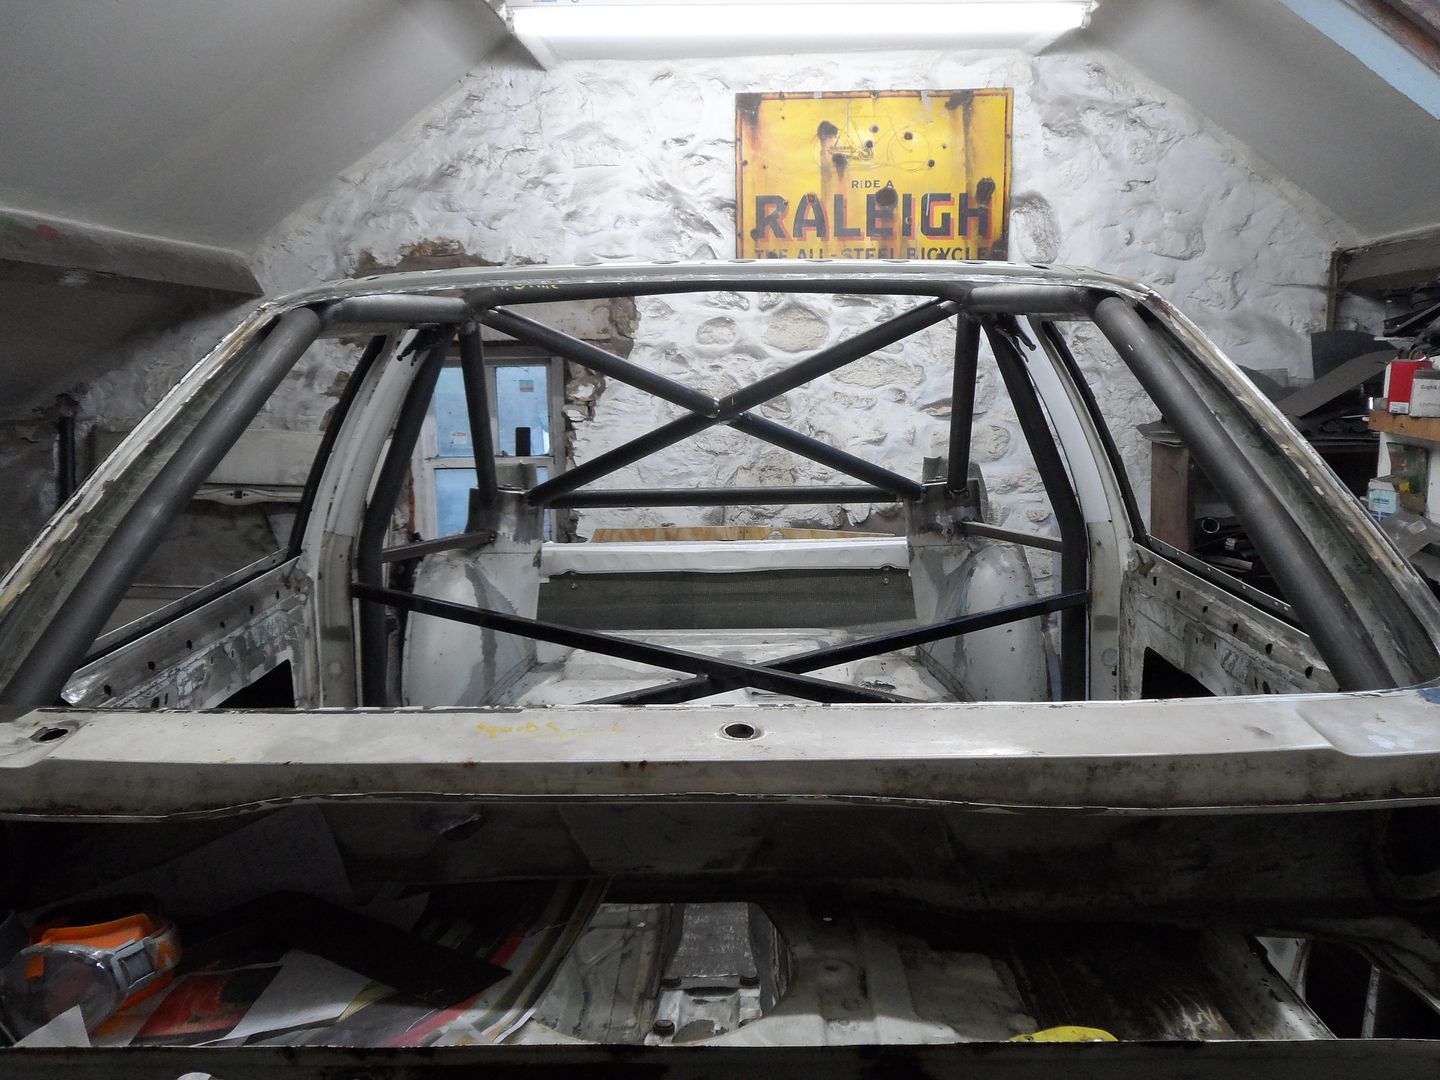
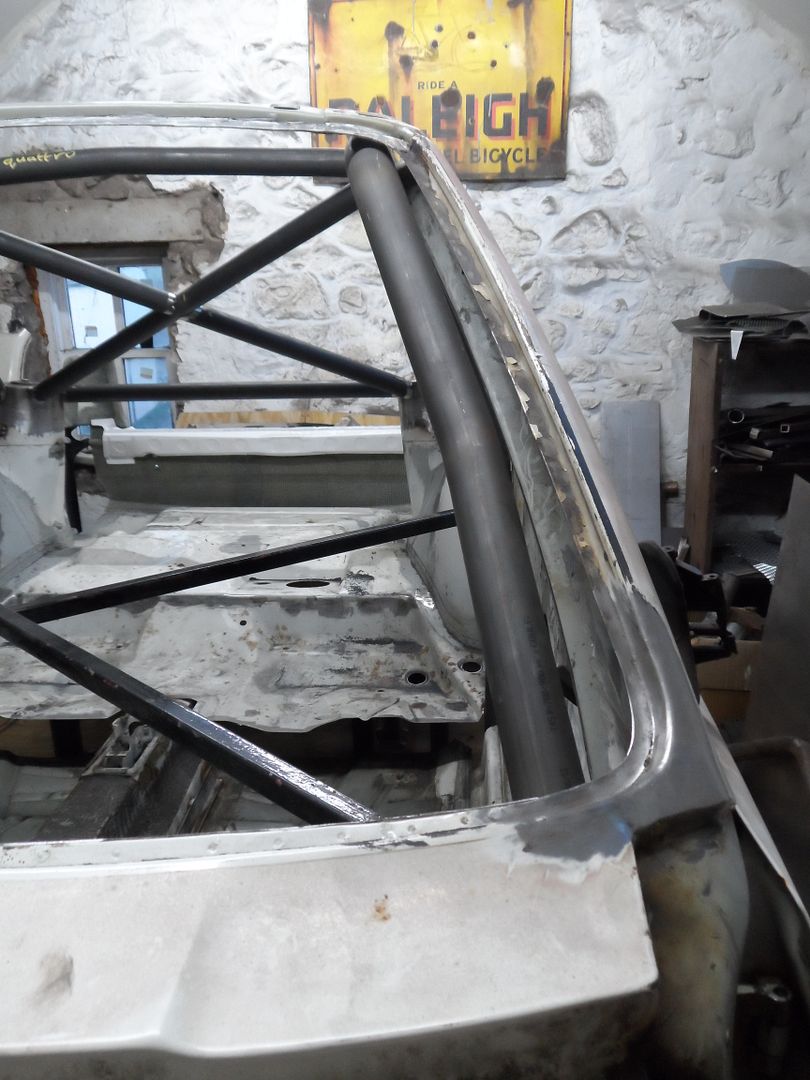
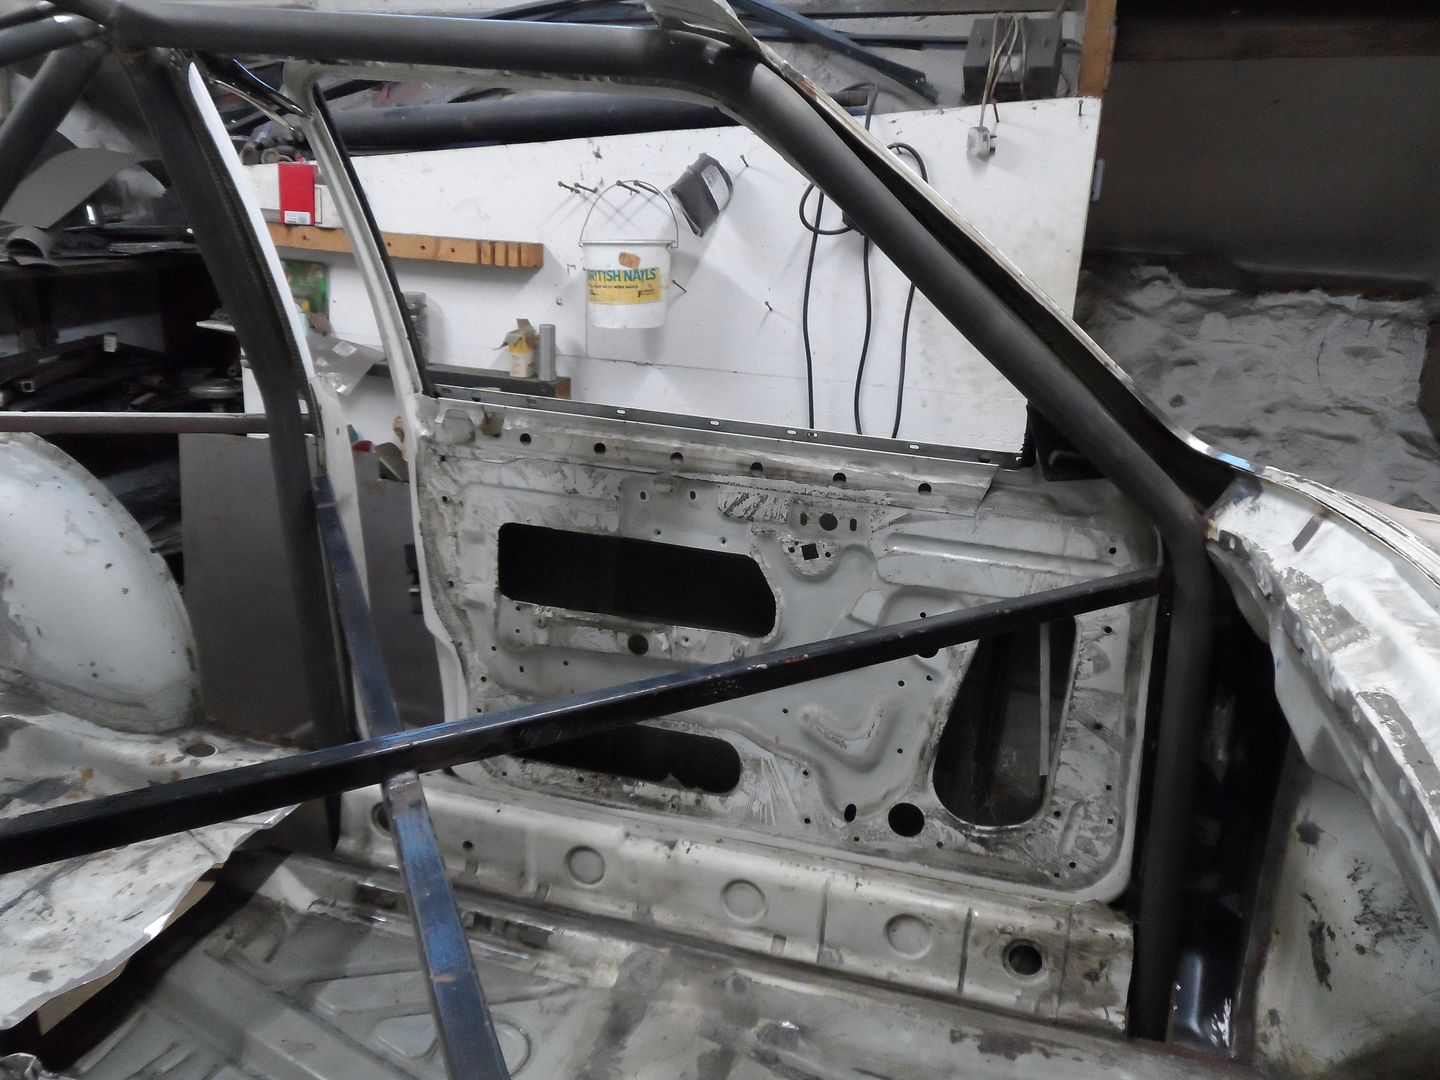
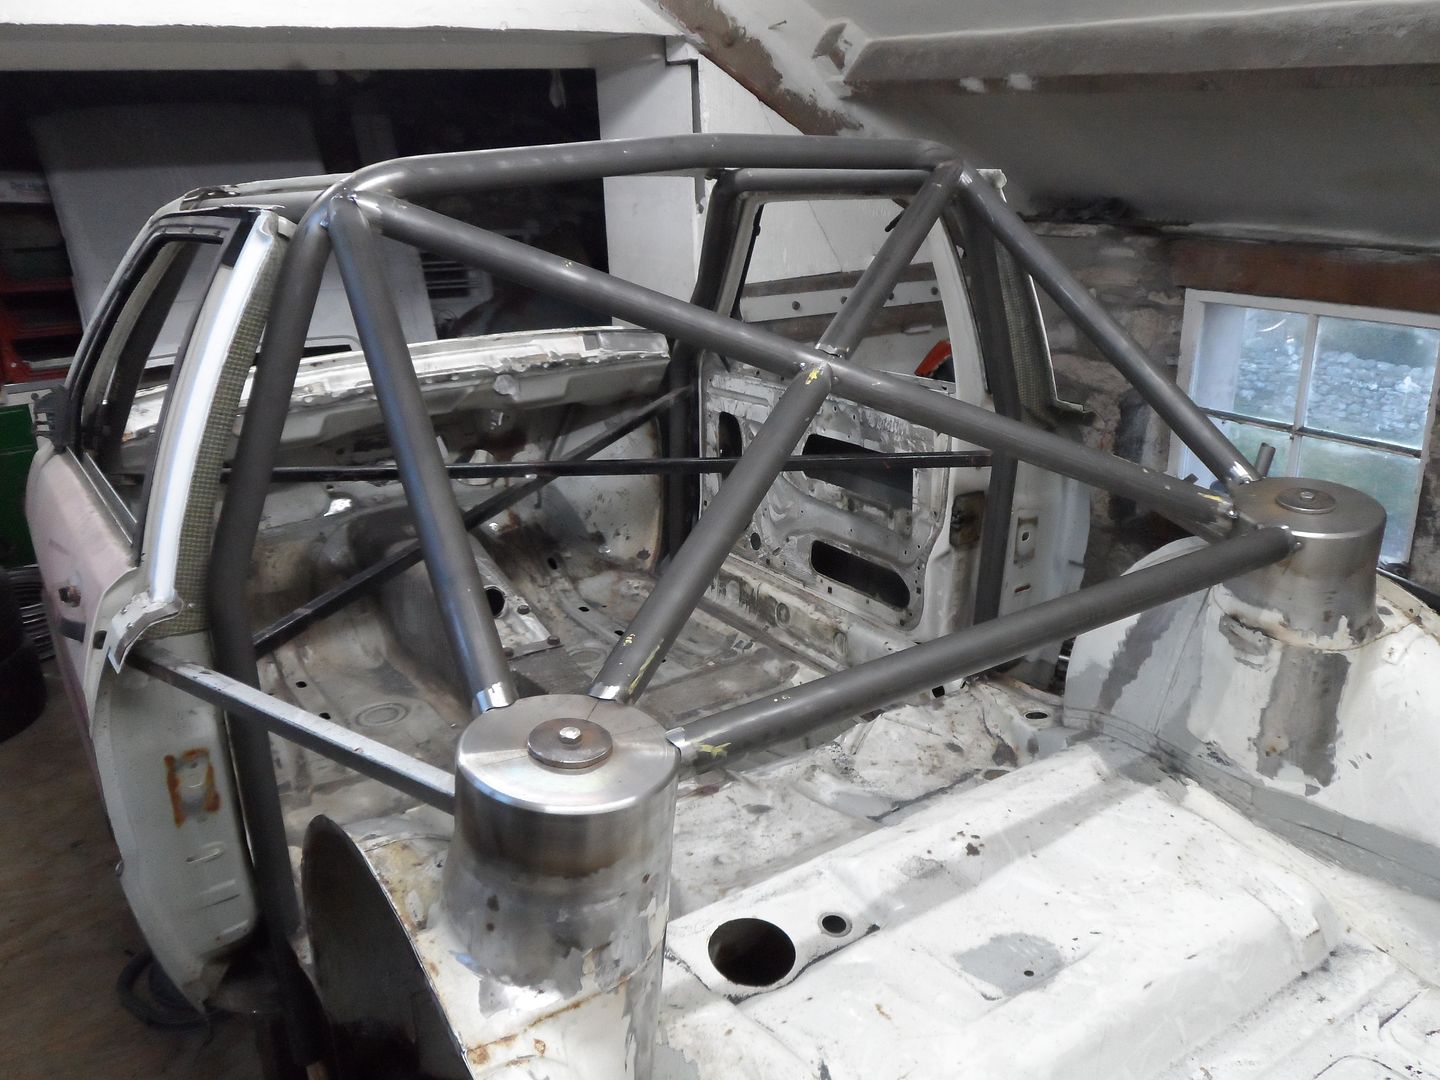
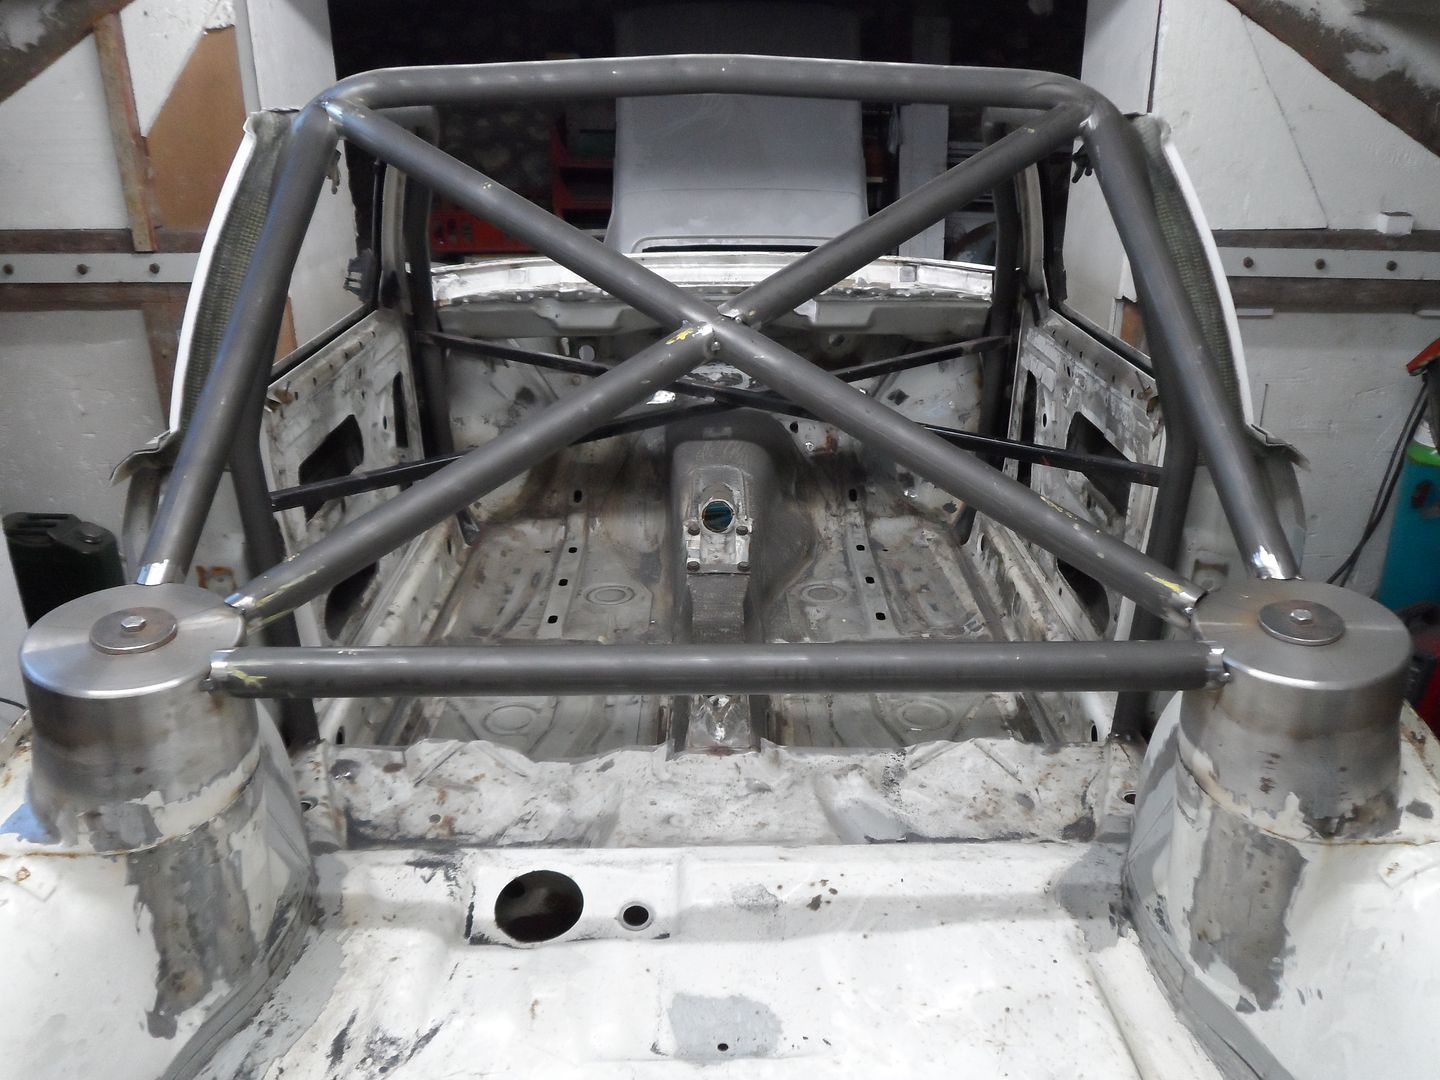
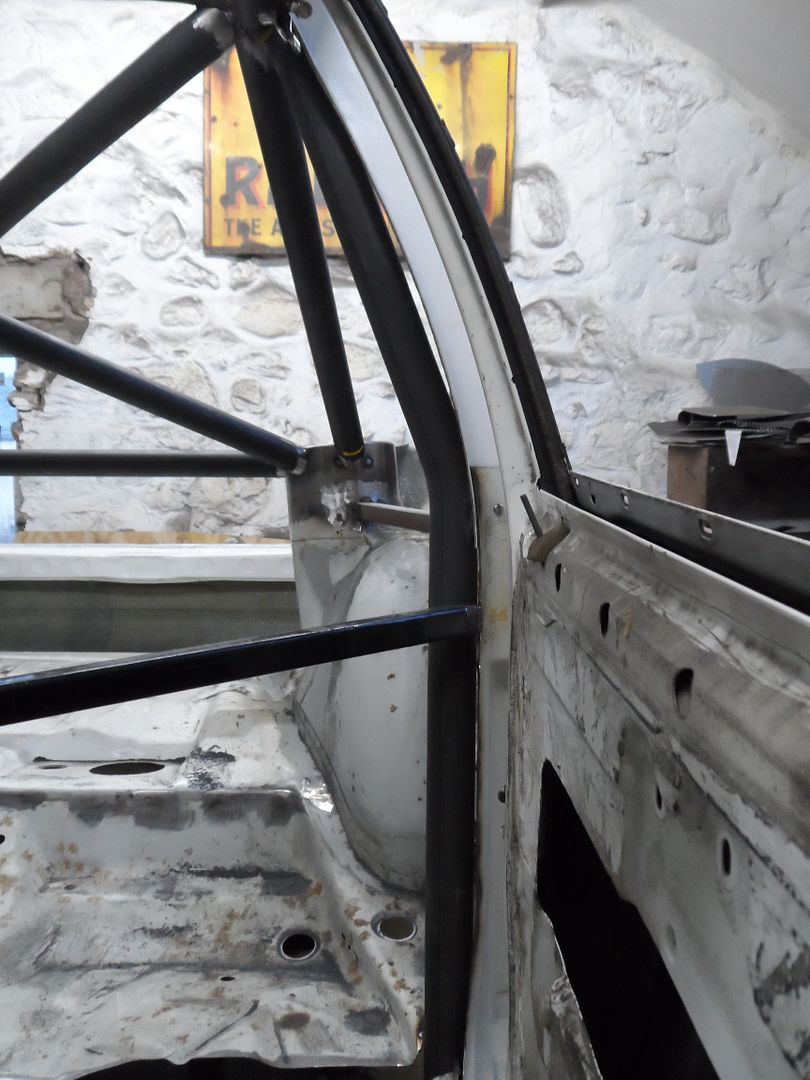
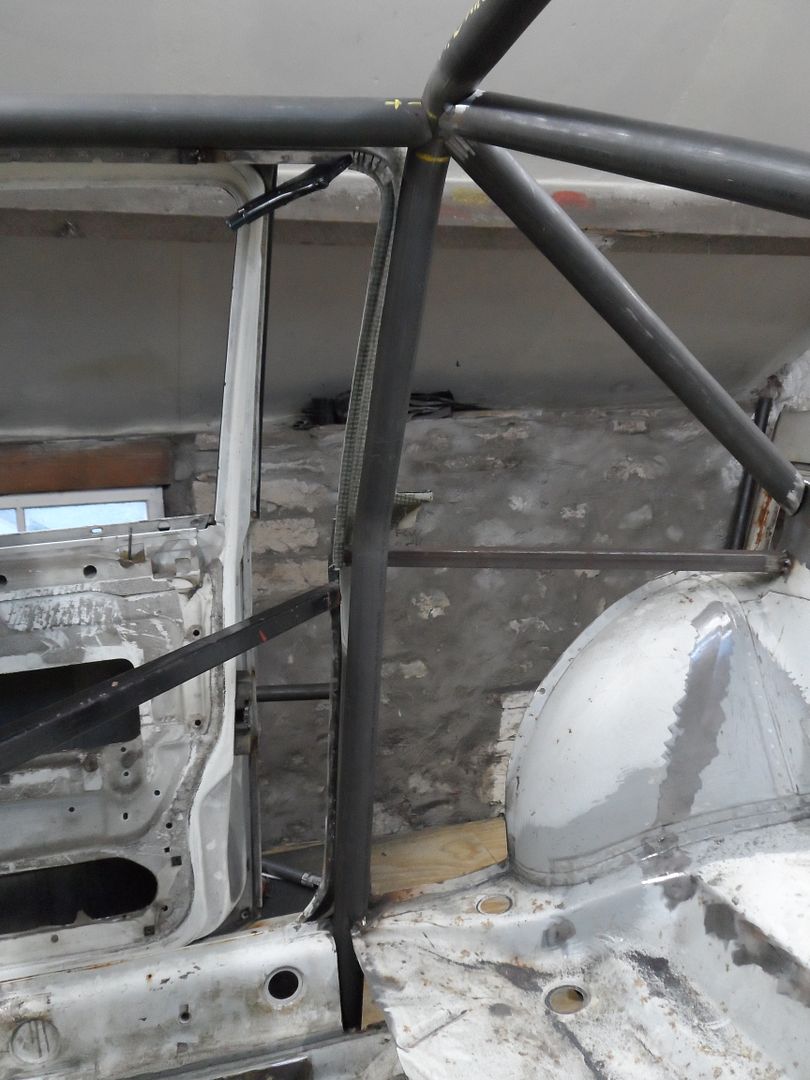
Tubes are notched so they sit up on the lip of the suspension turret to help with strength. Spaced the bars out to spread the load so they dont tip under bit load.
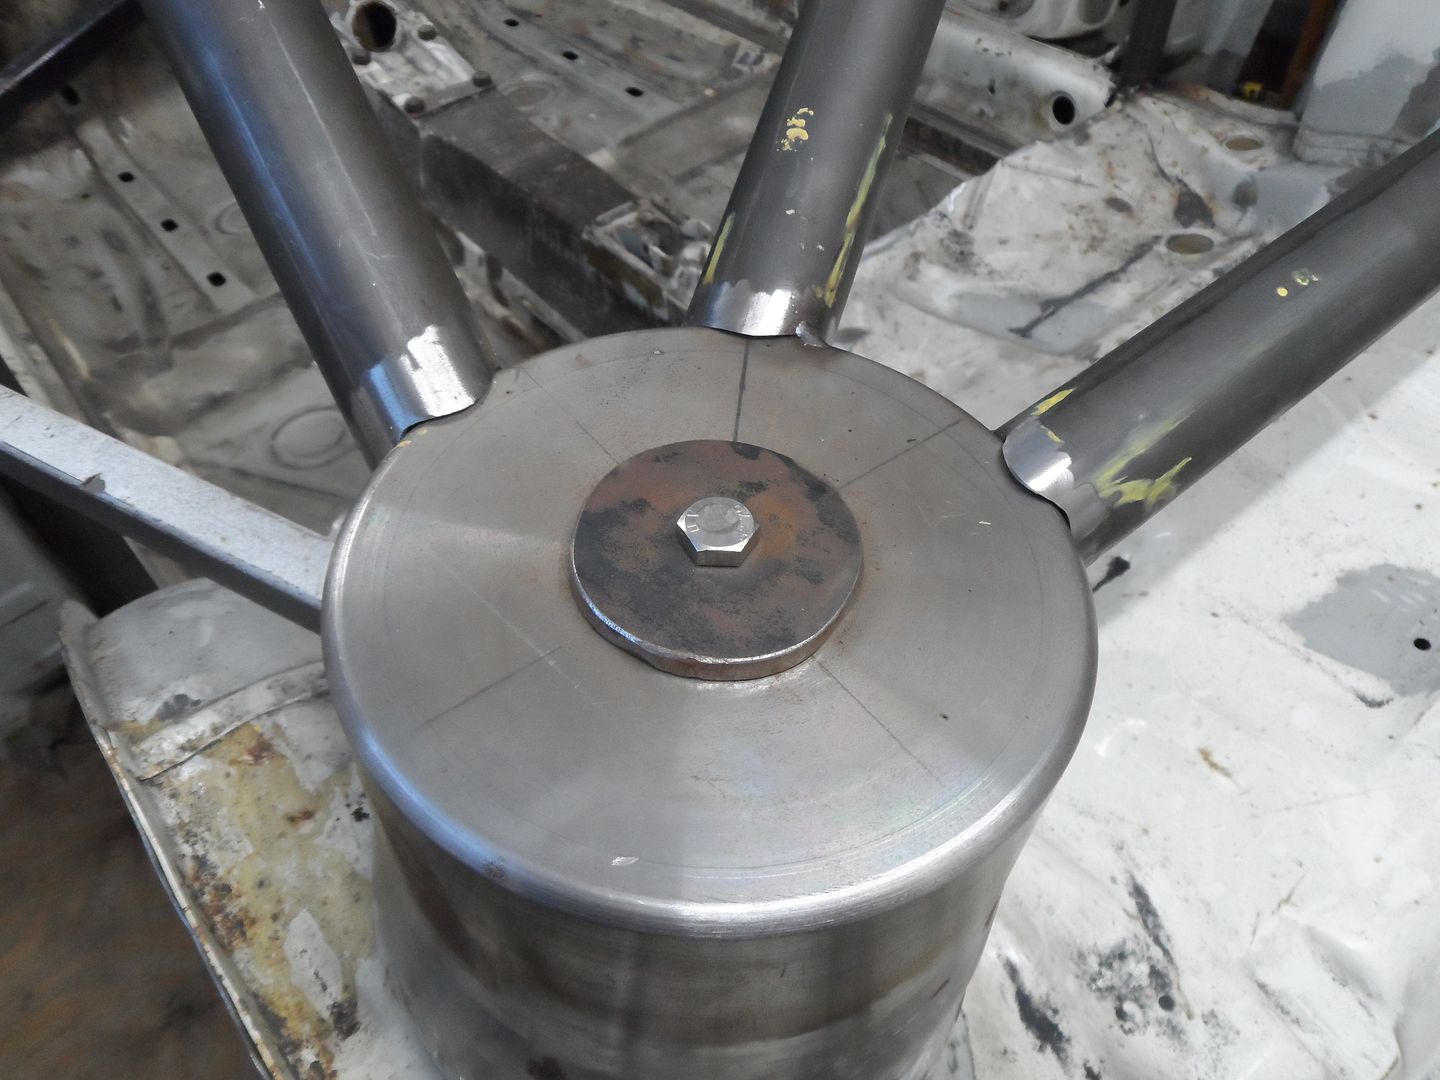
Very happy with how the cage has gone inside whats left of the shell. Its very tight to the A and B pillars and the main hoop is hidden by the B pillar from the side profile. Almost ready to order up the small diameter tube now!Leave a comment:
-
lovely work as usual!
Ditto re. the wood, might nick that idea! I have always used plastic waste pipe and solvent weld fittings to mock up but the plastic is a bit wobbly on the really precise bends, a degree out is as good as being in a different car! I think wood would be a tad stiffer, and just as cheap.
cheers
NatLeave a comment:
-
Nice.
That is a really neat idea using wood for a template, so simple.Leave a comment:
-
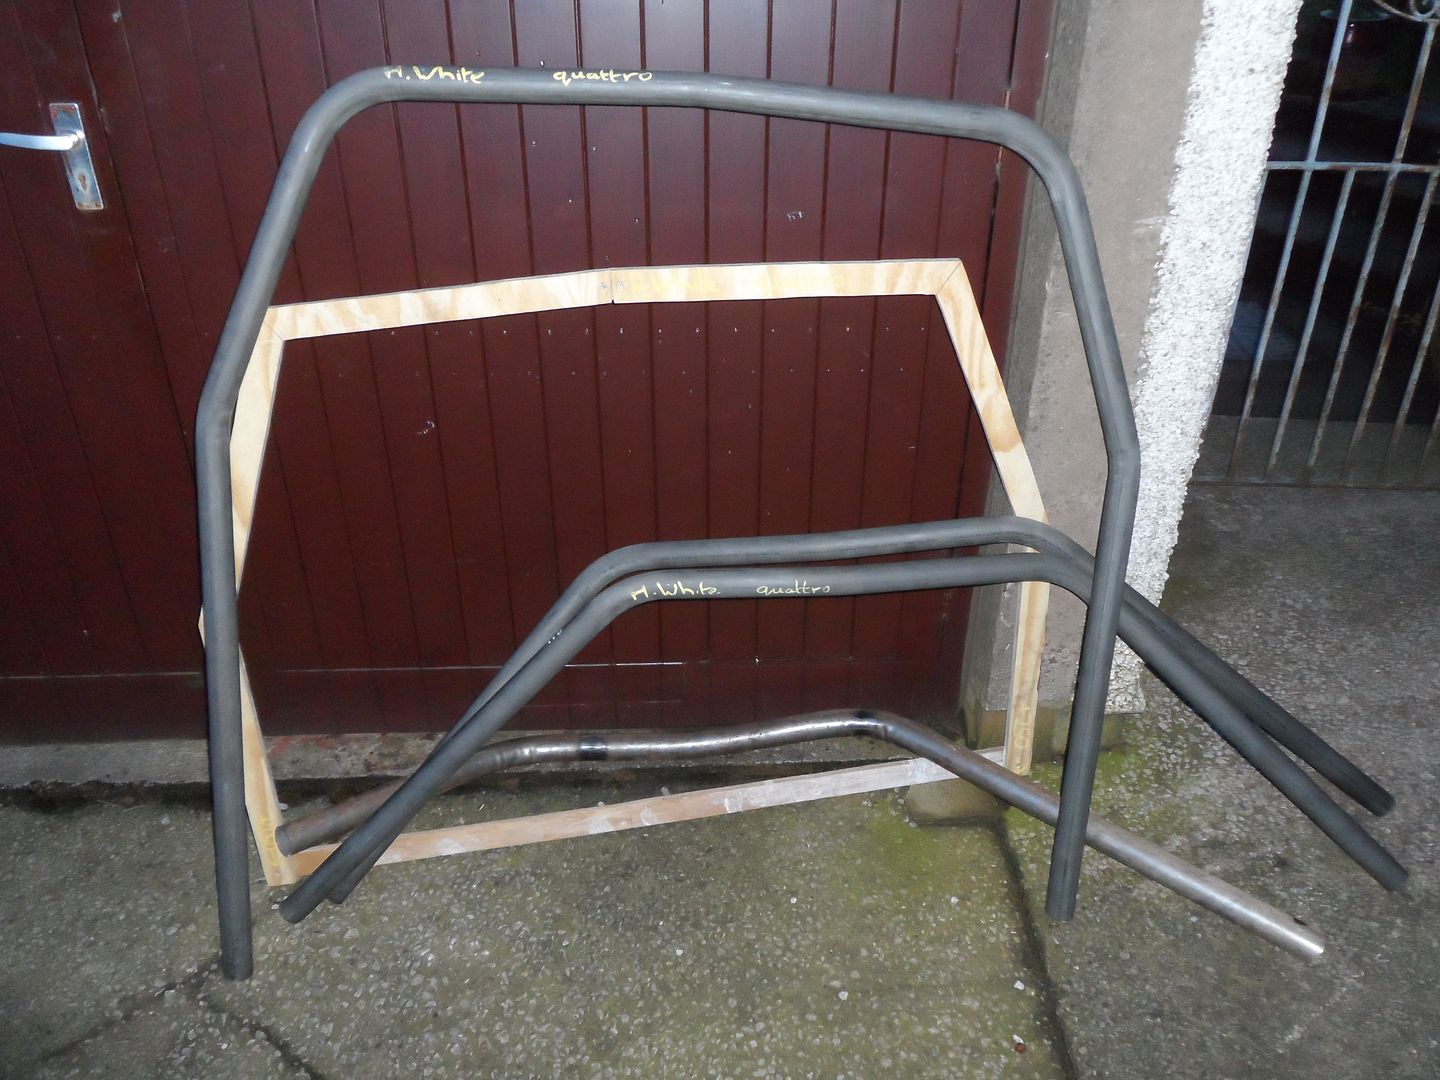
Time for an update on this build. I ordered up the roll cage tubing at the start of January. Big thanks to Joe at Proformance metals www.proformancemetals.co.uk for sorting me a great price. The tubing is proper T45 grade not the fake stuff that is doing the rounds. It is 1.750" x 12swg (44.45 x 2.6mm). With the tubing here I needed some templates so the tube could be bent to shape. I decided to use wood for the main hoop template, got it nice and tight to the B pillars so it can support them.
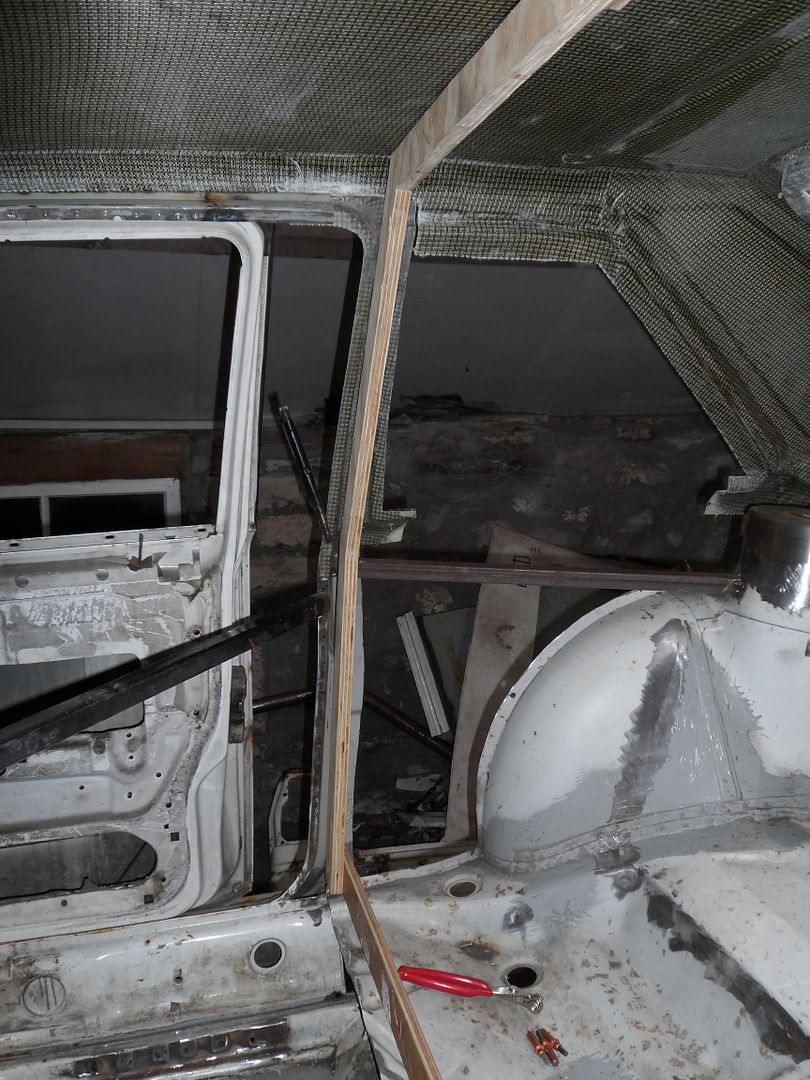
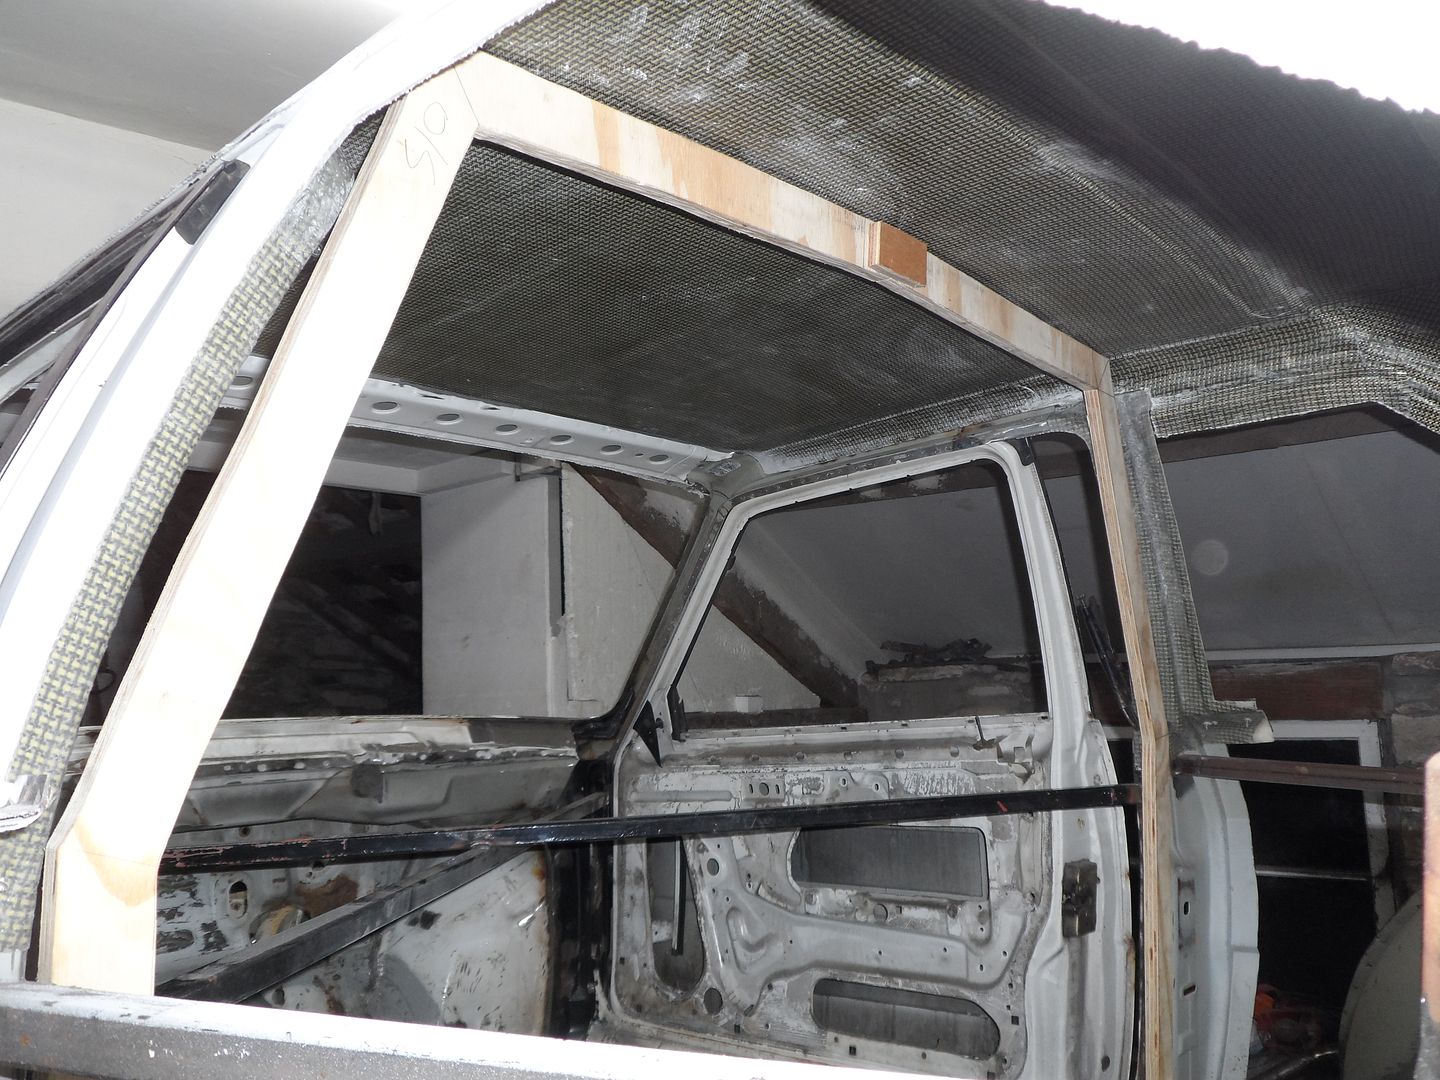
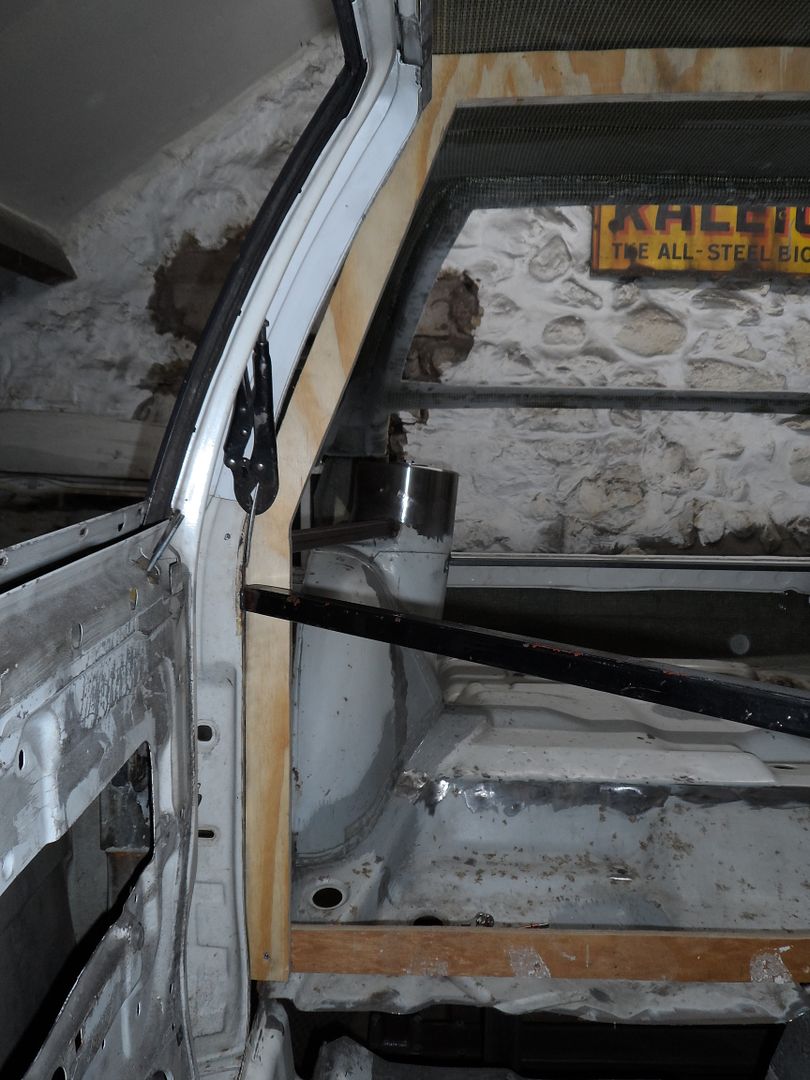
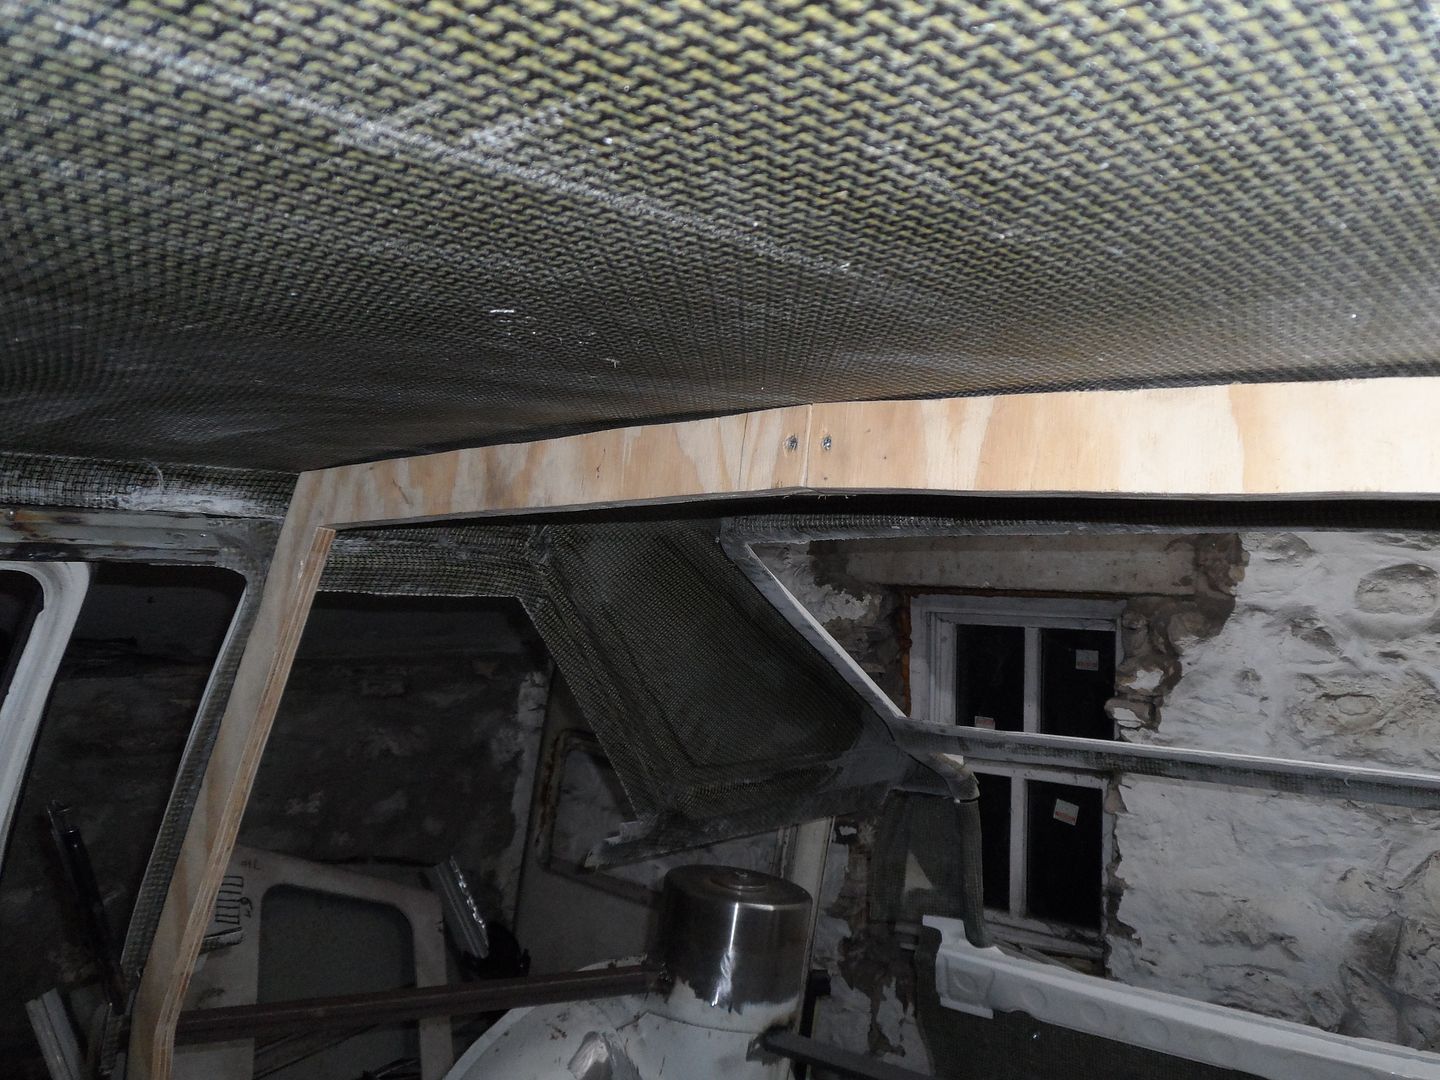
So that was delivered to Protection and performance with a jig for the A pillars. It took 4 weeks to get bent as they were so busy hence not doing much with the car lately. I had the pieces bent with 250mm added to the legs so they come through the floor. These will be used as jacking points and to weld the sill tubes to.
So this weekend it was time to get the cage into place.
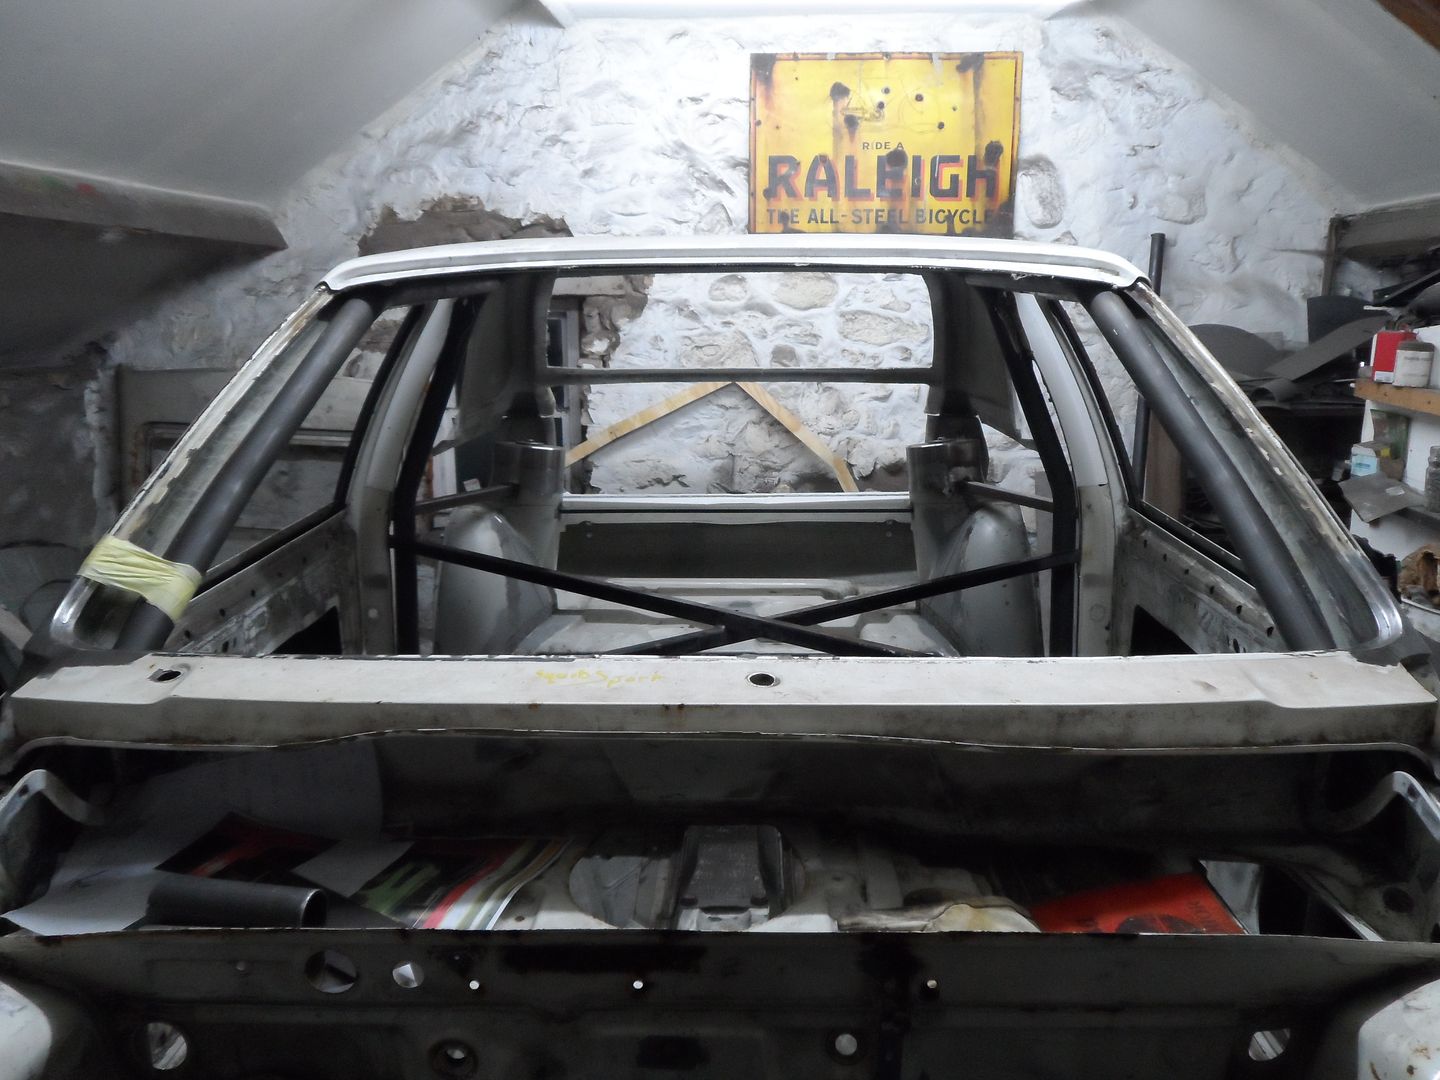
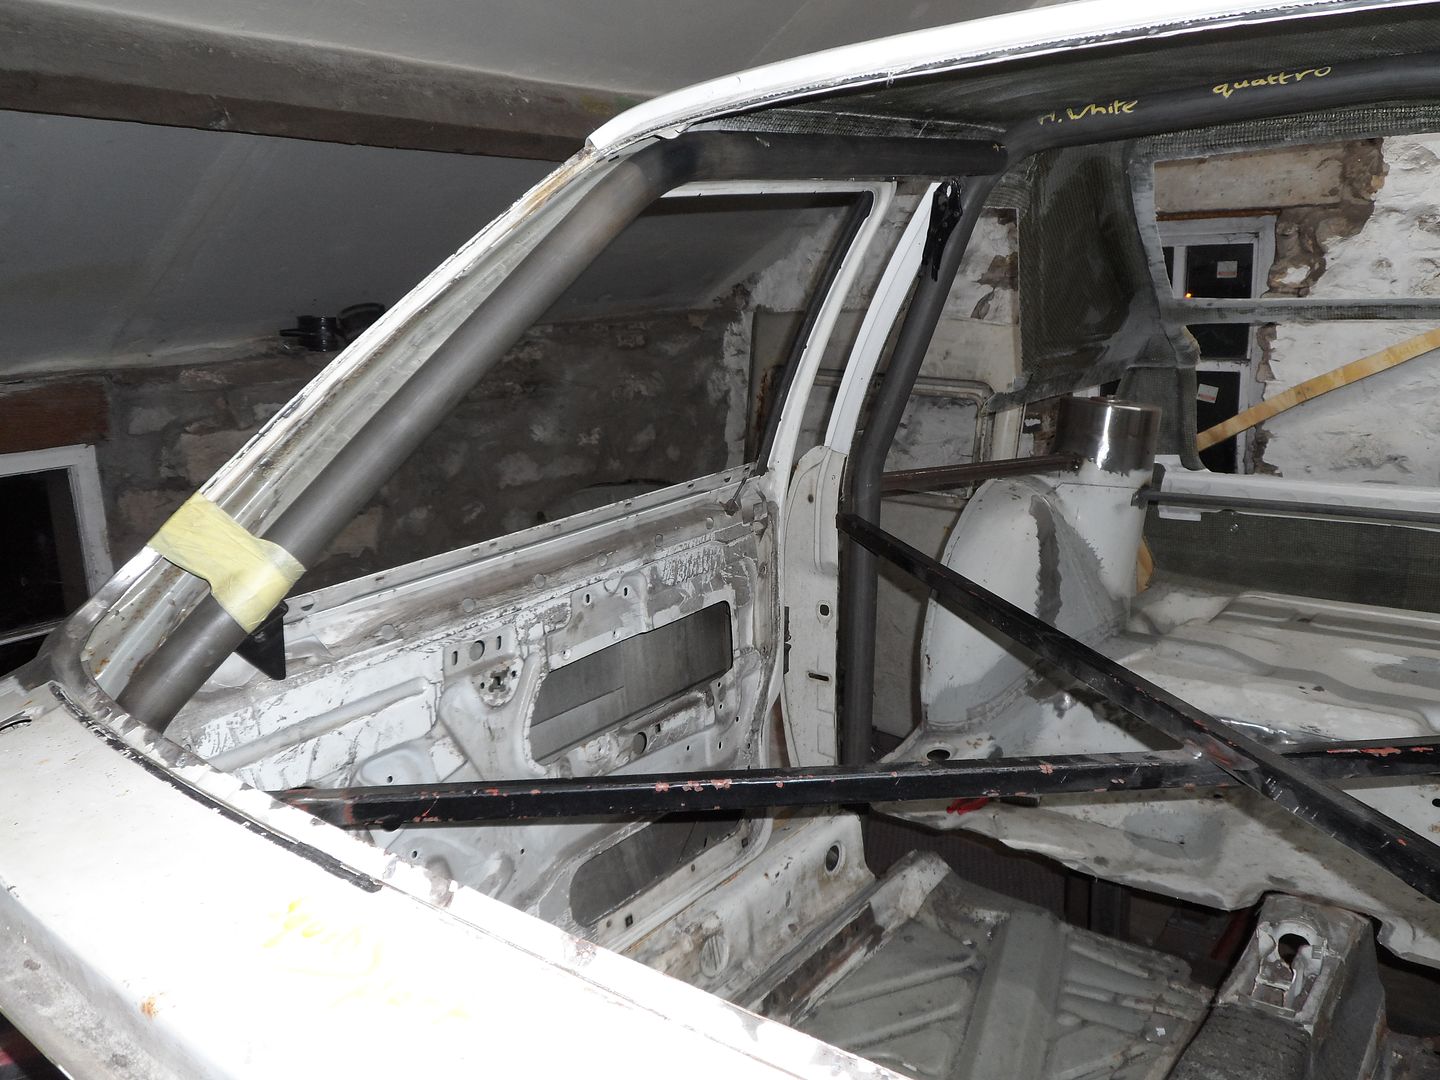
Nice and tight to the A pillars:
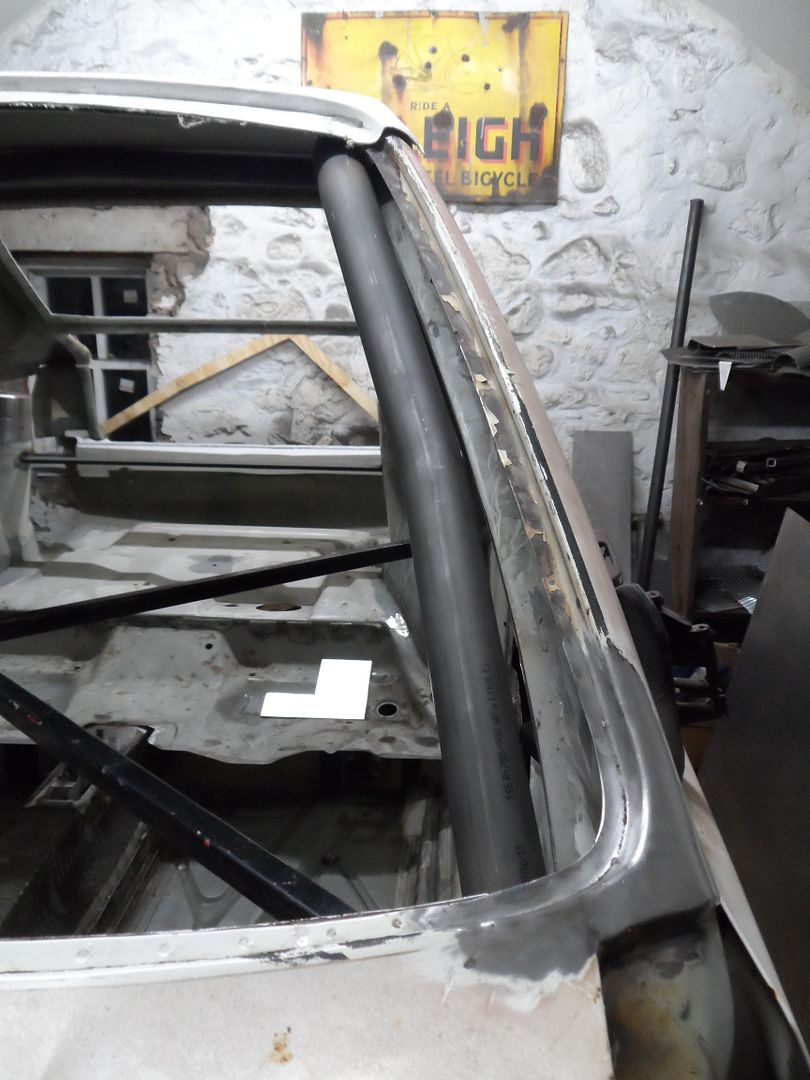
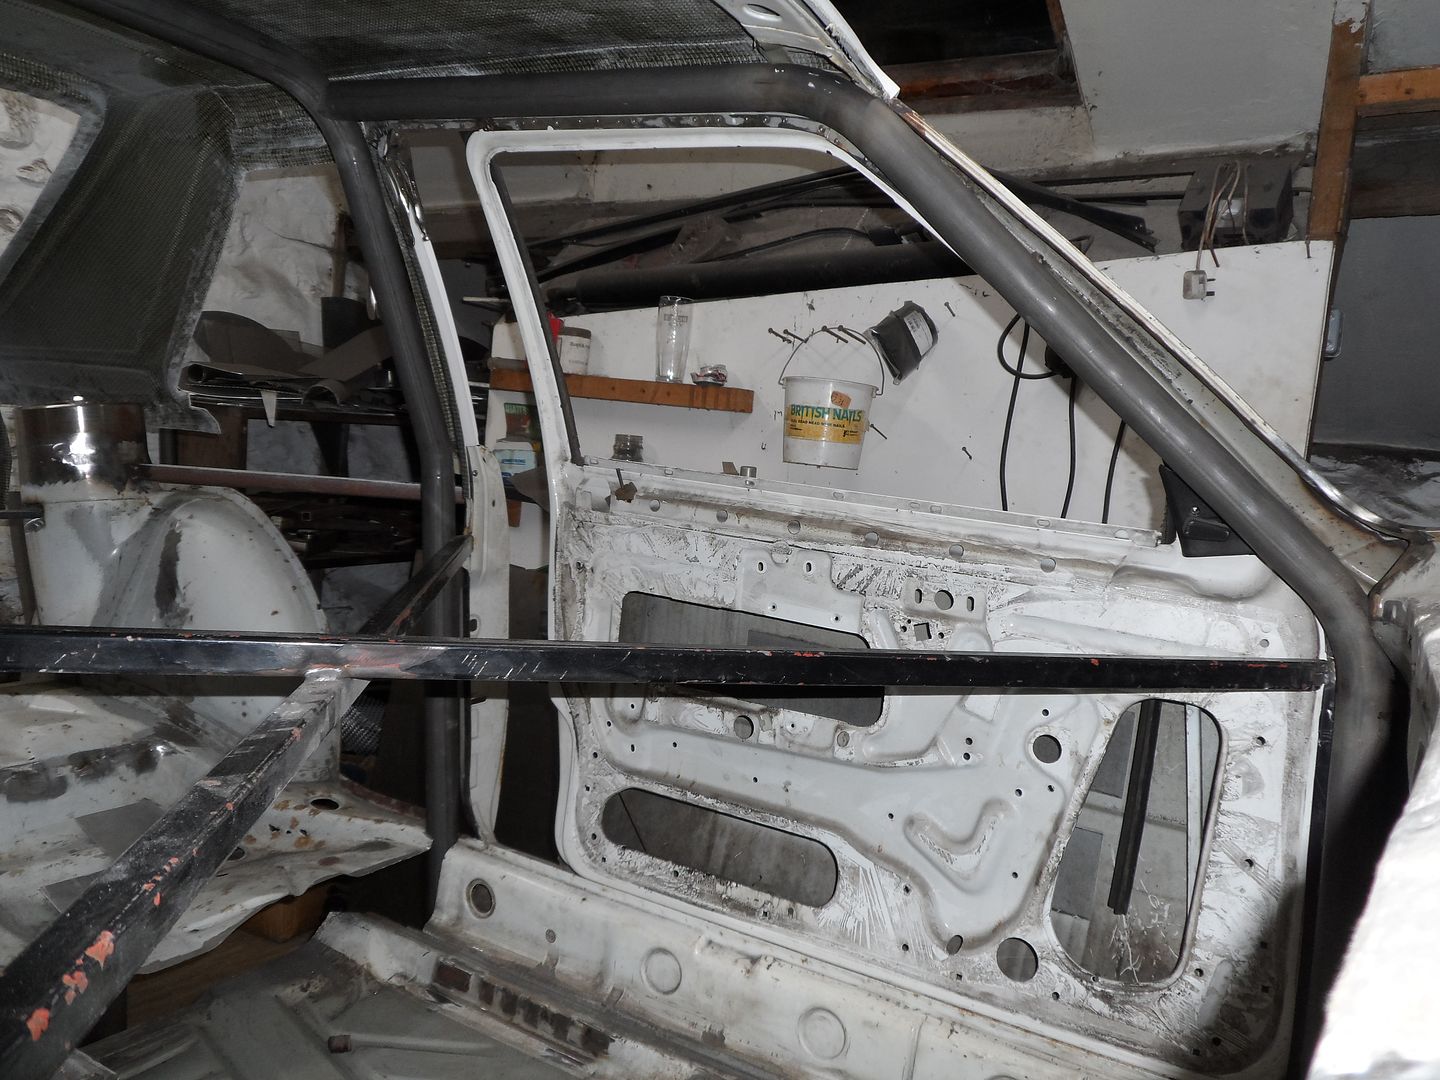
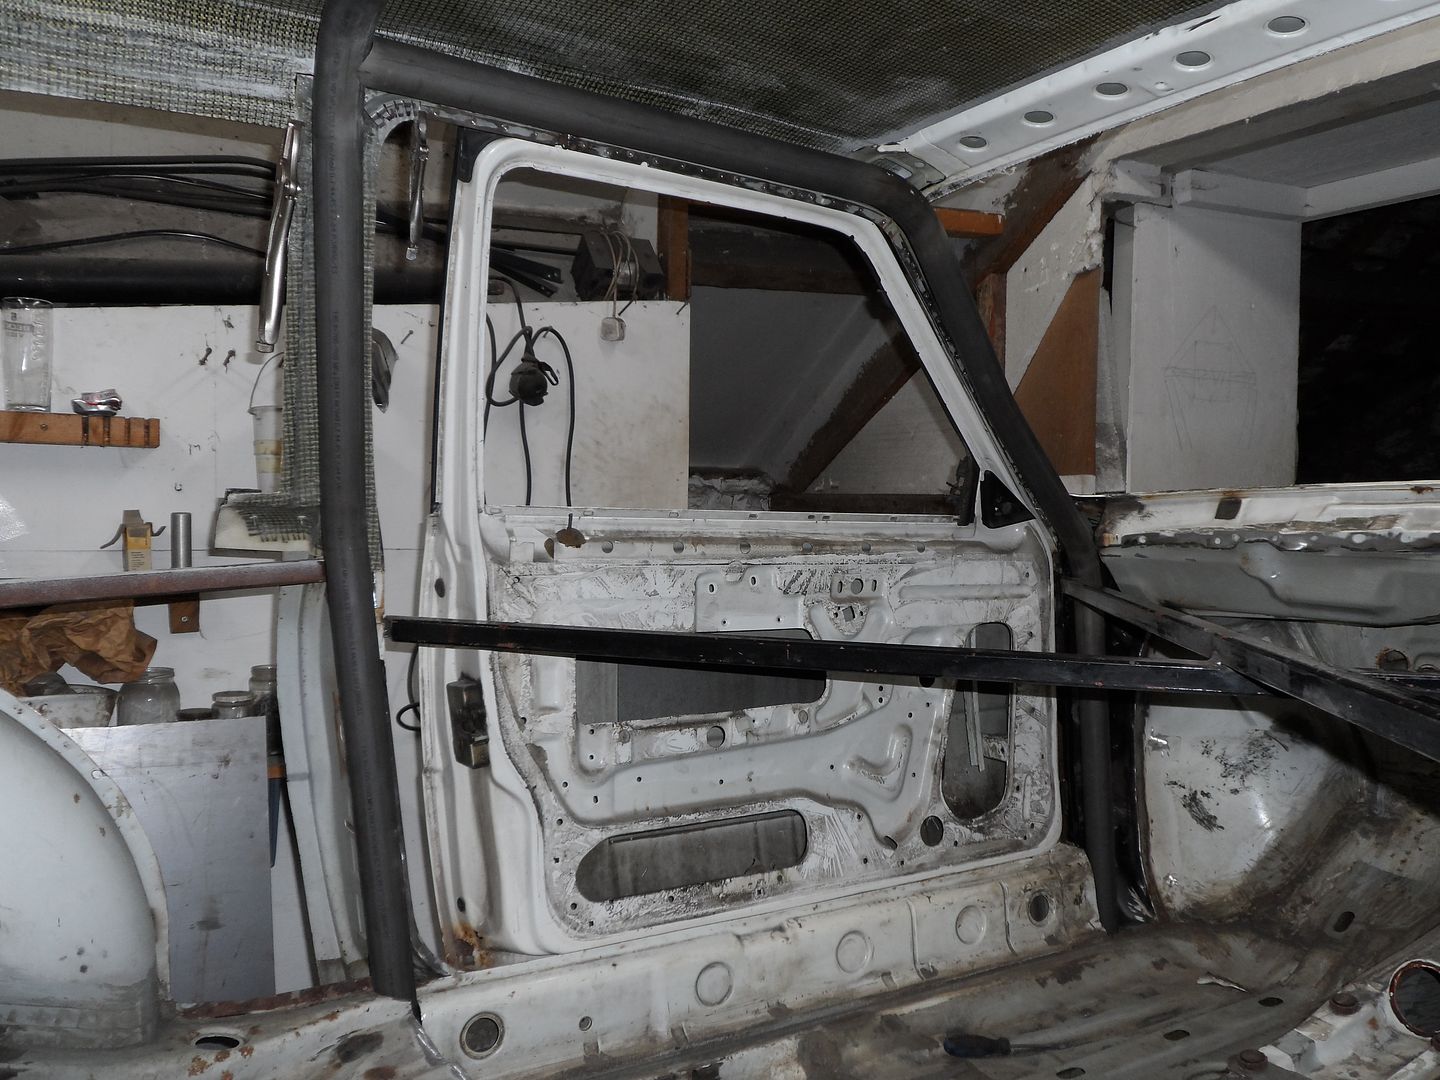
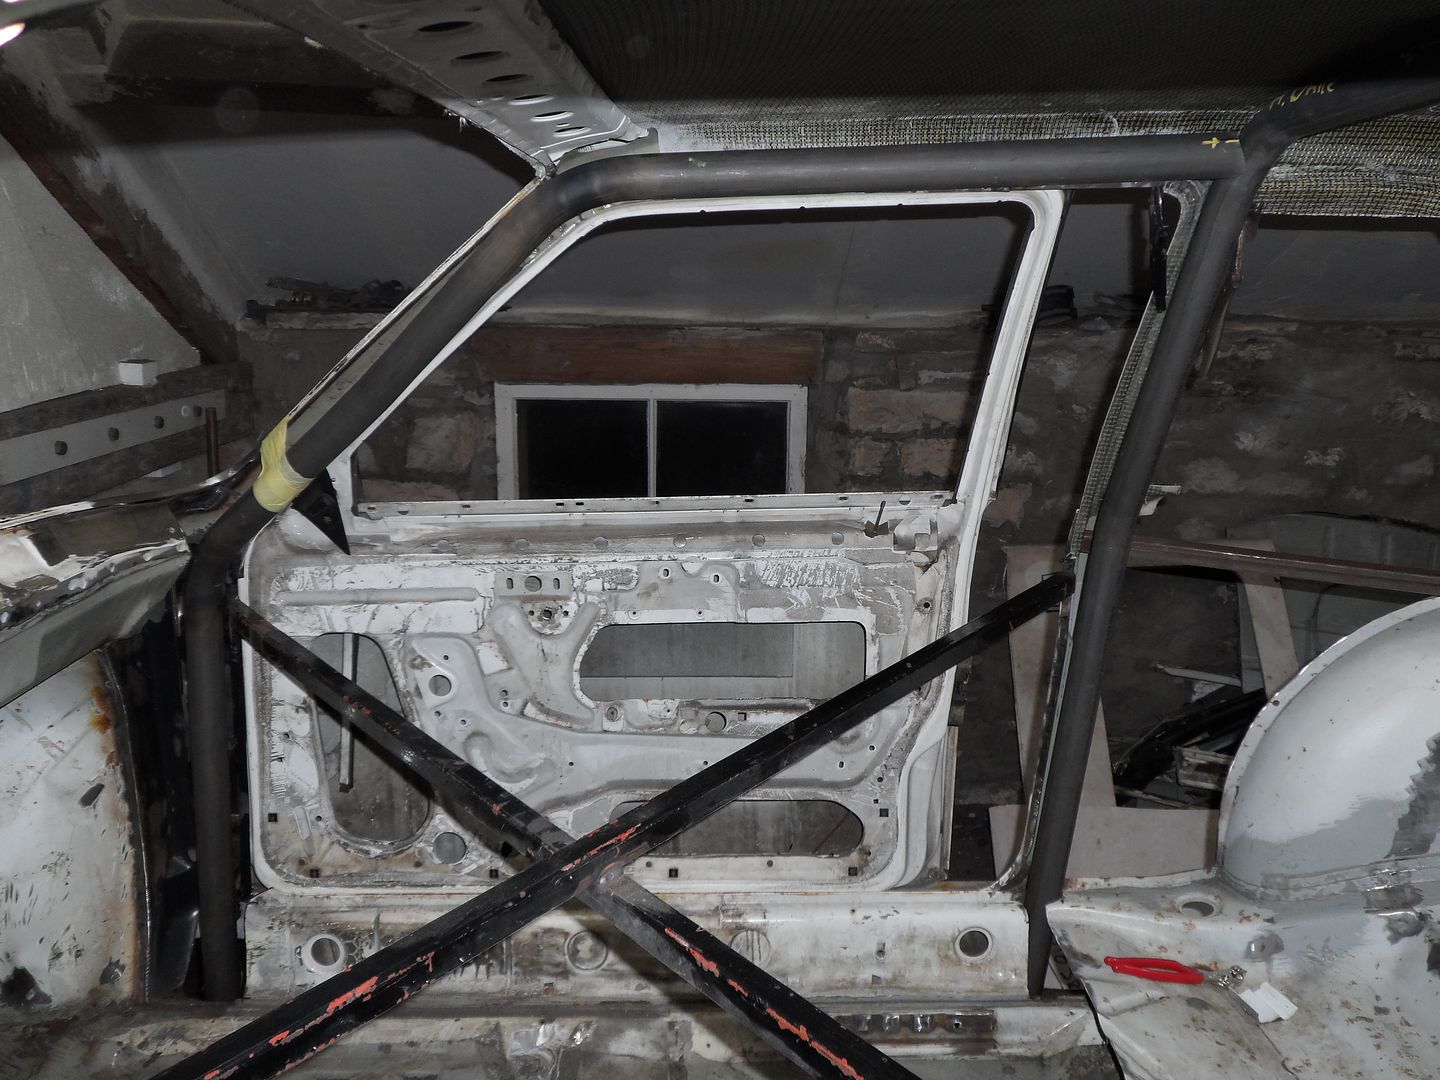
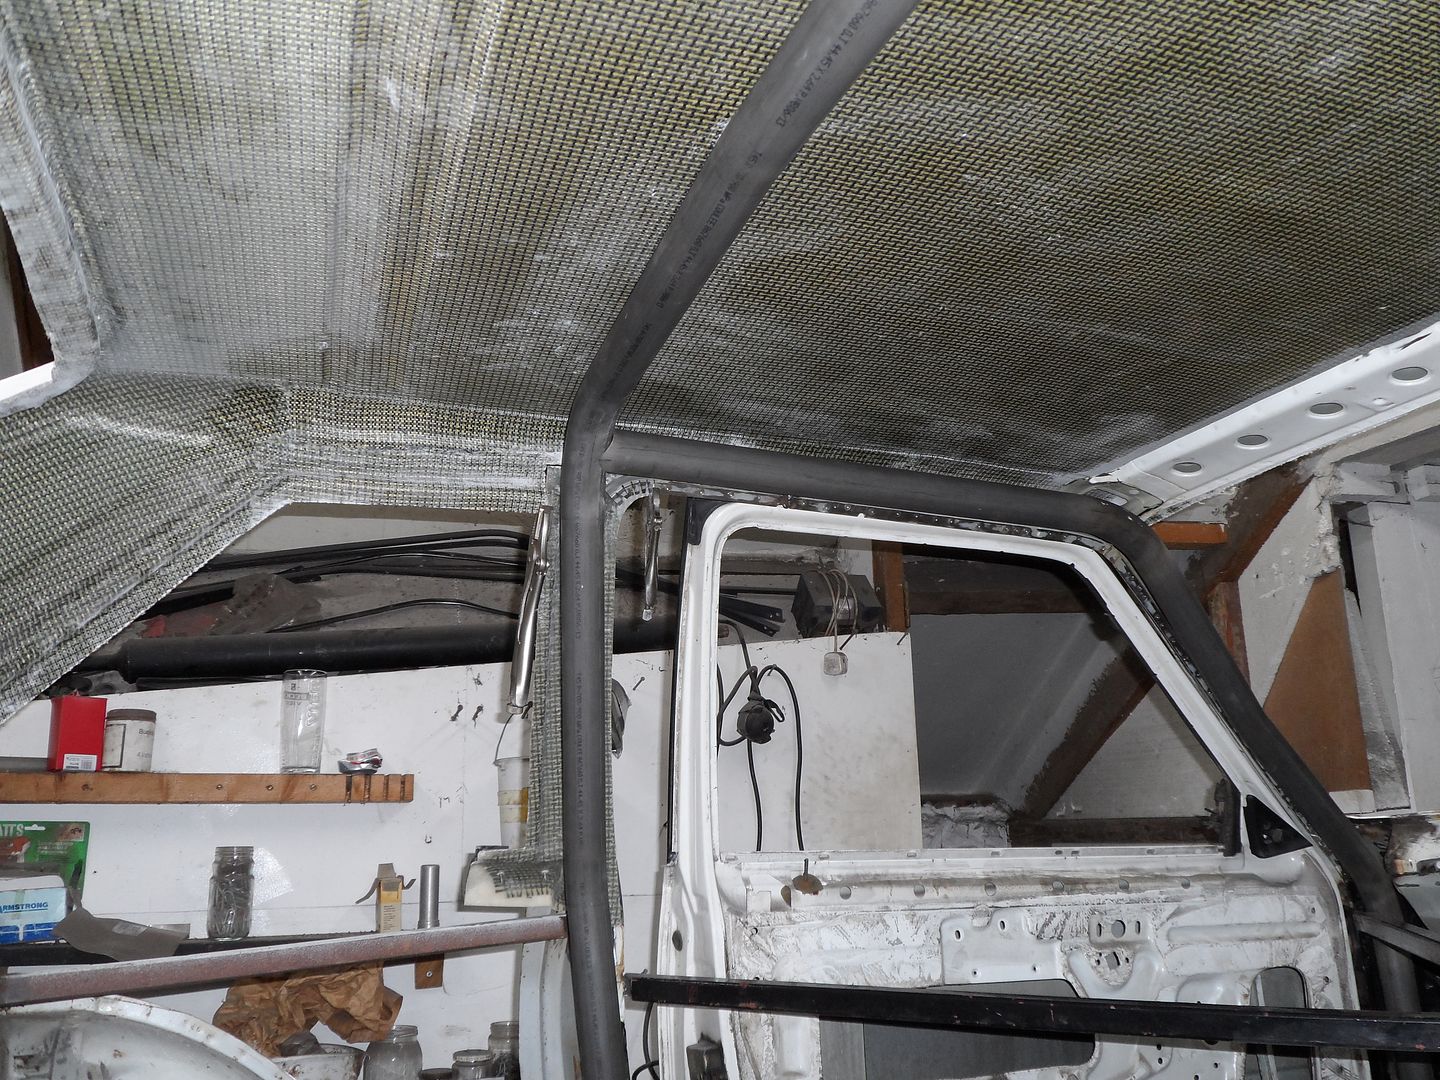
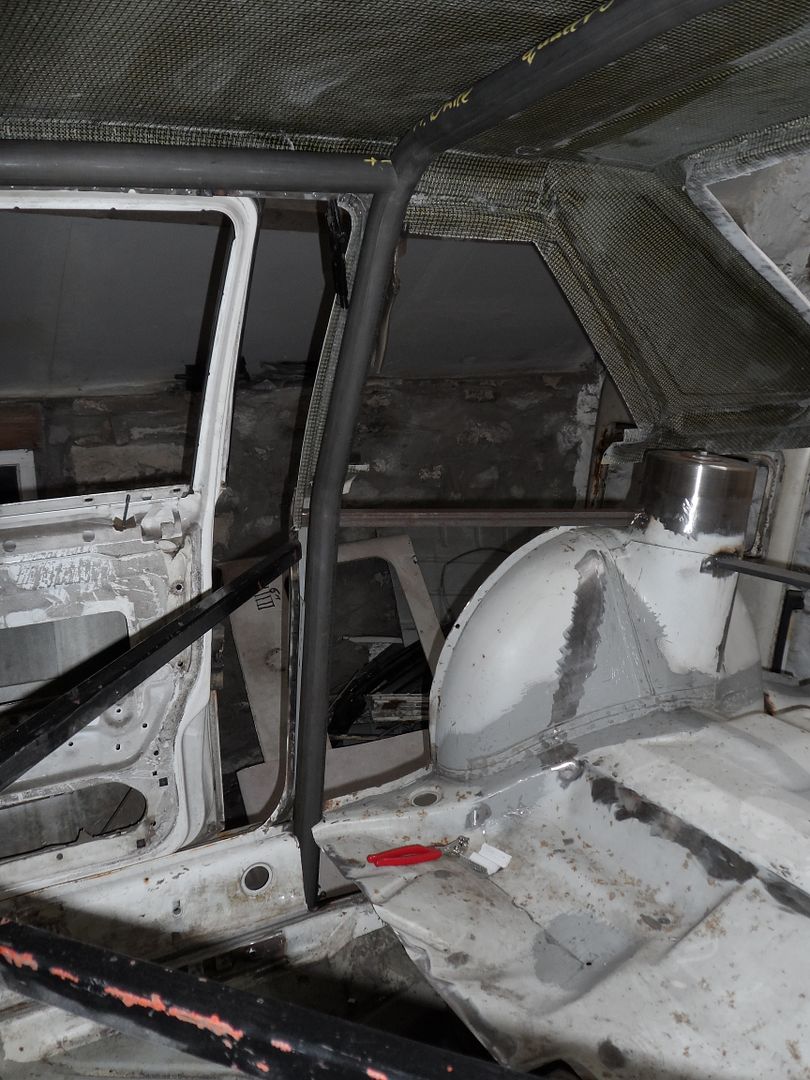
So that is where its up to at the moment. Next job are the rear stays from the hoop onto the new turrets. This will finally put some strength back into the shell and the cage can develop from there.
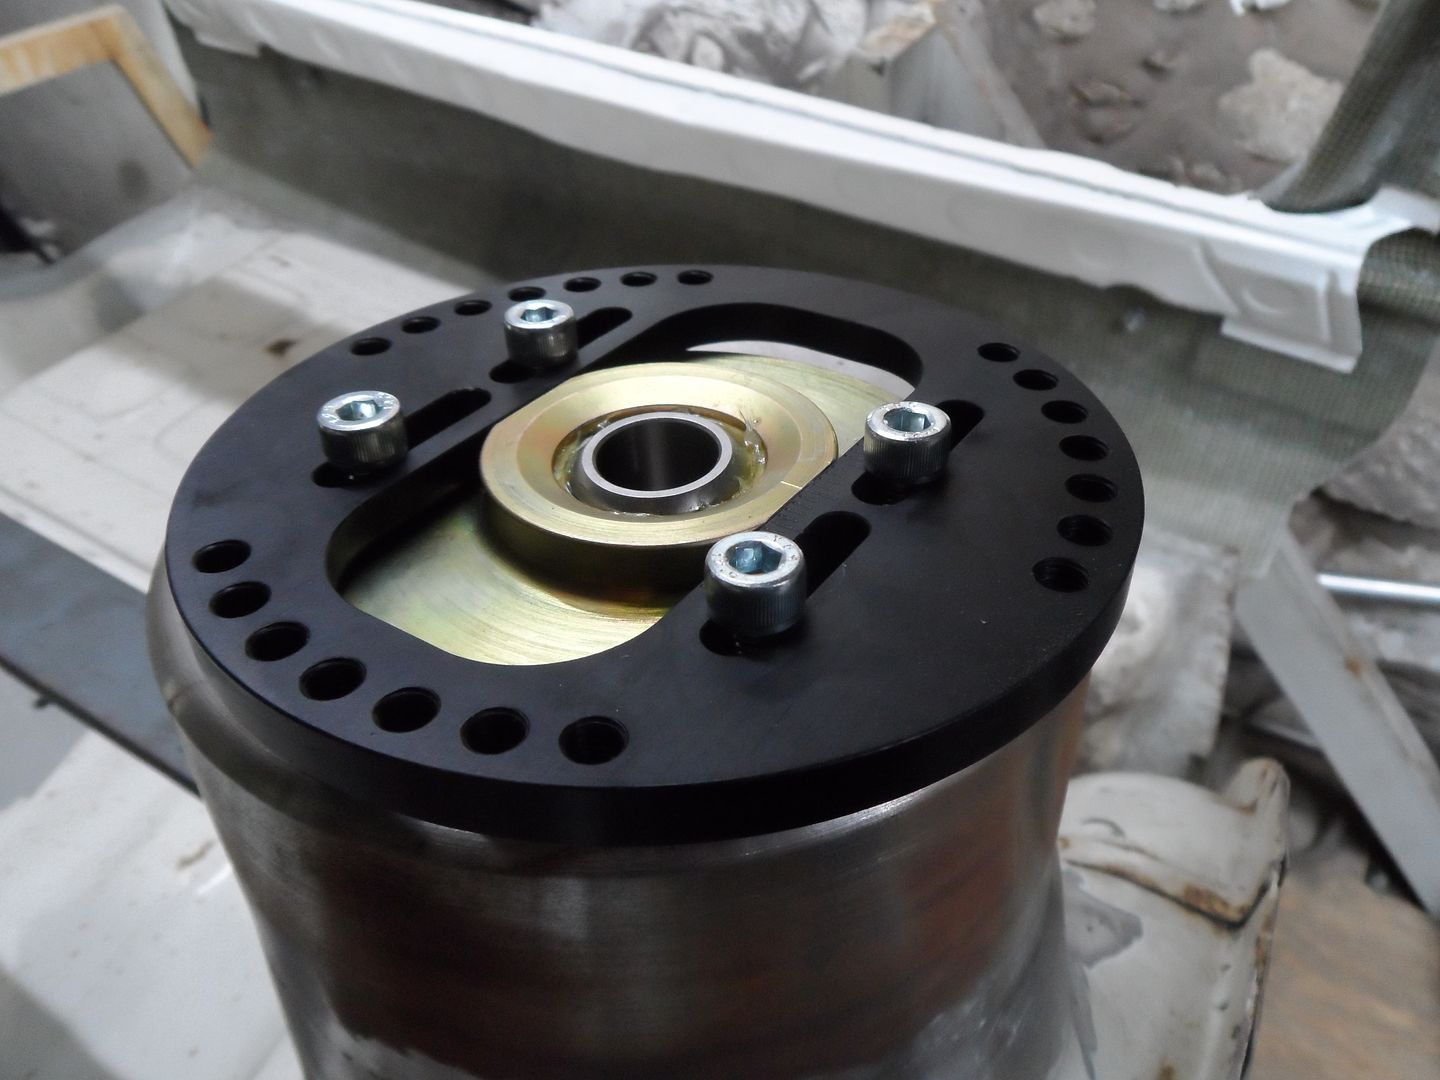
I bought a pair of top mounts for the rear so I can get the tubing in the right place as I want it to sit on top slightly. They are actually designed for a mk2 escort and have huge 20mm aurora bearings in them. I am going to have these bolted to the top of the turrets like modern wrc cars for easy of adjustability.
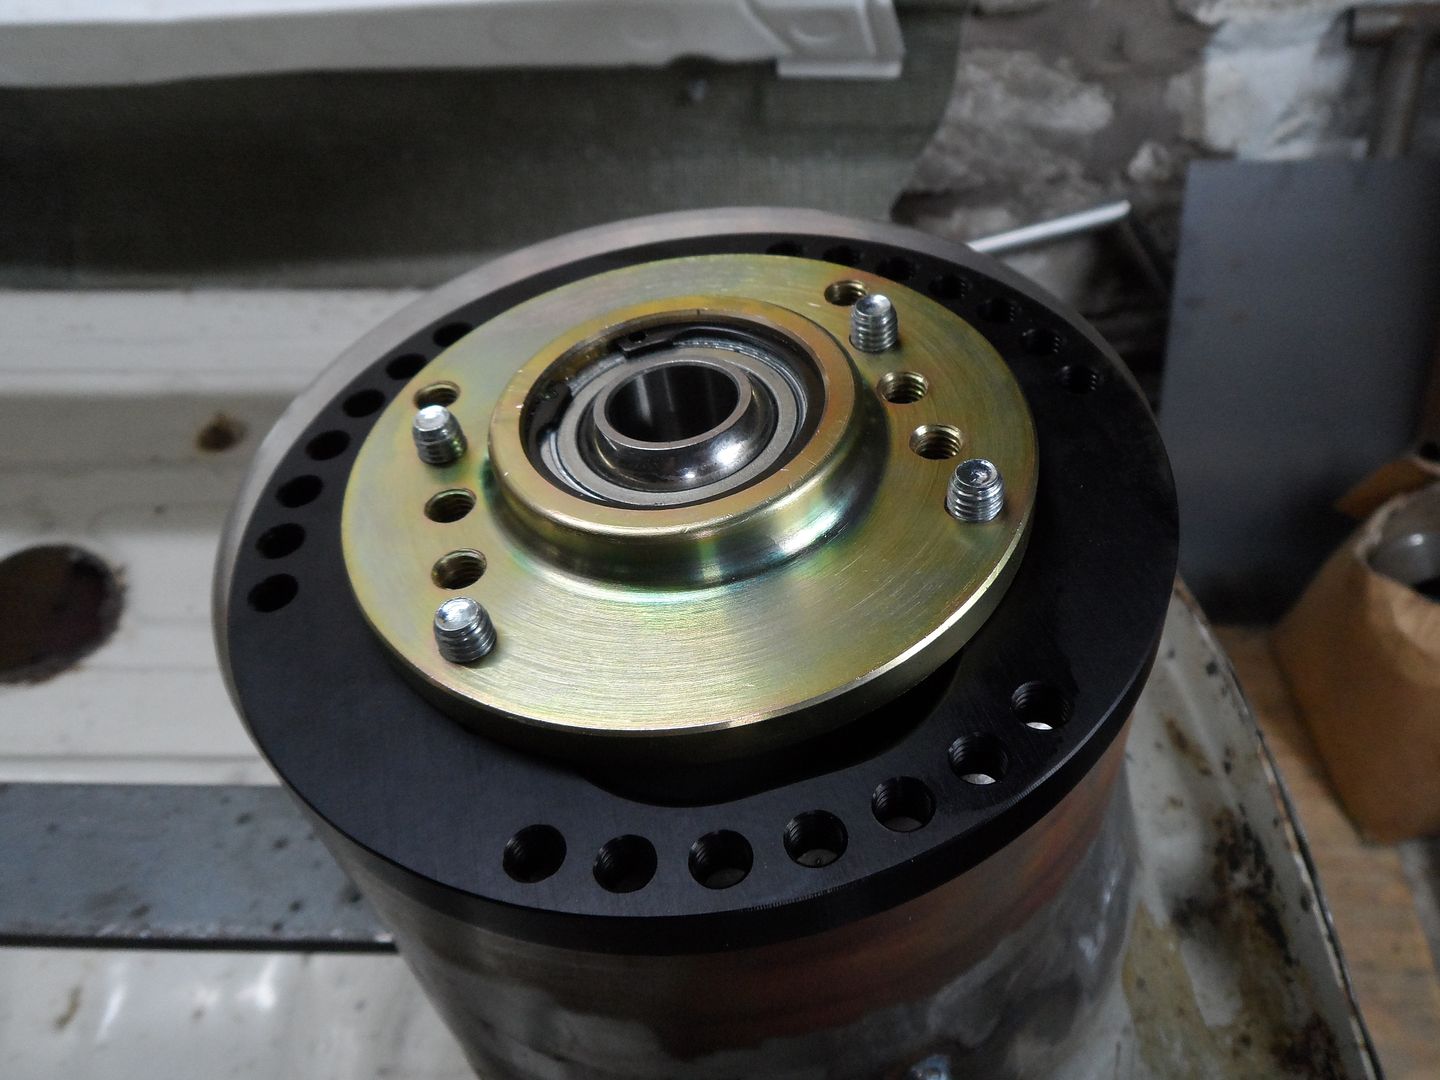
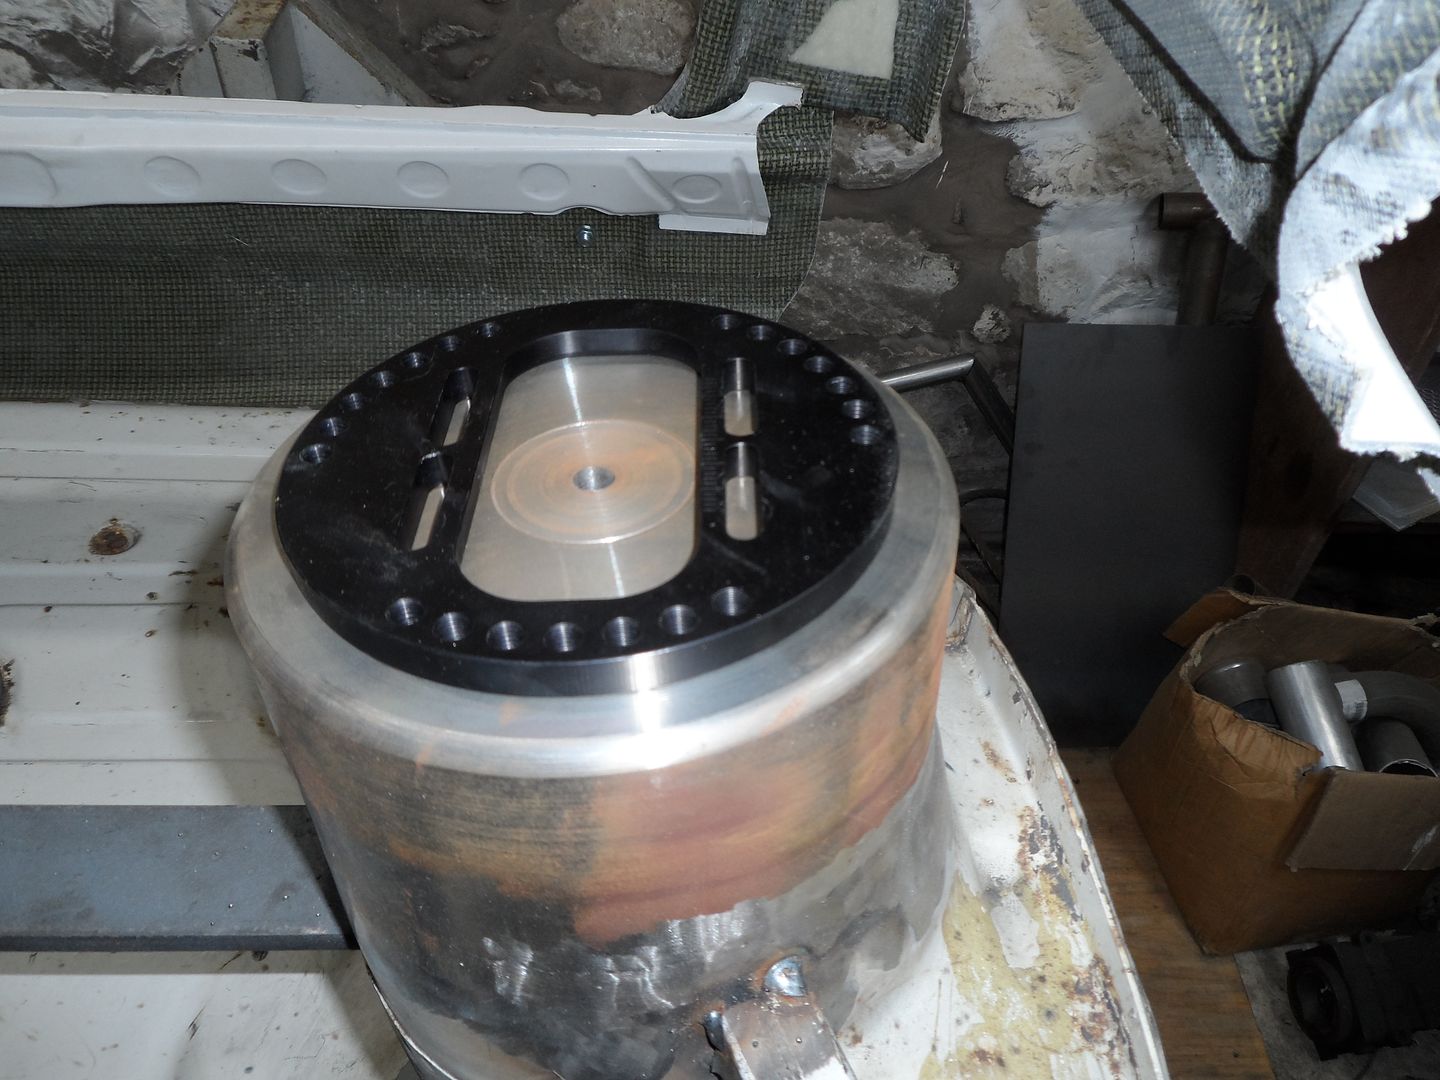
Hopefully should get cracked on with the build at a faster pace now!Leave a comment:
-
Nice work, great to see this one, good to see I'm not the only one who gets the "must improve" bug!! Will be watching keenly!!Leave a comment:
-
raising the front towers has more to do with the type of strut top and if your using remote canisters with hoses out the top, this will limit the height of your top but iam sure your allready onto that,
looks awesome so far
thanks
malLeave a comment:
-
I will be putting the fronts as high as they will go under the bonnet skin. I think I might struggle to get an extra 40mm even with the S1 E2 bonnet bulge but we will see. I will be fabricating the fronts so they follow the same shape as the inner arches I don't like them with a machined piece welded on, a little OCD but hey! I will be having them back to the plate that's at the back of the inner arch so it can run some good caster. Top mounts can be anything off the self with a flat plate to bolt to, I have been eying up the ones that Gaz do.Leave a comment:
-
Excellent workmanship as we are accustomed to on your projects Hamish
Are you planning the same to increase the suspension travel for the front strut towers and what are you planning in terms of top-mounts on the front?
Leave a comment:


Leave a comment: