
 Tweet
Tweet
Did this a few weeks back so thought I would do a quick write up for reference:
Refers to 3B but 99.9% sure the exact same applies to ABY/AAN etc with exception of airbag wheels, there is probably some other connector to disconnect...
Usual disclaimers about follwoing an online guide/tip apply...at your own risk, don't sue my *** etc
Anyway.....here we go for 3B.
Firstly either disconnect the battery negative OR just remove the steering wheel cowl to disconnect the horn.
Now push the horn and turn either left or right until it comes away from the 3 mount points, put to one side.
Assuming the steering wheel is at dead centre, get a 24mm socket and extension, brace the wheel between your legs and undo the nut. Retrieve nut and sprung washer from unside the wheel. (You can skip this stage but I find it easier with the wheel out the way to be honest)
Remove the two screws holding the binnacle into the dashboard...note the clips are probably cracked or broken already as the plastic is brittle.
Wriggle the binnacle out and then using a flat blade screwdriver and working from behind the unit left to right (as you look at it from the front) unclip the connectors. These are U shaped, slip the flatblade under them and gently lever until they click out, then pull the connectors off. They are colour coded so easy to replace without remembering what goes where!
Once all done, unit is free to come out. Stage One complete
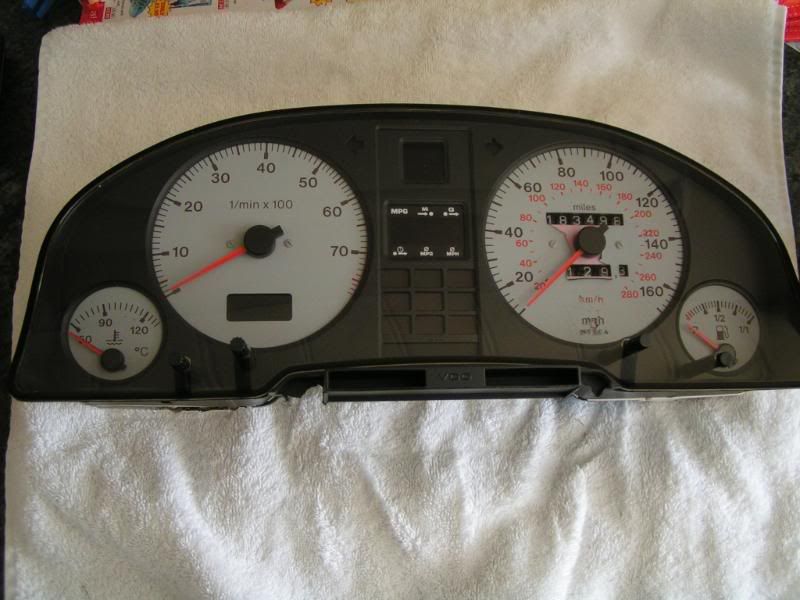
Grab a towel or similar to protect the unit and admire just how bad the peeling etc is
Flip it face down and remove the screws holding the computer/lcd display onto the rear of the unit. unclip the small pcb and wires which clip onto the back of the unit and then tease the whole section off the back....
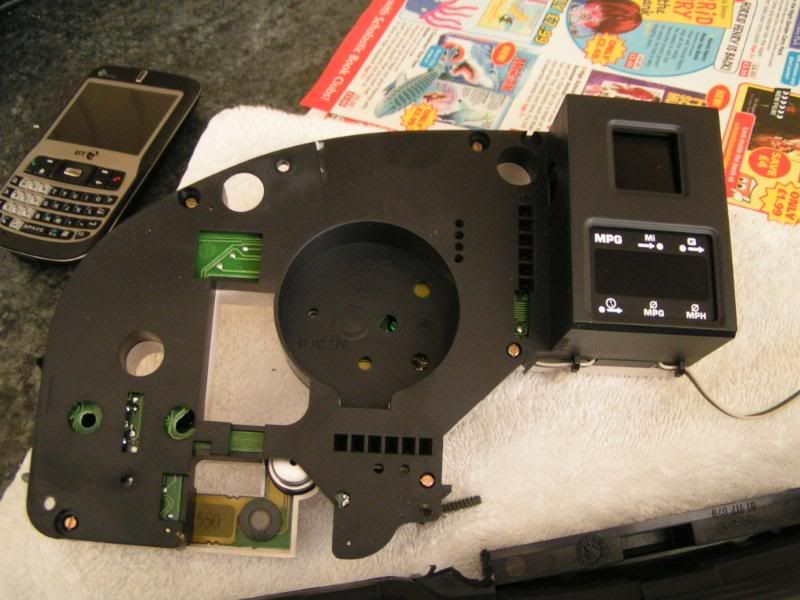
You will then be left with this....
Now the screws holding the rest of the unit vary from model to model and year to year, mine had small torx screws (T10 from memory) but they could be anything...
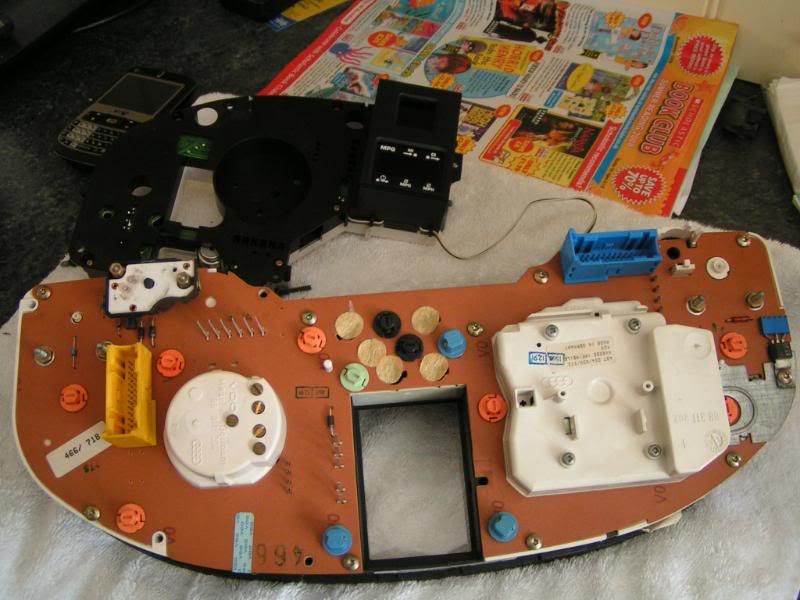
Work round the unit removing the screws until all out....then carefully separate the board and clocks (complete) from the unit. NOTE the fuel guage adjuster knob will either fall out or remain in the unit, don't panic its fine.
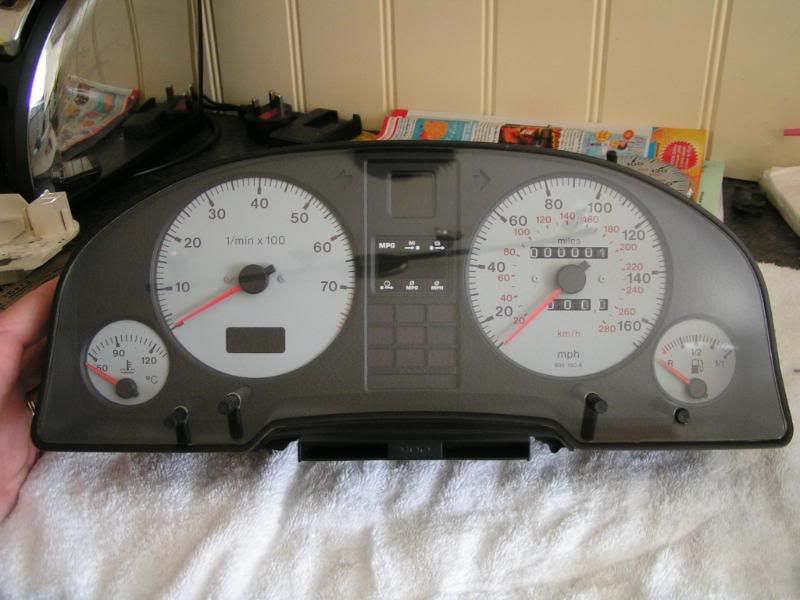
This is what you have now:
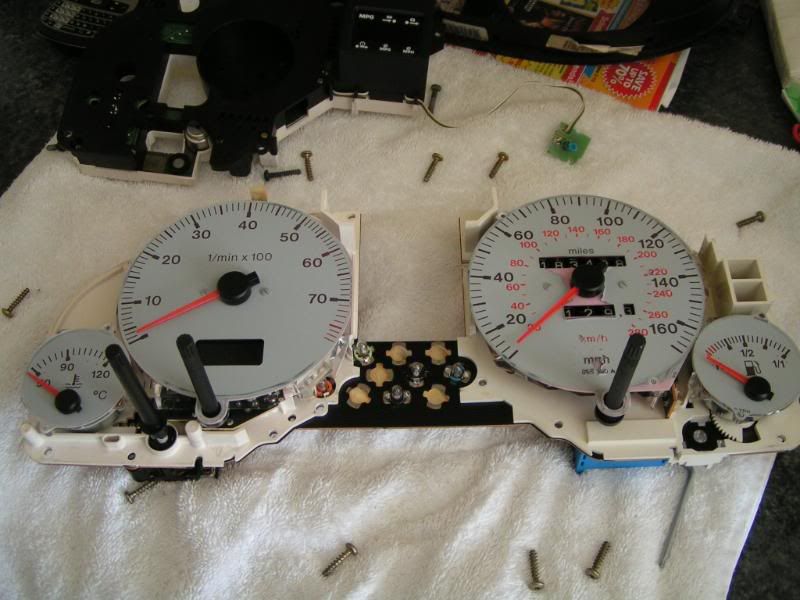
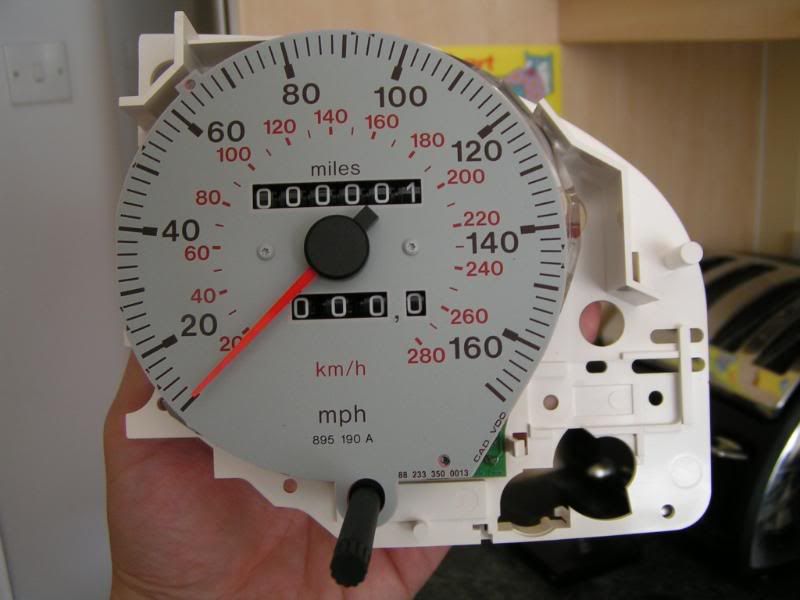
The new speedo will be as a complete unit with rear plastic surround, so you will need to remove the current one first....I tried to just replace the clocks but the newer part has a small groove which interfers with the old backing plate
Remoe the two nuts and washers from the back of the fuel guage and gently unclip, then you can simply remove the speedo and platsic back.
Refers to 3B but 99.9% sure the exact same applies to ABY/AAN etc with exception of airbag wheels, there is probably some other connector to disconnect...
Usual disclaimers about follwoing an online guide/tip apply...at your own risk, don't sue my *** etc
Anyway.....here we go for 3B.
Firstly either disconnect the battery negative OR just remove the steering wheel cowl to disconnect the horn.
Now push the horn and turn either left or right until it comes away from the 3 mount points, put to one side.
Assuming the steering wheel is at dead centre, get a 24mm socket and extension, brace the wheel between your legs and undo the nut. Retrieve nut and sprung washer from unside the wheel. (You can skip this stage but I find it easier with the wheel out the way to be honest)
Remove the two screws holding the binnacle into the dashboard...note the clips are probably cracked or broken already as the plastic is brittle.
Wriggle the binnacle out and then using a flat blade screwdriver and working from behind the unit left to right (as you look at it from the front) unclip the connectors. These are U shaped, slip the flatblade under them and gently lever until they click out, then pull the connectors off. They are colour coded so easy to replace without remembering what goes where!
Once all done, unit is free to come out. Stage One complete
Grab a towel or similar to protect the unit and admire just how bad the peeling etc is
Flip it face down and remove the screws holding the computer/lcd display onto the rear of the unit. unclip the small pcb and wires which clip onto the back of the unit and then tease the whole section off the back....
You will then be left with this....
Now the screws holding the rest of the unit vary from model to model and year to year, mine had small torx screws (T10 from memory) but they could be anything...
Work round the unit removing the screws until all out....then carefully separate the board and clocks (complete) from the unit. NOTE the fuel guage adjuster knob will either fall out or remain in the unit, don't panic its fine.
This is what you have now:
The new speedo will be as a complete unit with rear plastic surround, so you will need to remove the current one first....I tried to just replace the clocks but the newer part has a small groove which interfers with the old backing plate
Remoe the two nuts and washers from the back of the fuel guage and gently unclip, then you can simply remove the speedo and platsic back.

 Are you not going to adjust your mileage? Its pretty straight forward


 )
)


 (just need the RS2 Airbox)
Comment