Announcement

Collapse
No announcement yet.

S4/S6 How to change the window slider?

Collapse
X
 
  • Filter
  • Time
  • Show
Clear All
new posts

  • S4/S6 How to change the window slider?

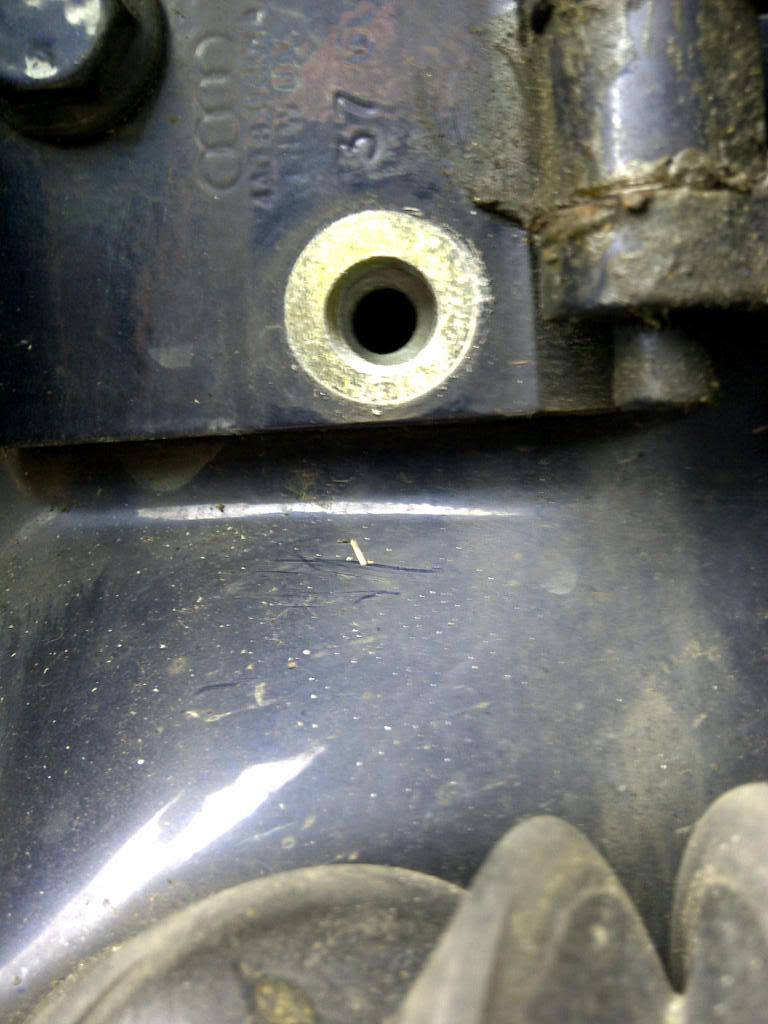
    After a bit of investigation to try and seal the windows of the front doors I discovered that both of my guide pins for the window on the passenger side are corroded. One is broken, I can't confirm the other until I remove the whole assembly.


    Note: parts 27 & 28 are different and don't have part codes stamped on them.


    Note: parts 25 & 24 are different and don't have part codes stamped on them.
    Last edited by s2_wot; 3 July 2011, 13:34. Reason: Pic updated to show part numbers
    Shane

  • #2
    Ok by way of making a guide for others to follow:

    1 Remove inner door trim.

    There are 2 screws to be removed at the top of the door trim, one at the front and one at the rear.


    Then behind this piece of trim are the remaining 2 screws:


    Remove that part held on by the 2 screws:


    The door trim can then be removed by lifting up and then out. Gently.

    2 Disconnect the following parts

    The window switch loom connection
    The window motor loom connection
    The loom connection for the speakers
    Then the cable for the internal door handle it just pops out just behind the handle itself.

    Then you will have the vapour barrier / insulation to remove. In my case it's been out a few times now and just fell out on the ground.


    3 Remove the wing mirror.

    So take off the trim on the inside, it will pry off with a little bit of pressure to reveal 2 screws.


    Just as the mirror lifts take care to unplug it from the wiring loom.

    4 Remove the door inner panel.

    To facilitate this I had to reconnect the electrics to lower the glass a bit. worth doing tho as it allows you to handle the inner door frame.

    There are 4 of these set screws to be removed, 2 at the front and 2 at the rear. 13mm socket.


    5. Remove inner door assembly.

    At this stage the entire assembly shown in the ETKA shot at the top of the page will lift out. No photo of this as both my hands were occupied.

    6. Remove the glass from the assembly.

    This was easy in my case as both of the little holders were broken so only the seal was holding it in place along with pressure from below. No particular order on these shots:


    7 Remove the worn out parts from the glass.

    Weapon of choice. 4" angle grinder with a thin steel cutting disc.


    Then mask off the window completely because glass does not like hot sparks.


    On both sides of the bracket cut a slot with the cutting disc:


    Then stand the glass up and with 2 opposing flat head screw drivers twist the outer and inner parts to open.


    Note that part 24 in the etka drawing at the top of the page wasn't available in time so I had to reuse them. I'm not sure if it's NLA or not.

    Shane

    Comment


    • #3
      8 Reassemble the glass with old and new parts.


      I tightened it with a screwdriver until it was good and tight and then a little bit for good luck. it's only a tiny thread so don't go too mad. I didn't use locktite as there didn't seem to be any on the originals.

      9 Re assemble the glass into the frame, it's a bit of messing. In the end it's better if you put the front in 1st.


      10 Reassemble the frame into the door taking care to route the manual door locking lever.

      When reassembling the frame the 4 13mm hex heads have a bit of room for adjustment. I set them in the lowest place.

      11 Cup of tea

      12 Adjust door hinges

      Before refitting the insulation and trim etc I took a moment to adjust the hinges on the door as I've been having air leakage from the top rear of the door at high speeds.


      You will know if this step is needed by slowly closing the door. Before it engages the door latch if it looks like this then it needs adjusting.


      Loosen all of the bolts. Get a helper to lift the door. Tighten bolts. Check and readjust or tighten them home.

      13 Then set the height of the inner frame in the outer frame.

      This was as good as I could get it.


      Tighten those 4 13mm hex

      14 re install mirror

      15 re install vapour barrier / insulation

      Mine is taped up properly now and won't fall off next time.

      16 re install door trim.

      Connect the electrics 1st and then the cable for the internal door handle. It can be a PITA you've got to manipulate the hook into the receiver and then the little metal part into its receiver.

      It will help if you reconnect the electrics and lower the window to the bottom for this step as the manual locking lever is a PITA to get lined up.

      Checks:

      window function
      central locking
      mirror
      speakers
      door opening and closing with both handles
      door locking nicely when closed


      Good as new. More tea.
      Shane

      Comment


      • #4
        s4/s6 how to change the window slider?

        good job shane at least you stoped for tea.

        Comment


        • #5
          The next things going in that shed are a fridge and a kettle.
          Shane

          Comment


          • #6
            Epic DIY post there Shane. Good on you.

            Dave F.
            RS2'd 93 UrS4 5 spd sedan
            94 UrS4 V8 6 spd manual avant

            Comment


            • #7
              Thanks Dave.

              Post 1 updated to show a complete shopping list. I had to reuse part # 24 which was far from ideal. I'd wait for a complete kit if I had to do it again.
              Shane

              Comment


              • #8
                Can you change the motor on its own without removing other stuff? I need to change mine.
                Audi A6 AEL 5cyl Quattro breaking.
                Audi A5 3.0tdi Quattro Stage 2
                07947385043

                Comment


                • #9
                  Yes the motor can be taken off with just the door trim removed.
                  Shane

                  Comment


                  • #10
                    Thanks easy job remiving?
                    Audi A6 AEL 5cyl Quattro breaking.
                    Audi A5 3.0tdi Quattro Stage 2
                    07947385043

                    Comment


                    • #11
                      10 minutes (ish)
                      Shane

                      Comment


                      • #12
                        Cool thanks job for the days off
                        Audi A6 AEL 5cyl Quattro breaking.
                        Audi A5 3.0tdi Quattro Stage 2
                        07947385043

                        Comment

                        Working...
                        X