-
For what this cost me so far I could have bought an S2
-
It's time. The mirrors bases and cases have been beautifully refinished (even masked in exactly the same place as original), polished and posted back to me for the rebuild. I promised I'd do the same walkthrough to put them back together again so here goes.
First things first, the painted parts returned. The bases were bead blasted and etch primed before masking and painting. They're absolutely flawless.
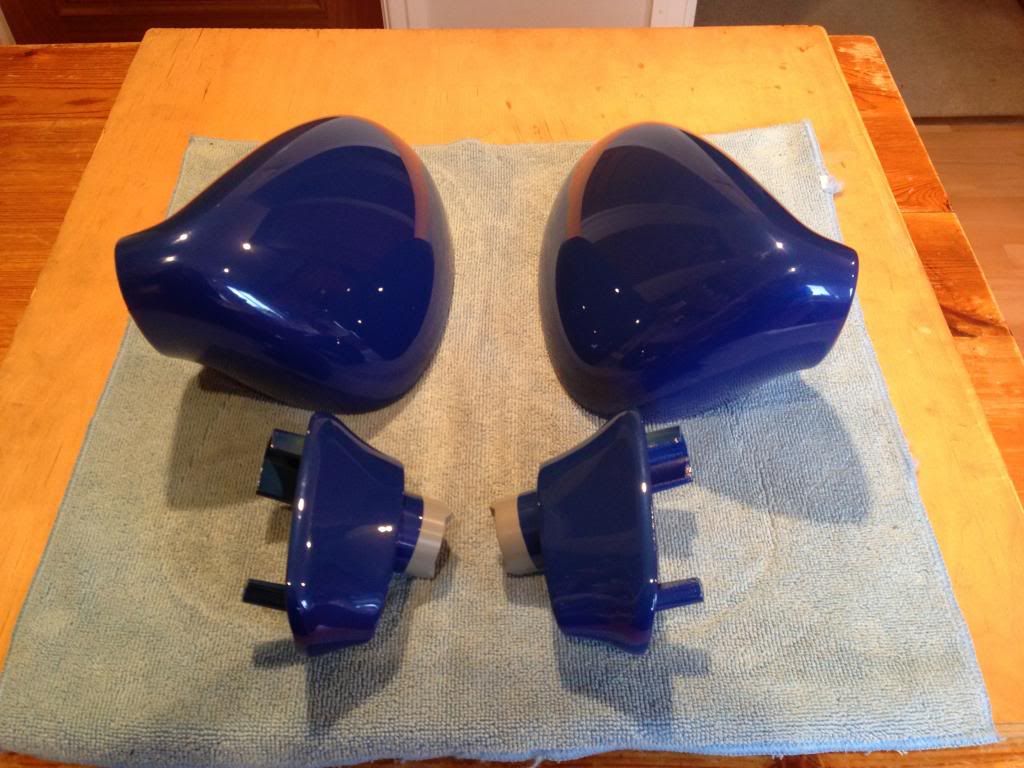
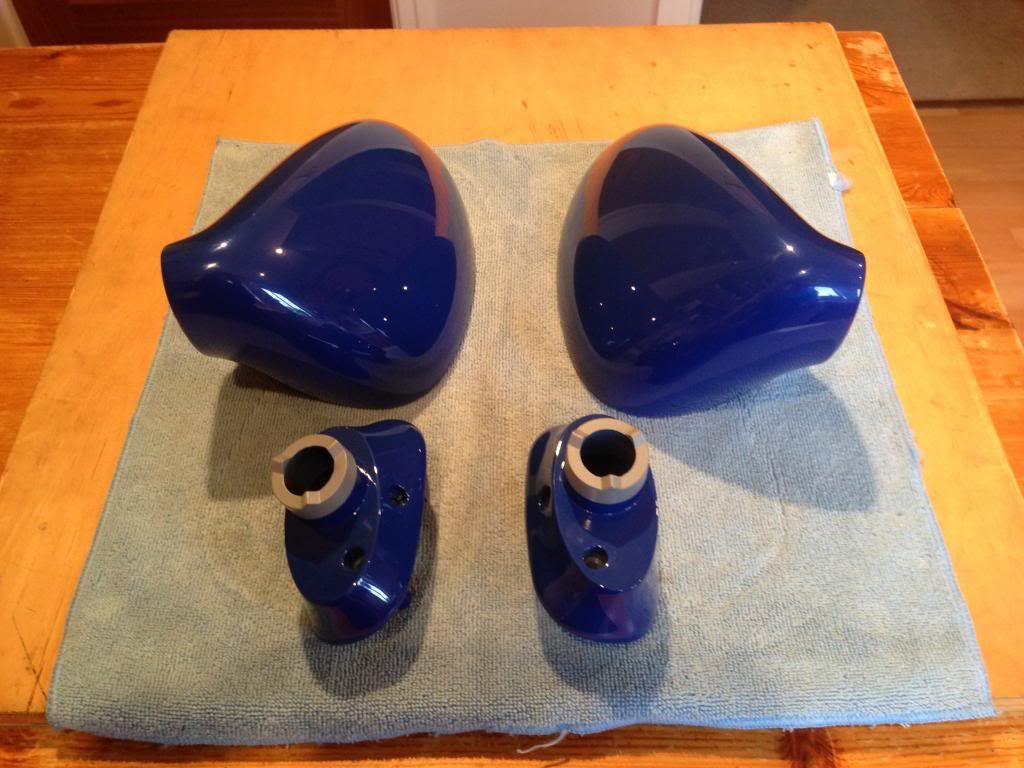
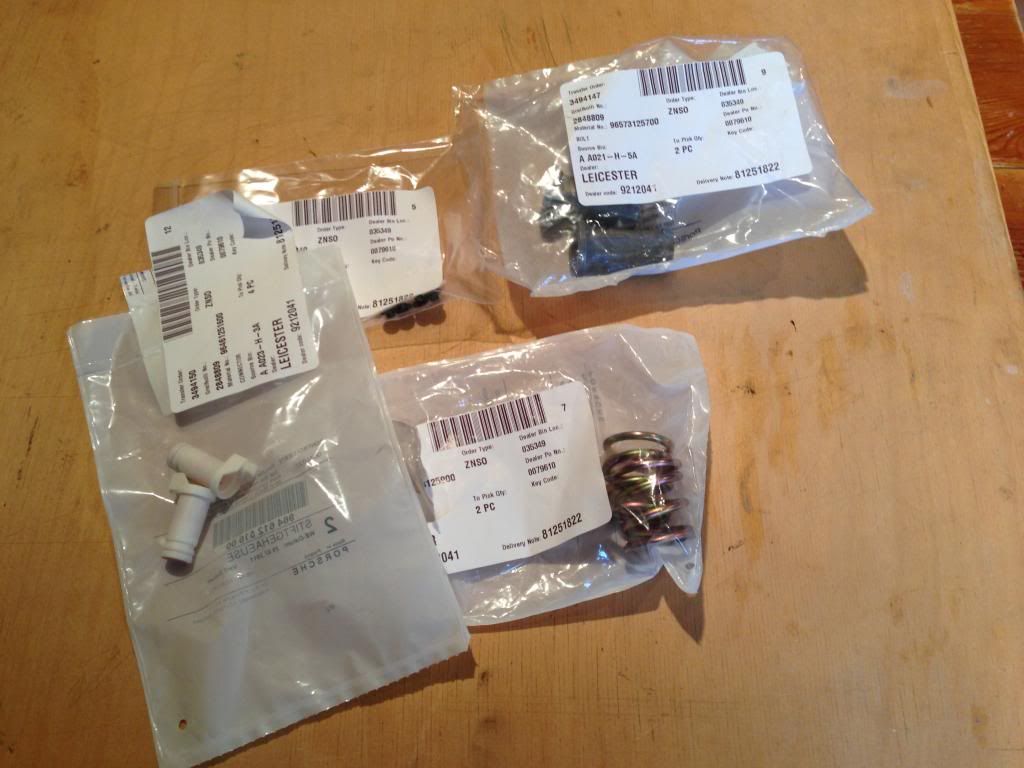
Quite a few of the mirror parts are NLA from Audi. Thankfully Porsche have got our backs. Cheaper than direct from Audi too. I decided I'd put in new springs and pivots as they'd lost a fair bit of plating and were starting to go a little crusty. I also got some new electrical connectors and the little plastic plugs that fit into the mirror bolts, which I thought was worth doing while everything's apart.
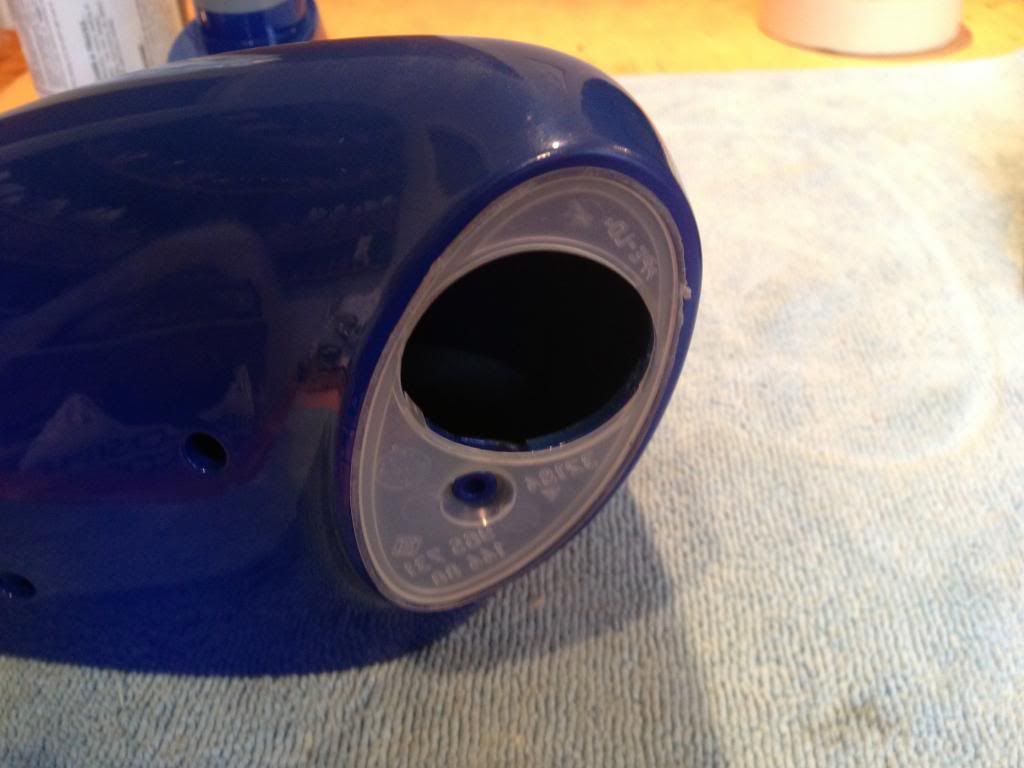
Right, lets get started. Place the clear plastic gasket onto the bottom of the mirror case first, you'll be really upset with yourself if you leave this out
These are the next set of parts needed
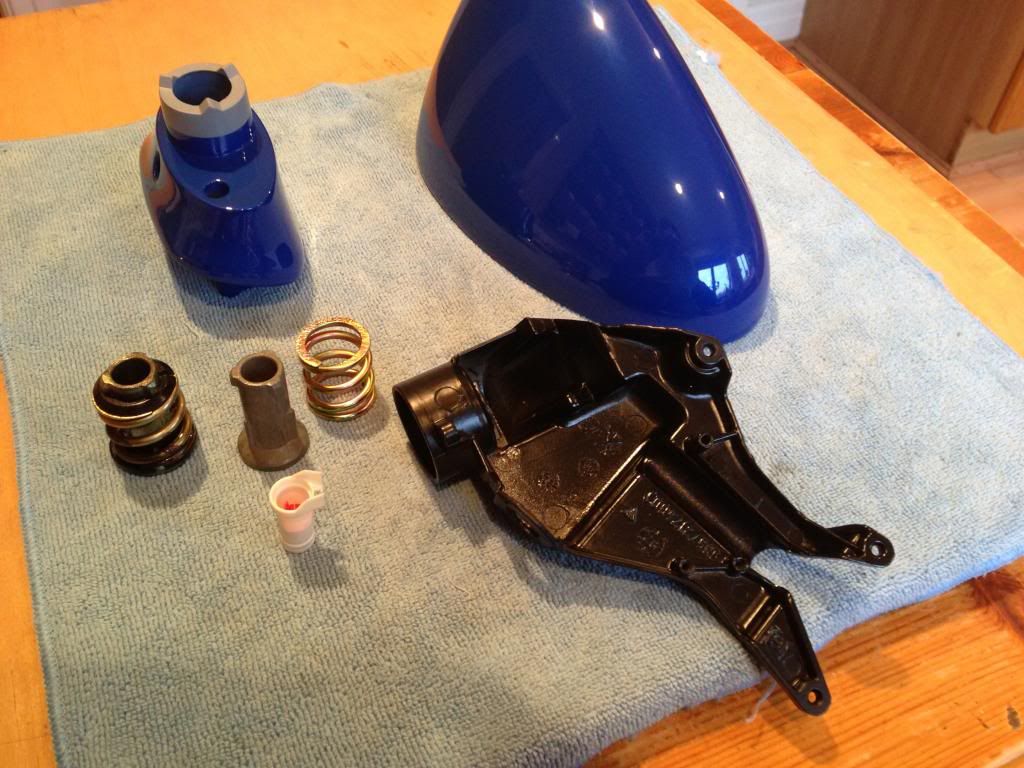
New pivot and spring. I kept the original collars as they're in good condition
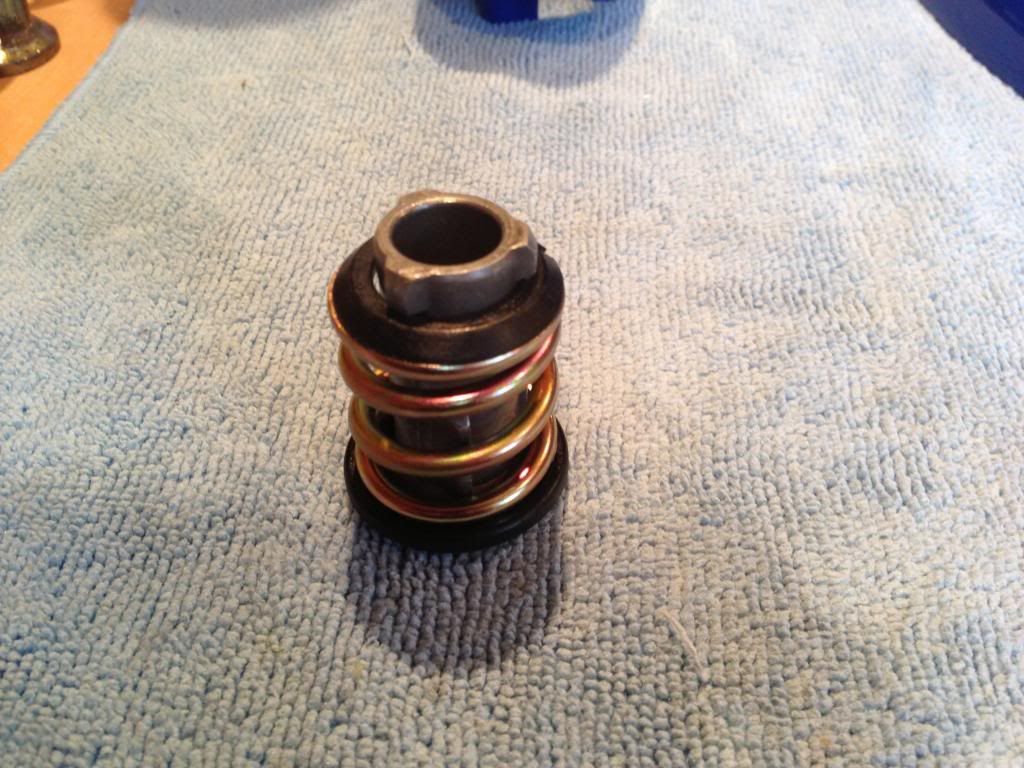
I lithium greased both pivot positions and also wrapped the base in masking tape just as a precaution as there's a huge amount of physical effort to compress that spring on the pivot. It'd be a disaster to damage the new paint.
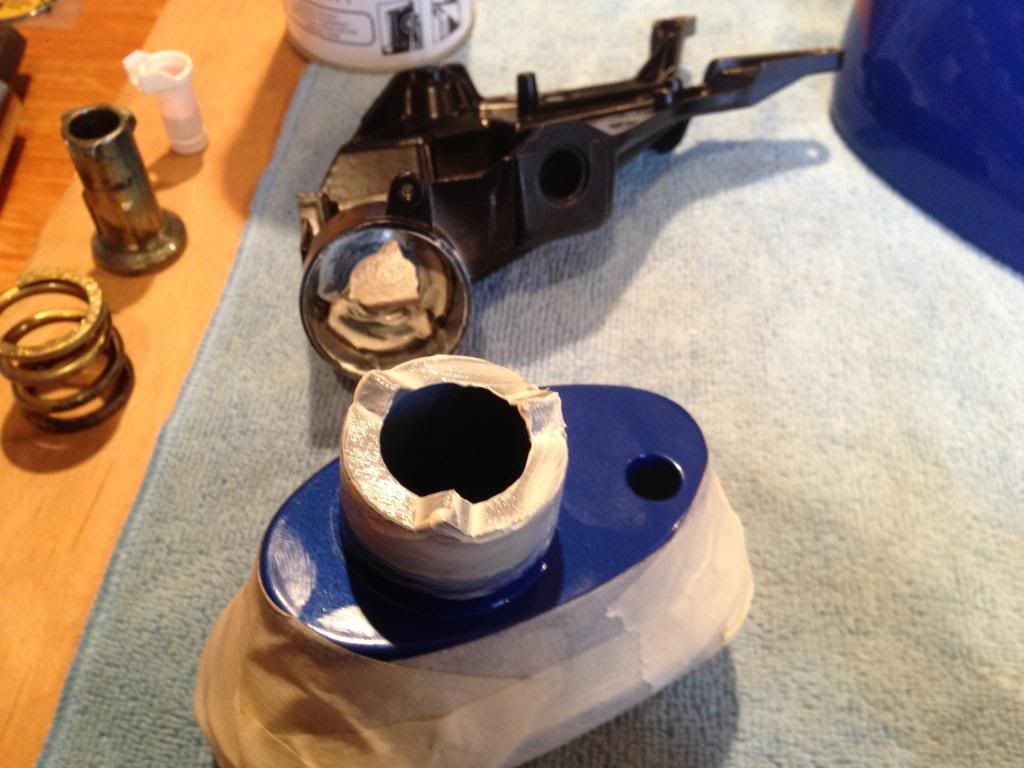
Next we can screw the mirror subframe into the mirror casing (this photo is slightly out of sequence because you can see I took the shot after the pivot was fitted). There are 4 screws. Three in the casing and the forth (the larger screw) which goes through the clear plastic gasket between the base and the mirror.
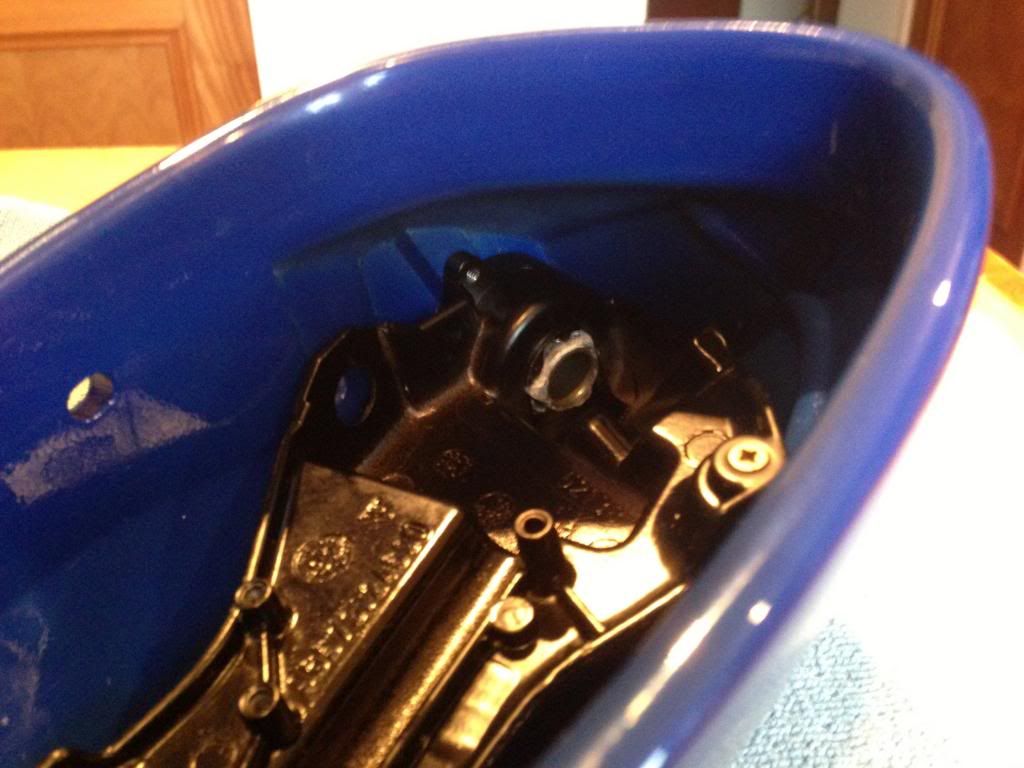
Here's the old photo, but this is the process I used to get the two parts together again. Place the pivot on the tool, base over the top, then the mirror itself, compress with all your might and turn into position.
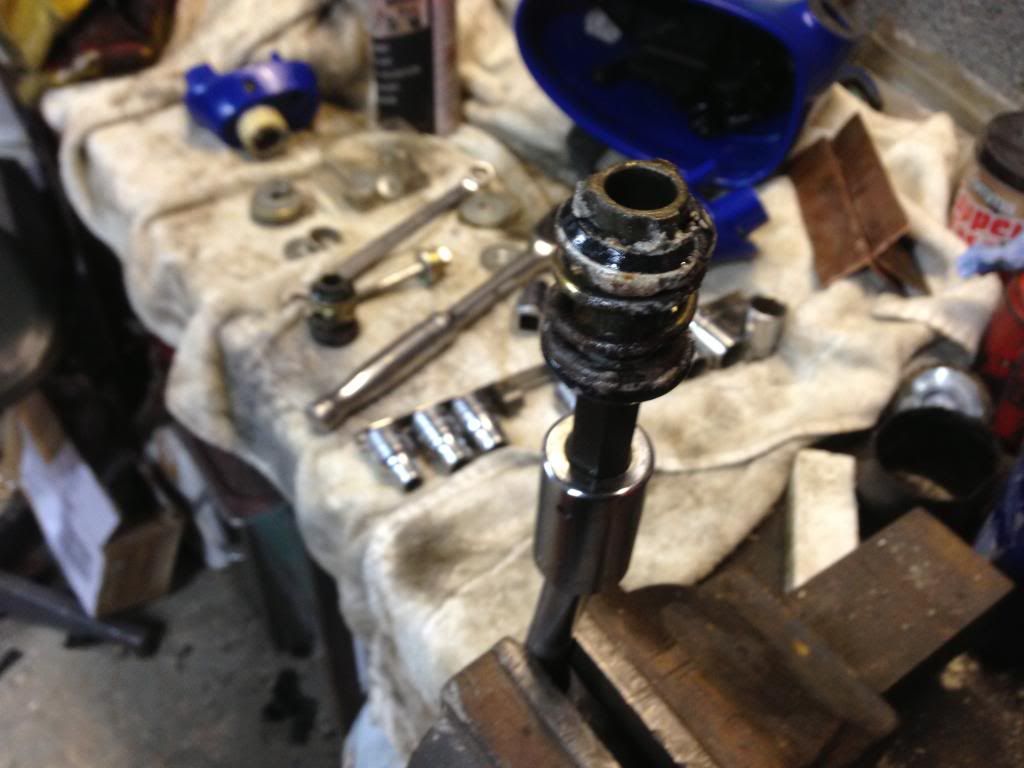
Success, the parts are happily mated
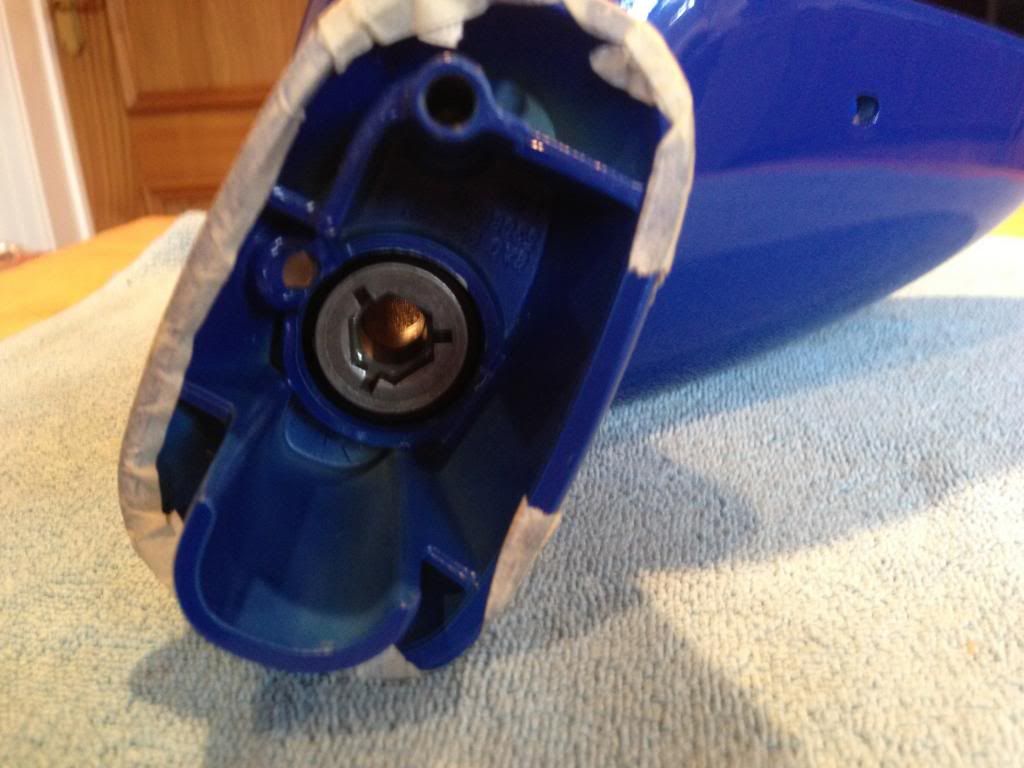
Onto the motor and wiring next. The original loom tape wrapped around the wiring was kippered so I renewed that first, paying attention to where the original was. I also used the original socket grommet so that the wires were in the correct orientation. The grommet is numbered too
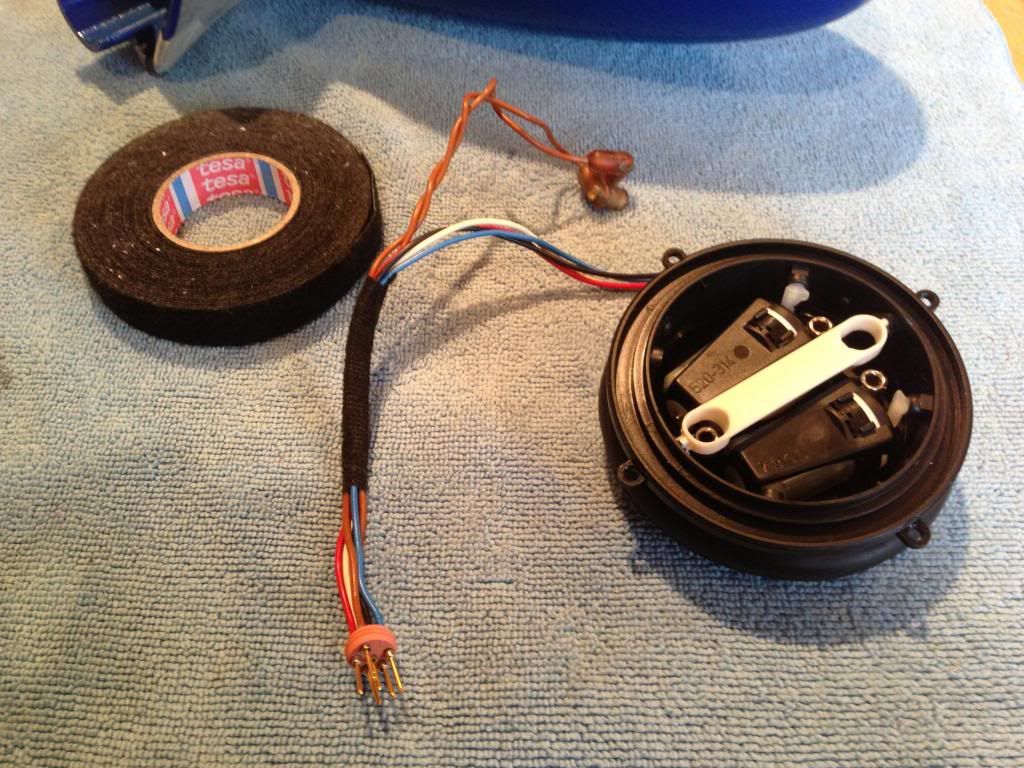
On the right hand mirror, the wiring wraps around the frame like this
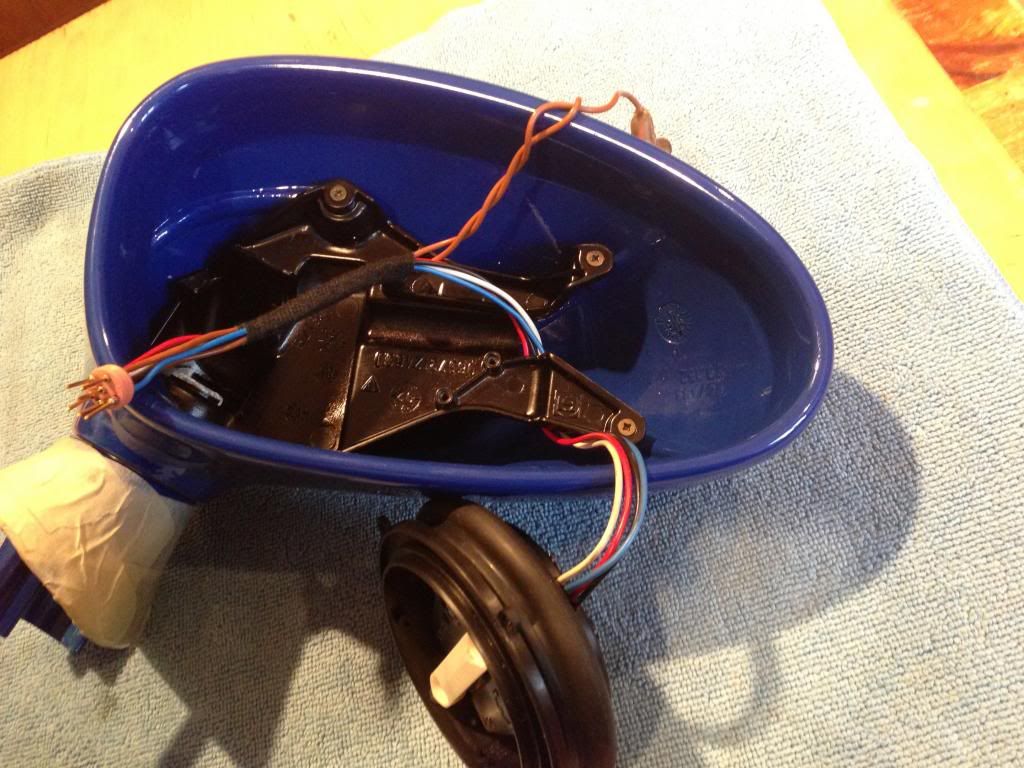
The left mirror doesn't wrap around due to the way the wires leave the motor housing, they look like this
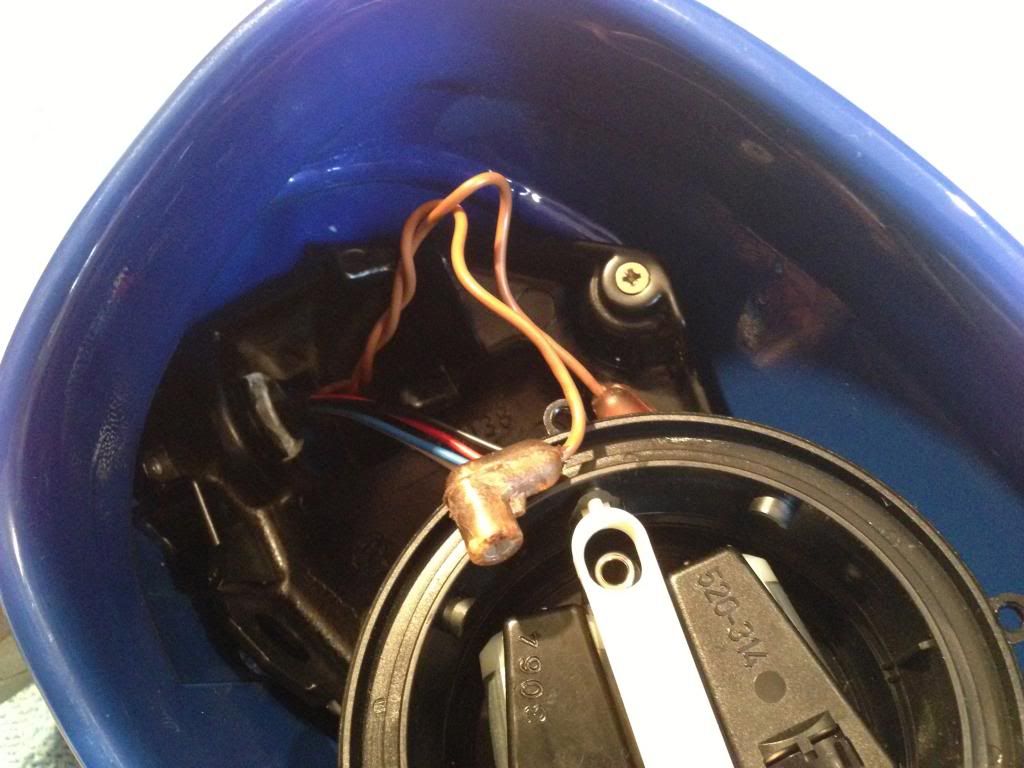
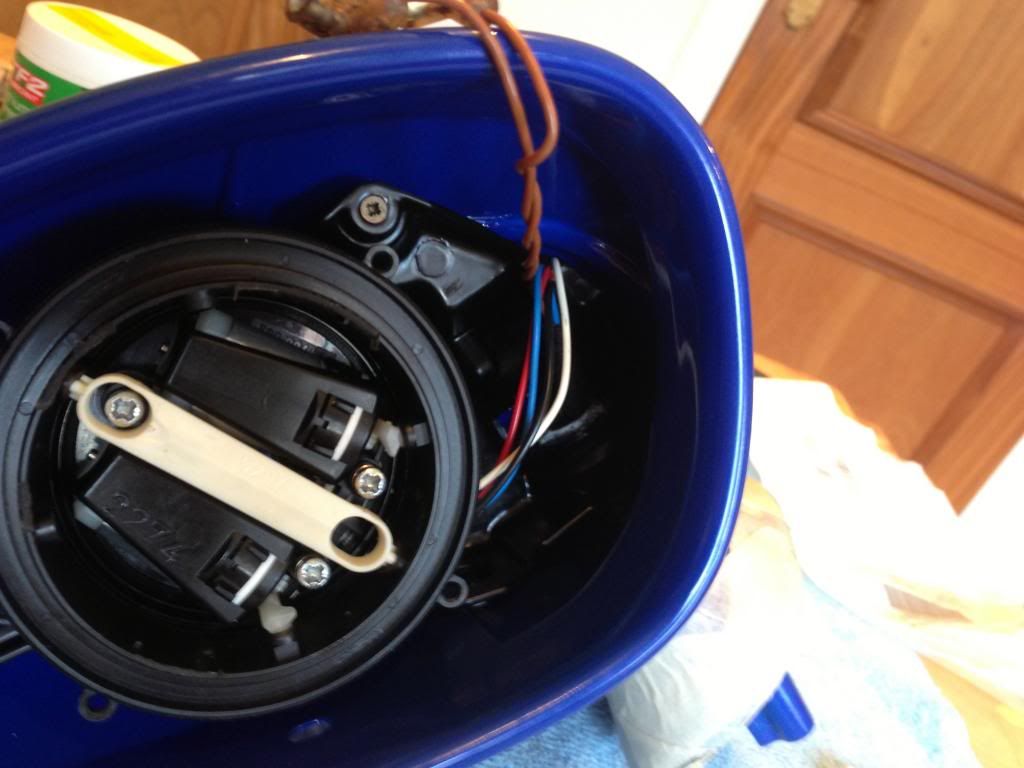
The wiring now travels through the centre of the pivot and comes out here
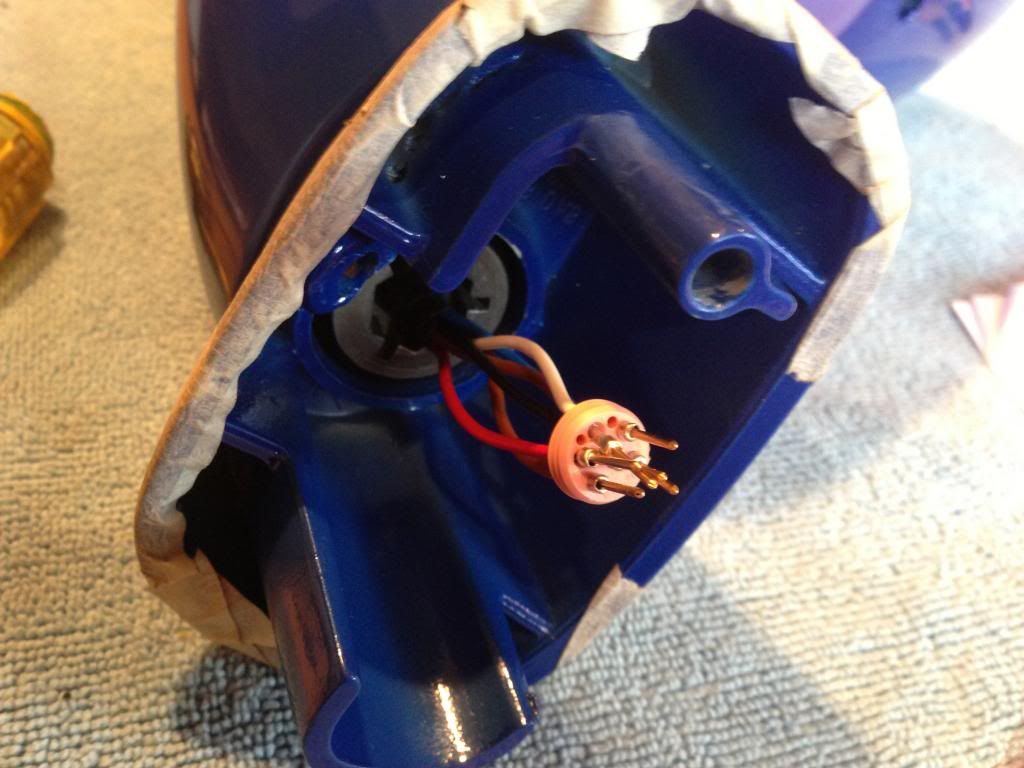
You can take the old grommet off now, because the individual wires can be inserted directly into the new socket.
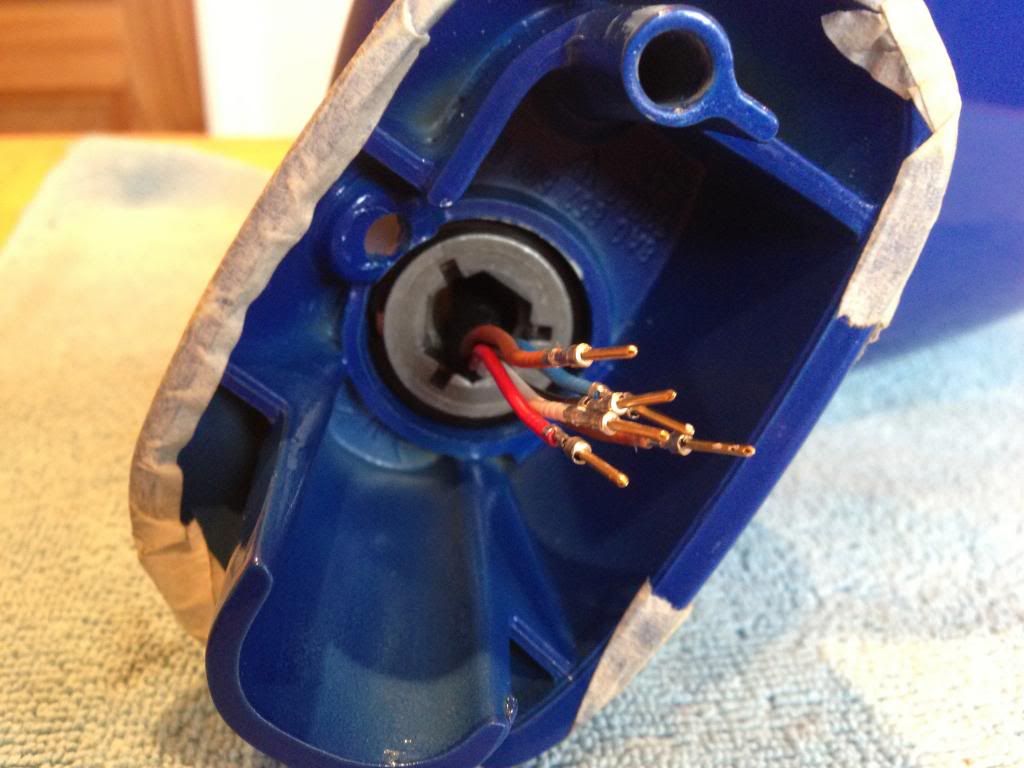
I pulled the new grommet back on the new socket, but I found out with the other mirror that the wires will just plug straight through
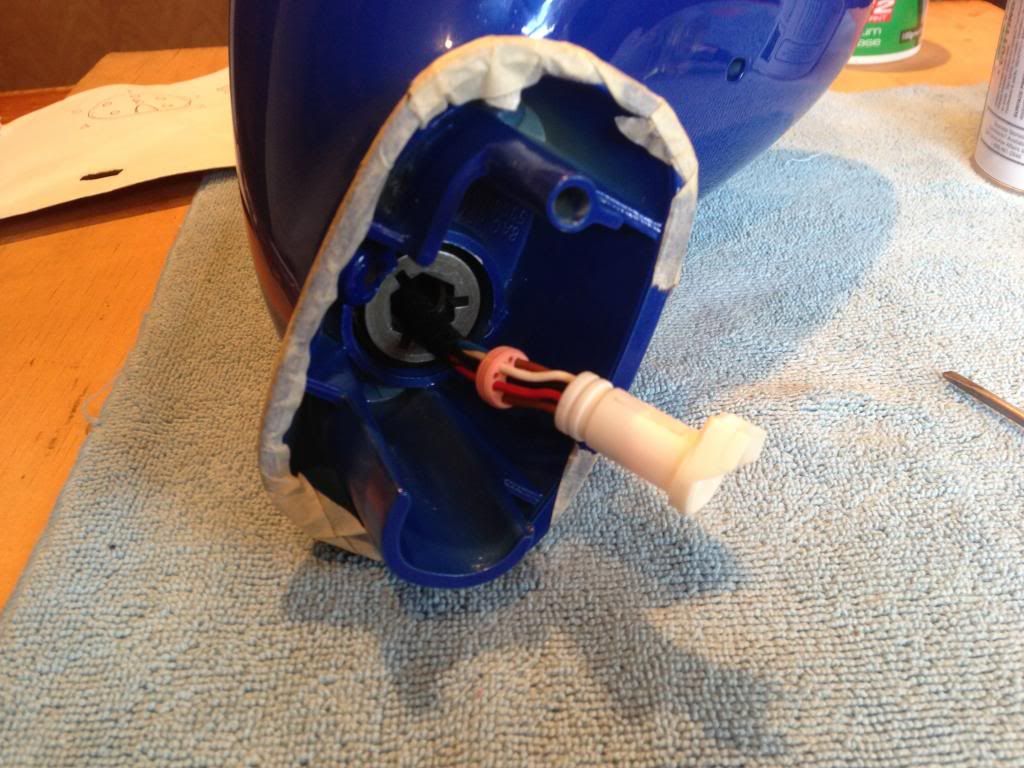
Done
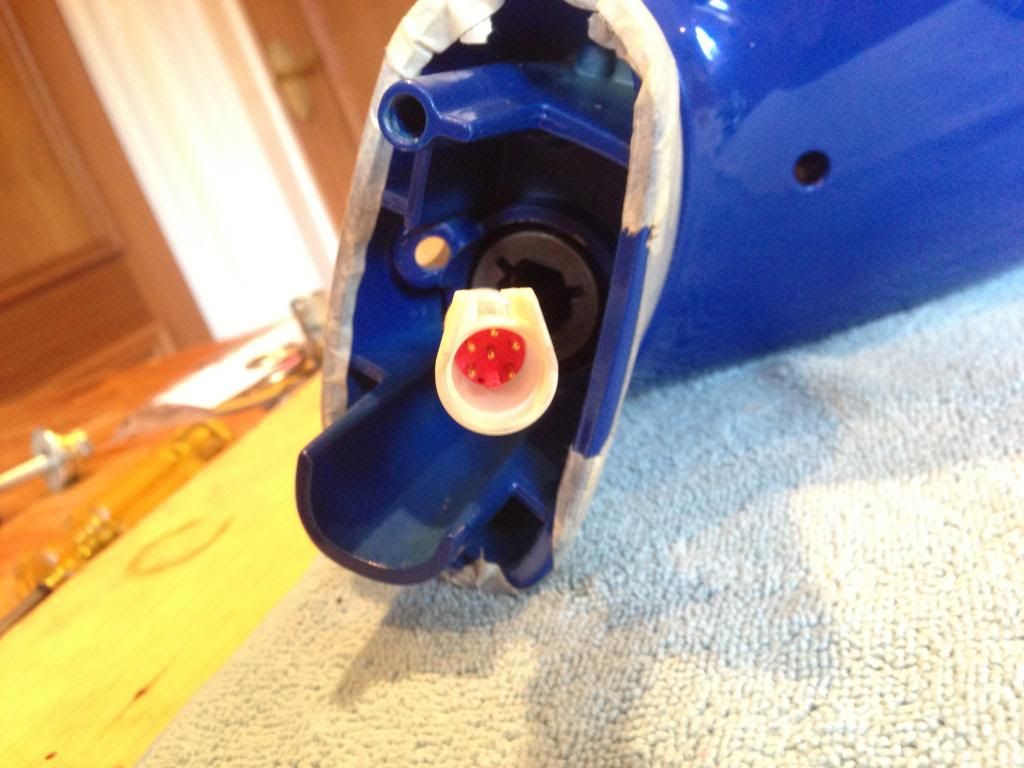
Now push the white housing into the pivot. It'll make a positive 'CLICK' when it's in properly.
Next, mount the motor to the with the three long screws to the subframe.
It's time to mount the mirror glass, so rotate the lock ring to the ON position like below
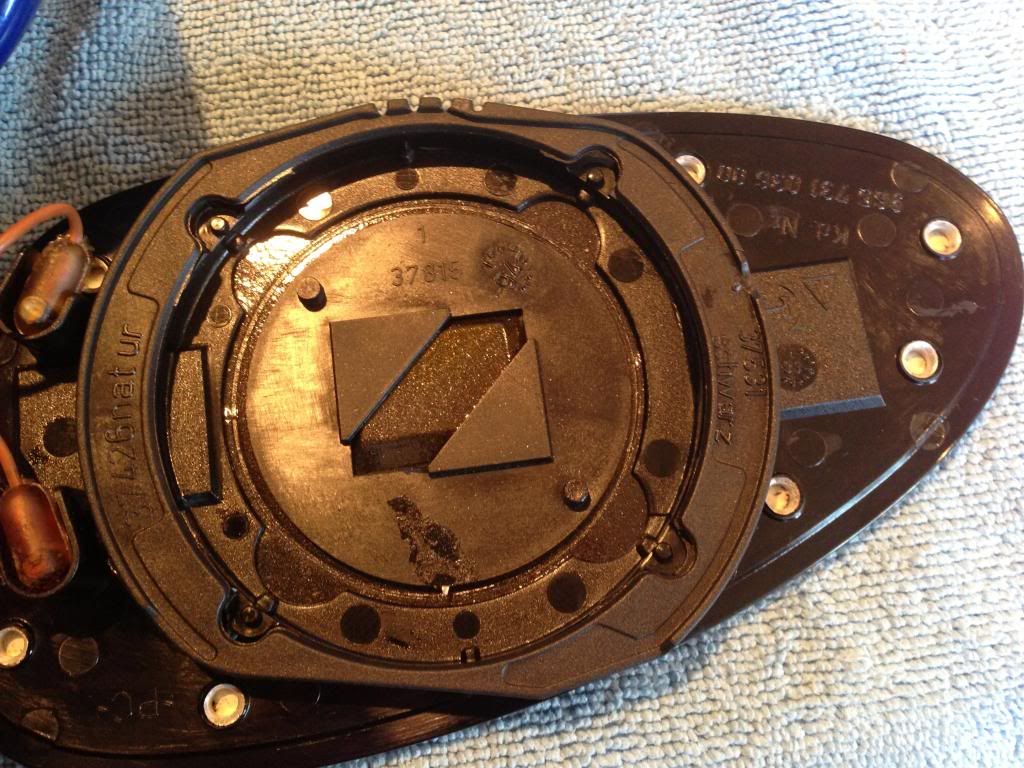
Don't forget the heating wires. The orientation of the brown wires are not specific, but I'm sure you'll be surprised to hear I've fitted them the way they came out.
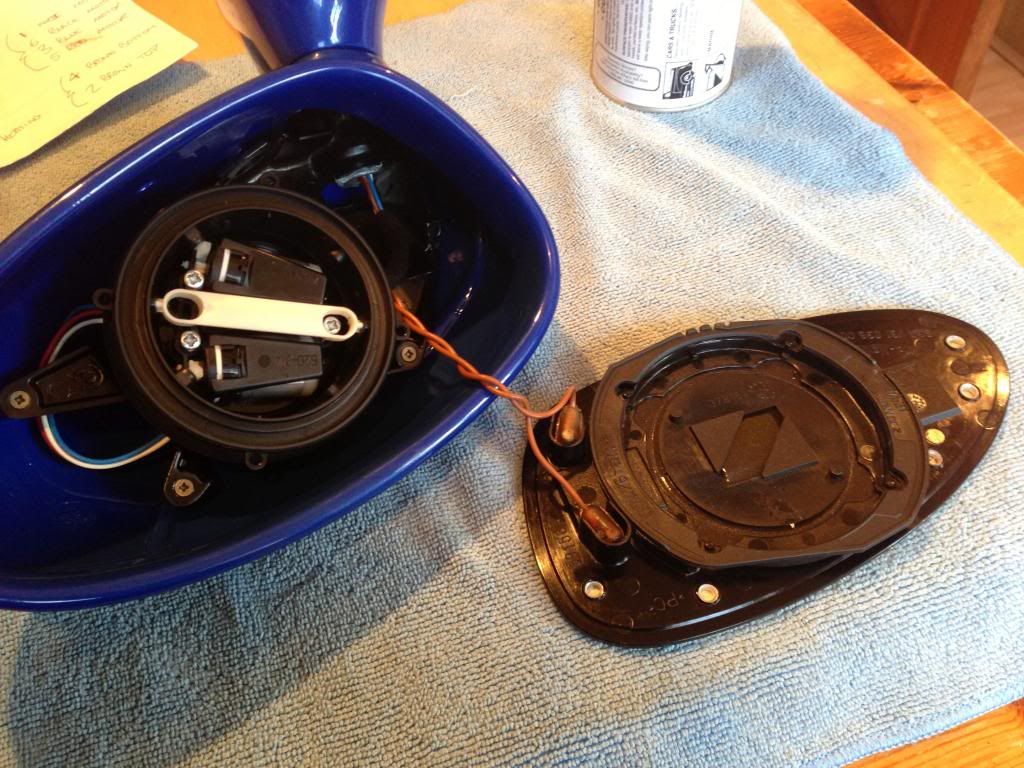
Position the mirror and lock the lock ring as shown in the strip down.
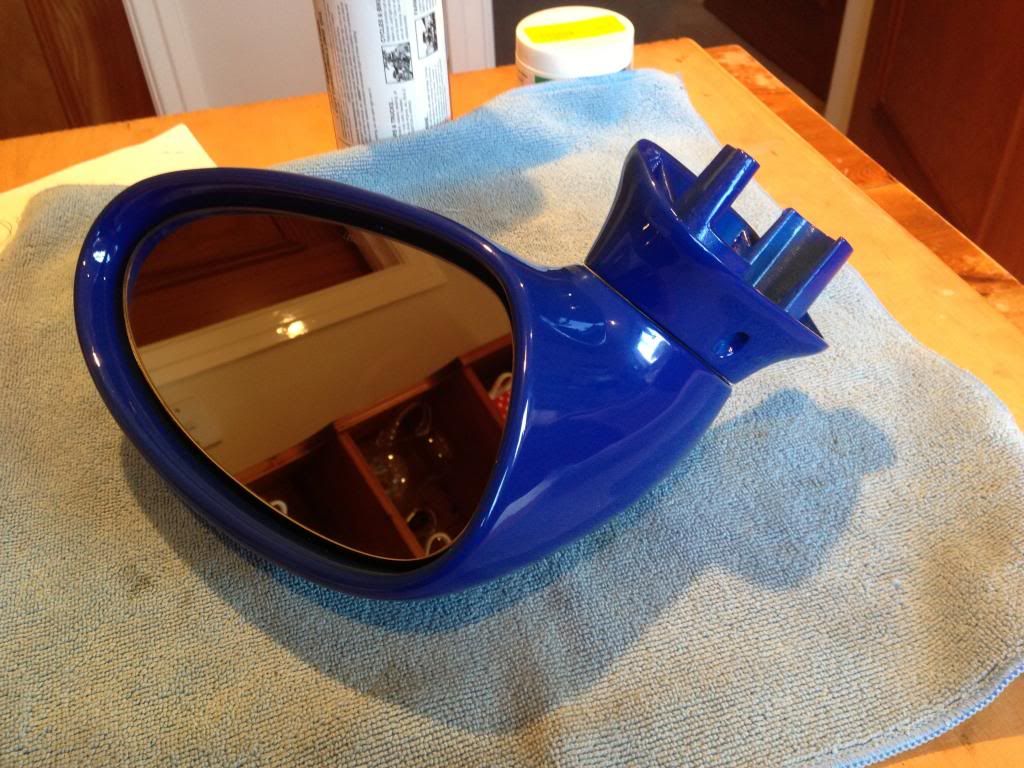
Fit the new gaskets and you're done
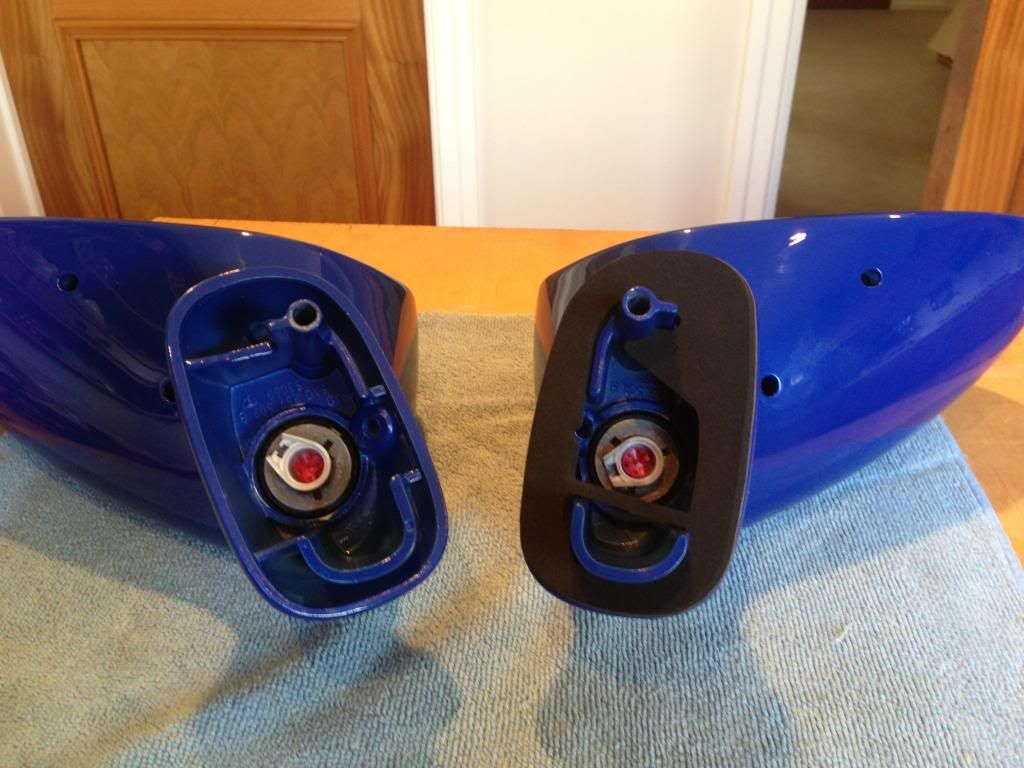
All ready for the refit. New bolts still available. The gaskets are an odd one. They're specific to Left or Right hand drive cars. The one for the Right mirror is still available from Audi. The Left one (specificly for RHD) is only available from Tradition.
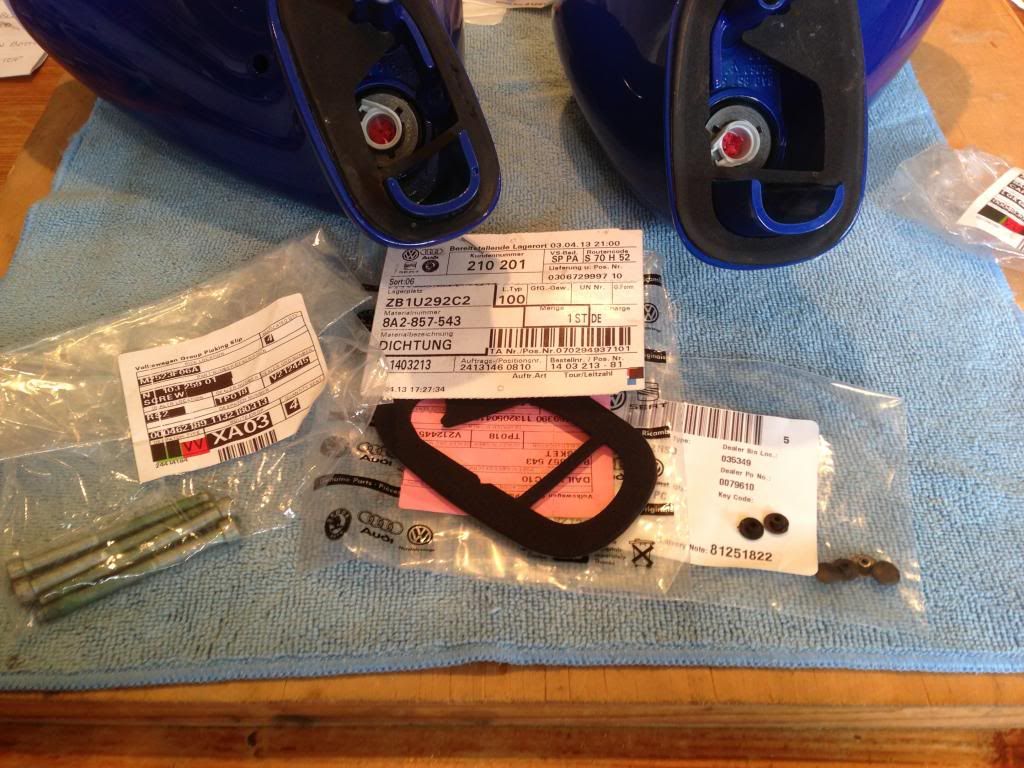
Now go grab a beer for a job well done
Comment
-
Thread stuck! Great guide, and I love the disclaimer. The Perfectionist
sigpic
Audi Class Concours winner Stoner Park 2014, ADI Concours D'Elegance Class Winner 2008, Runner up 2014. Winner, S2Forum Show'n'Shine Billing 2006 & 2008.
Comment
-
Wow....what a guide!
Would you be able to give a parts list for these, specifically for the Porsche parts that you used? The seal caps (Audi part 8A0 857 537) are NLA for example.
Thanks
JB2001 996 C4 - Being renovated
1994 ABY Coupe - "Das Smaragd RS2+ Coupe" - Sold
Comment
-
Hi All,
Yes of course. These are the internal mirror parts we share with Porsche (Porsche part numbers):
Mirror chassis left - 965 731 245 01
Mirror chassis right - 965 731 246 01
Mirror pivot compression spring - 965 731 259 00
Mirror pivot bolt - 965 731 257 00
Electrical socket - 964 612 516 00
Plastic caps for mirror bolts - 999 703 137 40Comment
-
Does anyone have the part numbers for the gaskets, specifically for RHD mirrors ?
I have tried looking at the pic and putting in the (what I think) relevant part number on Auditrad but so far nothing
I found 8A2857544 but I'm guessing that could be LHD ? For what this cost me so far I could have bought an S2
Comment
-
You can get this gasket 8A2 857 543 which is listed as the LHS, but is actually the RHD/RHS gasket from Audi in the UK. The part number 8A2 857 544 is the RHD/LHS Mirror gasket and is only available from Tradition. Weird thing is, according to the part numbers they should be for the opposite sides, but as you can see above, that's the way they fit
If you just get those 2 part numbers you can't go wrong.Comment
-
Spot on Thank you very much.
Need to add this to sidekicks group buy !For what this cost me so far I could have bought an S2Comment
-
LHD to RHD mirrors
Are the mirrors the same for LHD as they are for RHD (excluding the glass)?
The reason I ask is that Audi quote: -
- 8A0 857 501 as left mirror LHD and 8A0 857 501 B as left mirror RHD
- 8A0 857 502 as right mirror LHD and 8A0 857 502 B as right mirror RHD
I can only think that these numbers are quoted for the whole mirror assembly including glass. You can guess that I have some LHD mirrors and wish to only change the glass to RHD.
Any help most welcome
2001 996 C4 - Being renovated
1994 ABY Coupe - "Das Smaragd RS2+ Coupe" - SoldComment
-
-
Great write up
Didn't know about how to remove mirror, on some other old Audi is just 'pull off' and that's it ...
so ... I found this white plastic arm broken... but Loctite 3430 (from a shelf) has saved to me +- 100 eur:

was trying to understand why this arm made with a hole on that side... no screw is going through it or something.., etc..
Comment
-
Great advice and write up thanks for the effort
Comment
-
Morning All - sorry for the thread resurrection - I cannot see any of the pics, is it just me or have they disappeared? - the only pic I can see is from sailaz? TIAComment
-
All of the pictures are visible with the exception of post #2 which is a remarkable feat for photofücket.Comment
-
Thanx Nuvo for confirming - then the issue is on my end - will try again later. your feedback is appreciated!!!Comment


Comment