Announcement

Collapse
No announcement yet.

fiberglass turbo inlet.... i was bored.

Collapse
X
 
  • Filter
  • Time
  • Show
Clear All
new posts

  • fiberglass turbo inlet.... i was bored.

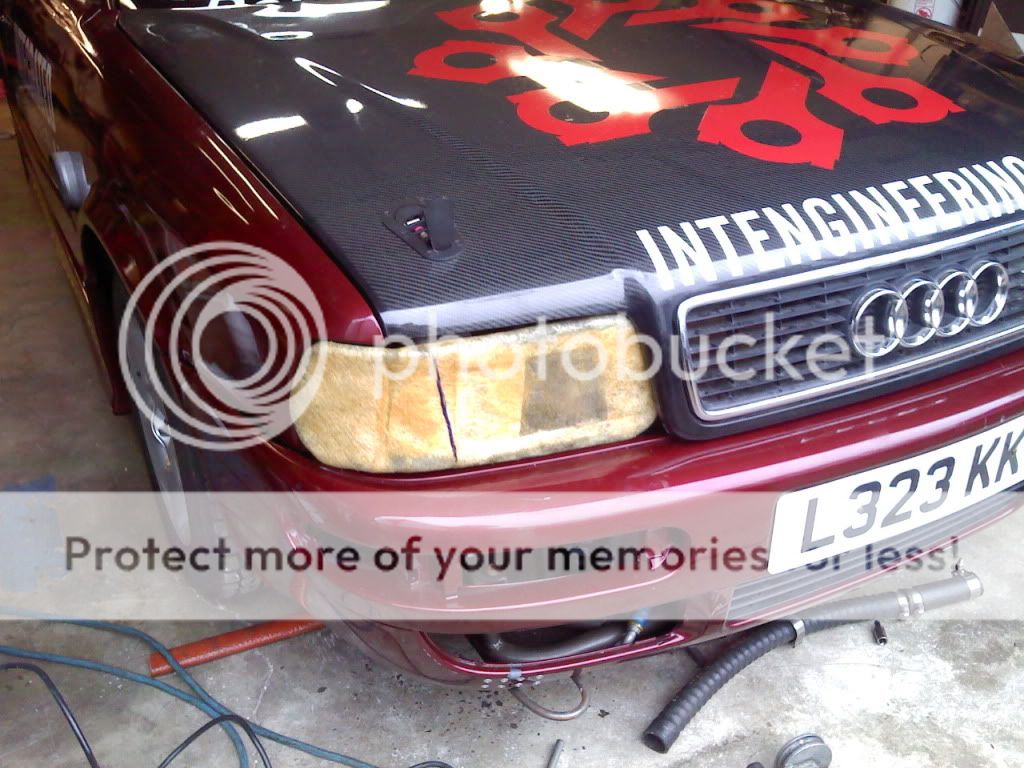
    boredom sets in. i saw a picture, and thought it would be neat. definitely function over form. but my stuff gots to look good too. it'll look ok i think, when its done.

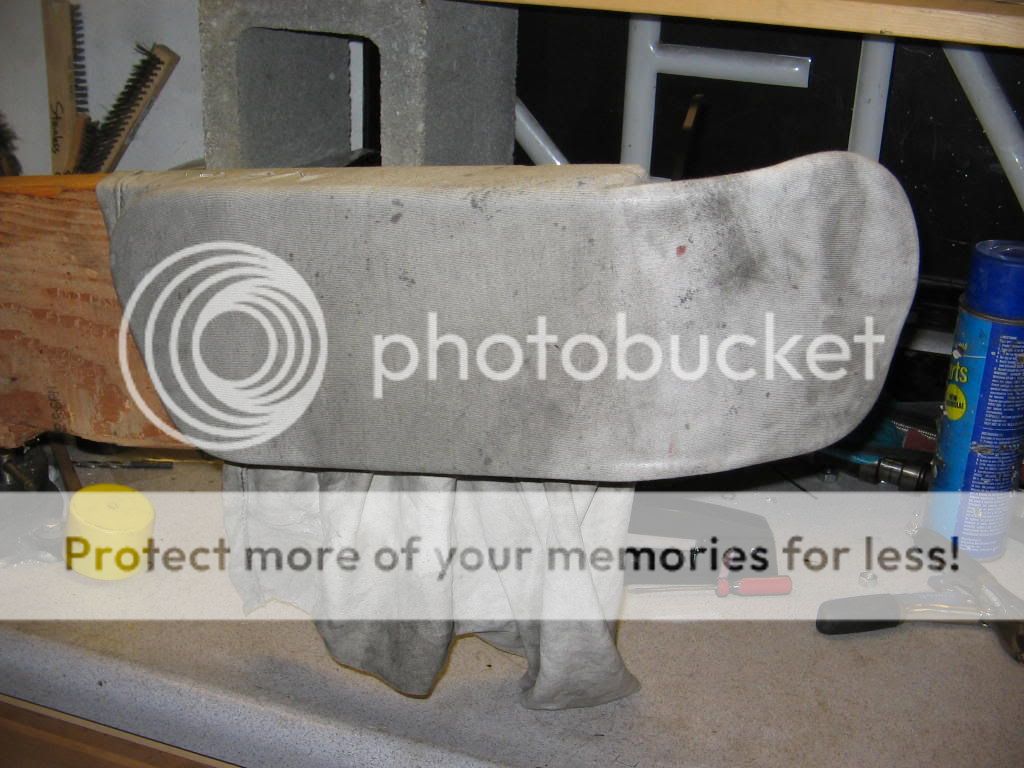
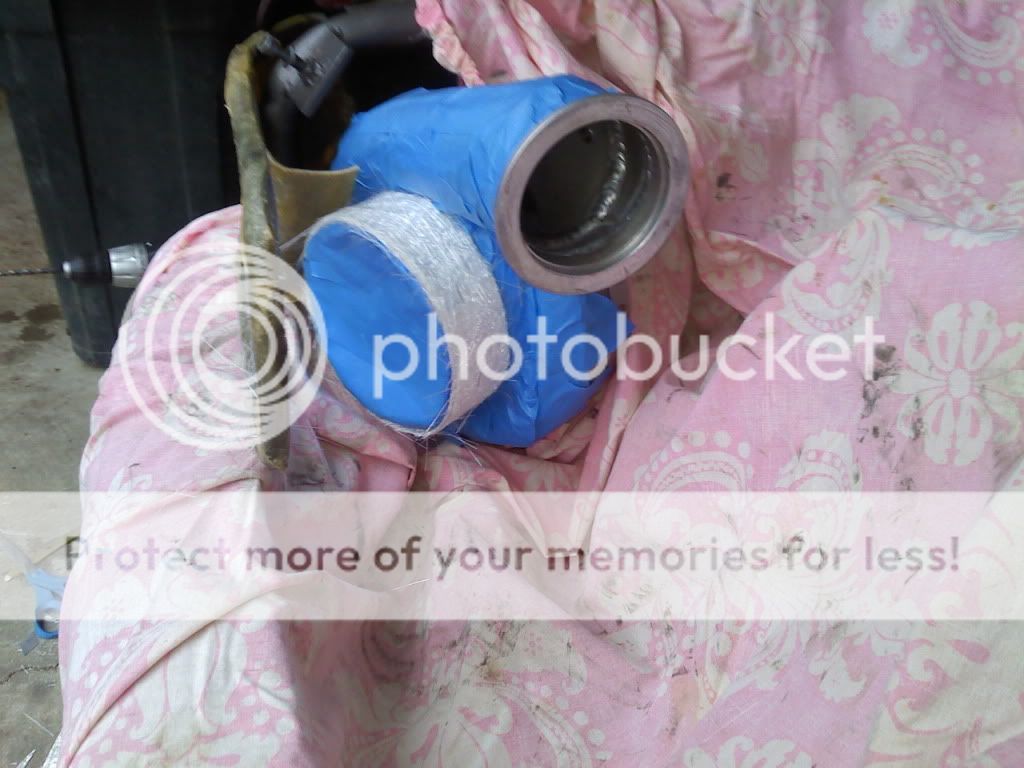
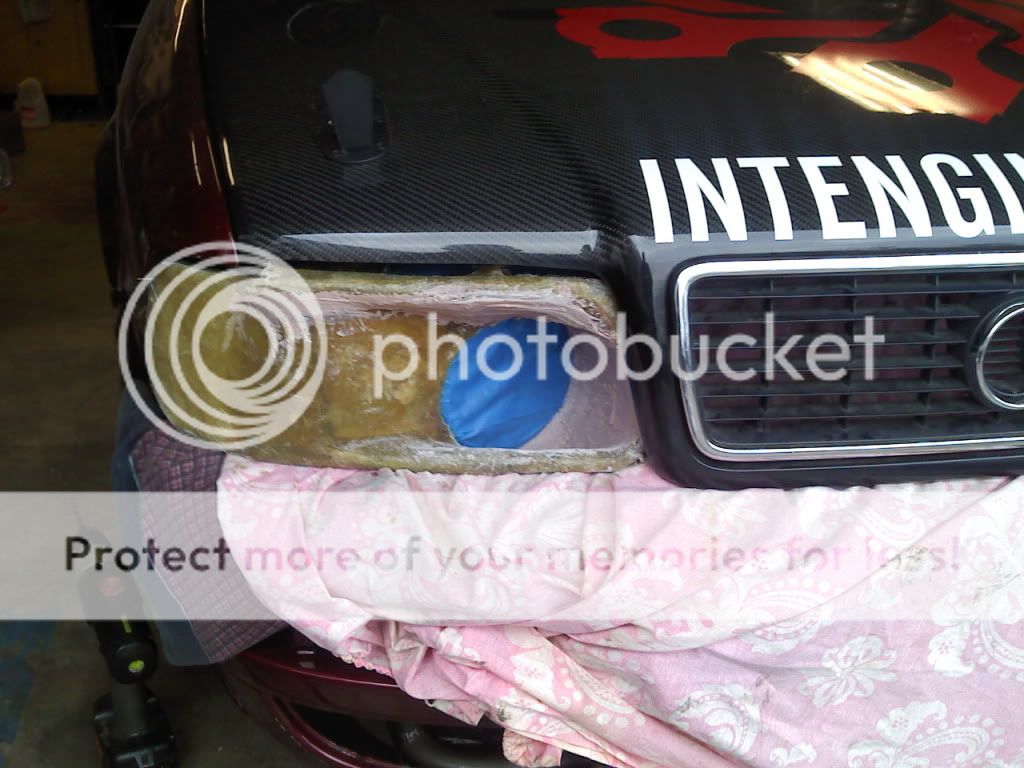
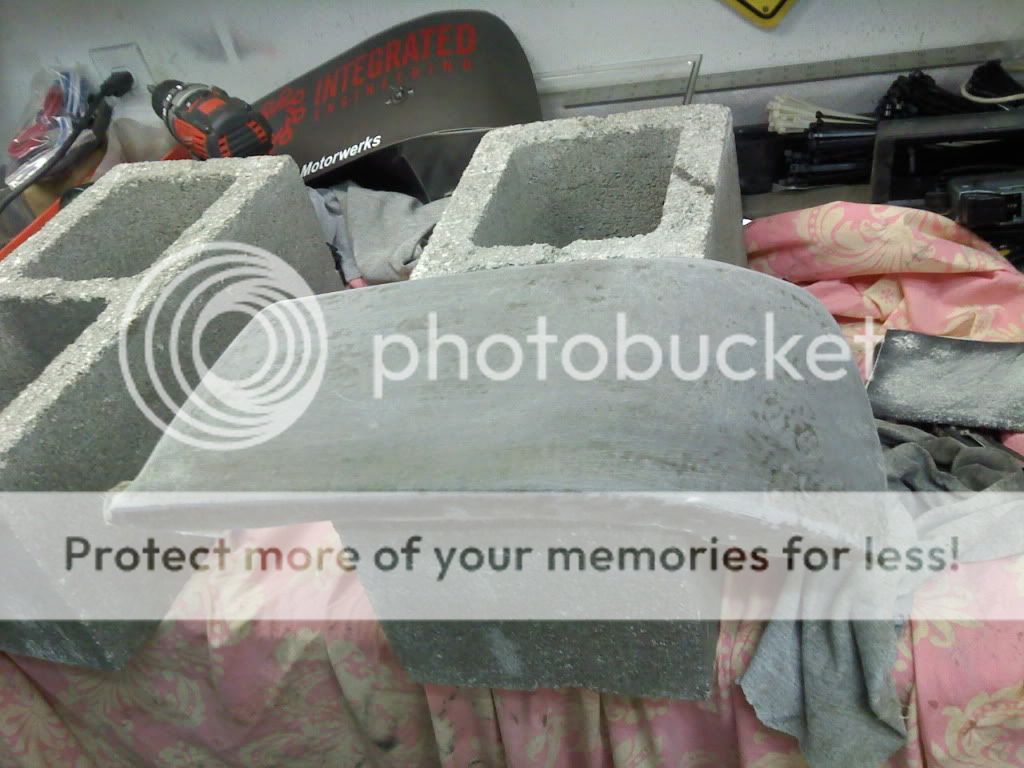
    made a frame out of 1/2" SS tubing, i have some of that lying around. then stretched an old T-shirt over it, and then resin'd it up. then it just progresses from there.


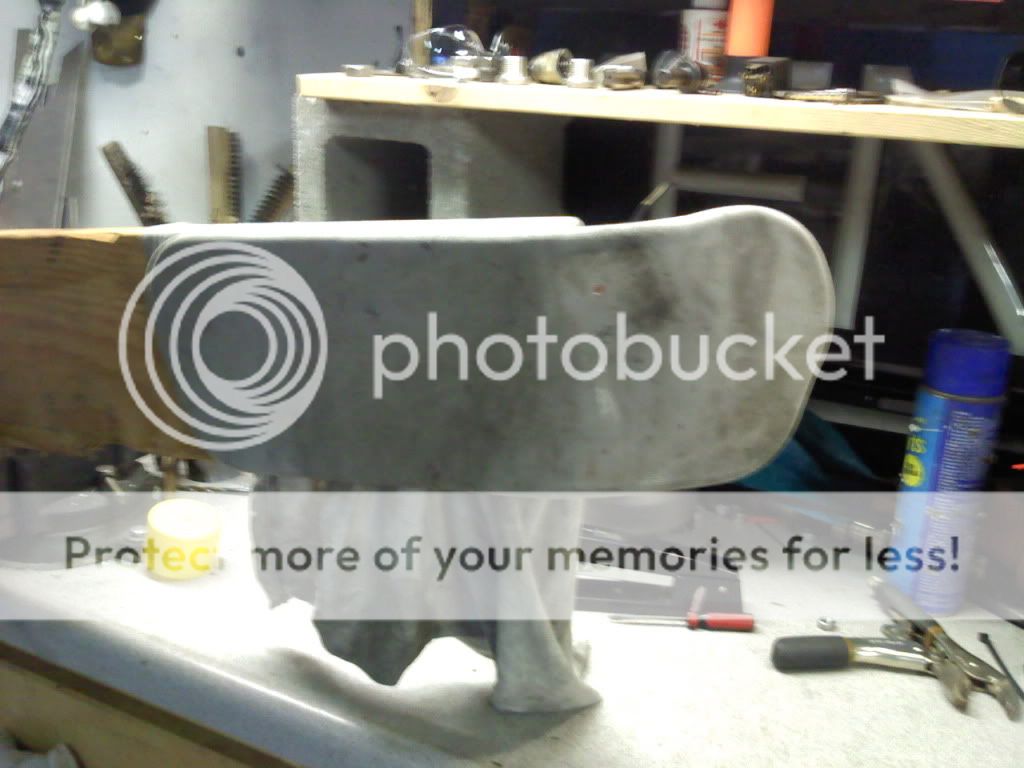
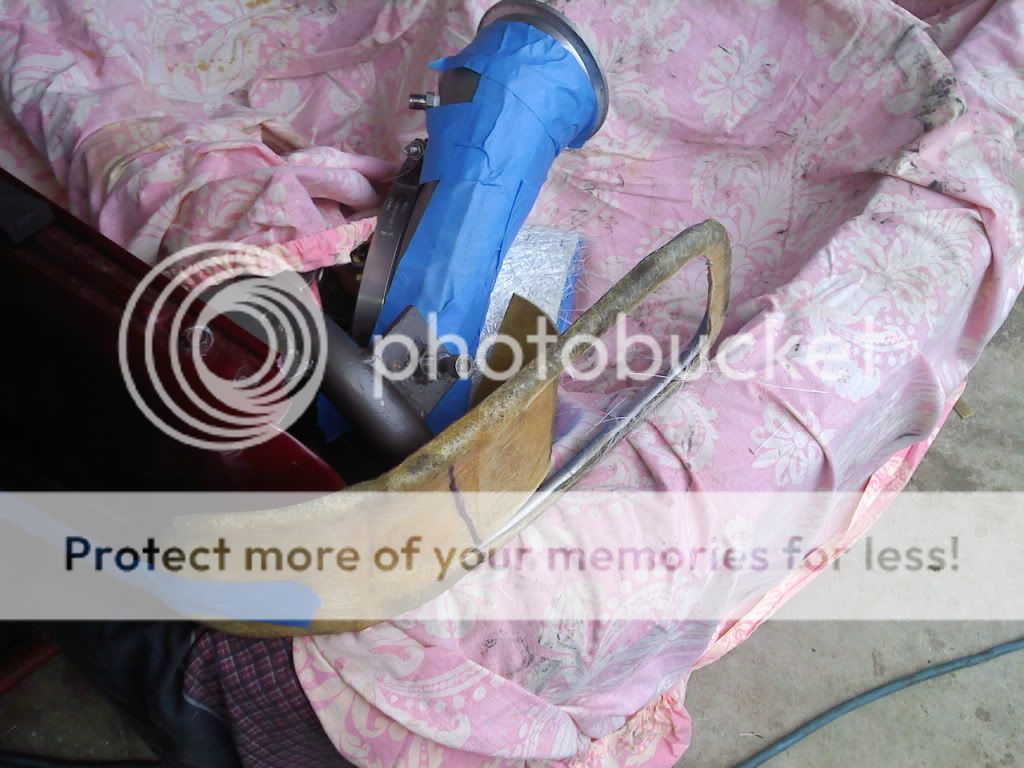
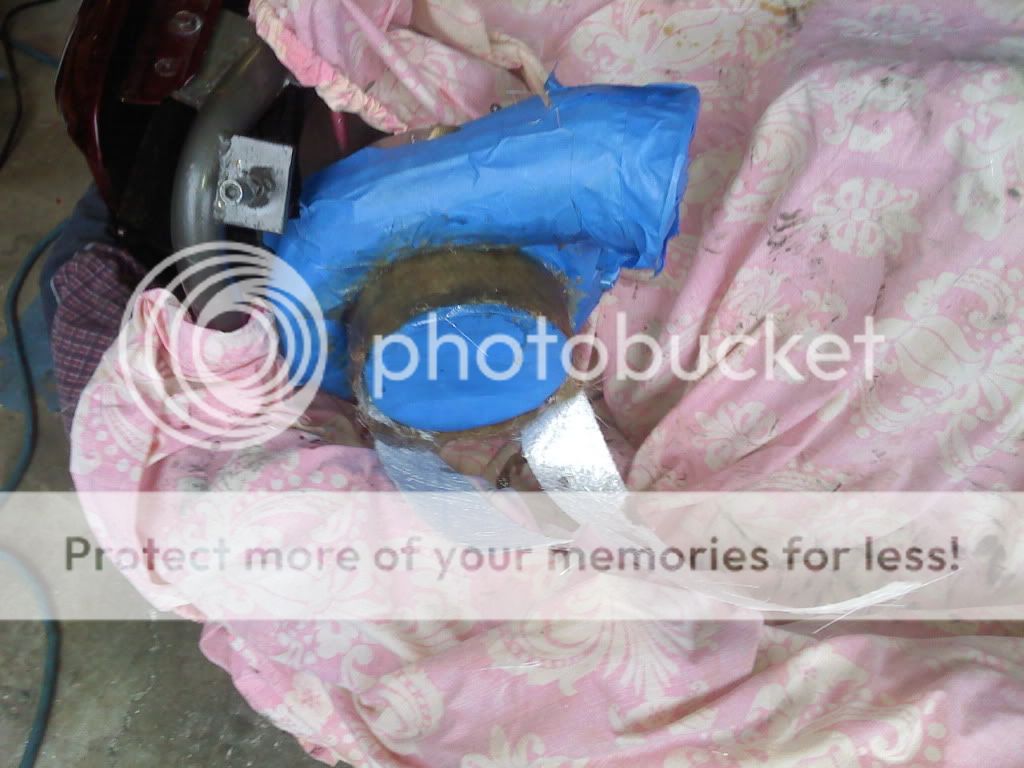
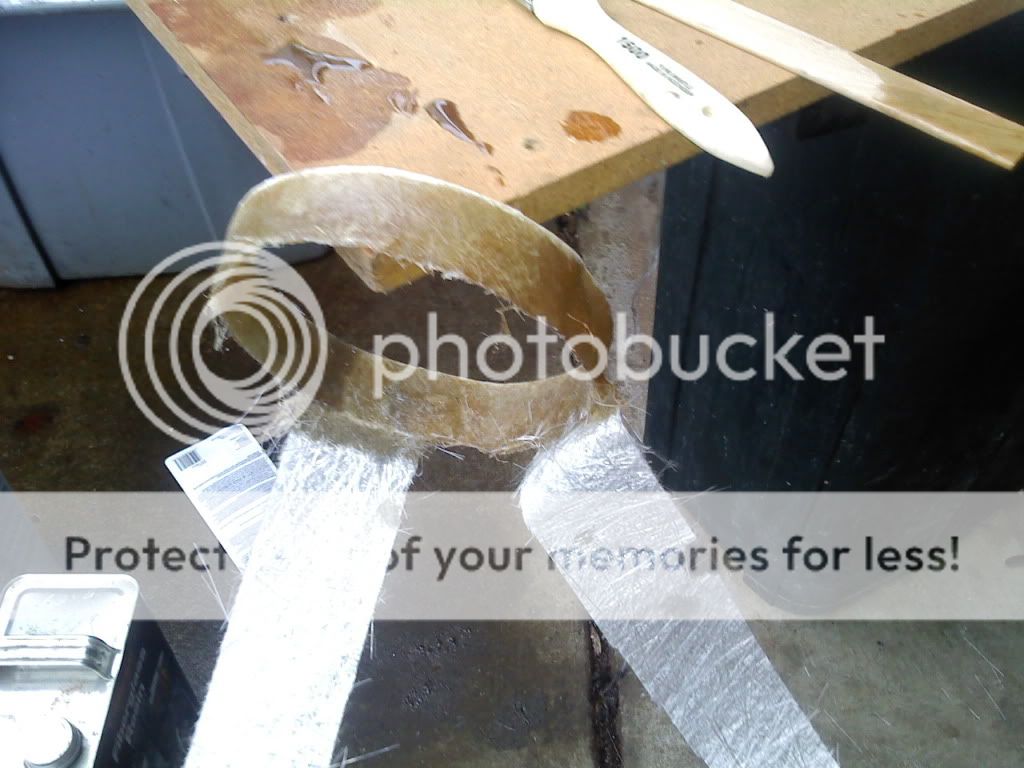
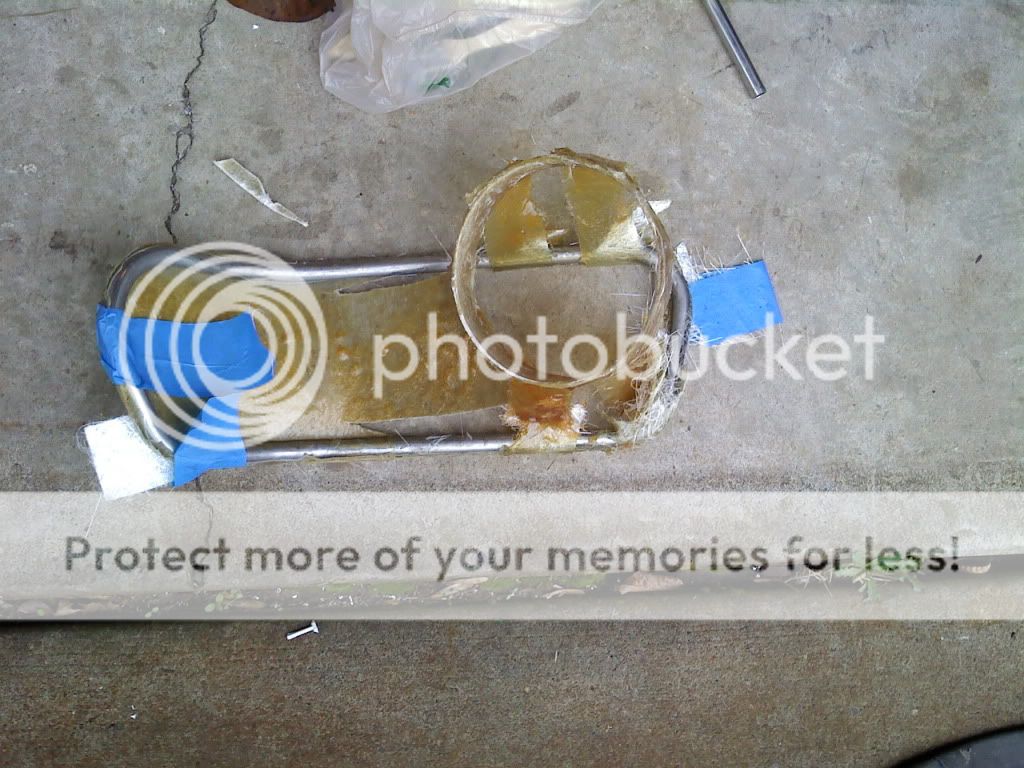
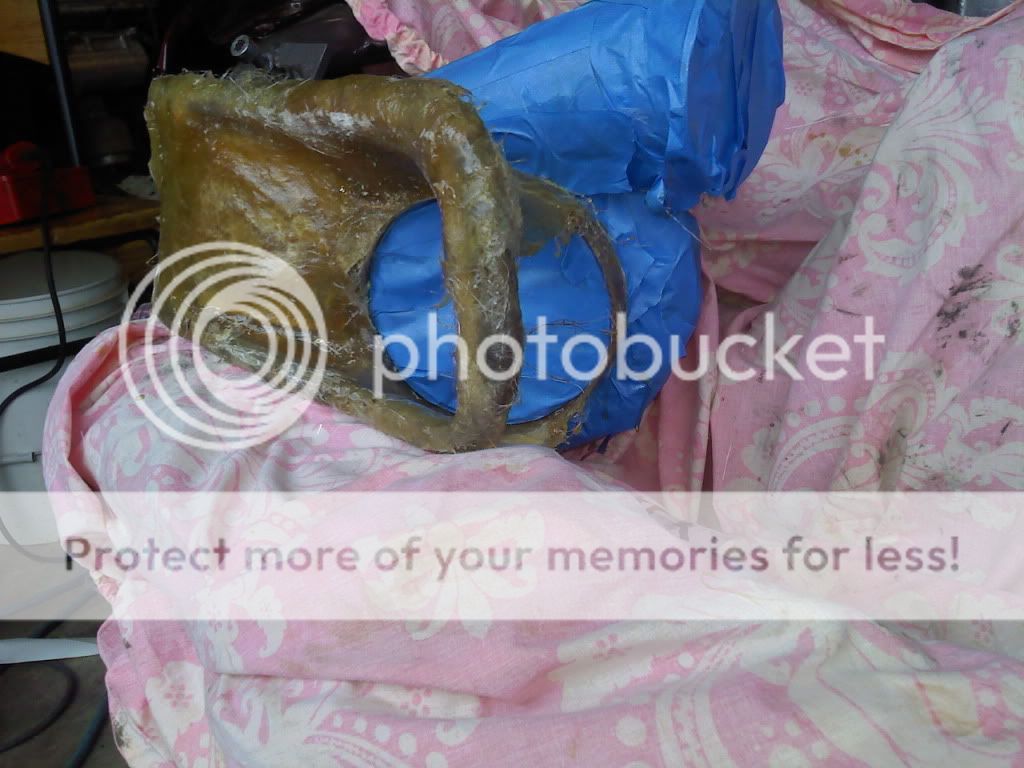
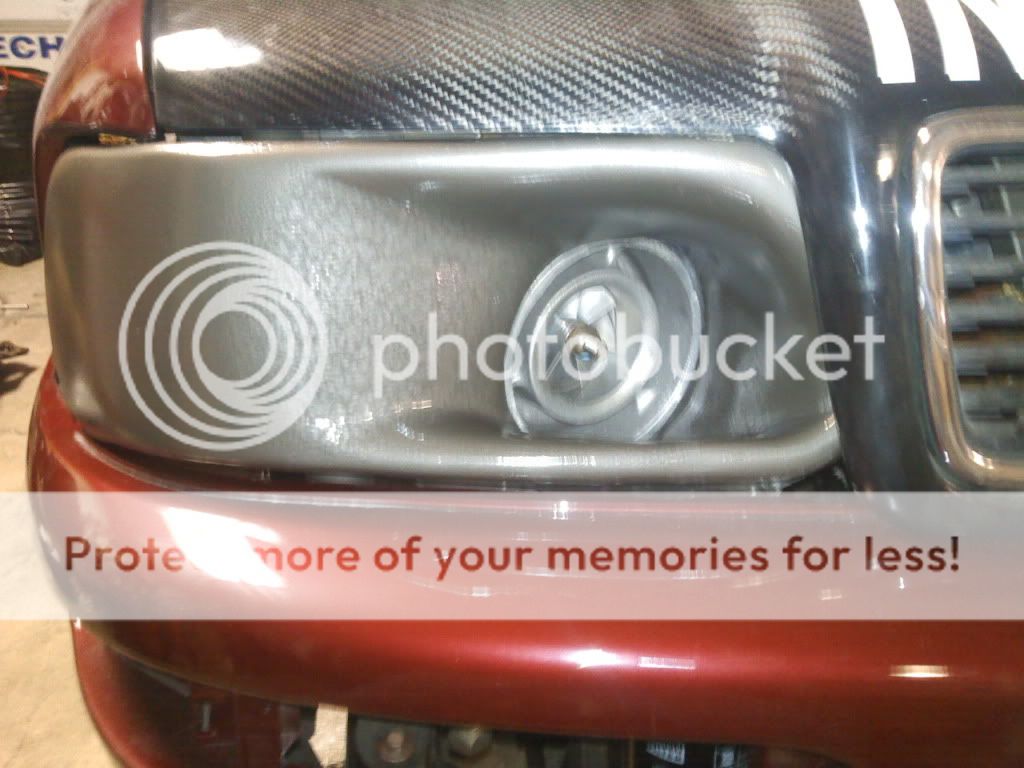
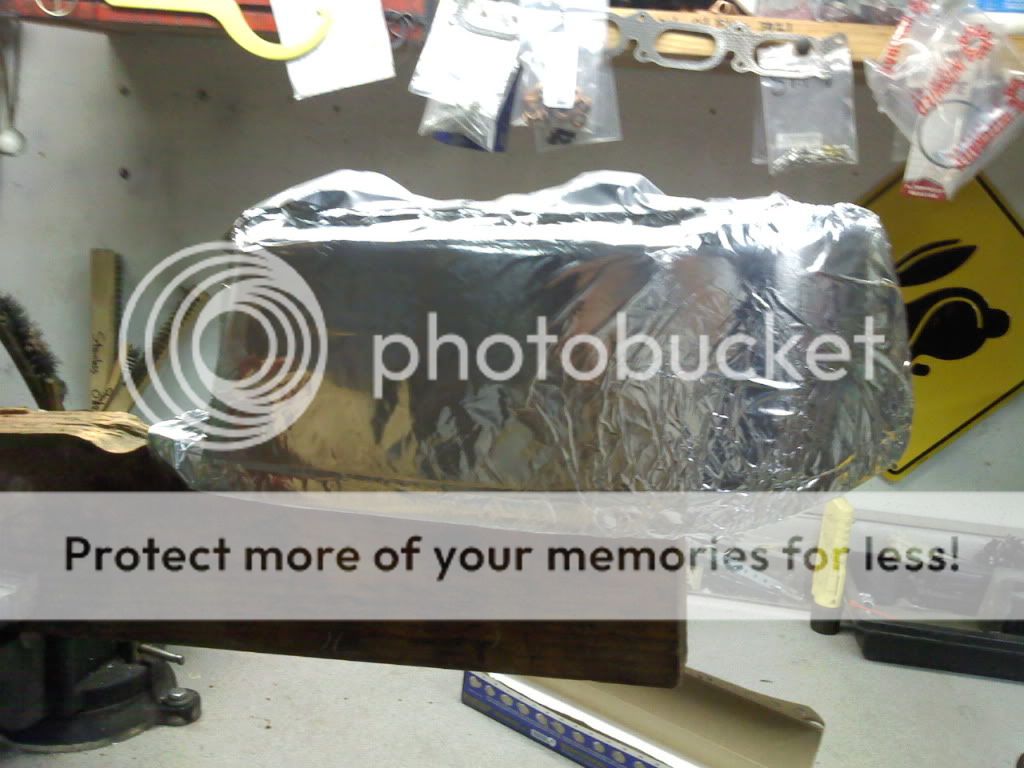
    and now its time to get busy. this was the prep work, and i discovered that FG resin/hardener has a shelf life LOL. more the hardener actually. got a new gallon of resin, set out a work space, and began working. at the end of this, i sent it off with my friend Chad (guy who was supposed to paint the race car originally) for the final touches. he is good with body work and smoothing stuff....
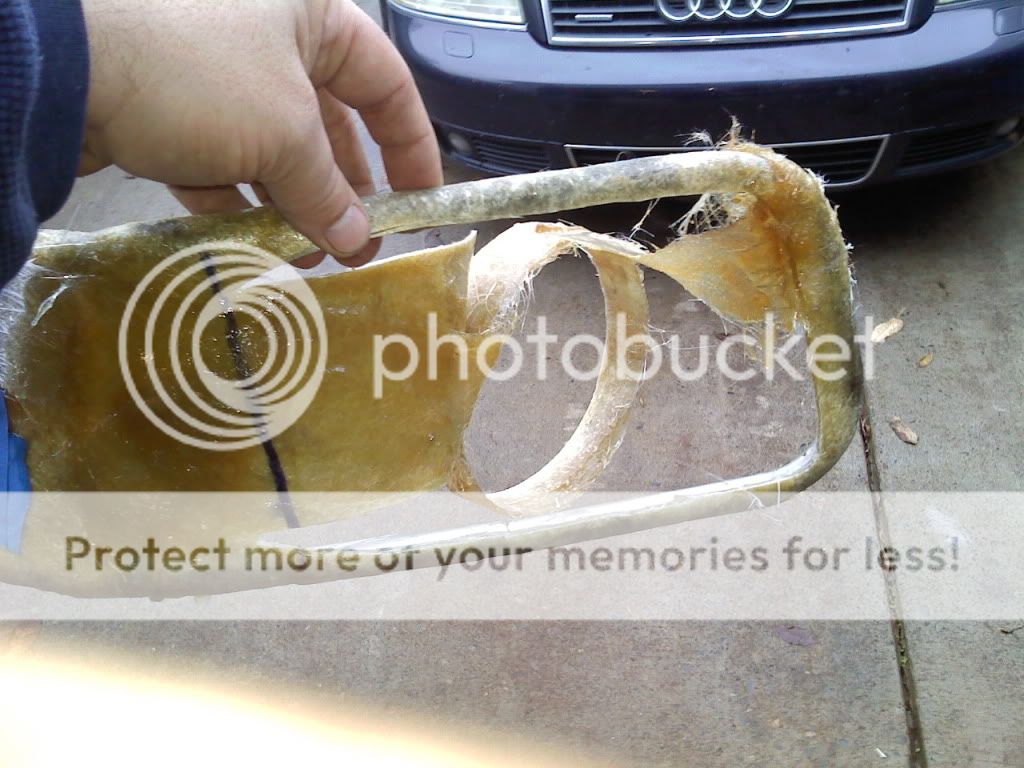
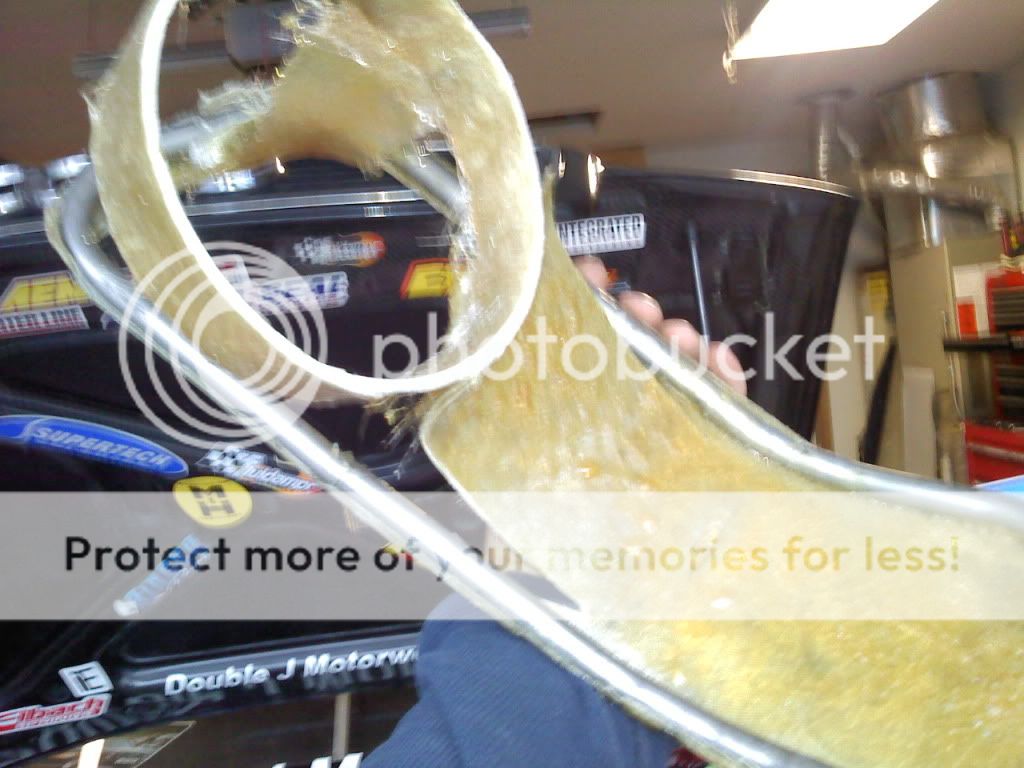


  • #2
    Nice work, the results from boredom can be very positive sometimes!!
    Shane

    Comment


    • #3
      Where is the anti-squirrel sucking screen on that turbo??

      RS2'd 93 UrS4 5 spd sedan
      94 UrS4 V8 6 spd manual avant

      Comment


      • #4
        funny you mention that.

        my last outing to the dragstrip, on one of my last passes this year, a squirrel ran across the track ahead of me.... jumped up on the wall and cruised off. i was thinking, "seriously? WTF???"

        Comment


        • #5
          Stuff happens - our allroad inhaled a robin at the oil cooler duct. Grill did it's job.
          Paul Nugent
          Webmaster http://S2central.net
          Administrator http://S2forum.com

          1994 S2 Coupe ABY - aka Project Lazarus
          2001 A6 allroad 2.5TDi - family tank
          2003 S4 Avant 4.2 V8 - daily burble

          Purveyor of HomeFries and Exclusive agent for Samco hose kits (S2/RS2)

          There are only 10 kinds of people that understand binary - those that do, and those that don't

          Comment


          • #6
            Originally posted by S2central.net View Post
            Stuff happens - our allroad inhaled a robin at the oil cooler duct. Grill did it's job.


            Reminds me of that deer and the BMW. Think it needed a bigger grill.

            S2Forum.com Administrator

            Comment


            • #7
              the vibrations on the engine is not going to break it?

              Comment


              • #8
                I think the movement of the engine will brake it.
                1360kg/600Whp Avant 0-200km/h 9sec

                Comment


                • #9
                  if there were movement of the engine, perhaps. there is a 3/16" gap around the inlet...

                  but better yet it is ALL solid mounted, motor and trans. HMMMMM. maybe thats why it tries to lift the right side front wheel off the ground when i launch LOL.


                  Comment


                  • #10
                    Mental

                    S2 Coupe 3B Project


                    Ur quattro restoration

                    S2 Avant

                    Boost is the new rock and roll!
                    sigpic

                    Comment


                    • #11
                      1360kg/600Whp Avant 0-200km/h 9sec

                      Comment


                      • #12
                        Try to use stockings from Mrs. next time to stretch from plane to plane. This is what the car audio guys use to get fluently flowing shapes.
                        Still, nice result.

                        Comment


                        • #13
                          yeah, i have done car audio for 20+ yrs, thats what i gathered the idea from. we used grill cloth though....

                          but the problem when we make speaker pods and stuff is we have a good backer surface (wood generally) to staple to to hold it. thats why i had to put it to wood just to get it to stay. and i couldnt find my heavy duty stapler so i stole my wifes office stapler. it didnt work so good

                          it'll get better once Chad is done with it....

                          it wasnt easy to start, for sure. thats why i had the two strips with the band, to give me something to go off of. i had no real way to affix the frame in the opening to get a good stretch on it. not temporarily at least.

                          once i had them both locked together, it was a little better.... still, not a bad way to pass the time on a weekend.

                          Comment


                          • #14
                            so it is completed... and i cloned the left side headlight as well, it makes a nicer looking filler plate than the sheet metal i had.


                            Originally posted by speeding-g60
                            here is how i spent my Thanksgiving. peace, quiet, alone. its how i prefer it. i can do little projects, and not be disturbed. wife and Chub go to her fams house for dinner, i stay home. its what works for me. right now finishing up my Kraft Mac-n-Cheese dinner.... hey, its what i like

                            so here i detail how to do some fiberglass work. its really easy (to me) and its fun as well. a good way to waste a couple hours, anyways. i am doing a copy skin of an S2 headlight to fill that spot on the race car. i have sheet metal now, but this will look more professional.

                            first, mount the headlight so its stabilized. use wood so you can staple the material to it.


                            cover it with foil, tape, whatever. just dont want resin to stick to and ruin your good headlights.


                            stretch material (i use old t-shirts) over the plug (headlight) and staple it to the behind structure. get it as you want it to turn out, no wrinkles, etc. tight as you can. then make it in such a way that you can get to all parts you want to resin up, easily.


                            mix up some resin, and thoroughly saturate where you want your part to be molded from. i went about an inch around the edges, so i can trim to fit. light use of heat gun to help it kick off...


                            do another layer, this next layer of resin outside gives it a really smooth finish. more heat gun action.


                            pull part from plug, trim back part, clean up some edges, and prep for internal glass work.


                            layout your matting and make it easy to handle and work with. lay it in the now mold, and make sure you slit it where it bubbles up, etc. fit it relatively well, you can always trim while wet but it mucks up your scissors LOL. they clean if you get to it while wet still. apply resin to matting pieces, and push into place and remove what bubbles you can. i usually coat one side (the back side) first, then flip it and put it into place. then i come along the top side with more resin and push it in with a paint brush. this gets it a sticky surface to cling to the part for one, and lets you not have to work it so much to get it resin soaked.


                            test fit, trim as needed. mine still needs final trim work on the race car, the Lago is in the garage and since its the same thing i just used it for placement.


                            sand up the outer surface, get it as good as you want for your paint surface.


                            paint and refit. tomorrow i will final trim and then make it attach with the Dzus fasteners i already have in place for the sheet metal cover i am replacing with this much cooler one. thanks for looking.


                            Happy Thanksgiving, folks. :cheers:

                            Comment


                            • #15
                              dude - respect!

                              Comment

                              Working...
                              X