You can change the style the forum displays by selecting your preferred style at the bottom left of the site.
We have made an enhancement so that old threads should now link from search results to the correct thread. This is not yet in place for single post links
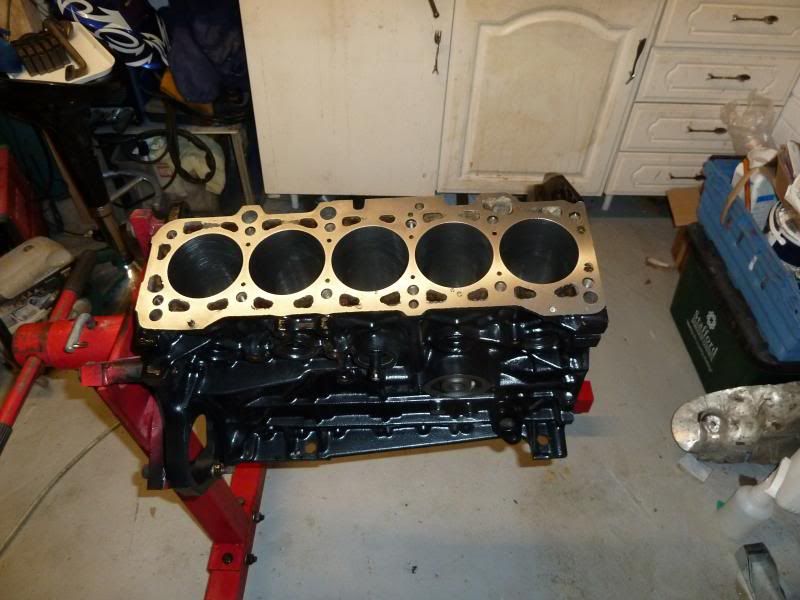
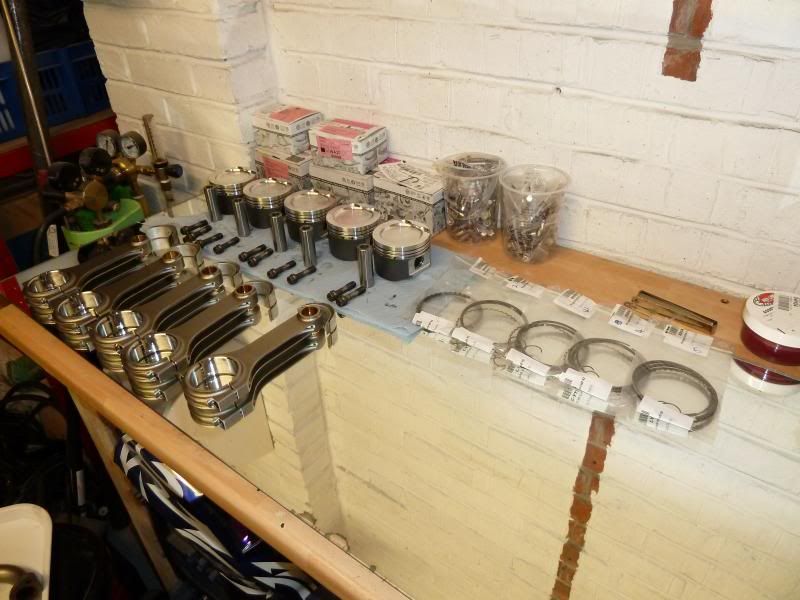
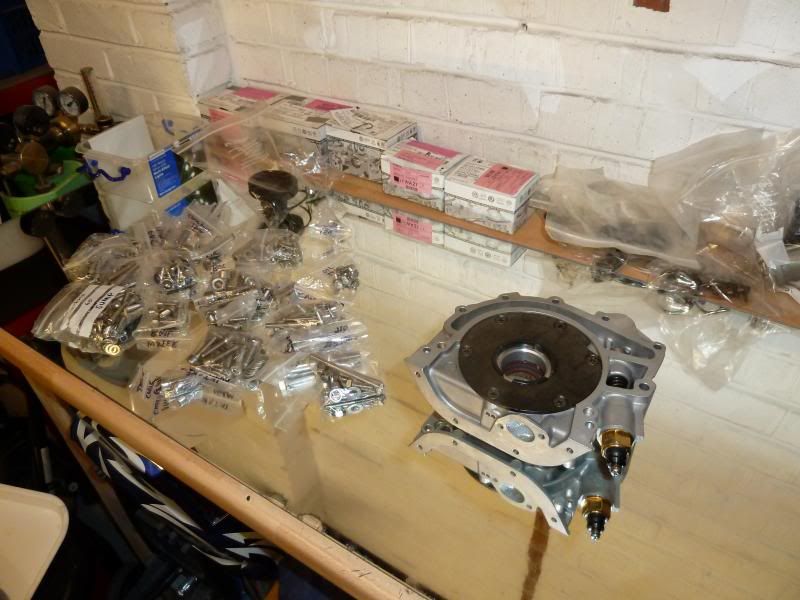
The work area: big old mirror helps to keep the area absolutely clean.
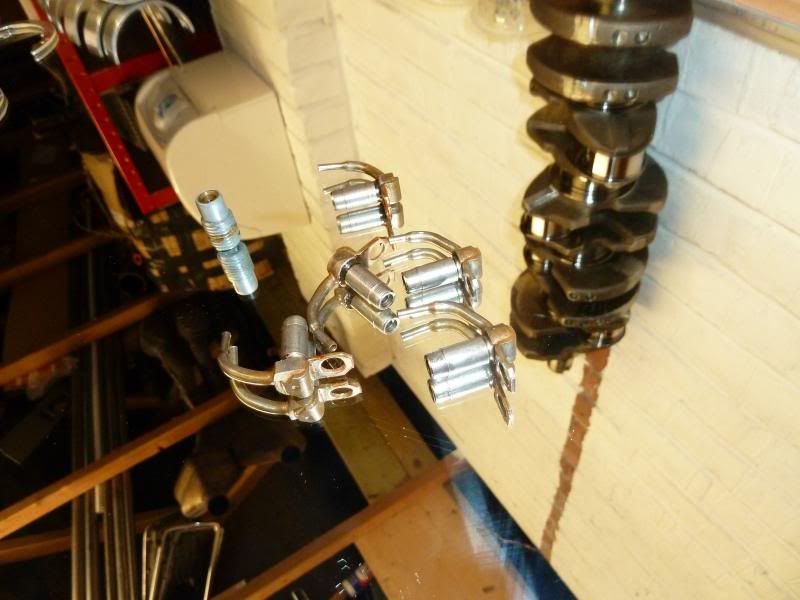
First up - piston cooling jets & oil gallery valve that Andy10v very kindly ultrasonically cleaned for me - cheers mate
Checked the mains clearances -Plastigauged showed just over 0.038 on every journal, confirmed the 0.040 - 0.050 I was expecting. All good
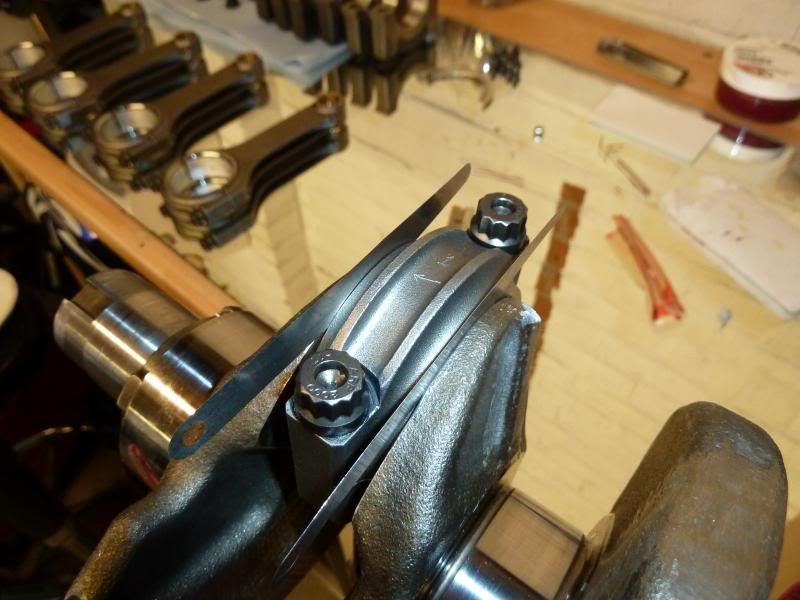
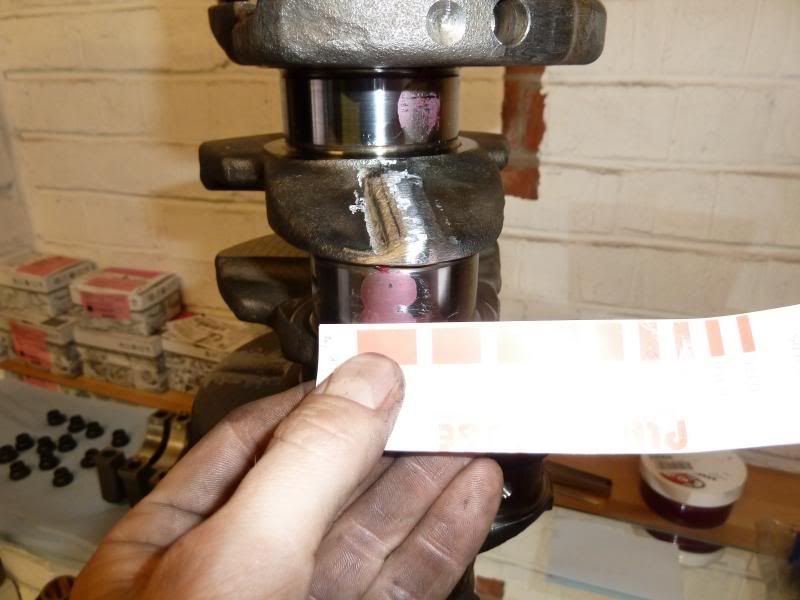
Check fitted the rods - crank in a vice and Plastiguaged each pin. I used a couple of feeler guages to stop the torque on the rod bolts twisting the rod & pinching the shells - good time to check the side clearance too
Just over 0.025 across all the pins
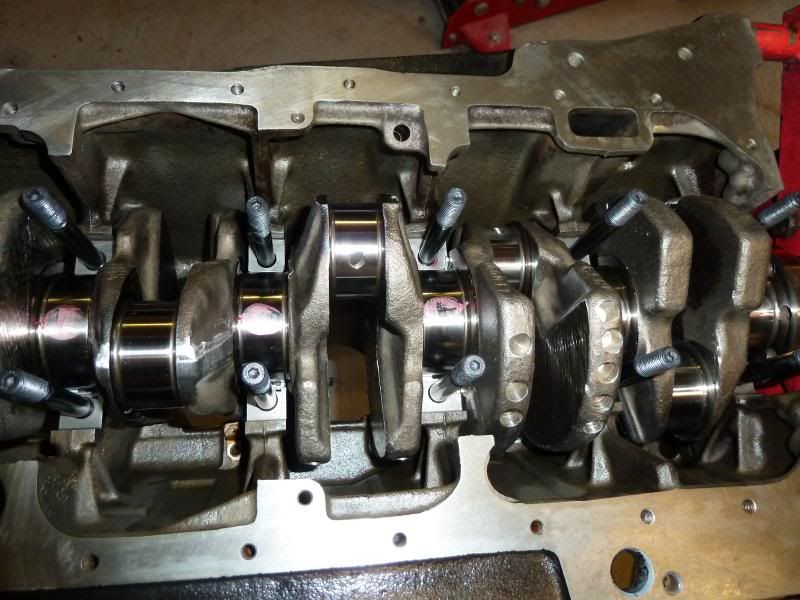
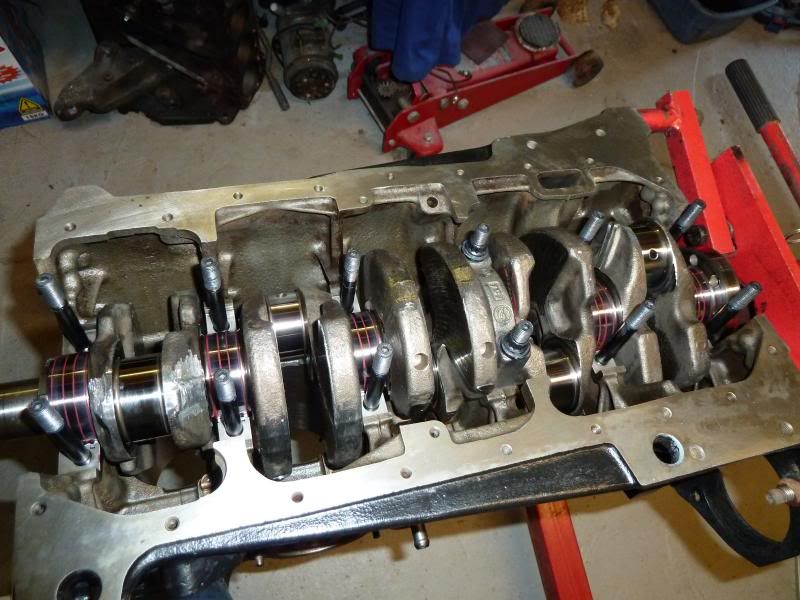
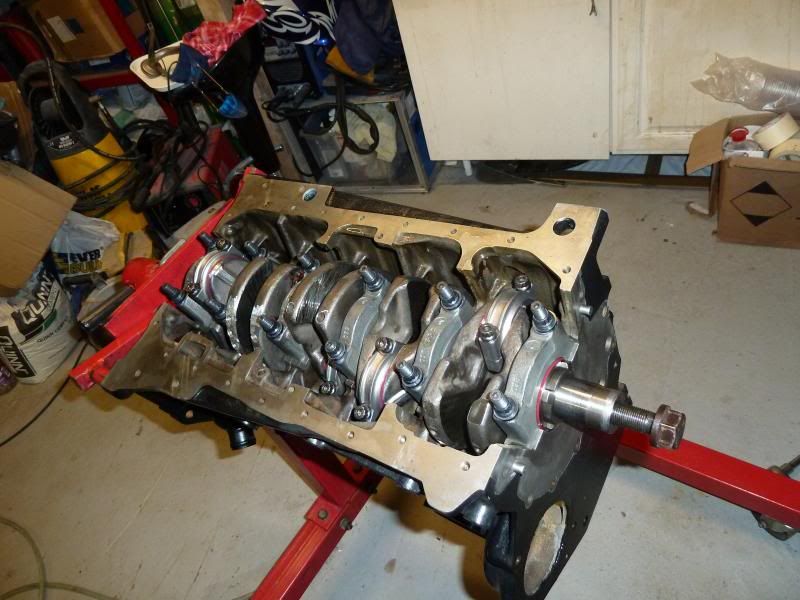
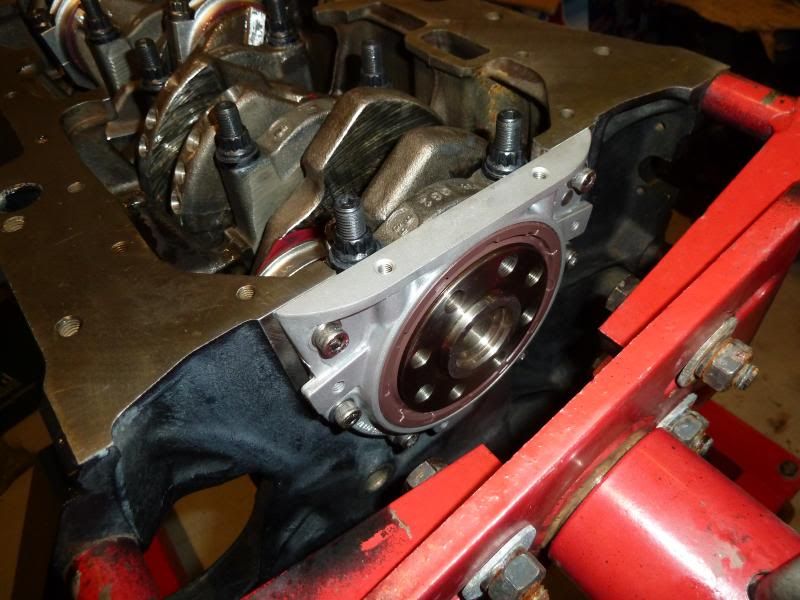
So, in with the crank. Fitted No.4 cap first complete with thrust washers.
Then spin the crank over by hand to check there are no tight spots and it feels smooth and even. Then repeat with ever subsequent cap. By the time they are all torqued you can spin it a quarter turn or so with a flick of the wrist, feeling smooth like butter
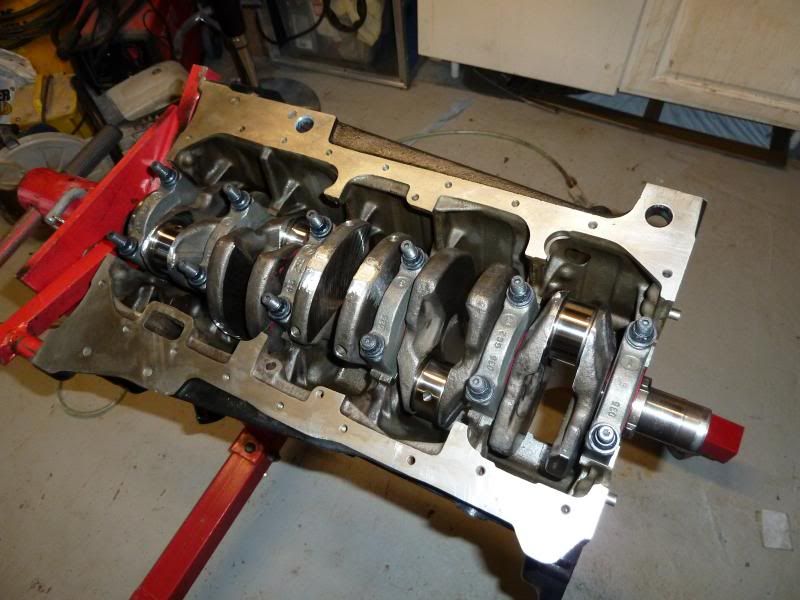
All torqued up.
So with the rods & pinstons:
I'd already gapped the rings, but just check fitted them again to be sure. An old 7A piston works a treat to position the rings just right in the bore
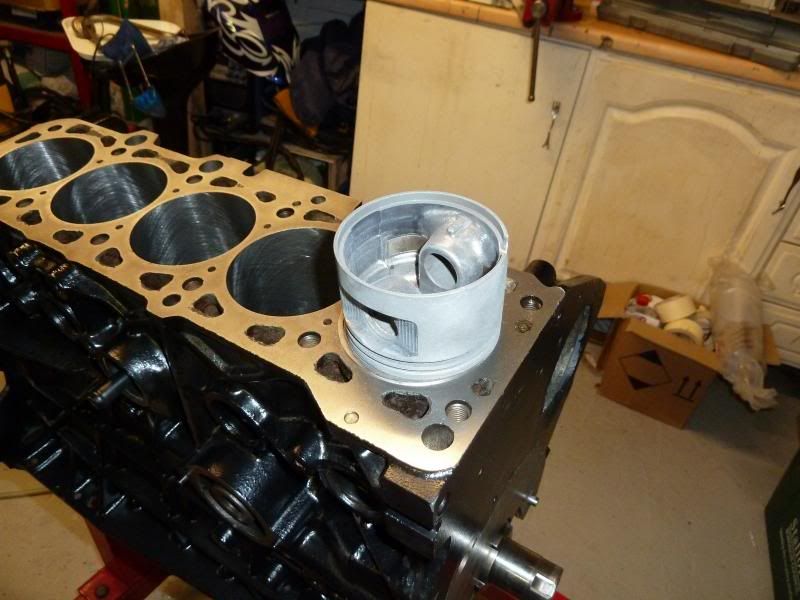
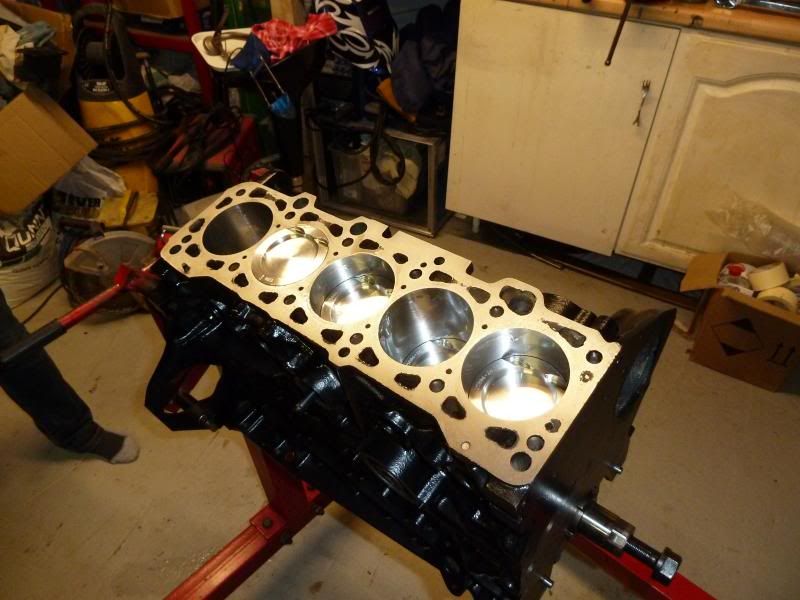
Pistons into place.
Mmm, shiney
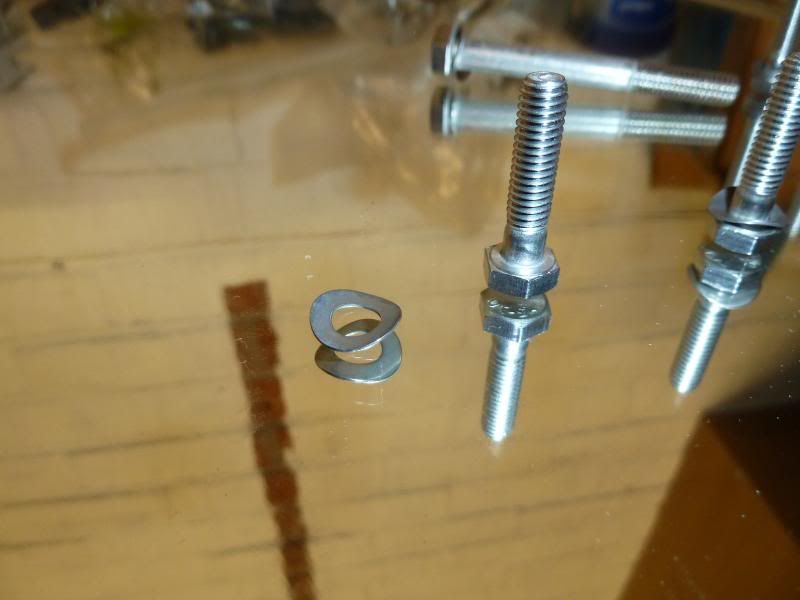
So, if you've ever wondered, this is what £65 worth of stainless fixings looks like
These are pretty cool. I managed to get hold of some anti-vibration DIN spring washers in A2 stainless from one of my suppliers at work.
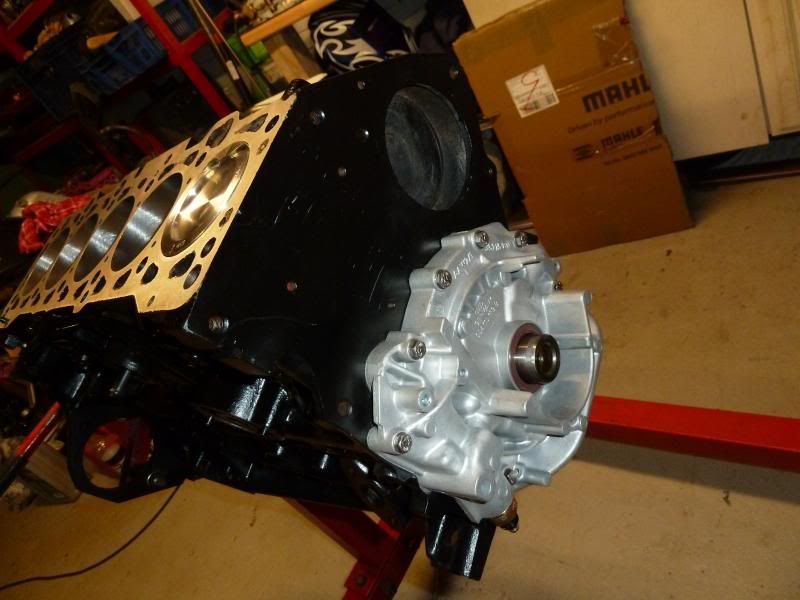
Oil pump on:
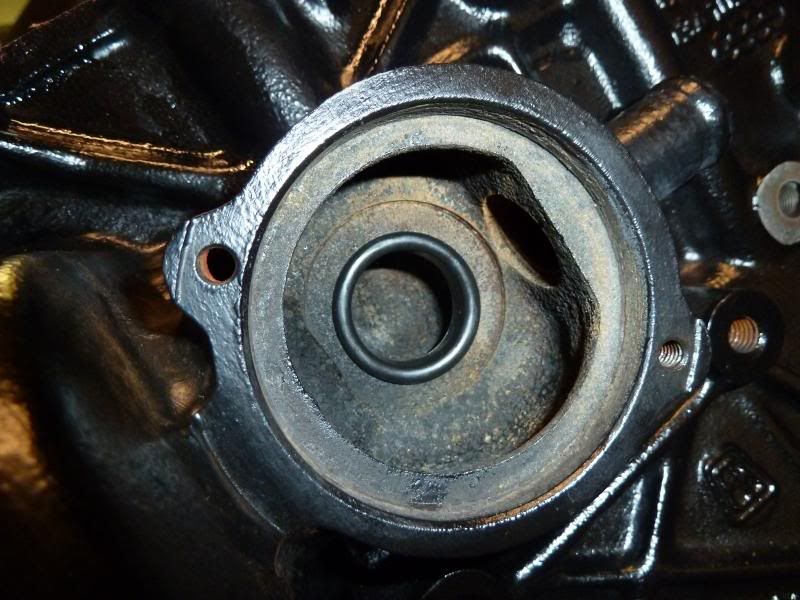
Rear oil seal on:
Thats it for now. Hopefully get the oil pick-up & sump on over the next couple of days
Panthero Coupé quattro 20vt
Indigo ABY coupé
Imola B6 S4 Avant
The Perfectionist
sigpic
Audi Class Concours winner Stoner Park 2014, ADI Concours D'Elegance Class Winner 2008, Runner up 2014. Winner, S2Forum Show'n'Shine Billing 2006 & 2008.
Got a bit more done on the engine so more pics of shiny new bits
Checked the main & rod bolt torque for about the 12th time! Many moments, worrying have I forgotten something, did I put the shells in the right way etc etc, as only an OCD freak can.
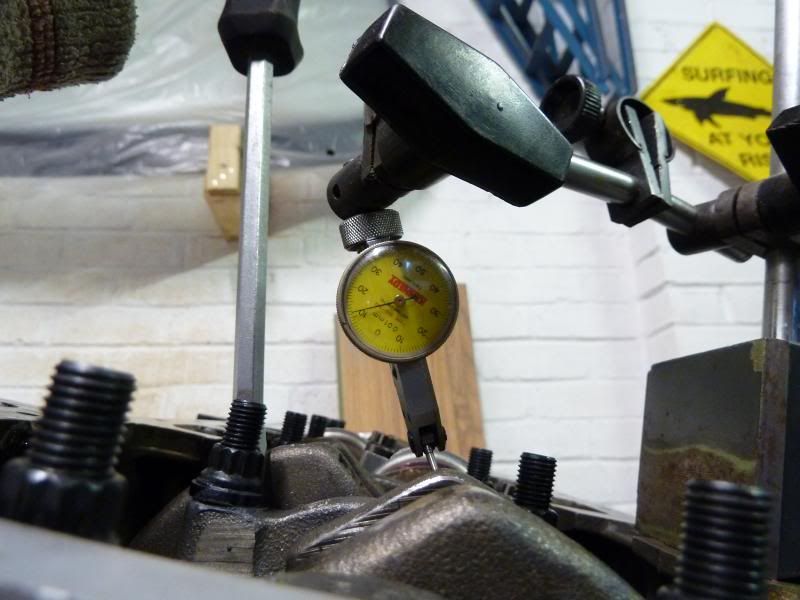
Measured the crank end-float - 0.12mm - all good. So that is the bottom end rotating assembly done. All fully balanced by JP, it should be as smooth as an Italian date-rapist.
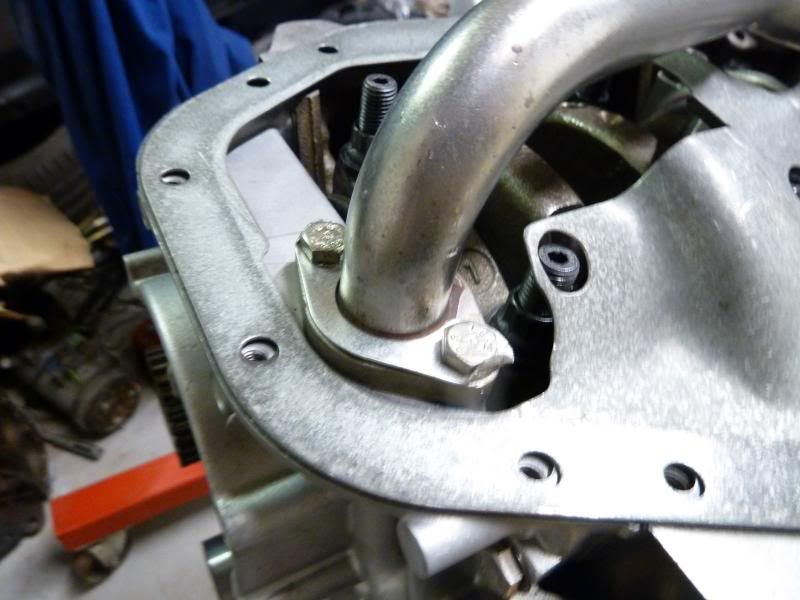
Installed the oil pick-up. I used the AAN pick-up pipe that uses the O-ring seal as opposed the early style with the paper gasket. I opted to use both the AAN thread locked bolts, with the 3B lock plate. Double security.
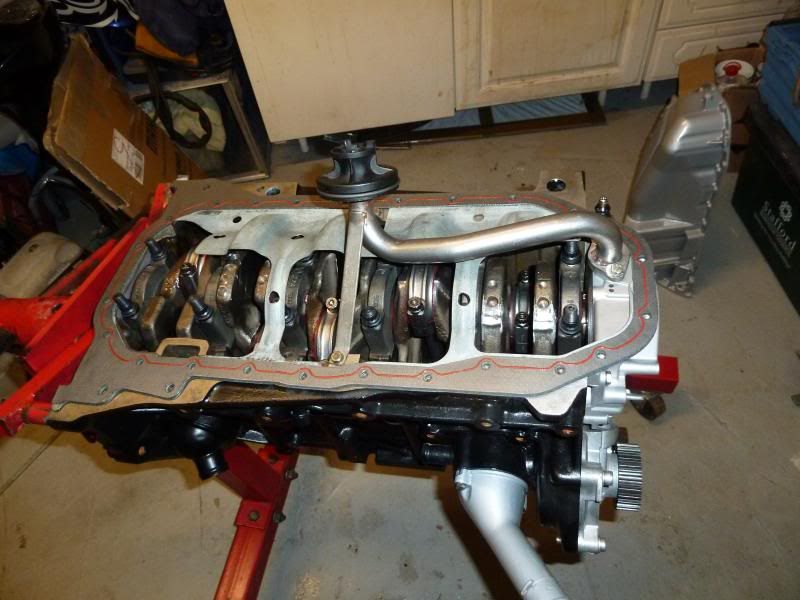
Oil pick-up & windage tray in place
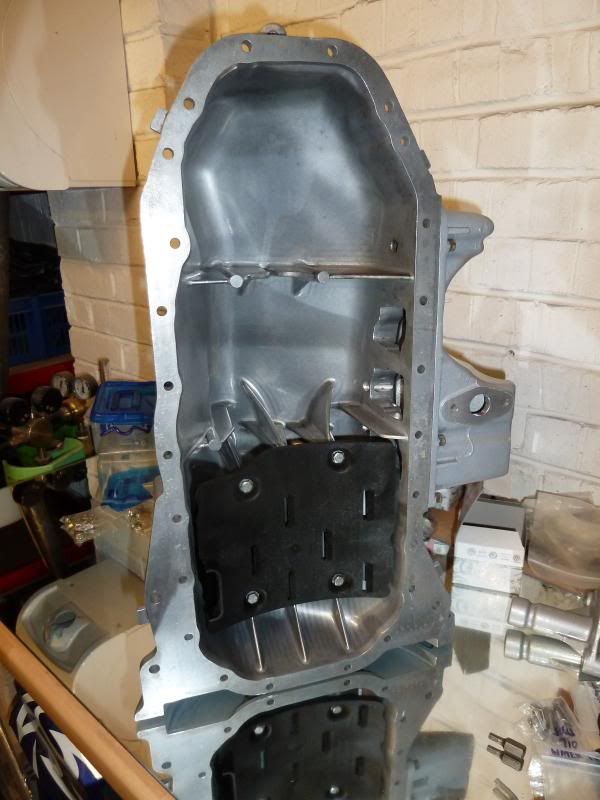
I decided to use the 7A sump baffle alongside the 20vt windage tray - it all fits and can't hurt I guess.
Sump on:
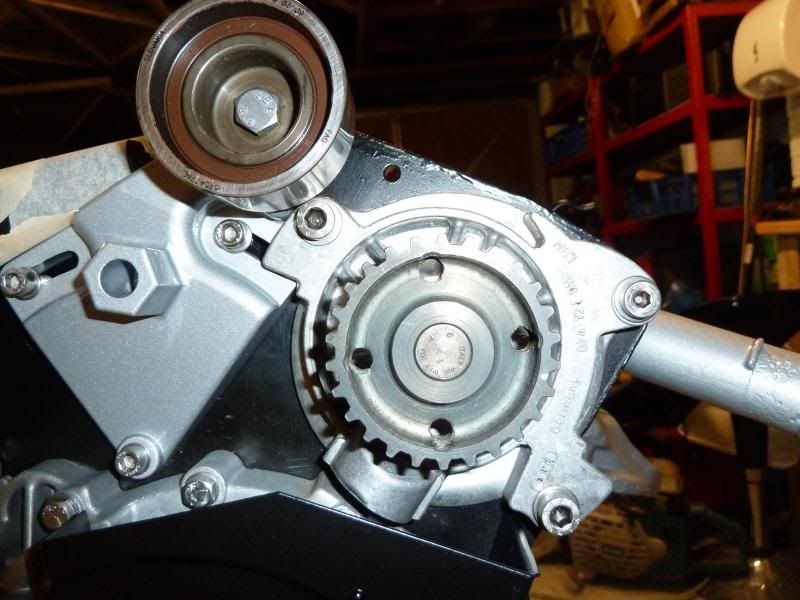
Time for a few ancillaries. I painted them all with 2K aluminium silver - came out nice I think
Water pump with RS2 belt sprocket. I did have a new pump to use, but this old one seemed better quality and was in pretty much as new condition, with the steel impeller.
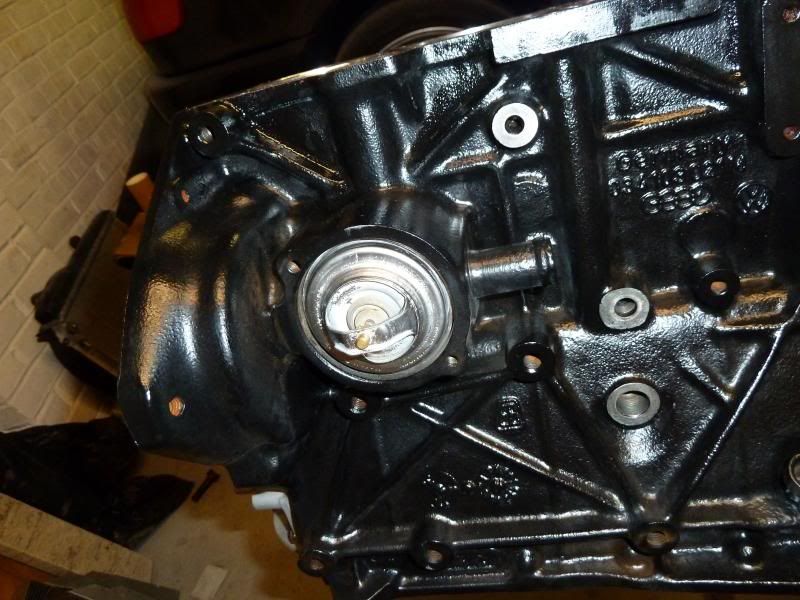
RS2 "moulded piece" p/n 034 121 122 - its like a rubberised plastic the forms a tighter seal at the back of the thermostat, I guess to prevent cavitation maybe, with the higher flow water pump. fits in here:
Used but good OEM Behr thermostat - I got "caught" testing it on the hob yesterday
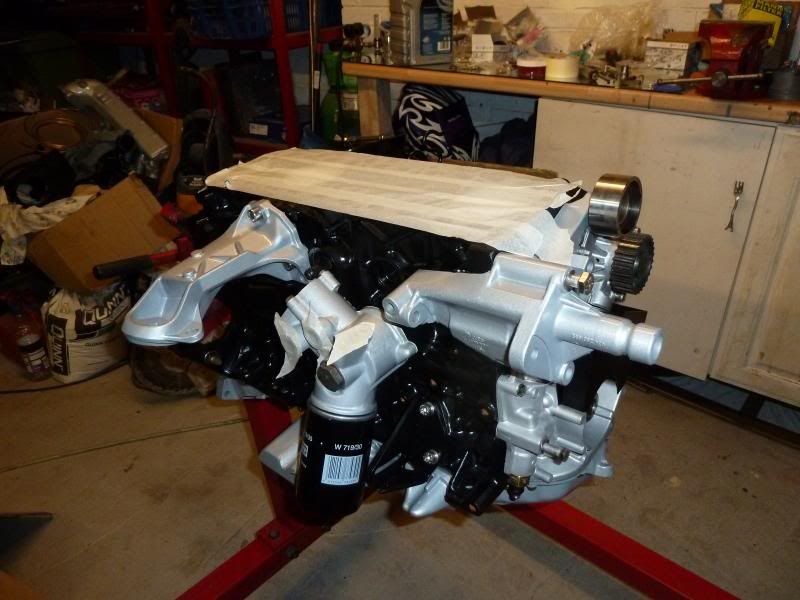
Few more parts bolted on. starting to take shape now. Put to bed for the night
Panthero Coupé quattro 20vt
Indigo ABY coupé
Imola B6 S4 Avant
You've really done a top class job of that Alex, hope the rest of the build goes as smoothly, though I'm sure it will with that sort of attention to detail.
I get very OCD about what I've torqued up as well, sometimes I wake up in the night after doing something like a head rebuild, cam belt etc panicking that I haven't tighten this or that up. I invariably have but can't relax till I've check again, and again and again........ Another thing is leaving my welding gas bottle on , the other day I had to check the tap at least Four times before I turned the light off in my workshop.
Great idea with the mirror but I wouldn't want to drop that crank on it!
We process personal data about users of our site, through the use of cookies and other technologies, to deliver our services, personalize advertising, and to analyze site activity. We may share certain information about our users with our advertising and analytics partners. For additional details, refer to our Privacy Policy.
By clicking "I AGREE" below, you agree to our Privacy Policy and our personal data processing and cookie practices as described therein. You also acknowledge that this forum may be hosted outside your country and you consent to the collection, storage, and processing of your data in the country where this forum is hosted.

 Tweet
Tweet


 An i bet if i get to look at the one i thinks good its going to be scrap lol...


Comment