You can change the style the forum displays by selecting your preferred style at the bottom left of the site.
We have made an enhancement so that old threads should now link from search results to the correct thread. This is not yet in place for single post links
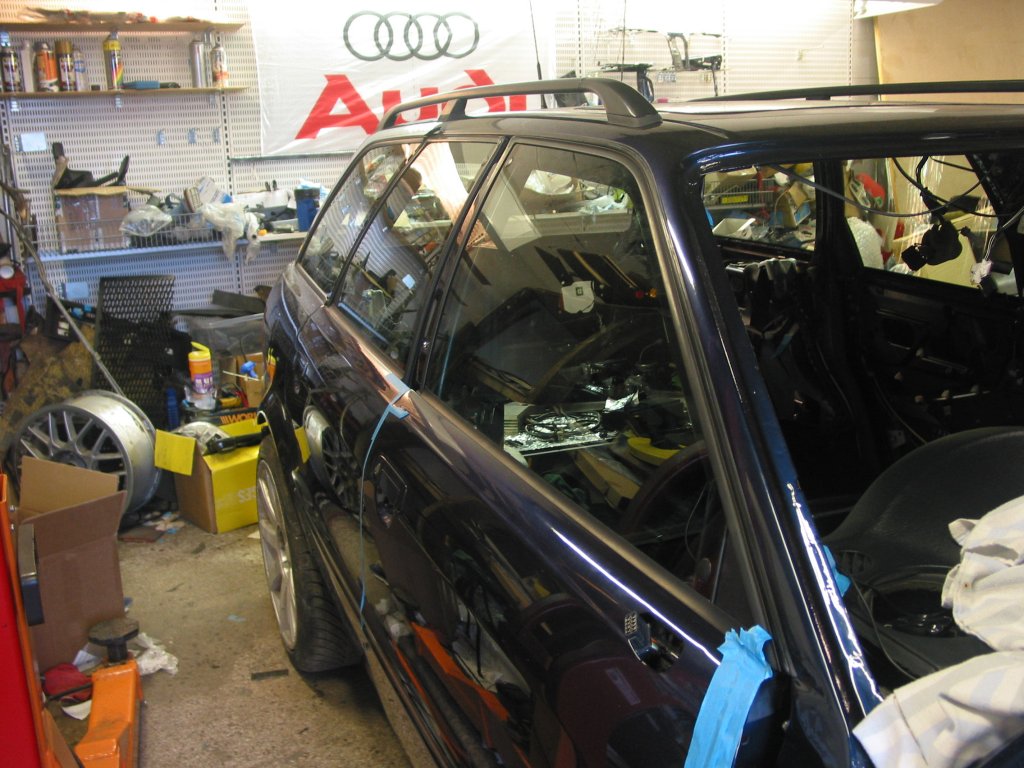
The old window <> door seals were ok just had to be cleaned.
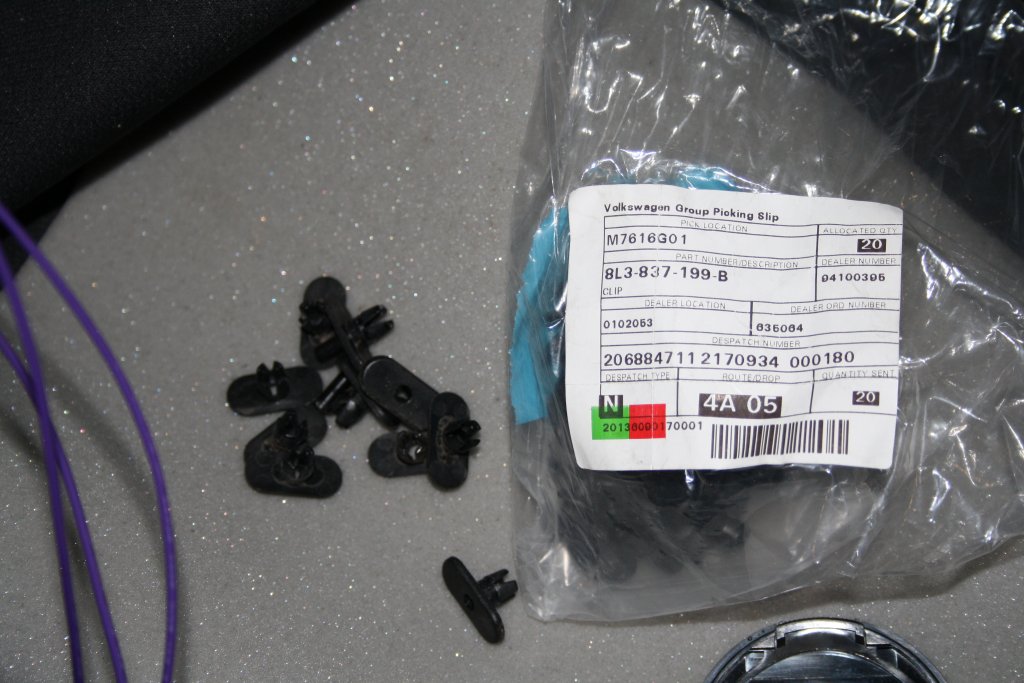
Newer style clips
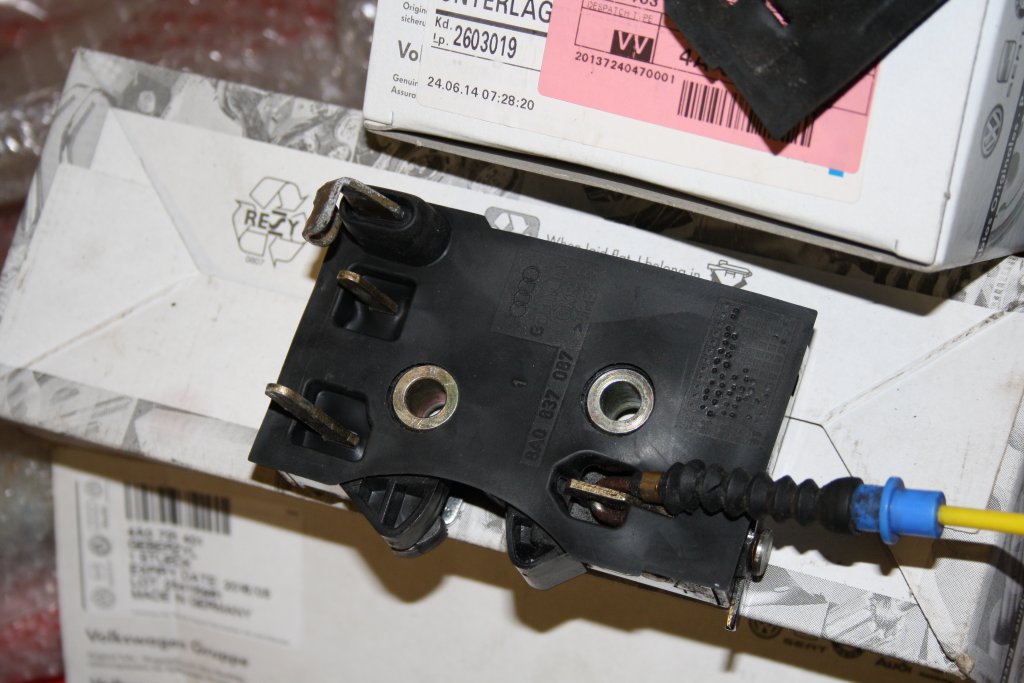
Door locks were cleaned, greased and new seals on all 4.
I had an old screwdriver that broke a long time ago, for some reason I never threw it away, now I know why
Masking tape on the other side was enough to hold the button while unscrewing.
I also replaced the button caps on the glass of the front two doors.
Rebuild all the regulators with new grease, and cleaned the shaft as some of them were starting to corrode.
Glass in on both sides. I had wanted to use S6 door handles and locks but delays getting them delivered means I have to install them at a later date.
I blasted and plated the tailgate catches. I also put a new nylon insert into the lock catch.
The tailgate lock was siezed, and was the cause of my trouble oh so very long ago trying to get the tailgate open.
I eventually got it unlocked in my hand by tapping it with a mallet, then I was able to strip it down and clean each lock slider pin.
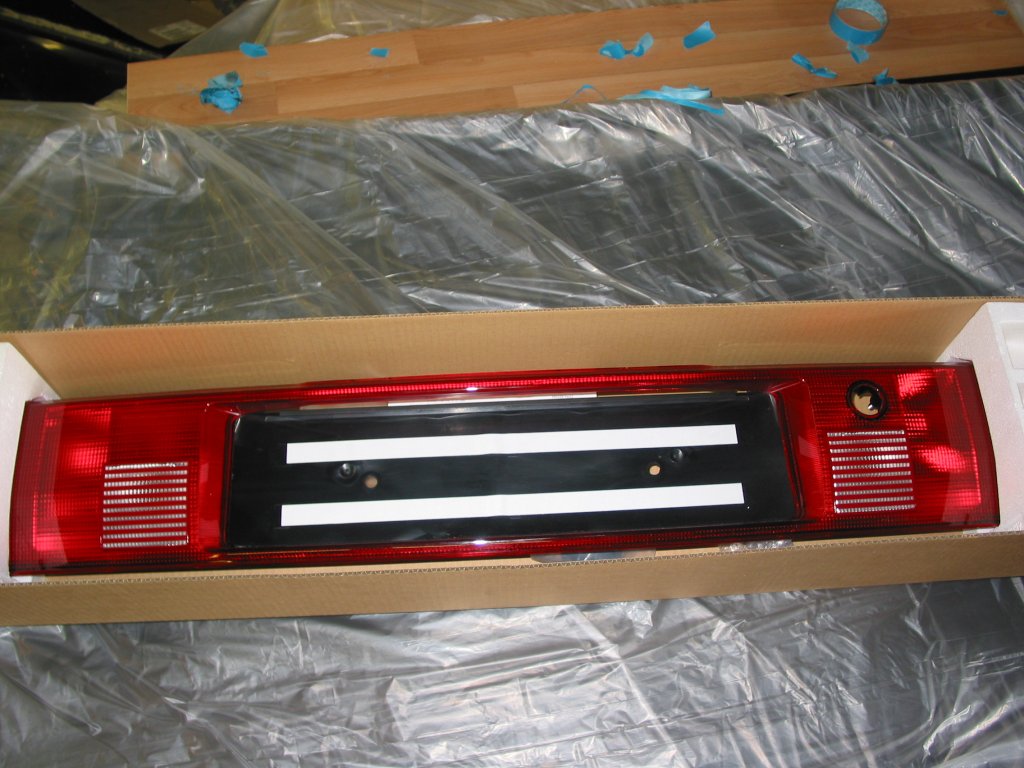
Managed to pick up a new B3 90 taillight section.
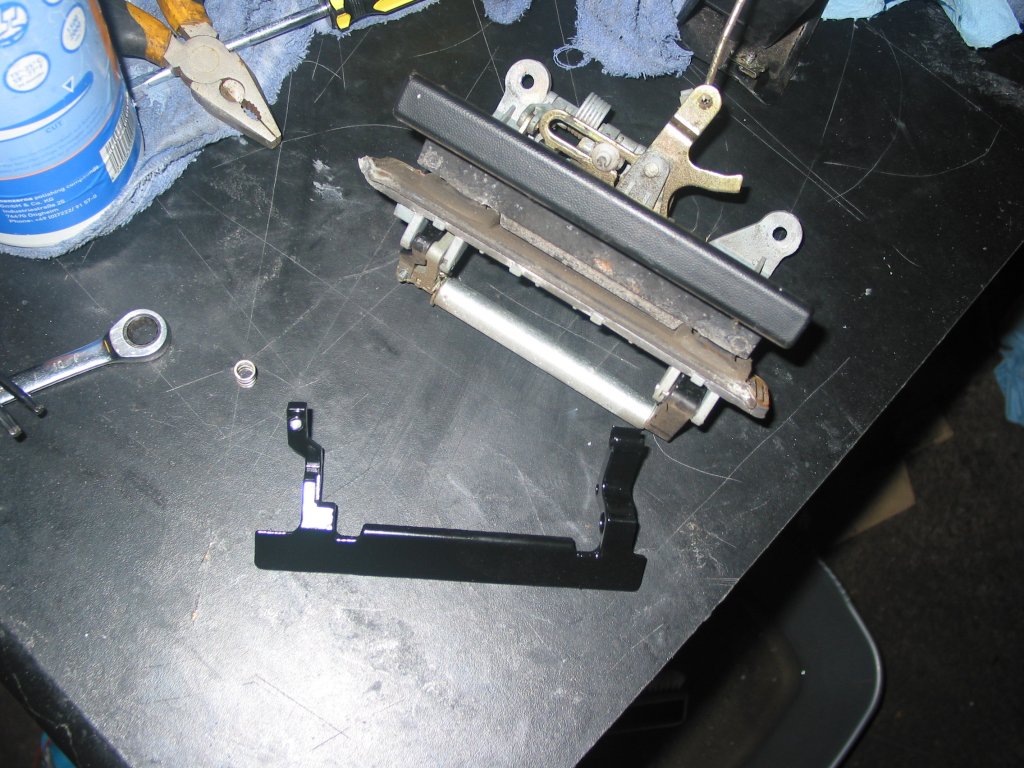
Of course fitting this required a modification to the release handle.
One cut and powercoated handle.
Removed the spring thanks to mcandmar's post on the topic.
This is quite some labour of love... smacks of OCD too though, but in a good way - teehee...
3D printers are going to be the salvation of many a plastic part that Audi has allowed to go NLA or TFE ... I predict some future threads with files that can be printed to create all sorts of odd clips, covers and such.
Have greatly enjoyed the progress so far. Keep at it, even if it gives me irresponsible ideas of my own.
This is quite some labour of love... smacks of OCD too though, but in a good way - teehee...
3D printers are going to be the salvation of many a plastic part that Audi has allowed to go NLA or TFE ... I predict some future threads with files that can be printed to create all sorts of odd clips, covers and such.
The UK's electronics specialist. Free UK delivery on orders over £35. Explore our extensive selection of tech essentials including batteries, cables, PC & mobile accessories, cameras, audio equipment, electricals, and security tech. Visit us today!
Printed these in nylon 645 Co-Polymer.
I also Printed these screw covers for a coupe in rubber for Nuvo
I thought that the headliner was a) enough sound deadening and b) glued (in spots) to the inner metal roof. How are you going to attach your headliner board to the sound deadening?
It's coming together nicely. On mine I felt like getting the dash in was a real milestone.
Where did you get the new antenna from mate? Mine is crap and despite the excellent tuner on the Becker it struggles to pick up much.
Has someone graffitied your vents?
Yea , What I have in mind hopefully won't be too gimmicky , if it is Ill just leave them off.
I got the antenna from http://www.dabonwheels.co.uk/
It had an identical quality feel to the old one. Nice snug fit too.
I got the pack with the bundled 5.5m cables,
It's coming together nicely. On mine I felt like getting the dash in was a real milestone.
Where did you get the new antenna from mate? Mine is crap and despite the excellent tuner on the Becker it struggles to pick up much.
Has someone graffitied your vents?
Sticking with the exterior for a moment, I trial fitted the roof rails to get the right depth of those bolts that hold it.
After getting the correct depth for the roof rail bolts the roof rails must come off and sealant applied to the bolts.
I also installed a new antenna. Its FM and DAB. A Kinetic 6004. Its a steeper angle than the stock one. The cable was routed before the carpet went in.
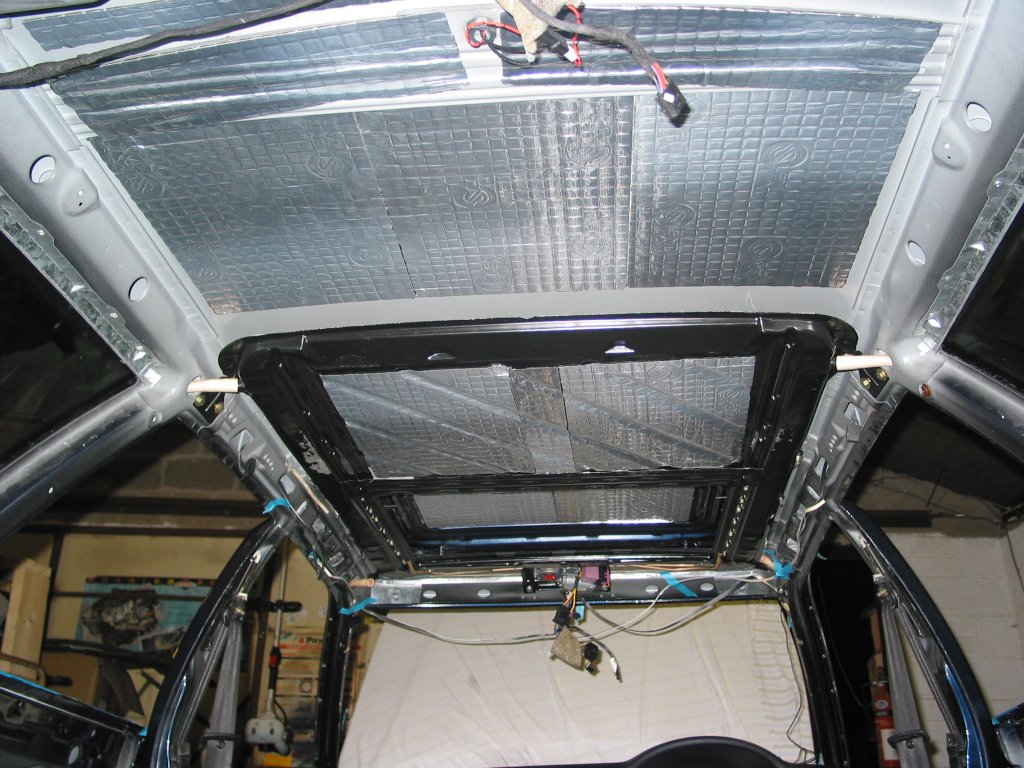
More sound deadening
For those of you wondering about weight, I removed about 2.3Kg of old deadening material from the boot section.(yep I collected it and weighted it)
The new 4mm deadening material in the boot section alone comes to about 5kg .
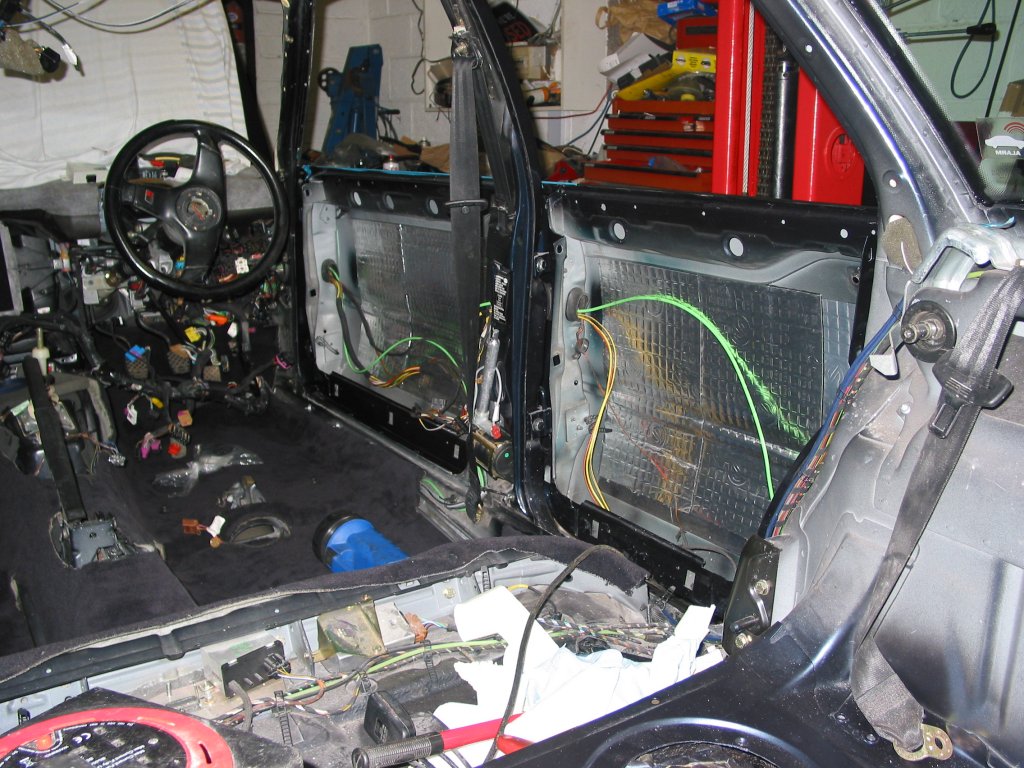
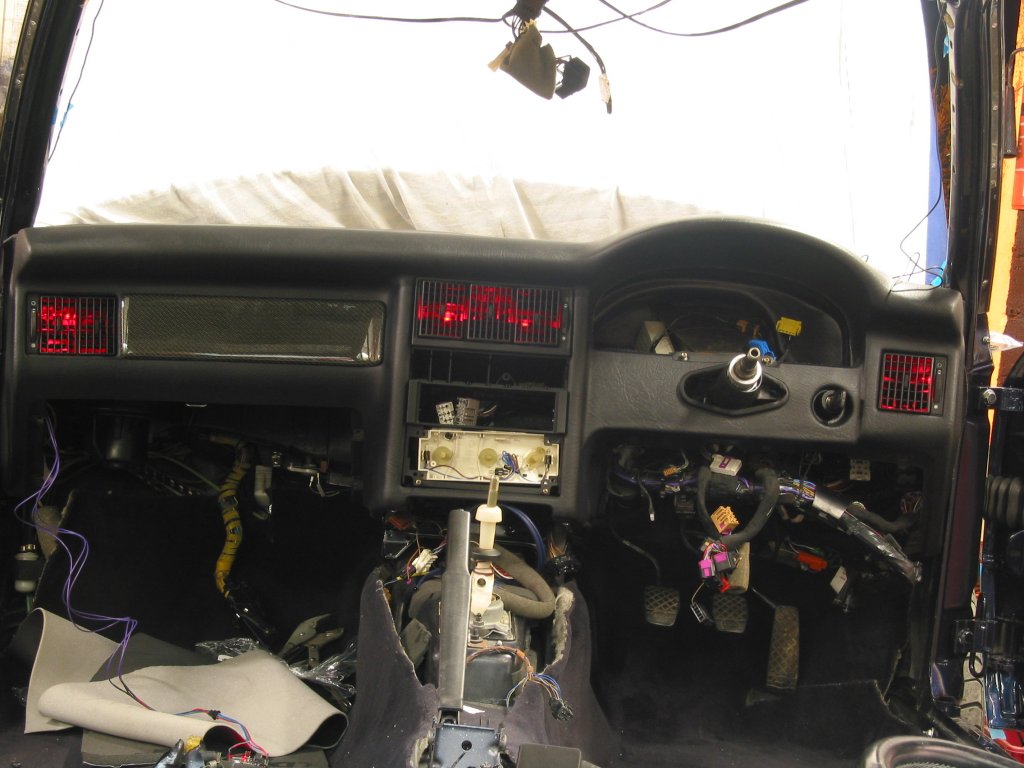
I also managed to get the dash in and roughly aligned up. Got to route a few cables next. I also changed the wood trim for carbon fiber.
Yea the wiring is a huge relief. But there is still the engine bay to look forward to.
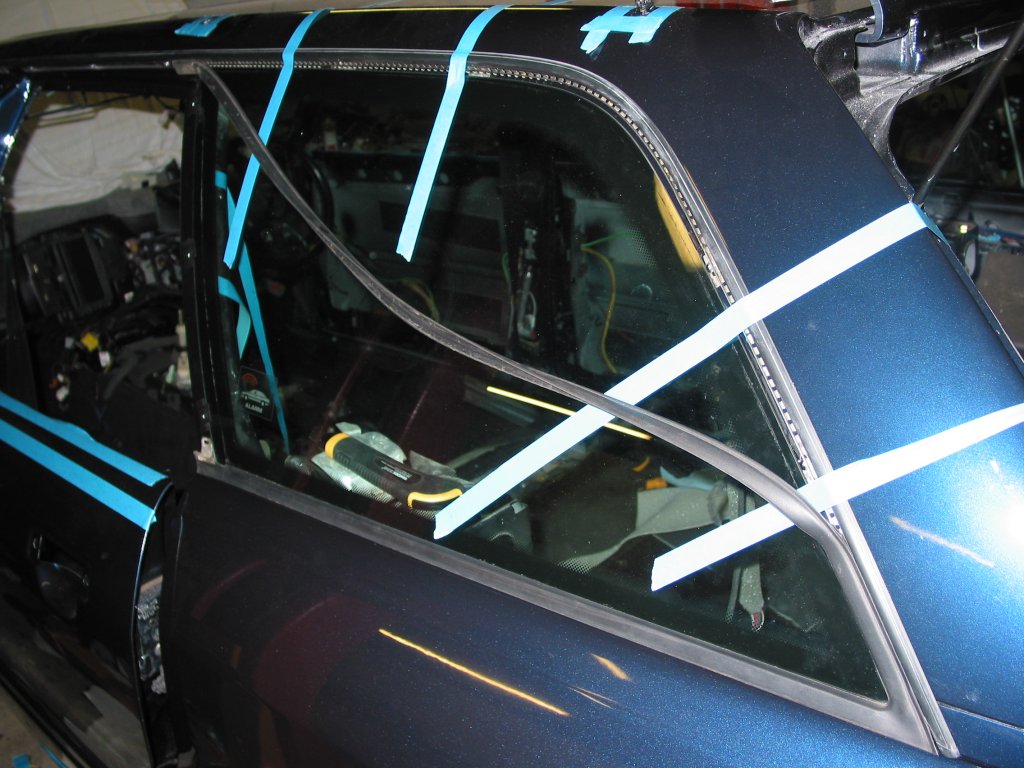
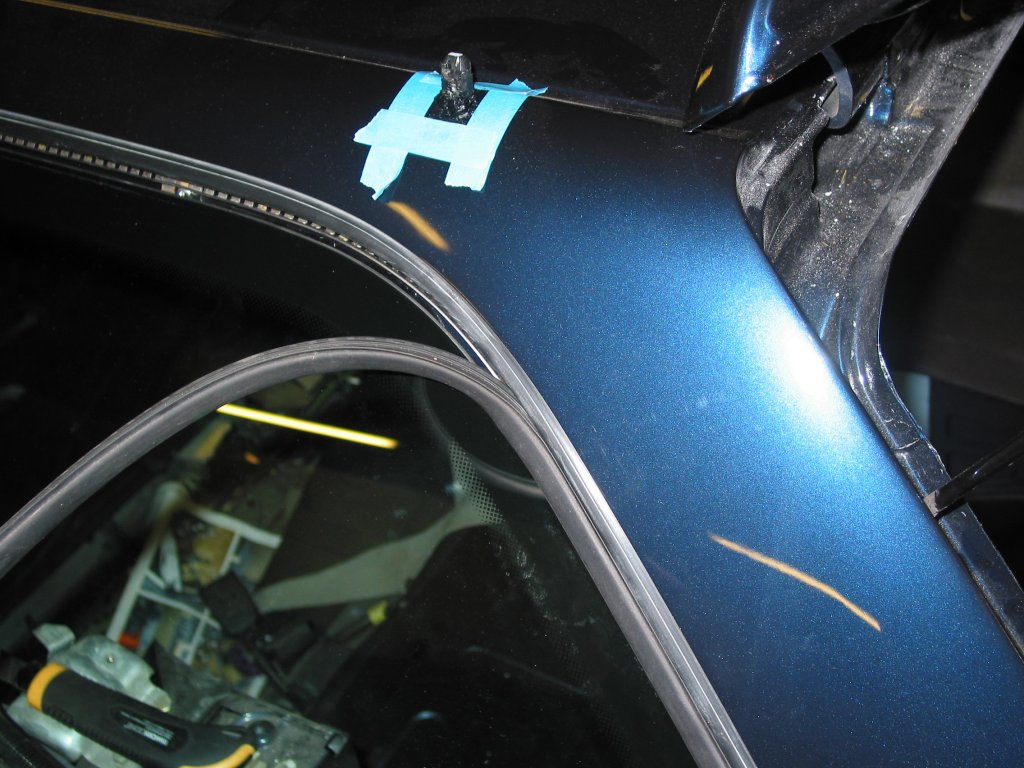
While waiting for some bits to arrive to finish off the dash, I fitted the roof trim and I decided to tackle my nightmare, the rear windows. Ever since the first days of strip down I wasn't looking forward to doing these, but in the end it wasn't too bad.
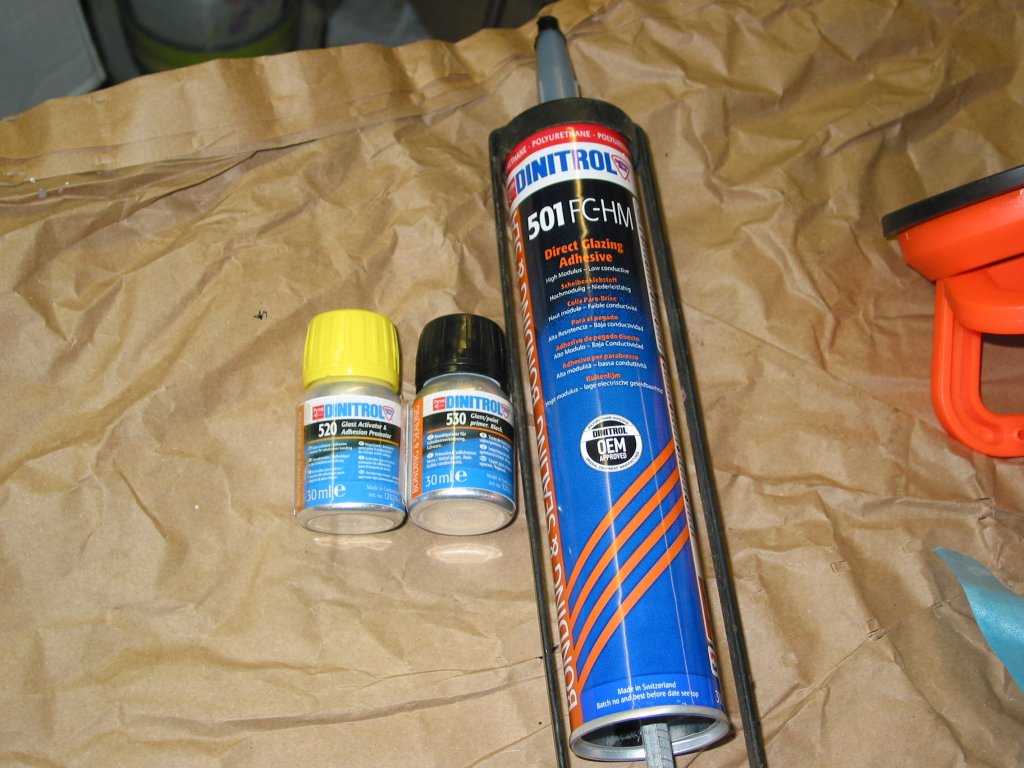
I used this stuff, its polyurethane , primer and activator.
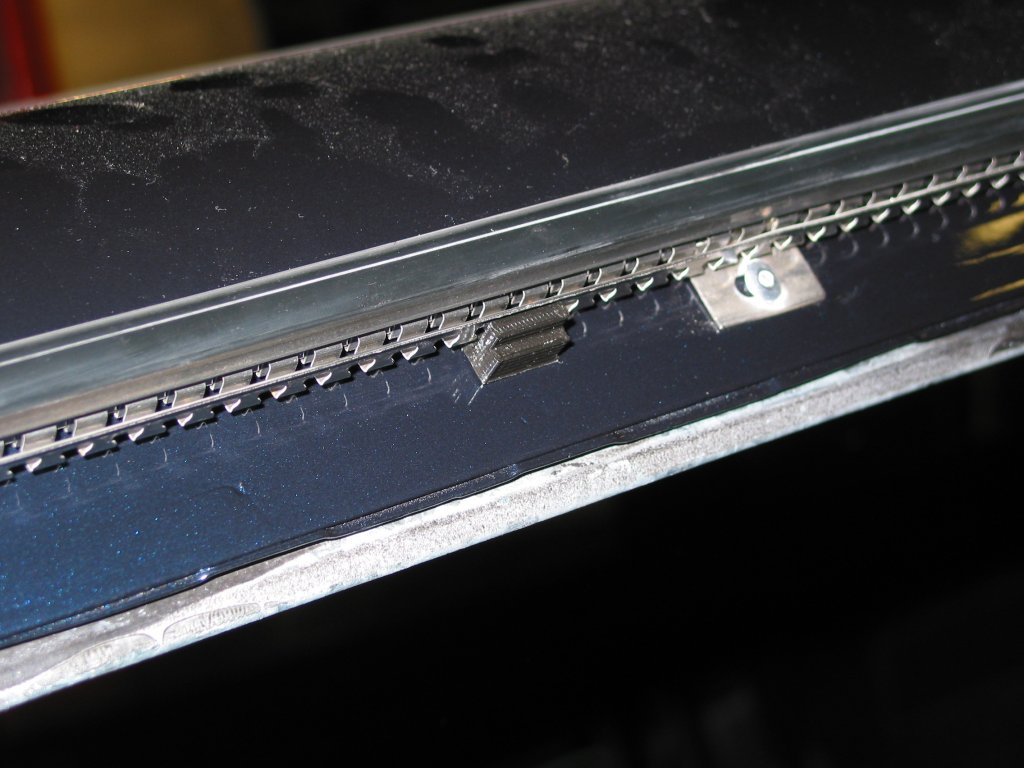
I also needed 6 of these. They hold the window at the correct level and are clips for the cover.
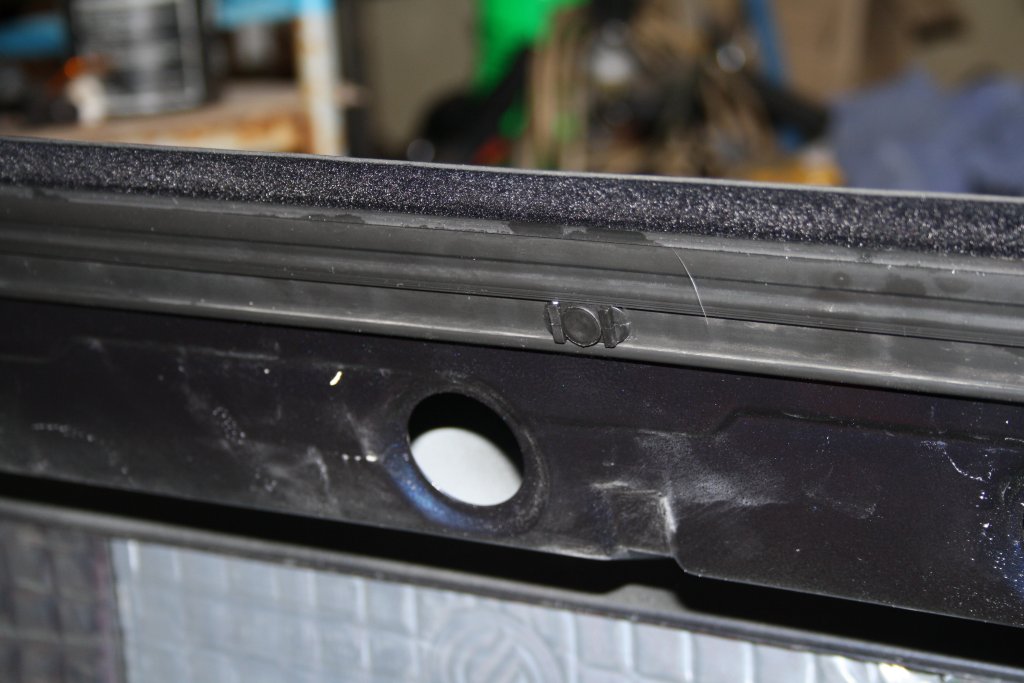
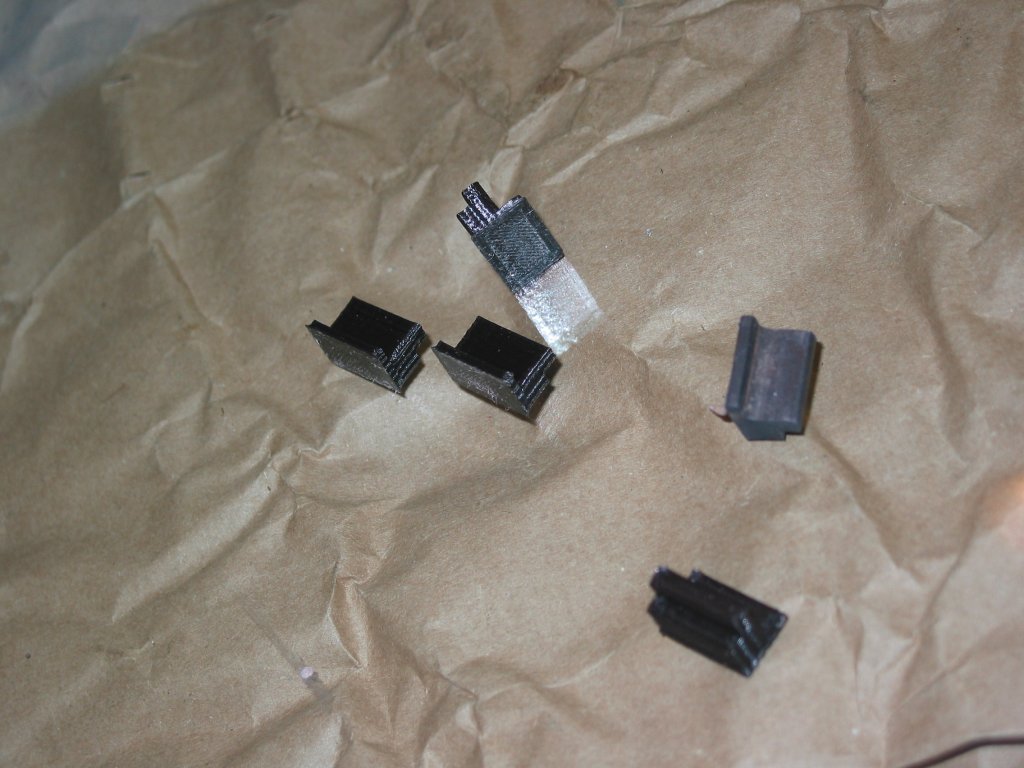
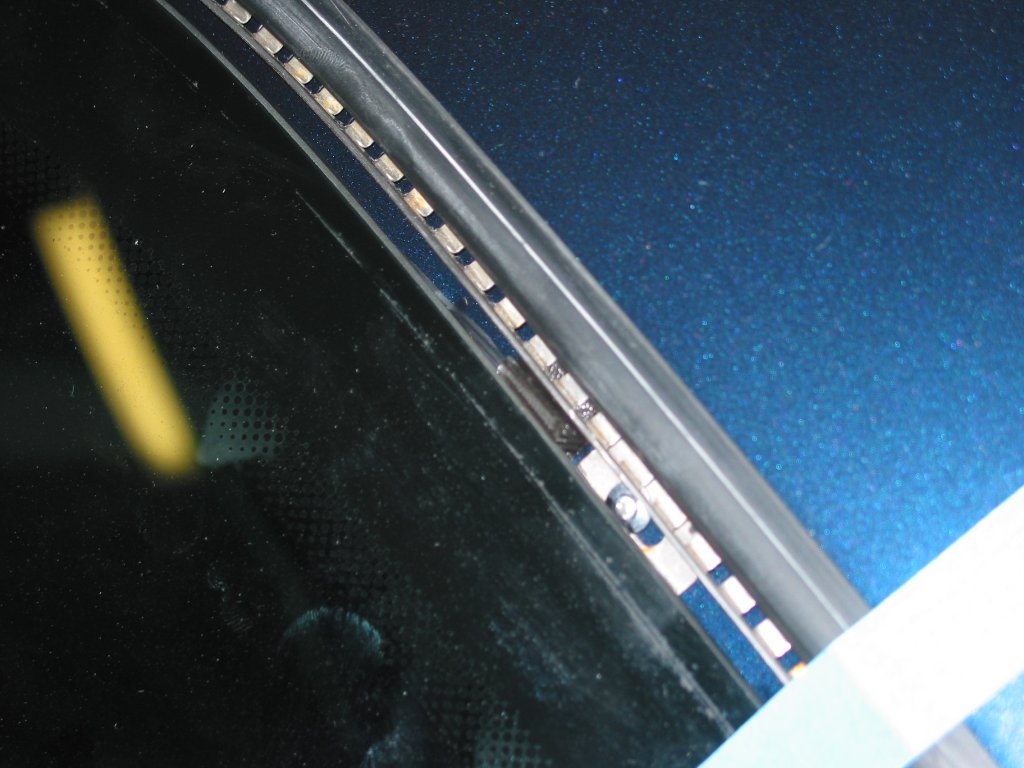
In my opinion I also needed these. These are spacers that keep the glass the correct distance from the body, and the correct distance from the roof trim. There is no Audi part number for them, and I only had 1.
So I 3d printed 4 copies and used those.
After primer dried, the activator was applied to both the primer and the old trimmed adhesive.
After that dried, I placed a pointed bead of adhesive along the old path of the adhesive.
You cannot see it here but I had a protective apron over the wing when I applied the glass to the body.
You can see the spacer doing its job here.
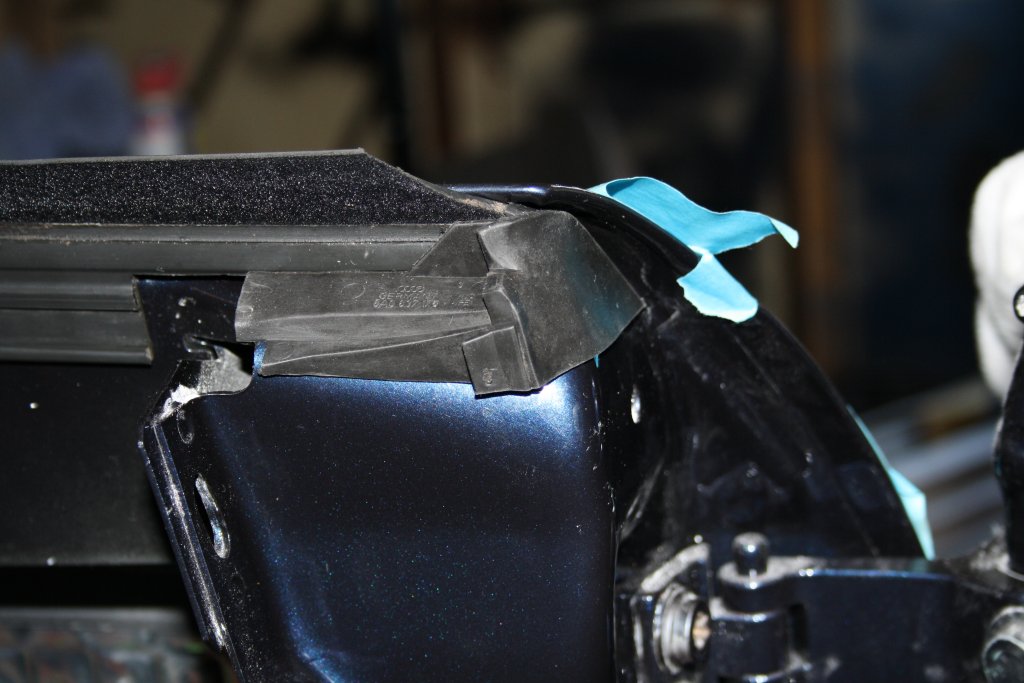
After it cured I was able to refit the outer seal again.
We process personal data about users of our site, through the use of cookies and other technologies, to deliver our services, personalize advertising, and to analyze site activity. We may share certain information about our users with our advertising and analytics partners. For additional details, refer to our Privacy Policy.
By clicking "I AGREE" below, you agree to our Privacy Policy and our personal data processing and cookie practices as described therein. You also acknowledge that this forum may be hosted outside your country and you consent to the collection, storage, and processing of your data in the country where this forum is hosted.










 Yea , What I have in mind hopefully won't be too gimmicky , if it is Ill just leave them off.










Leave a comment: