Your pdfs have been invaluable, especially the primer pdf. Am I correct in thinking that X in the fuseboard schematic is switched 12v being fed from relief relay, and that if I find another wire coming off that X point I can use as my 12V switched source.
And yea any further immo help would be of great help.
-
I genuinely think they got a new electrical design team for the B5 Audi... but once you can read the Audi schematics and understand the system its actually not that bad on the B2/B3/B4 - just another day at the office.
Anyway - you can safely remove that silly big 'diesel fuse'.
Also let me know if you want to augment the immo wiring with another trick of the factory loom.Leave a comment:
-
-
Time to tackle the electrical work.
So with the car back, I set about feeding the wiring back into the doors again.
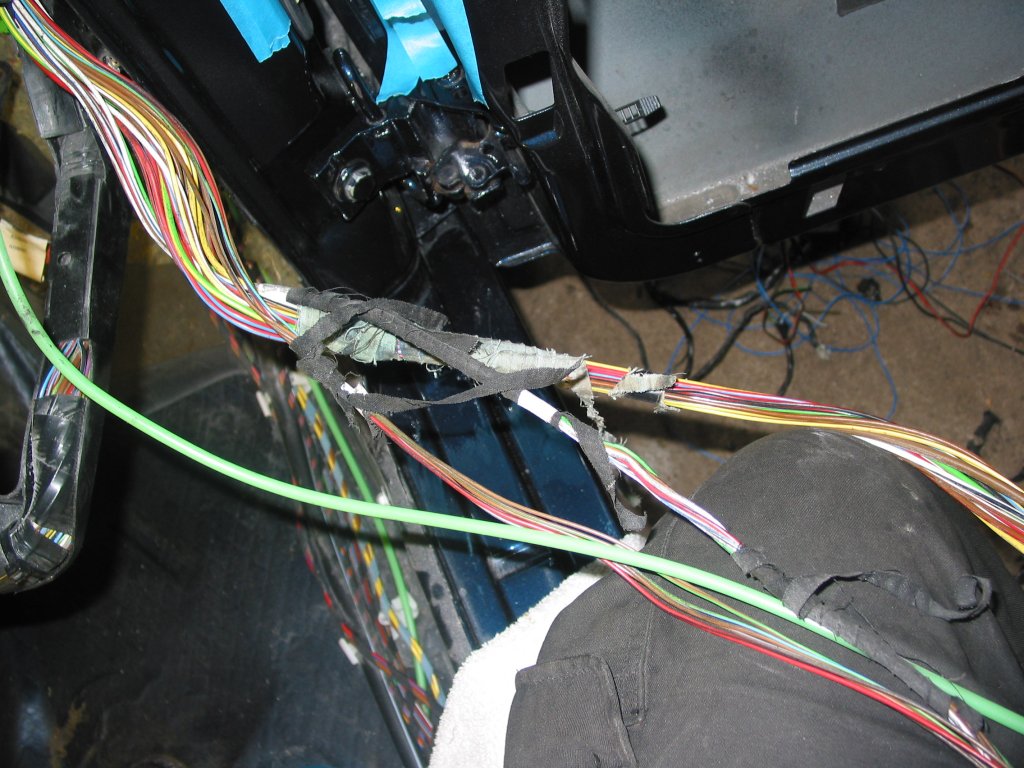
The cloth was a bit worse for wear, so I rewrapped it.
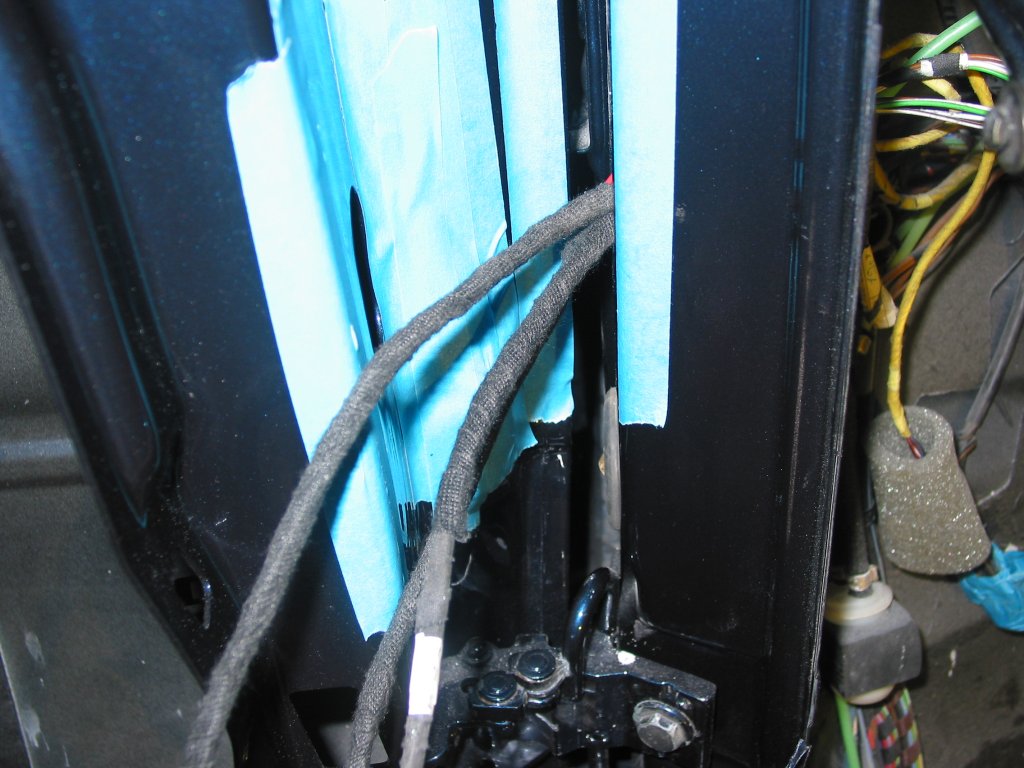
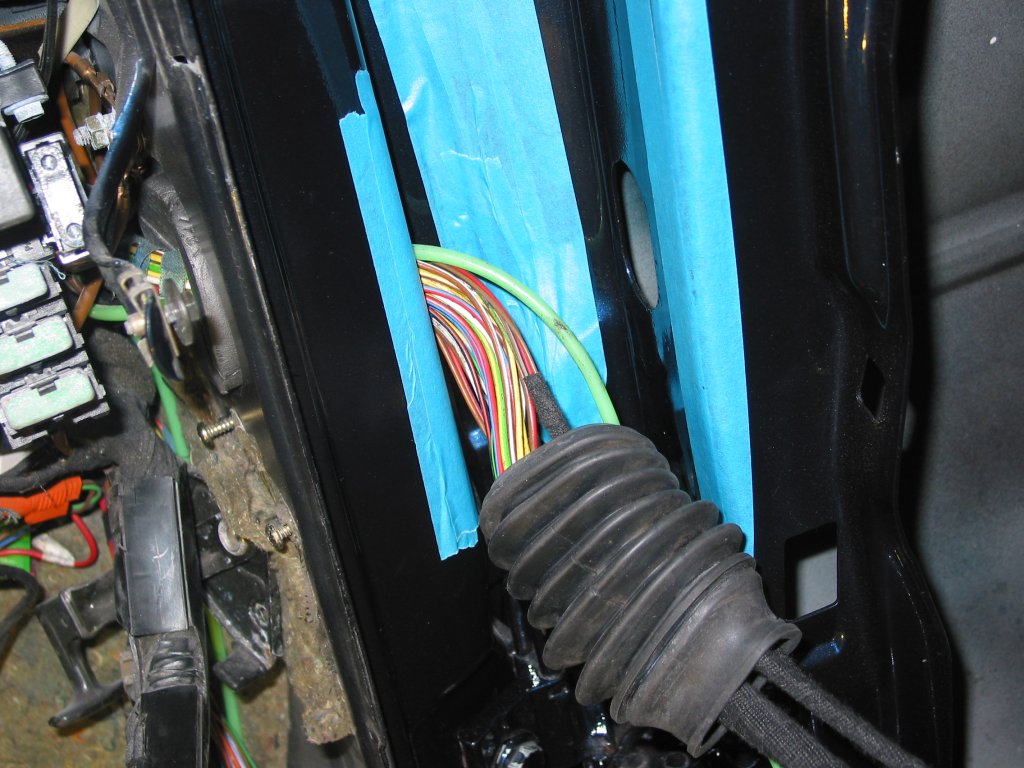
While I was at that I had to rip out the old "alarm".
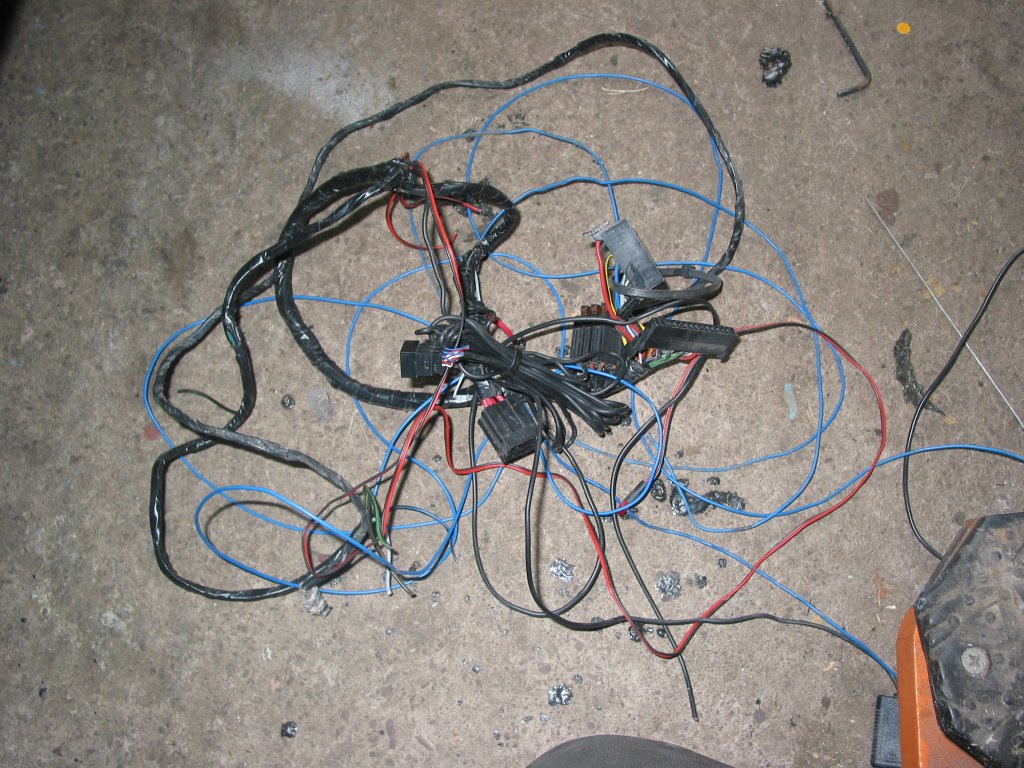
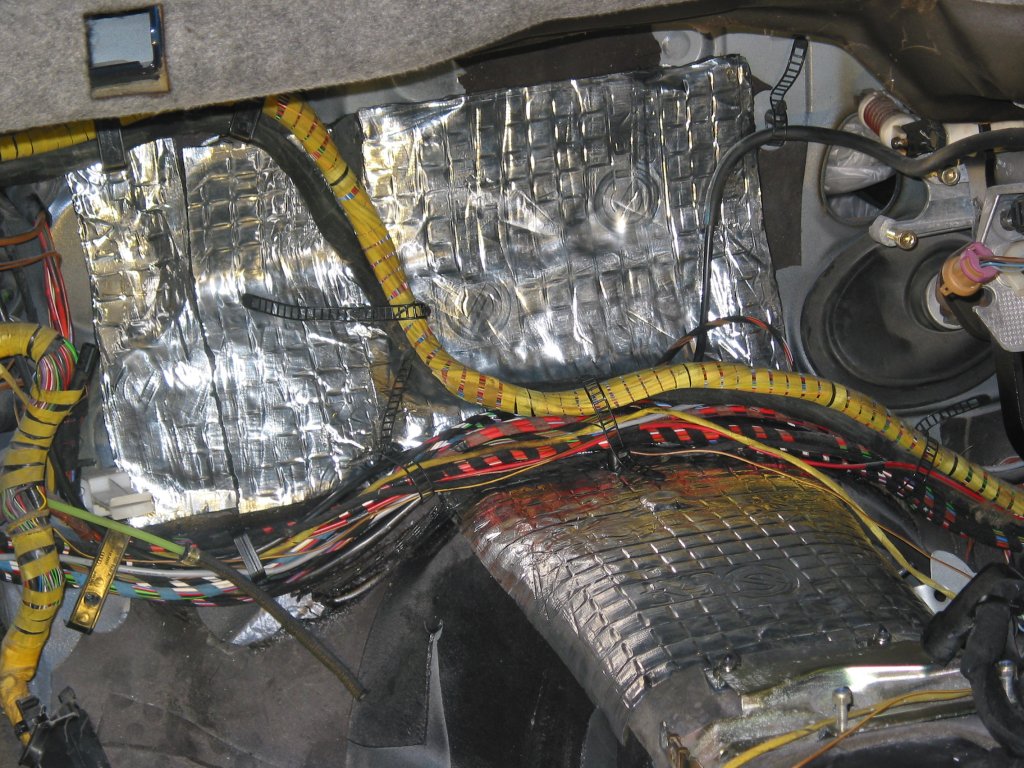
I have most of wiring done for the new Toad alarm, thanks to Alex, which allowed me to tidy up the loom around the firewall. I also replaced the sound deading with new stuff.
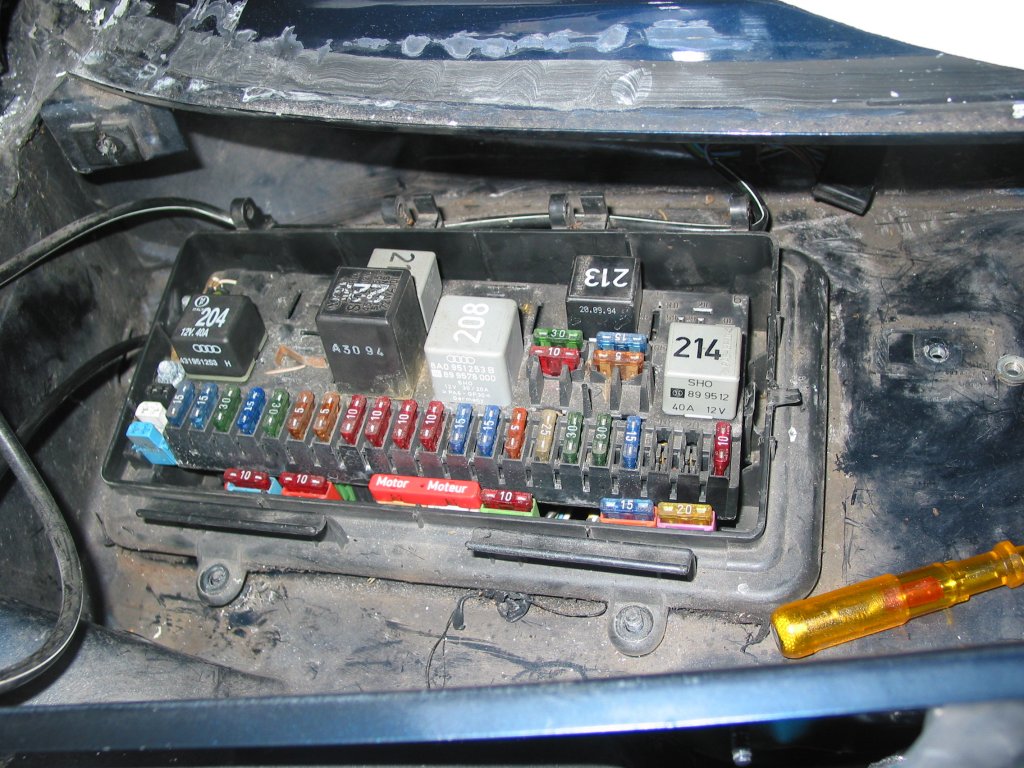
The fuse relay board was questionable. I found signs of corrosion so I decided to replace it.
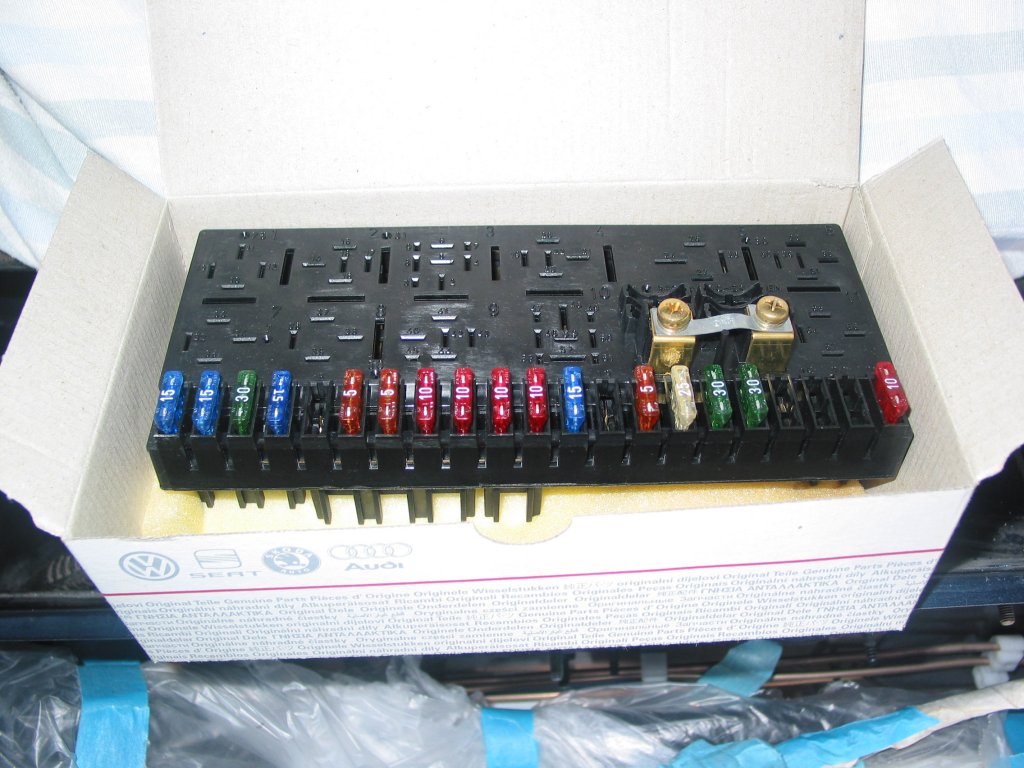
New fuse/relay board.
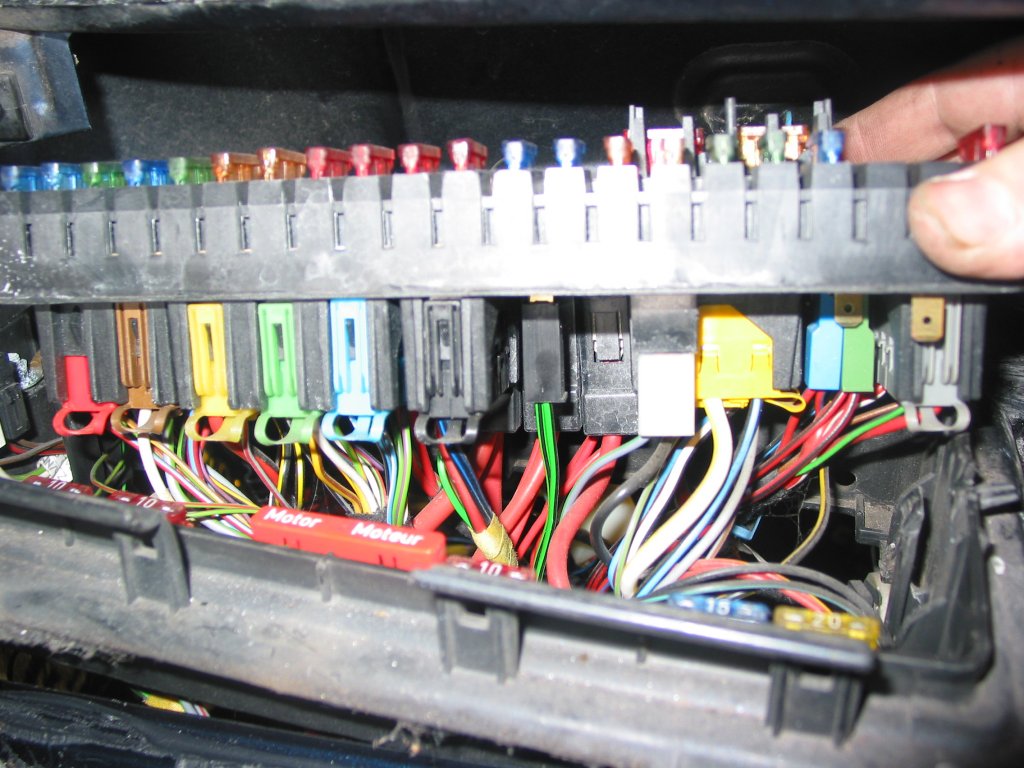
The fuse board can be lifted up a small bit and slightly rotated to allow it to drop into the car.
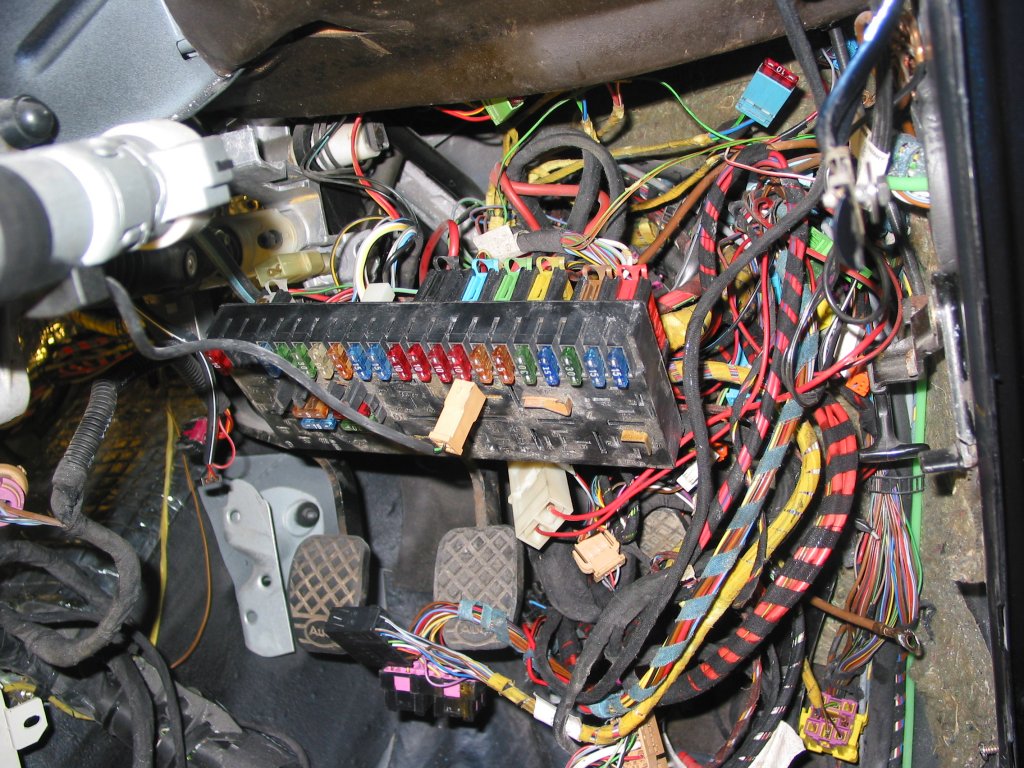

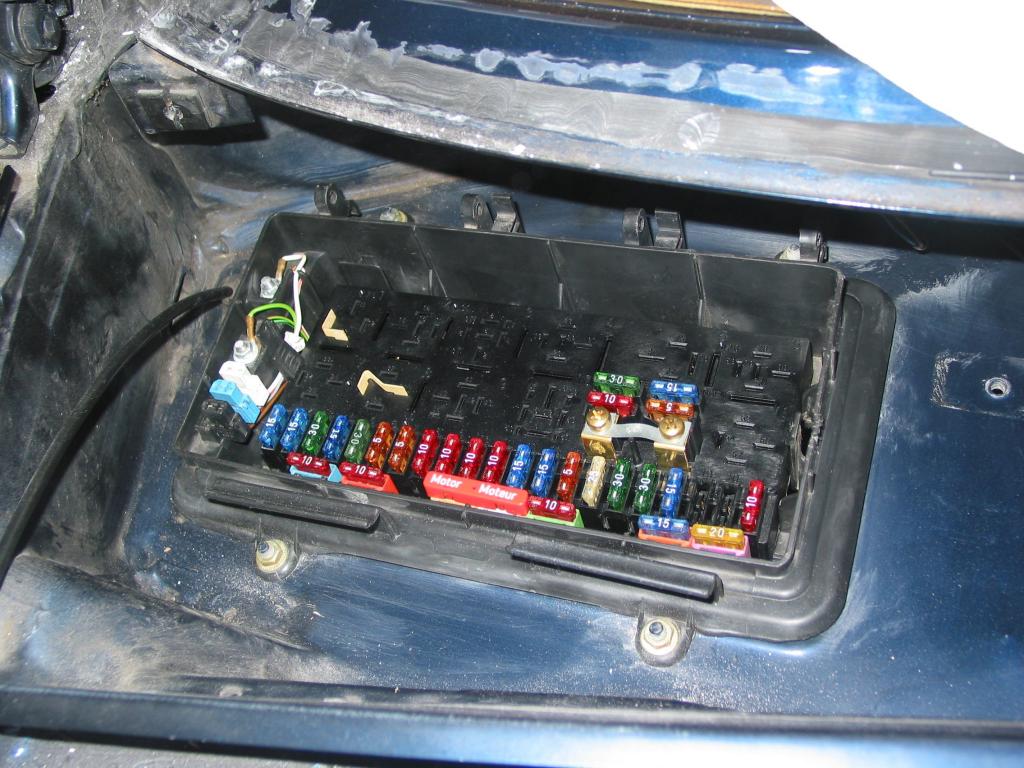
New one back in. The surround was taken off and the area cleaned, and new sealant (dumdum) was used on refitting.
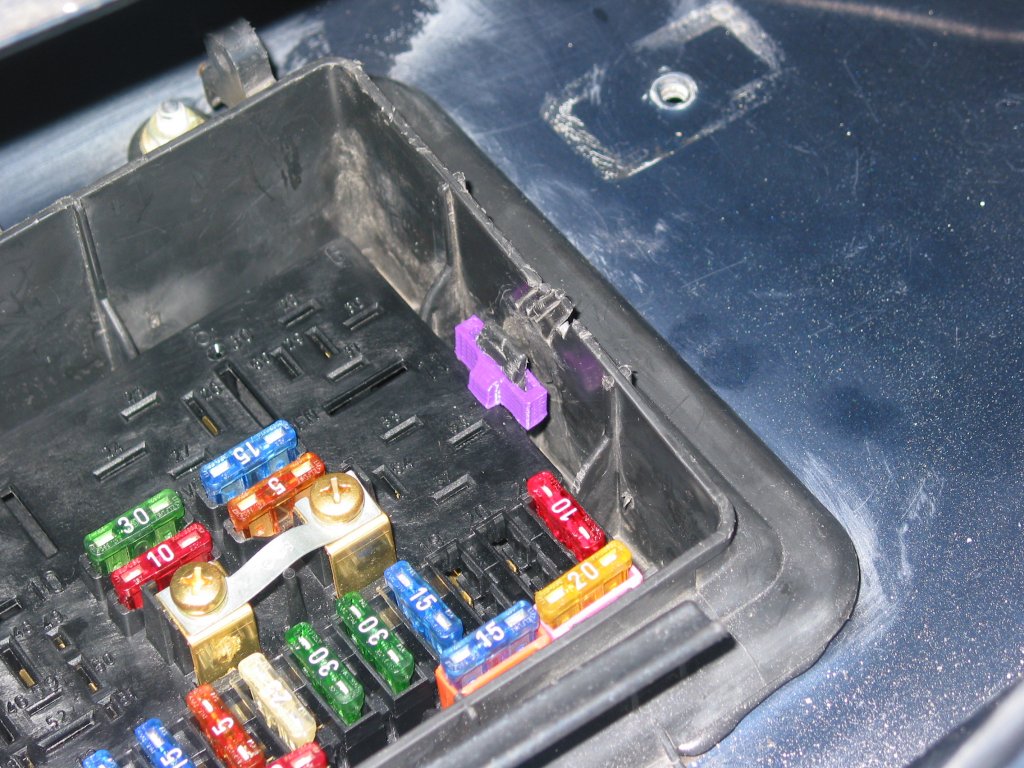
The fuse board wasnt sitting properly , and I noticed one of the clips was broken so I 3d printed a clip that fitted over the leftover clip and keeps pressure on the board.
So next I have to find a switched 12v, that is not the small red wire off the ignition switch, but from the relief relay, and feed that to the various places that need switched 12V.
Oh and I have declared war on daddy longlegs. Way too many of them about. Last edited by irishs2; 11 July 2017, 20:35.
Leave a comment:
-
Leave a comment:
-
It does feel like I have reached the top of the hill, and on the downward slope. Now its just to manage to do the 'Haynes' re-assembly.
Leave a comment:
-
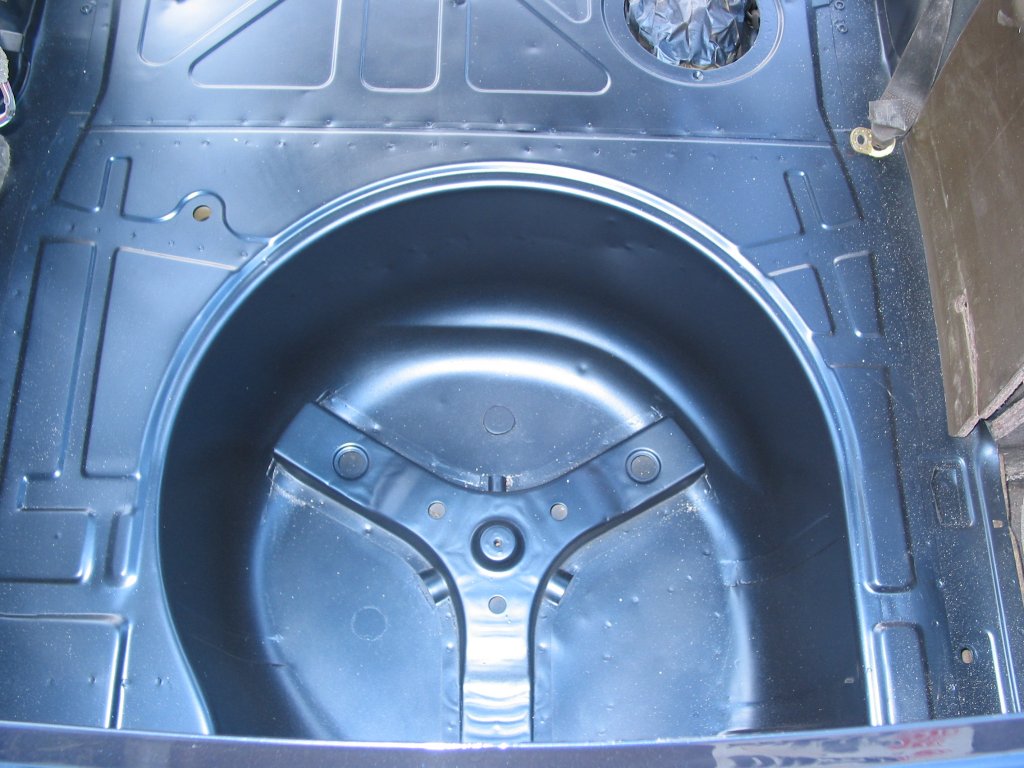
It LZ5T. The metallic flake is hard to see in the pics and the reflection is throwing off the colour.
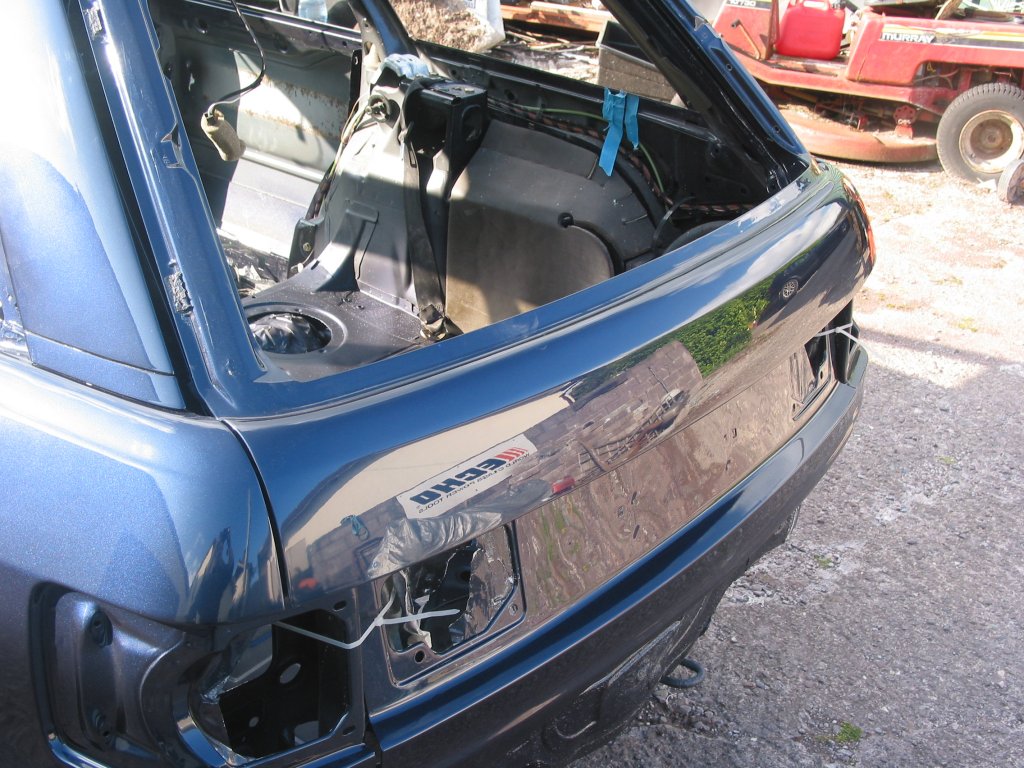
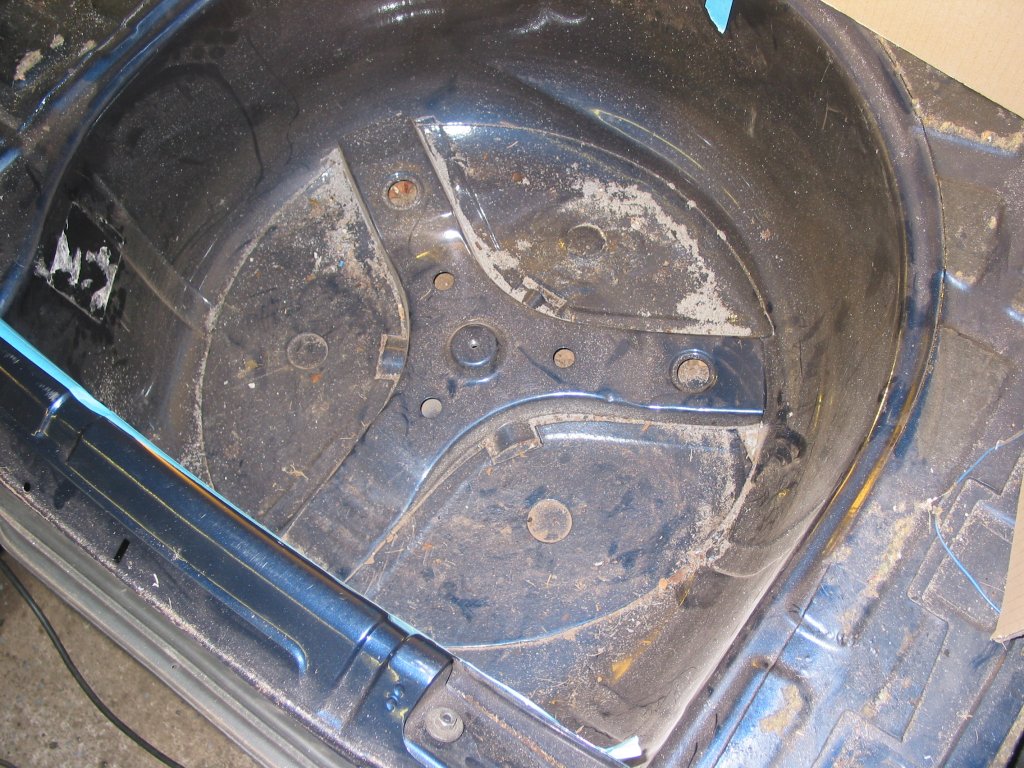
I also got the wheel well done, as well as a replaced panel, the sound deadening was cracking and had been painted over (I hated that and with horrible paint). It had to go.
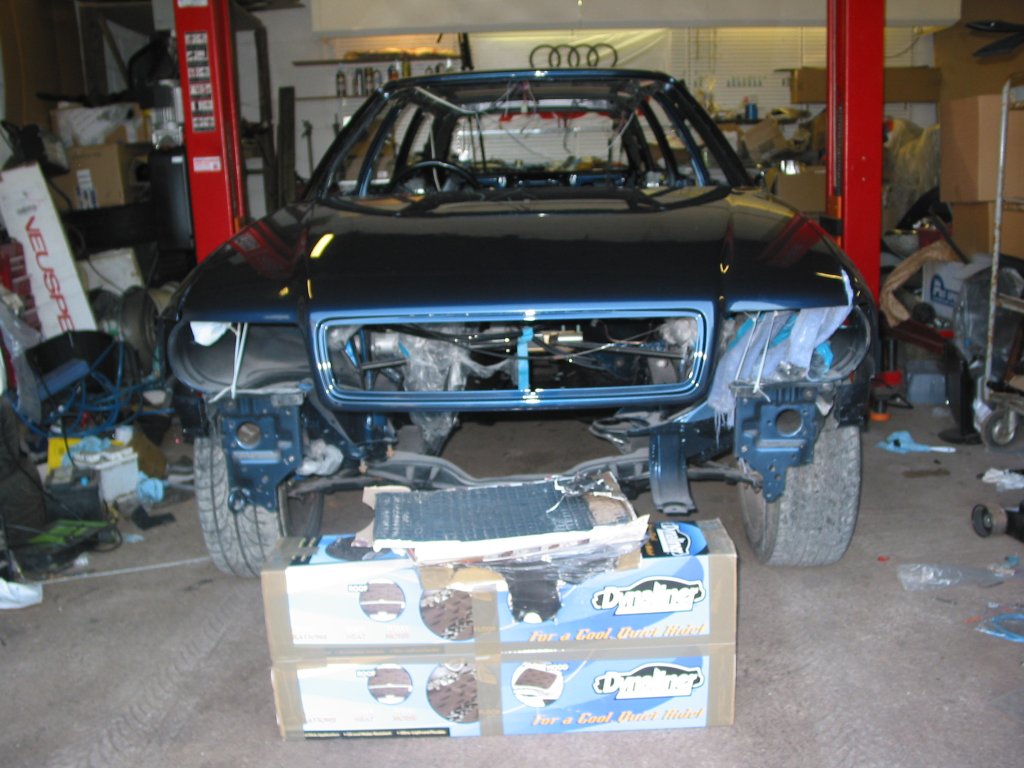
And back in the garage.
I could not get luxury liner pro anywhere, caraudio said they dont carry it anymore.
So went with the hyped up dynaliner.
I didnt go with the dynamat deadening/Damping , (dont like the blue logo on the foil)
instead went with Silent Coat.Last edited by irishs2; 11 July 2017, 20:34.Leave a comment:
-
Fantastic
Can't wait to see this come together
You must feel like you've broken the back of the job now?
Leave a comment:
-
Not water based I am sure. He mentioned some brand name for the paint and laq, but I cannot remember , all I wanted was for it to be hard wearing and I wanted to be able to polish it myself in the future.Leave a comment:
-
Ok 365+21 days then. All the hard work your man put into it shows. Well worth his nightmares about Da polishers I have performed full resprays myself back in the late 80' and up to 96 on a few of my cars and one or 2 friends and always loved the finished job so am always interested in this work.
I don't know if you know but what paint system did your man use? There is the modern Water Based paint, and the older 2K which is super tough but much harder to mop afterwards. The Big German Manufacturers used Glaserit back then AFAIK. It would be interesting to know what system was used on yours? I certainly looks impressive.
Leave a comment:
-
LOL 365+21 days for ADI
There is a bit more to do , it was flattened and polished. I gave the painter a real hard time to get the finish I wanted, the poor guy will be seeing DAs in his dreams, but in the end it came out excellent.
Leave a comment:


Leave a comment: