You can change the style the forum displays by selecting your preferred style at the bottom left of the site.
We have made an enhancement so that old threads should now link from search results to the correct thread. This is not yet in place for single post links
I've been looking at that stuff for a while. Tempted to try it. But currently, i've just been using what i have in the garage already! ill see how happy i am at the end
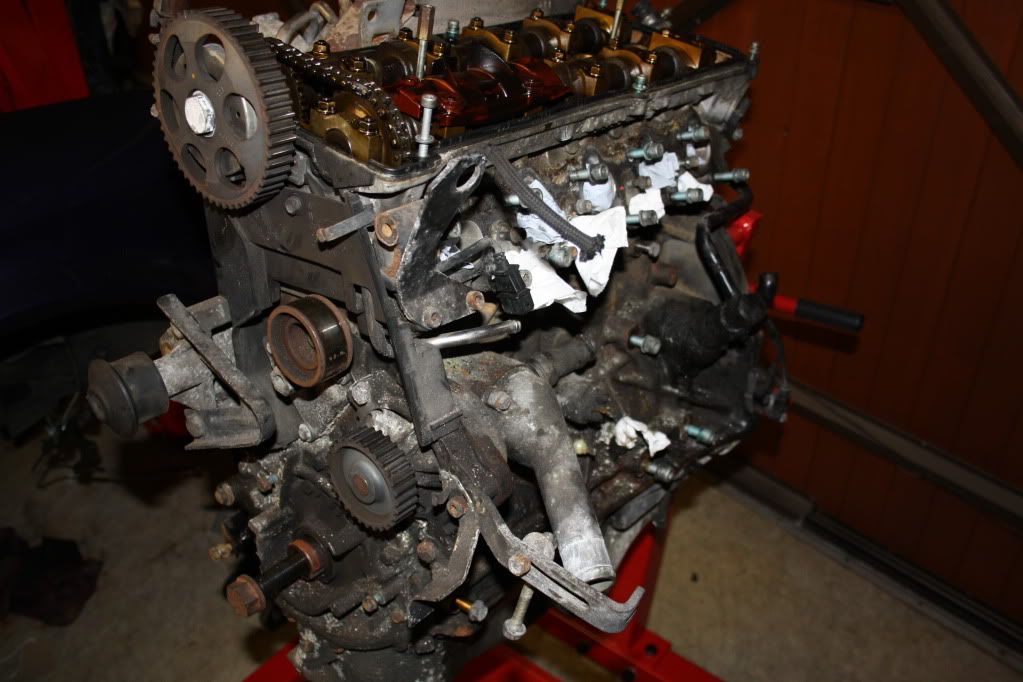
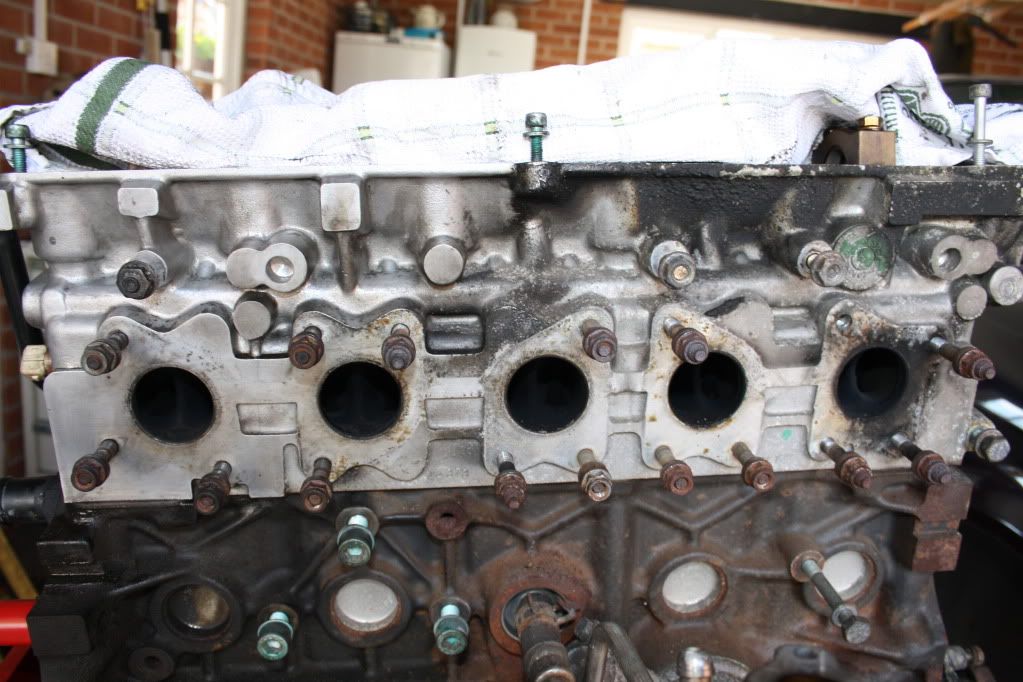
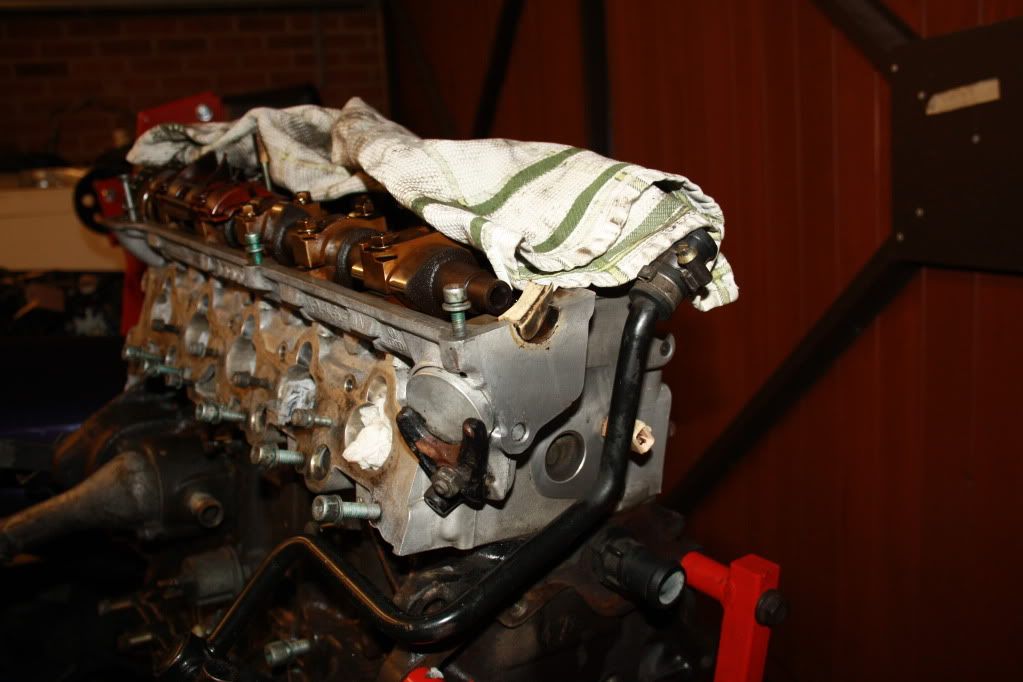
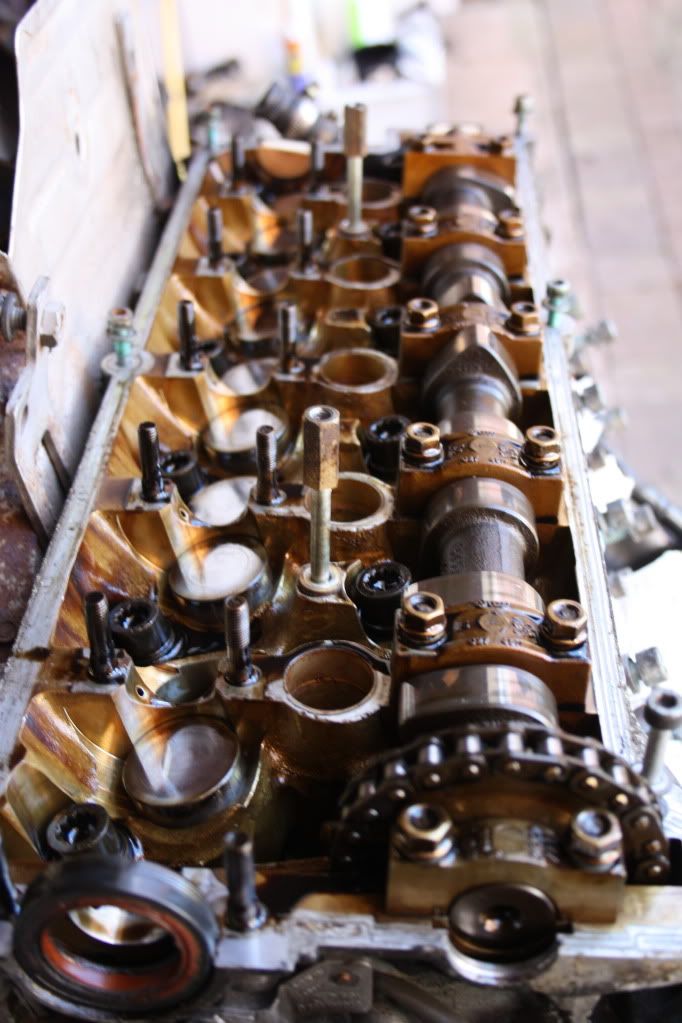
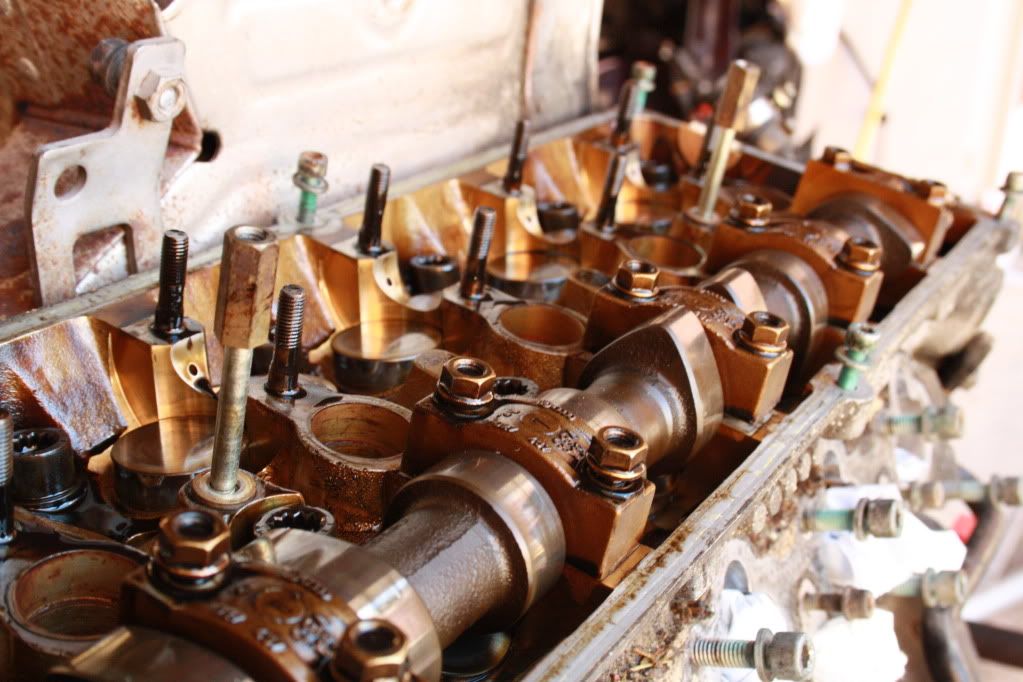
Spent a fair few hours on the head, its getting very shiny! I used some muc-off initially to get rid of grease and dirt and moved on to alloy wheel cleaning stuff to remove (most of) the real hard dirt. Its coming on well. few more applications and i'll be happy!
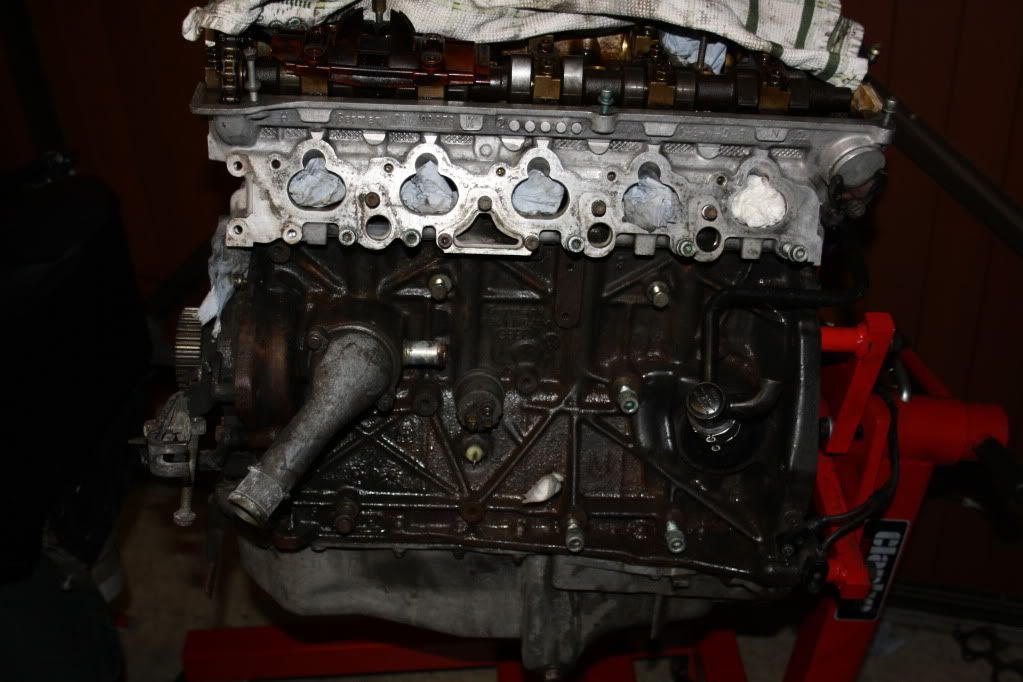
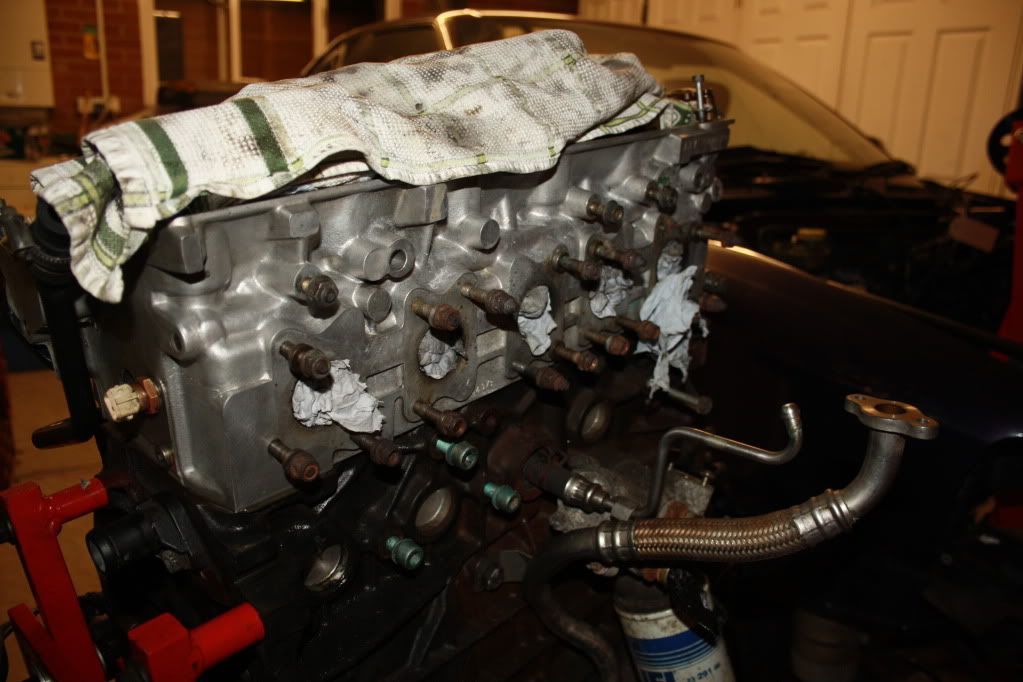
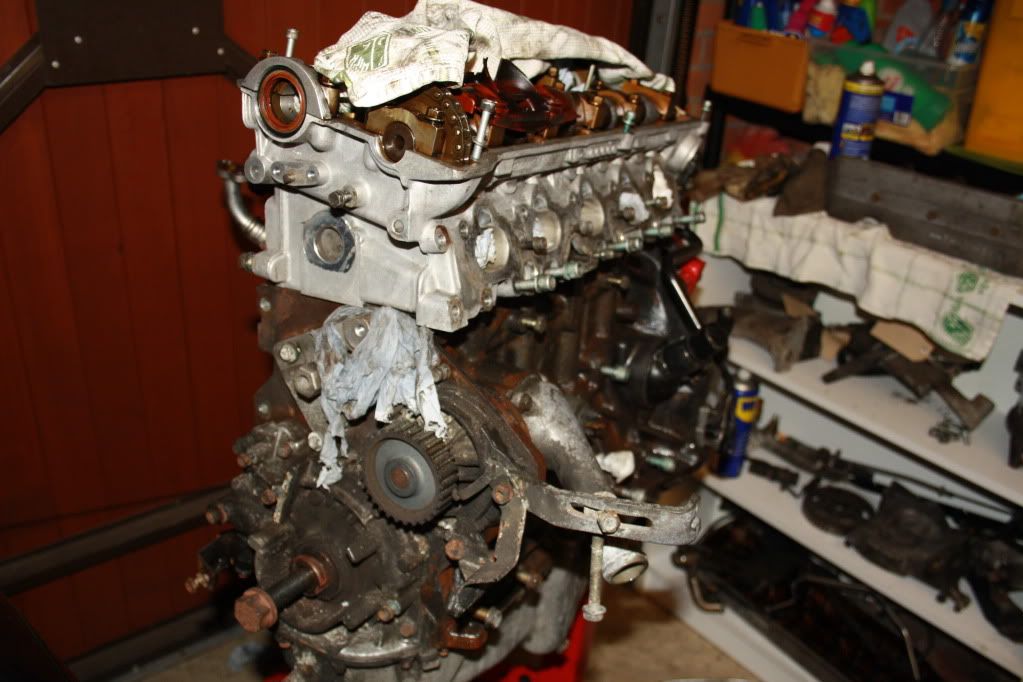
Degreasing the block and sump took some work. More muc-off and plenty of brake cleaner...was getting high
for a few hours work, it's looking much better! Im getting some small brass demel brushes to work the block down and remove all the rust and rough looking paint. And then paint the block in some black high temp enamel paint and the sump in some silver ht enamel paint. Will look like new
There's alot of cleaning and painting to go before im anywhere near satisfied!
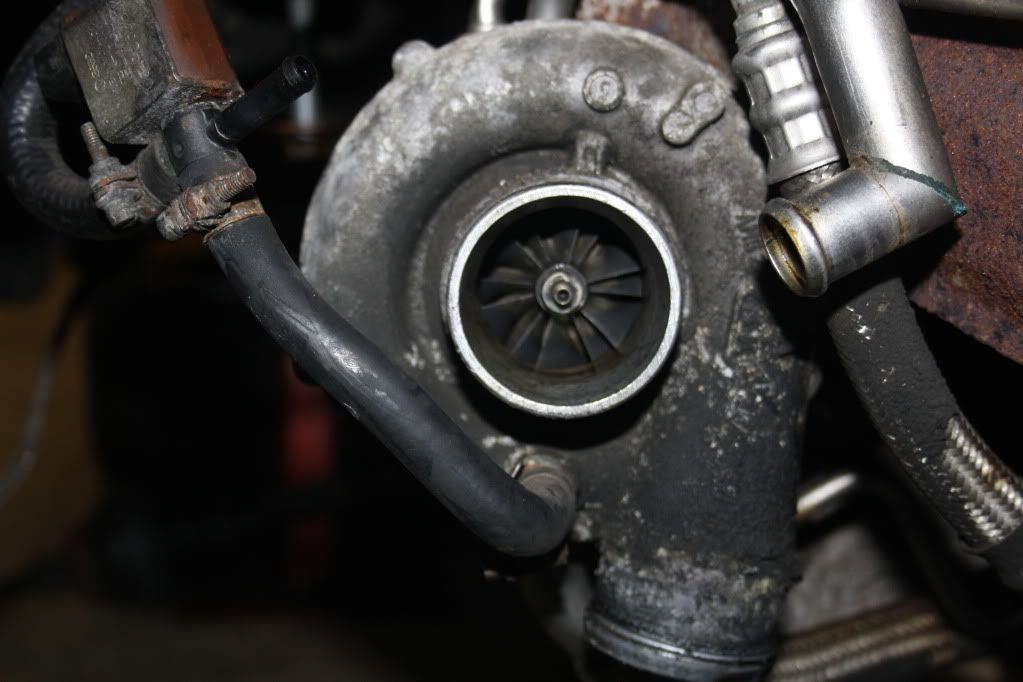
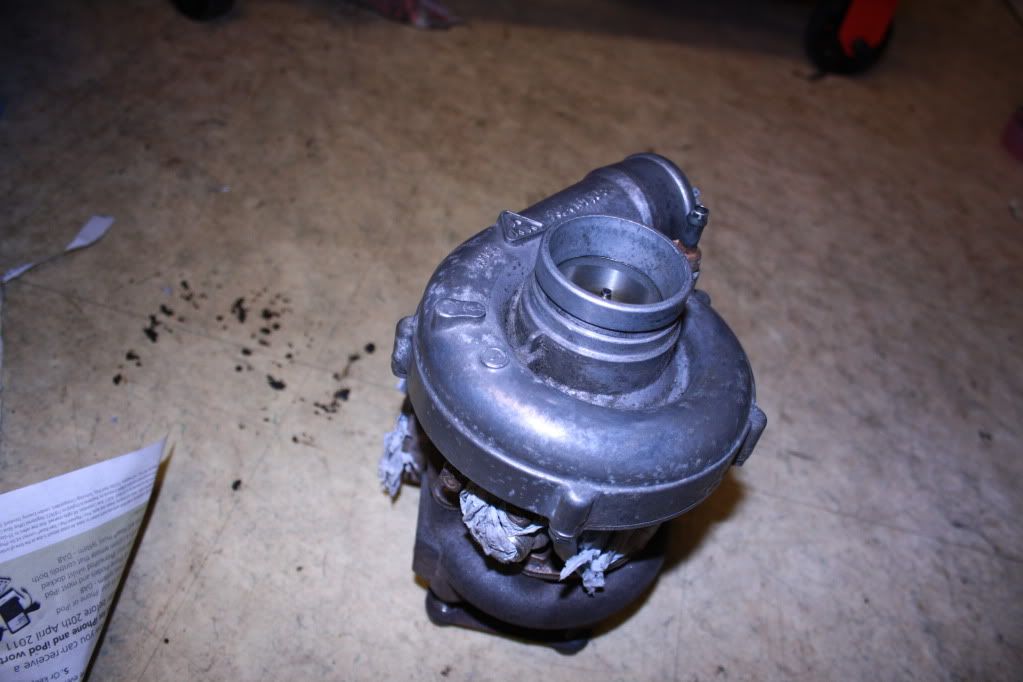
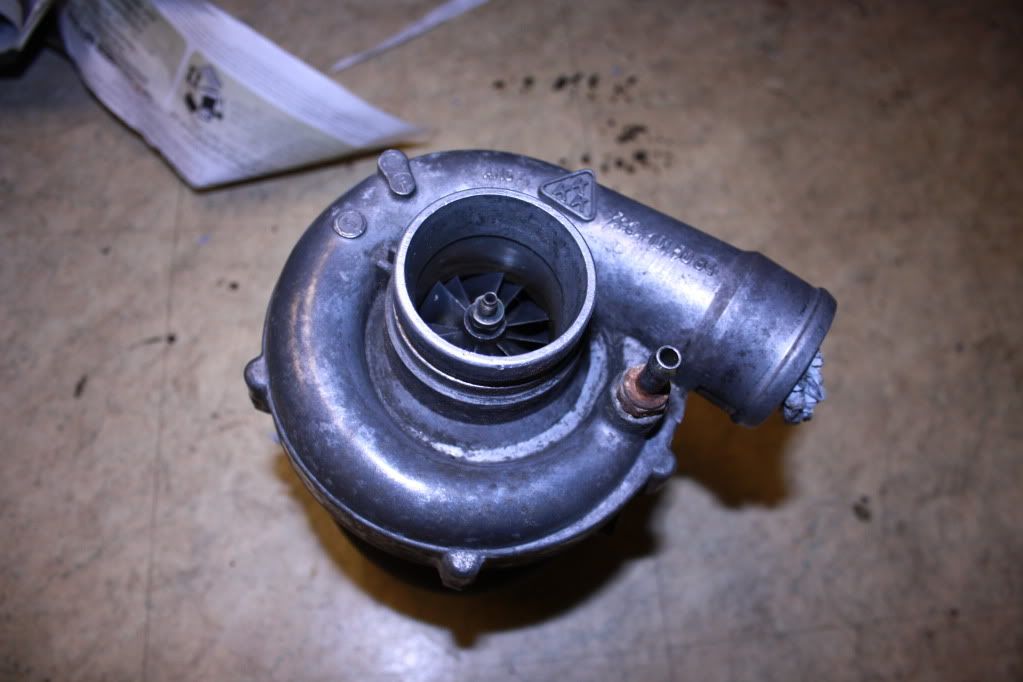
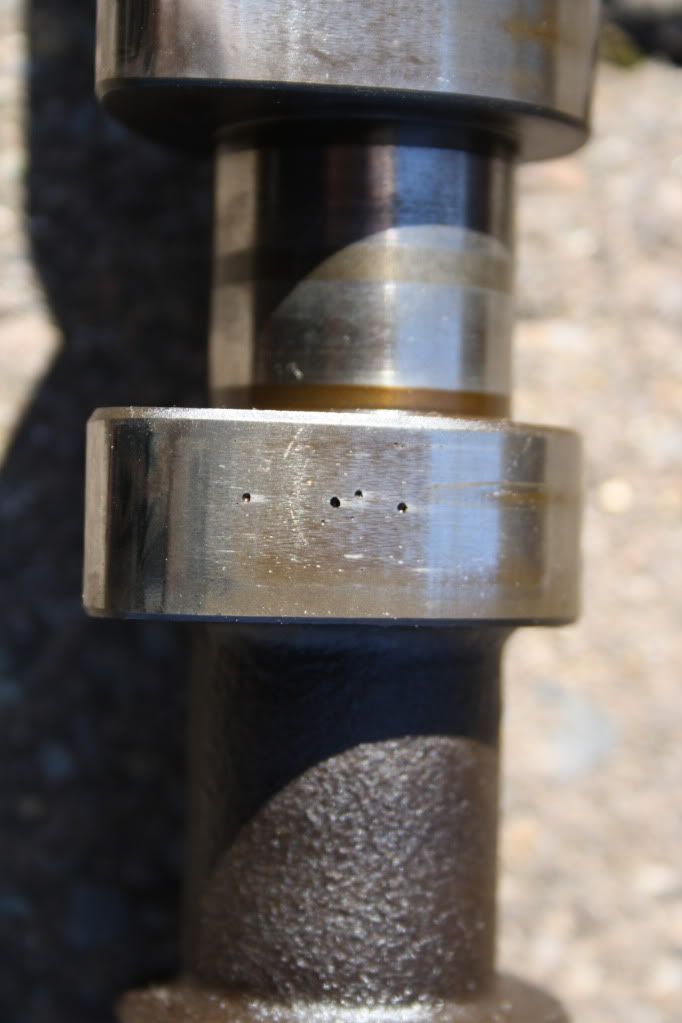
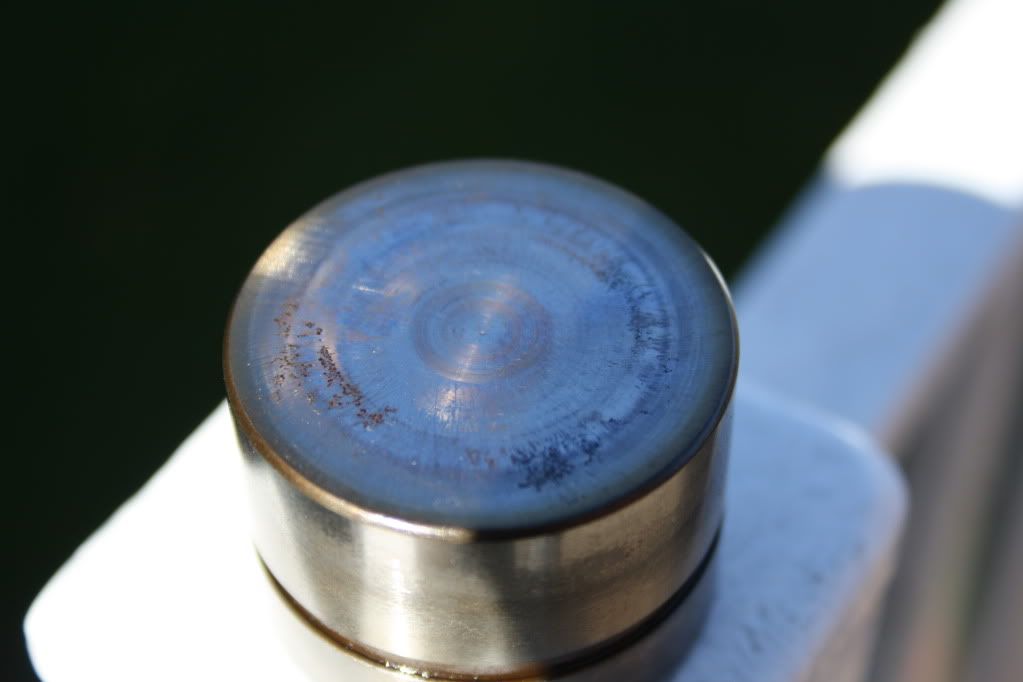
as you all like them..here's pics of tonights work!
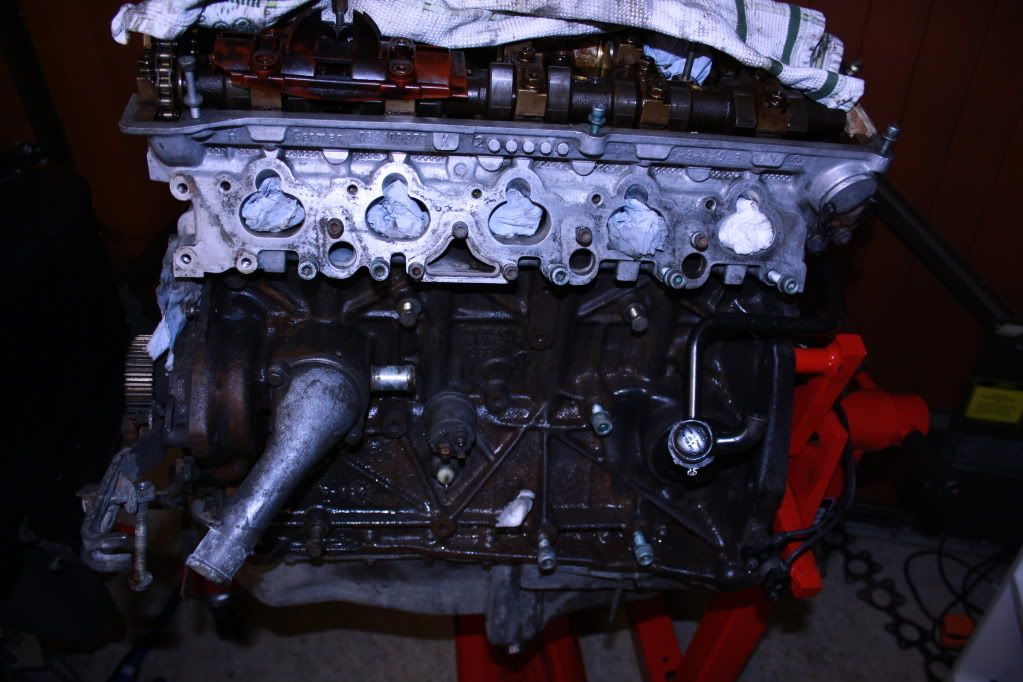
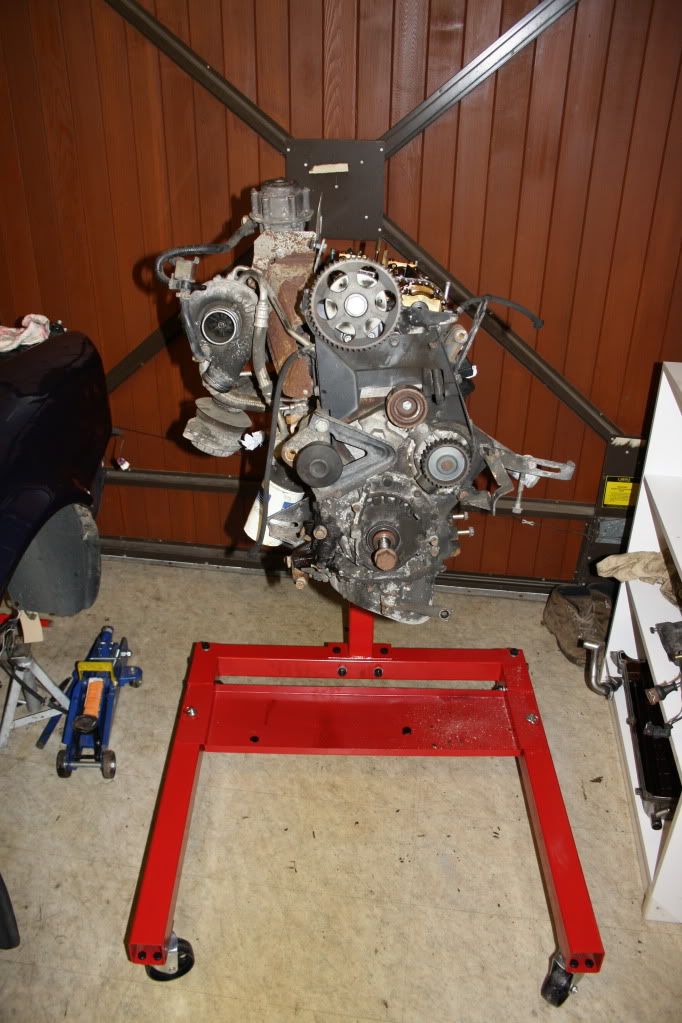
Been working on the engine a bit now i have my lovely stand!
i know some pics are a repeated in another pic, but i like it all in one place!
Plans are just to just clean up, paint the block etc, 7A exhaust cam, new followers, clean sump, renew some wiring but thats about it. I've decided against going on an all out attack on the engine for now, i should probably put my money into getting it rolling first!
I was going for sections with inch gaps. If you do a continuous weld, you will more then likely get too much heat into the wishbone and distort it.
I was thinking this.
s2_wot Will I'd appreciate a few pics of the welded wishbones and subframes please when you get to them? Glad to see you're not seam welding the whole lot, that'd surely end up in a fracture of some sort.
I too would like some pics, thinkin of doing this before i put my engine in. Was gona do subframe bushes anyway. Also have some strut brace tops to weld into place so would be rude not too really.
Will I'd appreciate a few pics of the welded wishbones and subframes please when you get to them? Glad to see you're not seam welding the whole lot, that'd surely end up in a fracture of some sort.
When welding the subframe and wishbones, do you go all the way round with a continuous weld or do sections of a couple inches long with gaps in between?
We process personal data about users of our site, through the use of cookies and other technologies, to deliver our services, personalize advertising, and to analyze site activity. We may share certain information about our users with our advertising and analytics partners. For additional details, refer to our Privacy Policy.
By clicking "I AGREE" below, you agree to our Privacy Policy and our personal data processing and cookie practices as described therein. You also acknowledge that this forum may be hosted outside your country and you consent to the collection, storage, and processing of your data in the country where this forum is hosted.


Leave a comment: