-
Nice work. I found that a John Deere 2850 tank sender was very similar inside and I was able to use parts from a new one to repair mine. The Audi sender appears to be nla. -
So, I have been all over the place for the last month. Did some traveling, which was very nice and bounced around with wiring and upgrades on the URQ while I wait in Que for paint, which is way past what was said .
.
I have been working on getting the digital dash cluster working with the Motec ECU. Thanks to the help of Norbert(SRS Motorsport), Chris, Nels and Pete Knight, I am able to get the cluster to function properly. Pete is helping with building a circuit board for the speedometer to work properly with 01e 6 speed.
I will have the best of both worlds with the OEM dash doing its thing and the Plex digital display in the center console providing detail info.
I also had to replace the electric motors and cables on the windows. The window cable broke on drivers side and was different form the passenger. I ordered a universal window system and spent a entire day adapting the OEM with the new motor and cable, which ended up working out very nicely......sorry for lack photos.
I decided to eliminate the vacuum door locks and switched over to electric plungers and wireless remote openers. This was very straight forward with a basic kit. I welded on a mount for the new plunger and modified the connection rods and wired.
Lastly, I wasn't getting a fuel reading and took apart the sending unit. The tang was not contacting the circuit board, so I added a bit of solider and added a spacer to get the tang to touch and make contact. It is working, but am looking for a replacement fuel sender P/N 857919051A, if anyone was has a unit to sell.
Leave a comment:
-
I guess the 034 mount is different than OEM. I used exactly what 034 sent and just built mounts and the piece that the polyurethane mounts on is also OEM.Leave a comment:
-
that rubber/polyurethane bushing is close to the inside diameter of that hole. I have stock snub mount bracket and there is a quite gap between rubber mount and that steel pipe/hole…its not so tight or only on your picture is looking very tight. I am also making custom snub mount as i have 100mm ic core so to keep the ic more to the engine i have to made a new snub mount
Leave a comment:
-
I added a straight through resonator to the exhaust, hoping to dampen the loudness of the exhaust and to prevent any droning at certain RPMs.
Unfortunately, it did not help with how loud the exhaust is even with the (2) rear mufflers. I will be looking for larger mufflers in the future.
Leave a comment:
-
Not sure that I follow your question. As of now, with running the engine and a couple short drives around a parking lot, there is zero vibration. It seems to be working as designed.
I dont have a current picture because of skid plate is on, but the urethane bushing sticks out from the mount by 3/8"+/-, so its not anywhere close to being metal on metal.
I would think that a shorter mount distance between engine mount and bushing mount would be better, less leverage / torque on the mount. I could be wrong and wouldn't be the first time or last.Leave a comment:
-
-
By chance does anyone have a lead on a Left hand side window motor assembly? My unbit was not working and found the wires were damaged and I fixed, but when I ran the up and down motion, the cable snapped.
Once I removed and figured out things, not only was the cable junk, but the (3) rubber pieces on the pulley are shot as well. So, I think its worth looking for a good used unit.
Leave a comment:
-
Decided to add protection to the underside of the radiator and oil cooler. I made separate skid plates that are removable from the main skid plate for ease of access. Each side can be removed with either (3) or (4) bolts and when the sides are connected to the main skid plate, the entire protection plate can be removed with (7) bolts, so I tired to make it very easy to remove for oil changes, air cleaner access etc. I still have a little fine tuning and have not decide if I will powder paint, leave it raw or clear coat.
Leave a comment:
-
Yes, more outstandingness! Glad to hear that.
I will also be working with Marc on ECU/tuning upgrades very soon after some hardware updates.Leave a comment:
-
DFrosty, thanks for the kind words and appreciate the info.
Marc Swanson with EFI Motorsports. ( http://www.efi-motorsport.com/ ) Built the Trans and rear diff.
Yes, the JHM 01E 6-speed Full Rebuild Kit (JHM-Performance) w/ JHM Updated 1-2 Collar was installed
Additional Items list
-75w90 motul oil
-upgraded centering spring
-glass beaded case and painted
-new pivot fork
-upgraded gears (01e diesel 6th gear set, .56)
-all new bearings
-New slave cylinder
The rear diff was a bit more of a project and now has the Wavtrac and the proper gears to match the trans and the larger 108mm cups.
Leave a comment:
-
Outstanding work you are doing, Sir! Wish I could hire you for some resto work on my '83 Urq!
You had mentioned updates/upgrades to your gearbox around page 4 or 5...Might these have been internal upgrades?
Reason for asking is that I had my CBD 01E crap out on me while on track down at Laguna Seca in July, completely lost 2nd gear and my day was done.
Unbeknownst to me is that there is an issue with 1-2 shift collar in these gearboxes and might set you back a decent chunk of change if left unchecked.
Fortunately, I live pretty close to this shop that specializes in these gearboxes and now all is sorted out for next season.
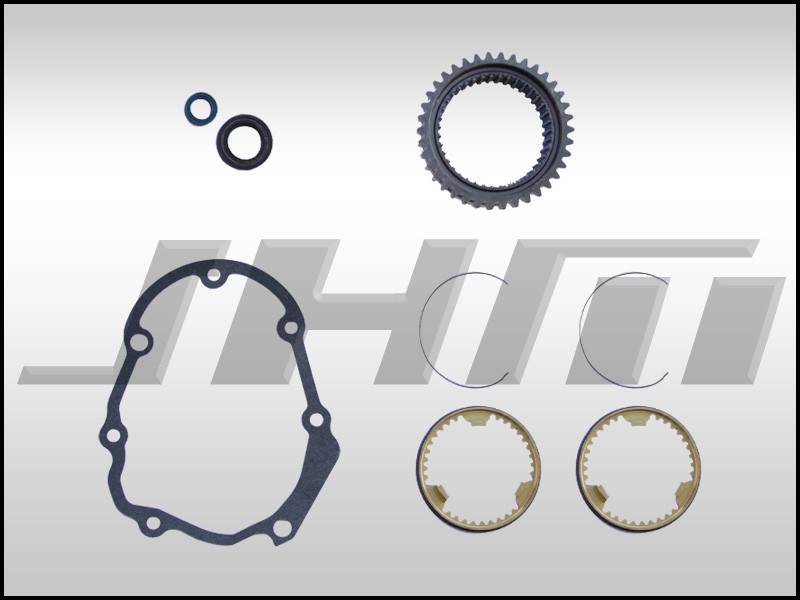
Full gearbox rebuild:
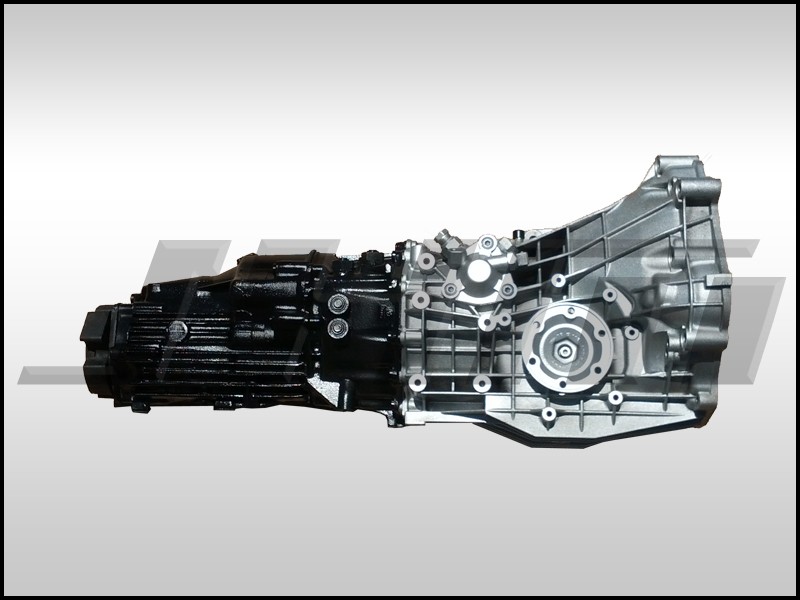
Lemme know if you'd like any additional info
Looking forward to the completion of your build and some videos!
DFrostyLeave a comment:
-
Made up a removable cross tube behind the front seats for racing seat belts. I used the (2) piece weld-in tube couplers. Just (2) allen bolts on each side and the tube comes right out if for some reason you want to use the rear seats. The roll cage and cross tube all will be wrapped in leather or something similar.Leave a comment:

Leave a comment: