You can change the style the forum displays by selecting your preferred style at the bottom left of the site.
We have made an enhancement so that old threads should now link from search results to the correct thread. This is not yet in place for single post links
+1 on the previous comment. The foam in between also catches any escaping fluids.
And perhaps a small indent in the stone guard to fit a block of wood for when jacking up the car...
I think you now have all of the WRC tricks needed for a perfect stone guard. Or at least the ones i've seen every once and awhile i am laying underneath one
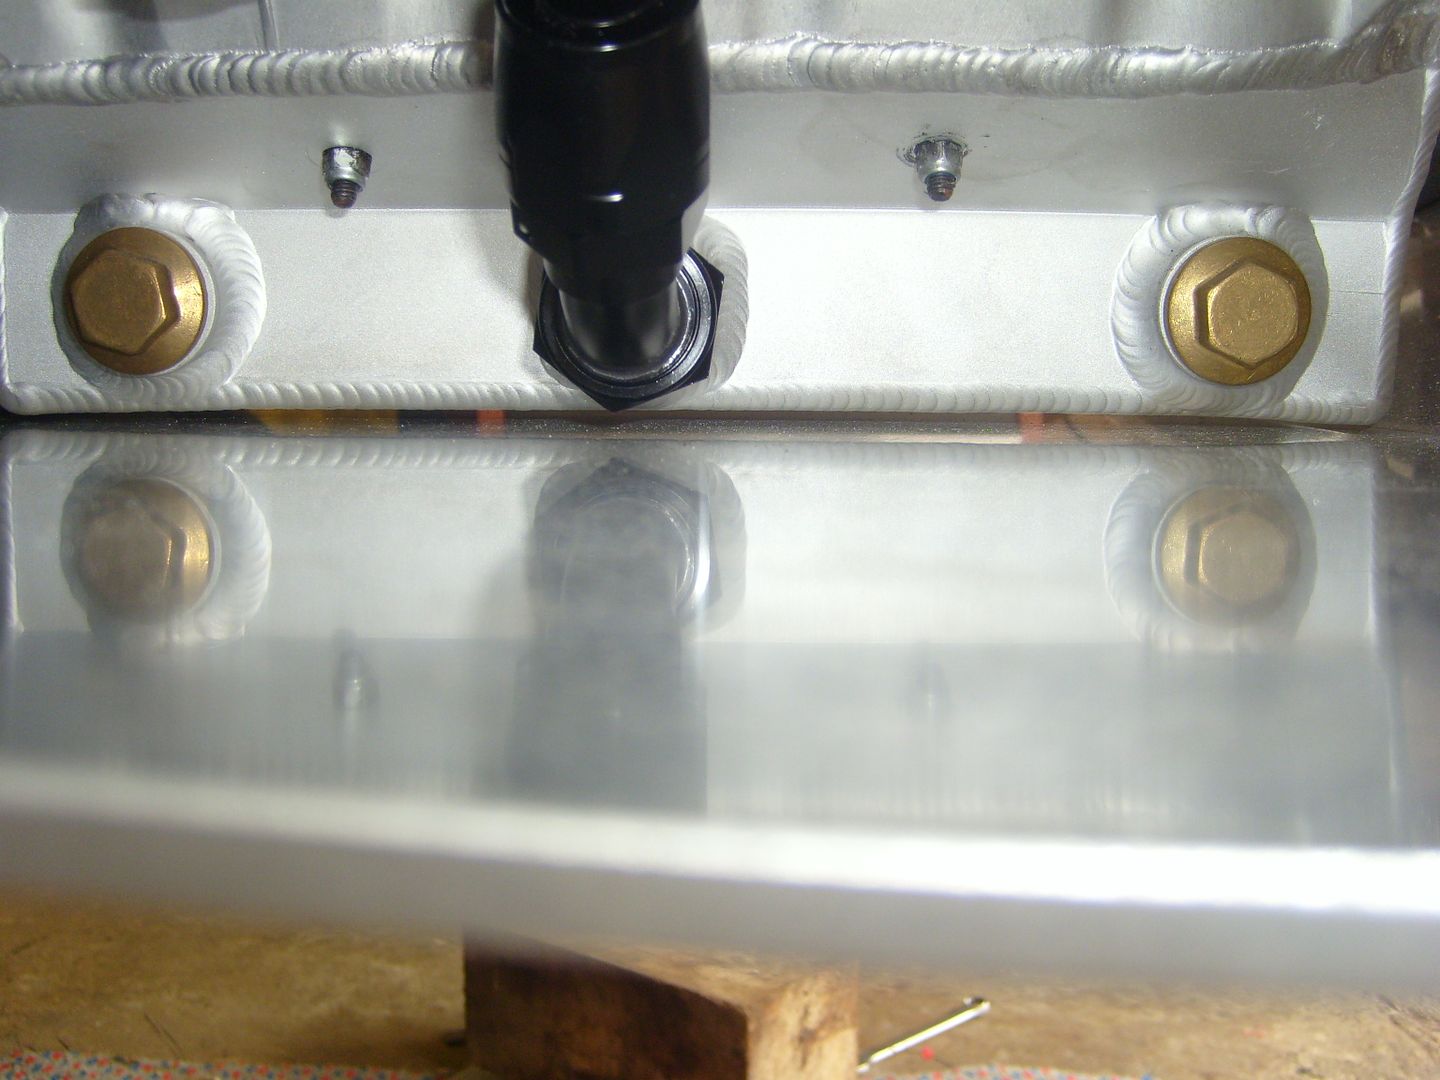
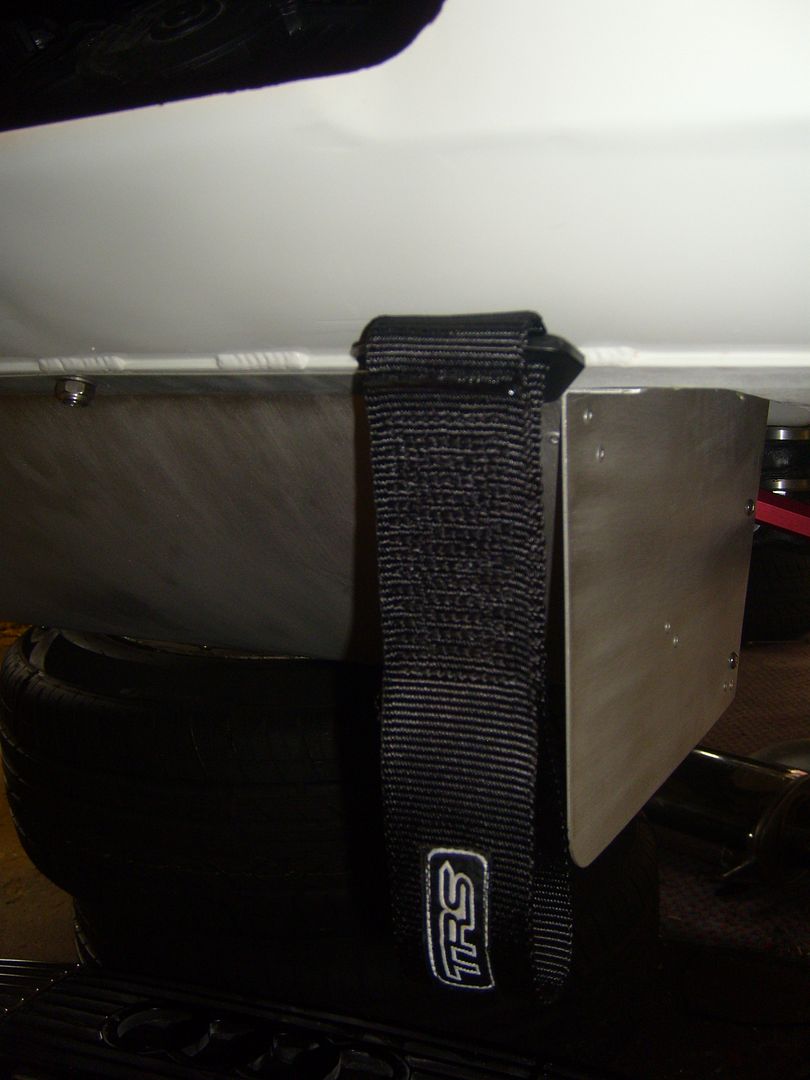
I am going to put some rubber underneath the sump so it spreads any loads should it deform when being jacked or hit. I think I have worked out a place for the towing strap to go, it cant go onto the sump guard as the bumper is going to have a splitter added to the bottom.
i recommend a 30 mm hole saw through the sump guard near the edge so you can get a tow strap hook in it so if towed it speads the load through all the mounts and doesnt hit the bumper and if scruitineers are **** a small square of red mudflap material riveted on so they can see it when leaning under car , how ever we just put silver tape circle on inside so no stones get in on gravel rally
thats how we do it at your local wrc team ; )
probably half way between front and the bend on your car or lower to miss bumper
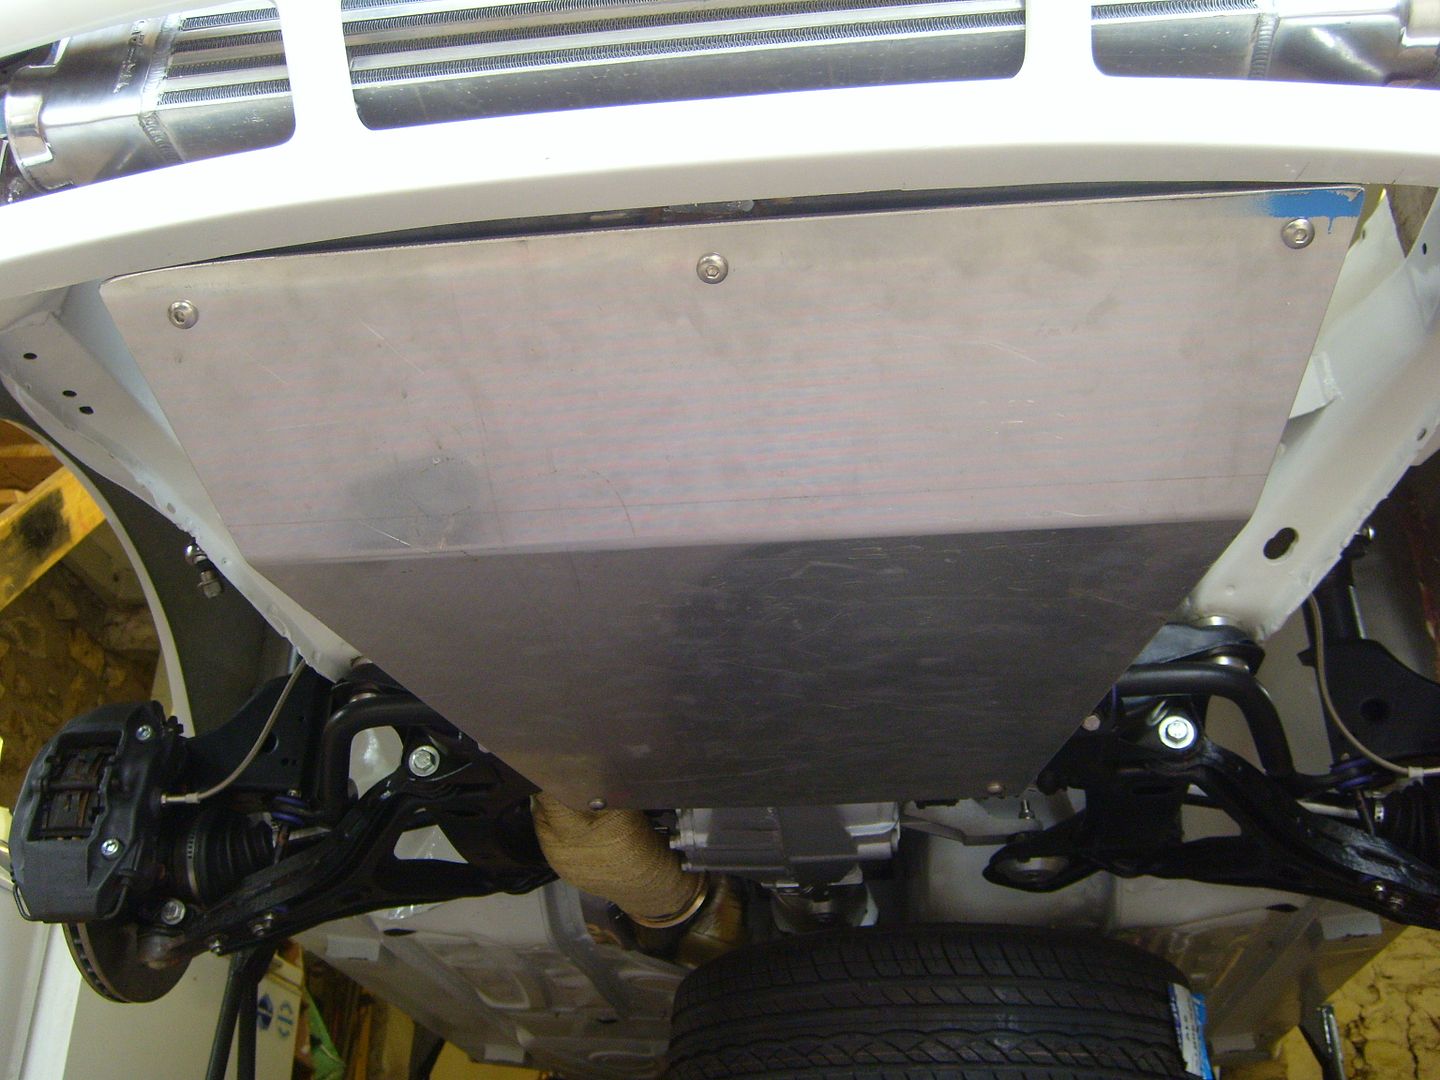
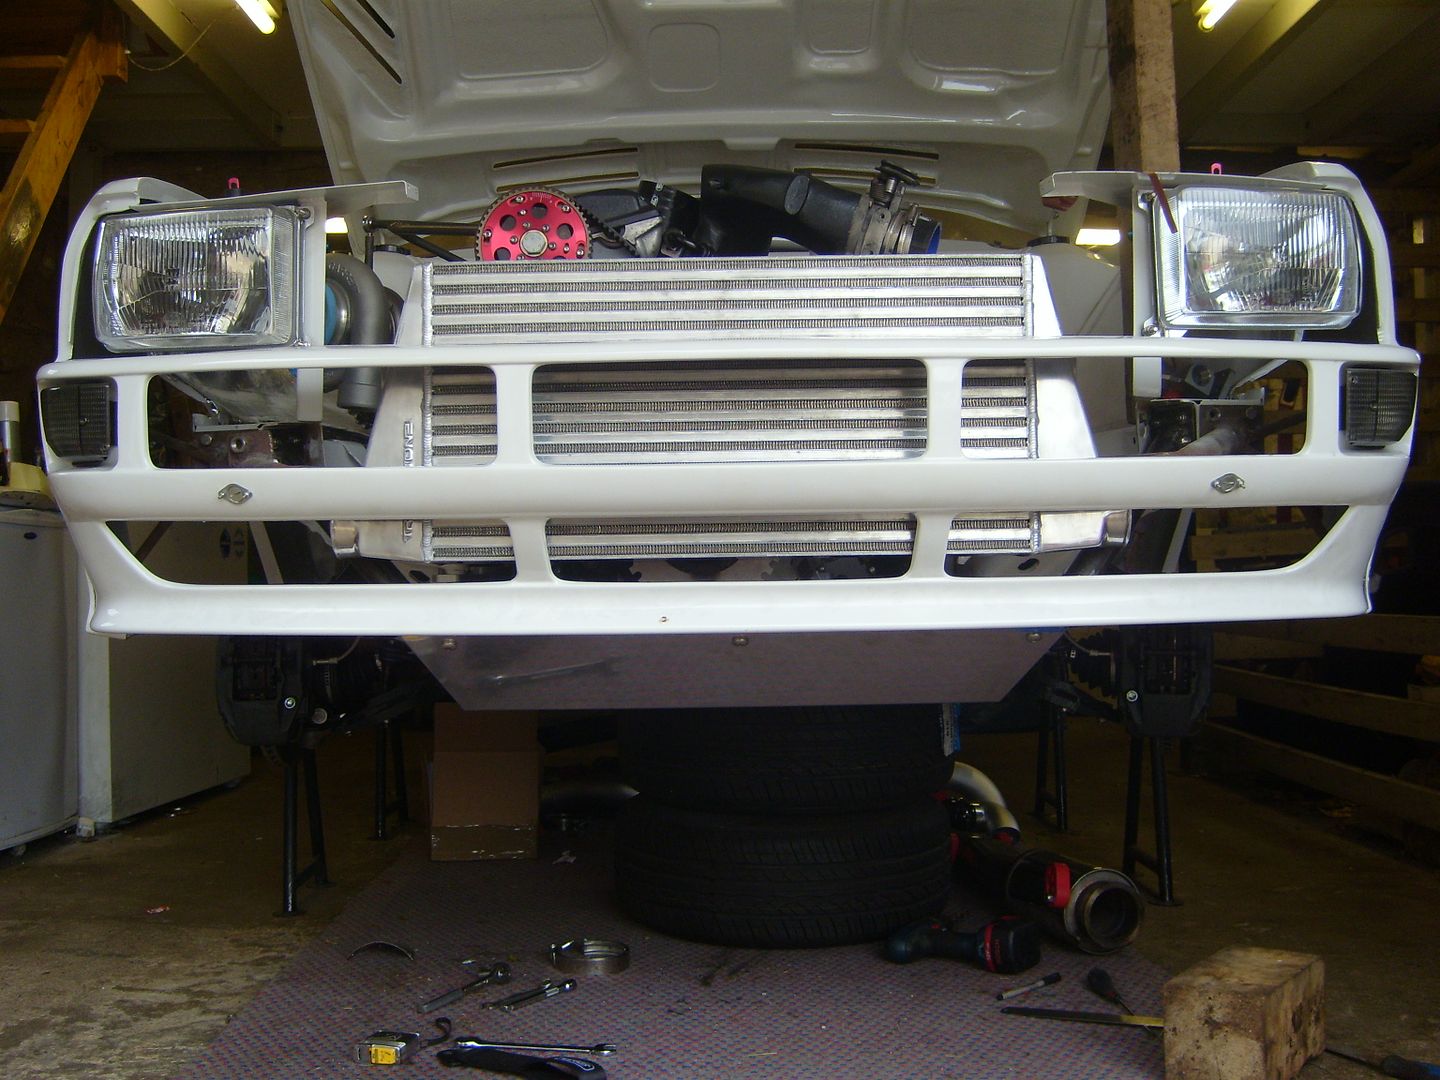
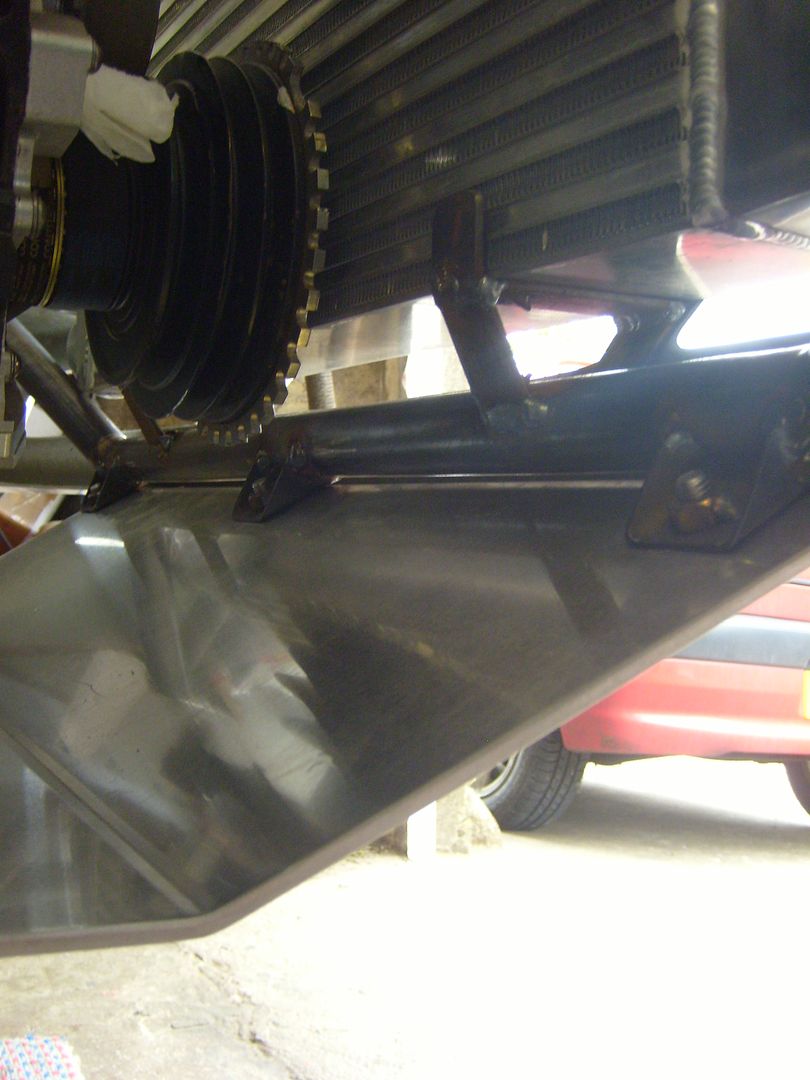
Firstly the sump guard. The front edge of the sump has a vertical face and sits quite low at the front which I didn't fancy smashing off. So I bought a sheet of 5mm alloy and had it cut and bent to shape. It bolts onto the subframe at the back and the front goes onto the front chassis leg brace:
Sits just under the sump.
Very happy with how its come out. The car can be jacked up using the sump guard. It will take any hit its likely to get in normal use and has added a good bit of strength to the front end. It just needs some sand paper over it to take away the shine and it will be done.
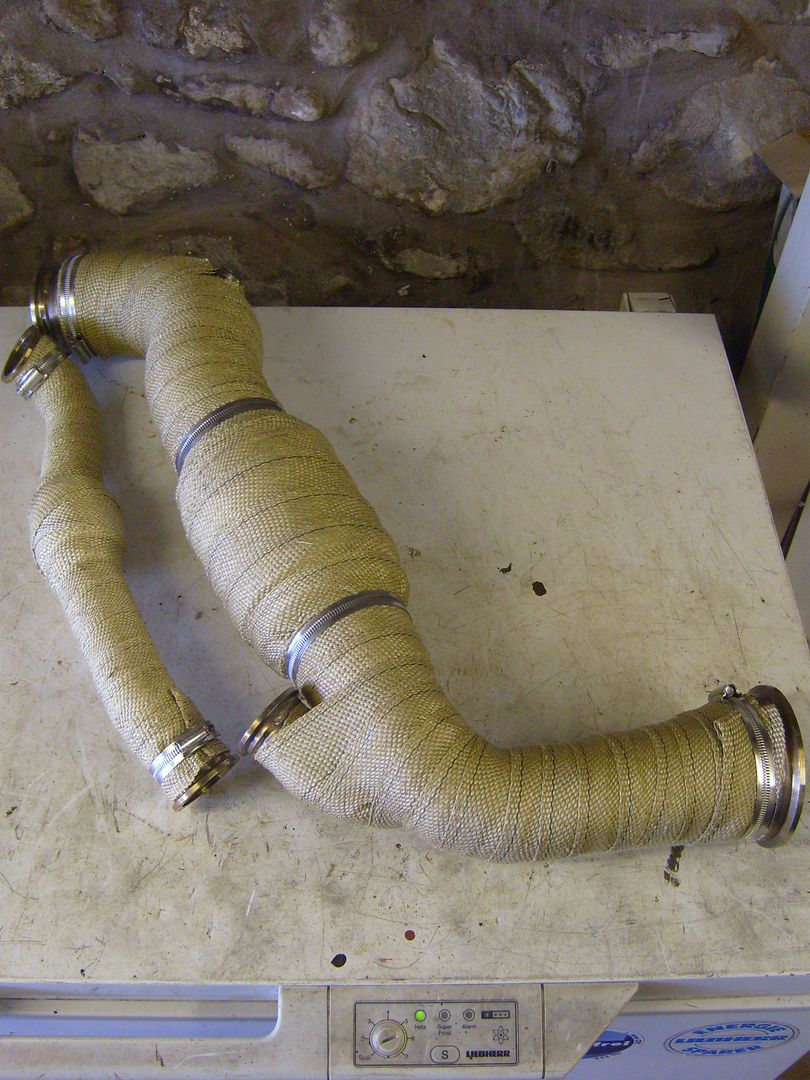
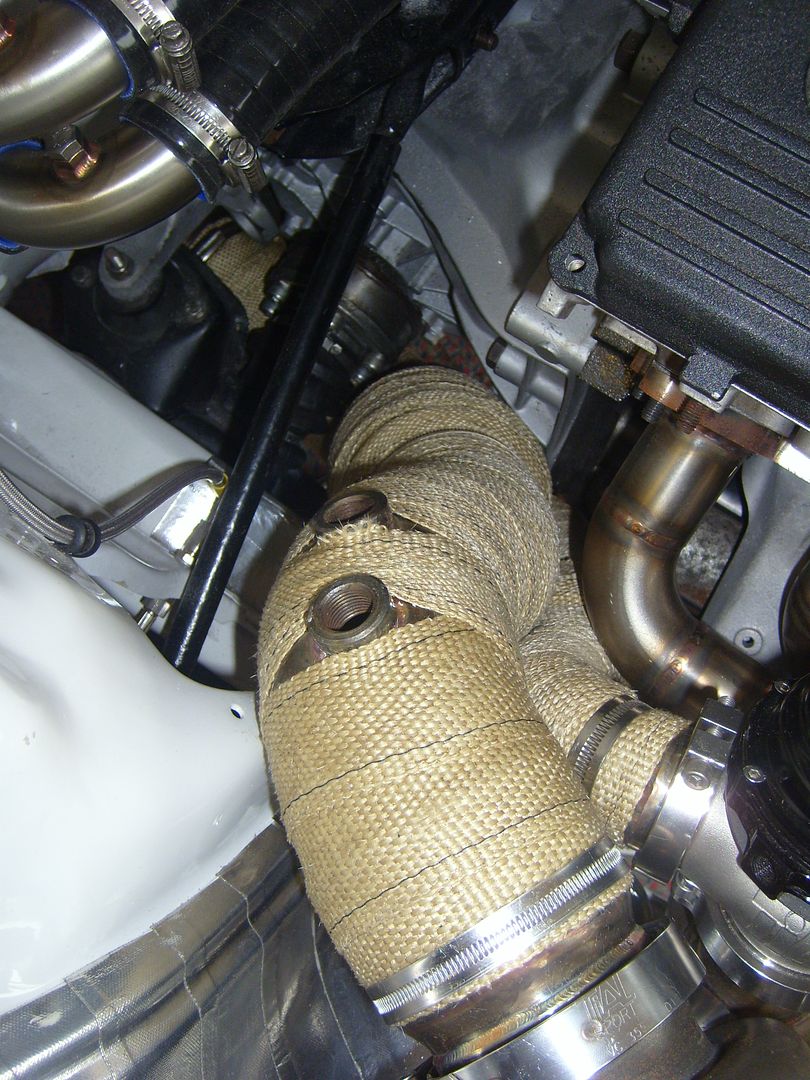
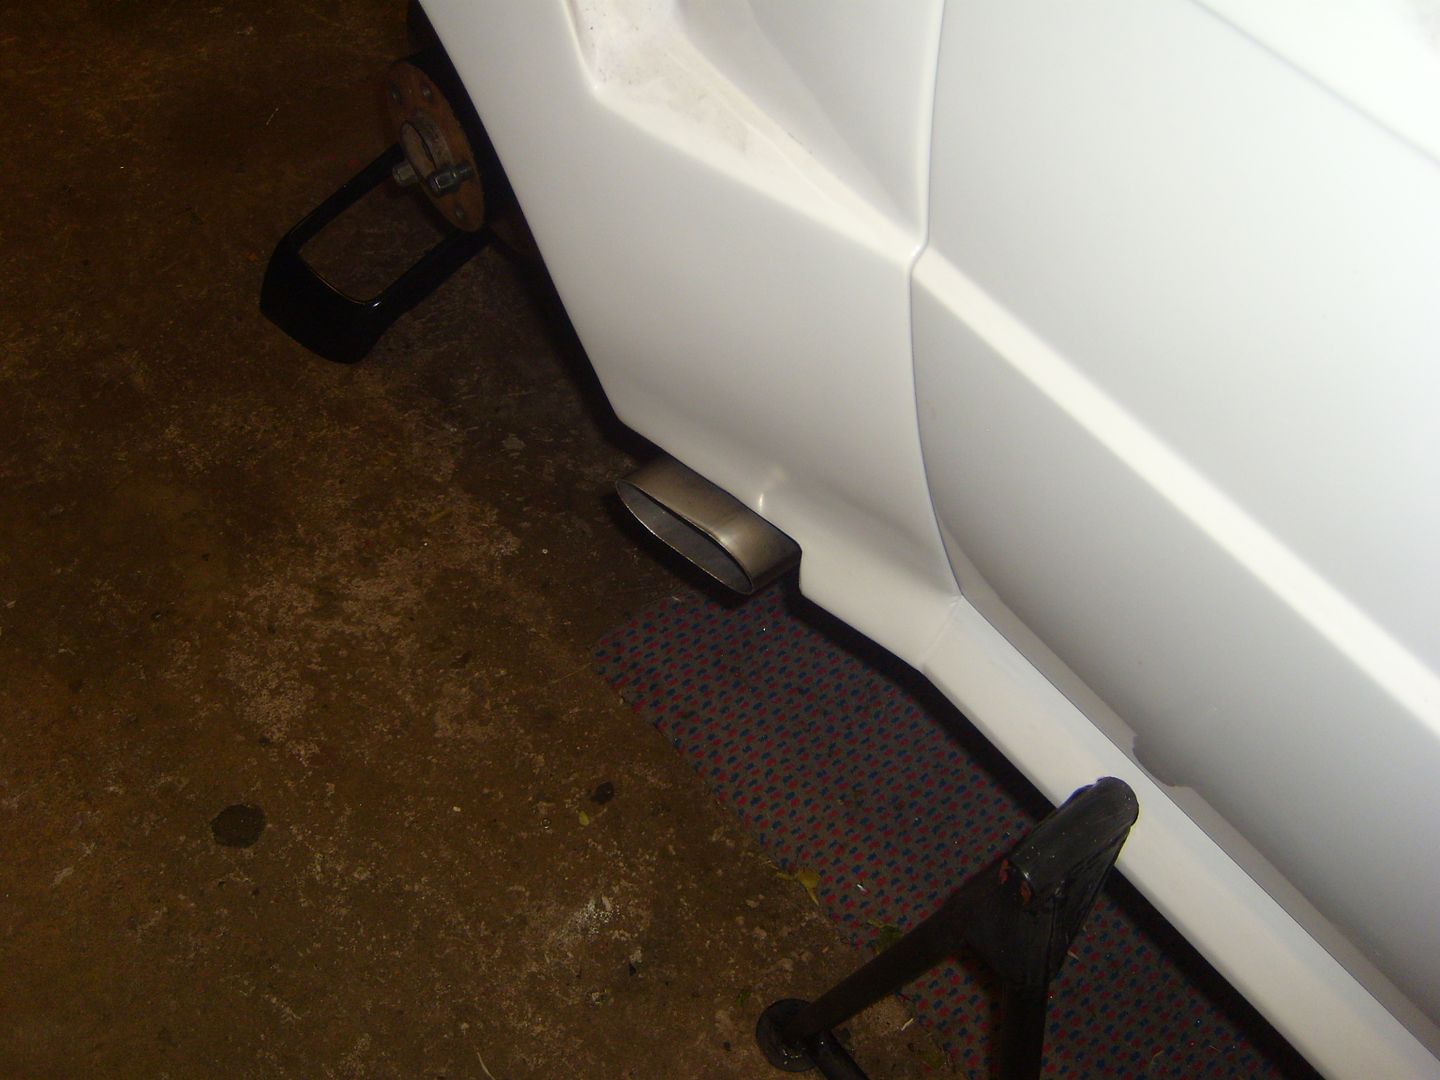
Next it was onto the exhaust. Firstly the downpipe and wastegate pipe were wrapped to keep the heat away from the vital bits.
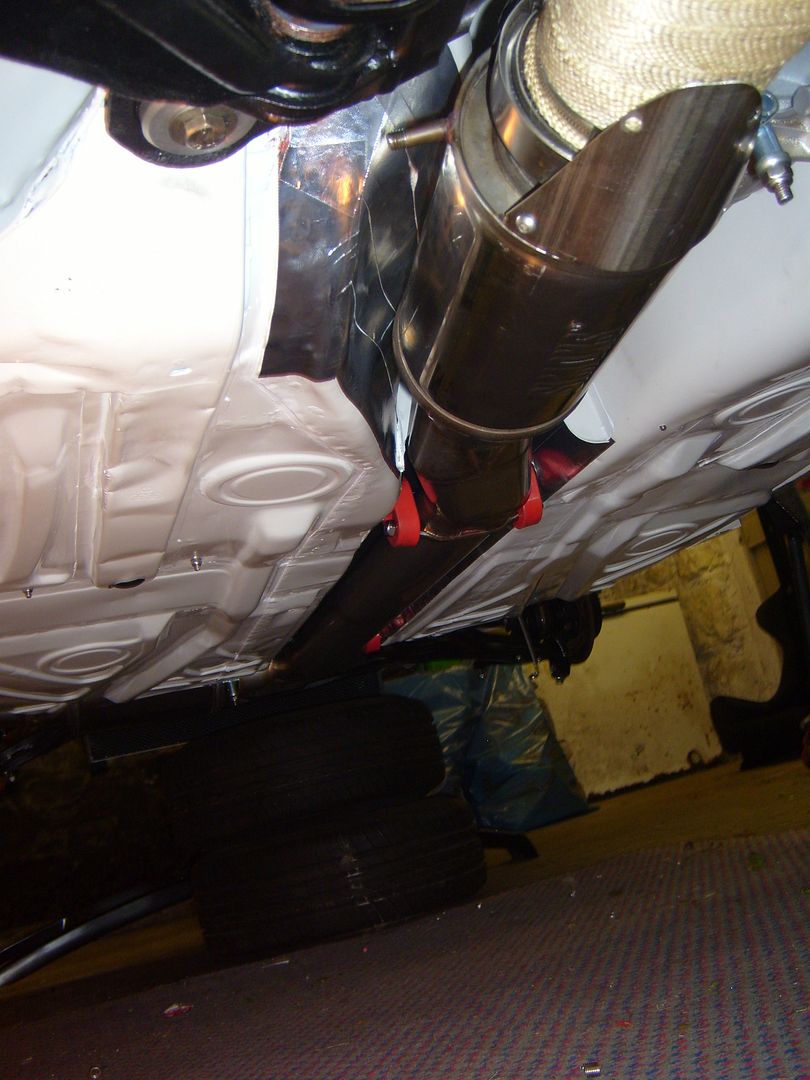
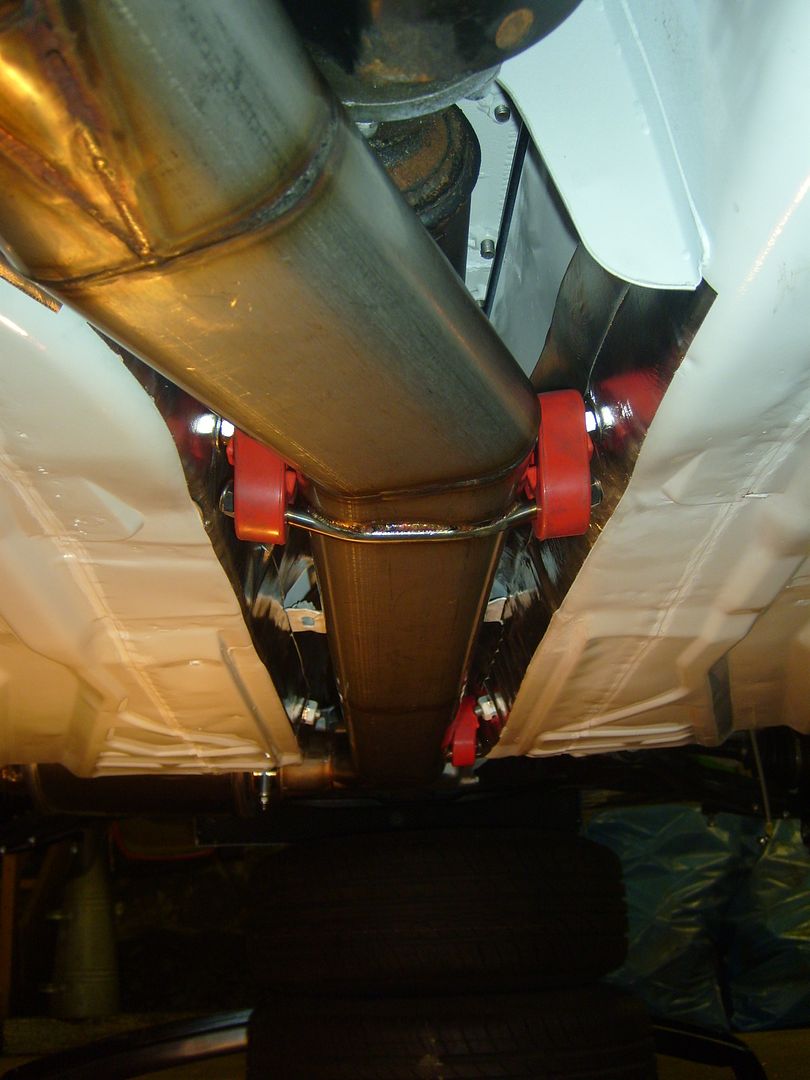
Then got the rest of it mounted, I know the V band clamps need turning so they arn't pointing to the ground, it was just on for a test. The inner wing and underneath have been covered with heat reflective tape in an effort to keep the paint intact and the cabin cool.
Also got a couple of fabric towing straps. Bolted the rear on.
Having a few problems finding a place for the front one. Most places I have tried if it was pulled up or down it would destroy the front bumper, so I am working on that at the moment.
Do you have any plans to have lips/lumps rolled into the ends of your boost pipes, to try and stop them blowing out of the silicone couplers? I have seen them being restrained on a works test car (which i think you seem to be building!) see attached picture? Just a thought, as i would think you will have masses of boost to try and hold in, and it could be really annoying.
I haven't covered them in anything no, I am not looking to keep it anally clean when in use. If it does bother me I can have them blasted over again.[/QUOTE]
The colenite metal wax is a good sealer, just a wipe it on with a rag, It will keep it looking good
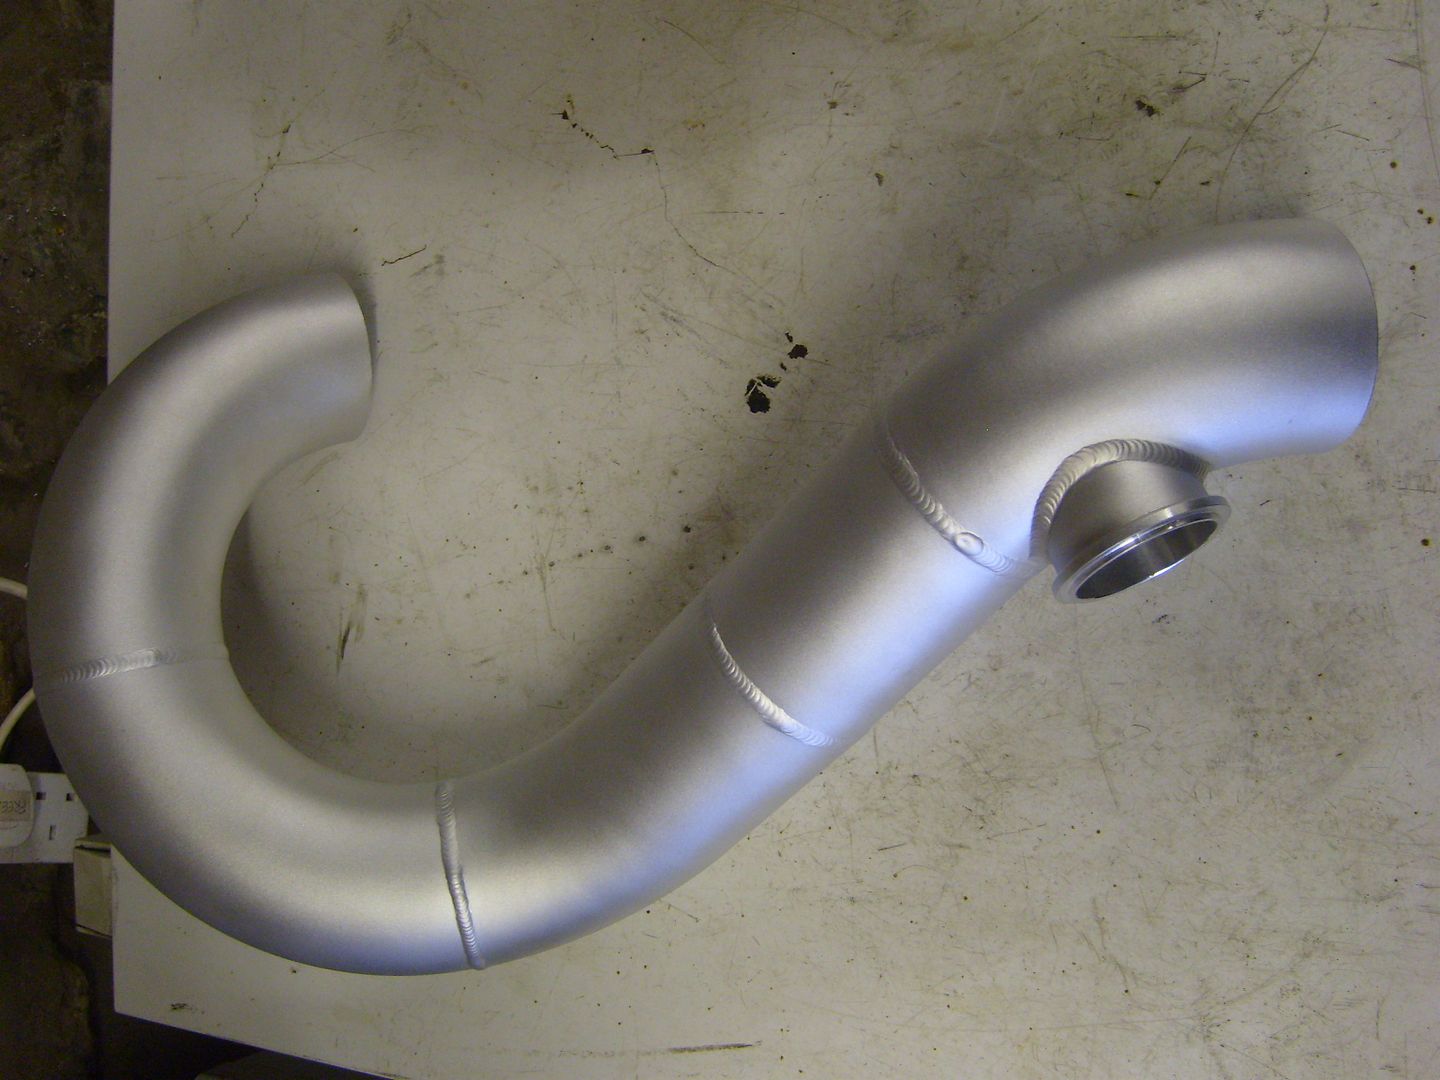
Simply no room for the flexible section to go after the shaft. The main problem with it is that its a 4" flexi as I couldn't get hold of a 3.5" one. Also I would like the flexi closer to the turbo so it can do its job, it will work better being mounted vertically as well should the exhaust take a hit.
Lines on the shaft to see if they twist yes.
I haven't covered them in anything no, I am not looking to keep it anally clean when in use. If it does bother me I can have them blasted over again.
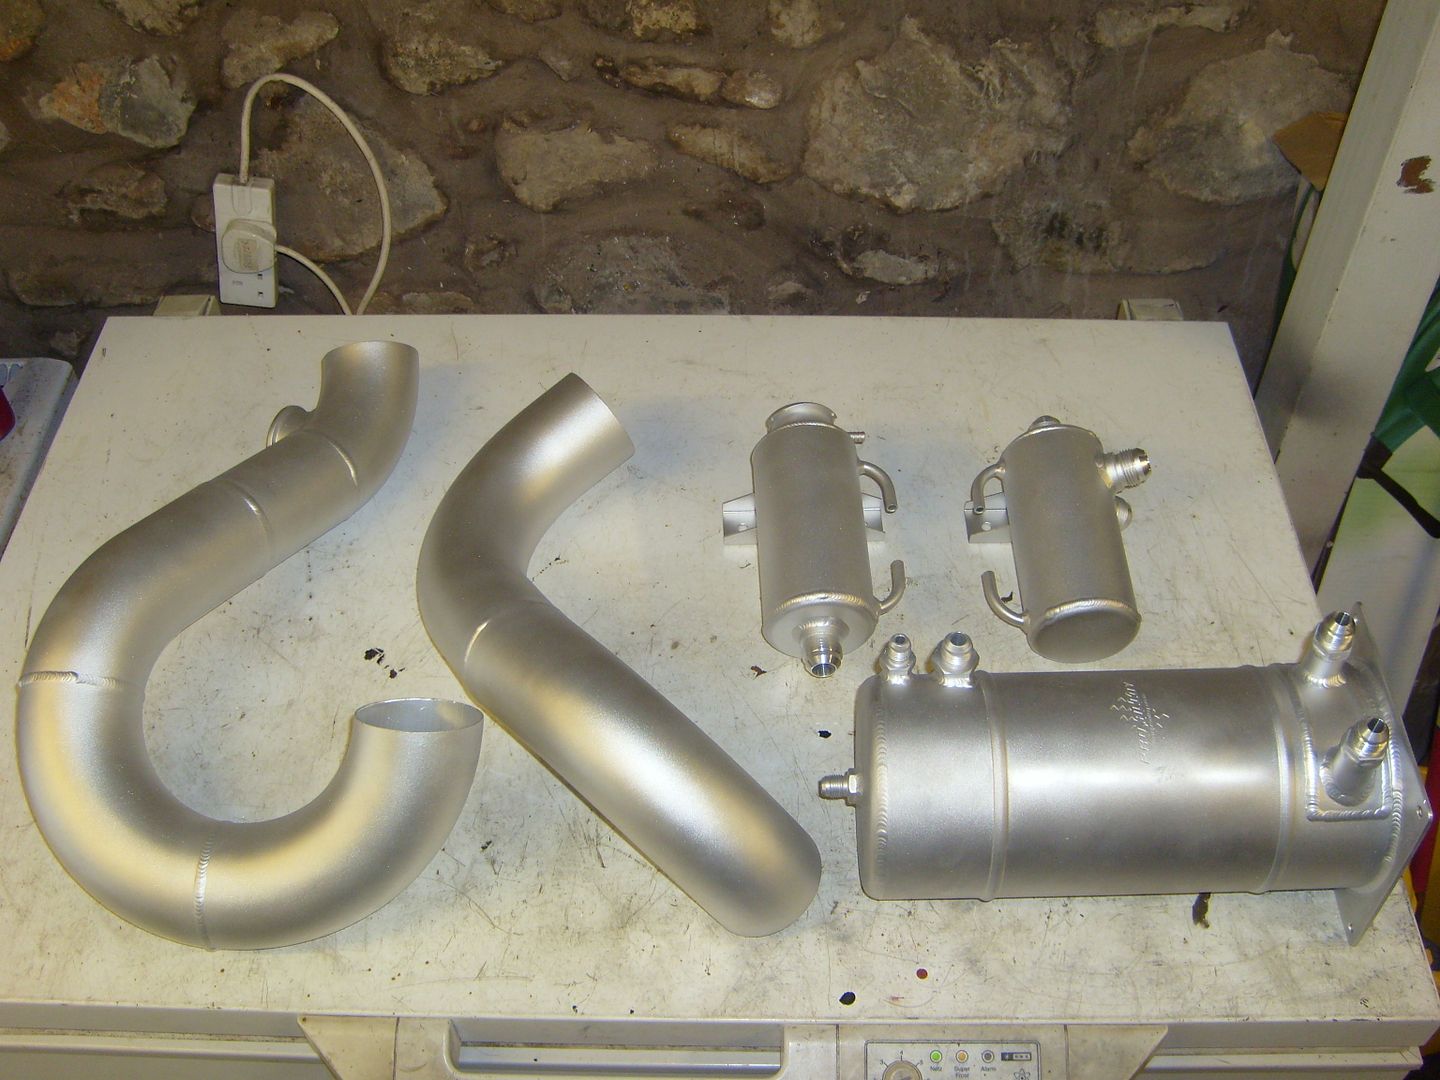
have you coated the ally with anything after blasting it Hamish?
IME it doesn't take long before it gets that horrible white dusty oxidation growing on it, be a shame on your beautiful fabrications
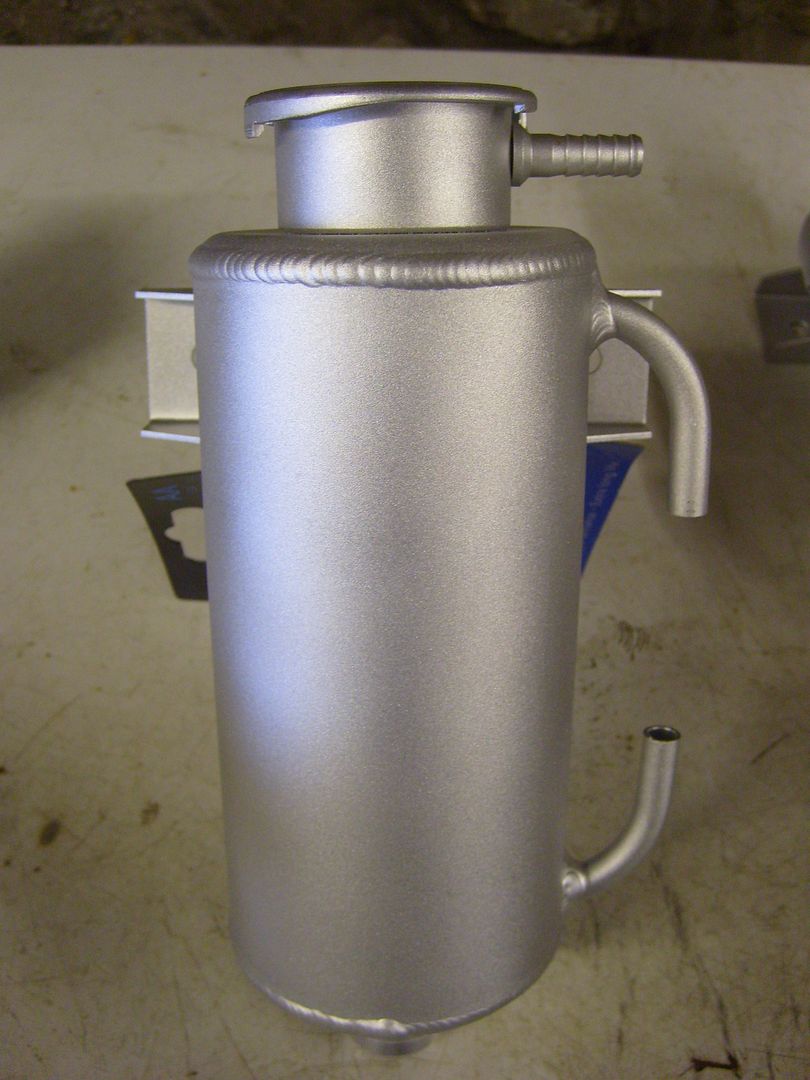
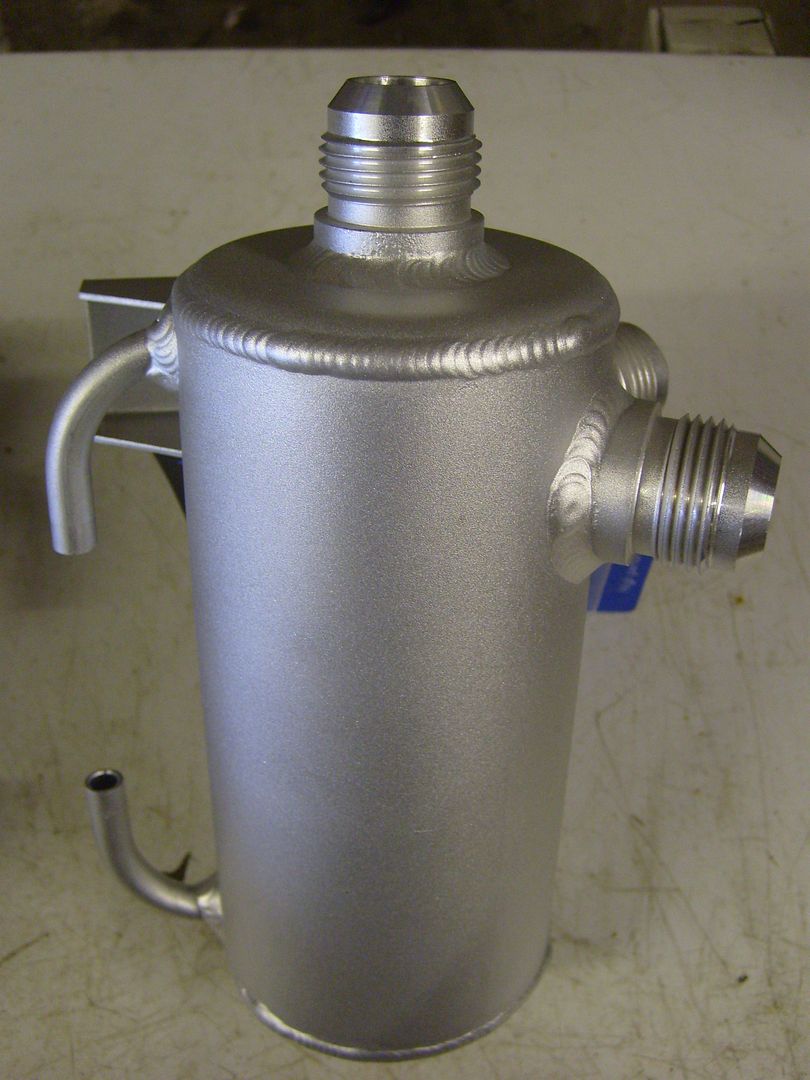
wooohooo i love this project, on the resevoirs, are the two smalelr pieces of alu that are curled up and down, are they for a clear piece so you can see fluid level?
Went over to see Simon and Olly at Solway blast cleaning after work today. They are the lads that blasted the shell and lots of engine/ chassis parts for me. All the alloy parts were blased with glass powder and have come out very nicely, no more oxidisation or shineyness!
Also dropped into Kimera fabrications to see Garry and Darren as the exhaust centre had pulled in one place with all that welding. I had to slice it at the weekend to get it to fit and then tack it back up. They managed to fit it in between lots of different jobs for M-sport, half the fiesta wrc cars seem to be getting made there!
Hopefully I will have the exhaust mounted up this weekend. I held off making any mounts on the car as I knew it would move when welded. Also waiting on some wheel studs to land from America and then I will get the car back onto its wheels again!
We process personal data about users of our site, through the use of cookies and other technologies, to deliver our services, personalize advertising, and to analyze site activity. We may share certain information about our users with our advertising and analytics partners. For additional details, refer to our Privacy Policy.
By clicking "I AGREE" below, you agree to our Privacy Policy and our personal data processing and cookie practices as described therein. You also acknowledge that this forum may be hosted outside your country and you consent to the collection, storage, and processing of your data in the country where this forum is hosted.




Leave a comment: