
Well Hamish, how did you get on during your weeks off?
In case you haven't already done it, I think video's of it firing for the first time would be AWESOME!
-
Amazing work Hamish.
I like the way you plumbed your WG. Pressurising the upper chamber to control the boost allows for very aggressive boost control.
Cant wait to see this running!!Leave a comment:
-
excellent mod for coils and sensors only criticism is braided pipes for wastegate and oil feed look routed untidy but otherwise great buildLeave a comment:
-
Looks awesome Dave! Cant wait to see it finished!
The paint is high temperature crackle black paint. Used a heat gun on the parts when spraying which helps it to crackle and cure.Leave a comment:
-
Loom half way through being made! I am just of to Paul Recard for the Group C racing so i will finish the loom early next week.
Leave a comment:
-
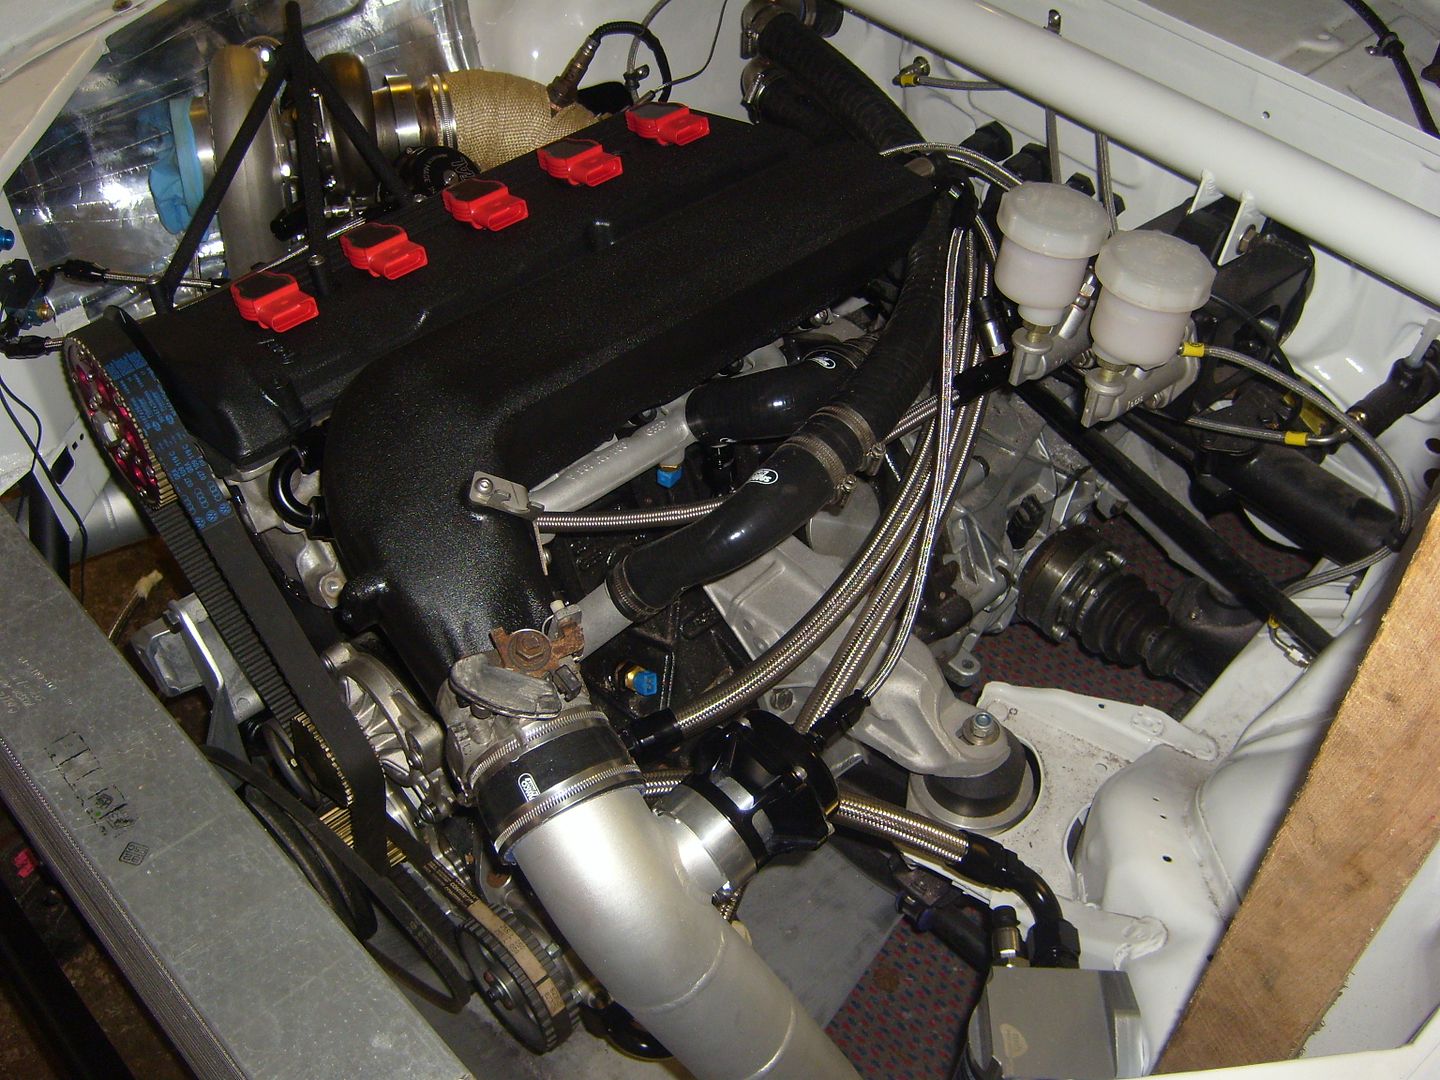
Been on with the engine getting it ready to fire up. As with the rest of the car nothing is standard and just bolts up!
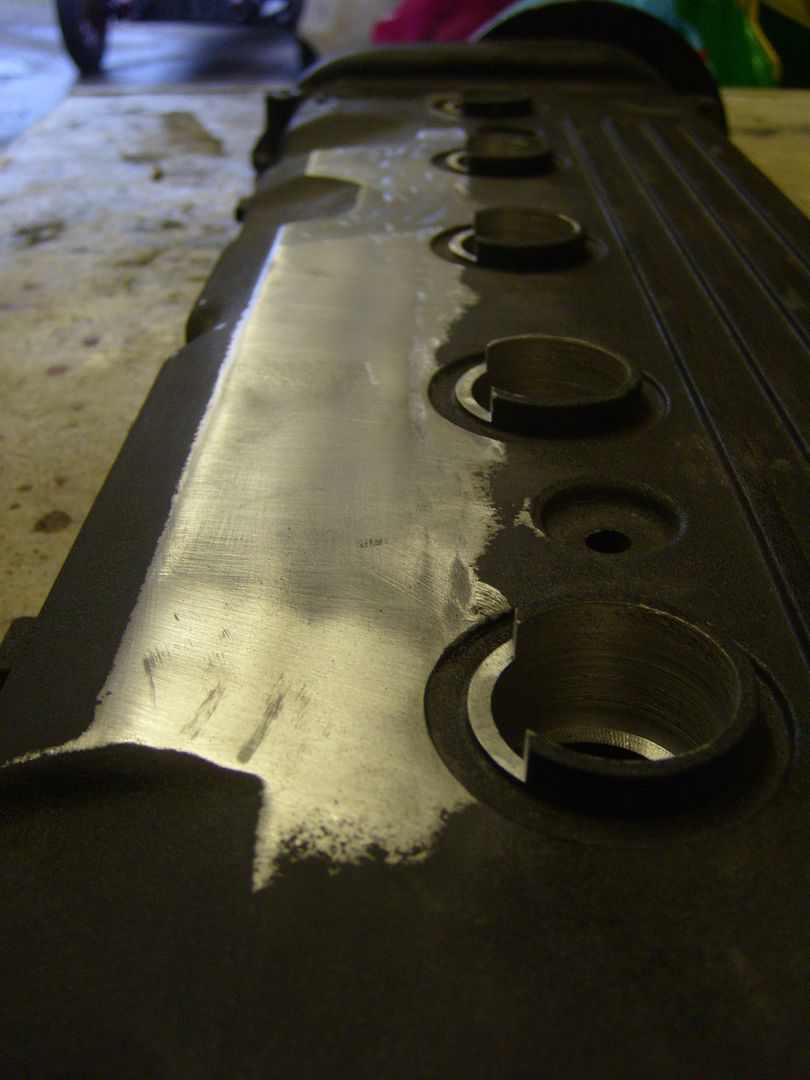
Started with the cam cover and getting the RS4 coils to fit. The coils needed to sit a lot further down to get onto the plugs, firstly the holes needed to be enlarged to 28mm. I borrowed a drill bit off a mate unfortunatly it was a morse taper, which took a good while to true up in the chuck. Then mounted the cam cover onto a piece of alloy left over from the sump guard.
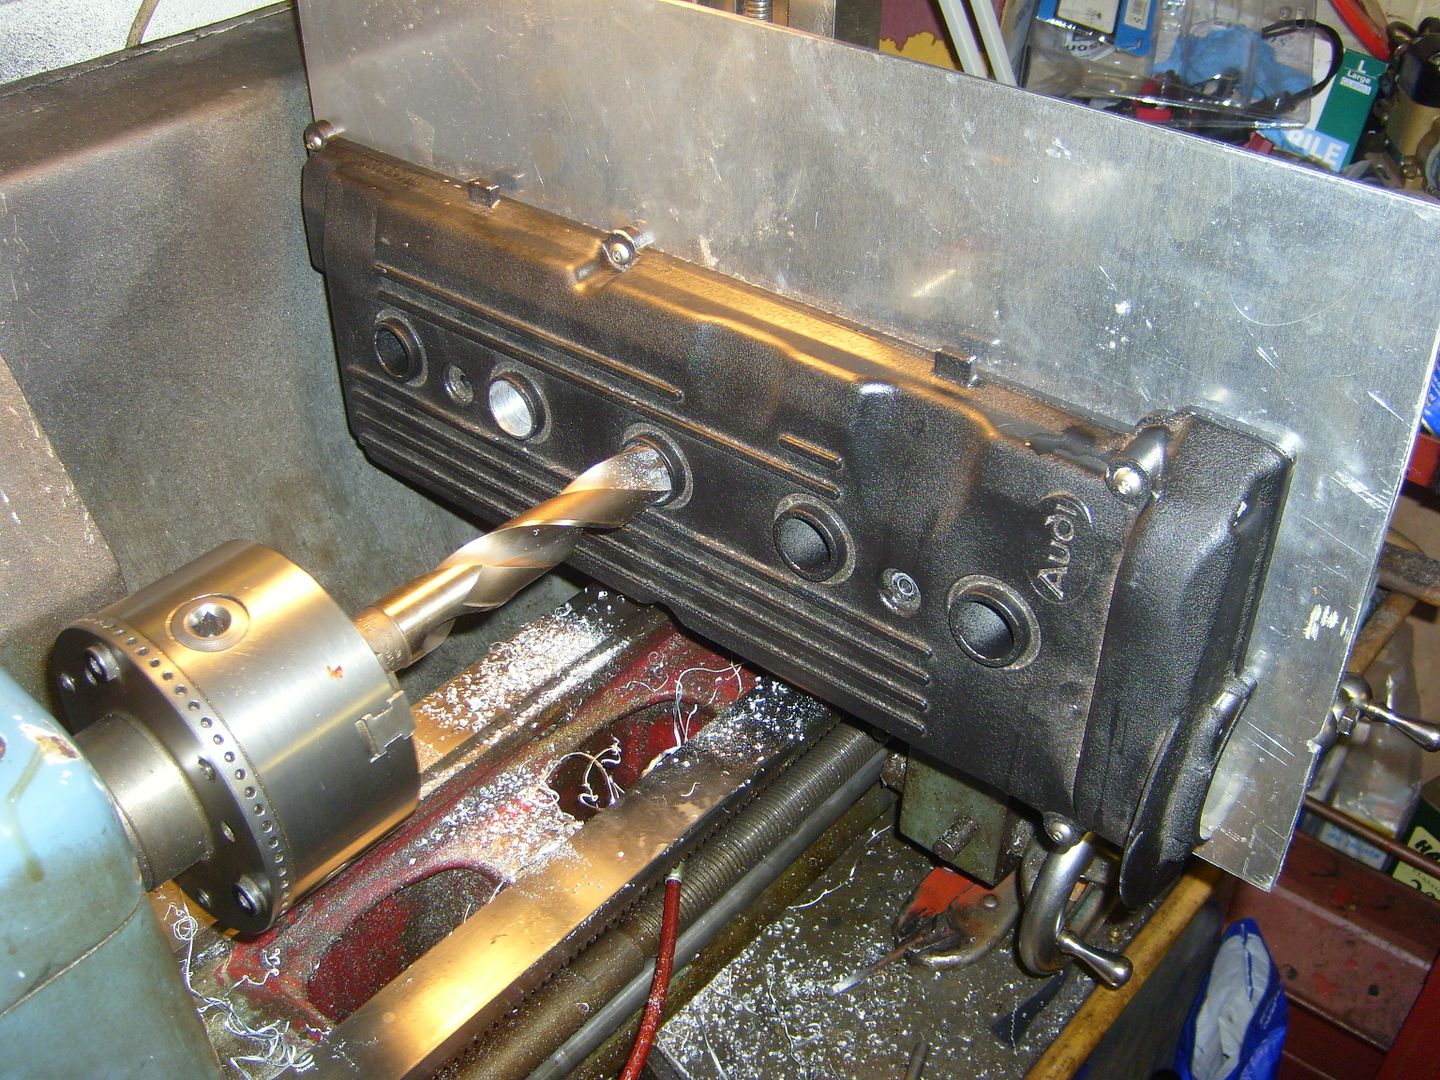
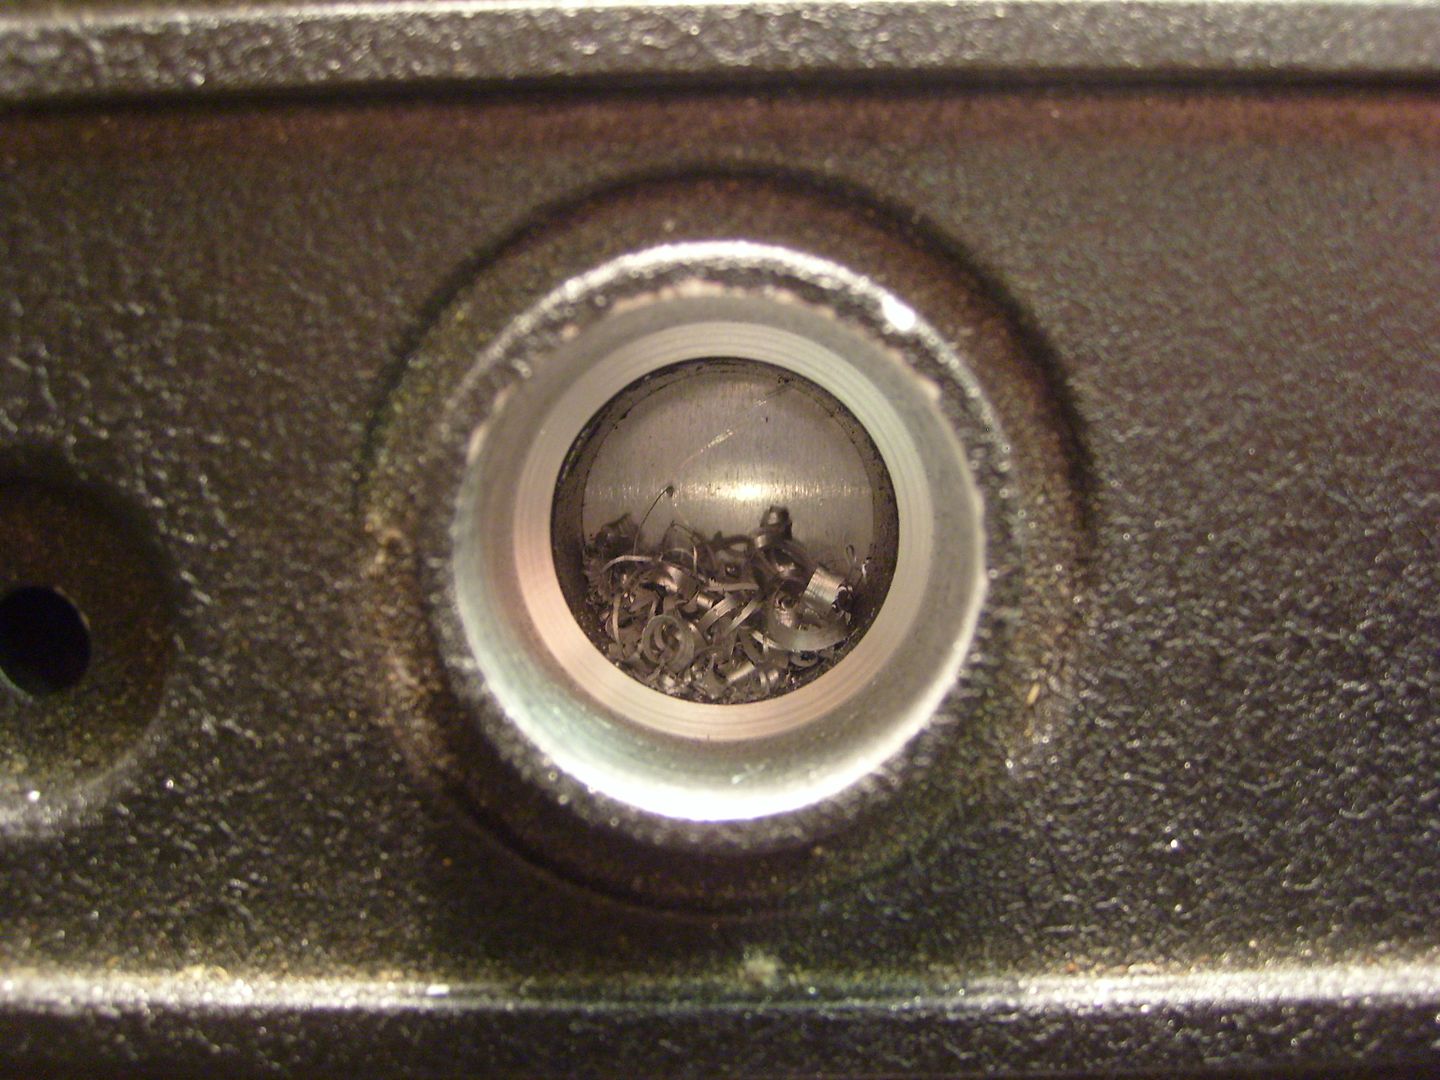
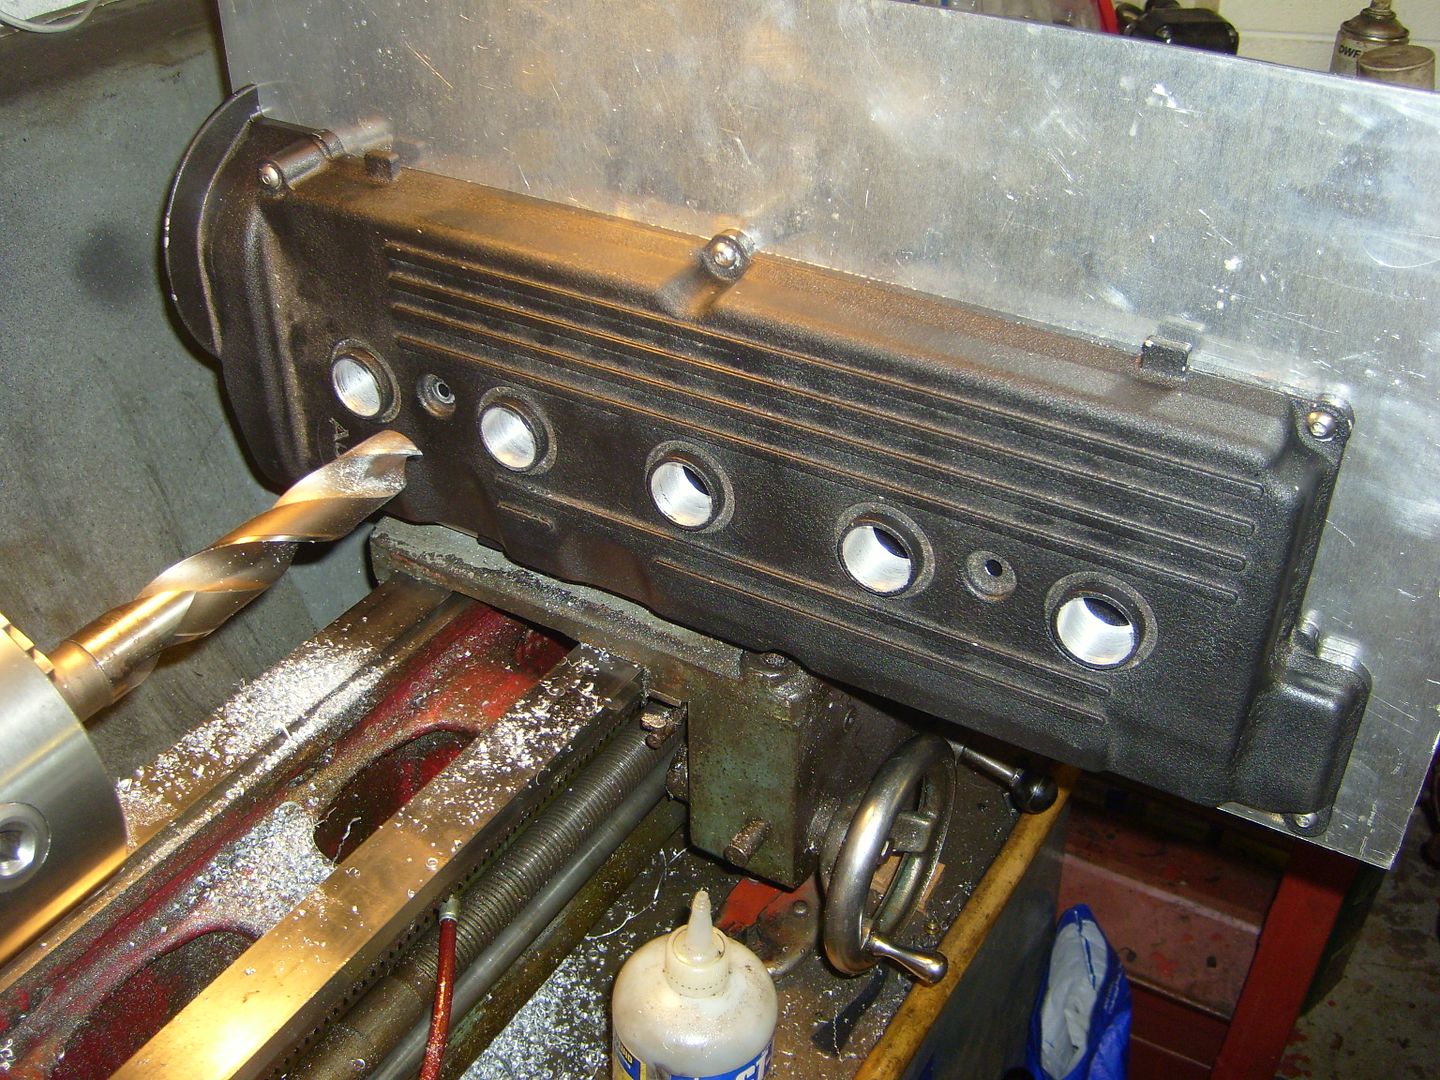
Then changed over onto a milling bit to relieve the side to get them sitting even lower.
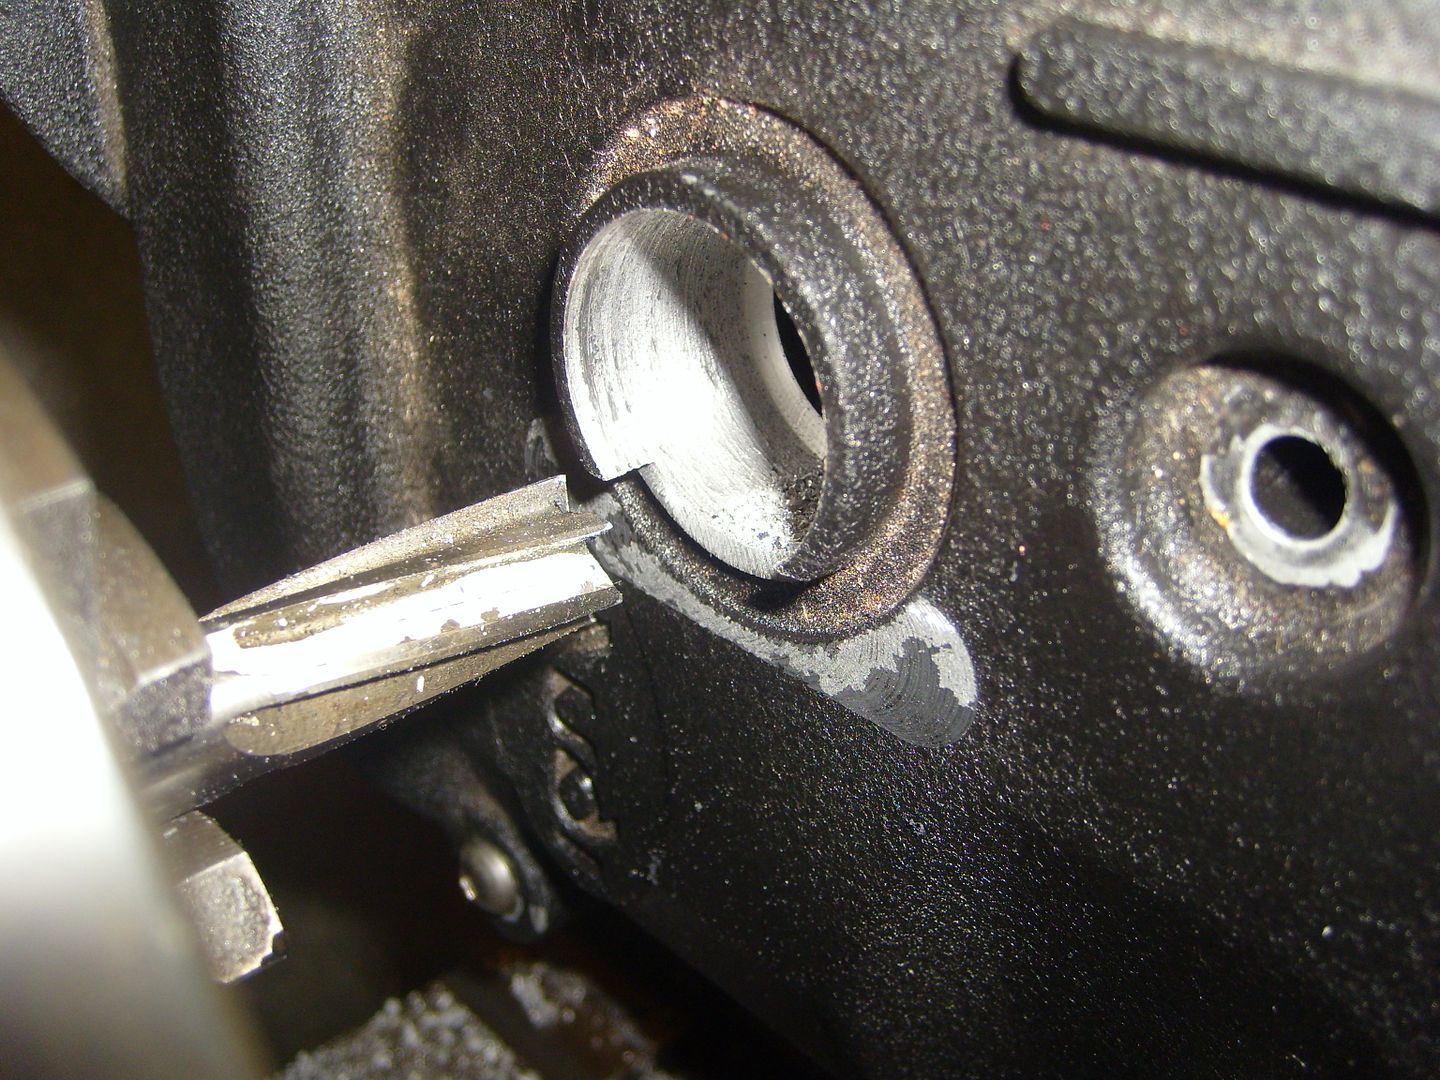
and milled off the ridges to clear the plugs for the coils
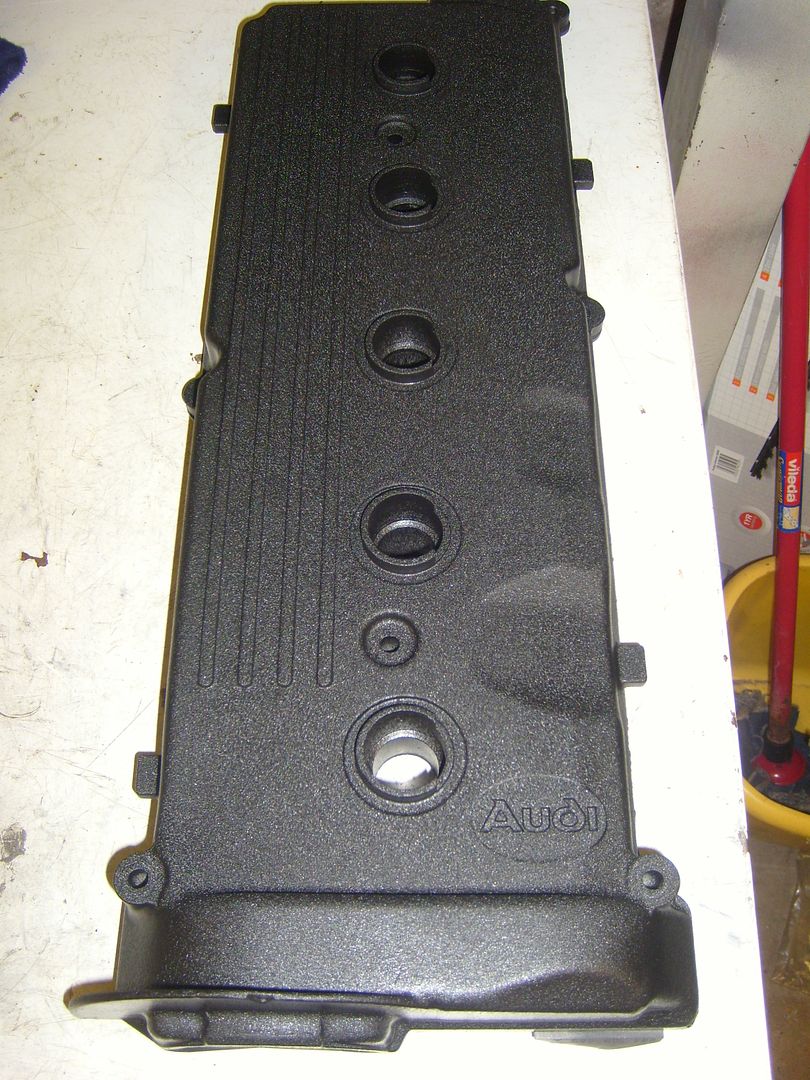
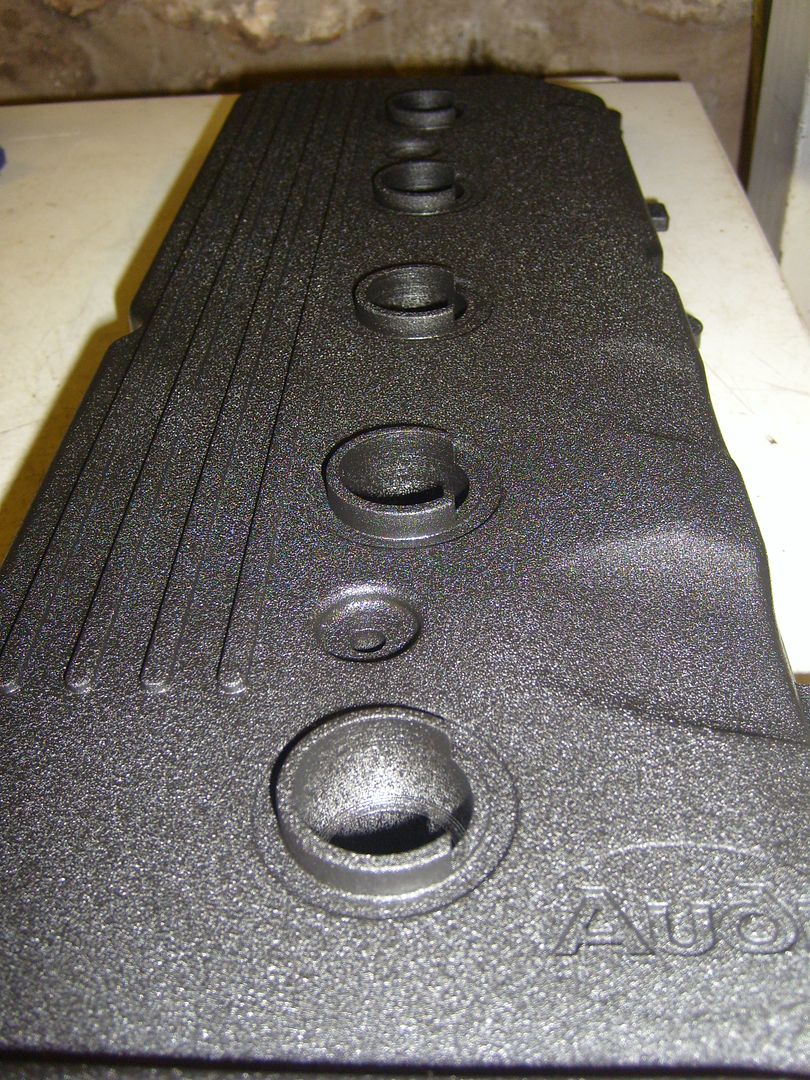
After a lick of paint
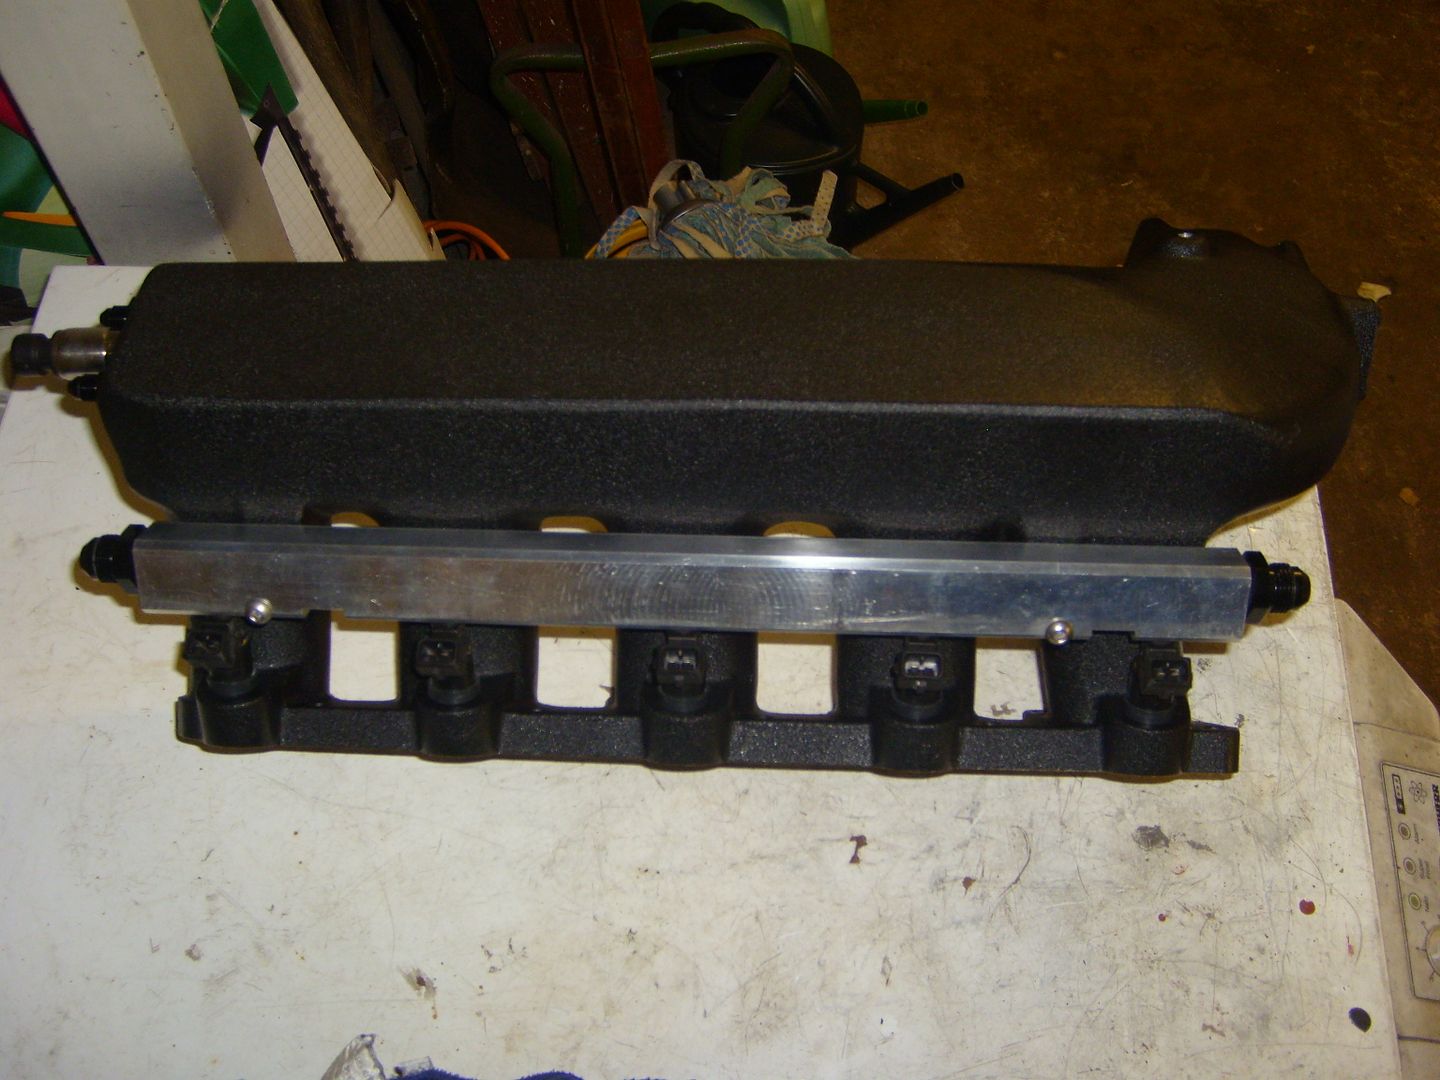
Next it was onto the fuel rail. Thought about a couple of different brackets but in the end decided to drill through the bottom of the rail as there was just enough meat in it. Had to re-drill the holes on the inlet manifold to suit as well.
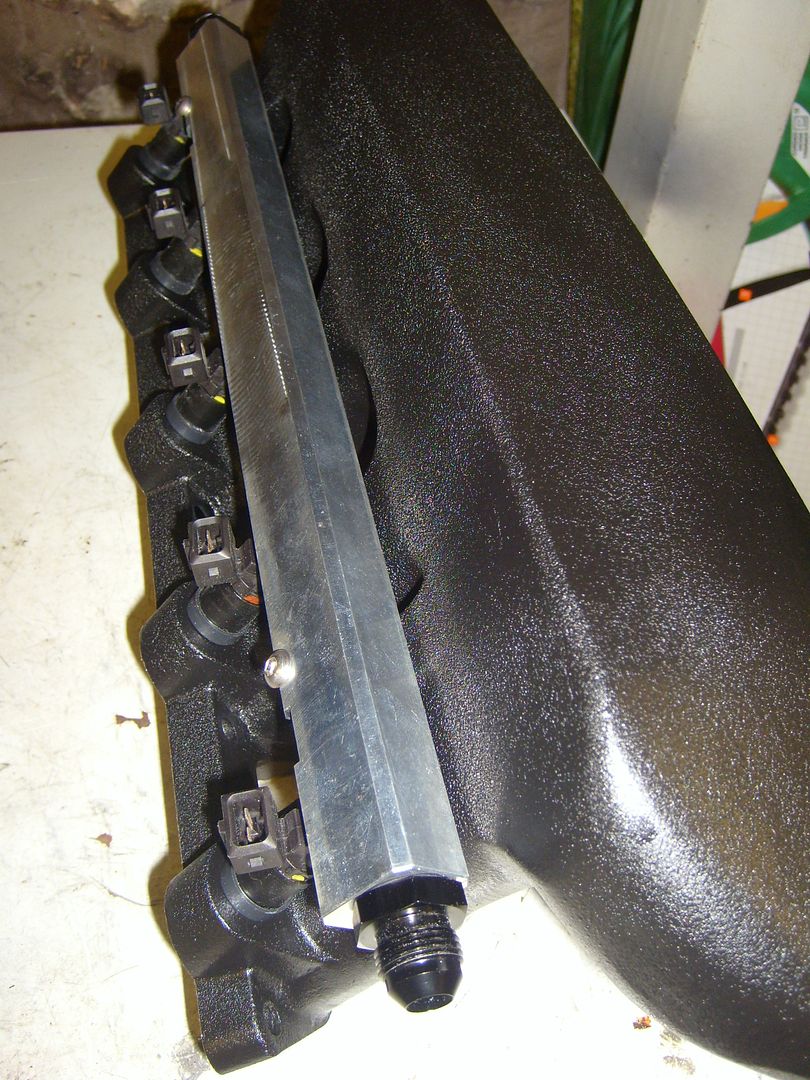
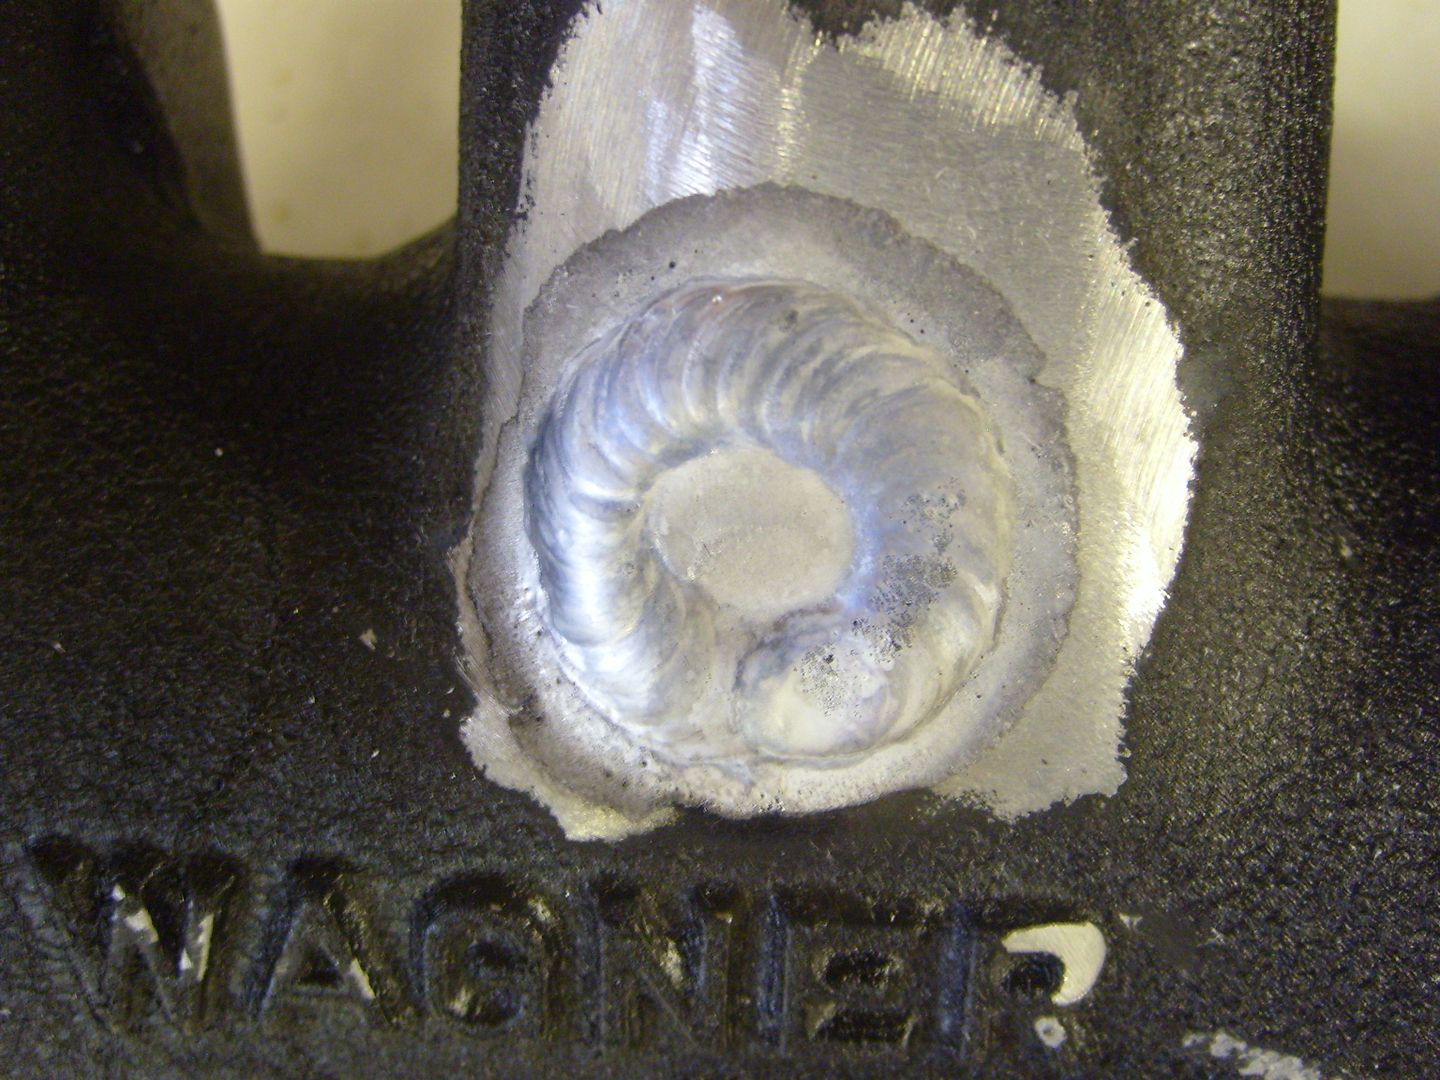
Welded up the ISV outlet as its not needed:
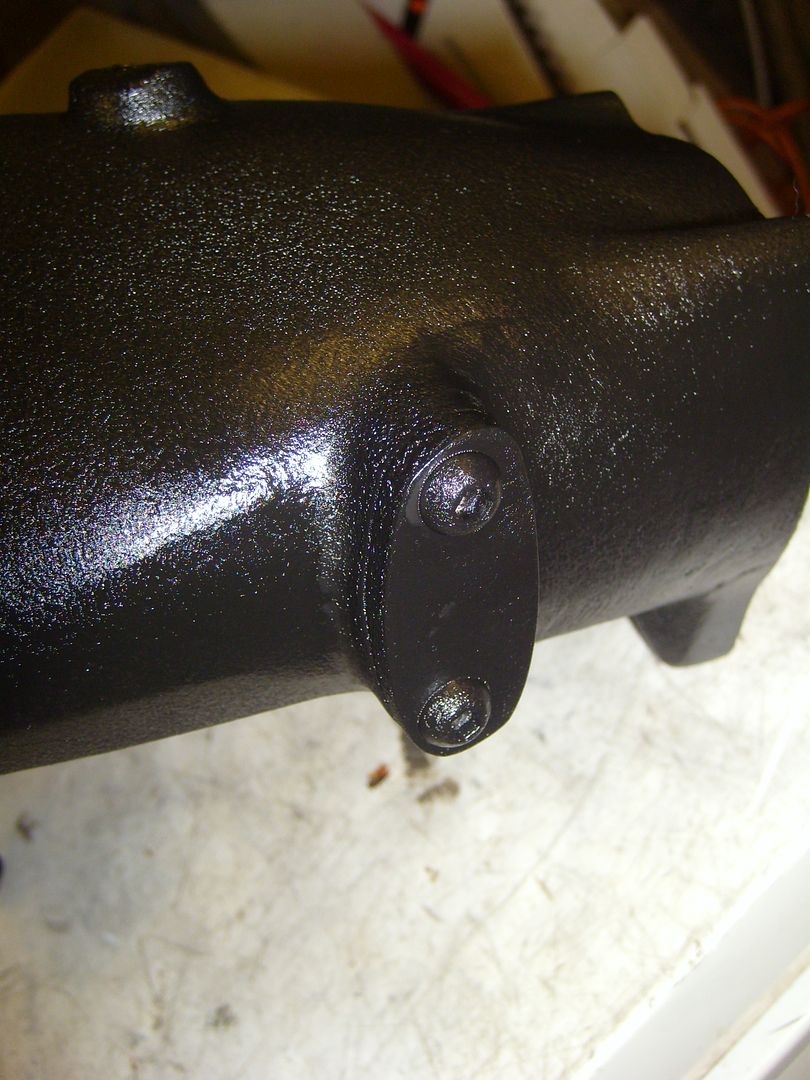
capped off the standard air temp sensor location
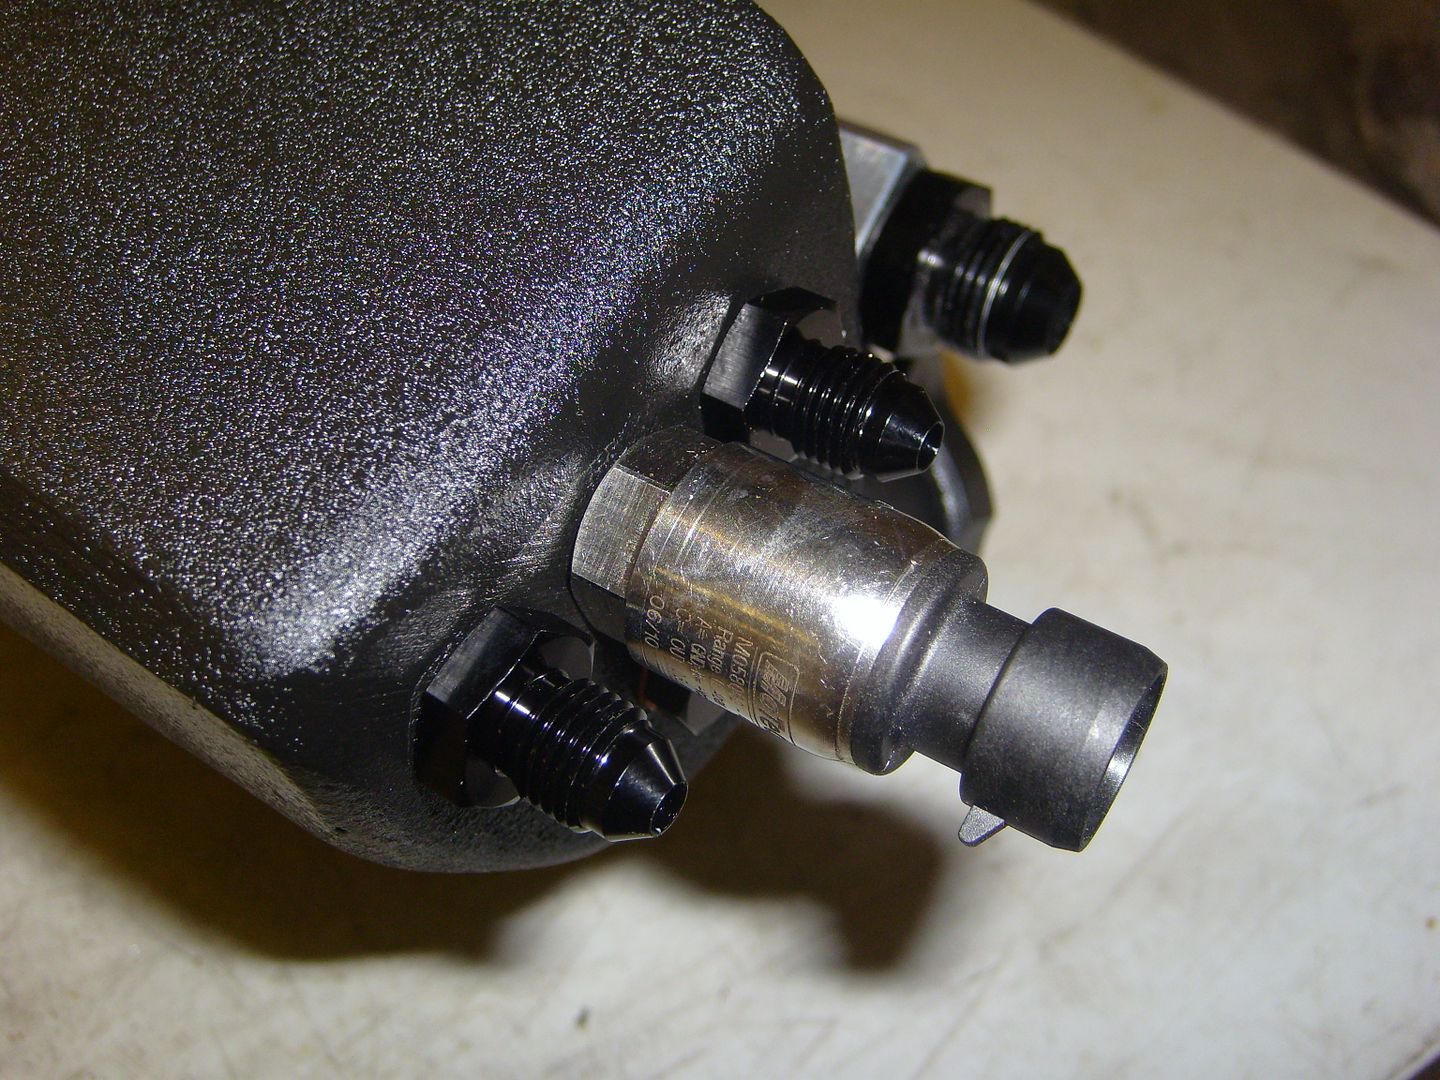
Drilled and tapped for AN vacuum lines, and the Motec map sensor
Then it was onto mounting the sensors not one of which mounts the way it did on the standard engine!
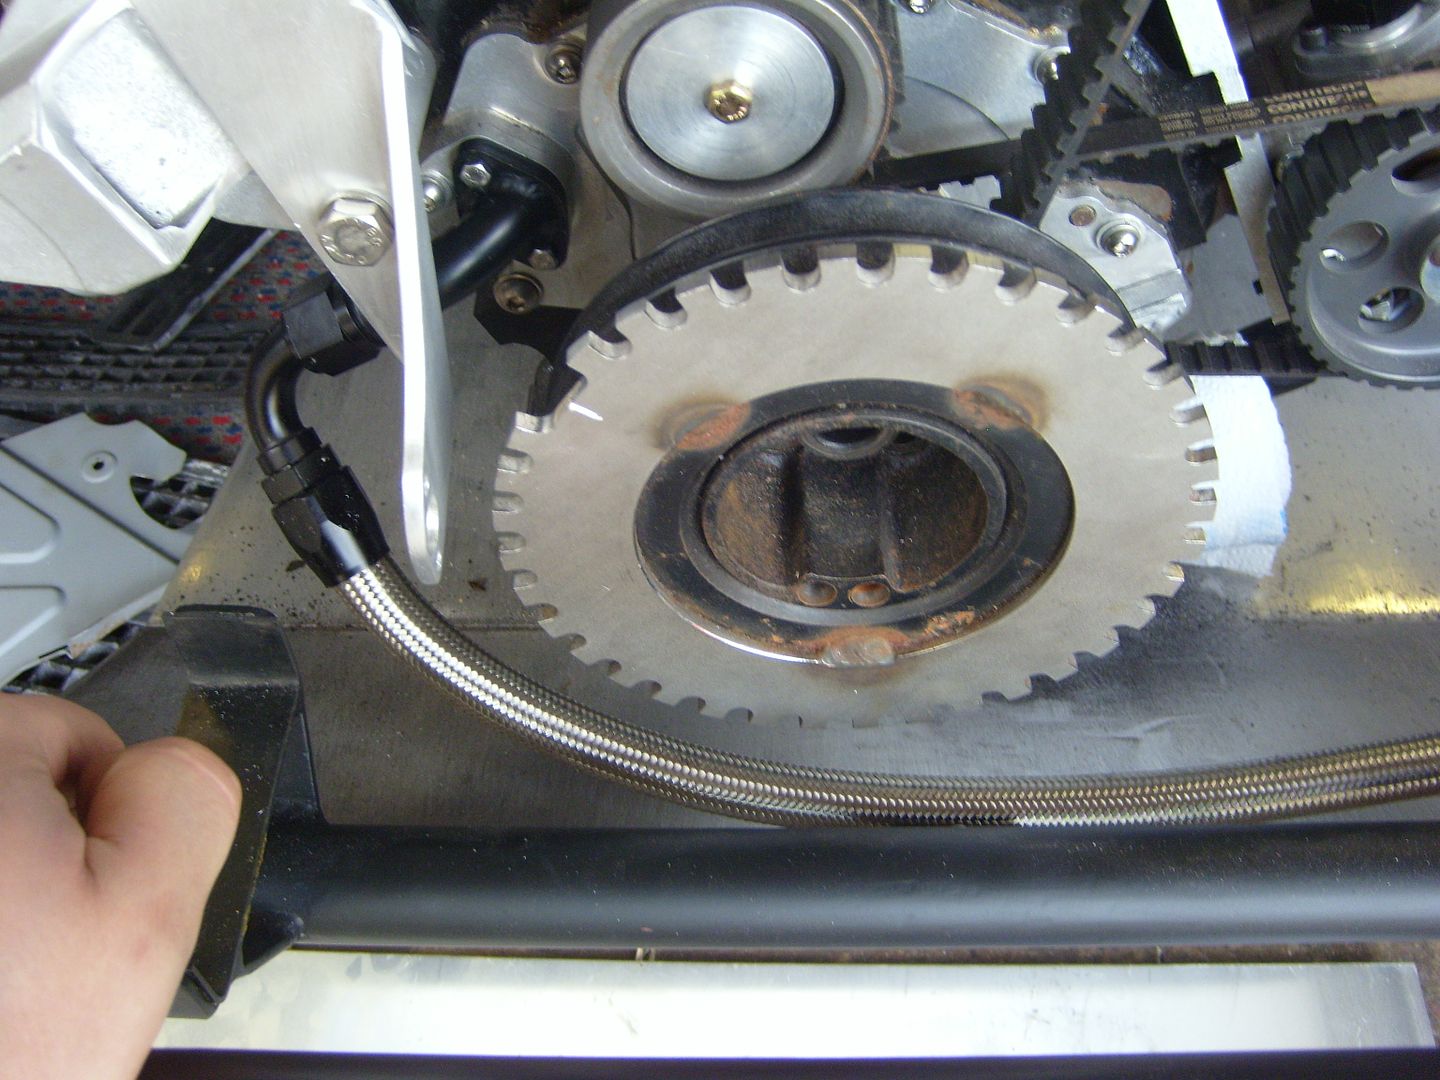
First up was the crank sensor bracket
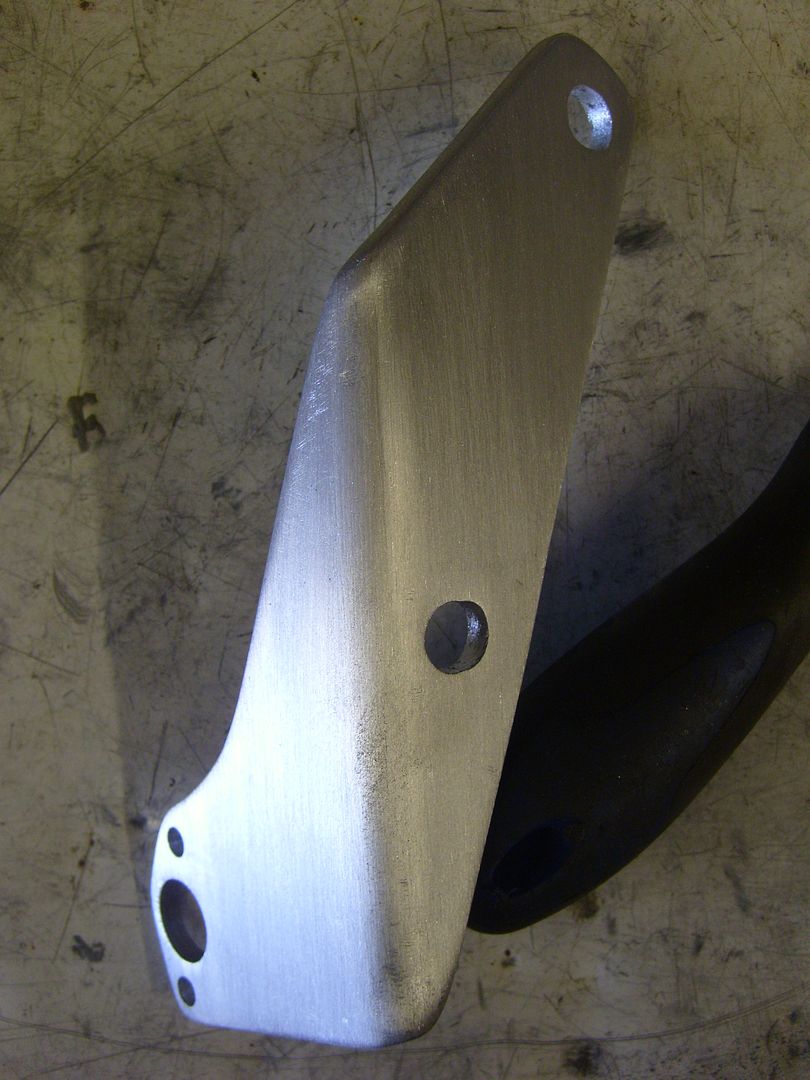
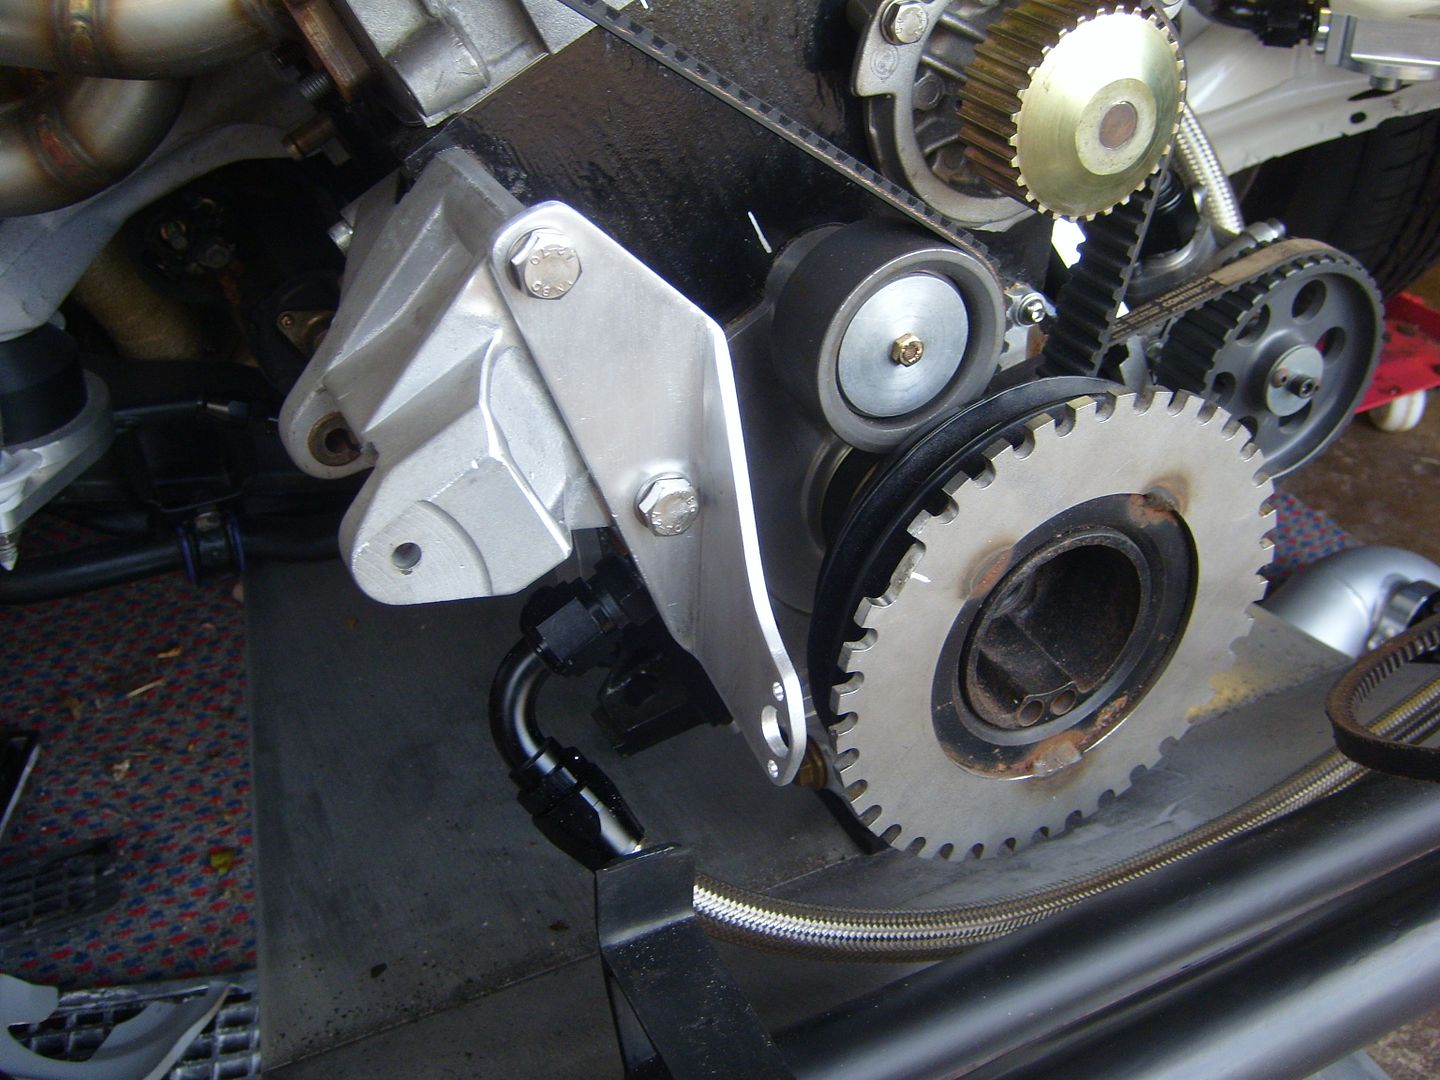
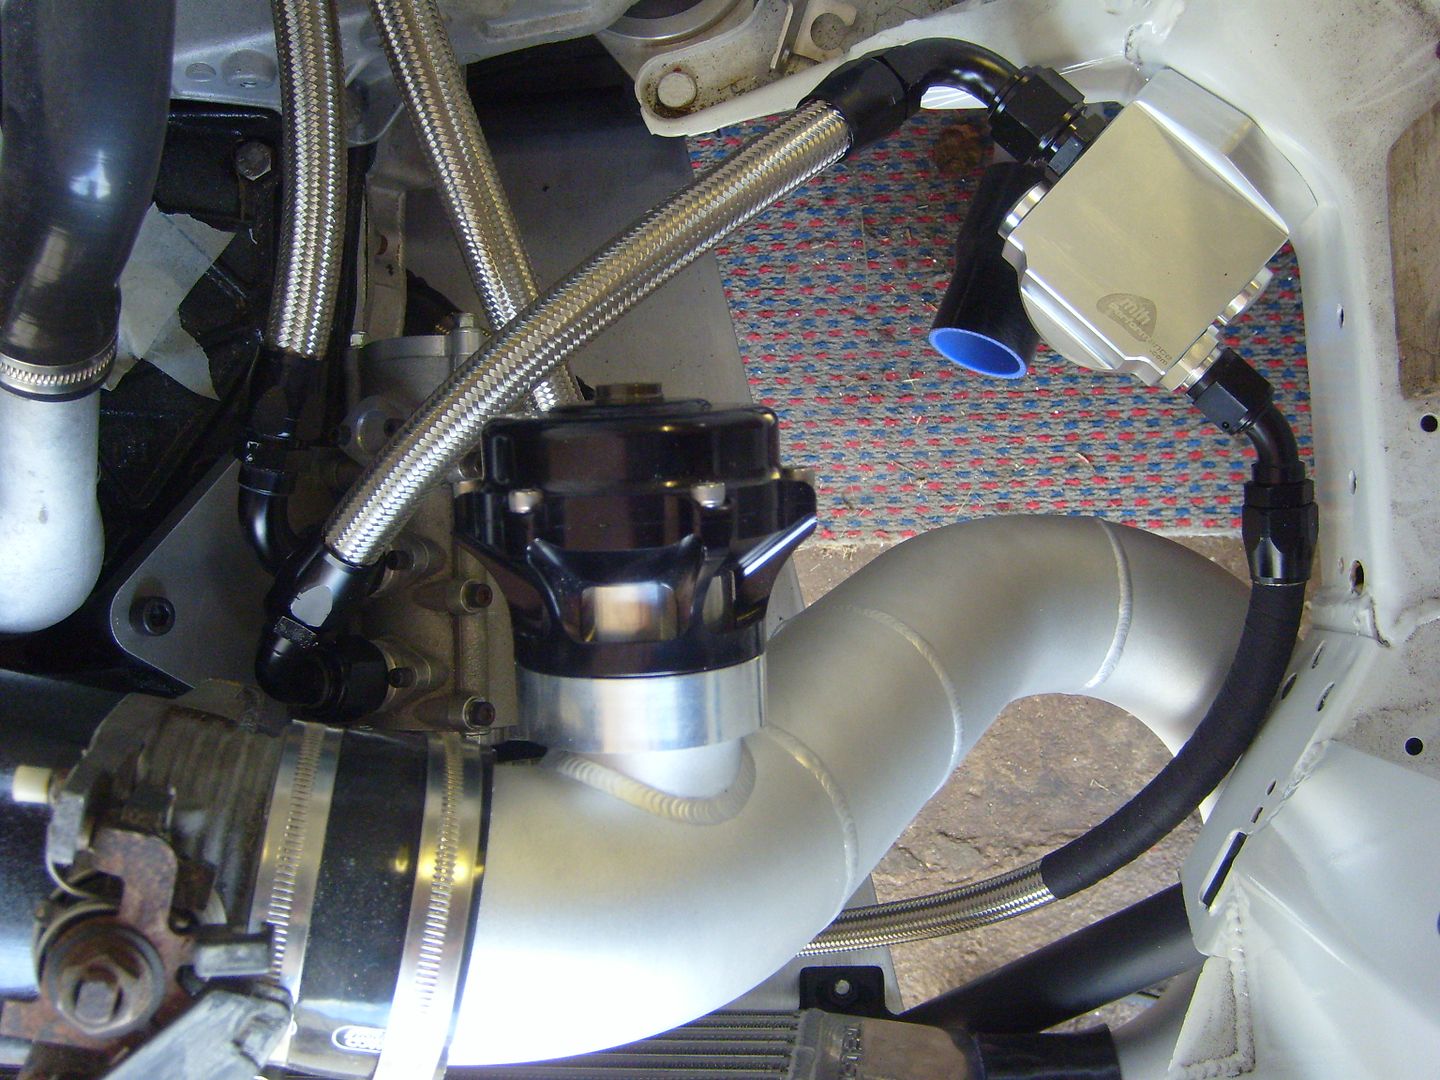
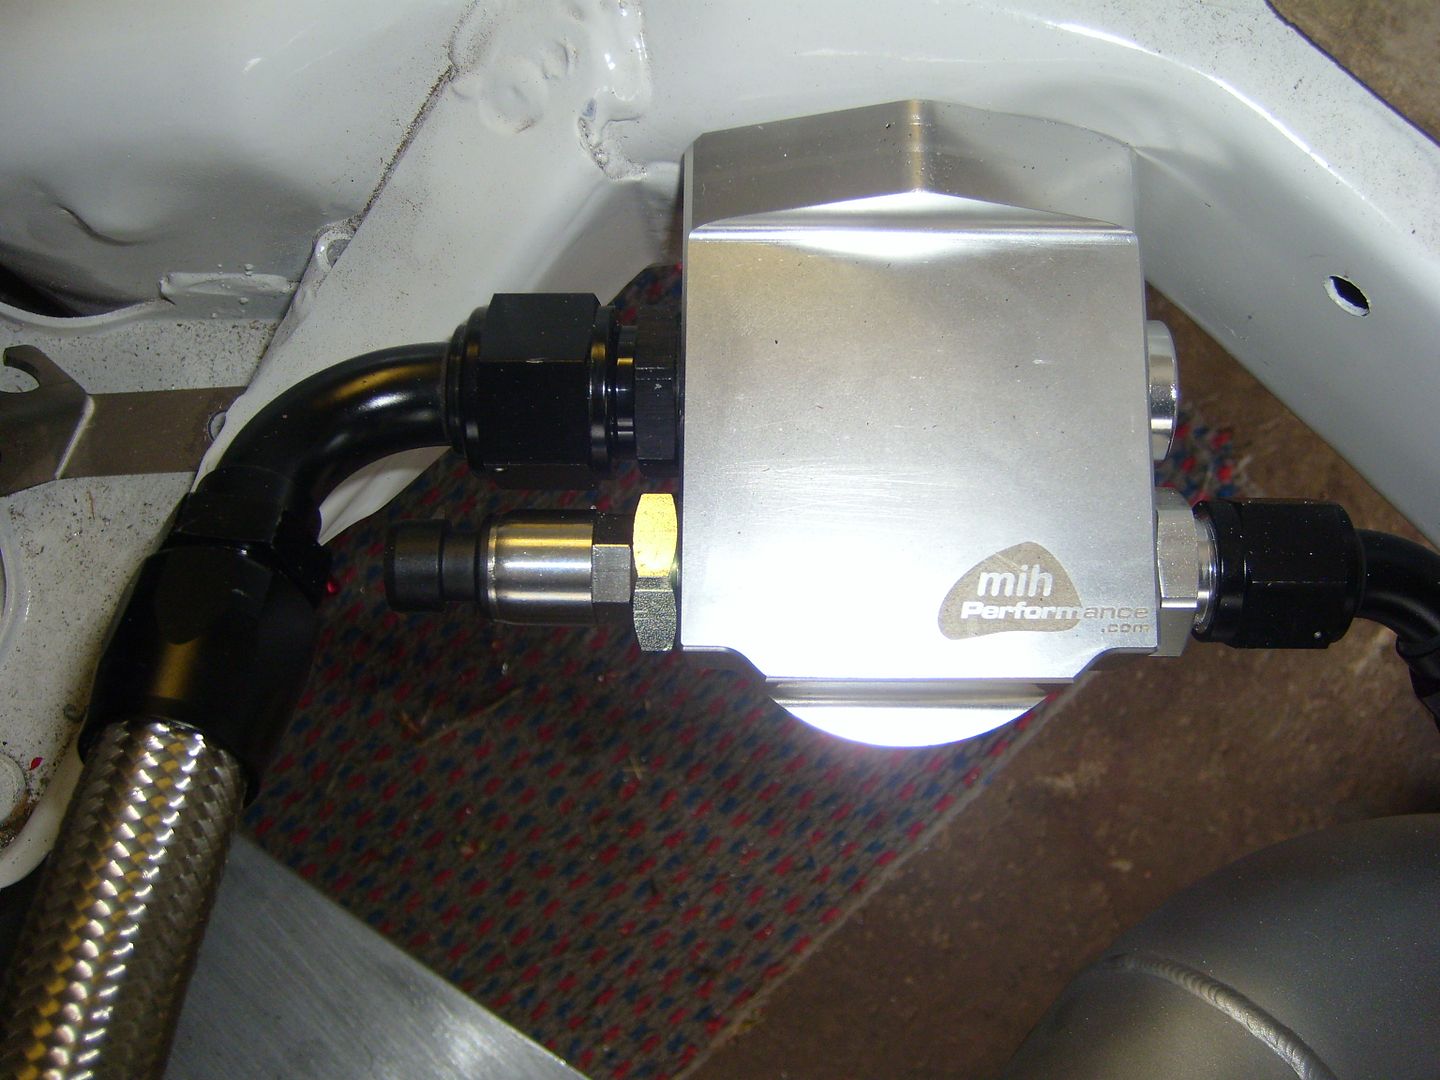
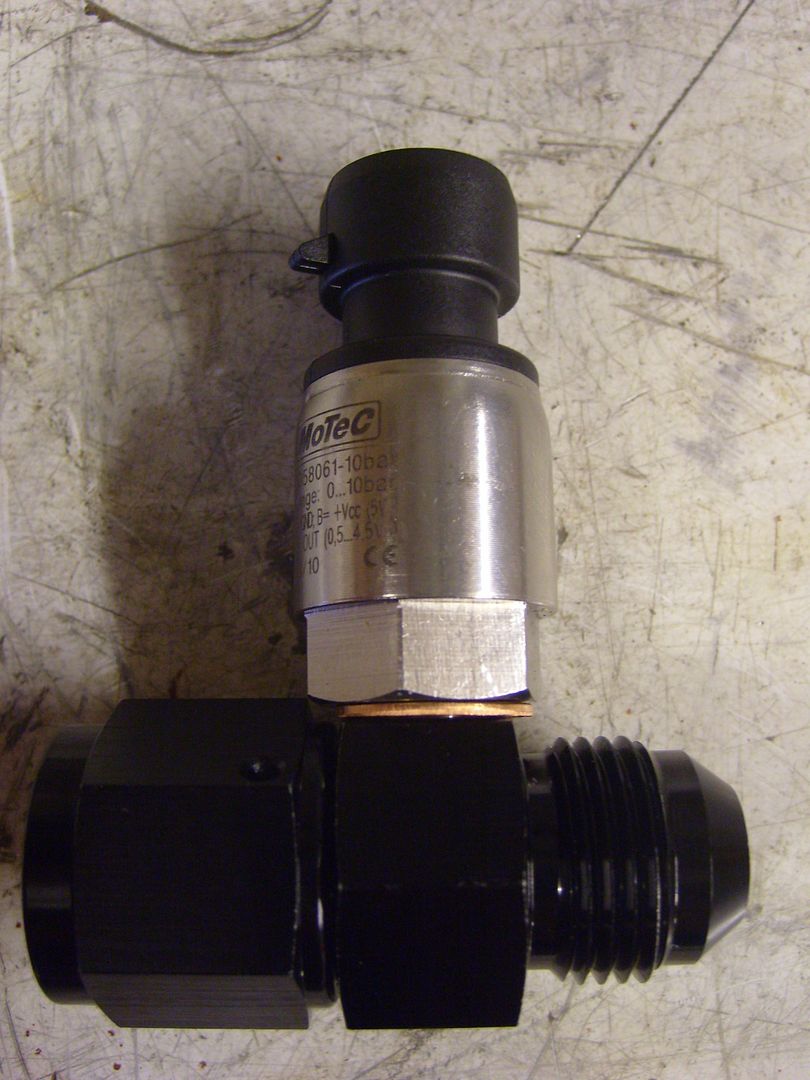
Oil pressure sensor I put on the outlet of the remote filter head. Bought a plug and drilled and tapped it for the Motec sensor.
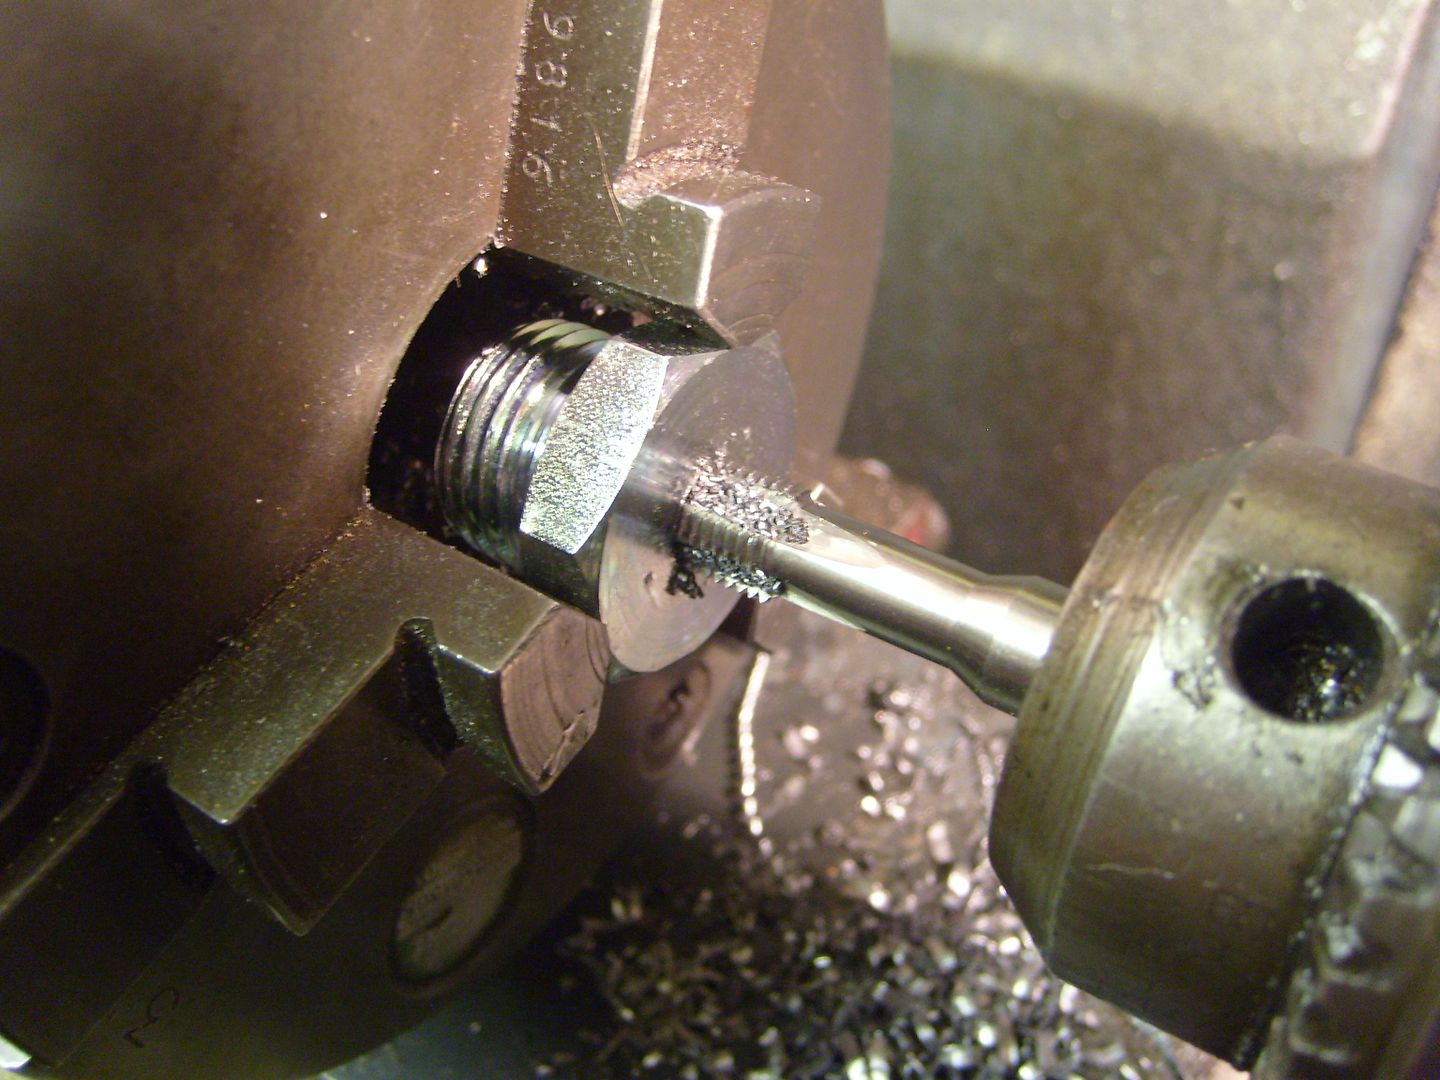
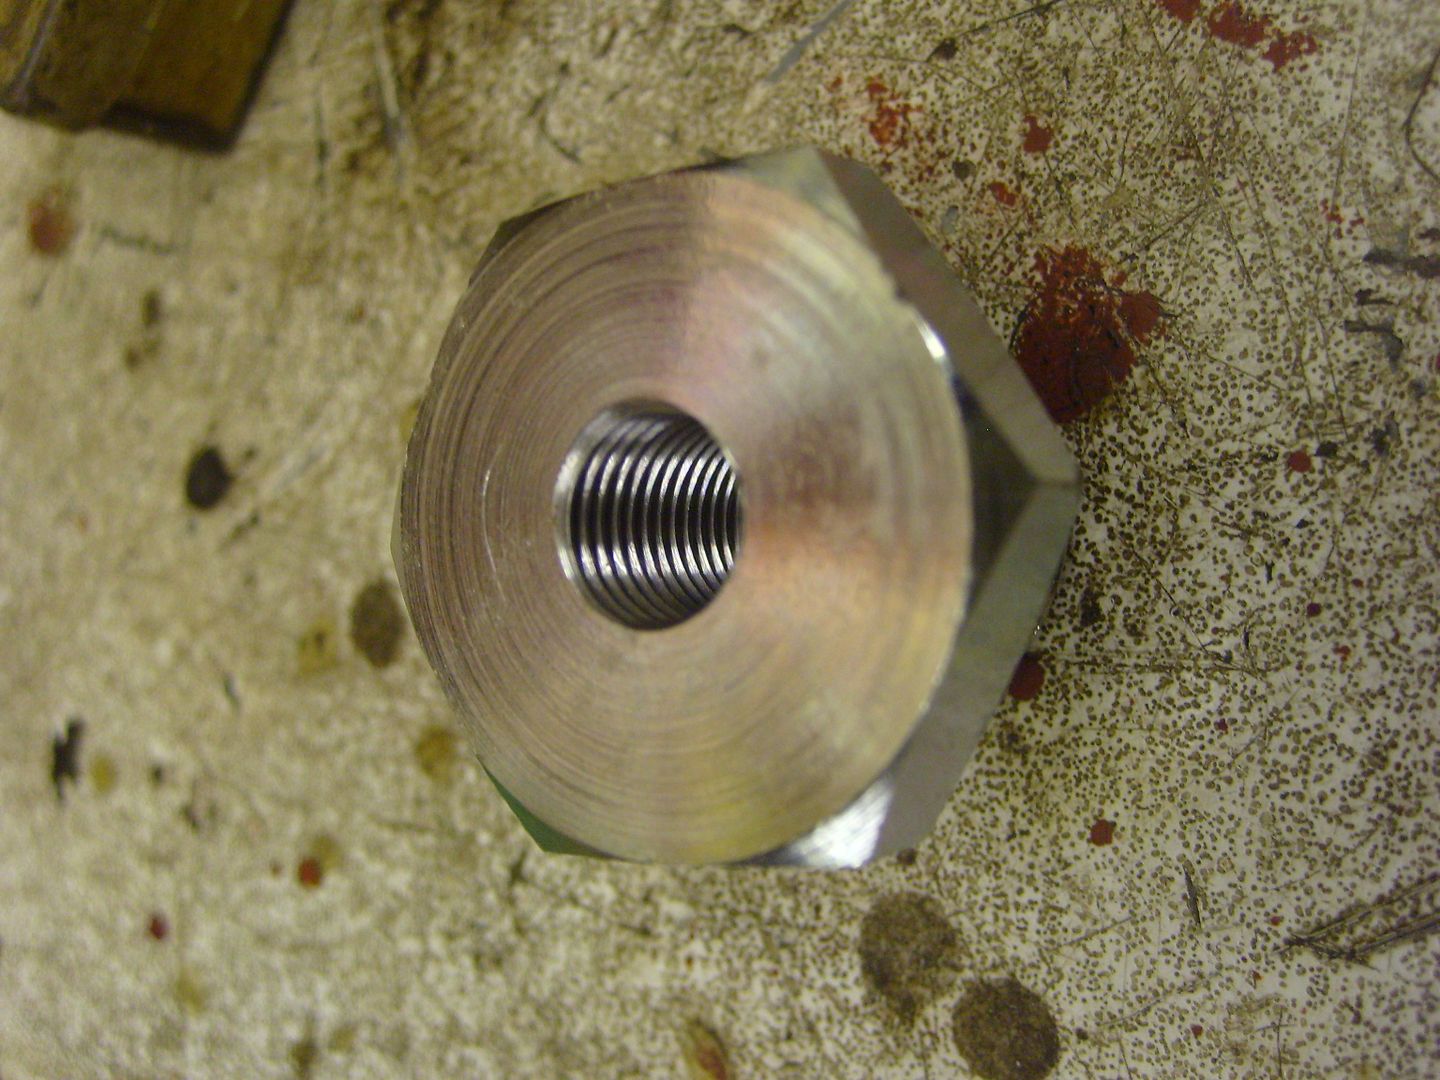
Obviously fitted the remote filter housing at the same time.
Into the main gallery through the front plate
Bought a few more plugs. 2 were drilled and tapped one each for water and oil temp.
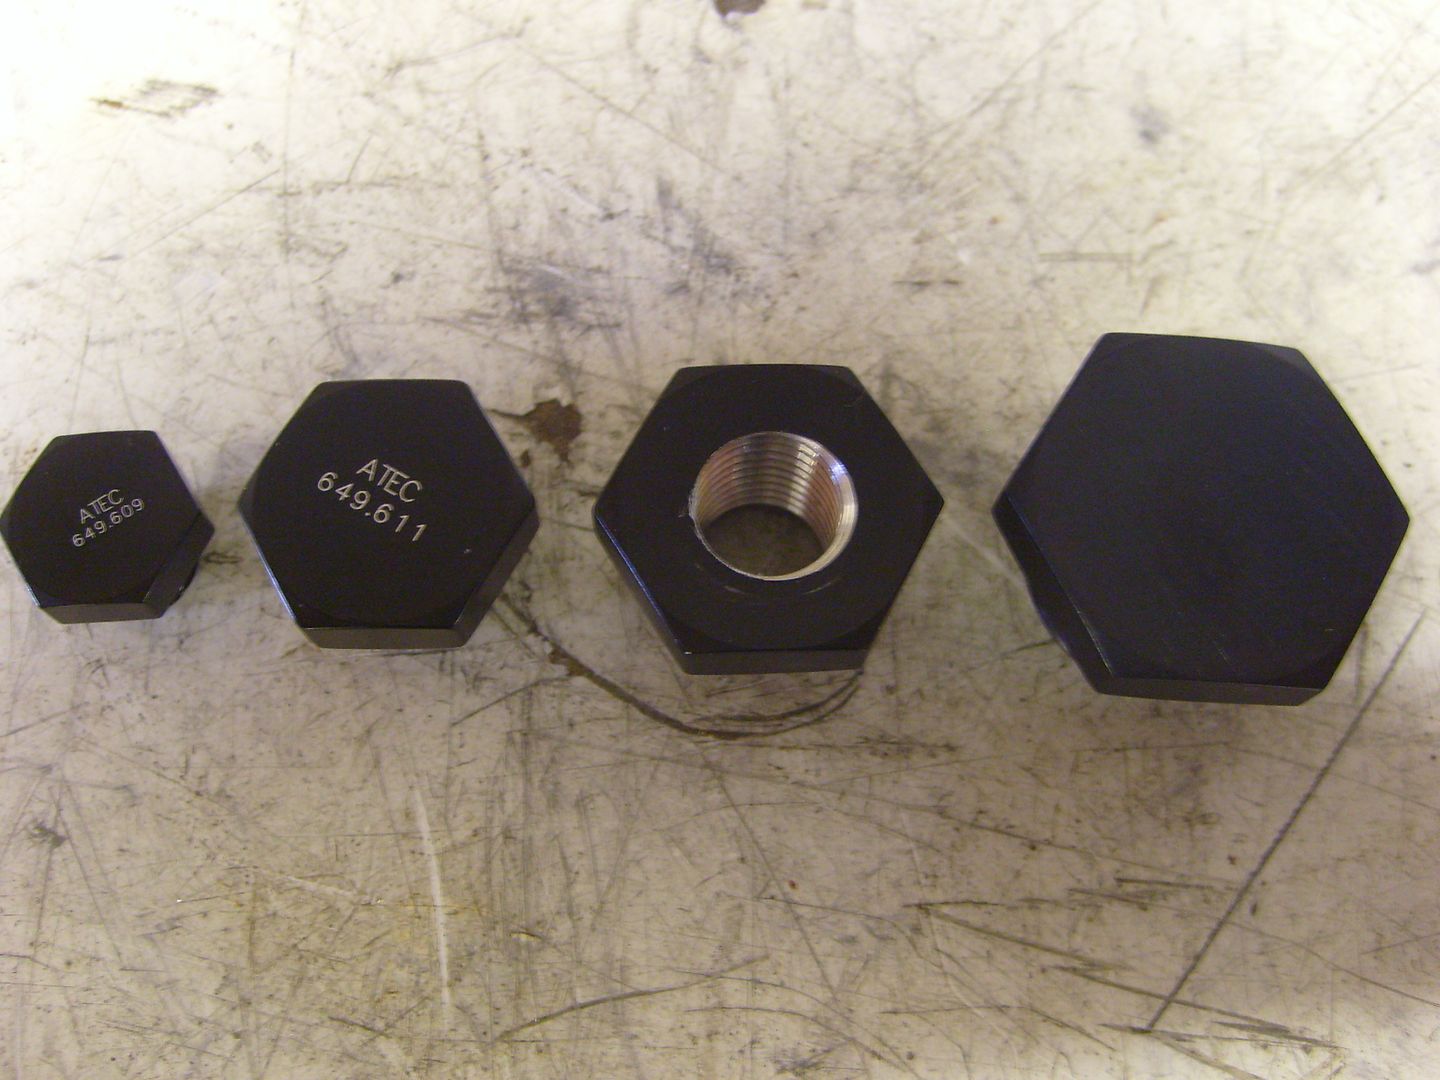
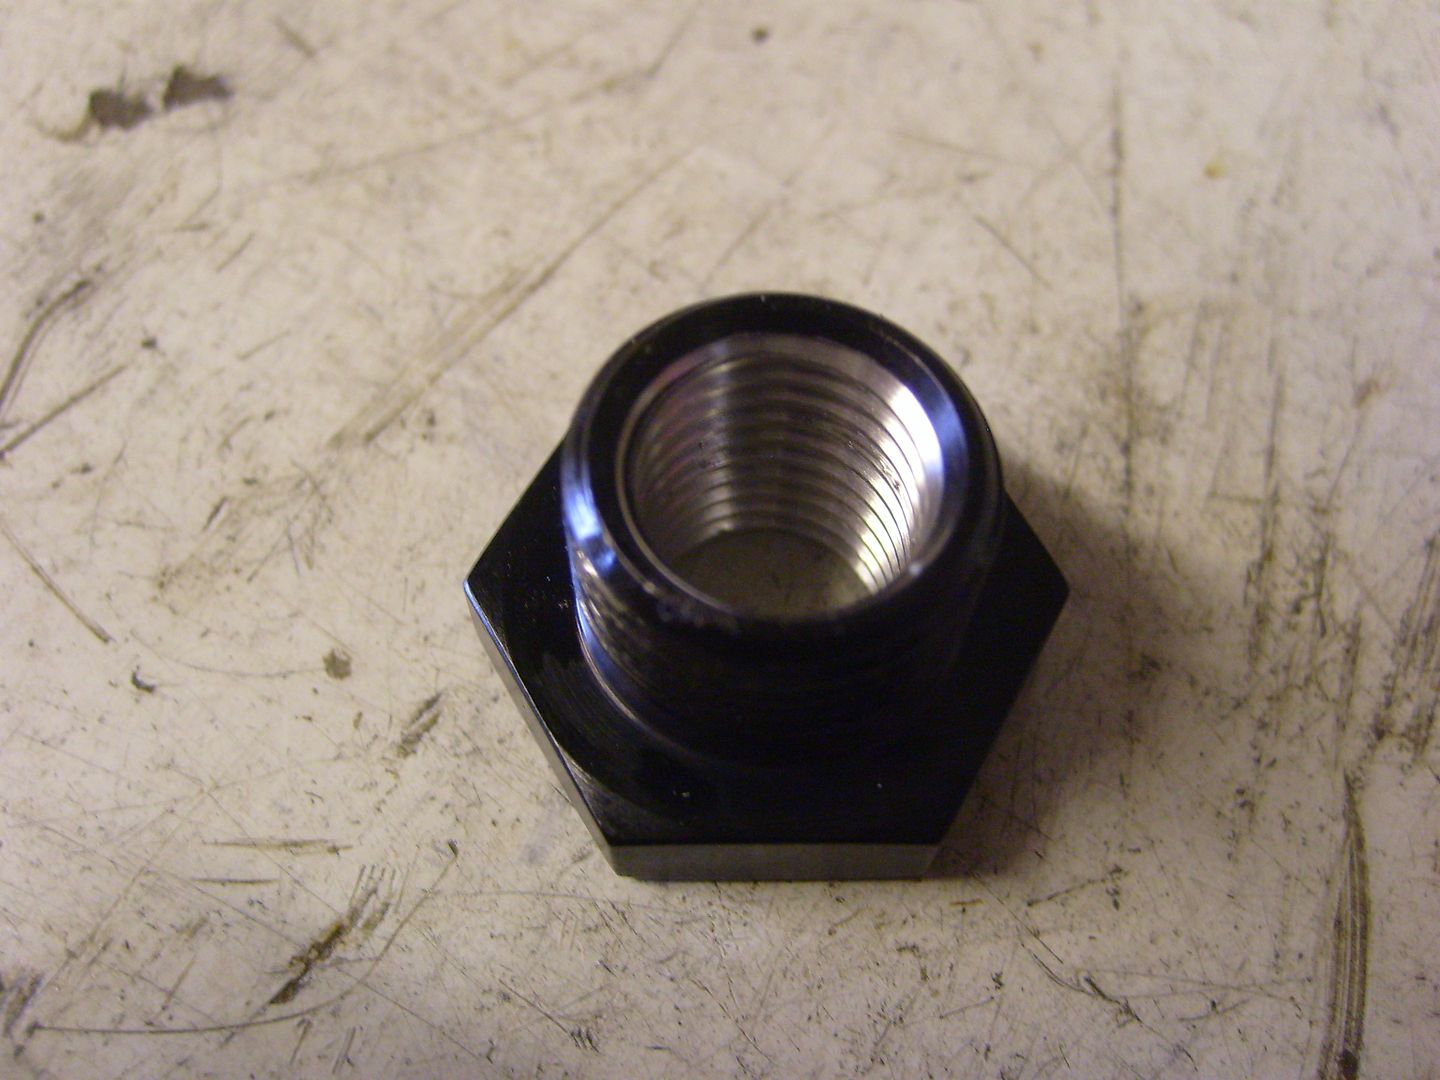
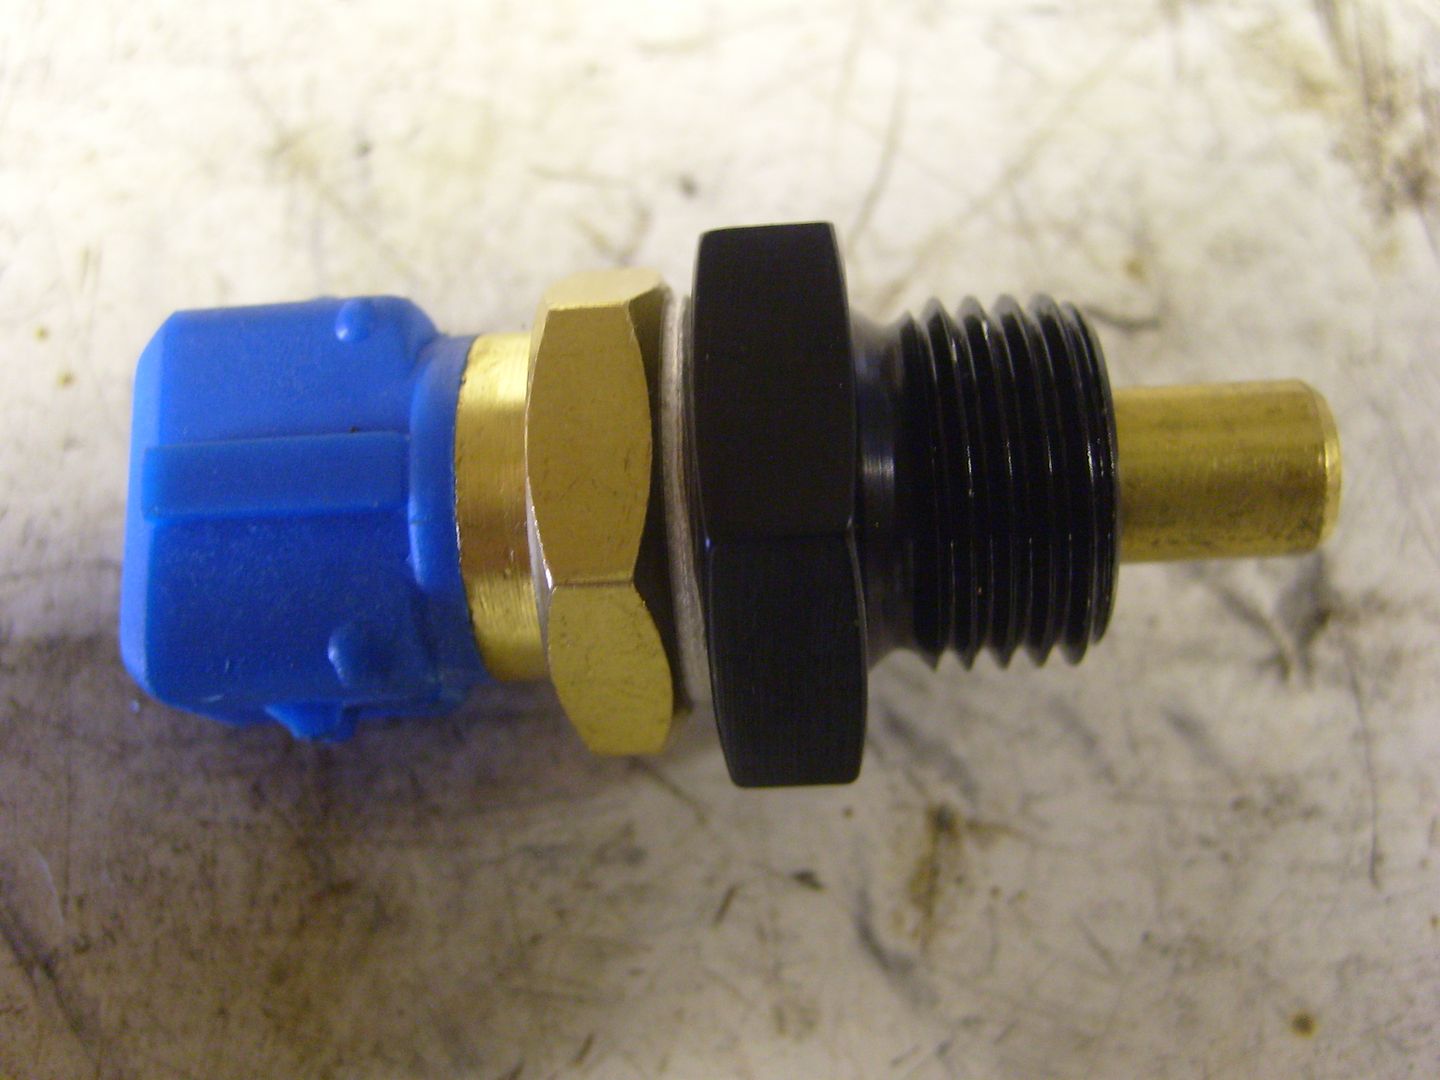
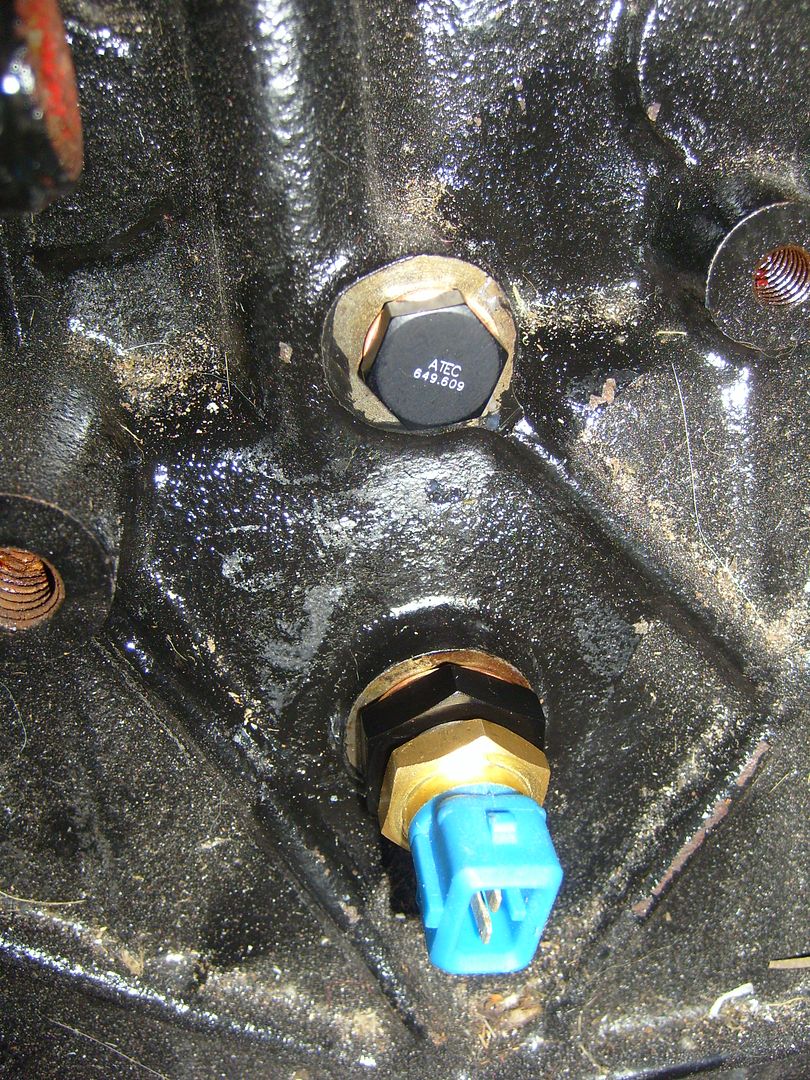
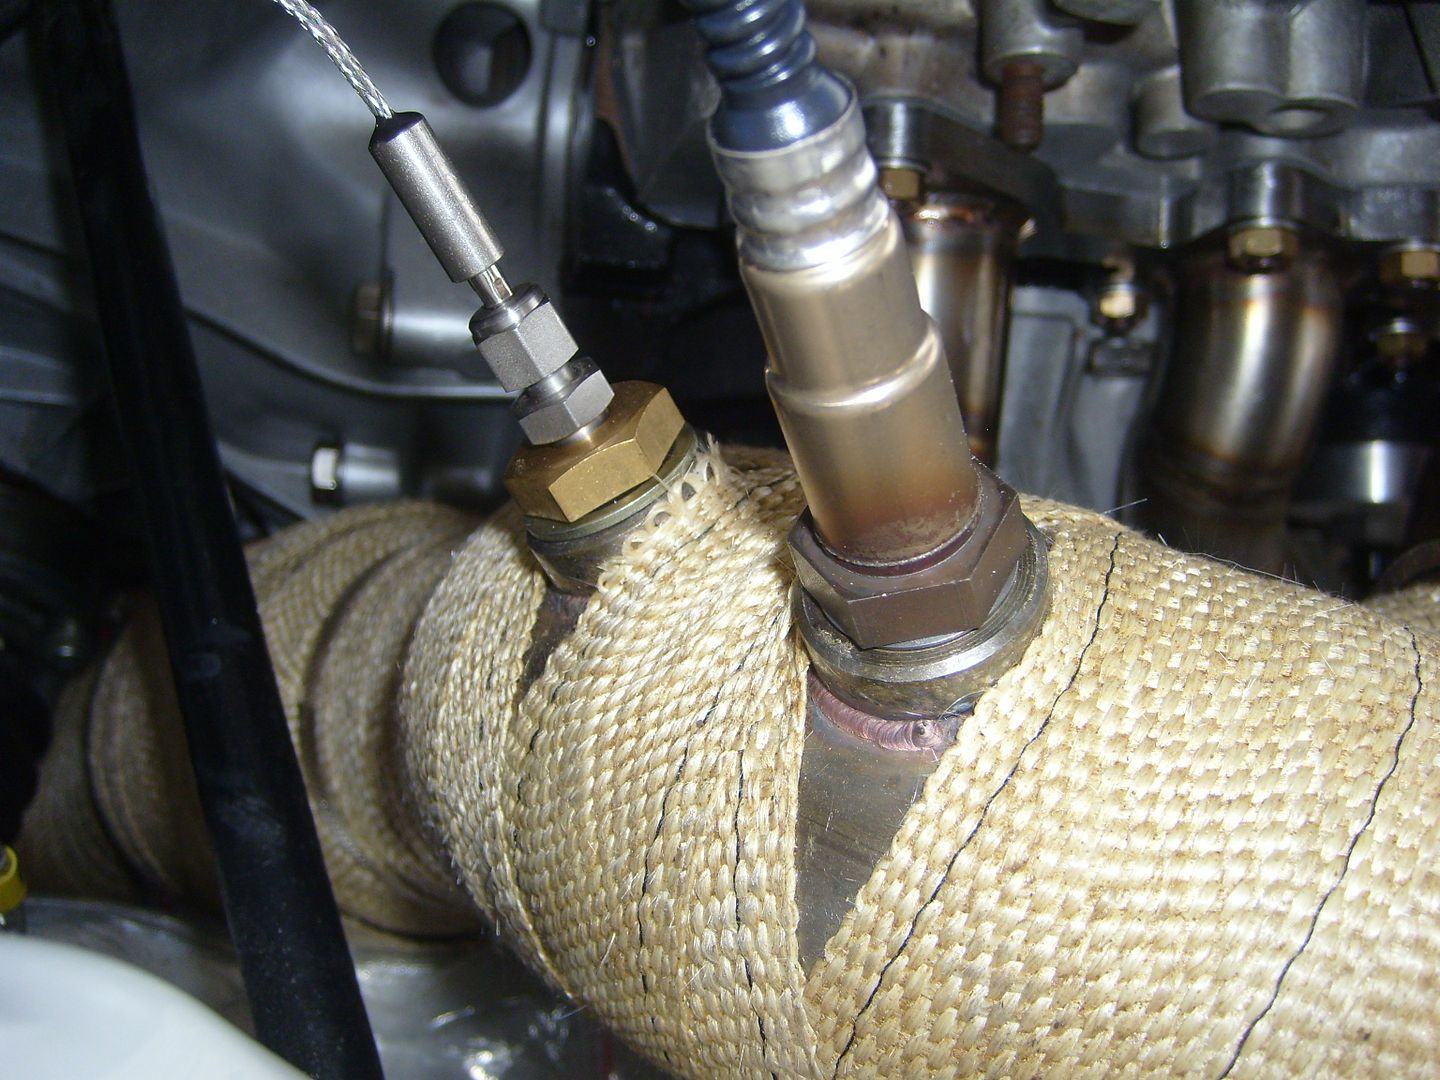
Lambda and EGT sensor. The latter also had to have a plug machined to sleve it down.
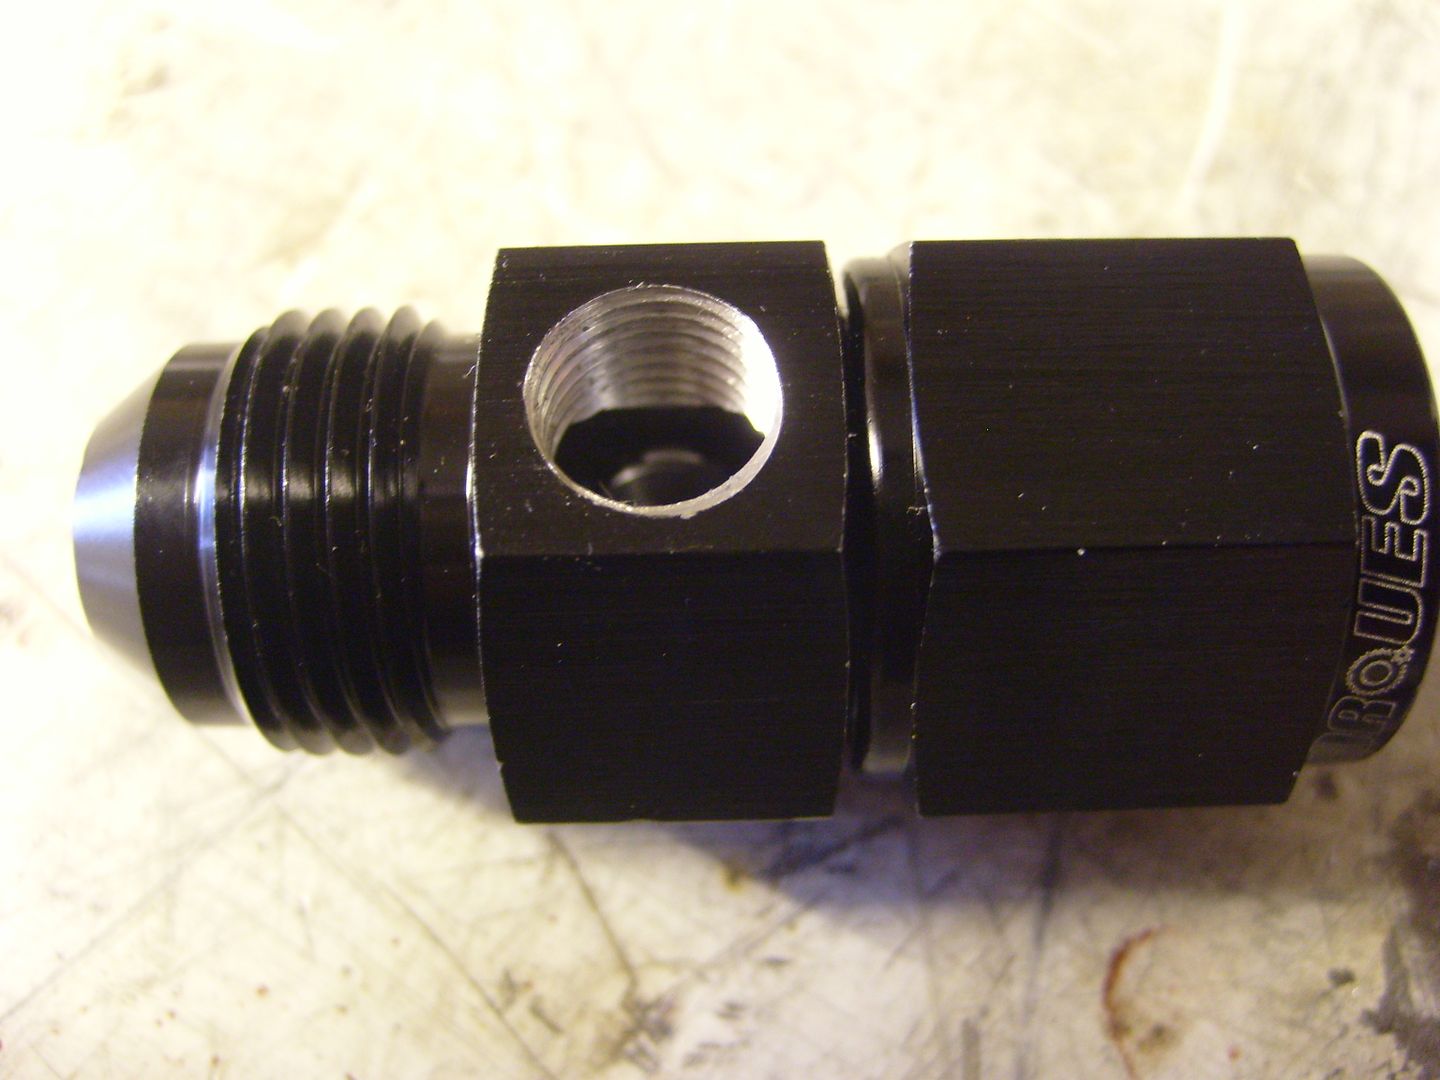
For the fuel pressure sensor I bought a take off but couldn't find one tapped for -3 they were all 1/8" NPT
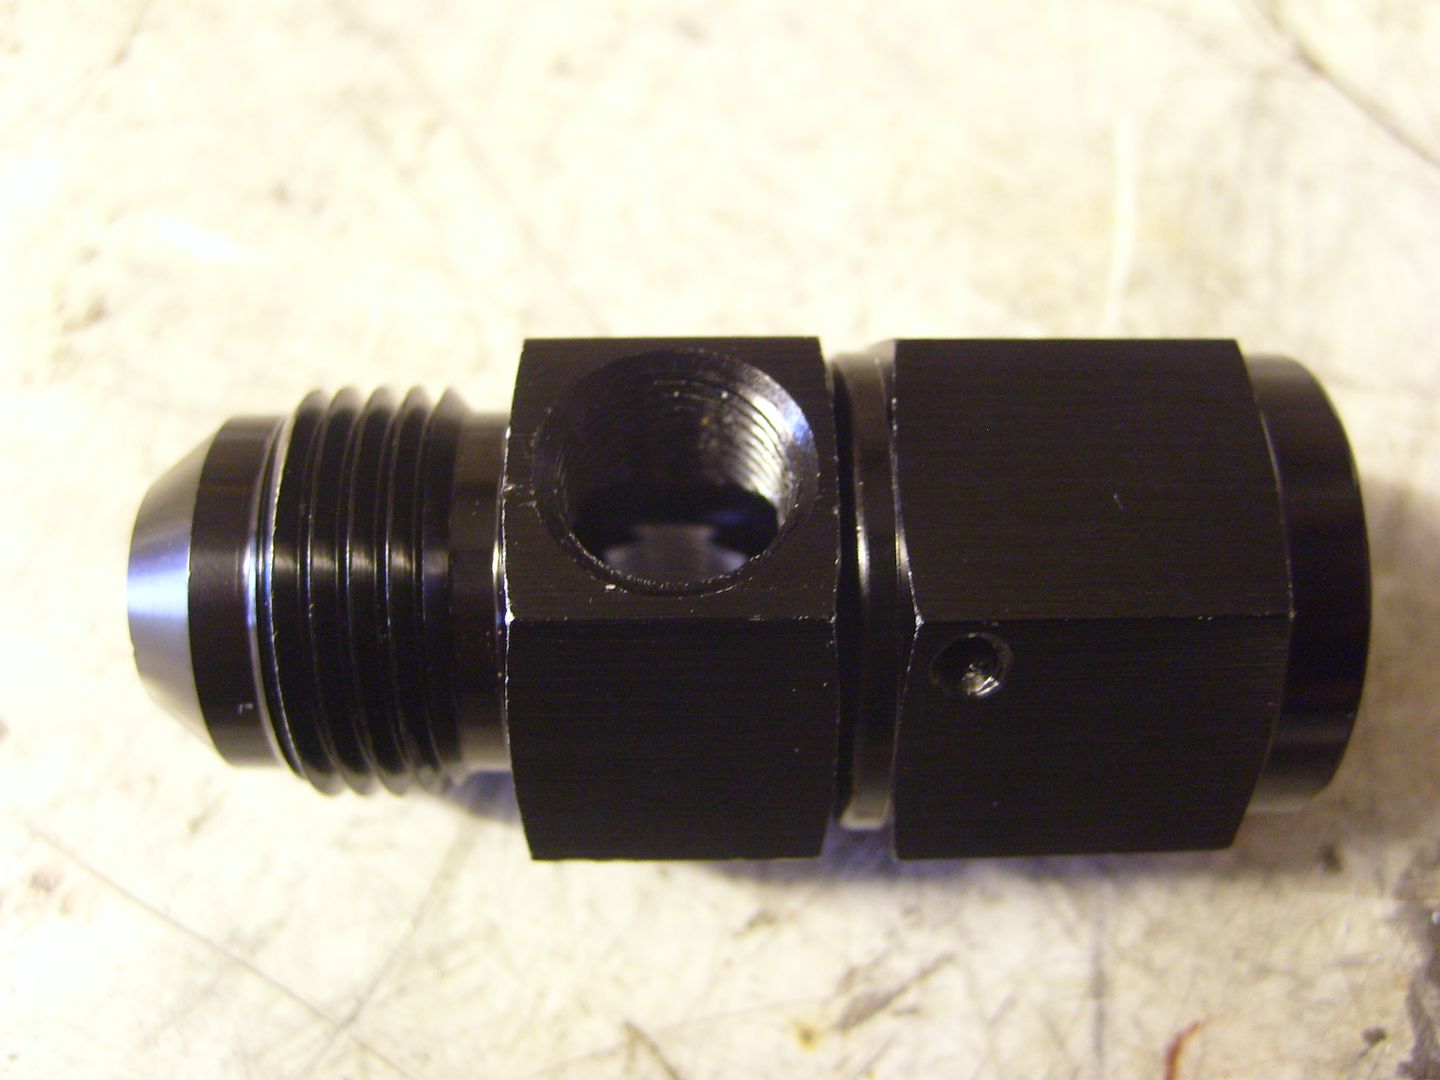
So I drilled and tapped the opposite side to -3 and plugged up the 1/8" NPT side
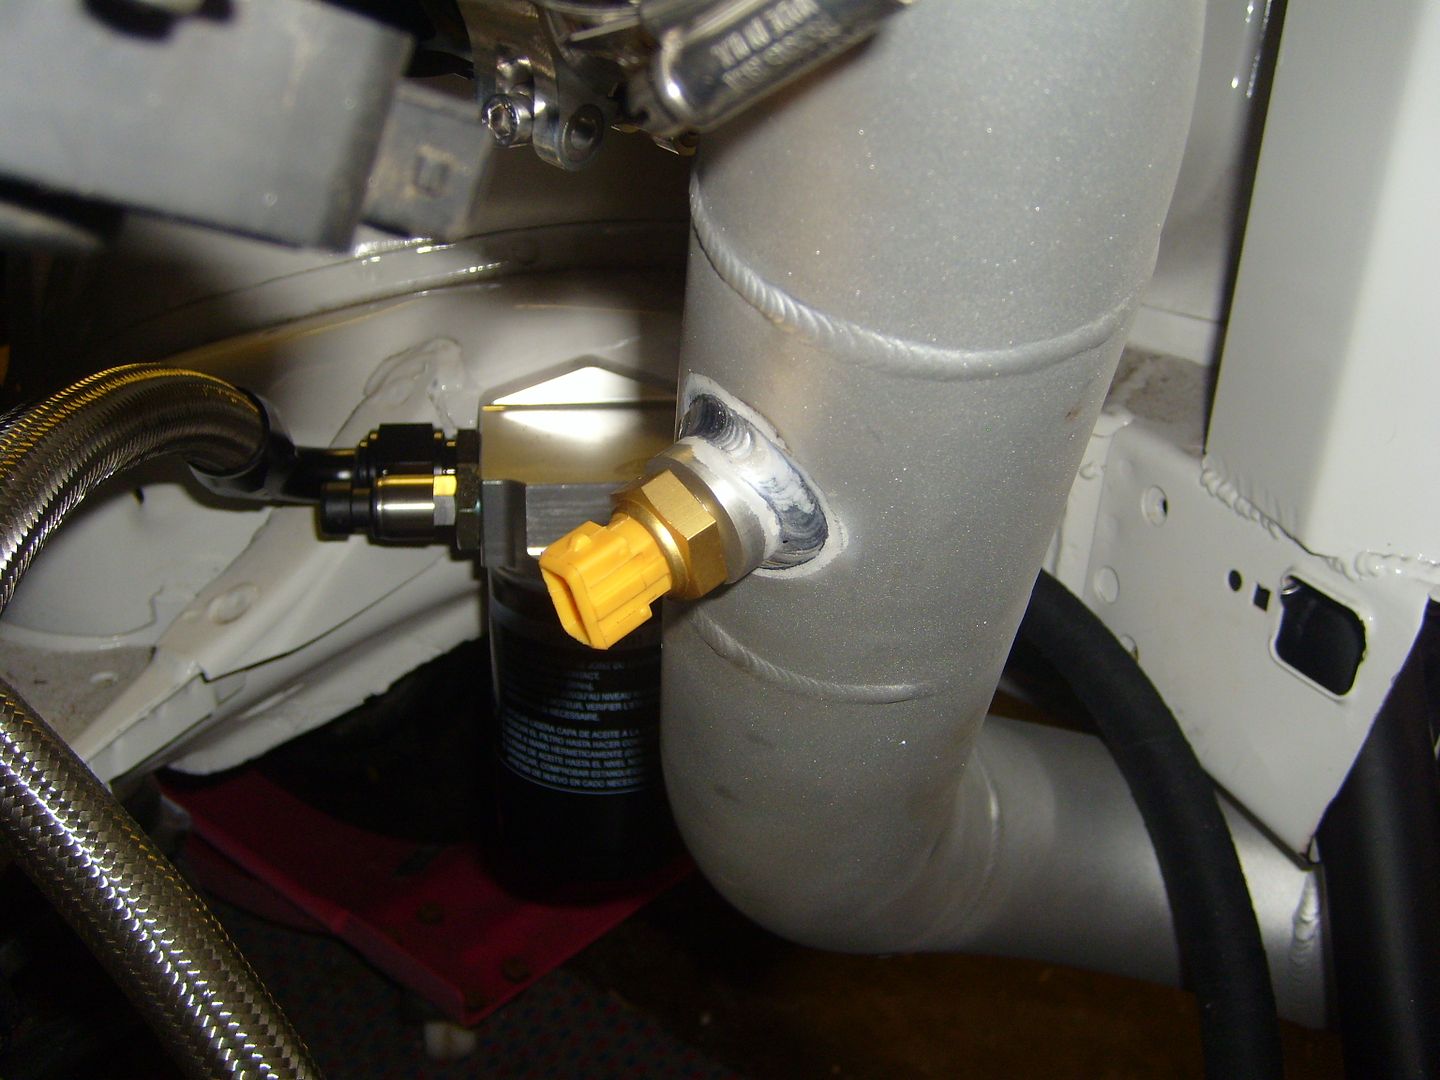
Air temp sensor boss welded into the boost pipe
Finally it was onto finishing off the plumbing. Vacuum lines for the fuel pressure regulator and dump valve:
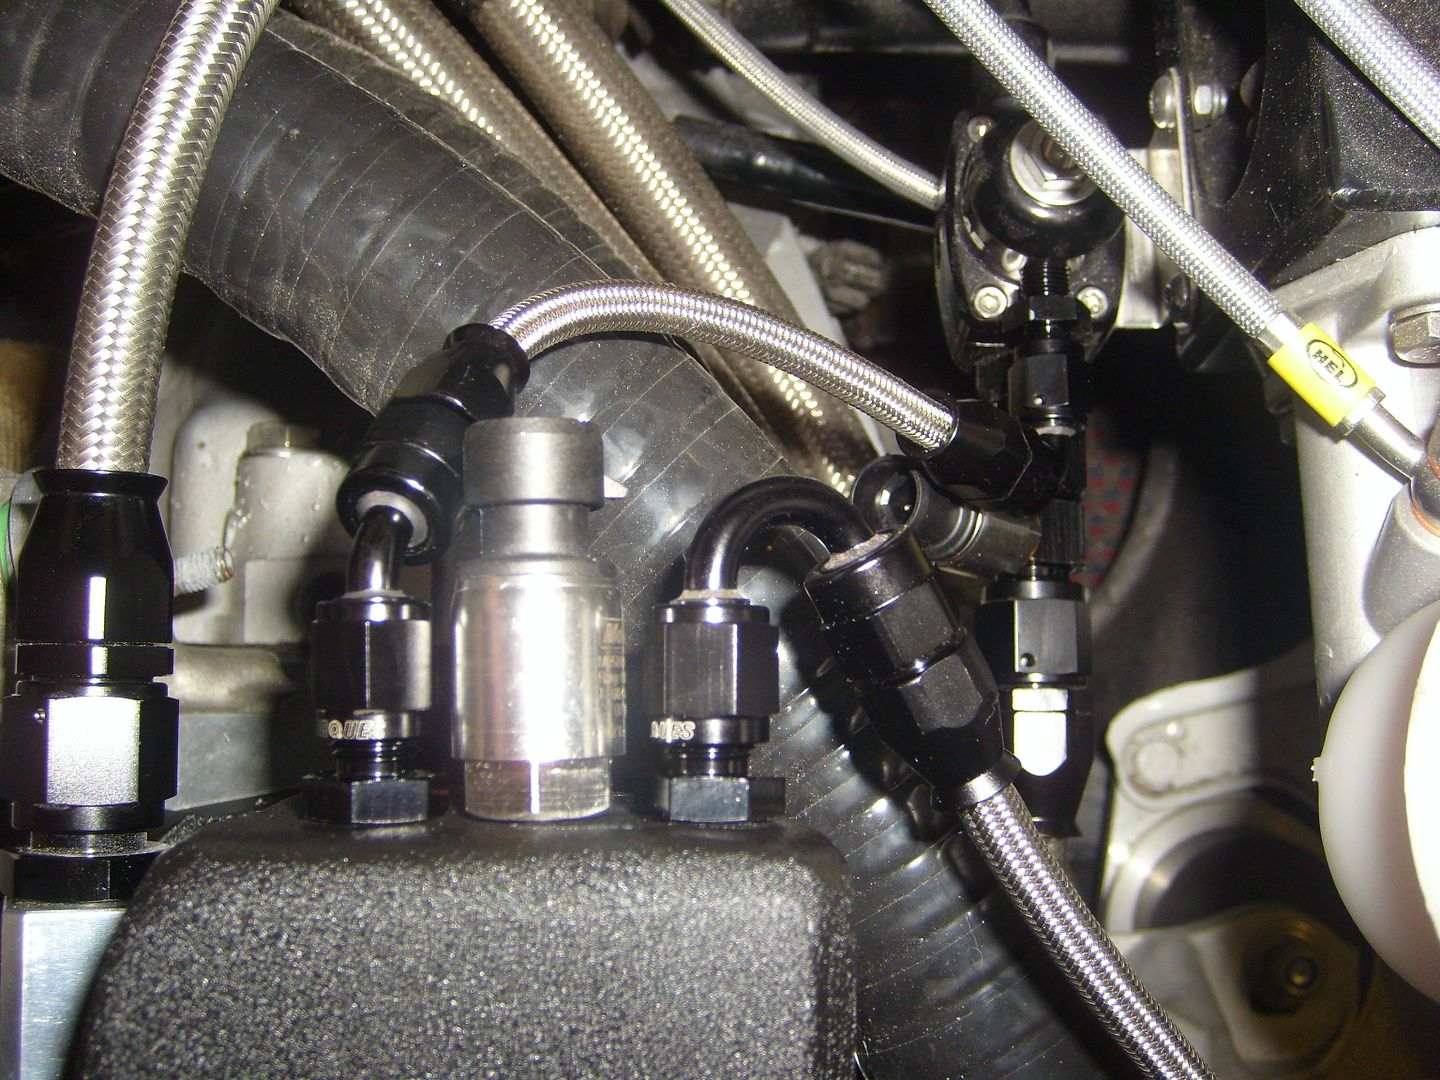
Boost control valve
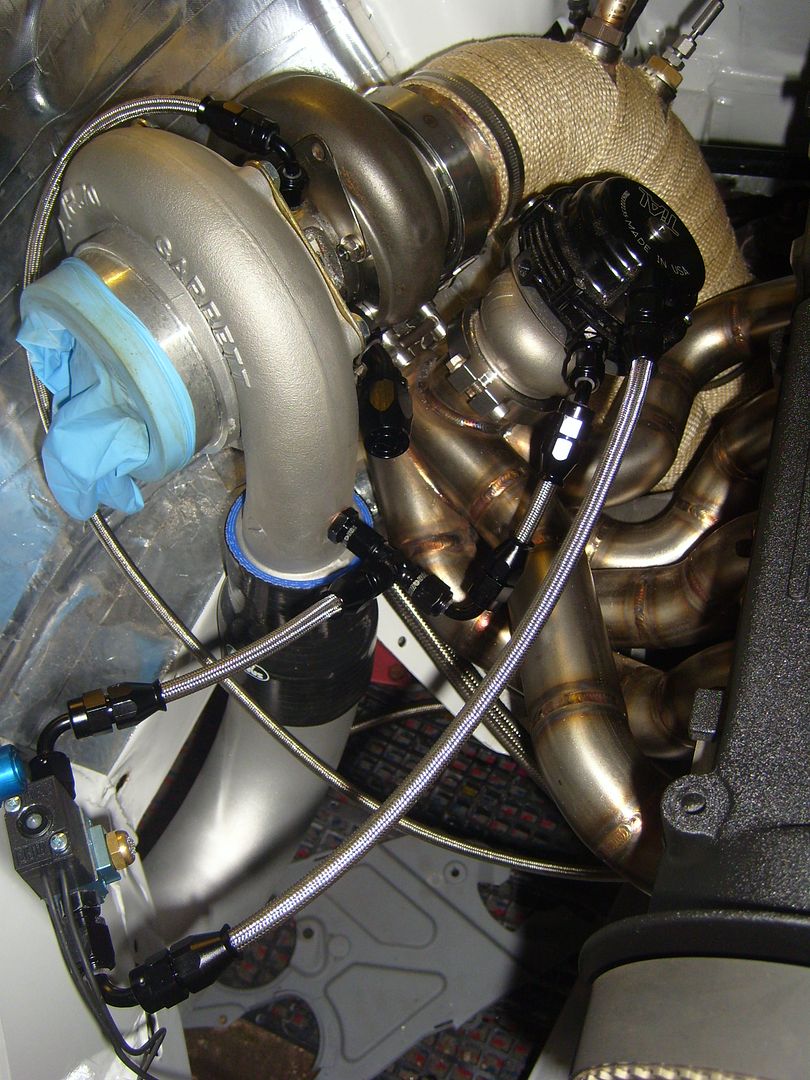
So its just the turbo lines to finish off now and all the plumbing will be completed.
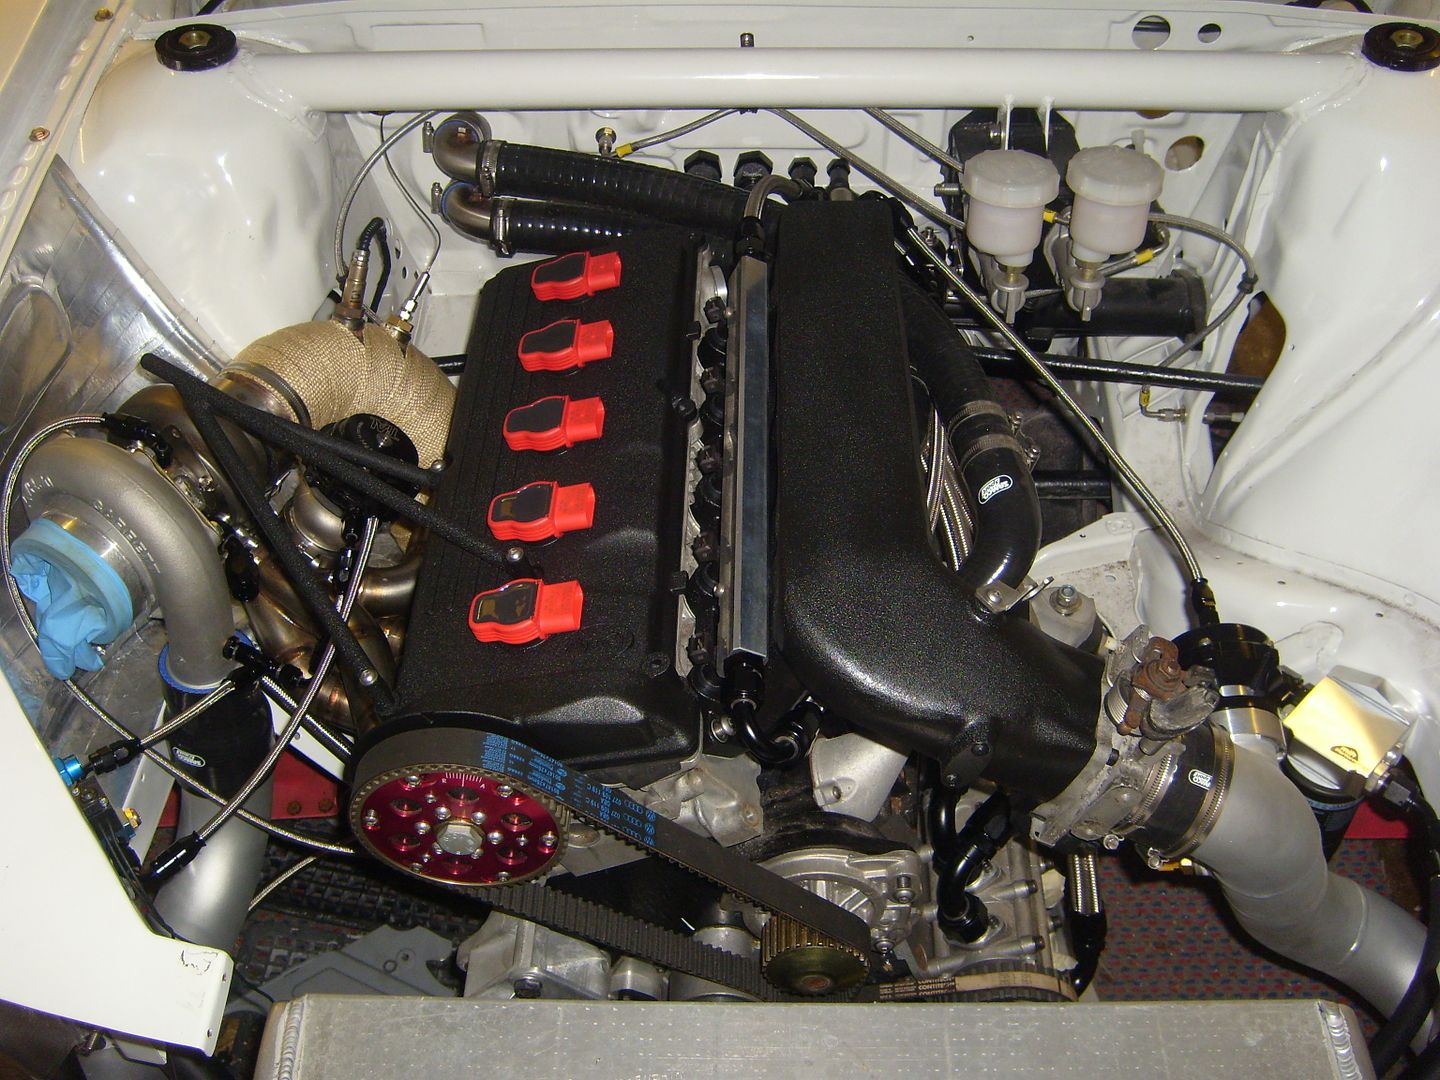
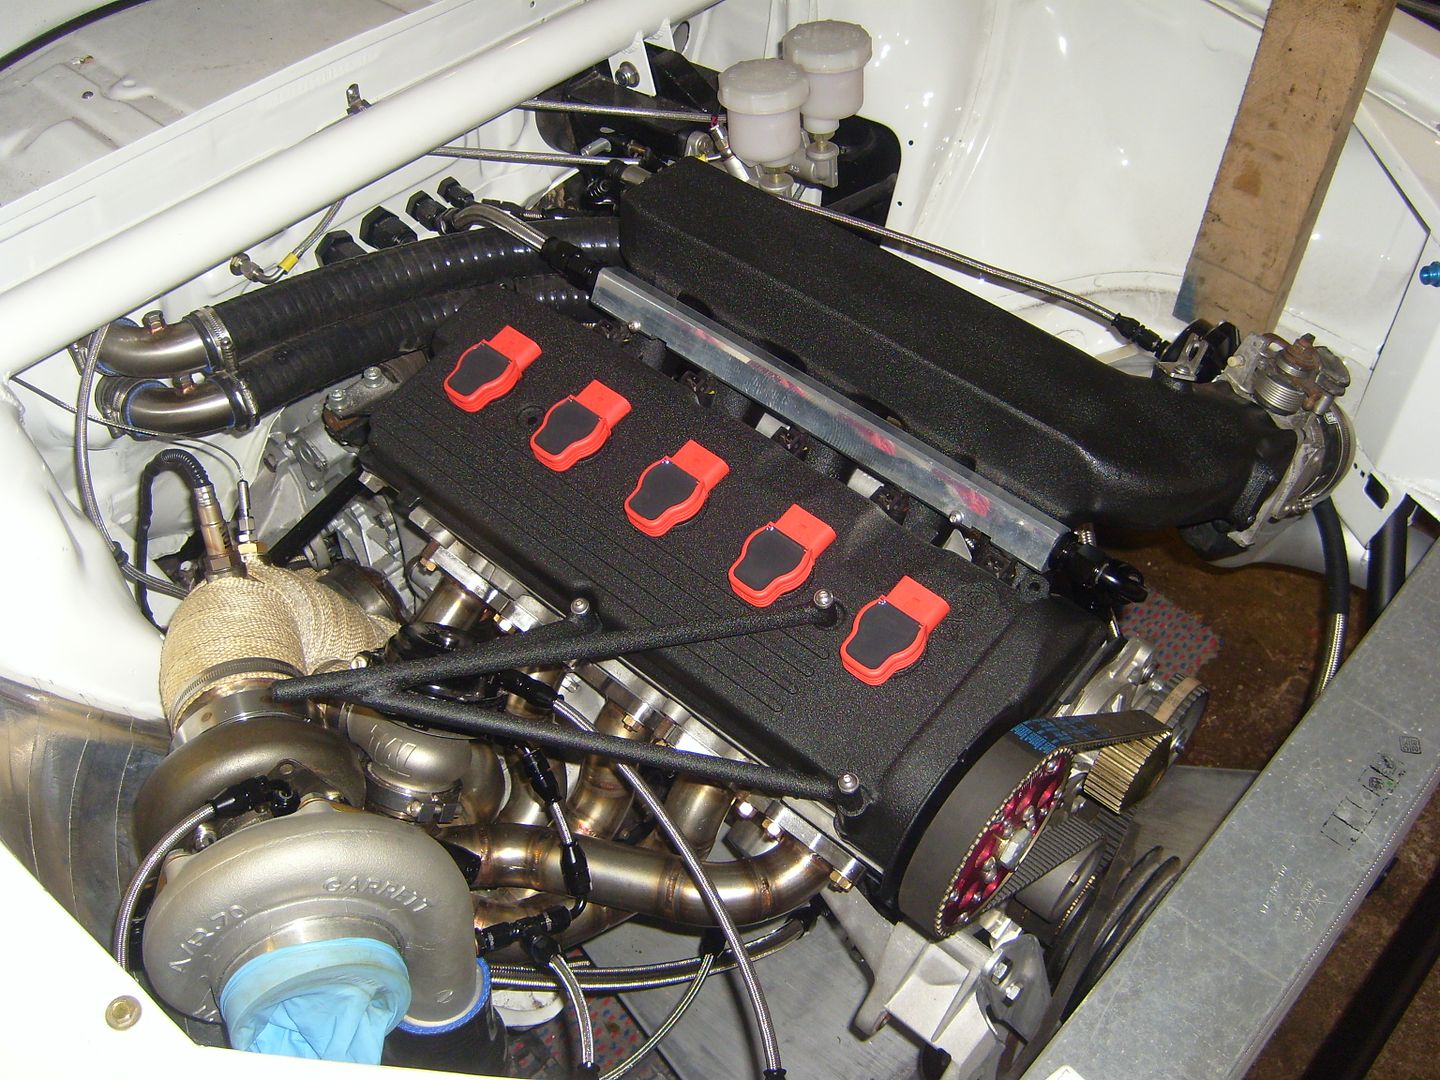
Finally I drew up the engine wiring loom and sent it to Dave Rowe at EPS who is currently making it up.
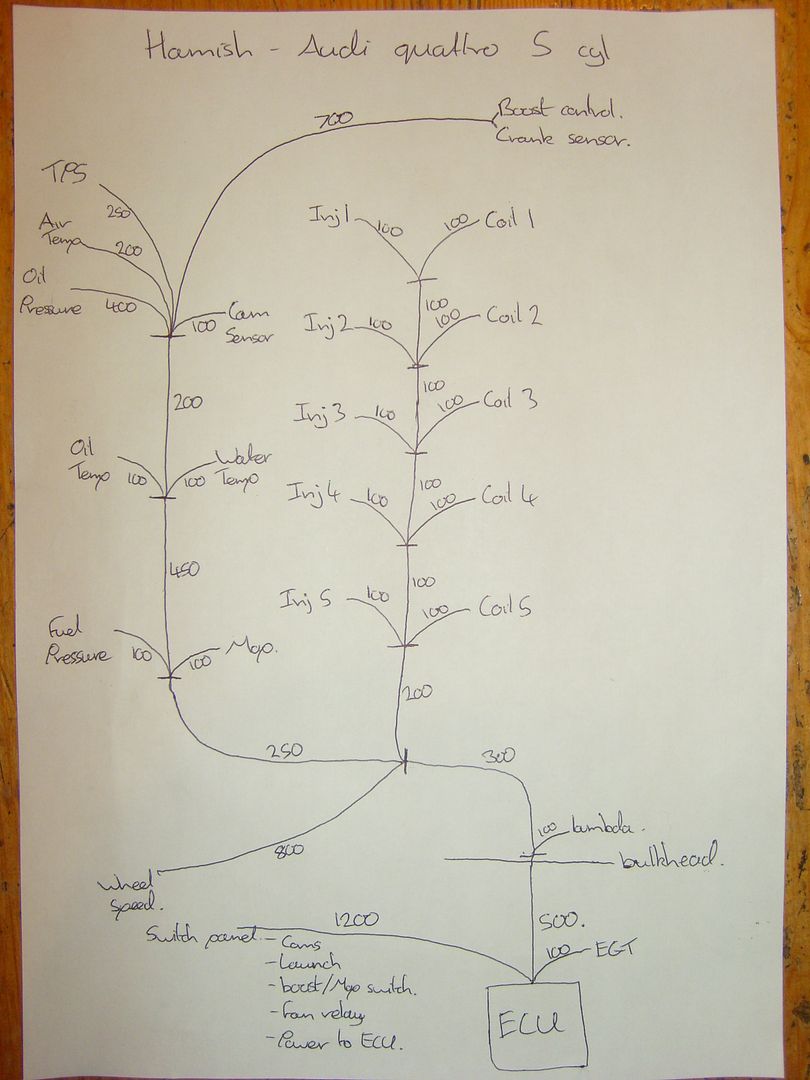
So I now have 2 weeks off work and the plan is to finish the car off and get it fired up as long as Dave pulls through with the loom!Leave a comment:
-


 seems like Proper quality of what you do
Leave a comment: