
 Tweet
Tweet
I intitially bought the car a couple of years ago fitted Some Bilstein B8's with H&R lowering springs. A can of Barbecue paint and hey presto a nice presentable family car.
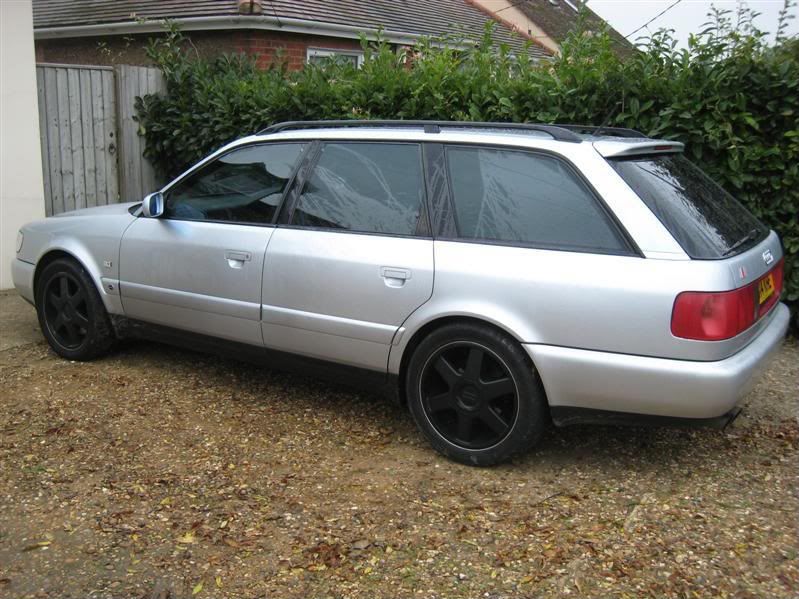
After purchase I discovered I had a spec which wasn't in the brochure, not only did it have full service history incl original hand over documents it also came in a full S6 plus spec.
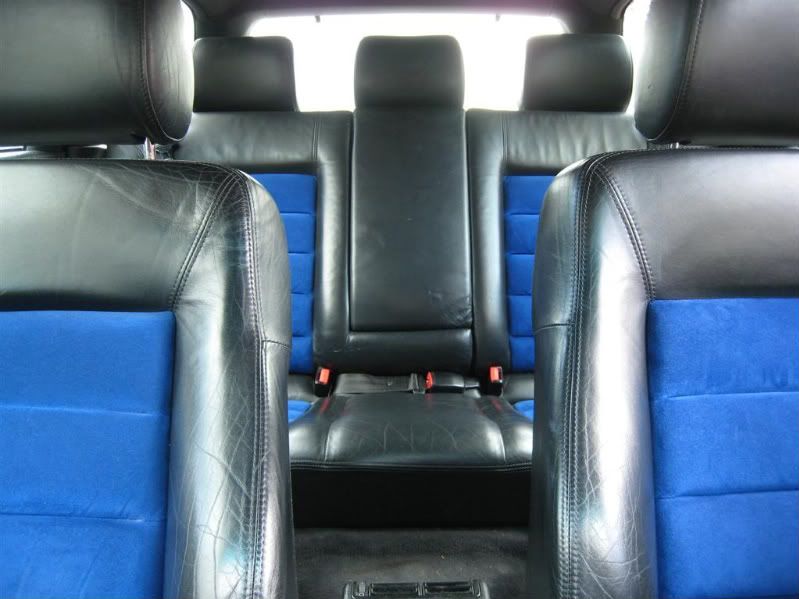
Blue Alcantara electric seats with Carbon trim
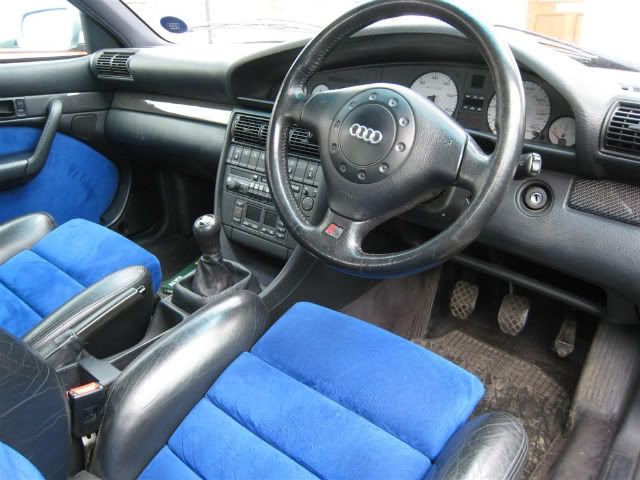
But all the chrome was black, bose stereo system with build in sub, 8 x 17" plus wheels etc.... So a nice little find.
I started a little test project over a year ago to see how different chipsets behaved in the S6 which was then and still is my daily Hack with results of it no longer running properly due to what assumed to be headgasket failure.
As symptons where split radiator core exhaust gases in water, white coolant smoke etc...
well...... I was wrong infact we had annihilated the poor little K24 turbo, however more to come on that later.
So with the assumption of a nuked headgasket I proceeded to drive the car around with copious amount of blockseal to keep her going just long enough to knock together a new engine for her, so long it wasn't mixing oil and water I figured the engine was coming out anyway so what the heck. After all it is my daily hack and therefore my only access to the rest of the world being out in the sticks.
The plan of attack was to build up another long block using what I had spare and purchasing some other bits in order to do a one/two day swap over a weekend and keep her on the road.
So having sourced an ABY block with good bores and crank, having a multitude of S2 pistons in stock I decided to buy a set of H Beams from PEC giving me room for maneuver on the power band when the time comes.
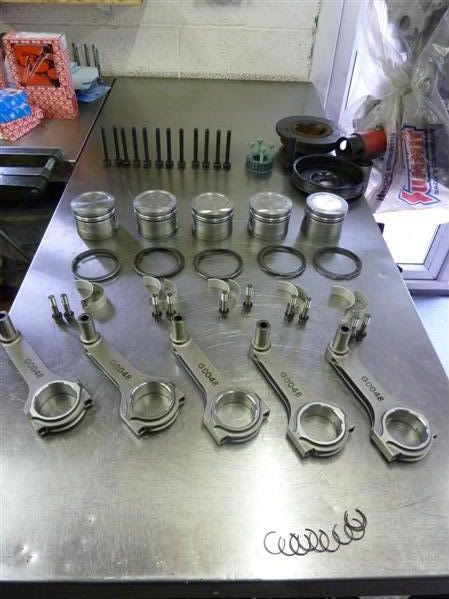
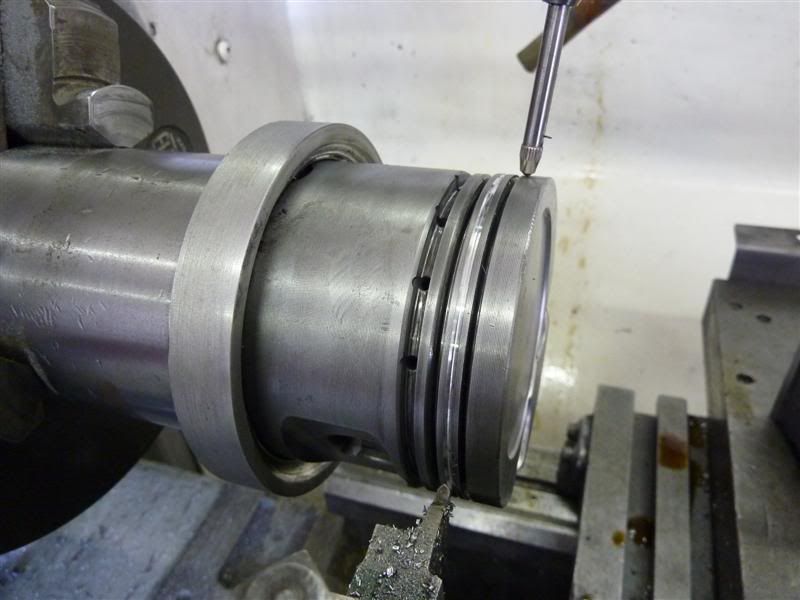
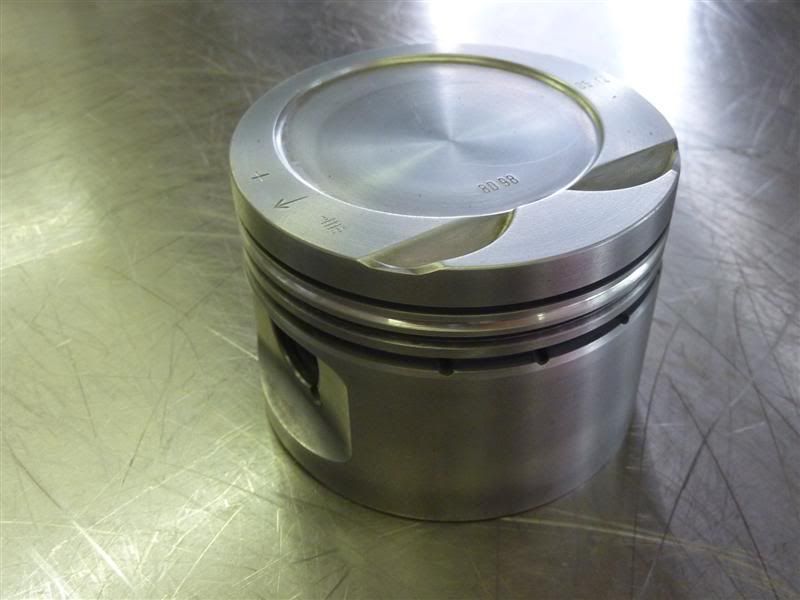
I then made up a jig on the lathe so I could clamp the pistons via the wristpin. So I could add accumulator grooves to the stock pistons to aid the prevention of blow by and aid piston stability under high boost figures.
Next I checked for sideway play on the small end bearing to make sure the secondhand wristpins whee within tolerance
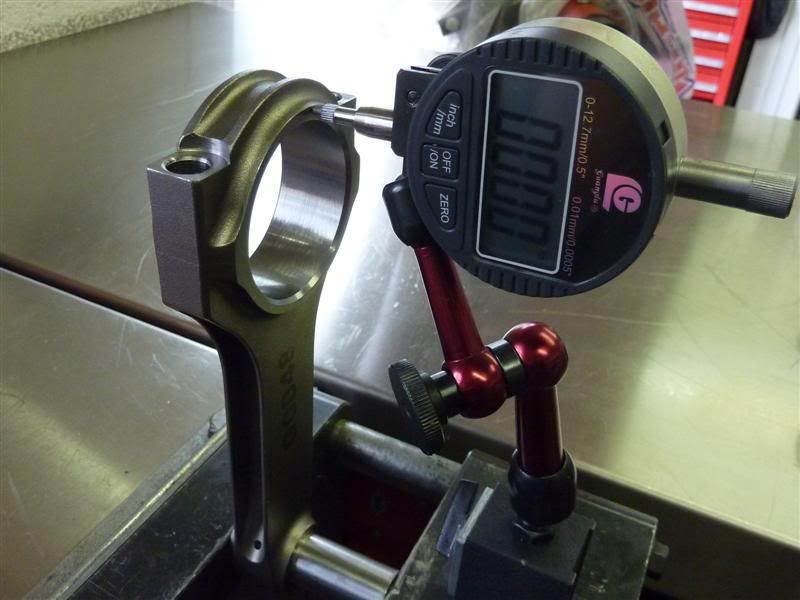
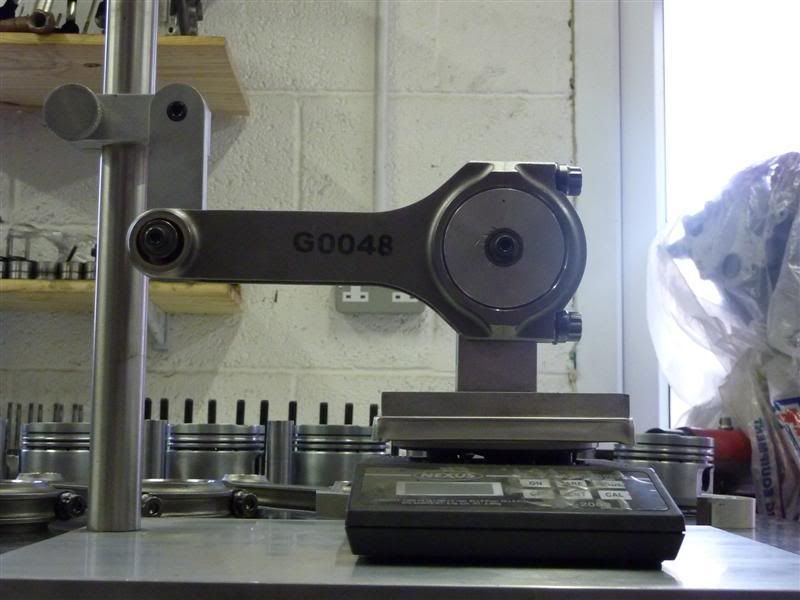
Before going ahead and balancing them end over end
Using plastigauge I checked the current oil clearances with the new bearings
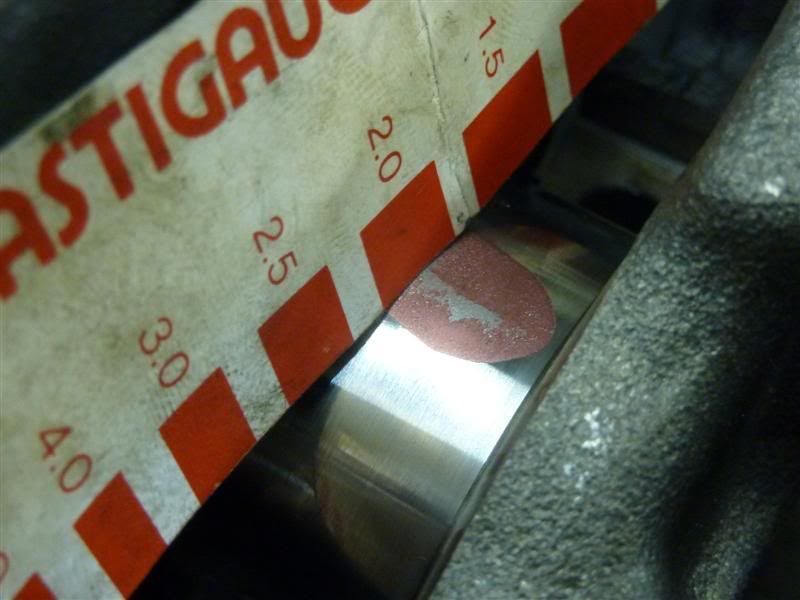
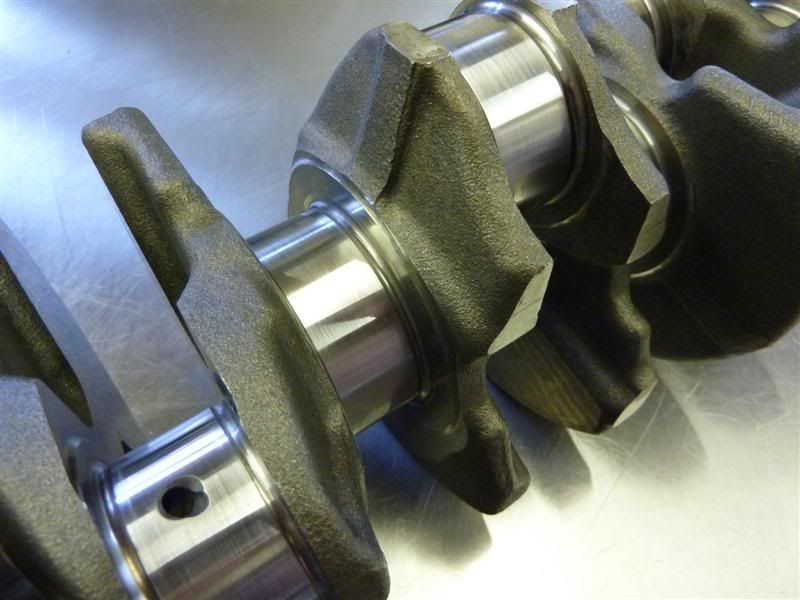
And polished the journals to bring them to spec
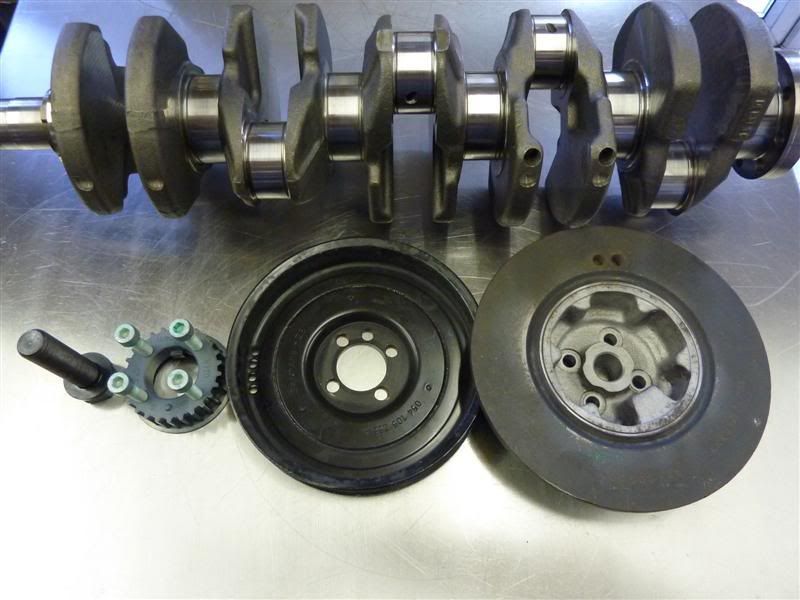
New timing belt pulley, crank bolt, and cleaned front pulley meant it was all ready to balance.
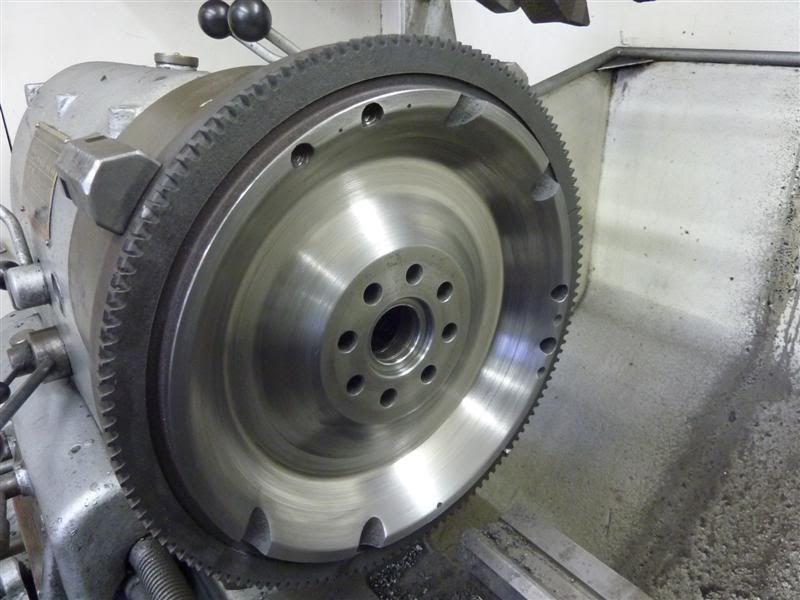
I sourced a 7A flywheel as it was easier to find and refaced the clutch mating surface

Before clocking her up on the lathe
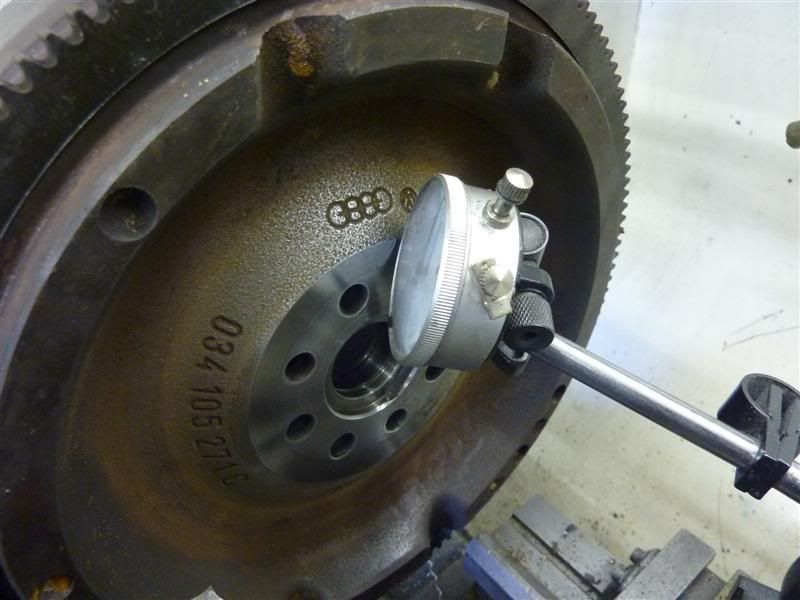
To give her a small 1.5kg diet, I didn't fancy going too light as it would make my clutch choice not too great for a daily on pull away from lights.
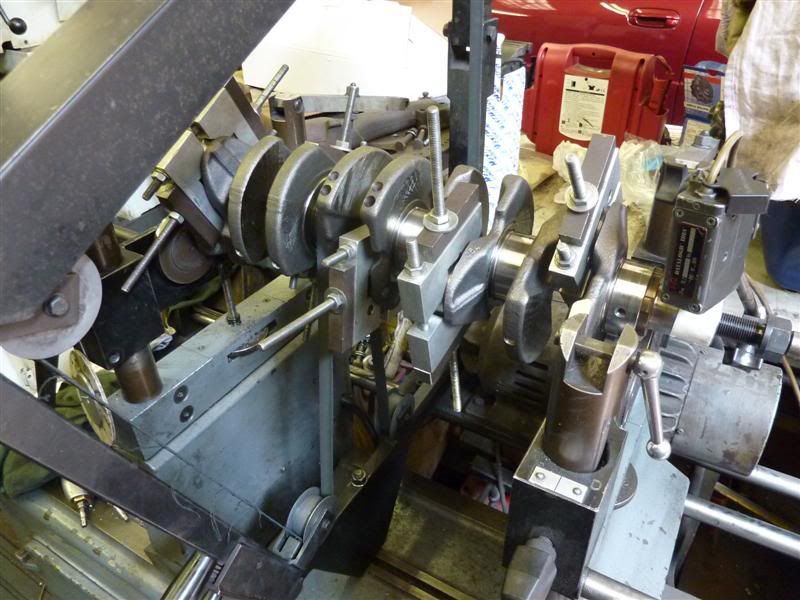
Made up the necessary bob weights so the crank could be balanced to the correct balance factor, and subsequently set myself the challenge to attempt to internally balance the I5 crank incase I wished to change the flywheel at a later date (In standard form they are externally balanced and flywheels are not interchangeable).
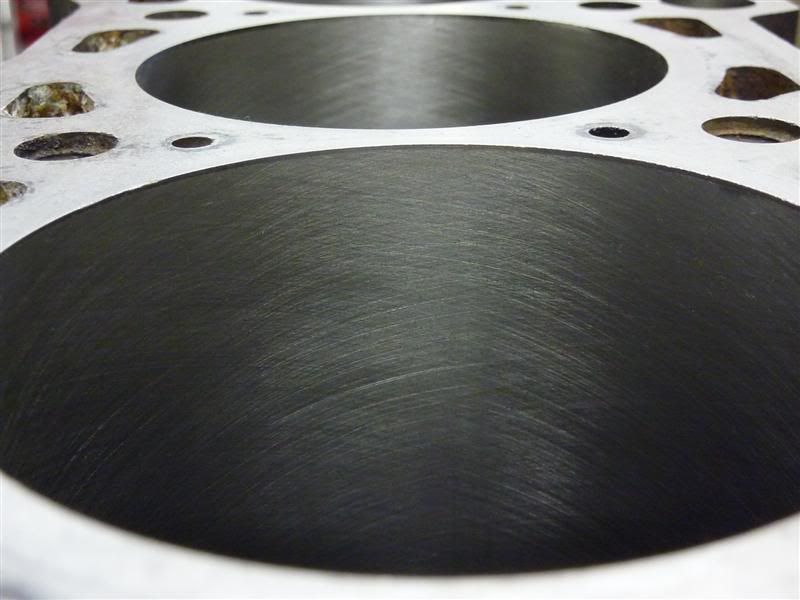
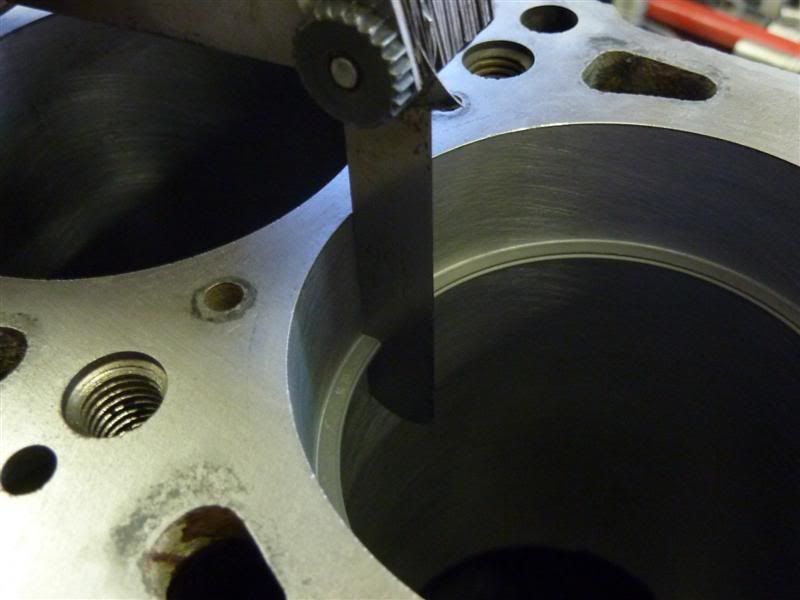
Next I set about prepping the block, starting with a hone
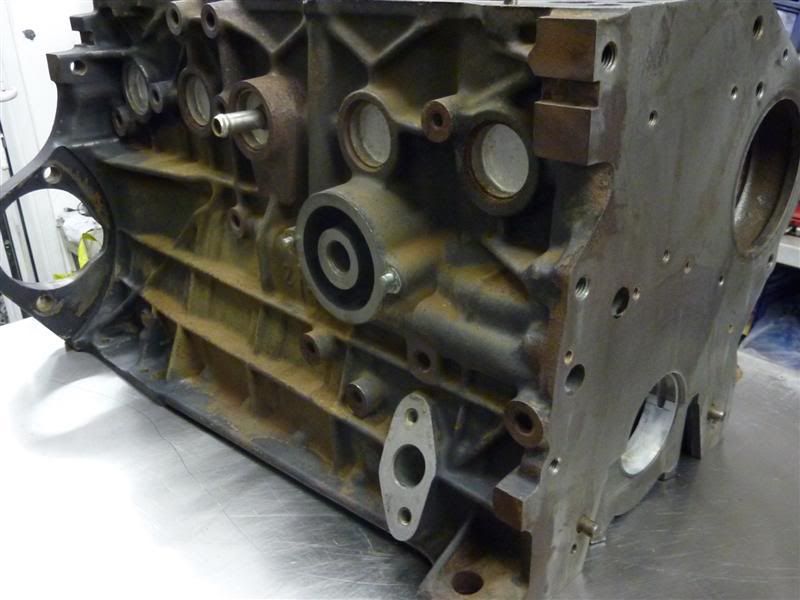
and chemical clean
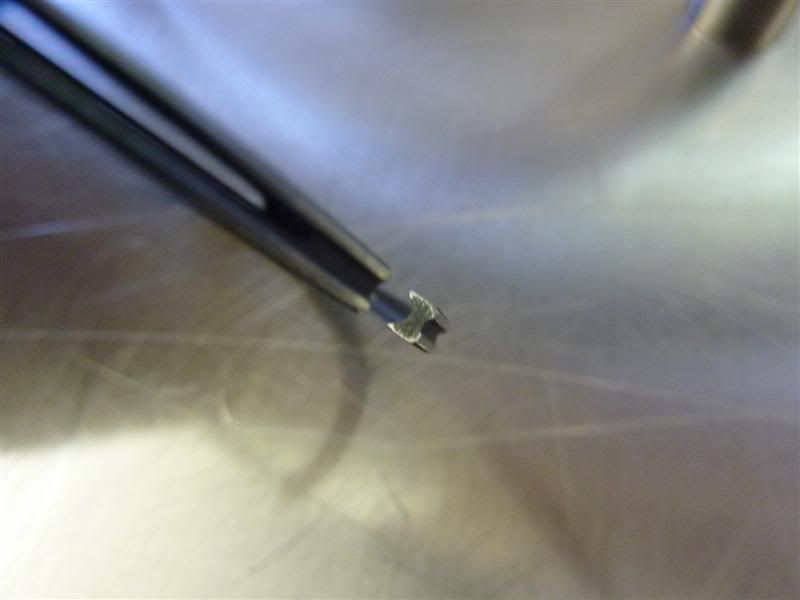
Moving on to the ring gapping
Ensuring all ring gap ends where radiused before installation
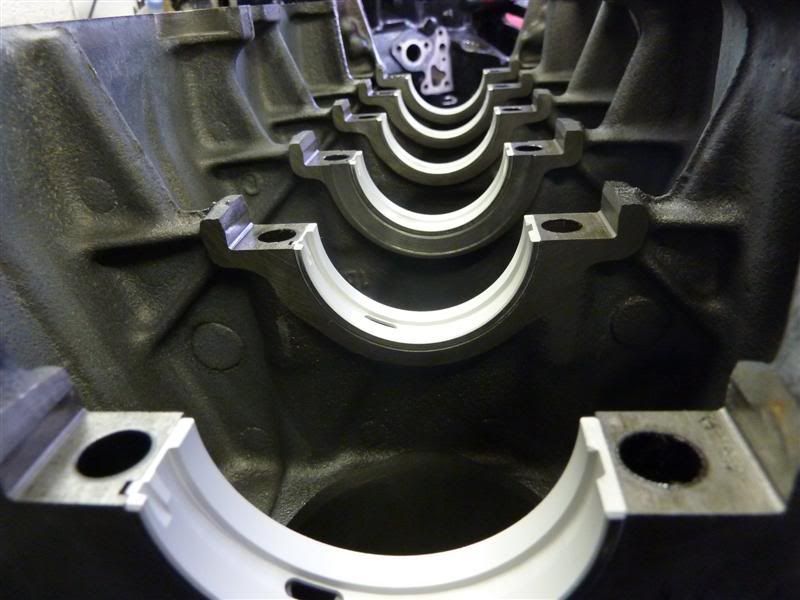
Fresh clearanced bearings installed ready for the crank
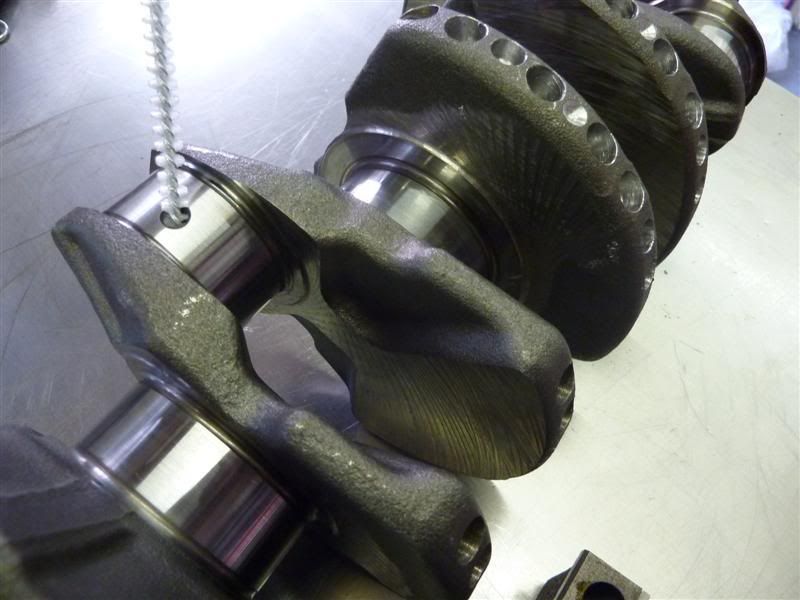
Final clean of the crank oil galleries before fitment, note the lovely collection of balancing drill holes, punishment for trying to internally balance the crank. In future I decided to make my live easier by only part internally balancing the crank and then matching it to the front pulley as a zero balanced assembly. Giving the same result of being able to use a zero balanced flywheel with a lot less effort.
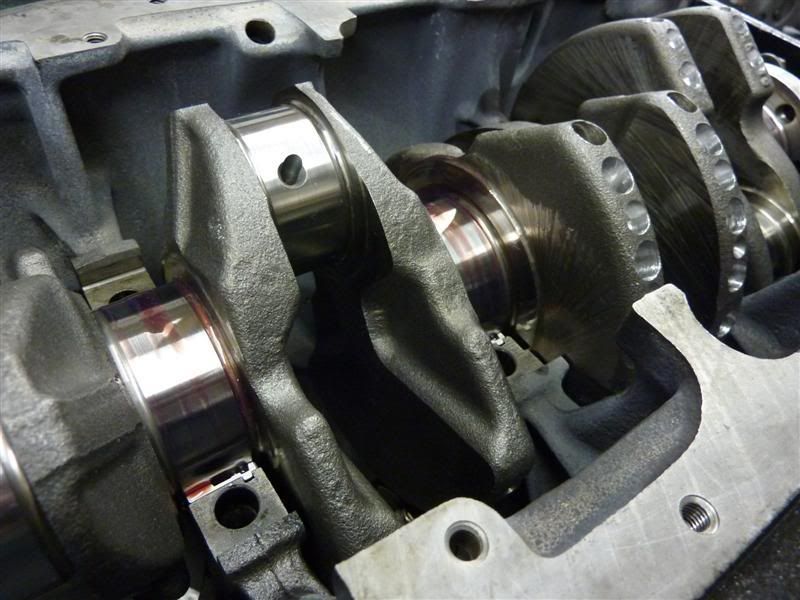
Journals lubed up and crank in
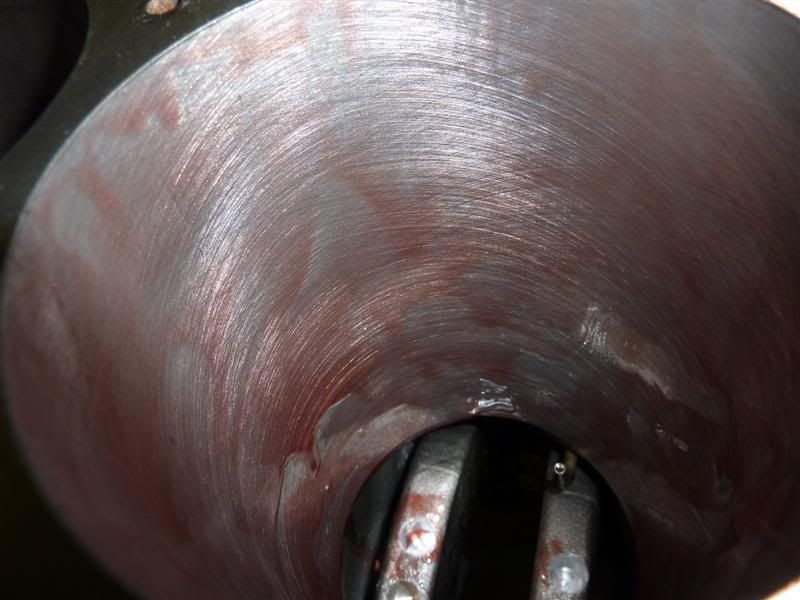
Bores lubed up
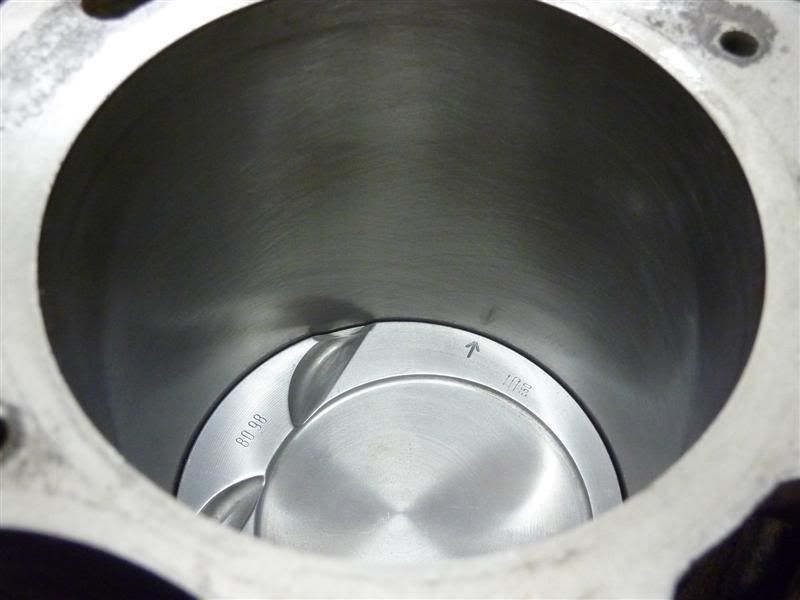
And finally piston and rods fitted
That's it for now as I get round to uploading some more pics I'll do a further progress update.
After purchase I discovered I had a spec which wasn't in the brochure, not only did it have full service history incl original hand over documents it also came in a full S6 plus spec.
Blue Alcantara electric seats with Carbon trim
But all the chrome was black, bose stereo system with build in sub, 8 x 17" plus wheels etc.... So a nice little find.
I started a little test project over a year ago to see how different chipsets behaved in the S6 which was then and still is my daily Hack with results of it no longer running properly due to what assumed to be headgasket failure.
As symptons where split radiator core exhaust gases in water, white coolant smoke etc...
well...... I was wrong infact we had annihilated the poor little K24 turbo, however more to come on that later.
So with the assumption of a nuked headgasket I proceeded to drive the car around with copious amount of blockseal to keep her going just long enough to knock together a new engine for her, so long it wasn't mixing oil and water I figured the engine was coming out anyway so what the heck. After all it is my daily hack and therefore my only access to the rest of the world being out in the sticks.
The plan of attack was to build up another long block using what I had spare and purchasing some other bits in order to do a one/two day swap over a weekend and keep her on the road.
So having sourced an ABY block with good bores and crank, having a multitude of S2 pistons in stock I decided to buy a set of H Beams from PEC giving me room for maneuver on the power band when the time comes.
I then made up a jig on the lathe so I could clamp the pistons via the wristpin. So I could add accumulator grooves to the stock pistons to aid the prevention of blow by and aid piston stability under high boost figures.
Next I checked for sideway play on the small end bearing to make sure the secondhand wristpins whee within tolerance
Before going ahead and balancing them end over end
Using plastigauge I checked the current oil clearances with the new bearings
And polished the journals to bring them to spec
New timing belt pulley, crank bolt, and cleaned front pulley meant it was all ready to balance.
I sourced a 7A flywheel as it was easier to find and refaced the clutch mating surface
Before clocking her up on the lathe
To give her a small 1.5kg diet, I didn't fancy going too light as it would make my clutch choice not too great for a daily on pull away from lights.
Made up the necessary bob weights so the crank could be balanced to the correct balance factor, and subsequently set myself the challenge to attempt to internally balance the I5 crank incase I wished to change the flywheel at a later date (In standard form they are externally balanced and flywheels are not interchangeable).
Next I set about prepping the block, starting with a hone
and chemical clean
Moving on to the ring gapping
Ensuring all ring gap ends where radiused before installation
Fresh clearanced bearings installed ready for the crank
Final clean of the crank oil galleries before fitment, note the lovely collection of balancing drill holes, punishment for trying to internally balance the crank. In future I decided to make my live easier by only part internally balancing the crank and then matching it to the front pulley as a zero balanced assembly. Giving the same result of being able to use a zero balanced flywheel with a lot less effort.
Journals lubed up and crank in
Bores lubed up
And finally piston and rods fitted
That's it for now as I get round to uploading some more pics I'll do a further progress update.


Comment