You can change the style the forum displays by selecting your preferred style at the bottom left of the site.
We have made an enhancement so that old threads should now link from search results to the correct thread. This is not yet in place for single post links
Well, it’s out in one piece yesterday evening after work.
It is in pretty good shape to be fair, the roof glue wasn’t as bad as anticipated.
The sunroof clips all failed and preferred living with the metal trim, but fortunately it’s just a case of removal and re-securing to the headliner...
Everything else has come apart no less broken than it was... The gibbons that put in the Audi CD auto changer in the boot a couple of decades ago screwed the pooch for trim, knackering several key pieces down the passenger side which explains why the carpet has fallen away at the bottom of the A pillar and the D pillar (Battery Box) trim has always been funky where the CD wires ran out. So I just gutted the lot....
Under the battery tray was interesting...
]
A screwdriver set from gawd knows when.... We’ve owned the car 18-years and they’re not mine. Neither is the paint stick or the 1p piece.
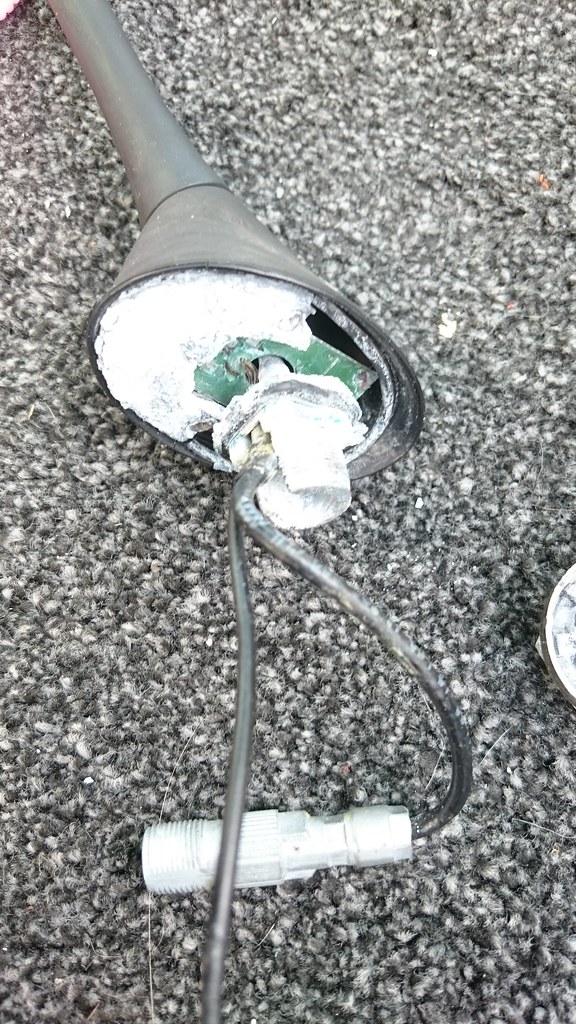
Having got the bit between my teeth I also pulled another pet hate.... The radio aerial... and it fell apart, the white metal was just dust....
So I’ve ordered a Beru replacement.
Today is hopefully foam removal, PVA and sanding day....
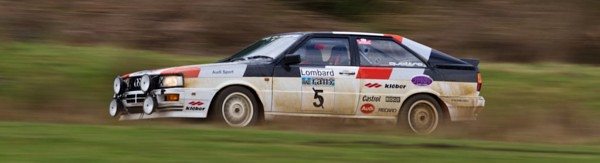
85 WR Urquattro, 85 20vT International liveried RallyRep
93 MTMS2 Avant
The tricky but is getting the new stuff on wrinkle free, especially around the sunroof, light and grab handles. Get someone to assist. Four person job really to hold the four corners.
Nice work
Nothelle S2 Avant
Black Ur project
Ocianic Ur project gone
S2 Coupe project gone
Urs6 plus project gone
Right, the headliner didn’t happen today, for which I can only apologise....
BUT.
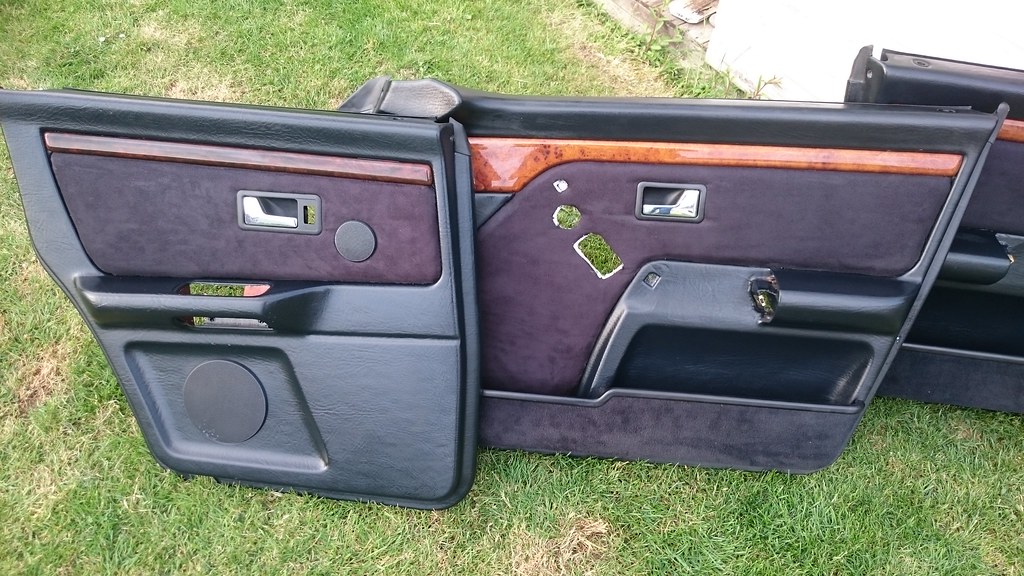
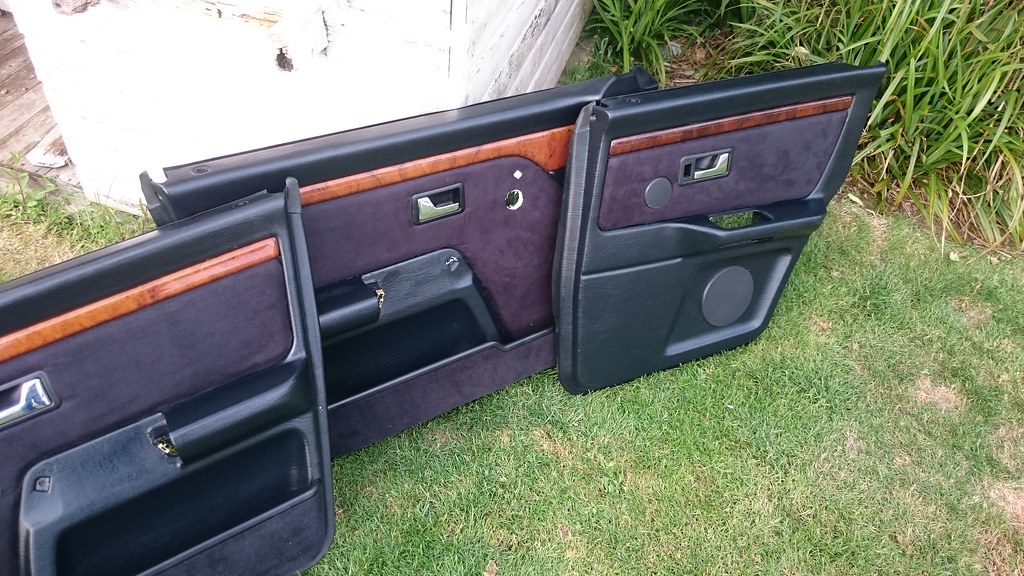
The domestic decision was made to utilise the missus skills, the fine weather and my ability to render any period Audi door trim to its component parts in under 10-minutes was an opportunity not to be missed.
So, to practice our skills ready for the headliner, we tackled the door cards.
As I stripped down each door and card in turn, I removed the cloth and Andrea used them as templates whilst I removed the hideous foam.... A stiff brush shifted the heavy foam, but the residue needed something stronger - petrol is your best friend.
So, door card left glued together and mocked up. Door card right as it fell out of the car.
I didn’t take any ‘how to’ stuff photos as it’s been a voyage of discovery, but here’s the final result...
As my dad would say, a blind man would be glad to see it....
Hey, nice job. I like it.
Are all the tabs intact that hold the door card on? I'm very worried about mine whilst the car is being painted.
To be fair Dave, it’s more about knowing how it comes apart more than anything else. It’s slightly counter intuitive compared to a Ur Quattro which is just screws. The S2 one is a bit like a sliding tile puzzle where door release catches and door cards have to slide before they release. I read the Haynes B3/4 manual several times and it made no sense whatsoever until I read several threads here and then went for it.
85 WR Urquattro, 85 20vT International liveried RallyRep
93 MTMS2 Avant
We process personal data about users of our site, through the use of cookies and other technologies, to deliver our services, personalize advertising, and to analyze site activity. We may share certain information about our users with our advertising and analytics partners. For additional details, refer to our Privacy Policy.
By clicking "I AGREE" below, you agree to our Privacy Policy and our personal data processing and cookie practices as described therein. You also acknowledge that this forum may be hosted outside your country and you consent to the collection, storage, and processing of your data in the country where this forum is hosted.

 Tweet
Tweet


Comment