-

Sapphire cos running custom 2.8litre conversion,es cos rims,raven black leather interior and 500+ with the gas turned off.
Audi s2 cooking on gas -
Been on with the engine for the past few weeks gathering all the bits needed for it. The horrible old red paint was stripped from the block and some more tasteful black put back on. All the oilways were cleaned out and finished off with a good pressure wash. Then it was onto putting the bottom end together. Started off gapping the rings with a diamond wheel.
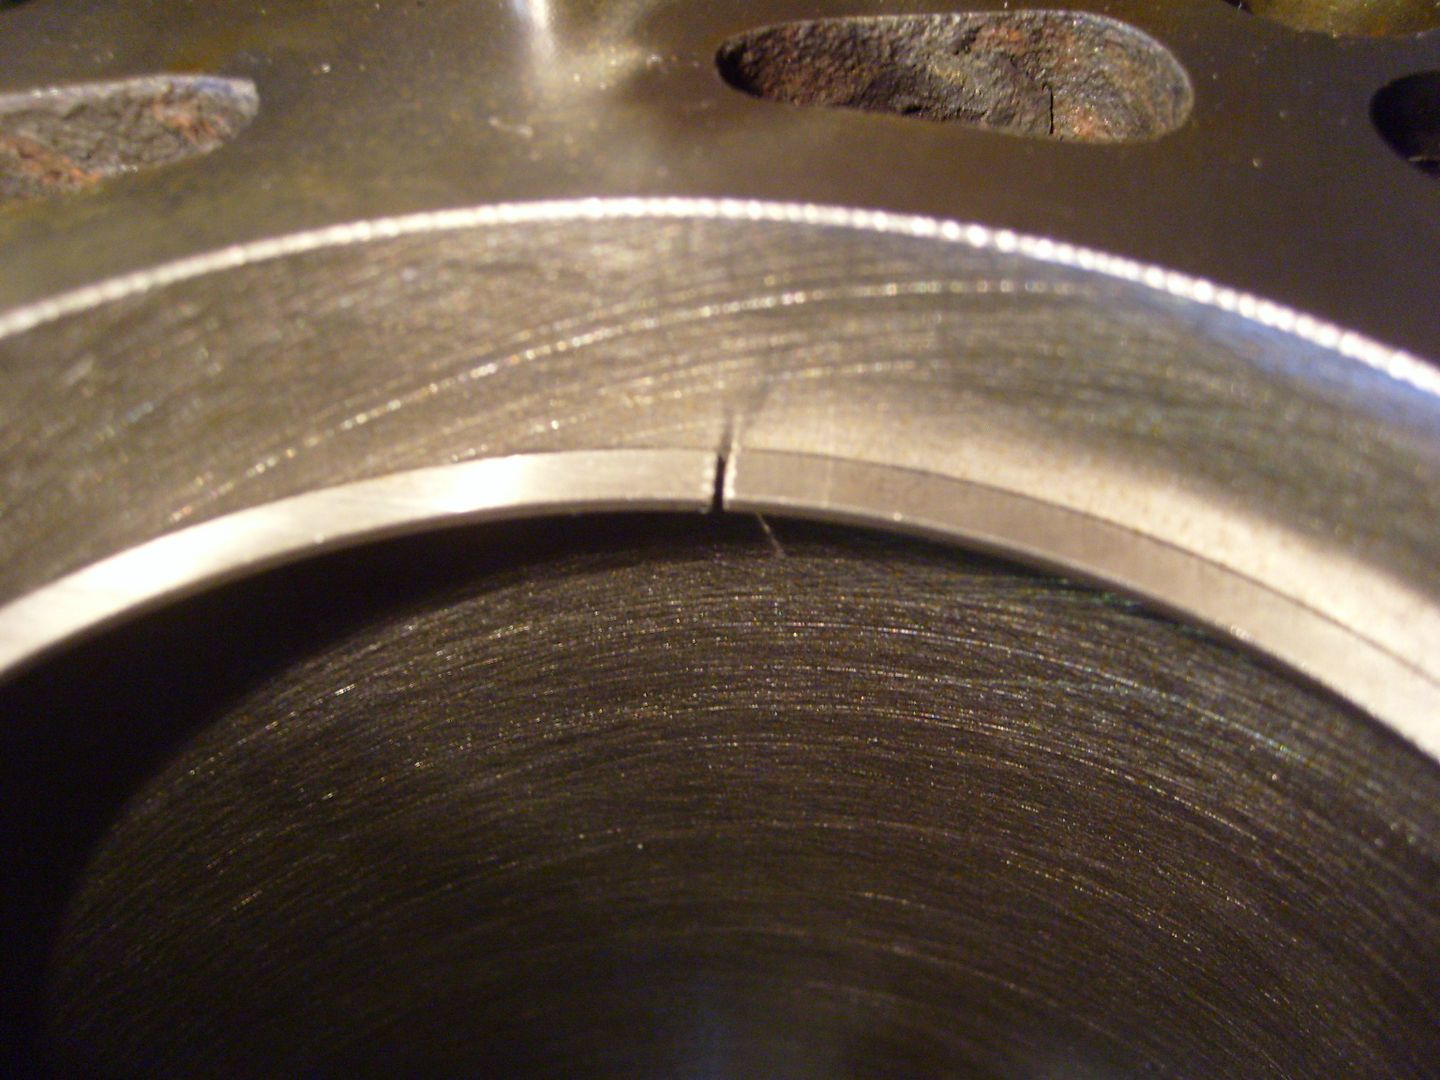
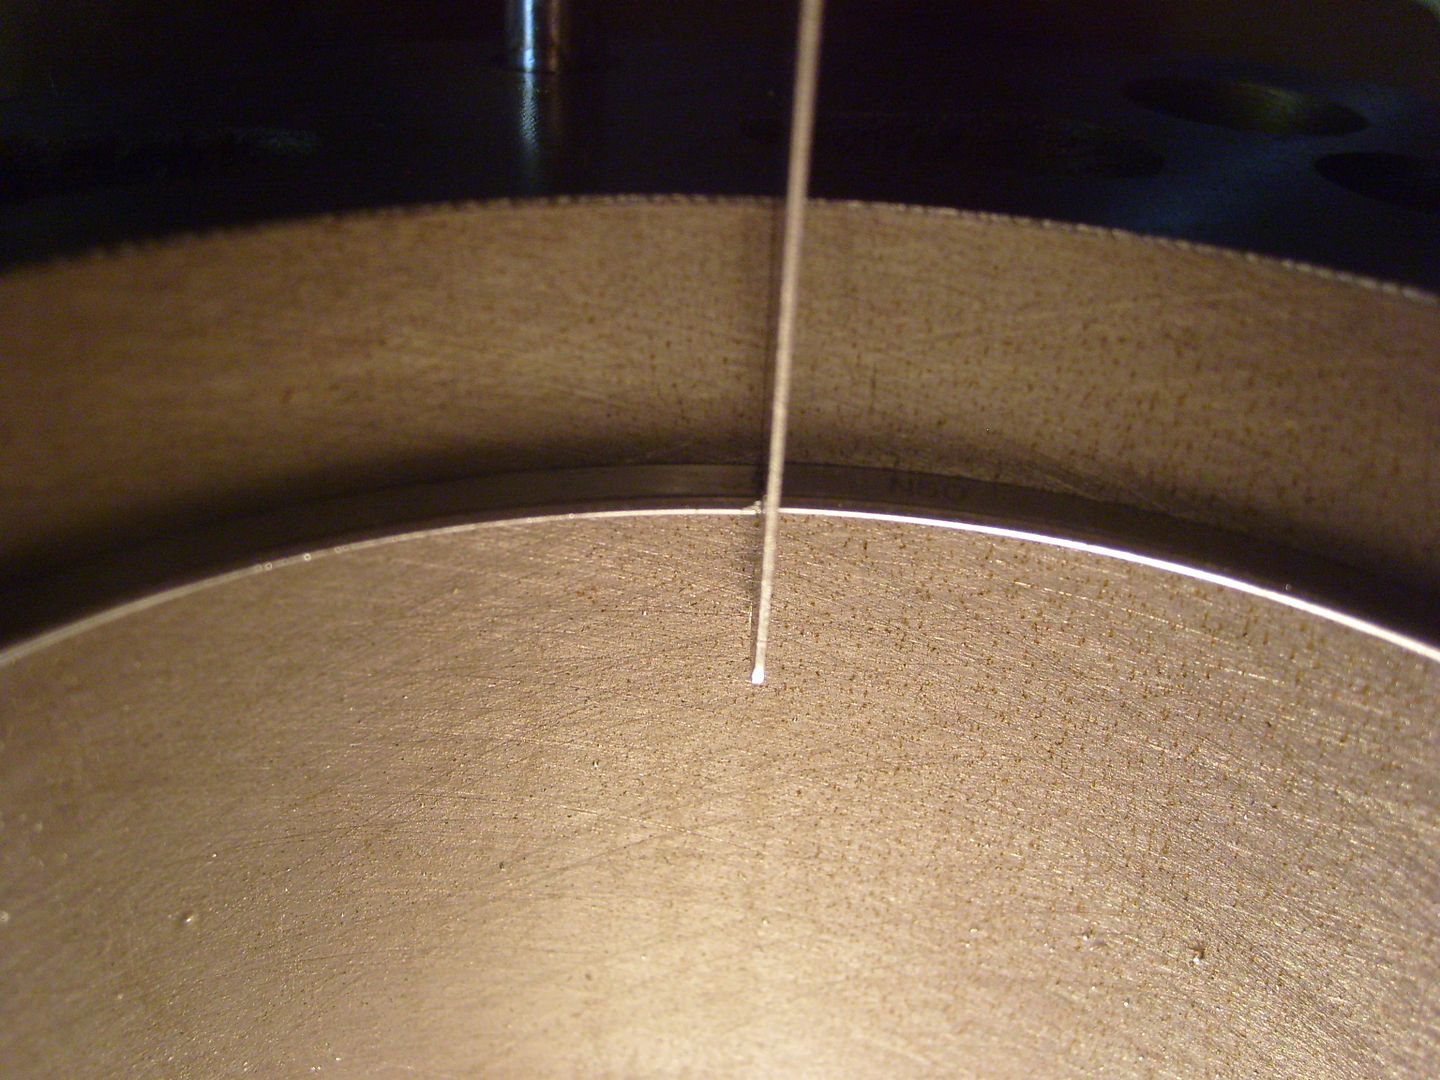
Using a piston mocked up with the second ring to make sure the one being gapped is square in the bore.
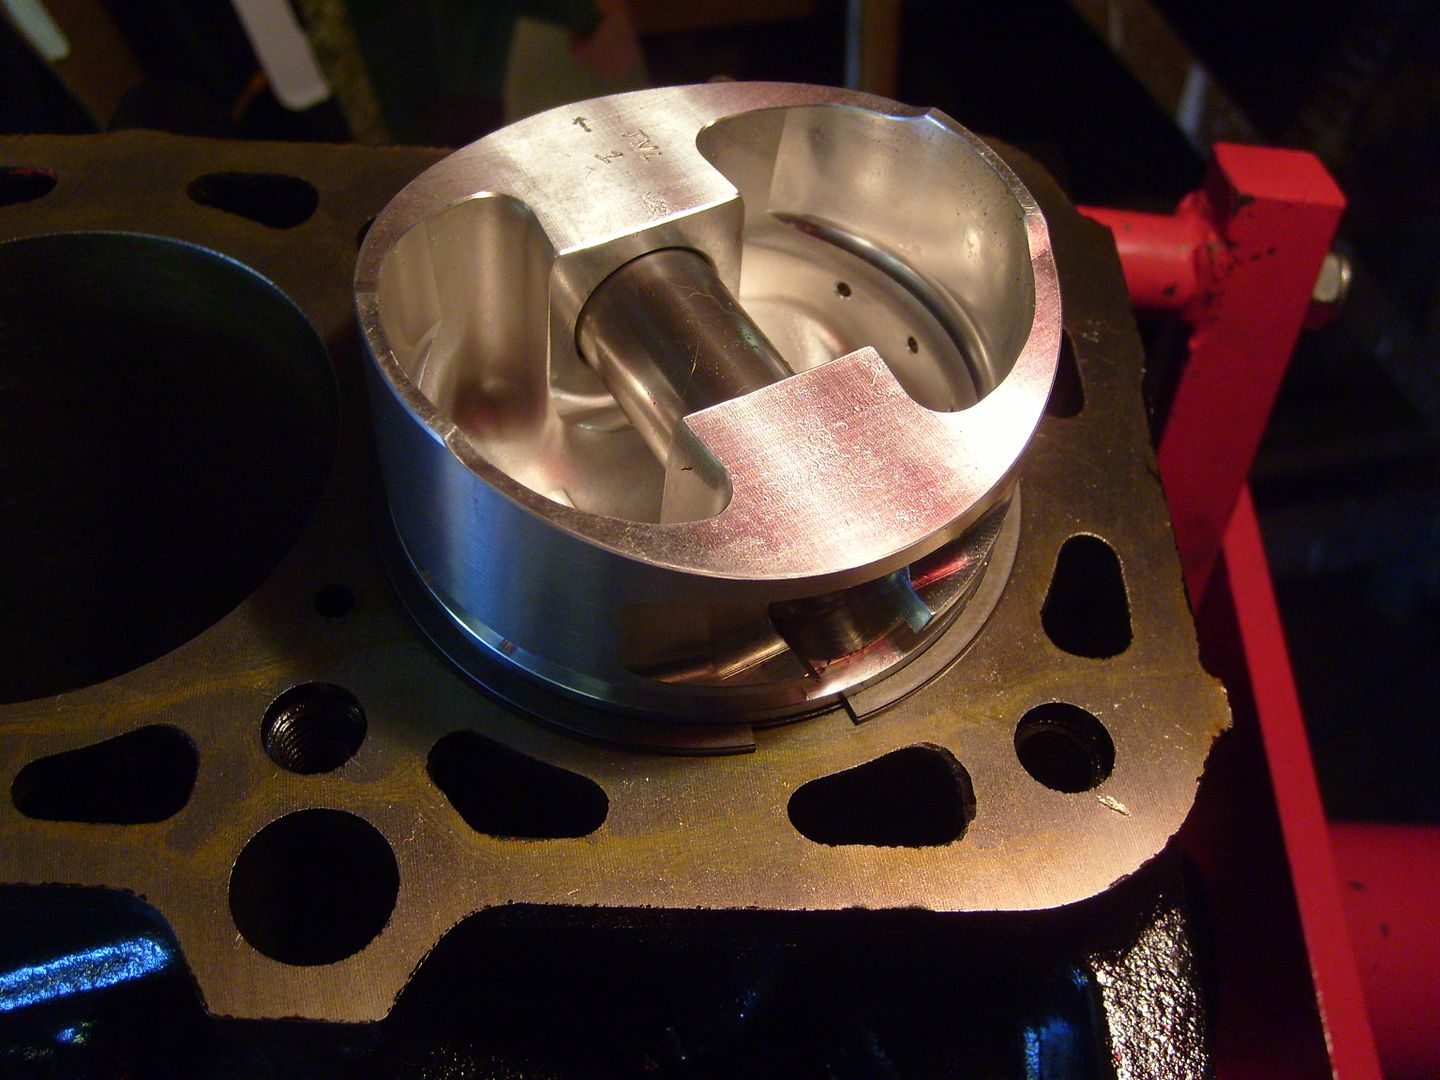
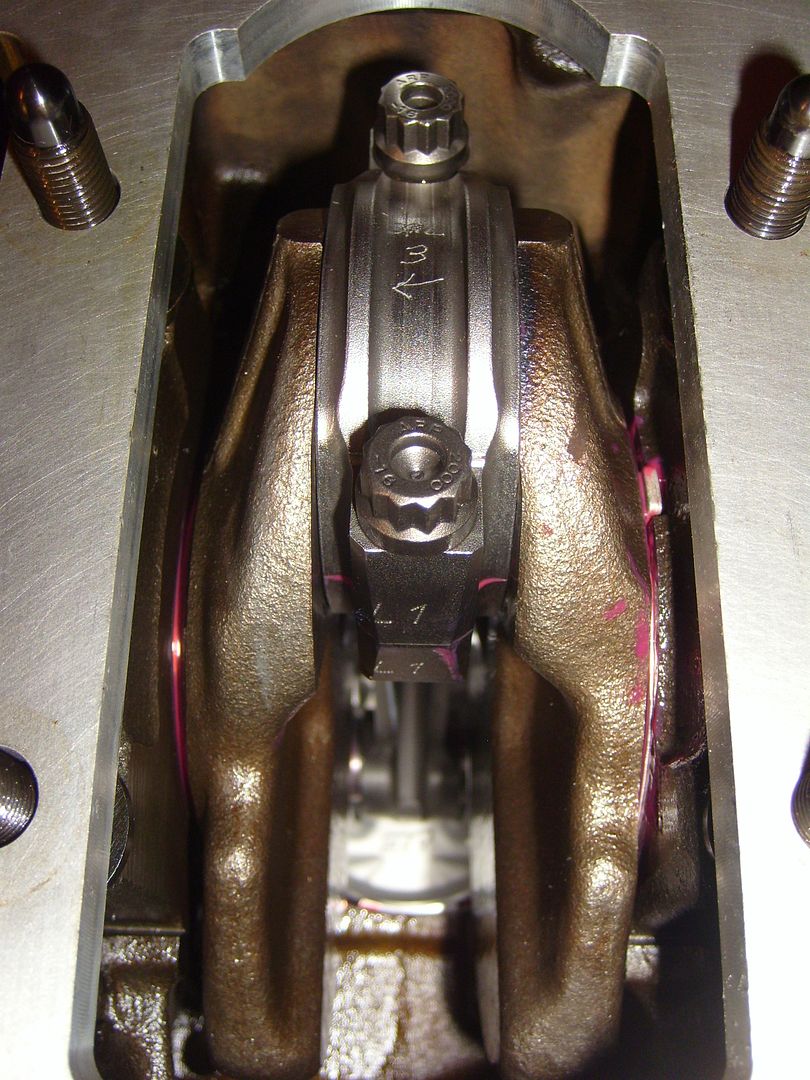
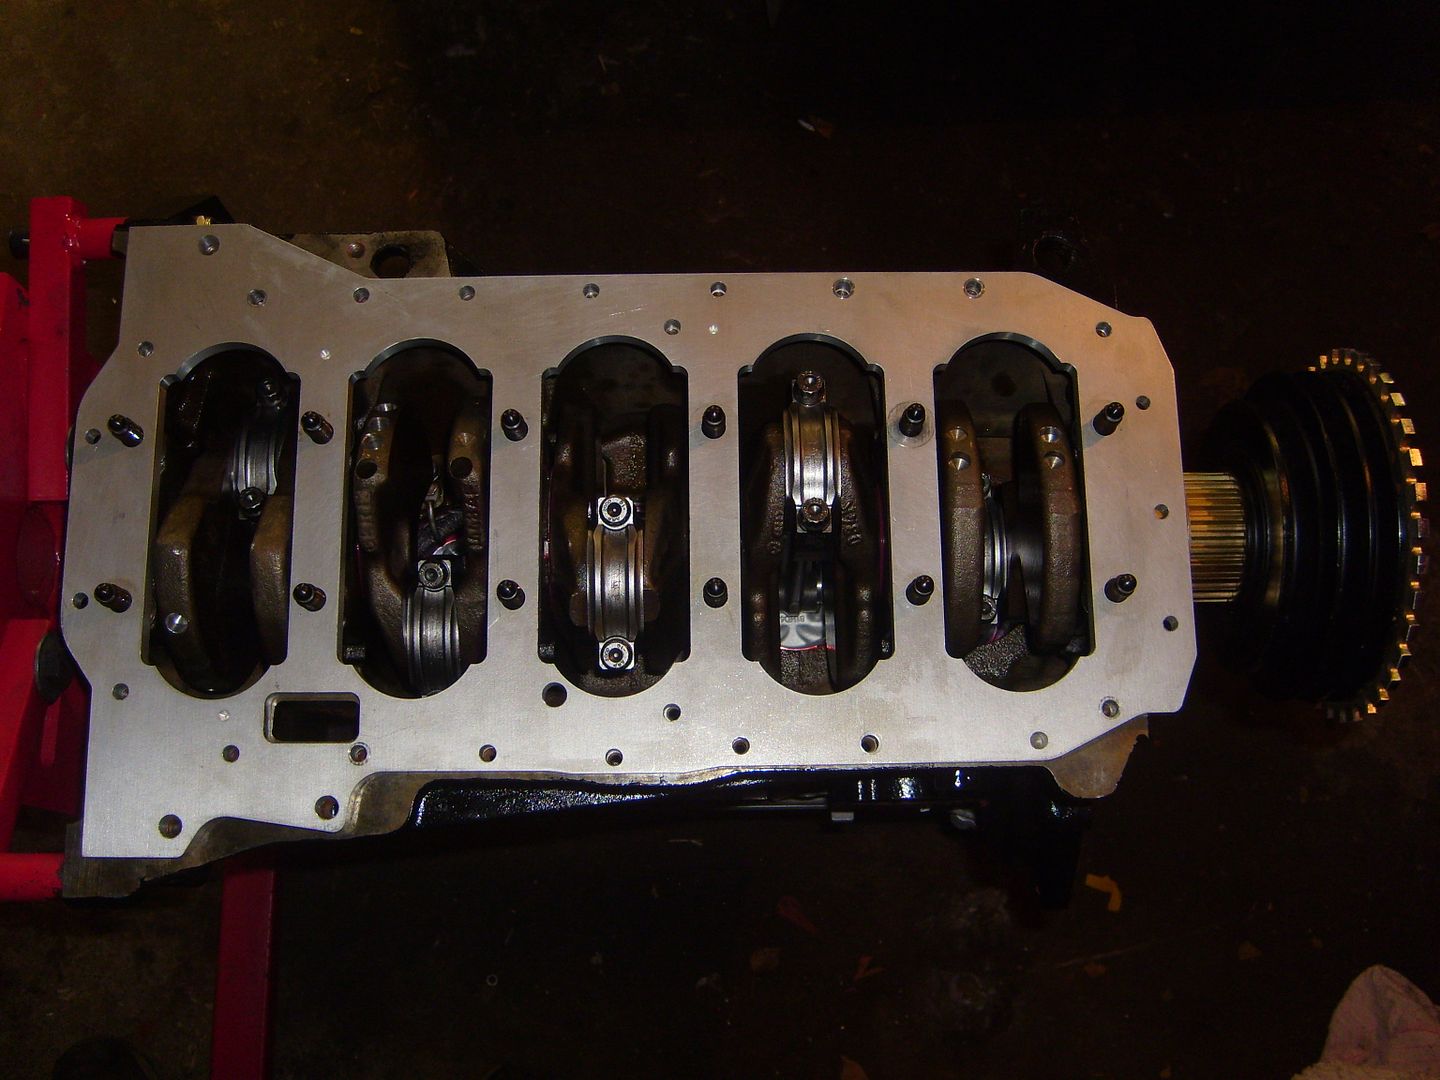
Crank, pistons, and rods in with new main and big end bearings, also new thrust washers. The oil squiters were cleaned up with parafin and bolted in with threadlock to make sure they dont come back out. ARP main studs from a Ford Zetec for the extra length to pass through the girdle. Shortened the one by a few mm as it would touch the one way oil valve. I replaced the valve but forgot to take any pics.
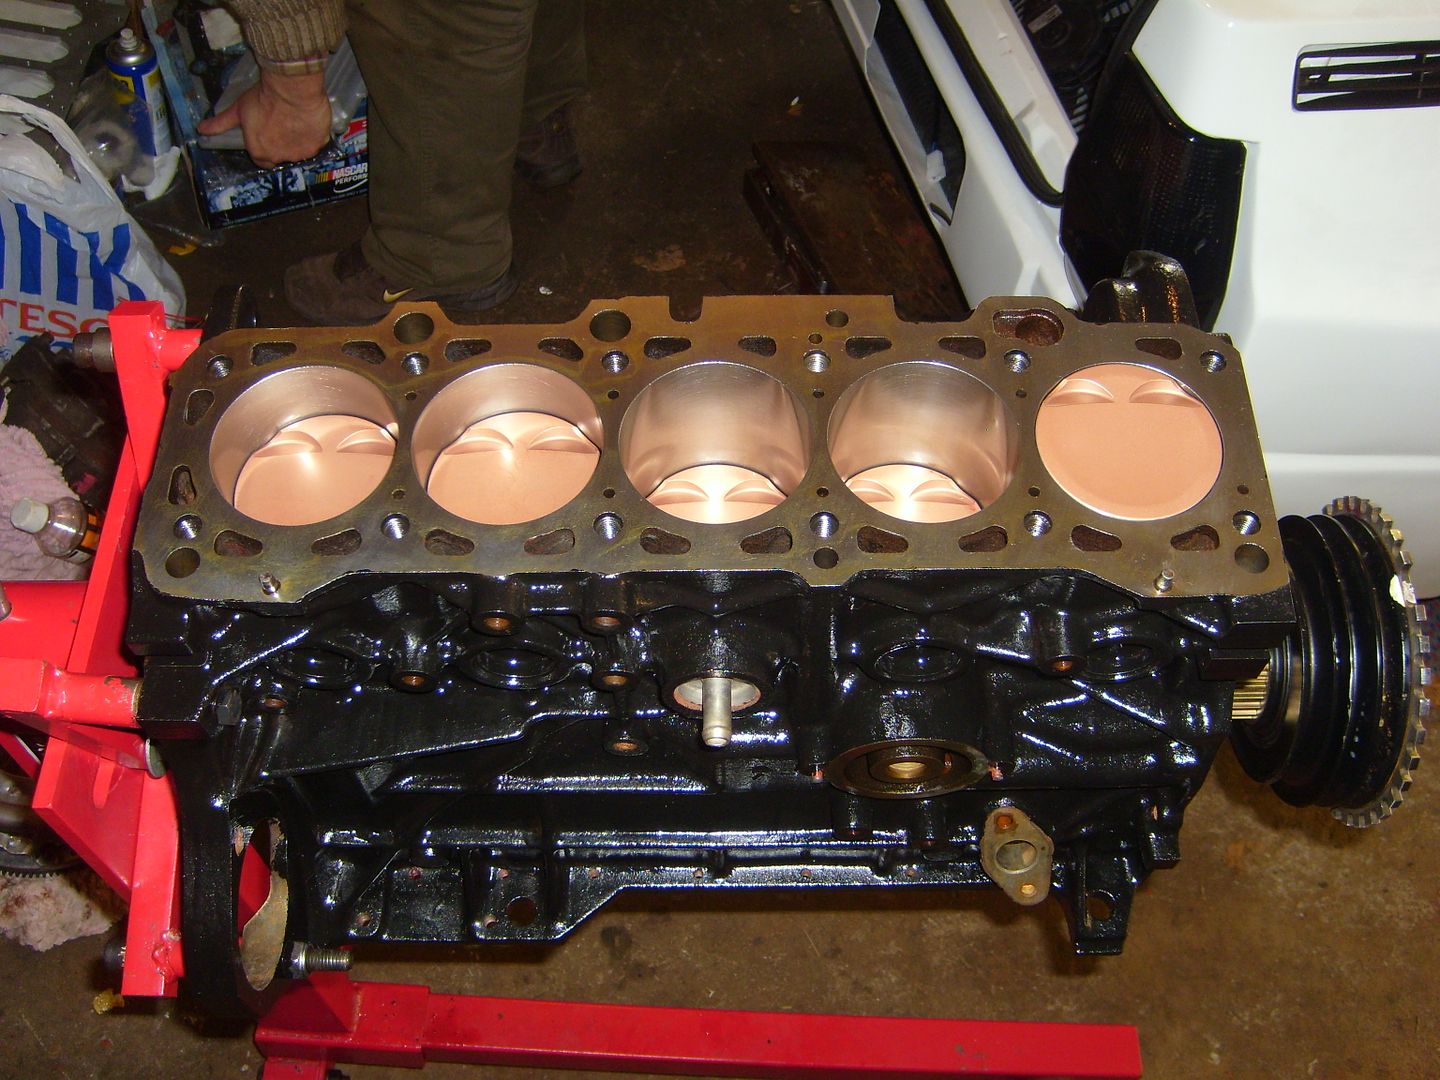
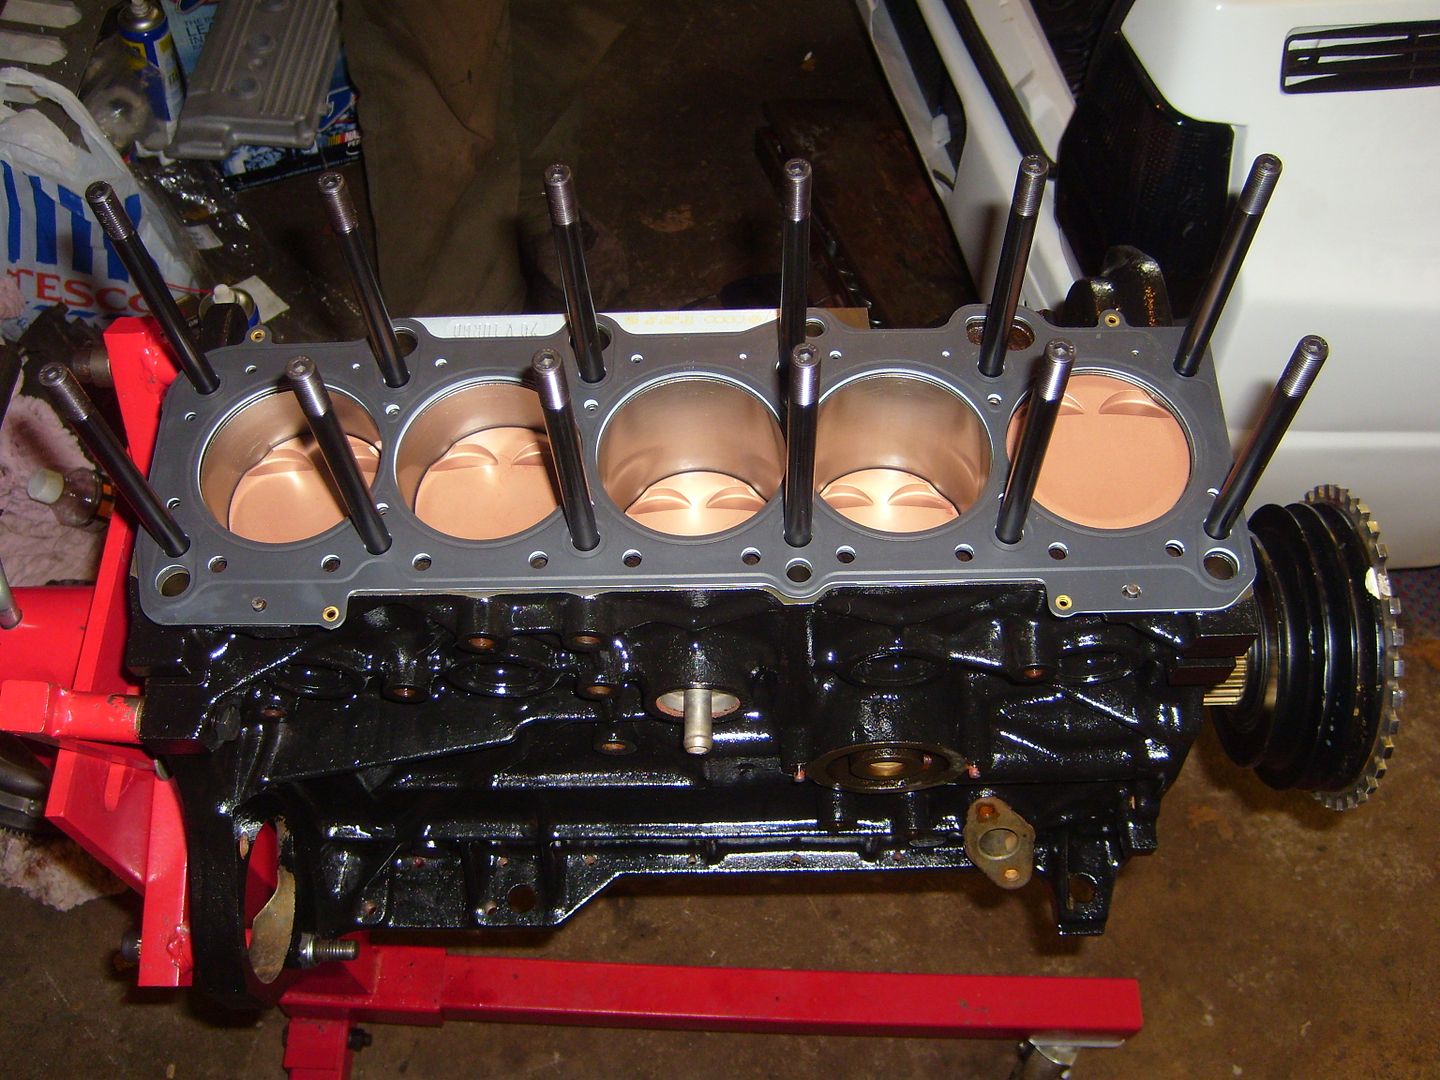
Then in with the ARP headstuds and RS2 headgasket
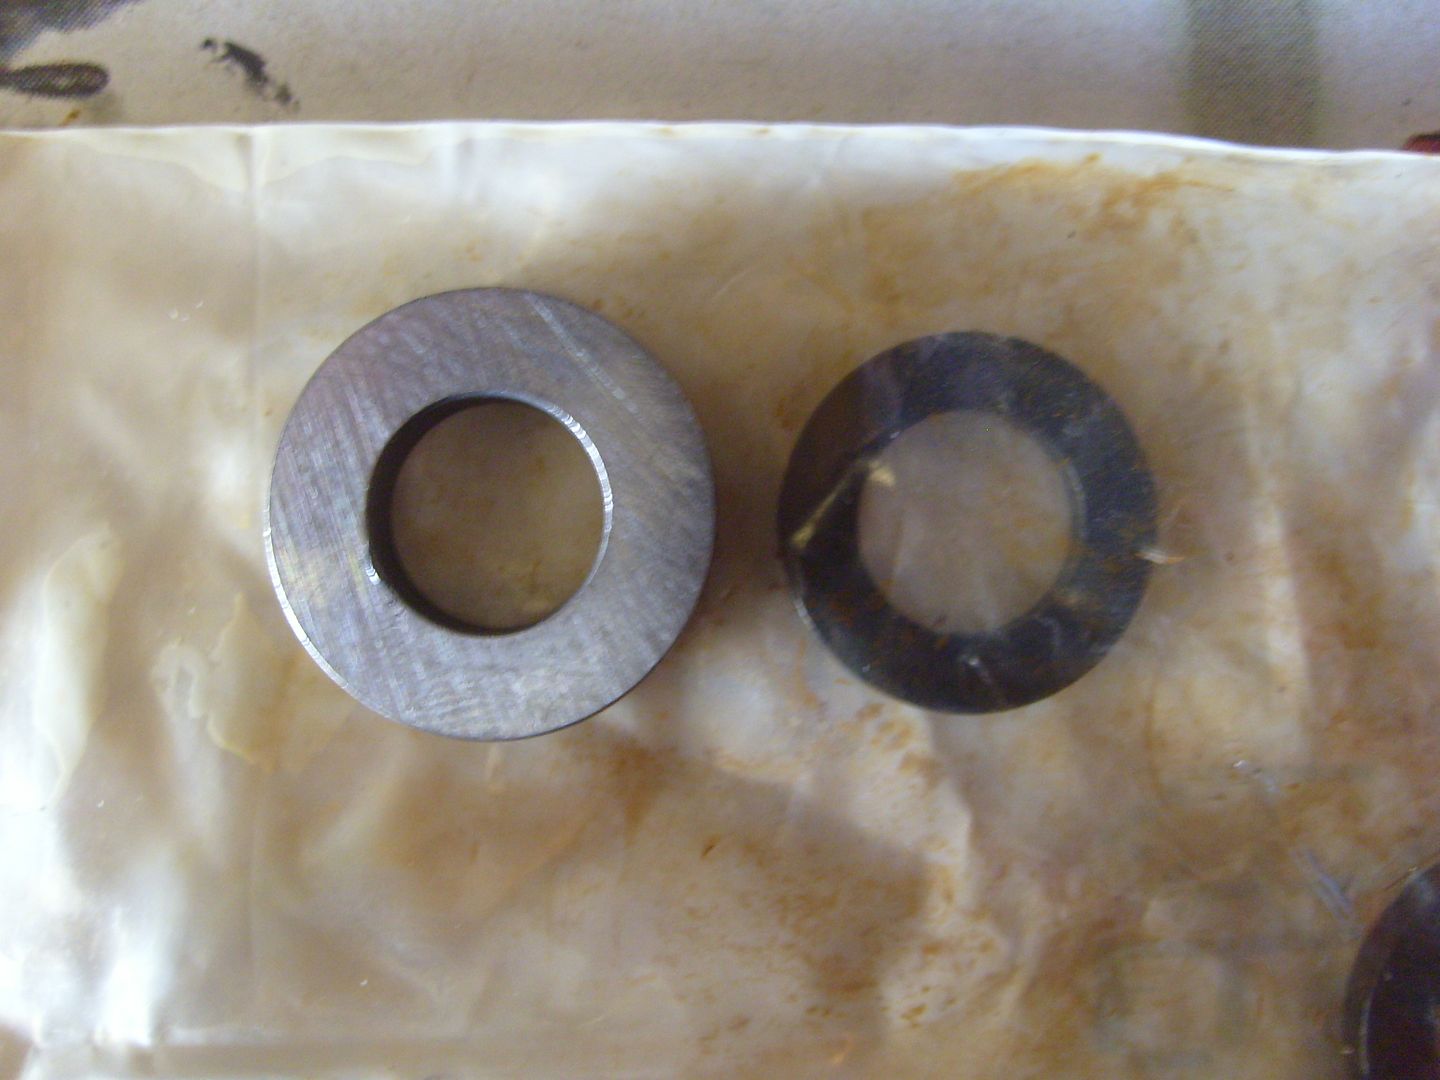
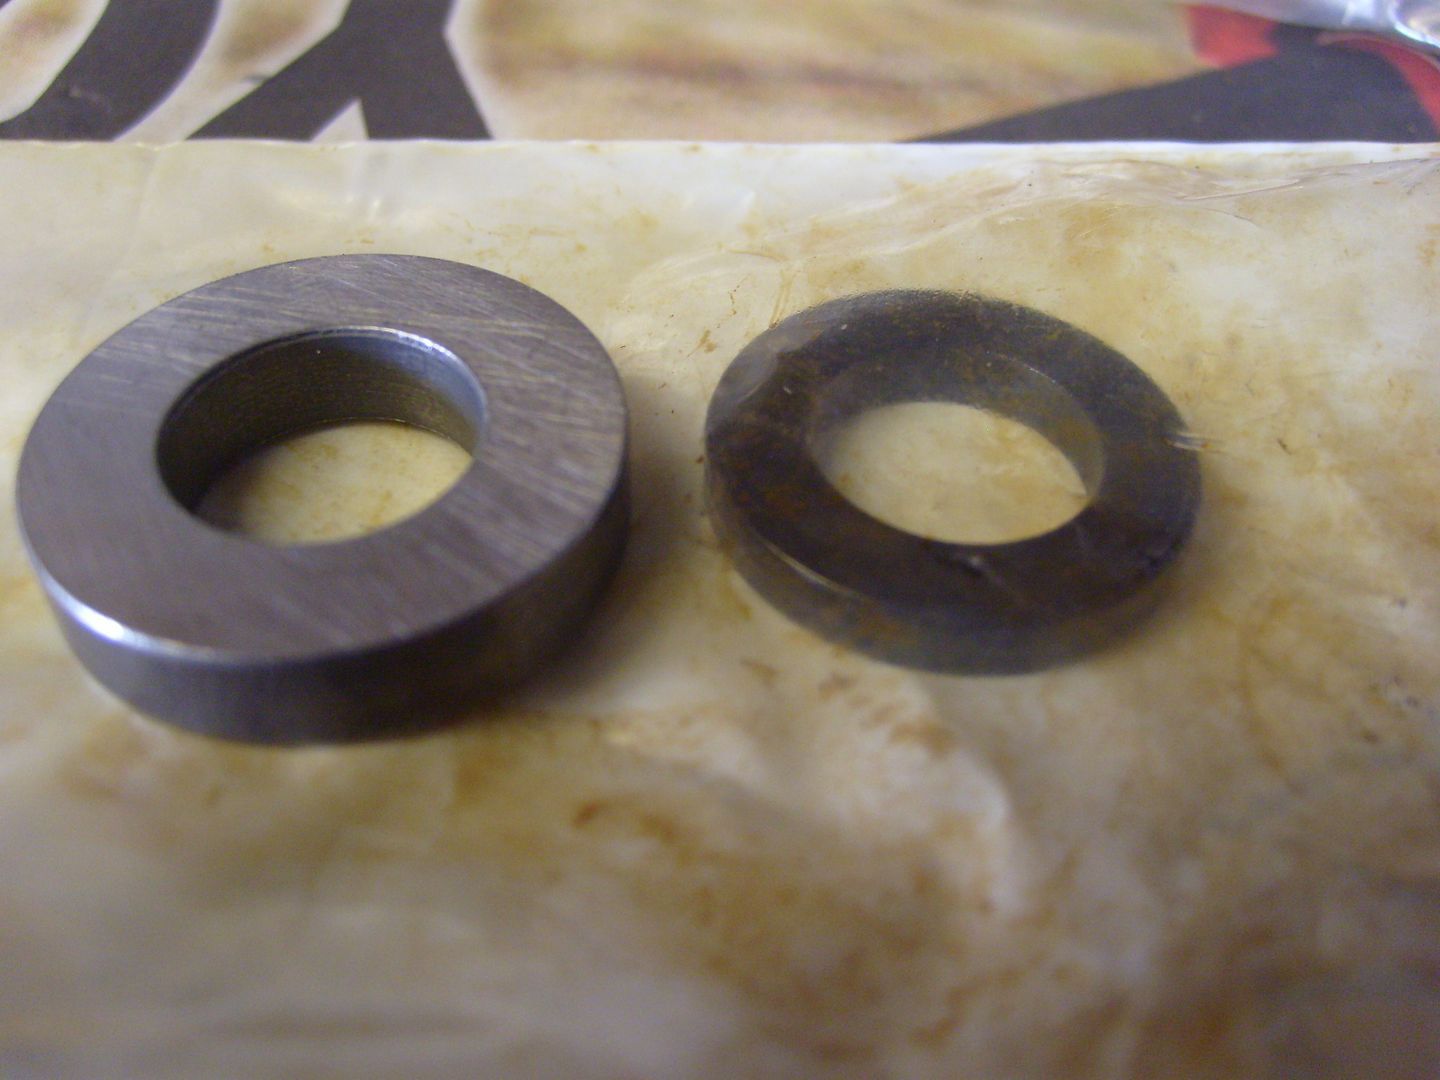
Used sportquattro headbolt washers to spread the load more. A couple of pics to show the difference in diameter and thickness. I had to grind a bit off 2 of them to clear the adjustable cam wheels.
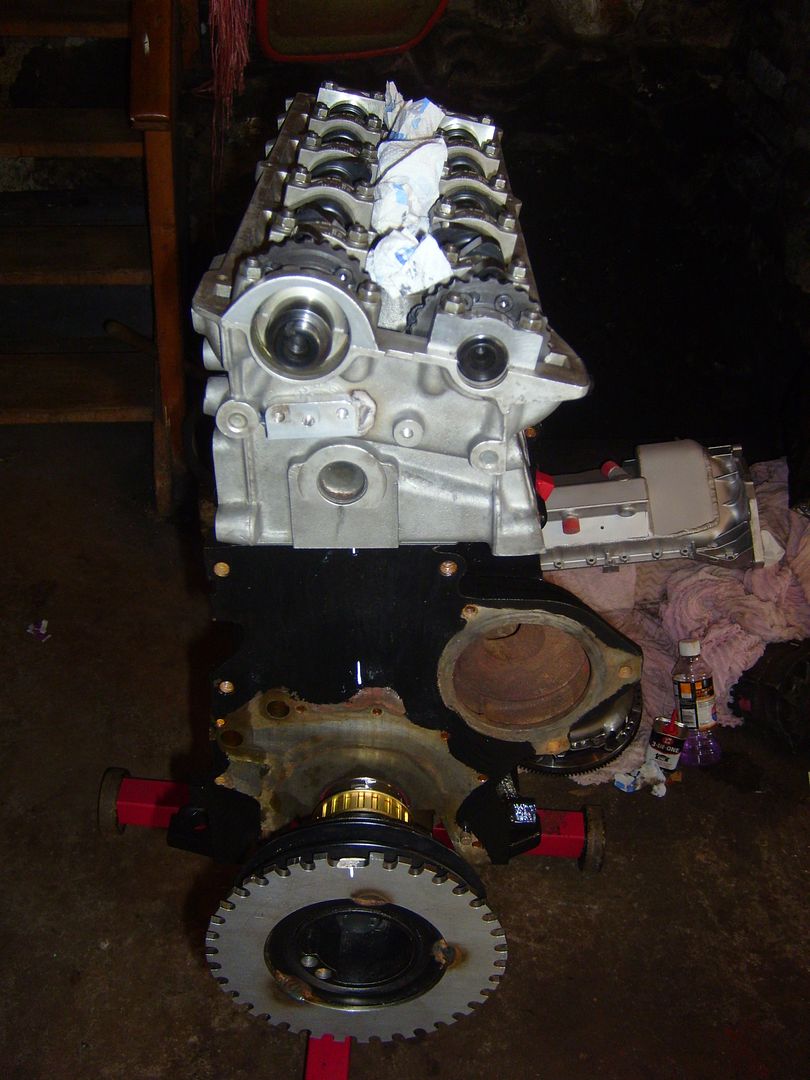
Cylinder head on
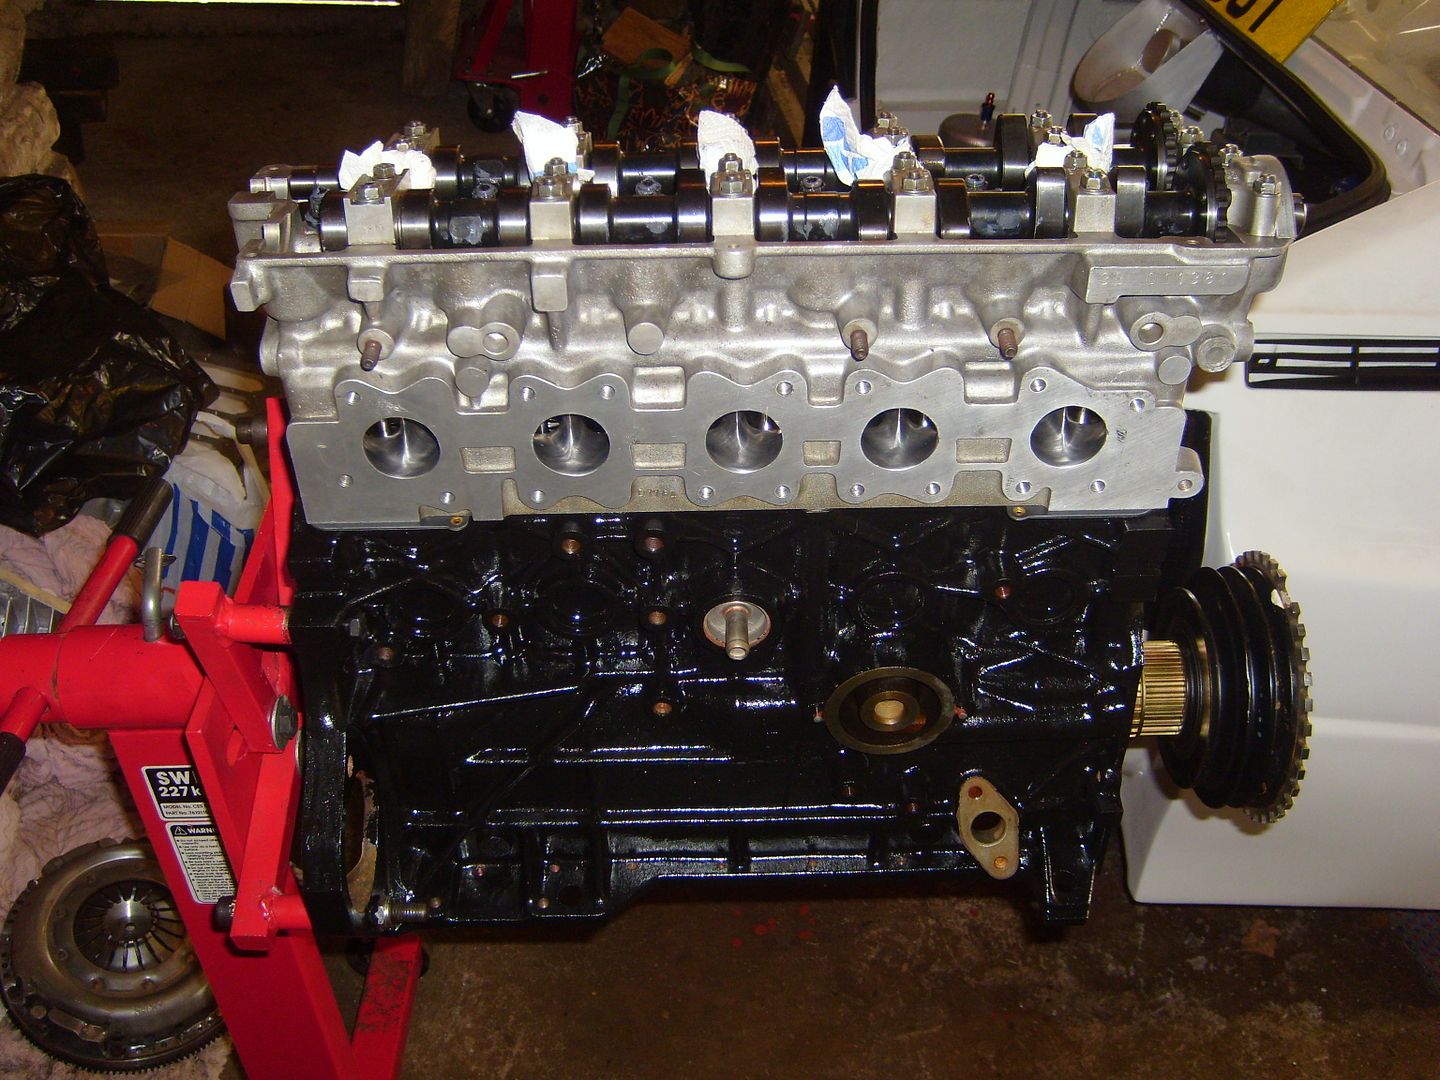
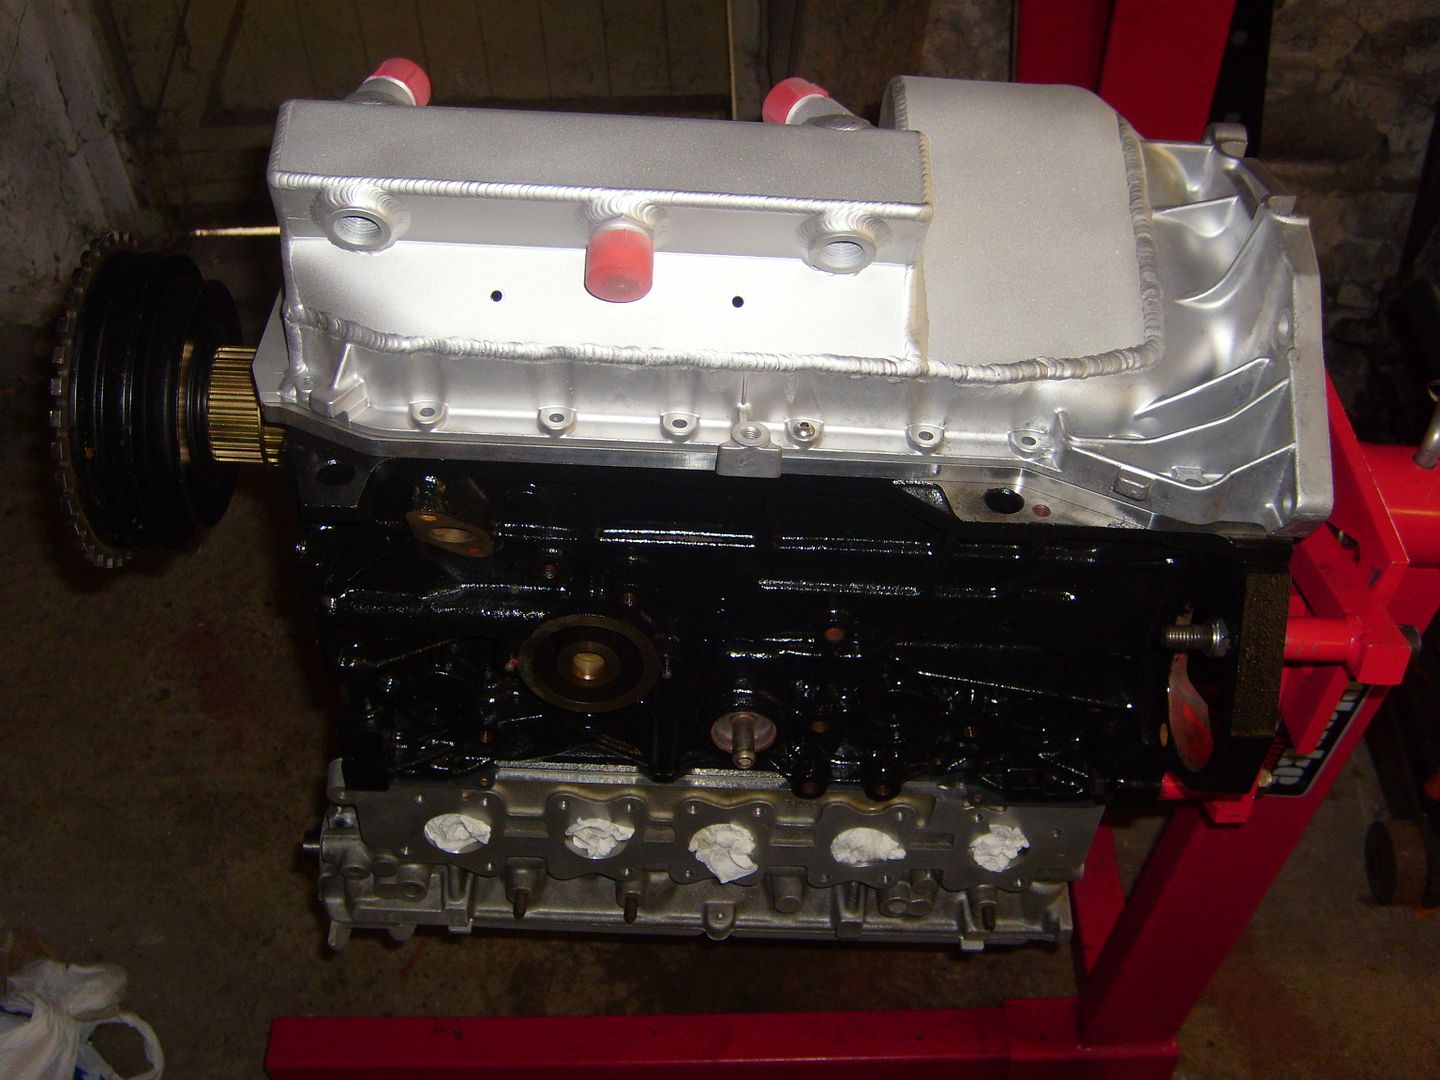
Then on with the cam cover and sump to see what its going to look like. I have had all the alloy engine bits blasted back to fresh alloy.
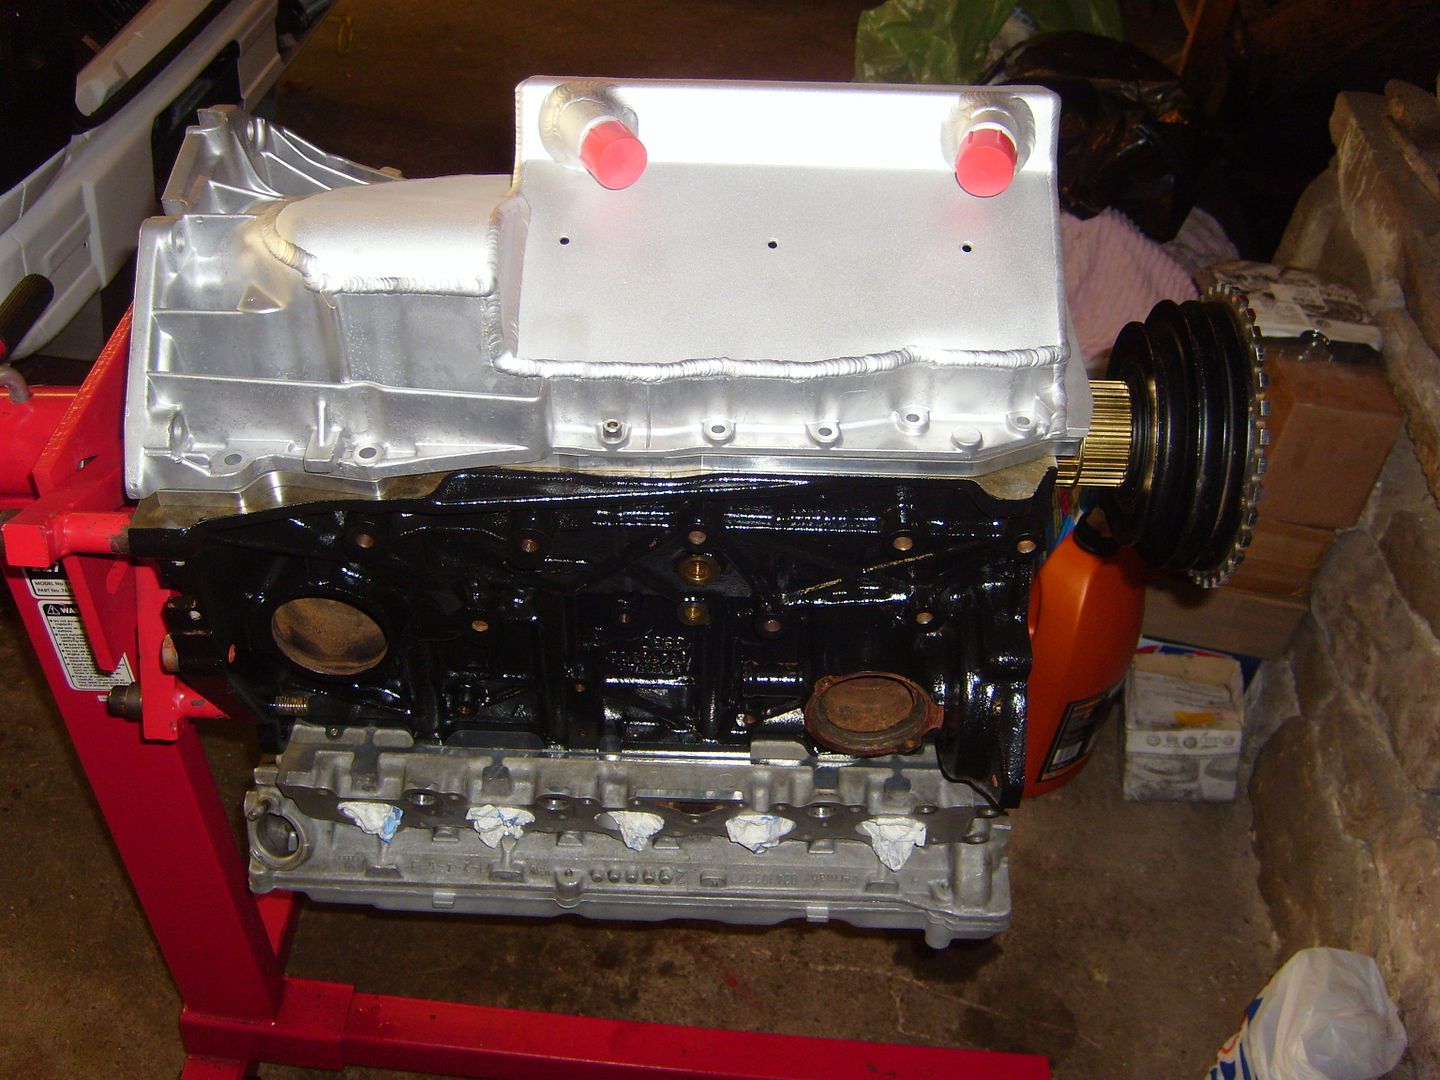
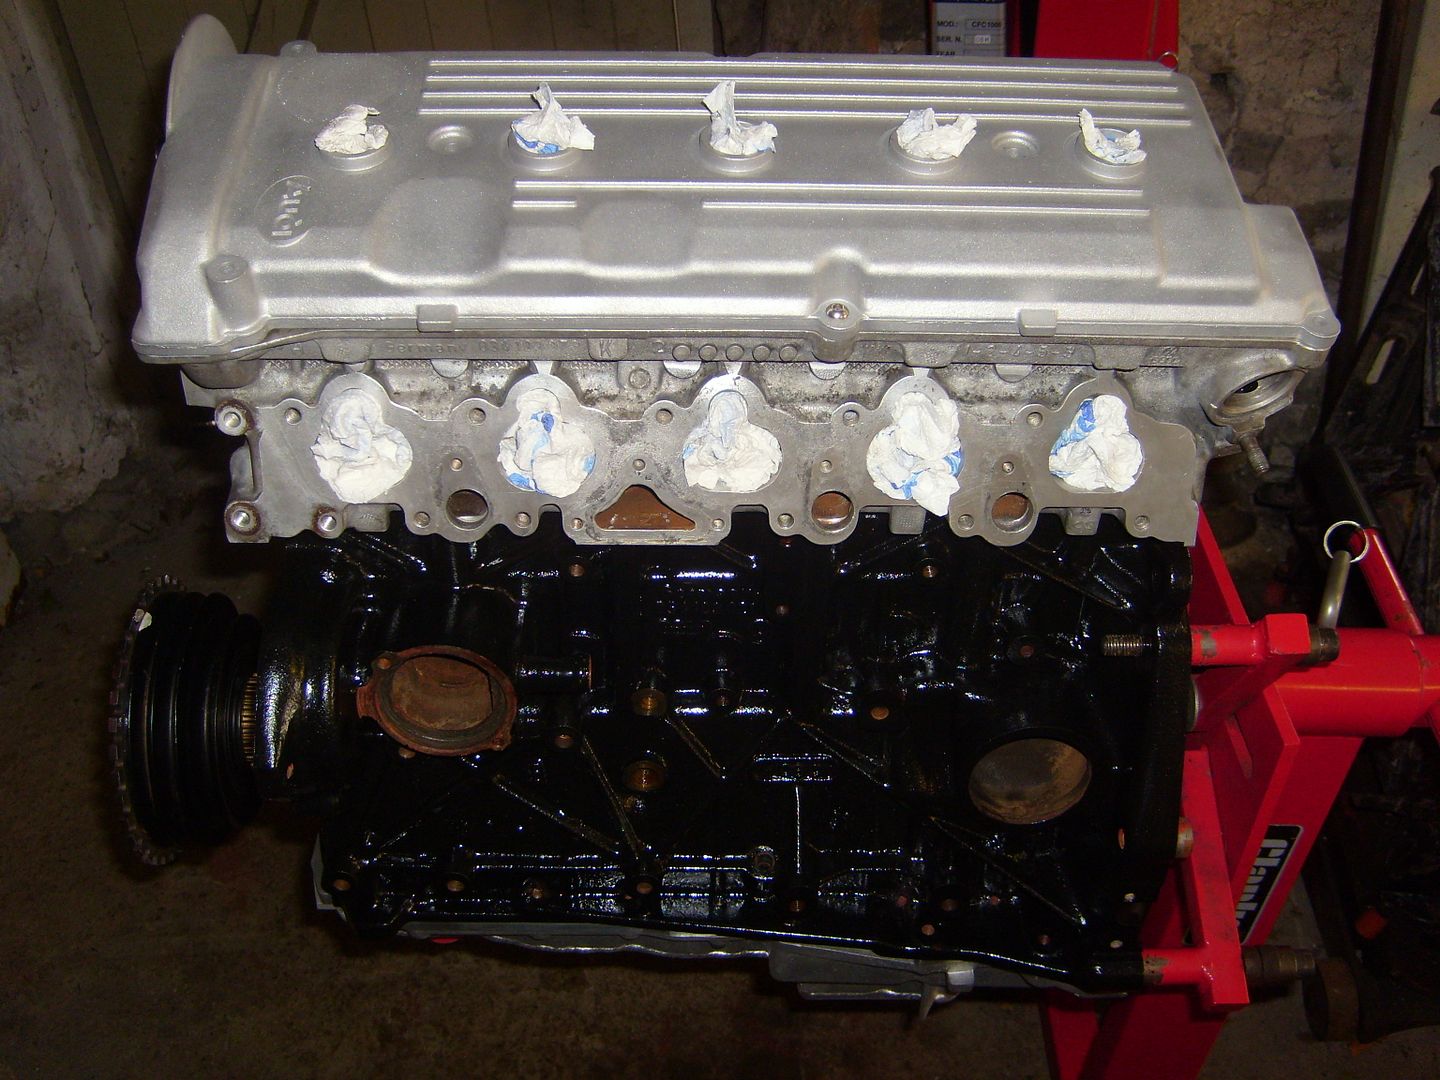
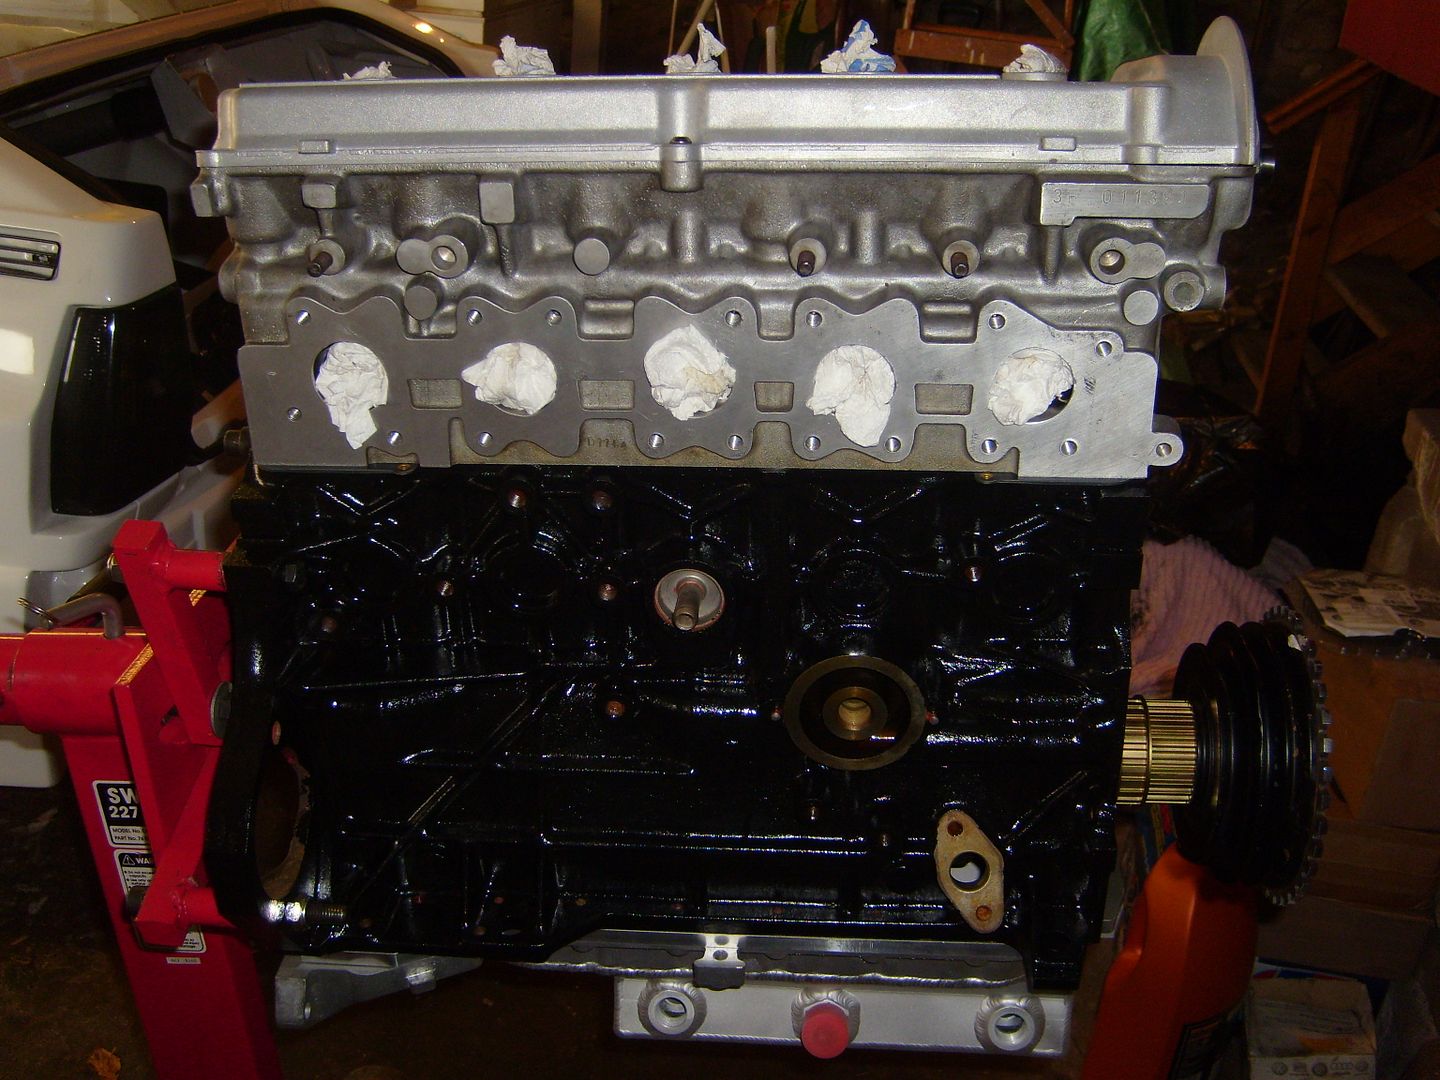
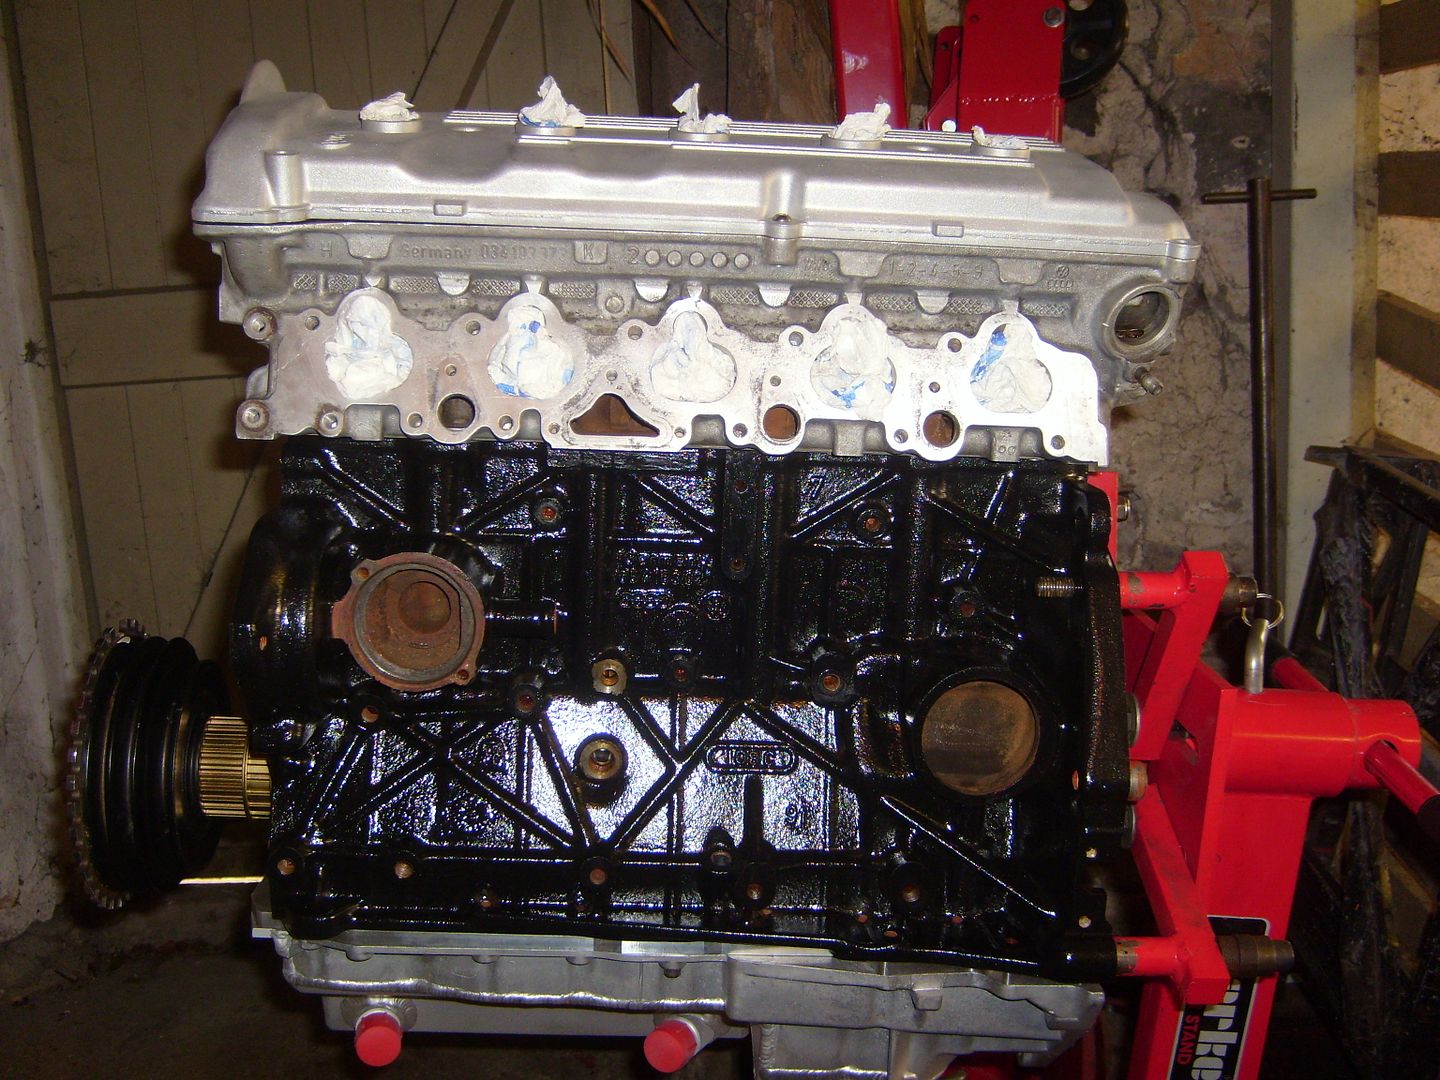
So the spec of the engine as it stands
Standard crank with all journals measuring up spot on
All bottom end balanced by JP
New main bearings
New thrust washers
New one way oil valve to cylinder head
JE pistons with gudgeon pins moved 6mm higher, 8.5:1 compression
Pauter conrods 6mm longer than standard
New big end bearings
Block girdle
Dry sumped
Sport quattro head stud washers
ARP main studs
ARP rod bolts
ARP head studs
RS2 headgasket
Ported cylinder head by JP
machining on headface for water channels
Inconel 0.5mm oversized exhaust valves
Black nitrided stainless 0.5mm oversized inlet valves
solid lifter cams from Cat cams
7A cam cover.
I will cover the rest of the spec when more of it is built up. It will be fully built up this month and hopefully mated to the gearbox and into the car!Comment
-
So another month another update.
Been working away on the engine for the past few weeks trying to get hold of all the parts I needed, and machine the ones I couldn't
Finished off the cylinder head shimming:
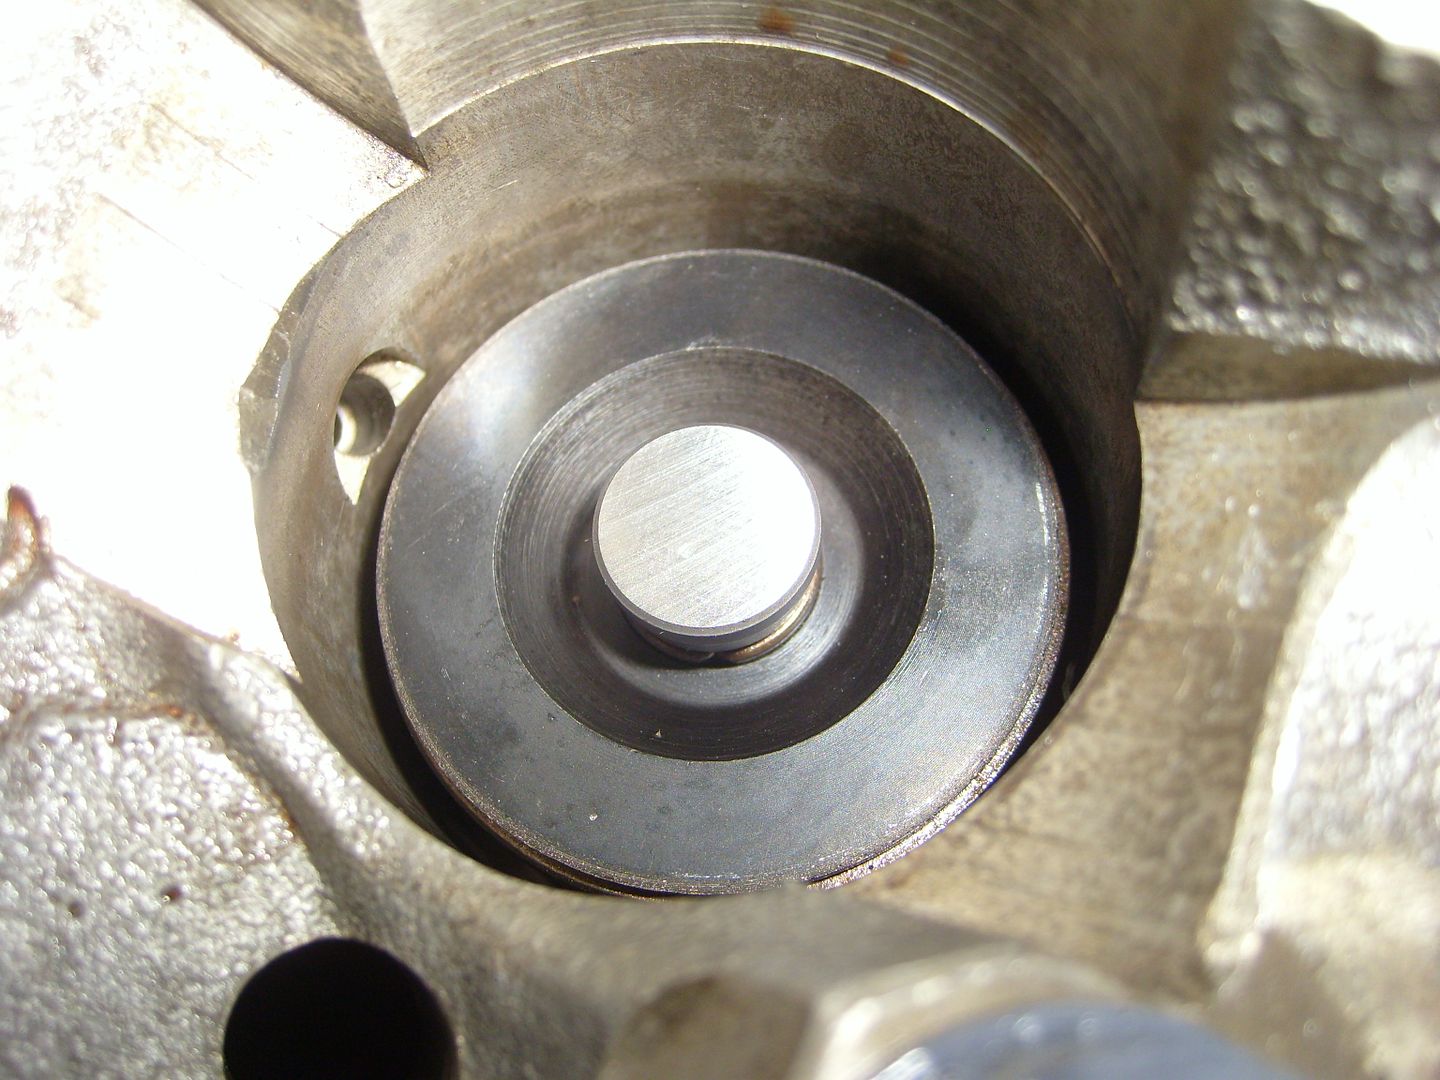
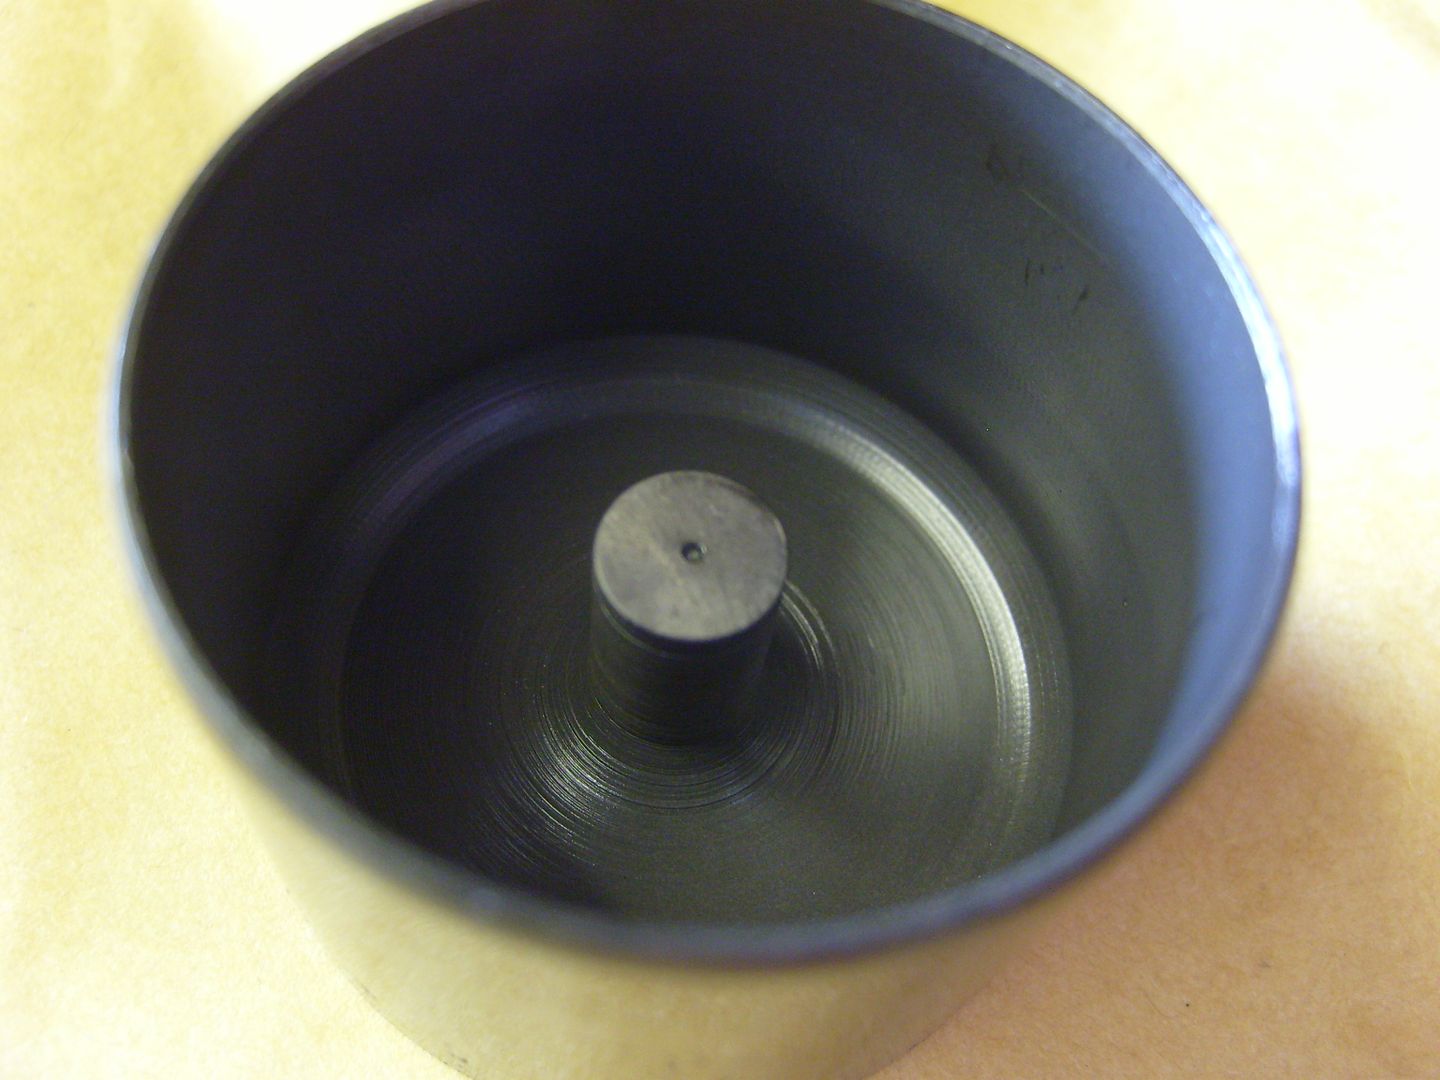
Buckets that sit ontop of them:
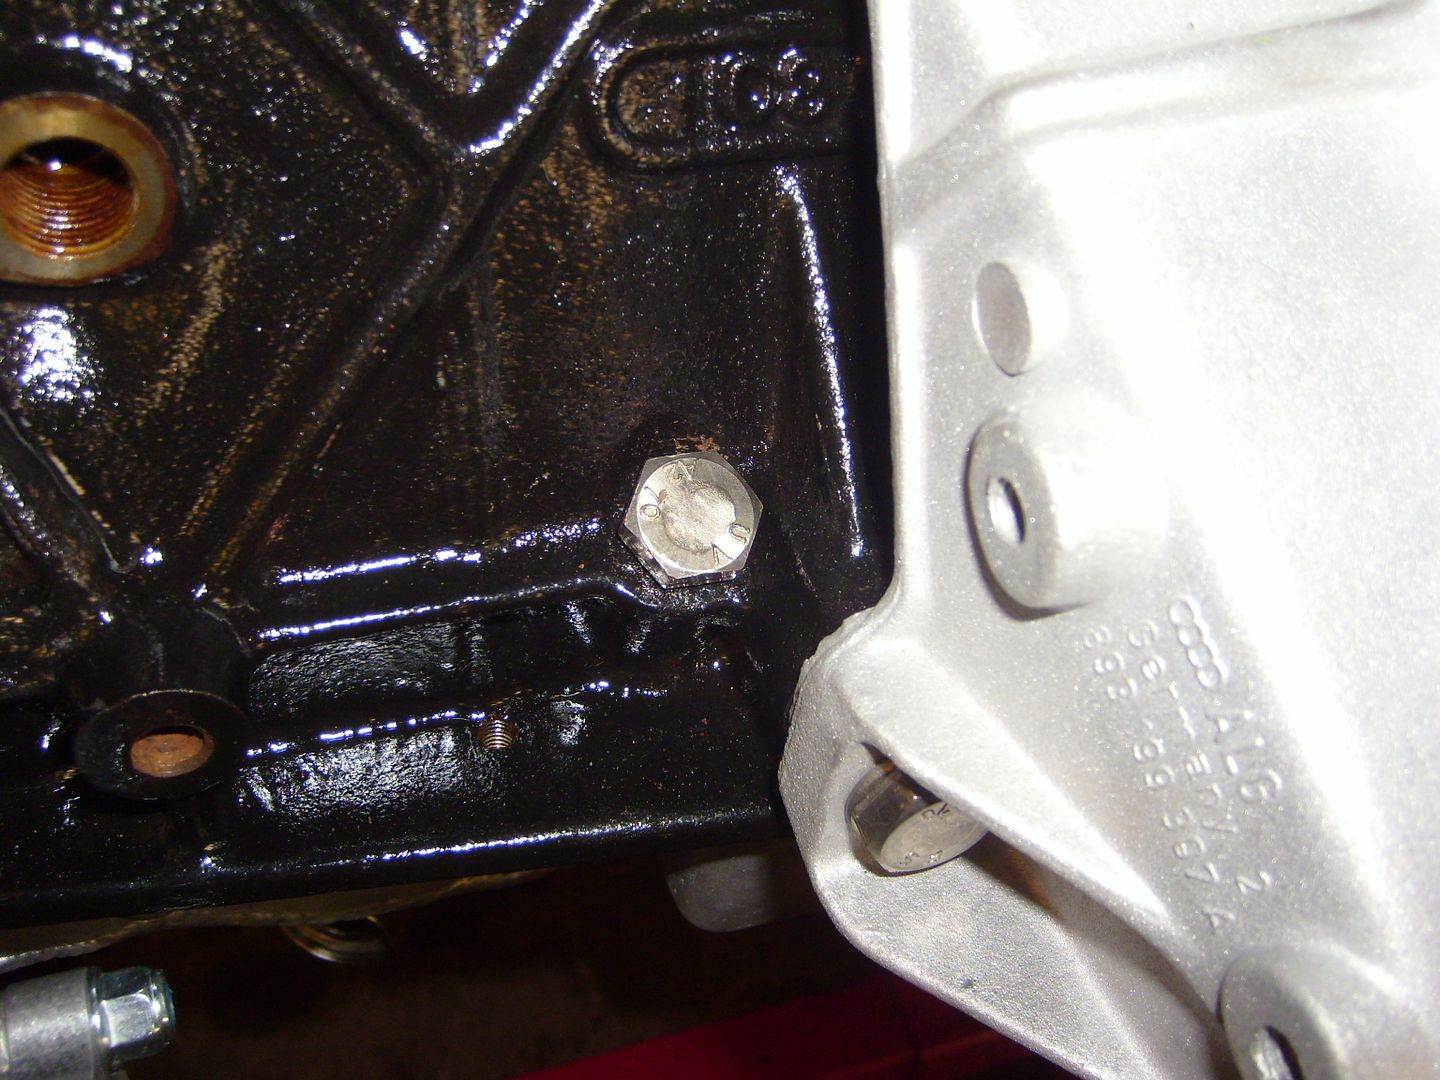
Turned down a bolt in the laithe to block up the dipstick hole:
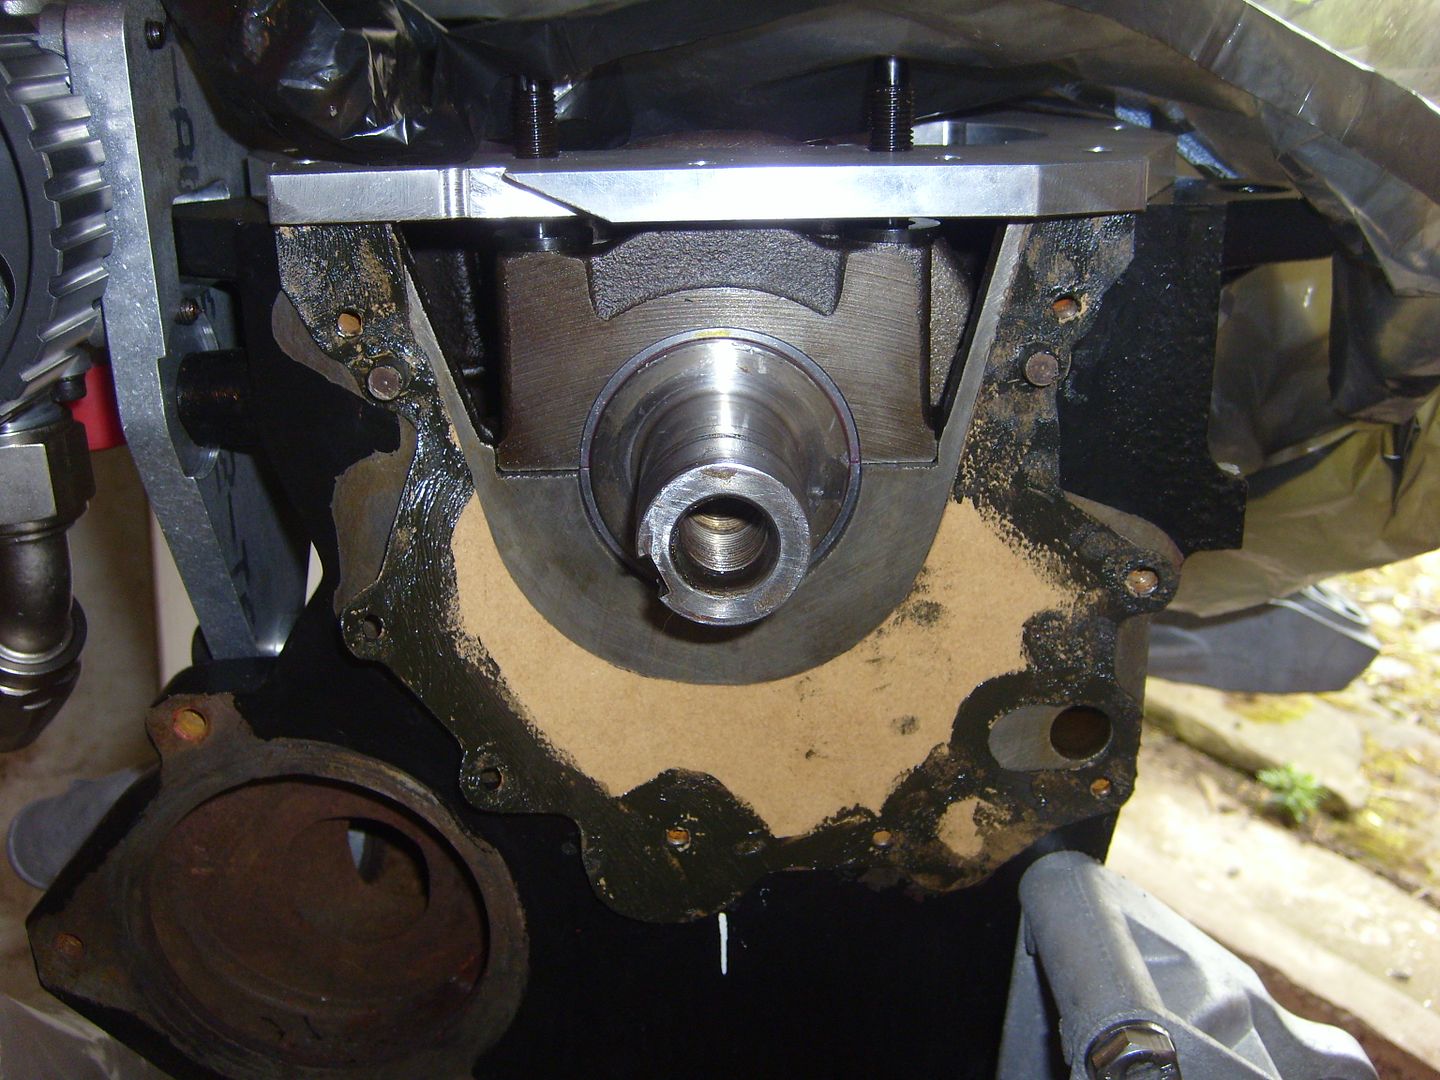
Had to make up a gasket for the front cover plate:
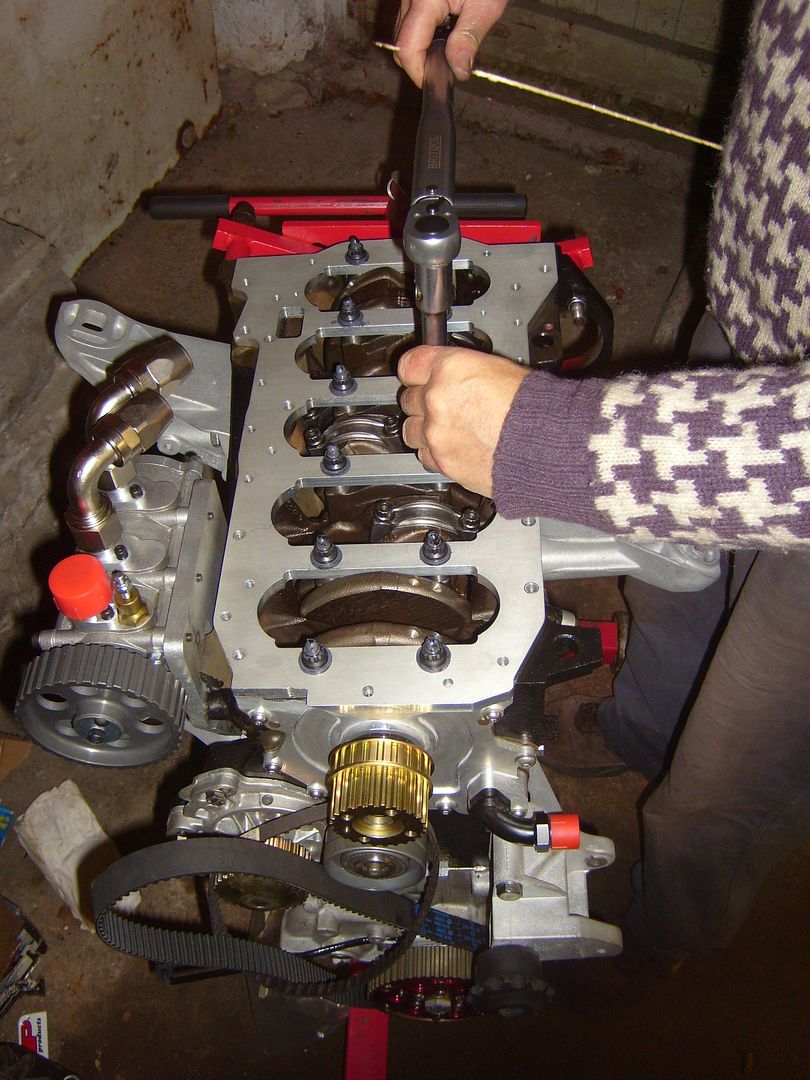
Whilst using the laithe I turned down the spacers between the main caps and girdle, left them 10thou higher than the crankcase to make sure its pulling the caps down. Then got it torqued down with the arp studs
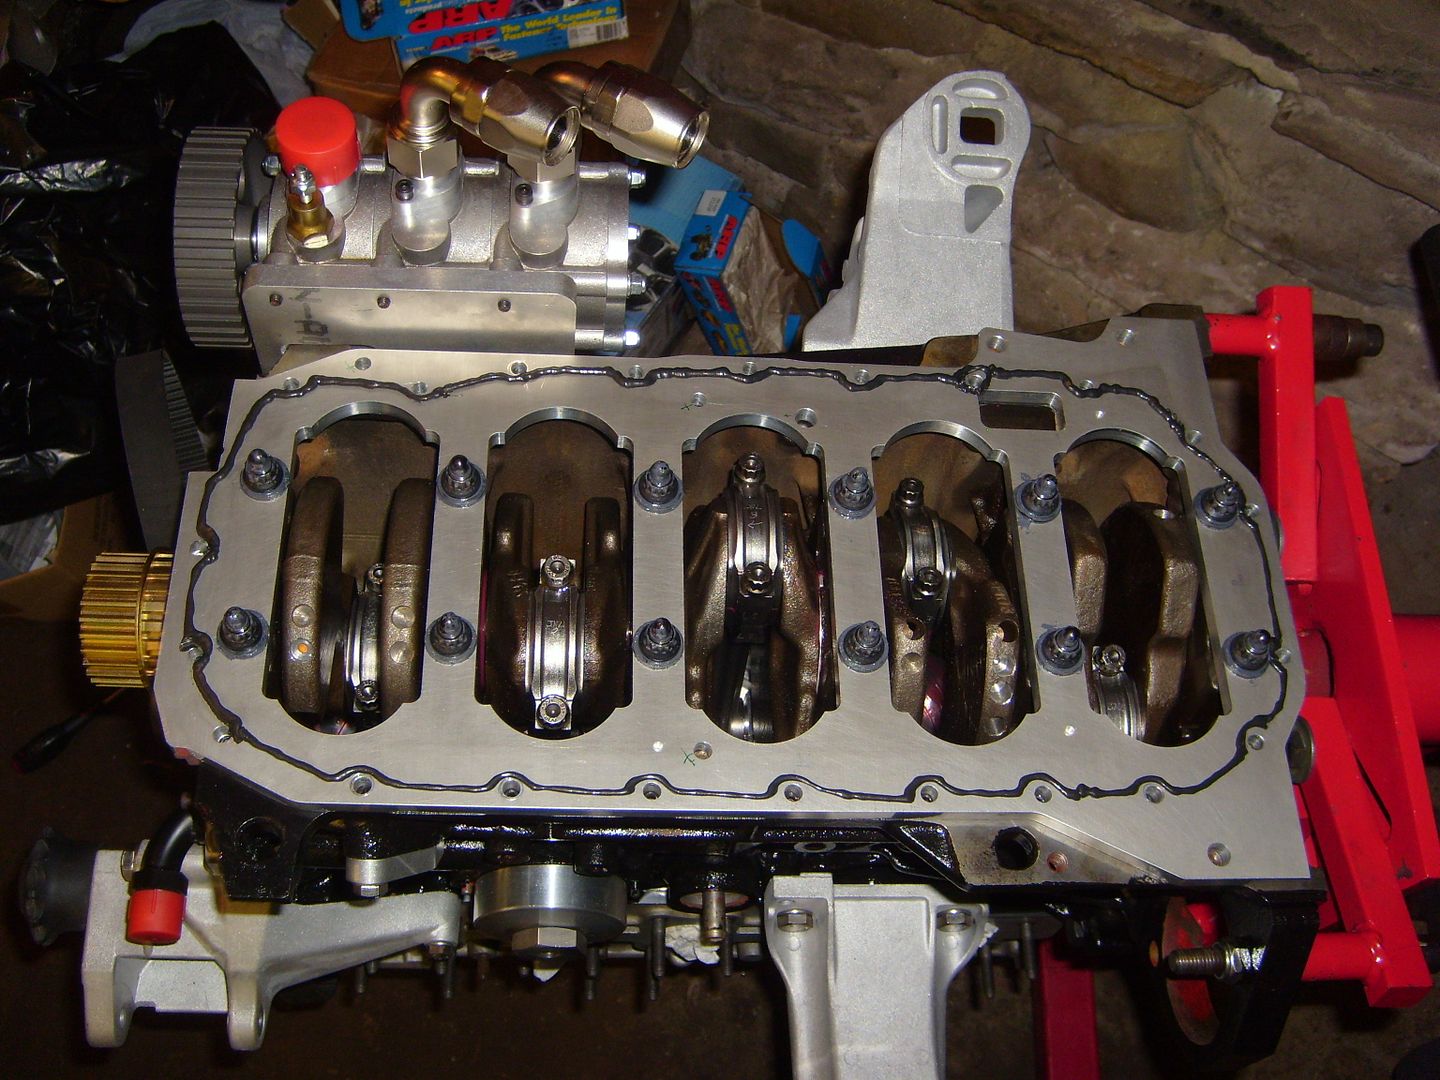
And sealed it up to take the sump:
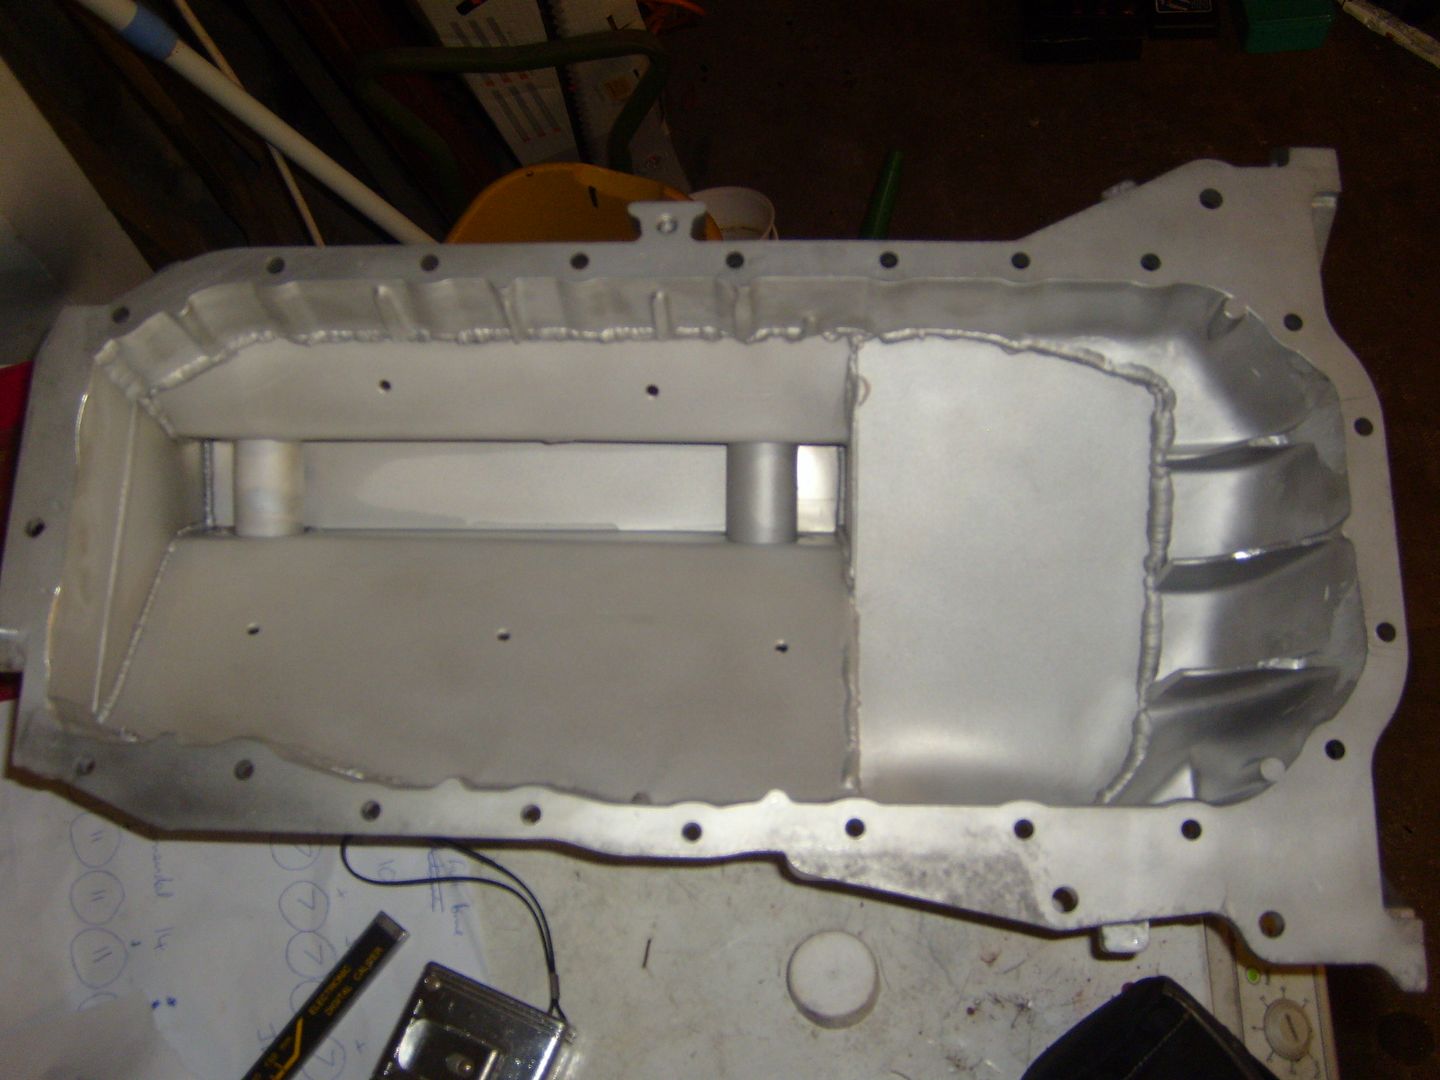
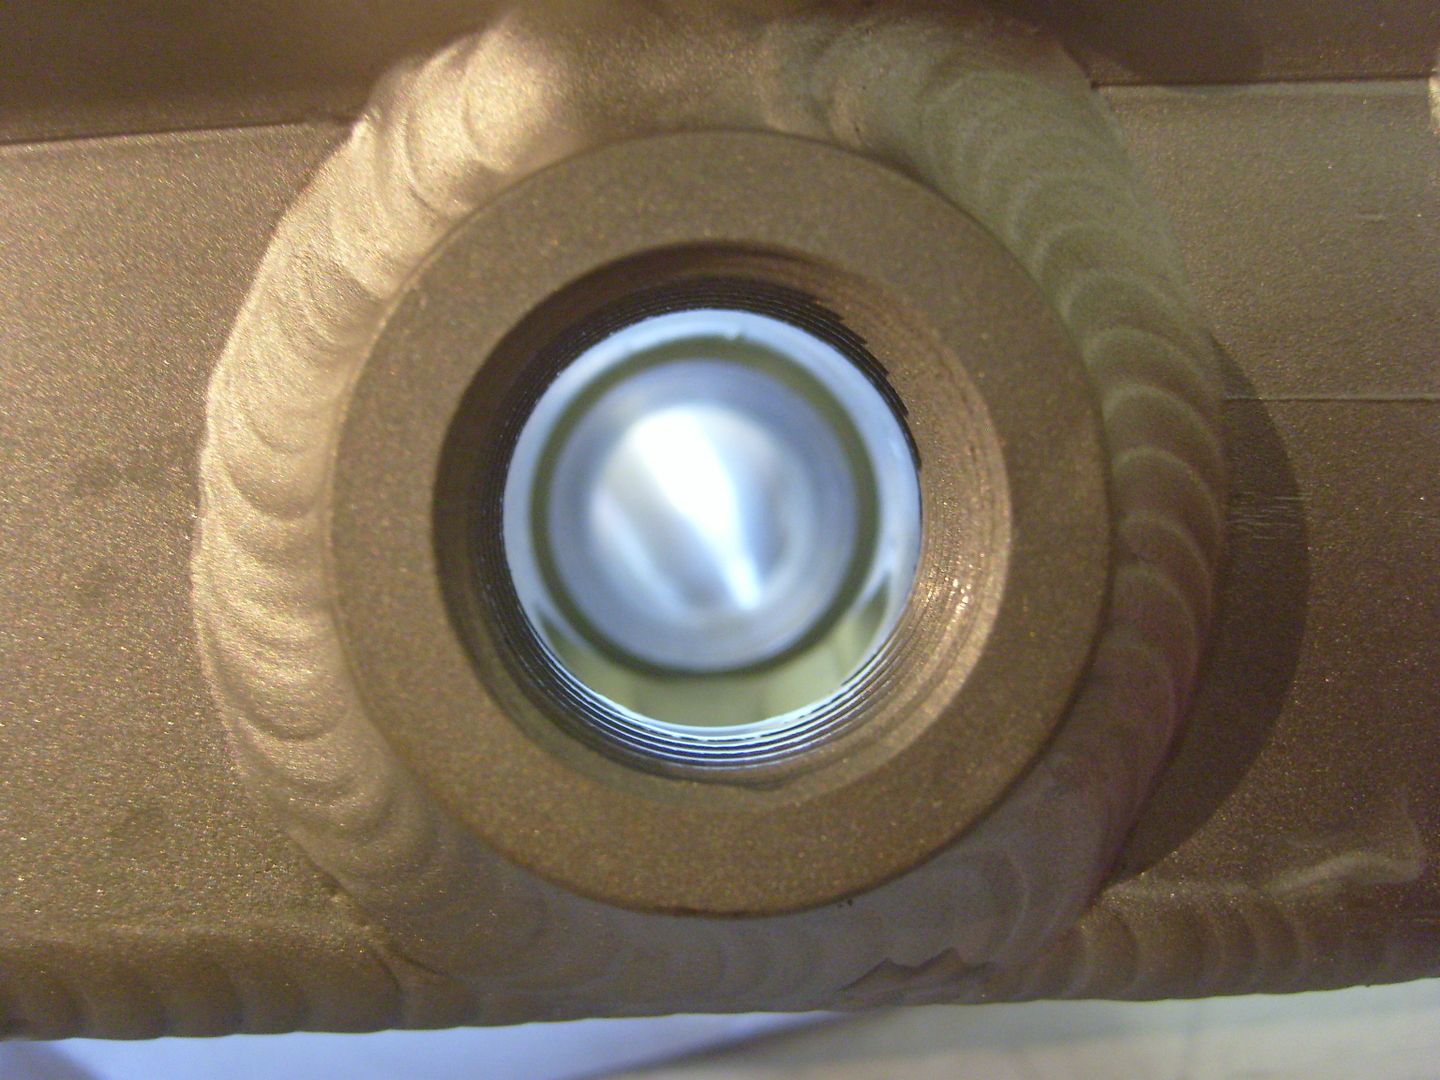
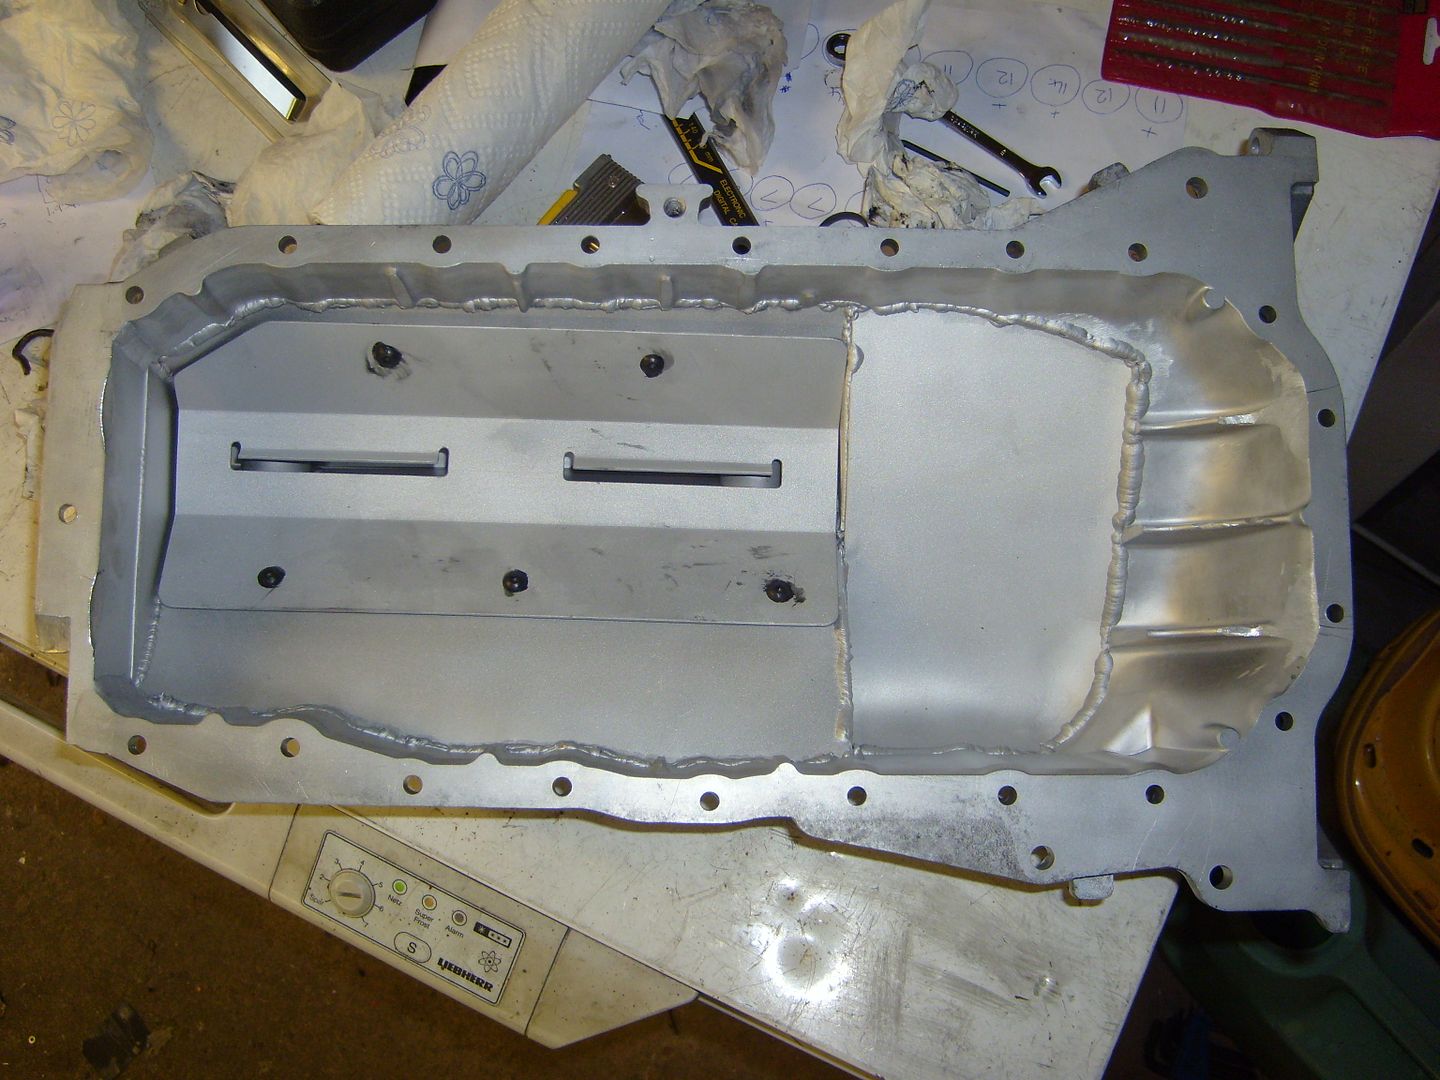
Then put the sump on, before I did I took a few pics to show the internals of it:
That left the engine ready to go into the car, so the flywheel, clutch and gearbox was bolted up:
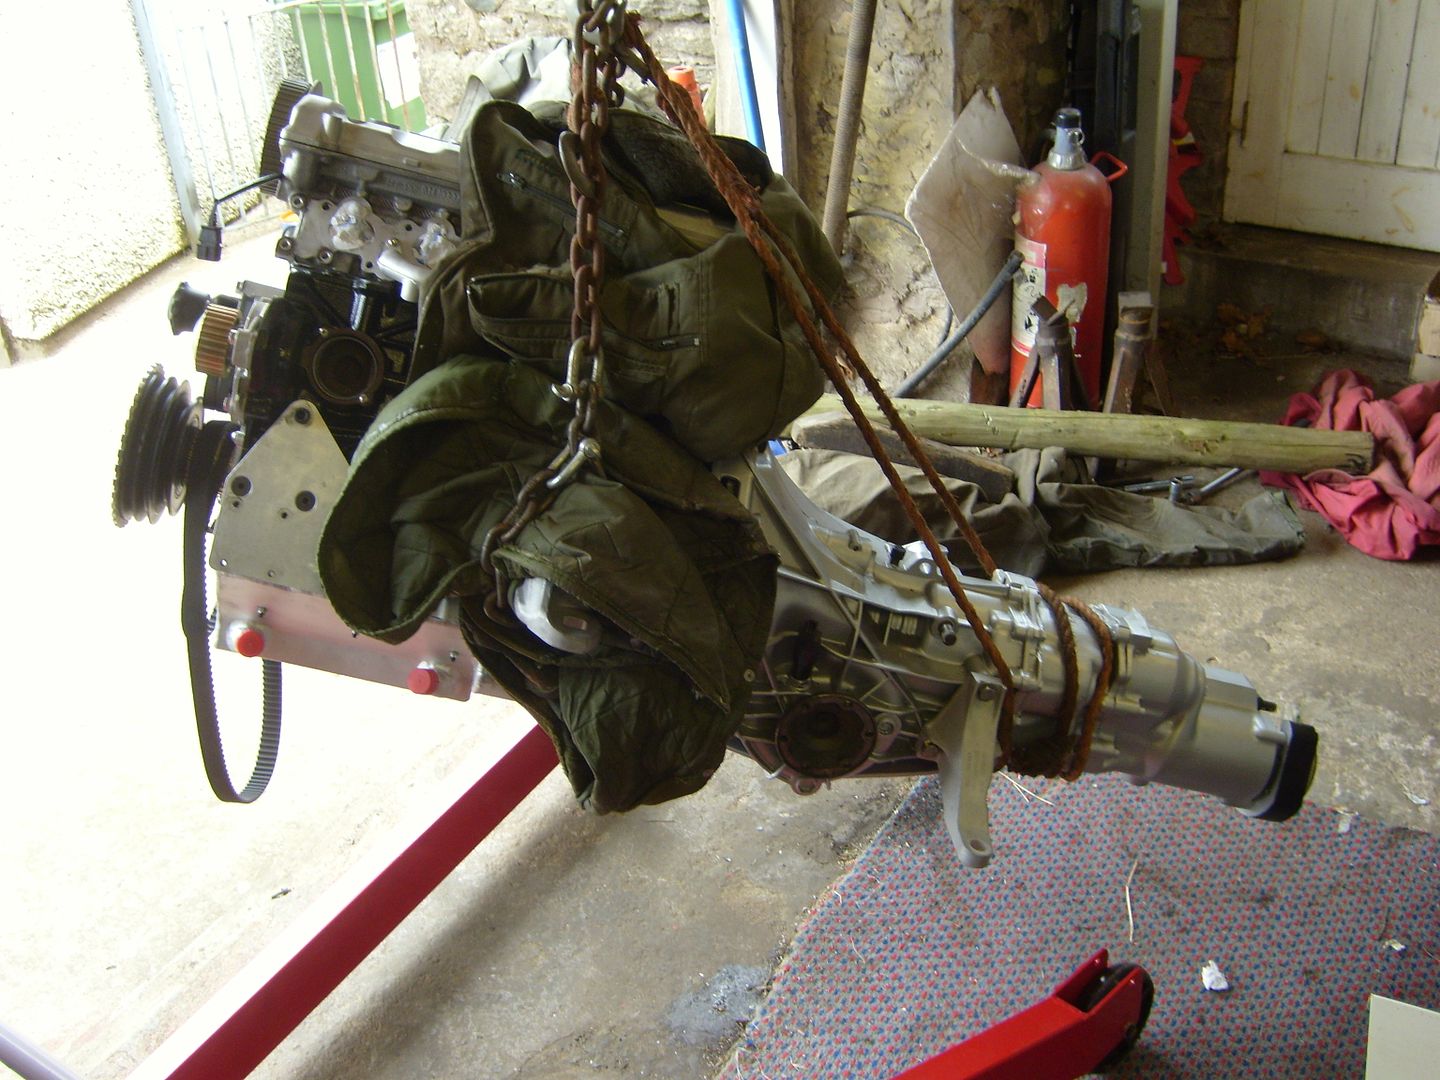
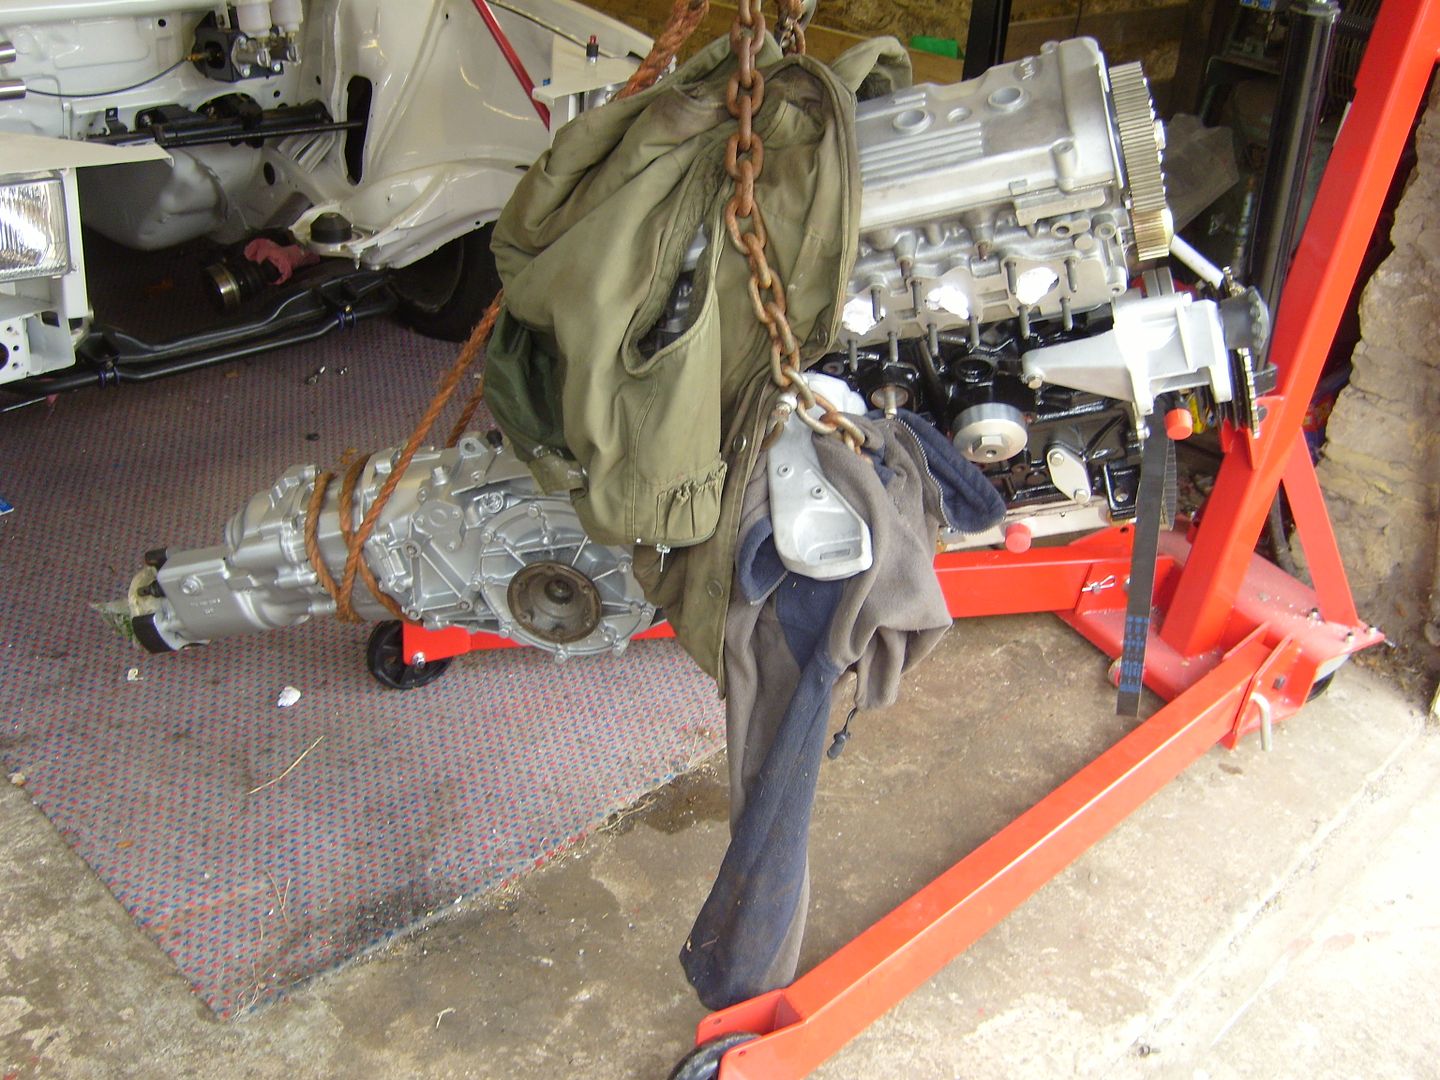
And in!
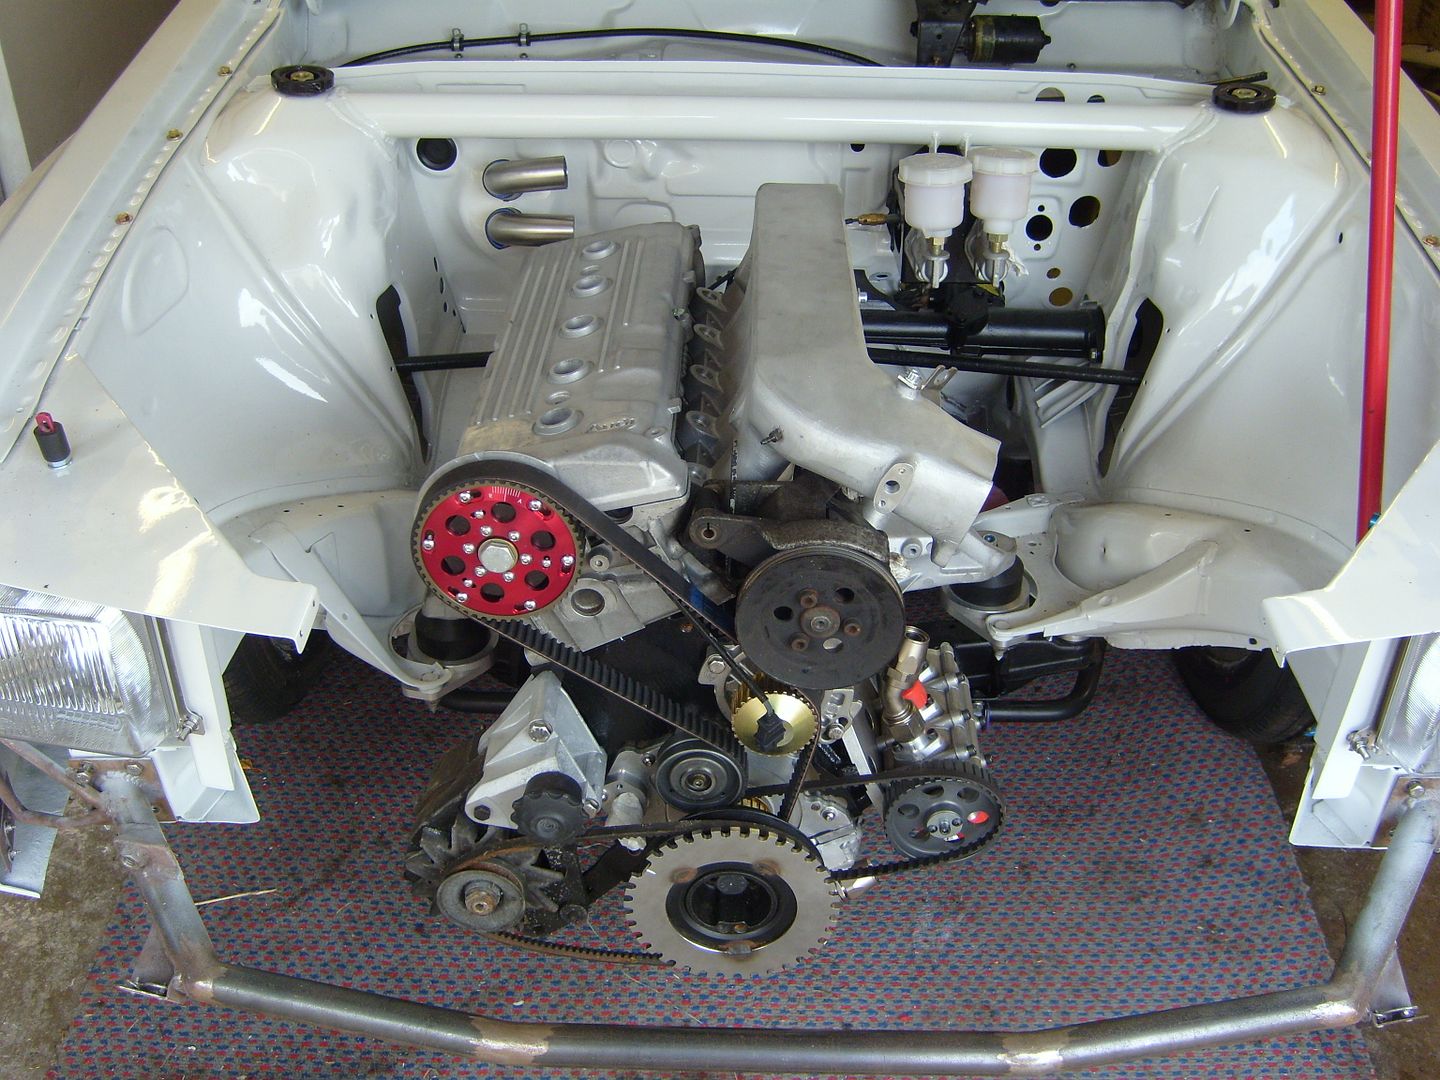
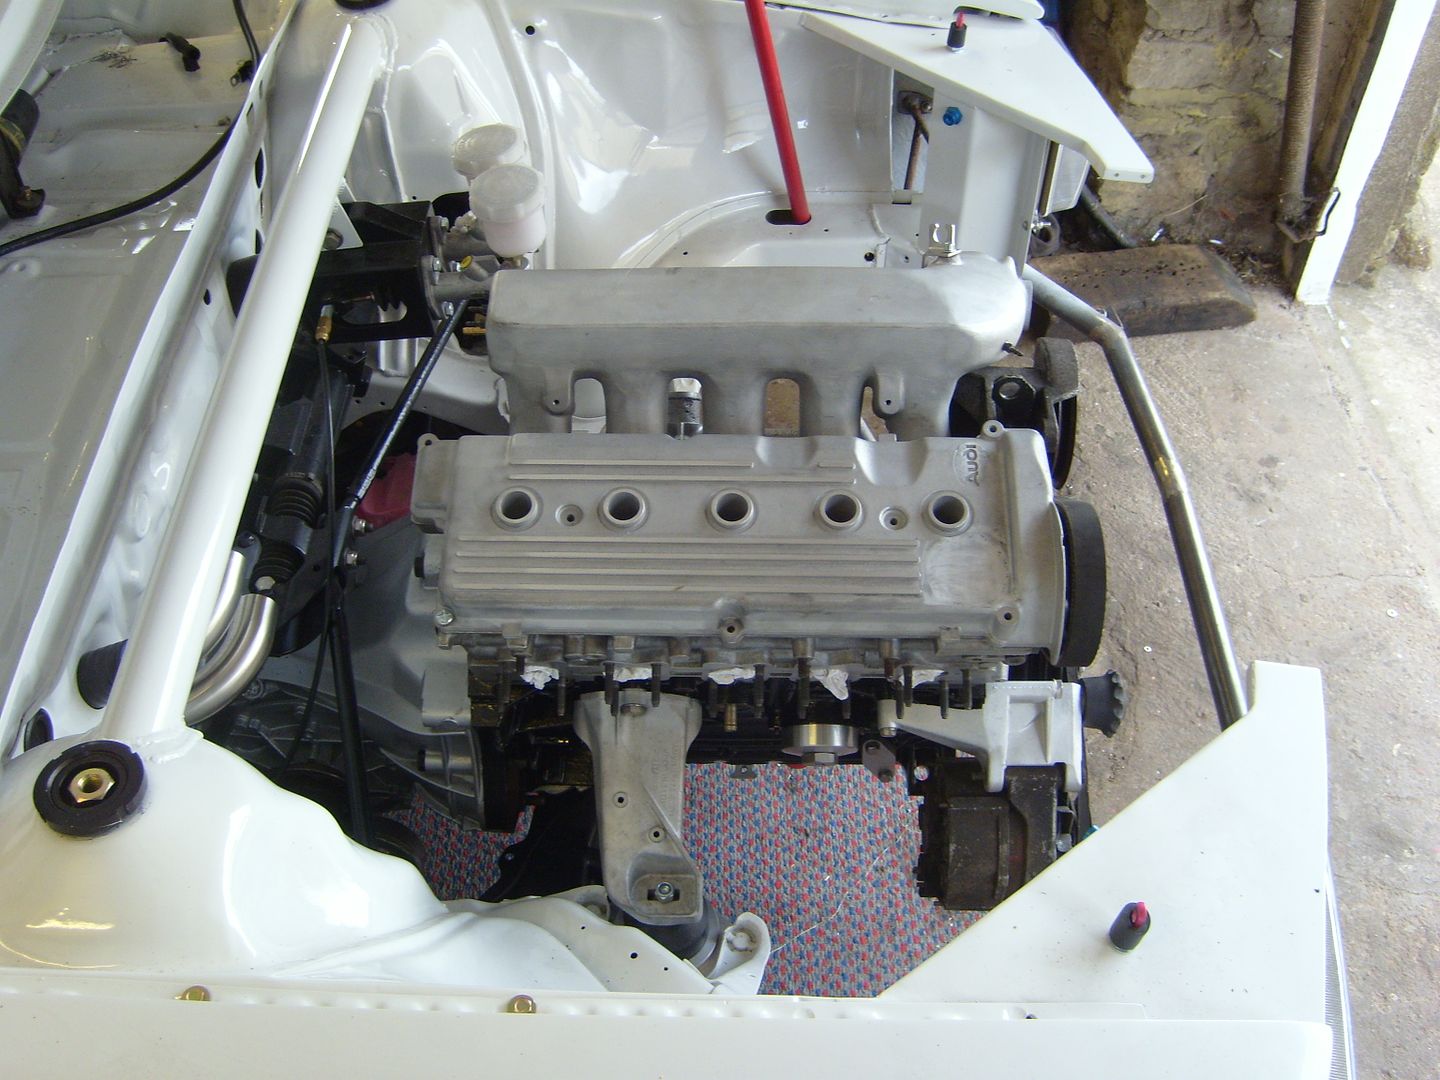
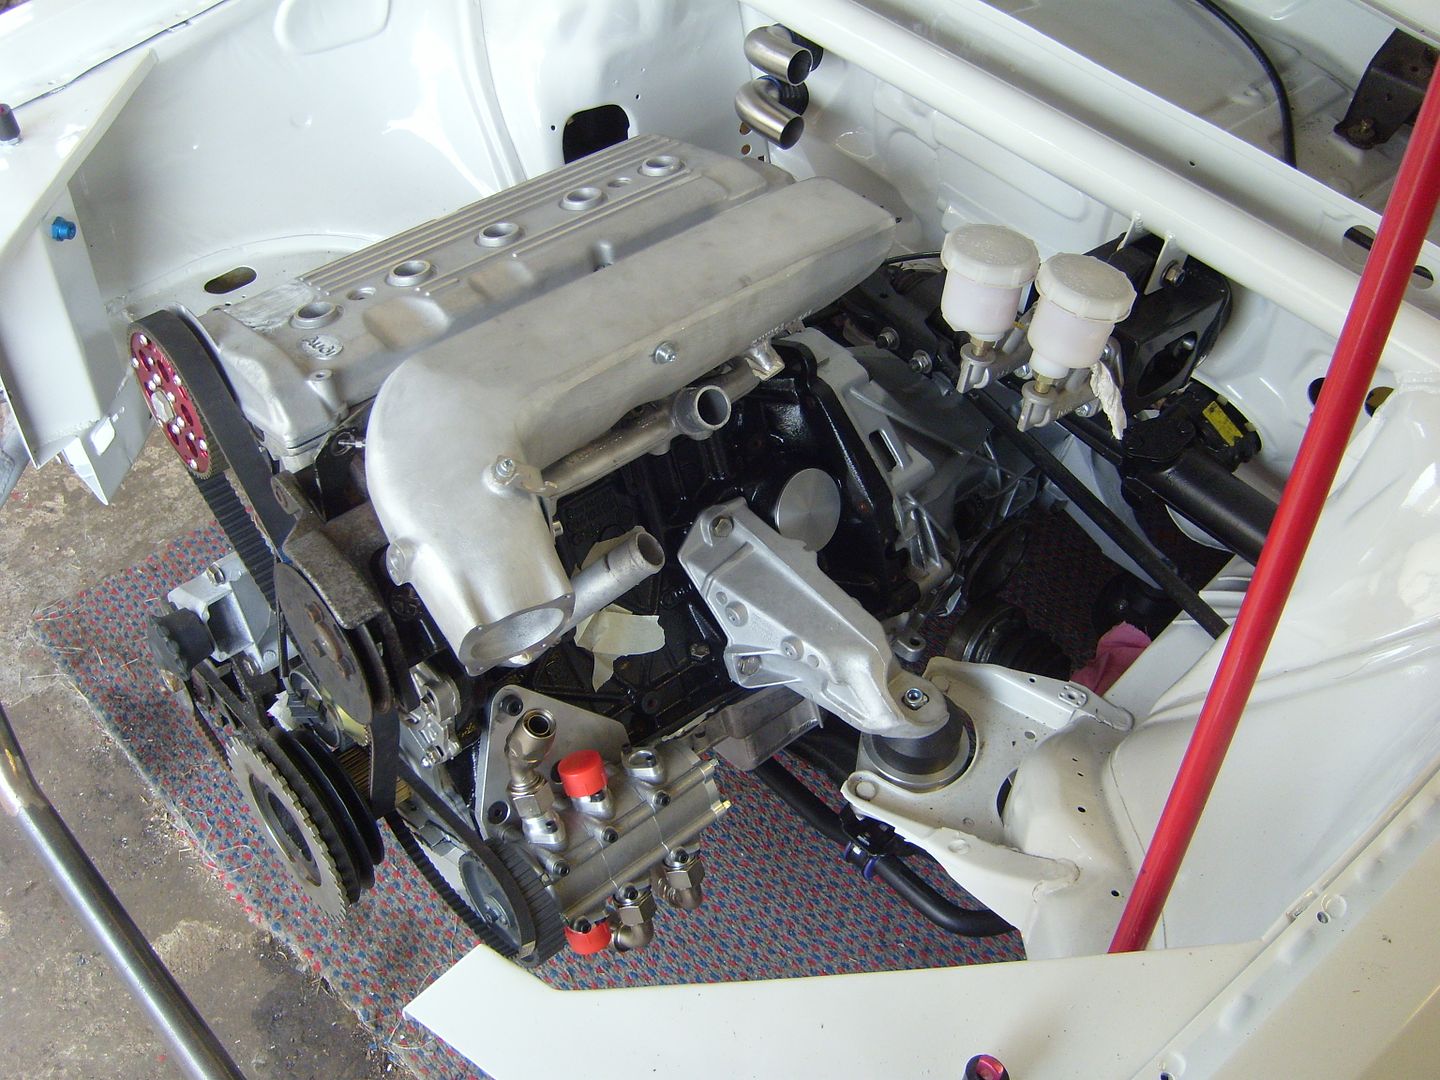
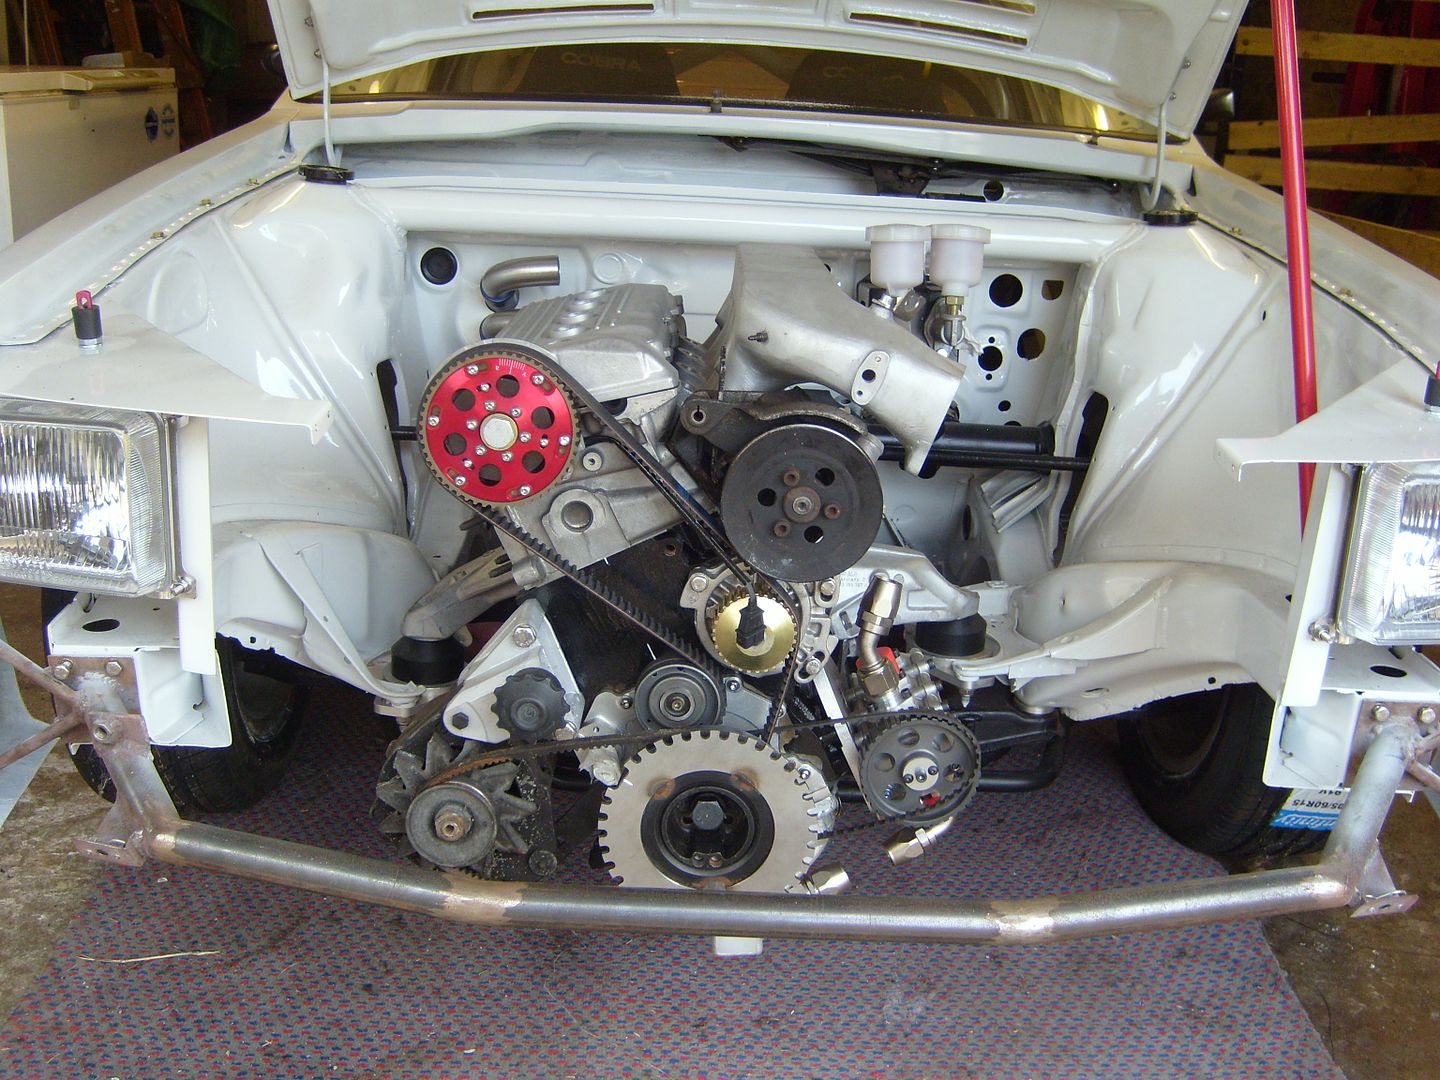
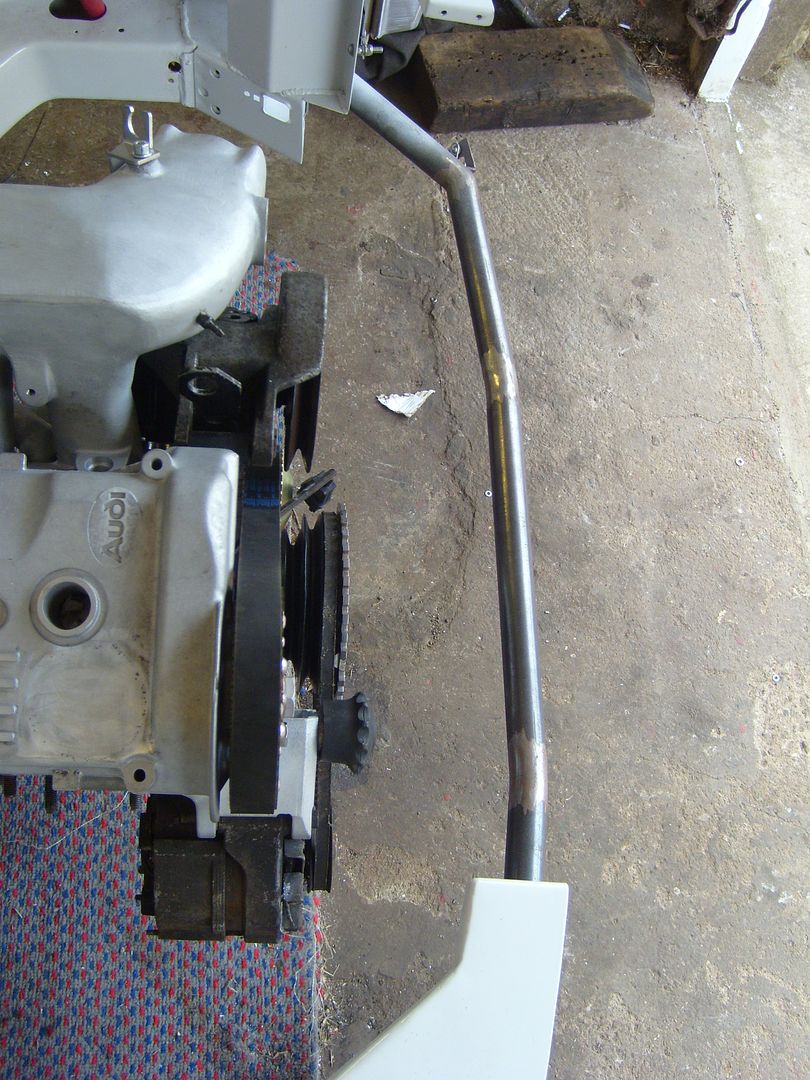
Seems to have plenty of room at the front for a nice big intercooler! Excuse the state of the power steering pump and alternator just trying them on to see how its all going to work. You can also see the 25mm golf cambelt set up.
Finally picked up a couple of proper works fuel pumps. Bosch 044 motorsport 10 bar ones. Not from the works team you might be thinking of though.
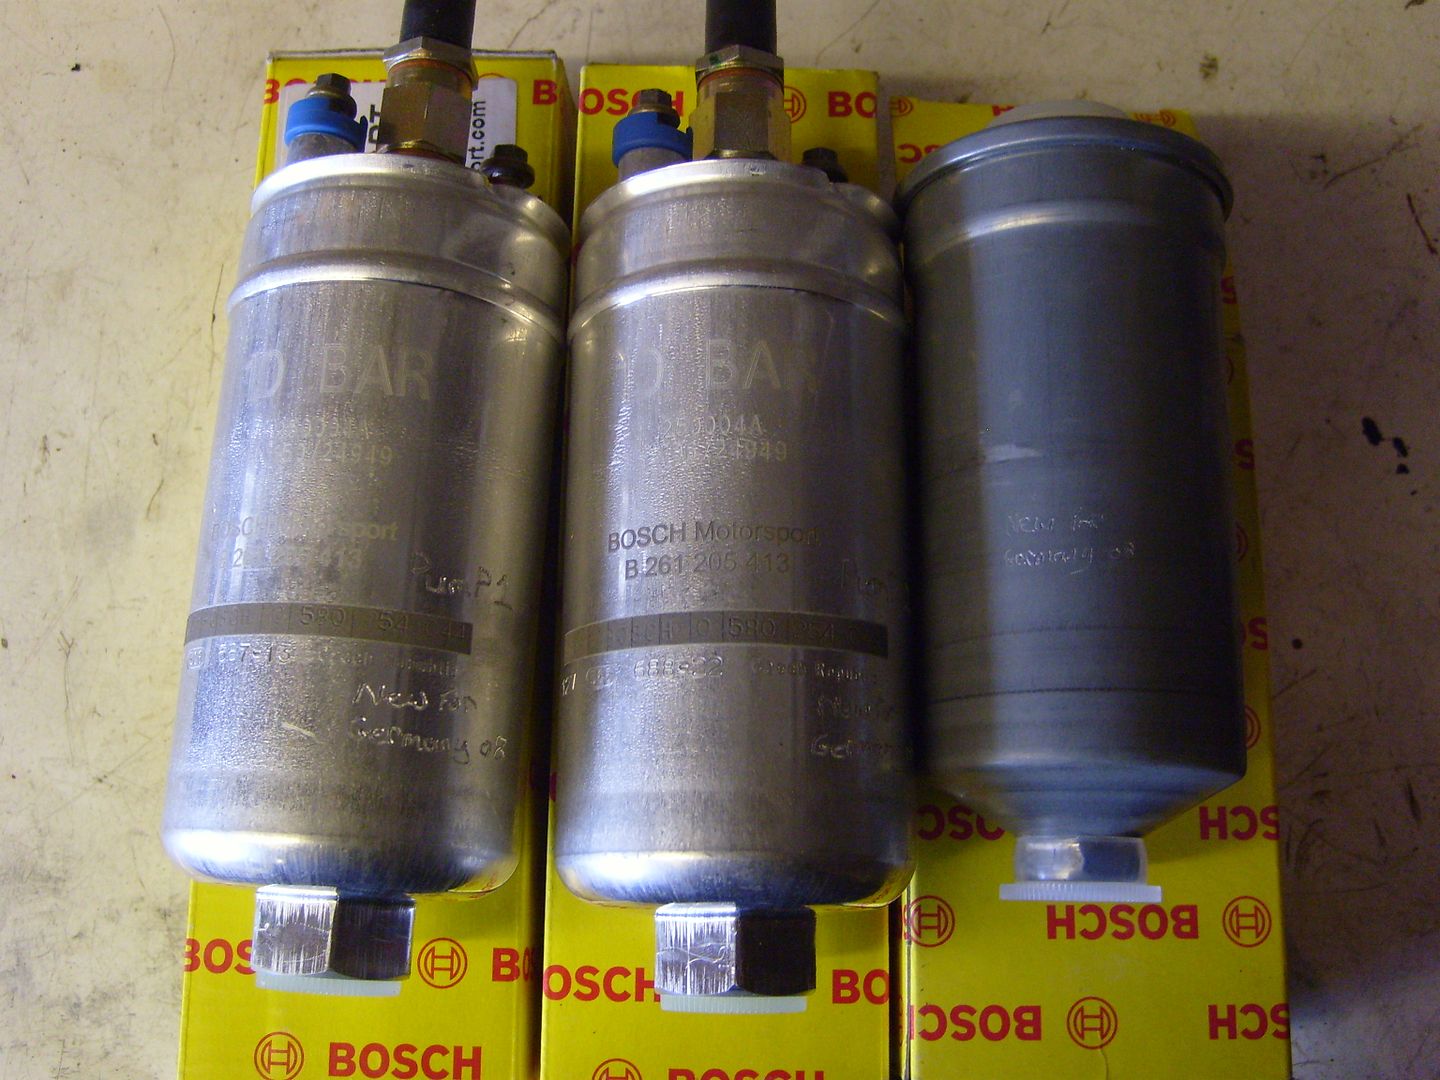
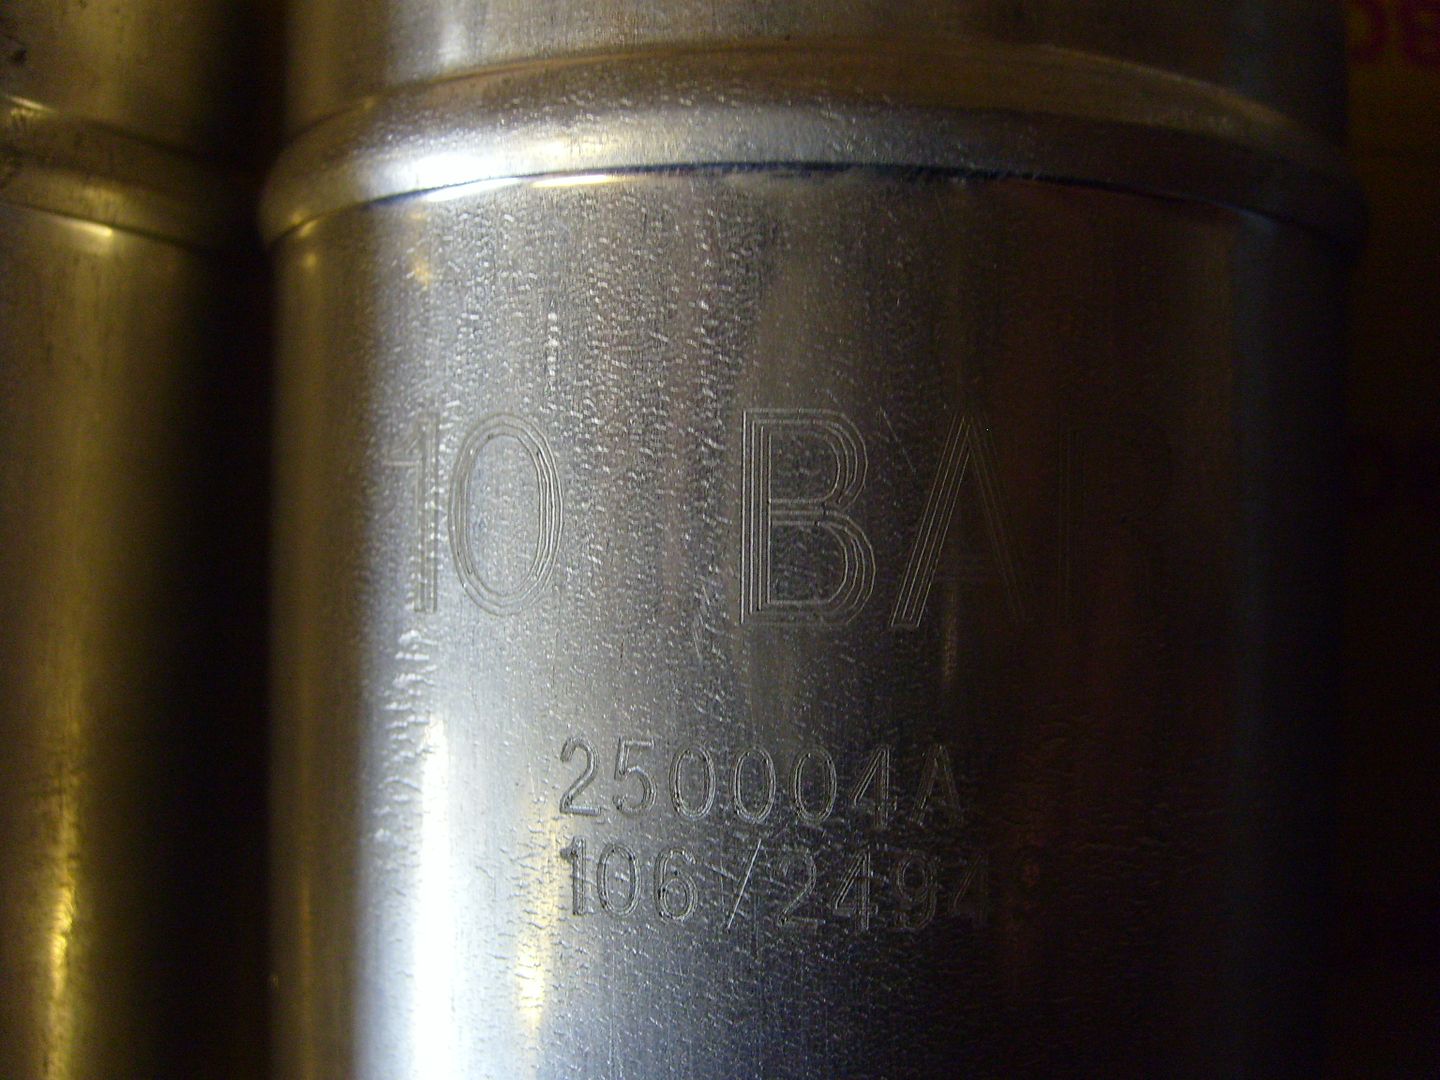
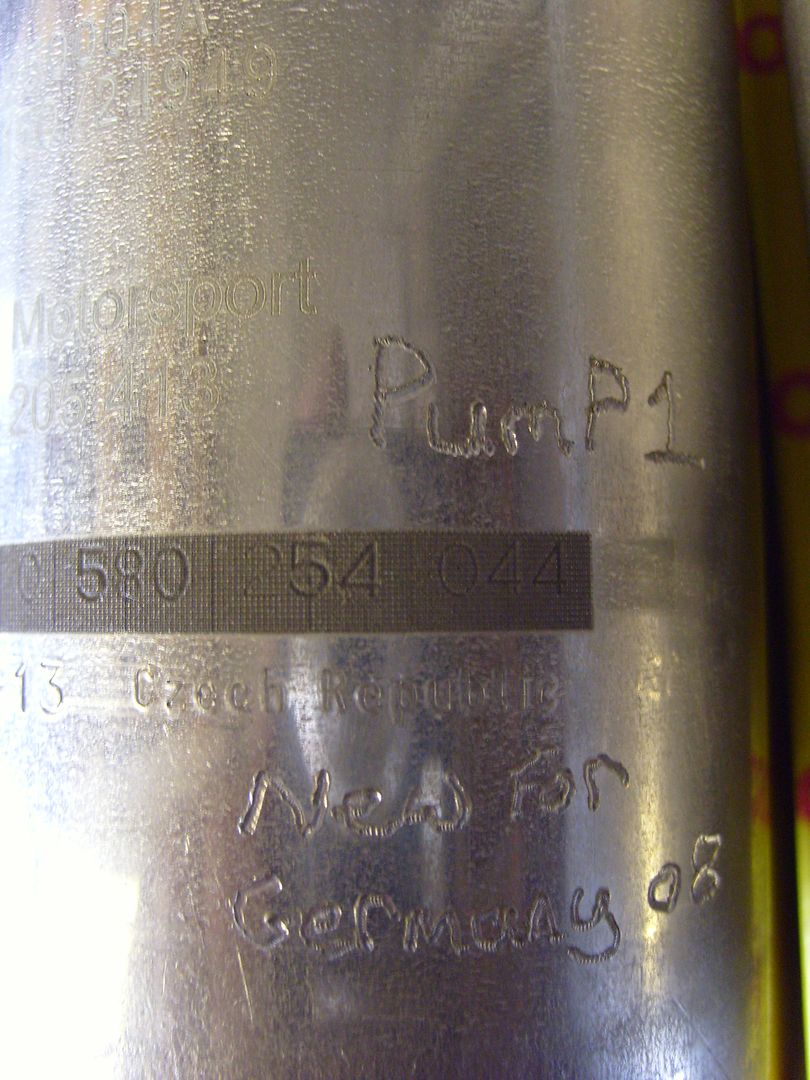
I have the coming week off work so will plug away at a few jobs that I have been putting off. The exhaust manifold and turbo are the next pieces to buy then I can do the boost pipes, exhaust and turbo lines.
Its good to finally have it all back in one piece, first time all the major bits have been together in 2 1/2 yearsComment
-
Nice work mate looking good. Im going to have to get a crack on and come and have a look at this vehicle some time .
Comment
-
Excelent work. Its realy coming along. Just wish i had the time....Comment
-
Hamish are you using a electric water pump to help the cooling system and is that a ATL cell?ChefComment
-
Yes and yes James.Comment
-
So it’s been a long while since an update. I have been slowly working away on the car between other things.
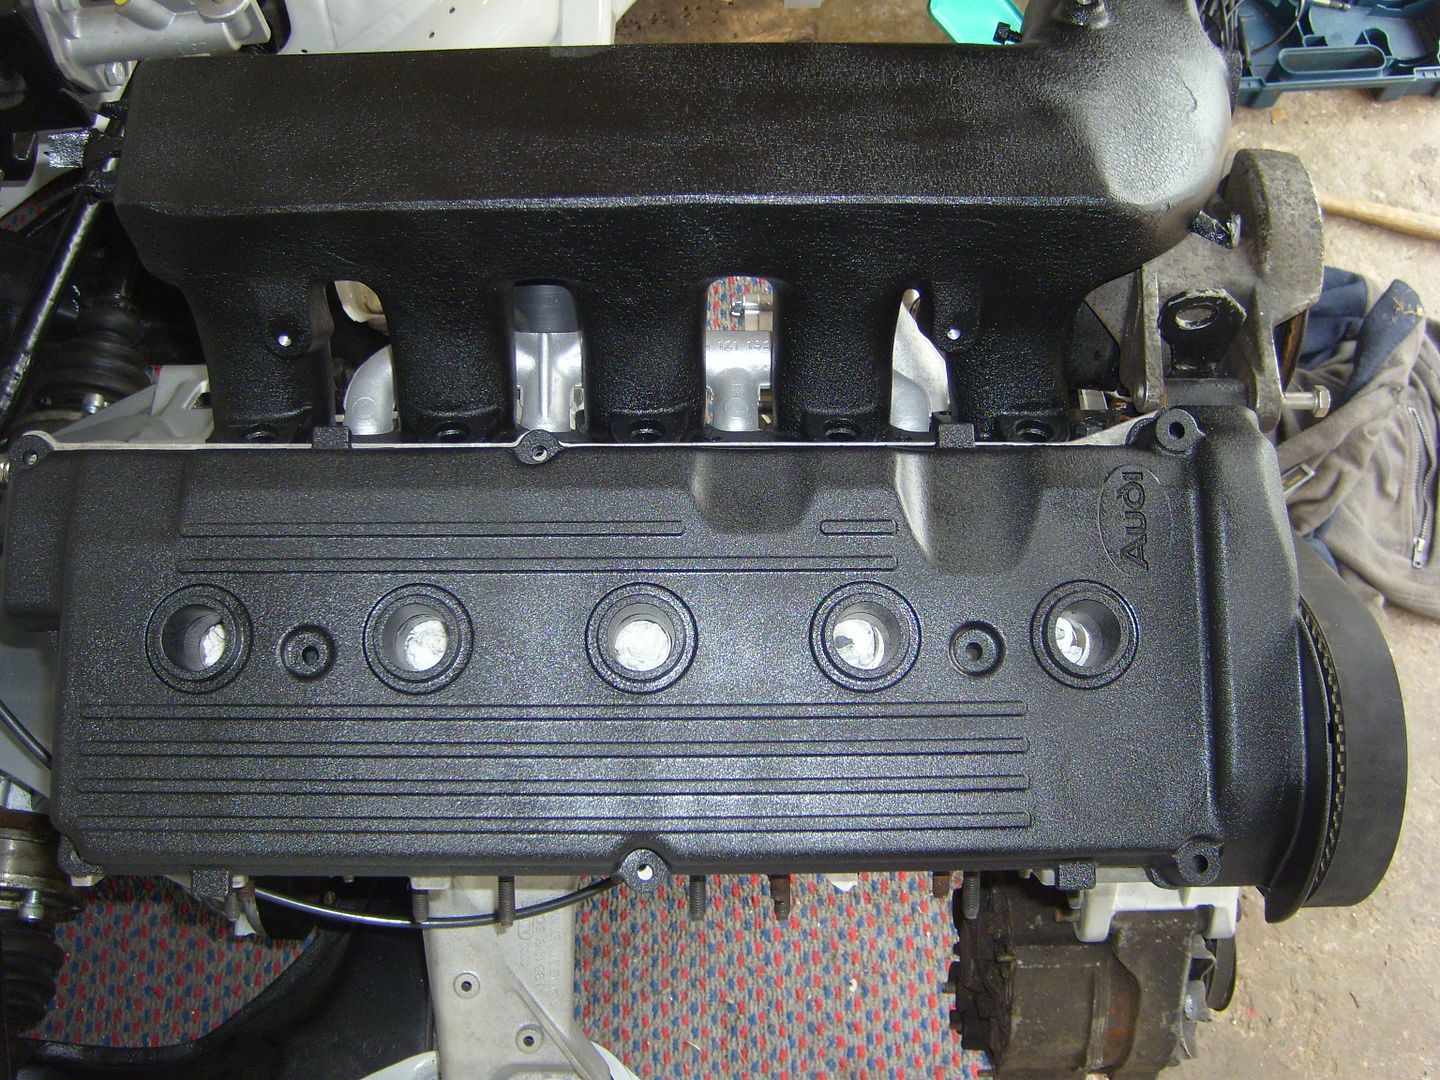
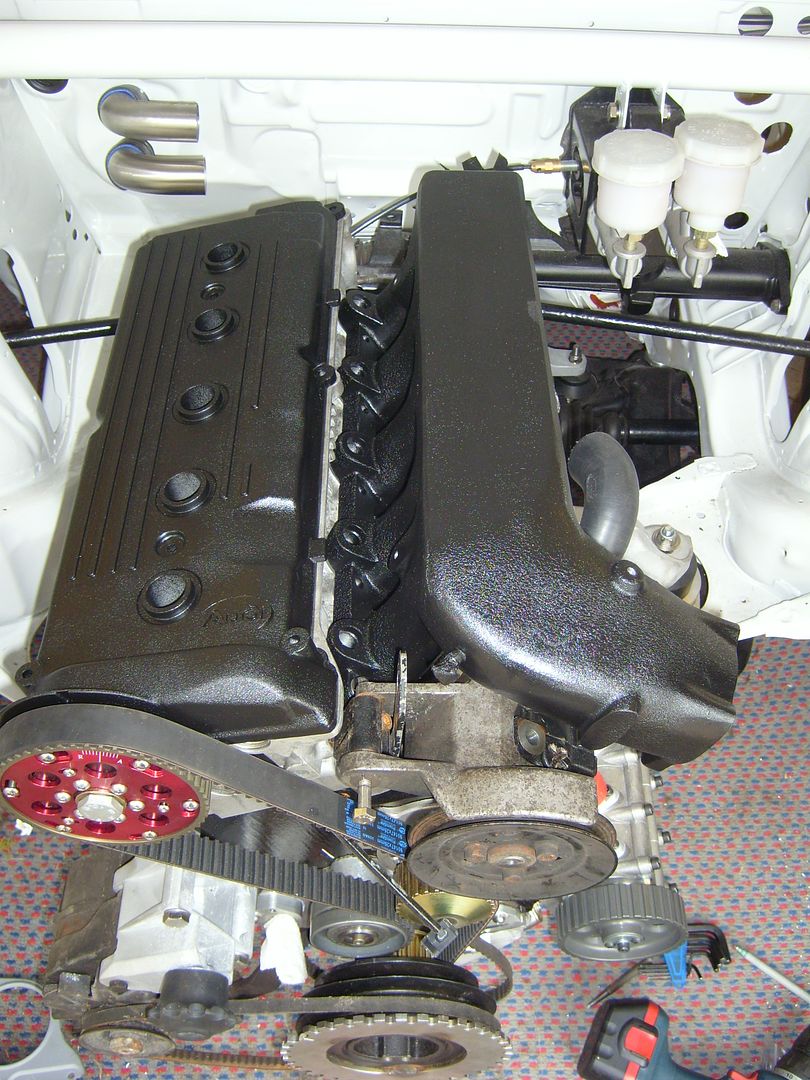
After the engine went in I got some crackle black paint to do the rocker cover and inlet manifold, the rocker cover has had the oil cap welded up:
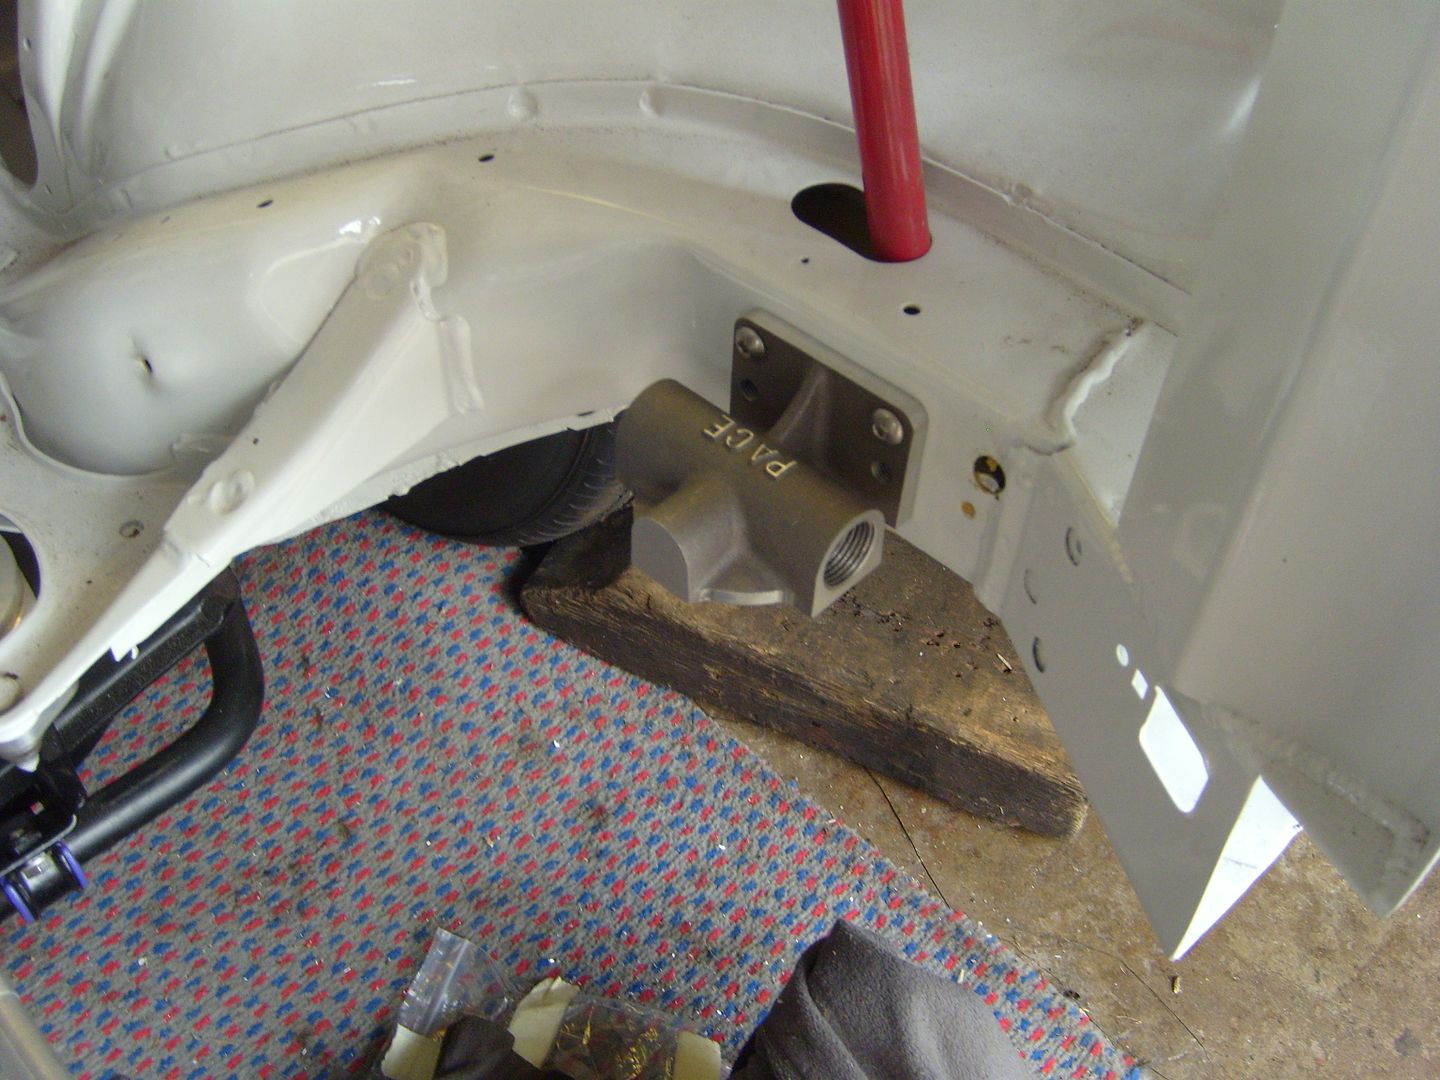
Decided on a spot for the remote filter housing:
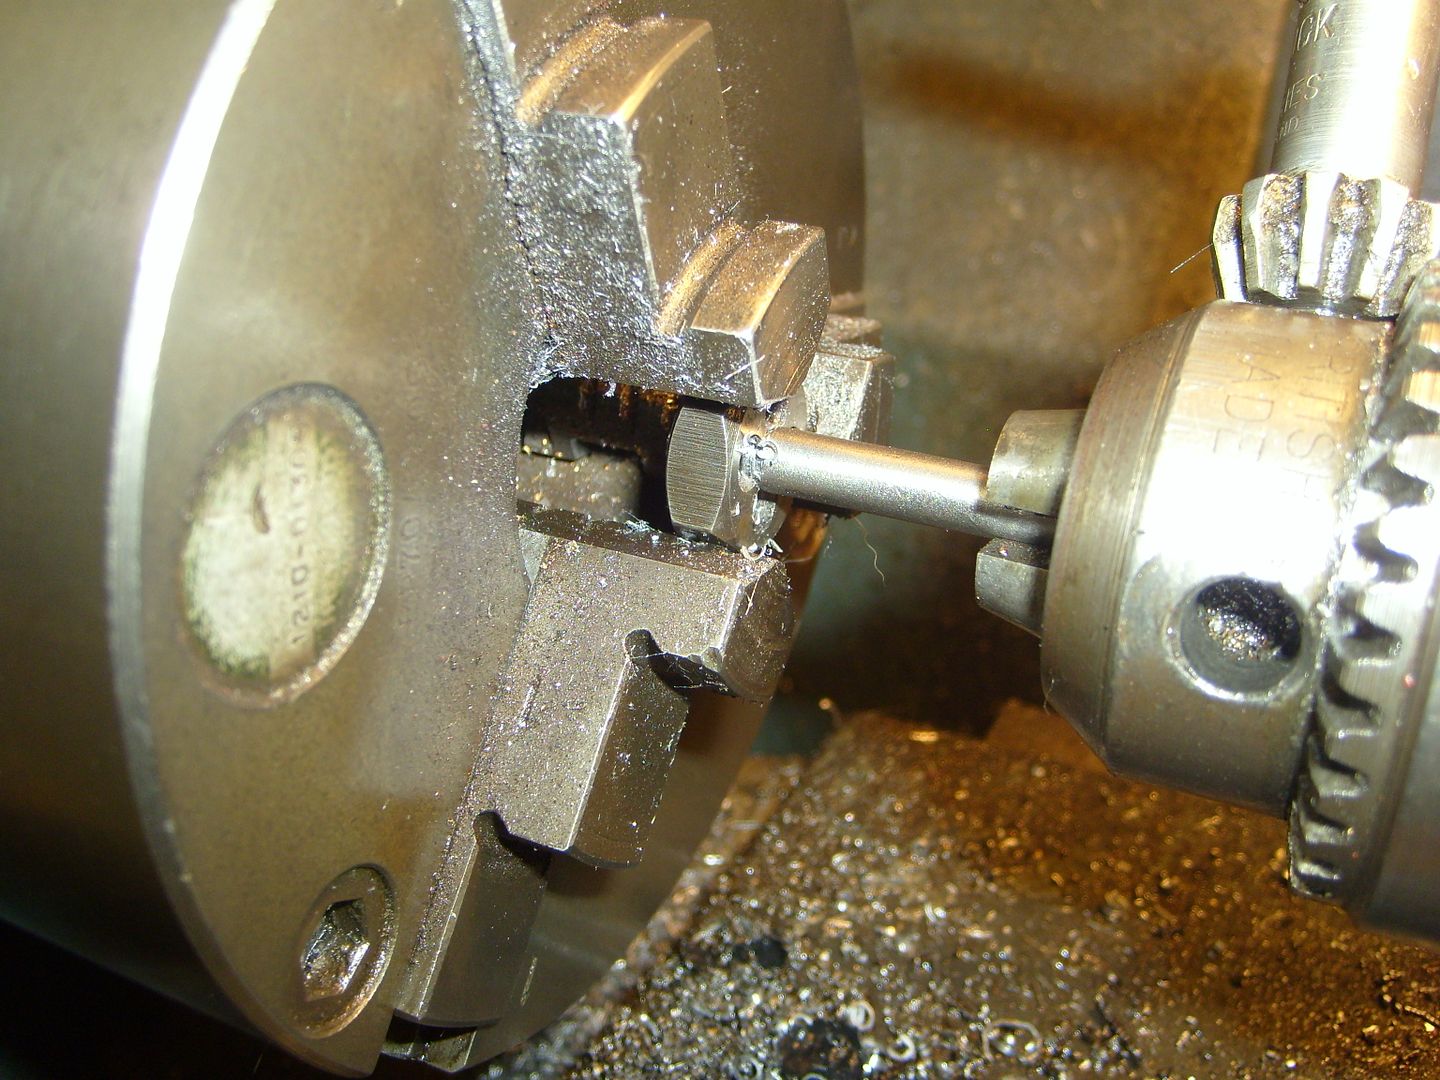
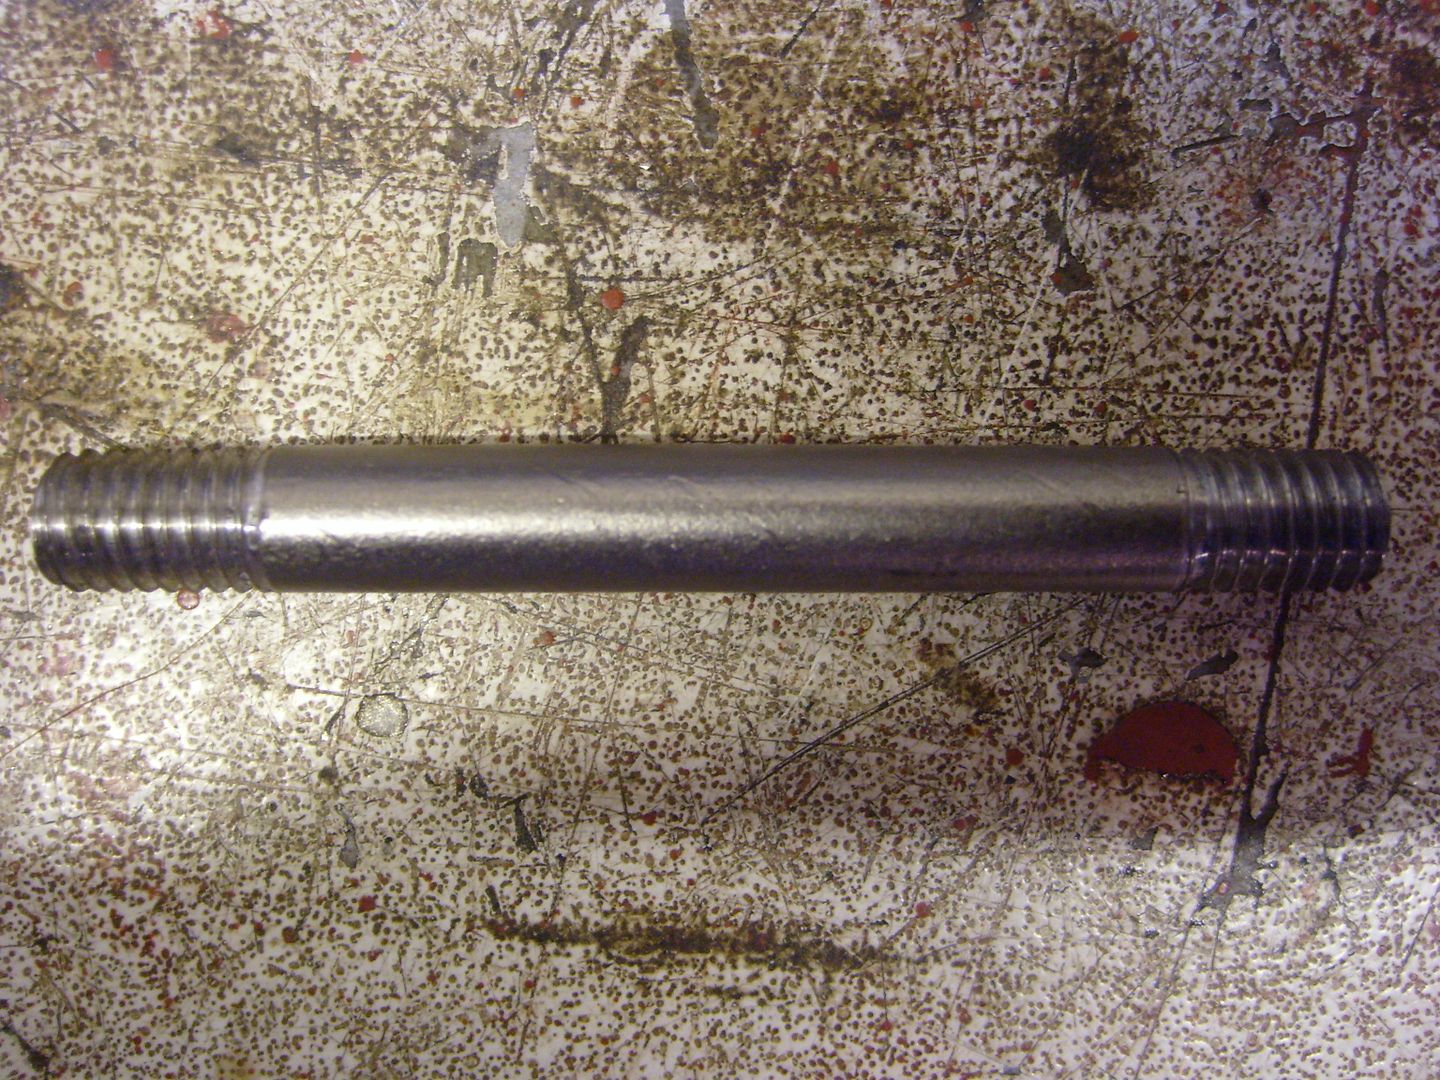
I thought the best plan of action next was to sort the bits down the back of the engine before they become harder to reach. So I started with the clutch slave cylinder retaining pin. This is normally a rolled piece of metal which you have to drift out. Decided that wasn't ideal so I made this up:
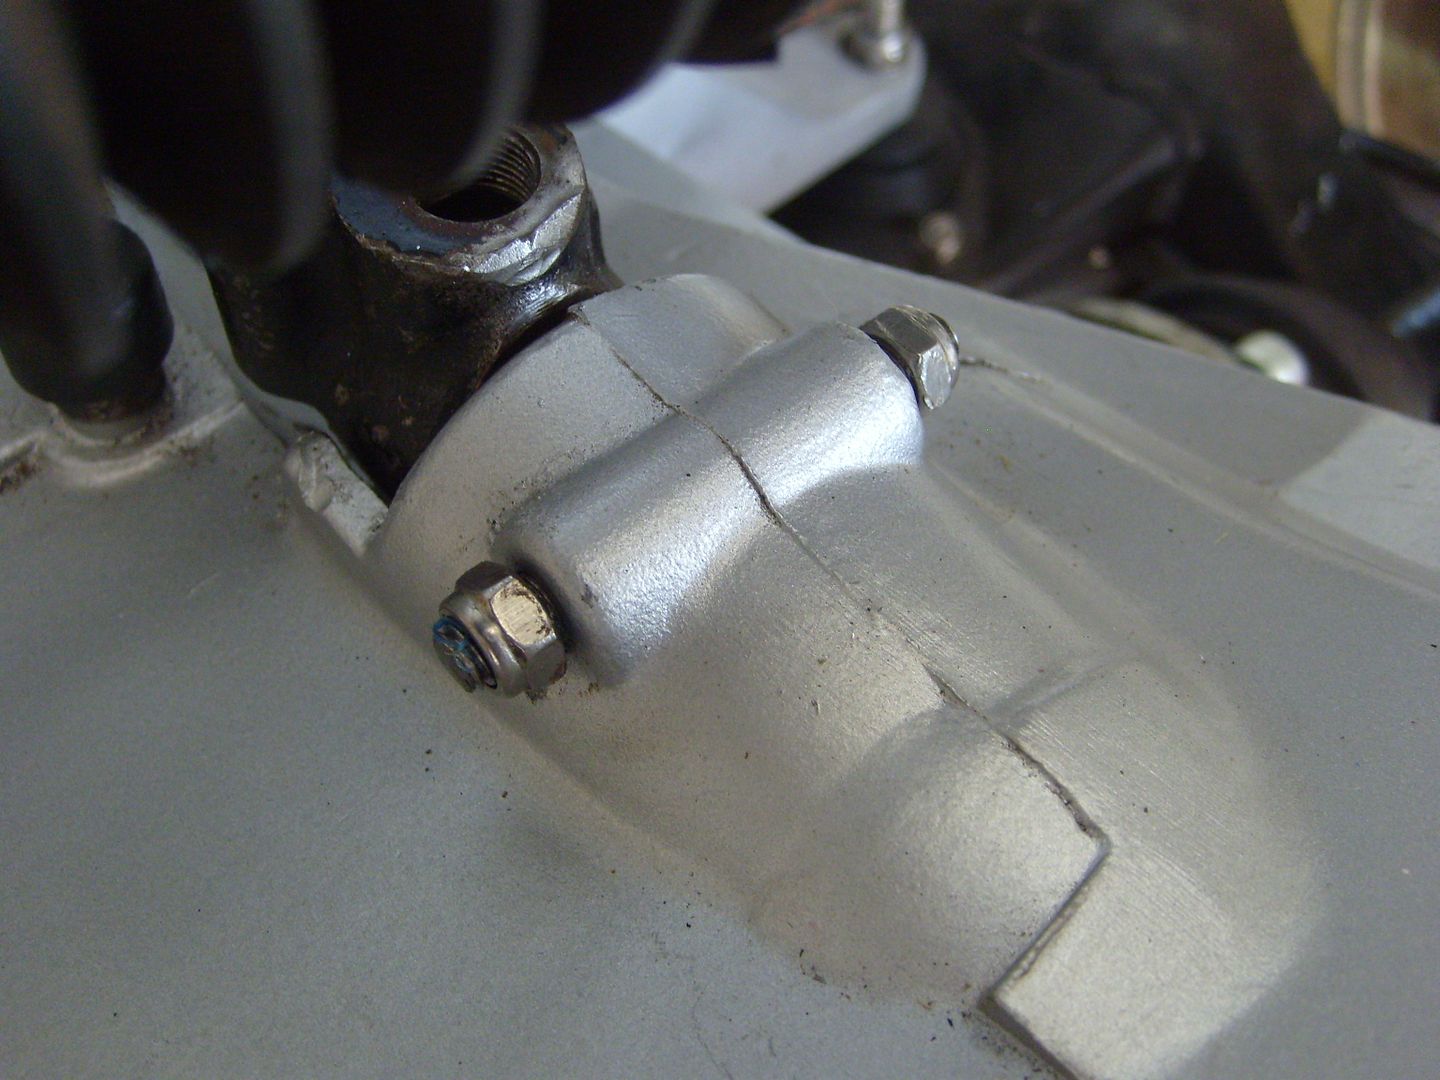
That left the gearshift mechanism to sort out. I am using a S1 shifter so had to make up something totally different to the standard one. It’s probably been the most difficult thing to make on the whole car and has taken countless hours to get it spot on.
It’s a piece of stainless tube bent to clear the tunnel but as I found out it has to be bent back so it forms a straight line, otherwise the gearstick pulls to one side. From there it uses a spherical bearing with misalignment spacers to allow it to rock as far side to side as possible. This bolts to the alloy piece which in turn bolts to the gearbox shaft with a grub screw.
From there it goes forwards and up to the link bar to stop the main shaft moving side to side and make it push the gearbox shaft in and out. The bar is left and right hand threaded with rose joints so it can be set exactly.
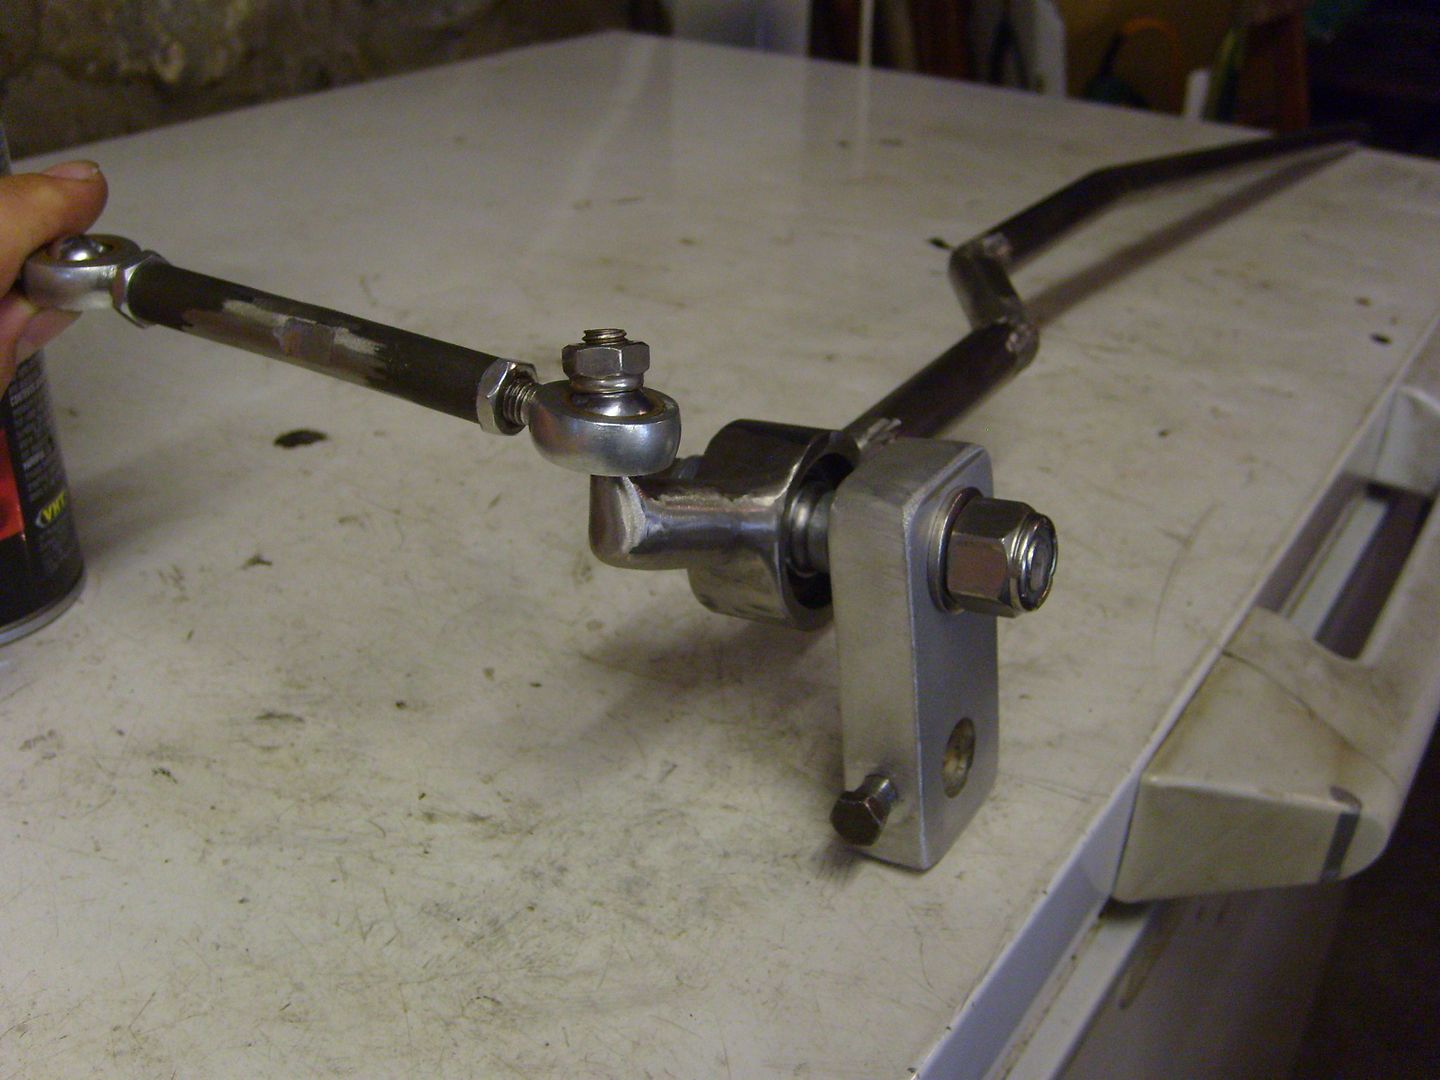
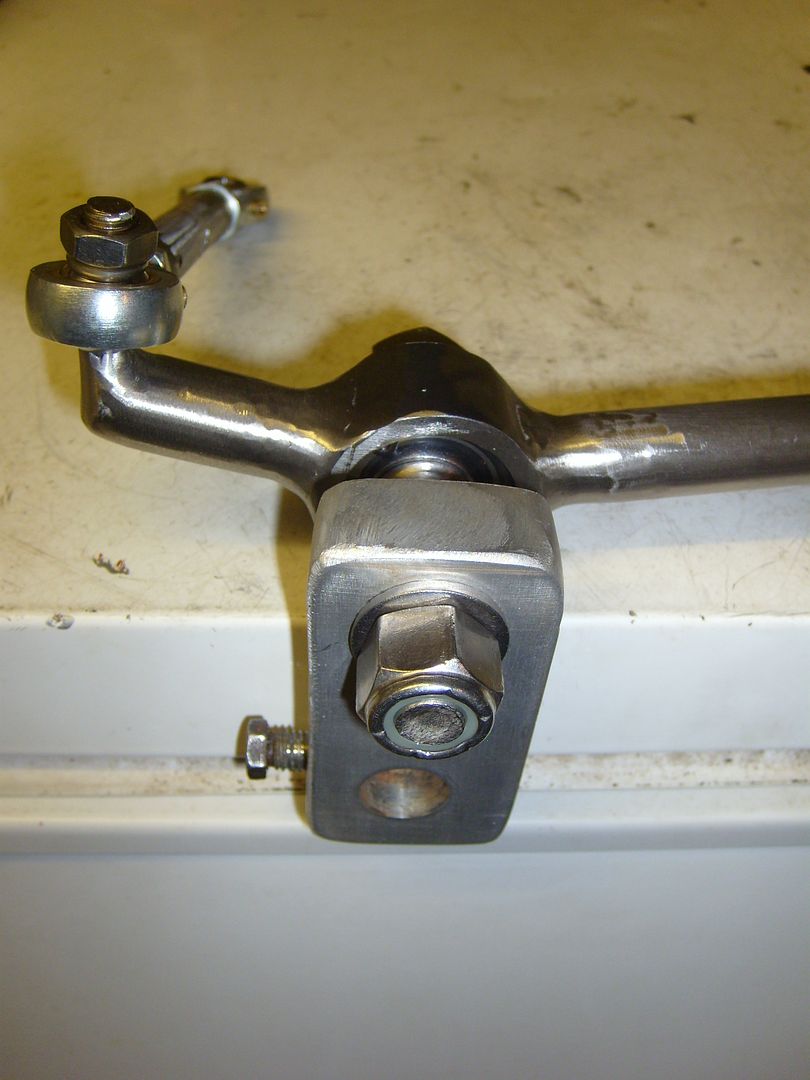
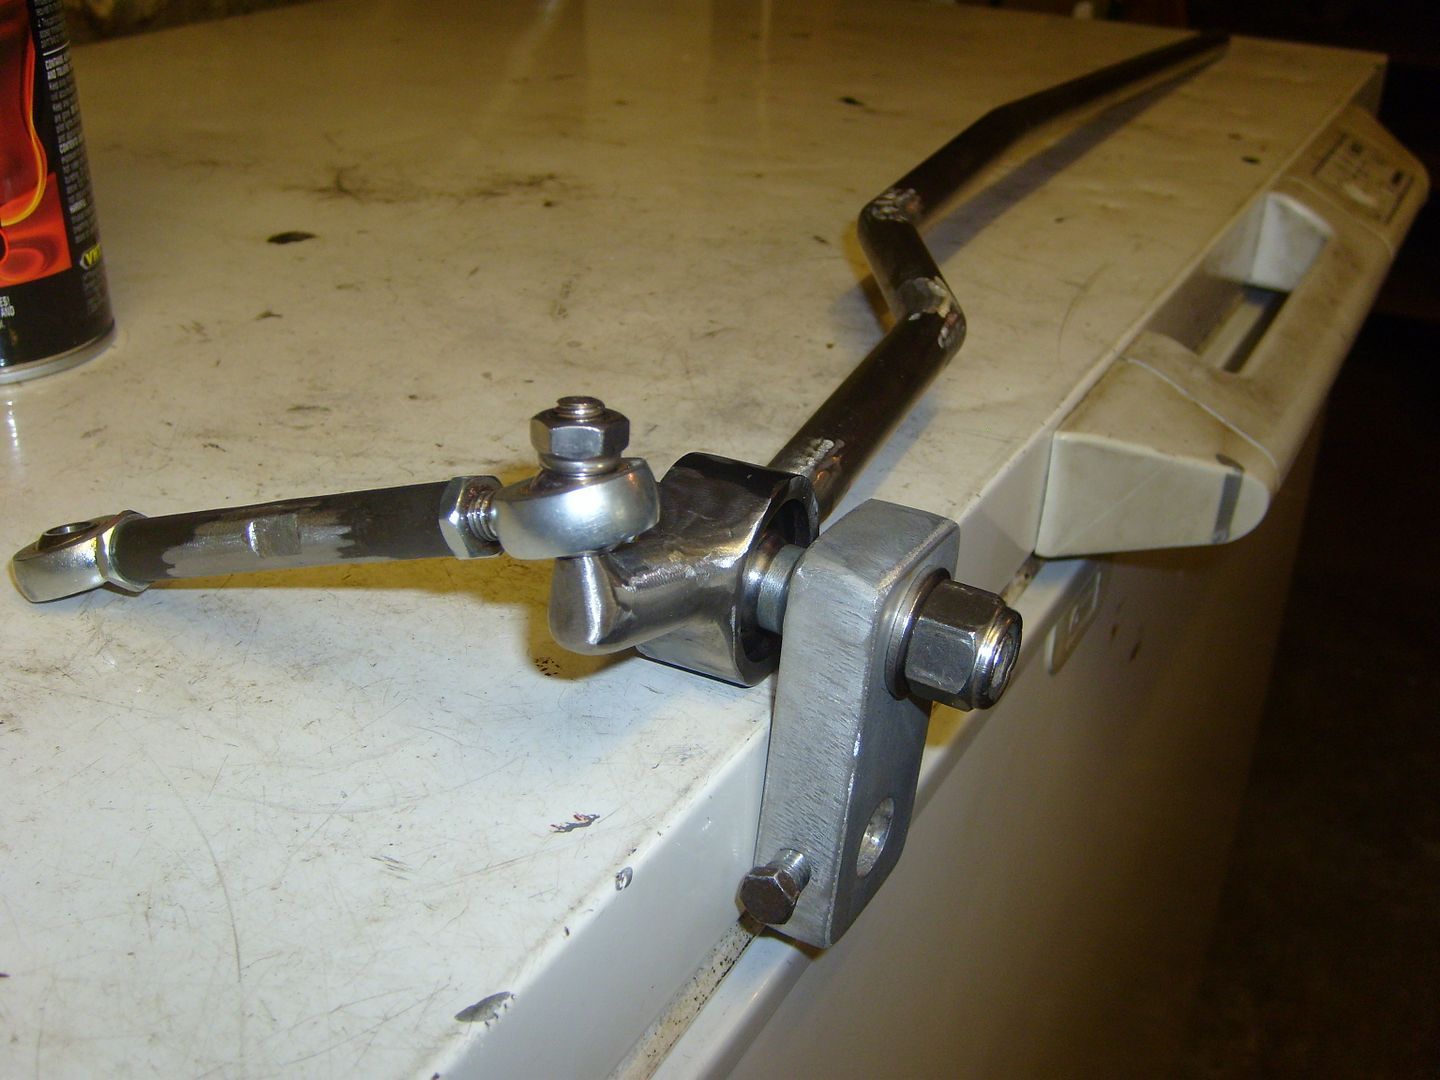
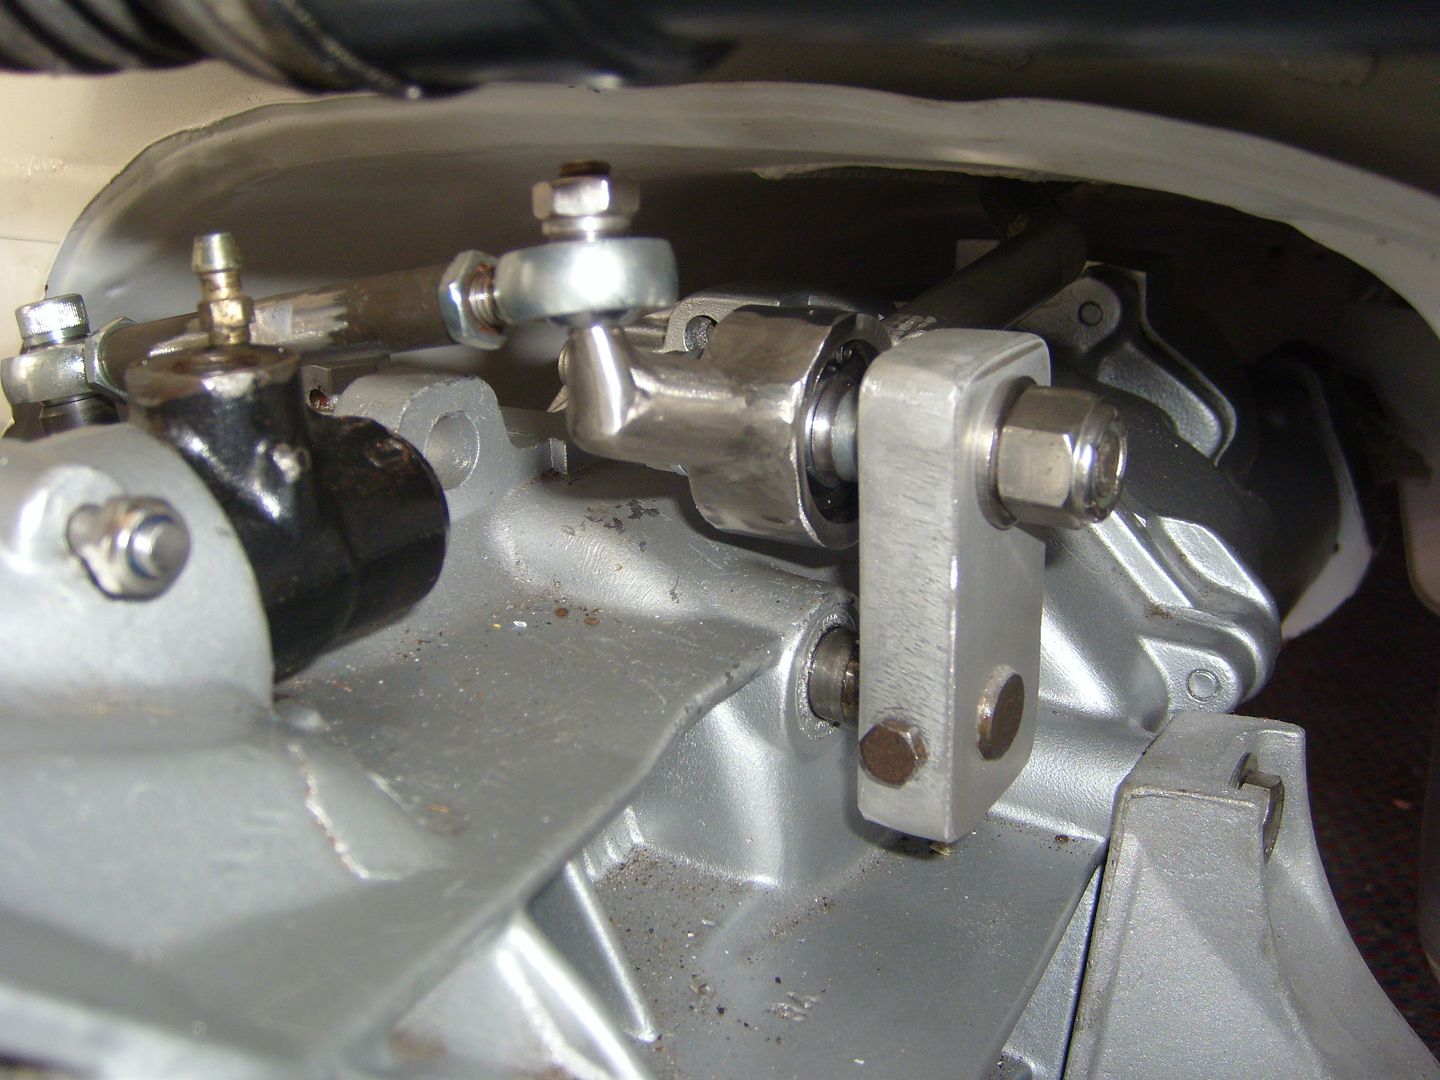
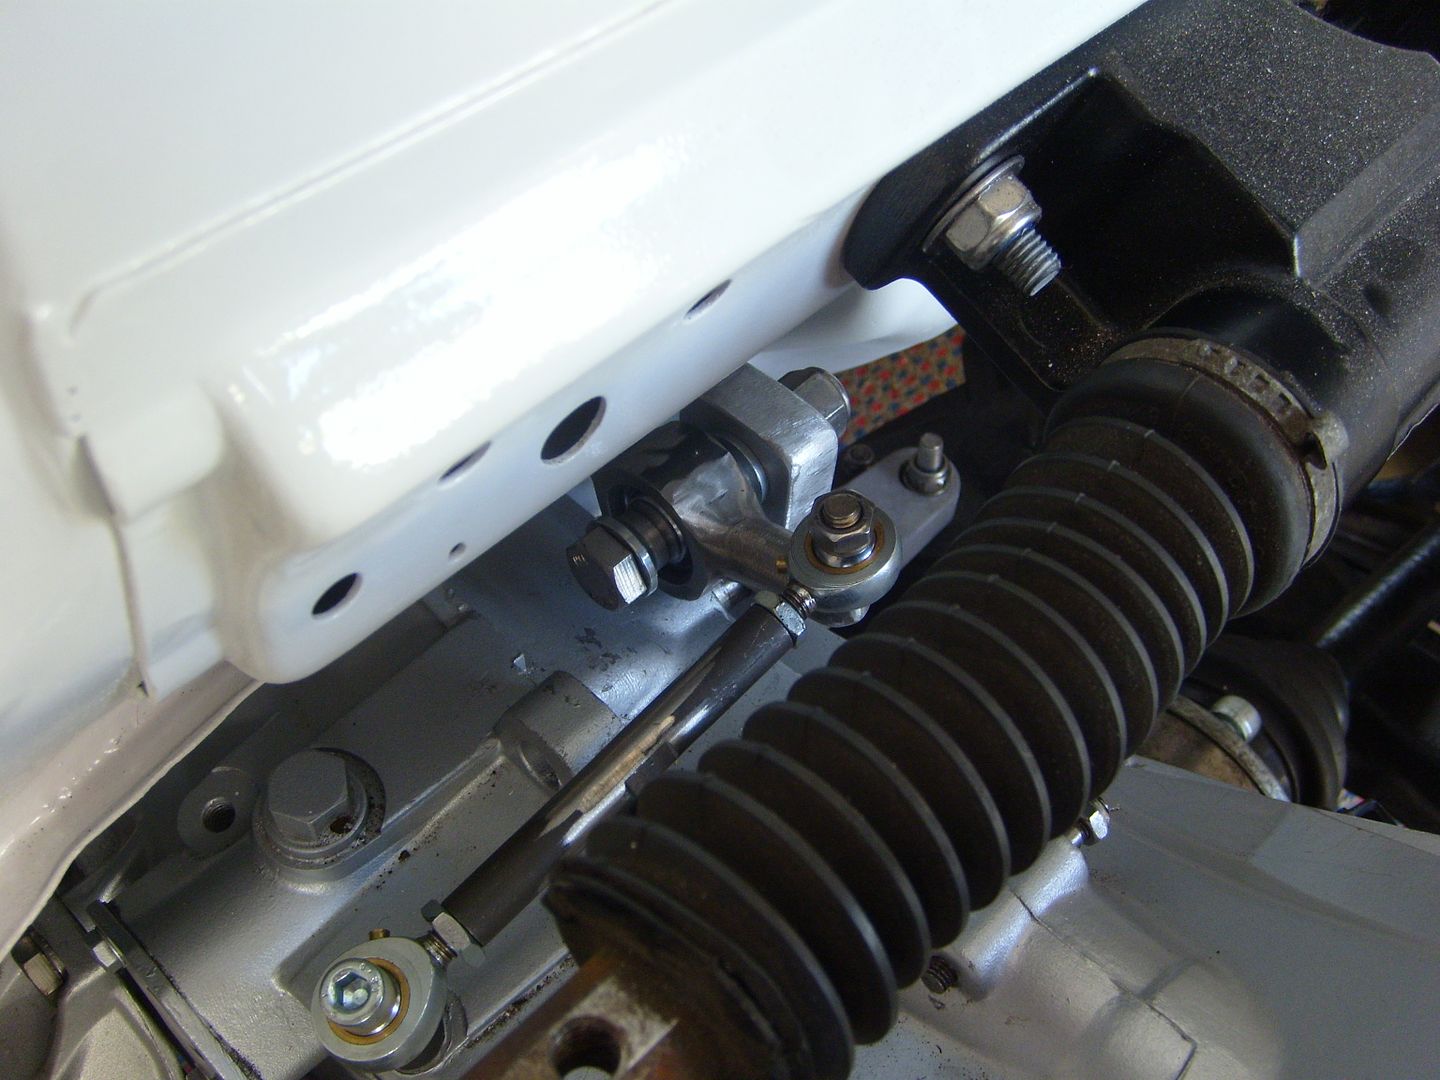
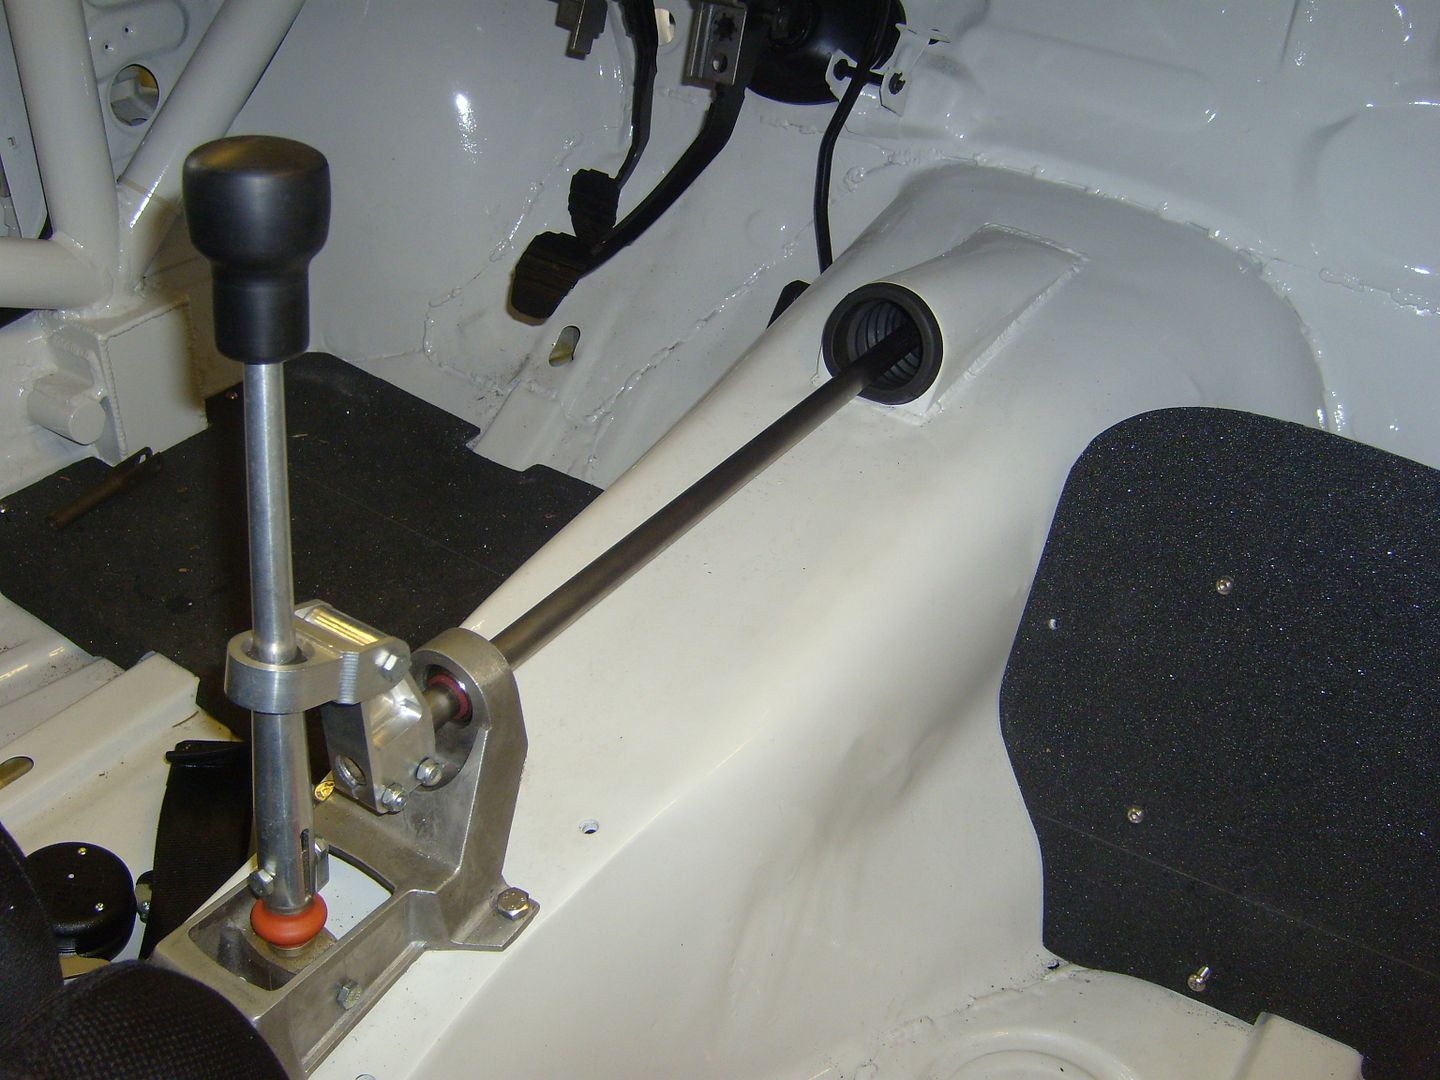
It still needs painting and a little tidying up but I am so happy to have it working. The shift is superb and well worth the time and effort getting it spot on. The throw and sideways movement are adjustable by altering the height of the alloy piece and the height of the link bar. Obviously they are fixed now because they are the measurements i have settled on.
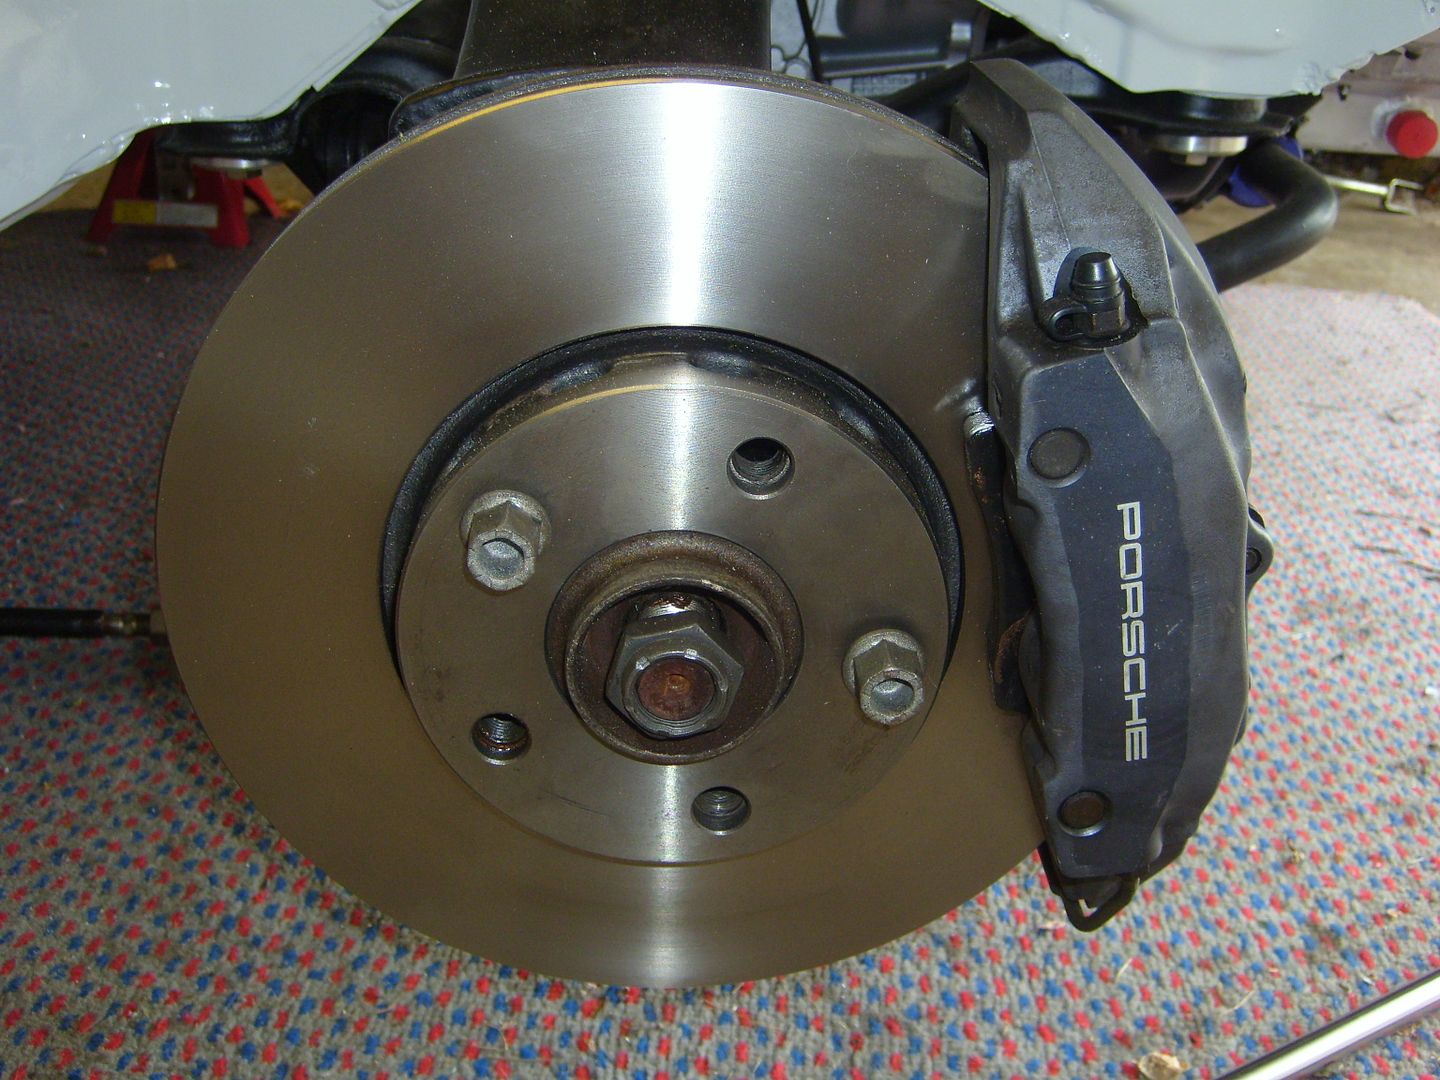
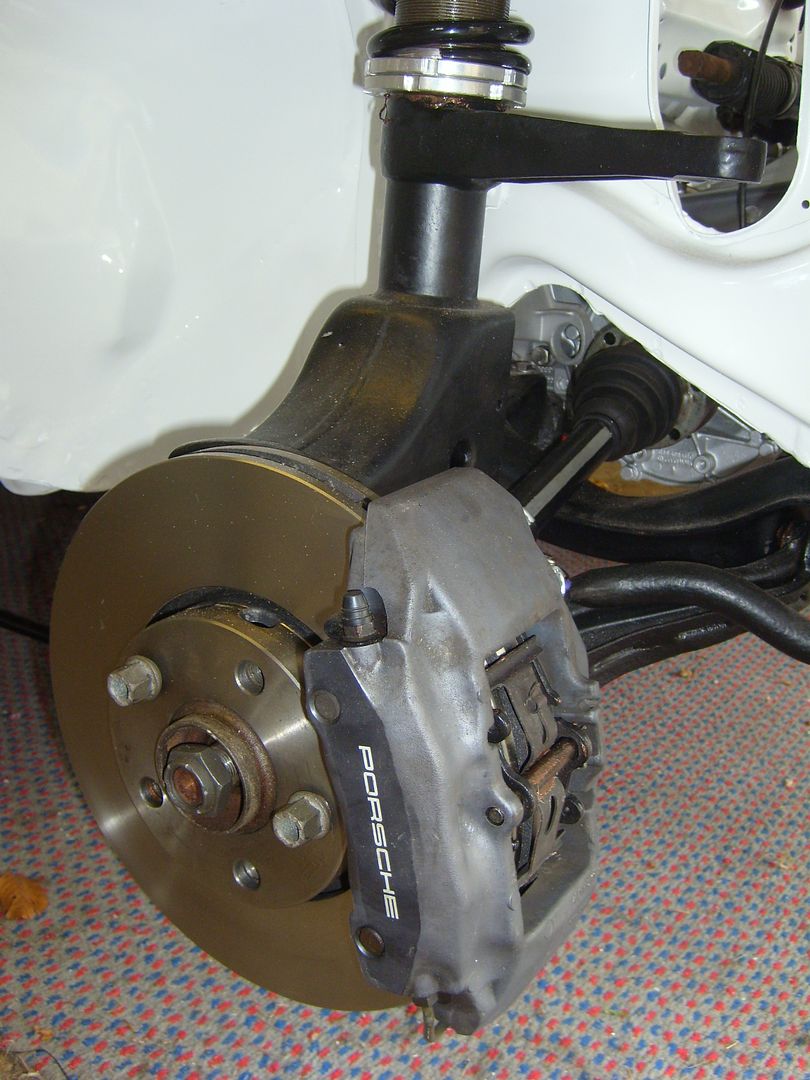
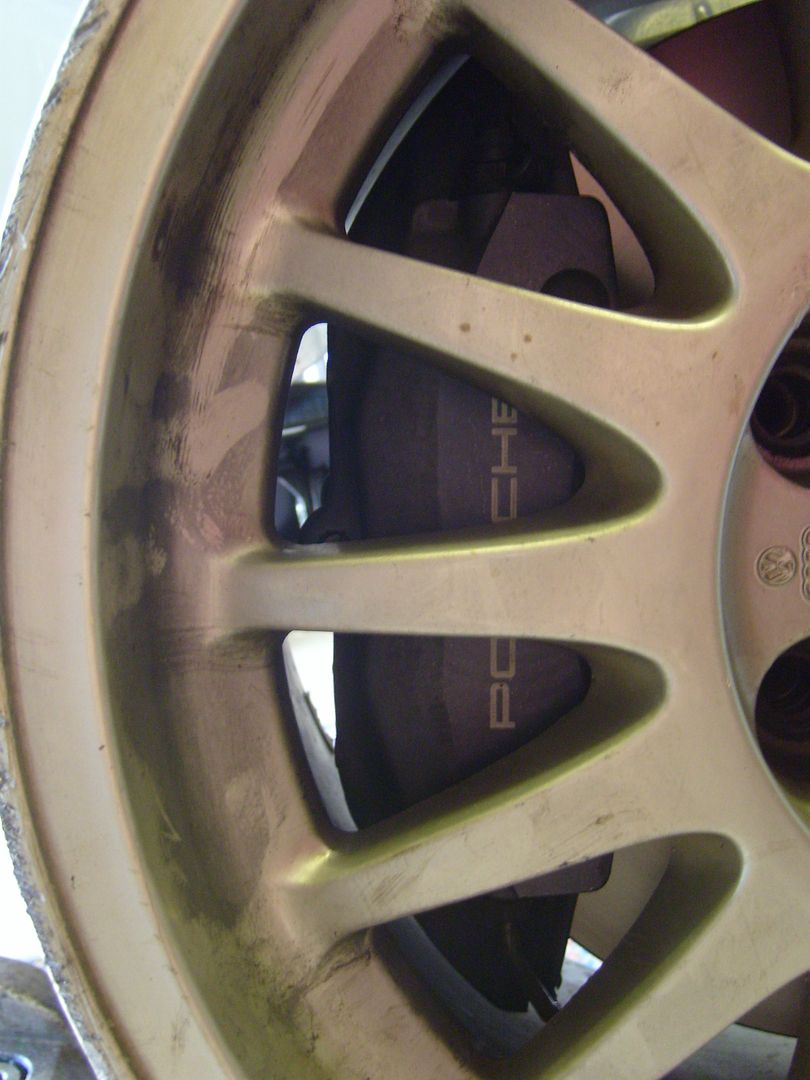
Next whilst browsing on here I came across some Porsche callipers, and thought they would do as a basic set of brakes to go under the 15's. This is because I will be using 15" drag tyres plus i have the option to run 9" Ronal’s if I ever find any.
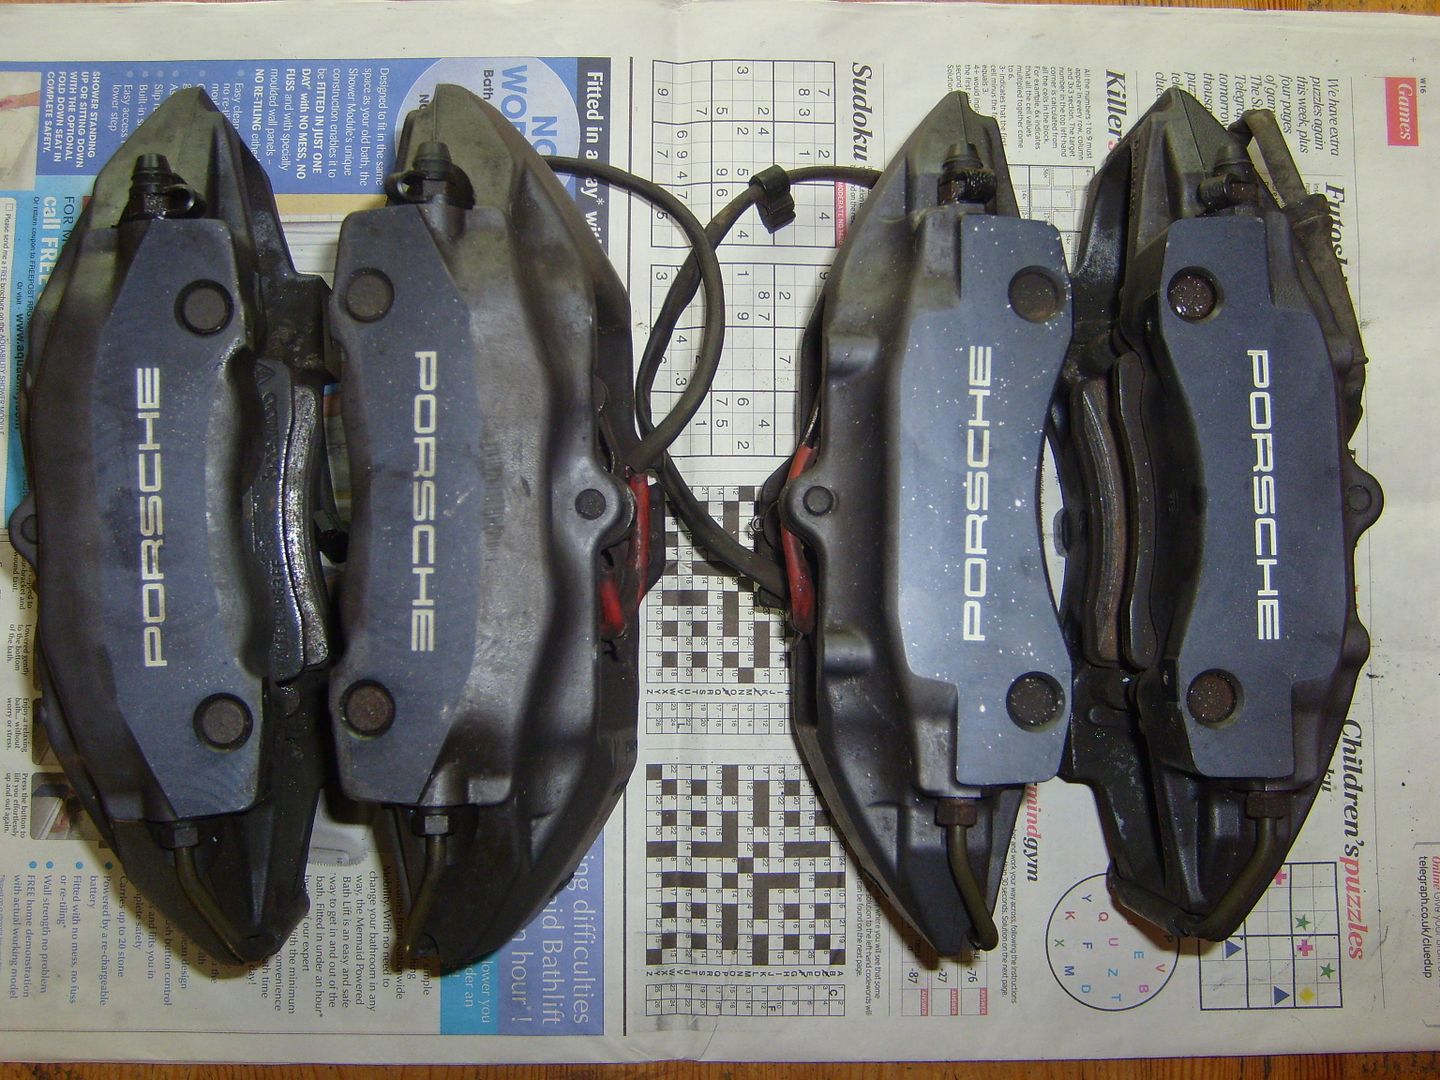
So the fronts went on with brackets from Bambridge, ferodo ds2500 from the group buy and 288mm discs:
Then it was onto the rears. Same pads and discs, but had to go about sorting my own brackets:
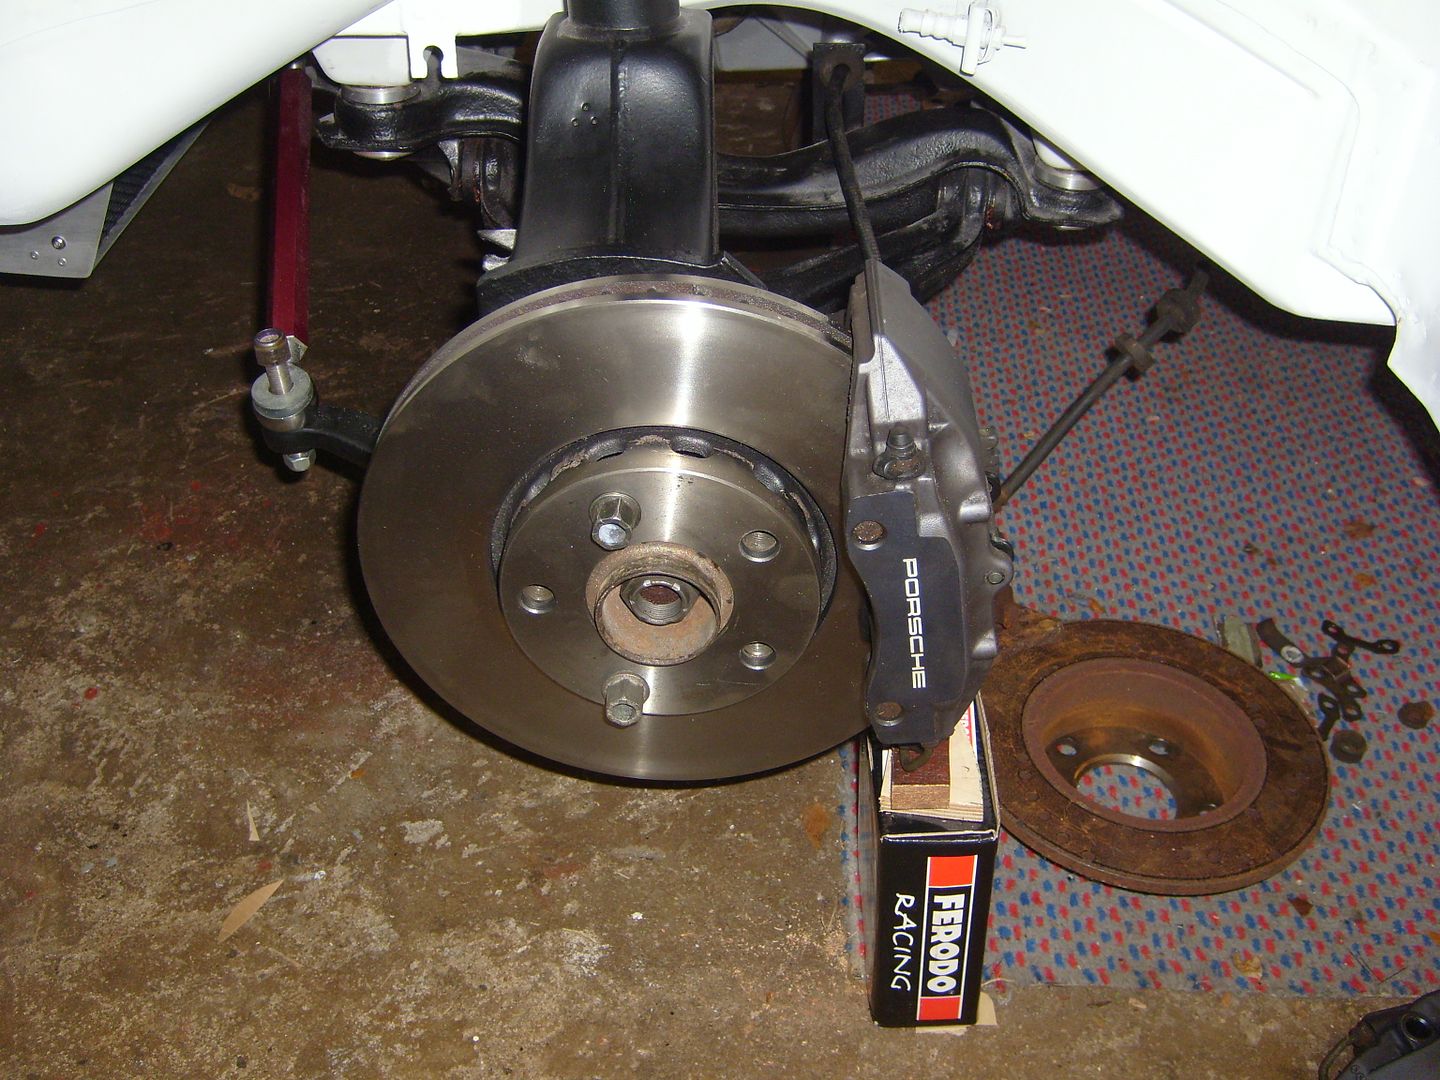
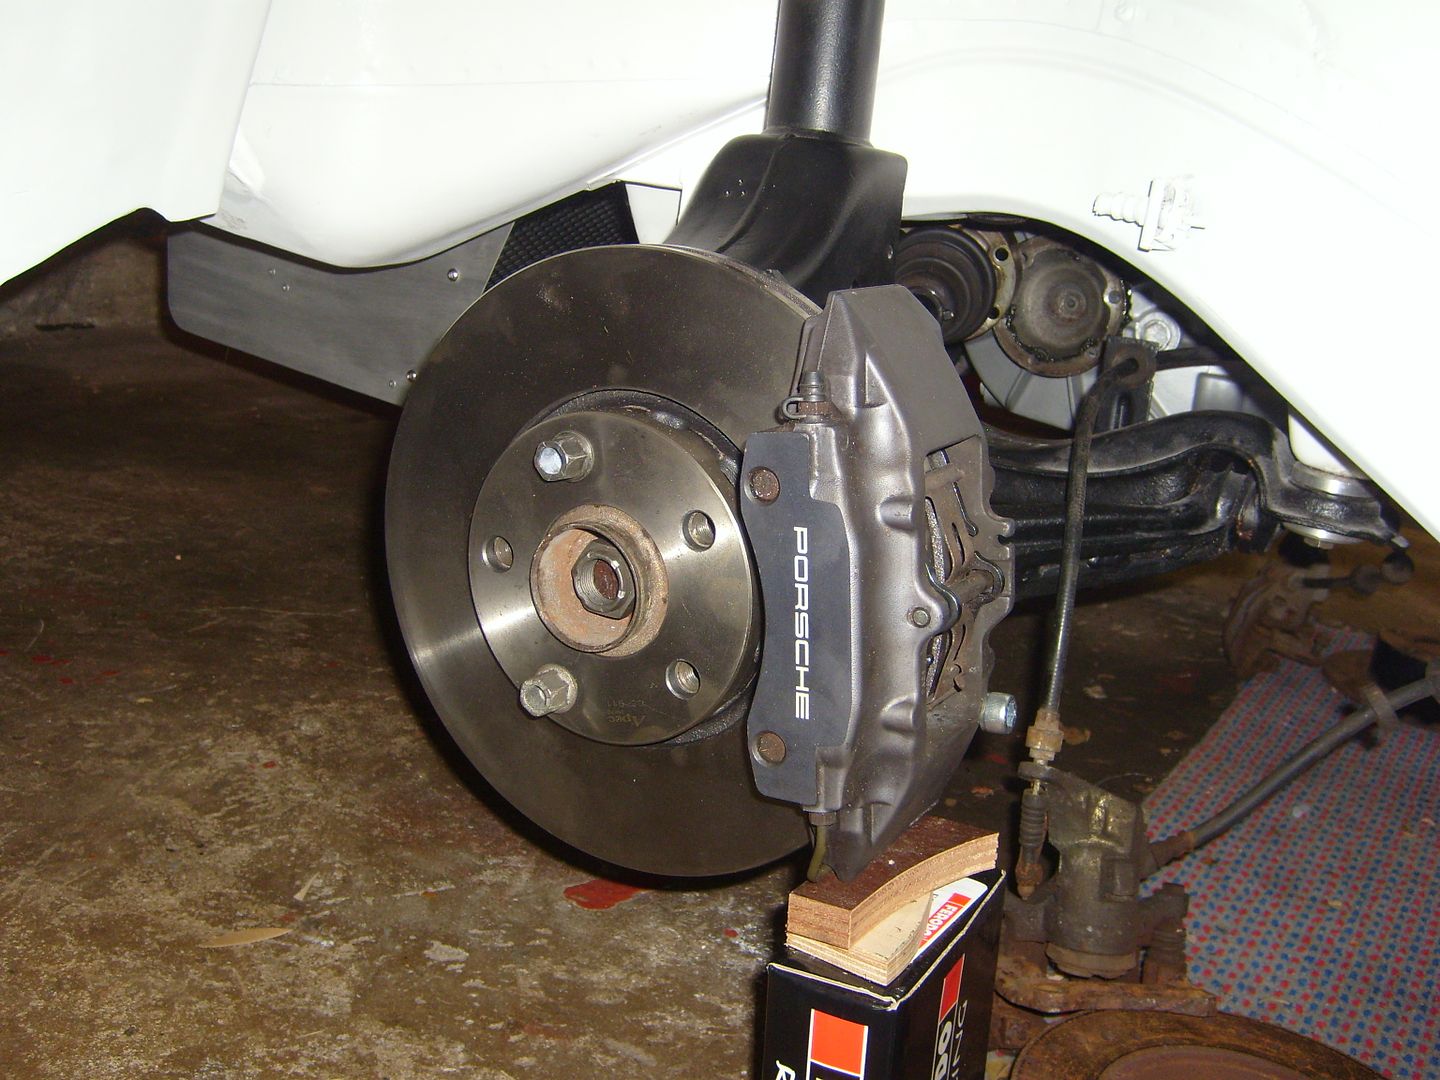
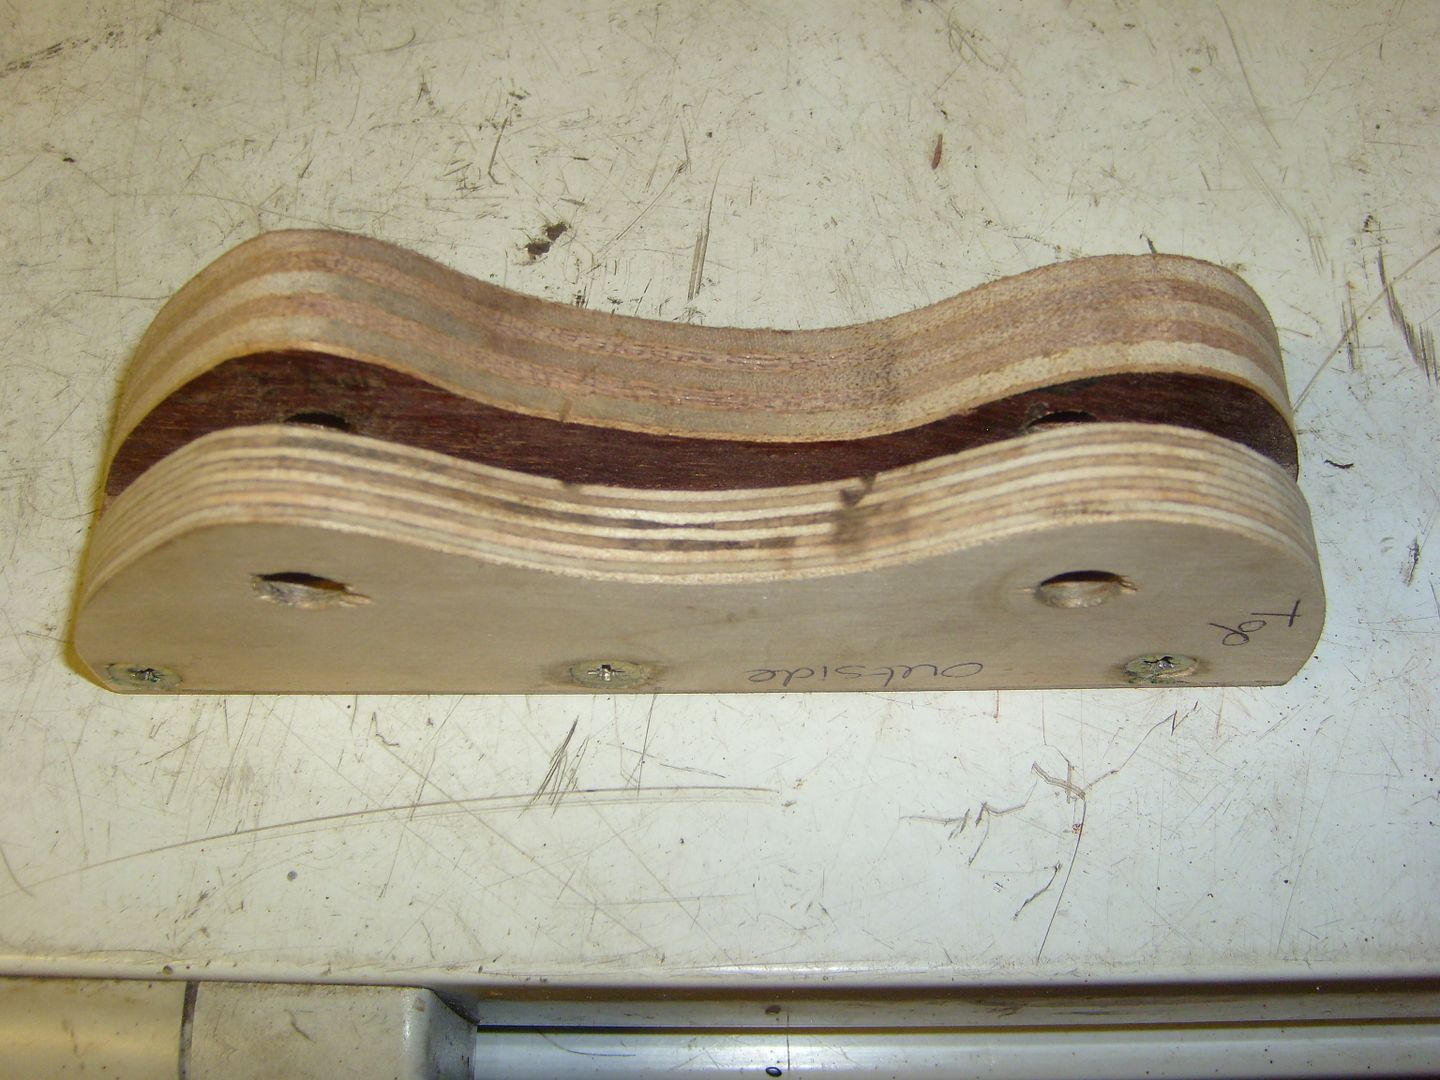
Came up with these which are now away with a mate being machined from alloy:
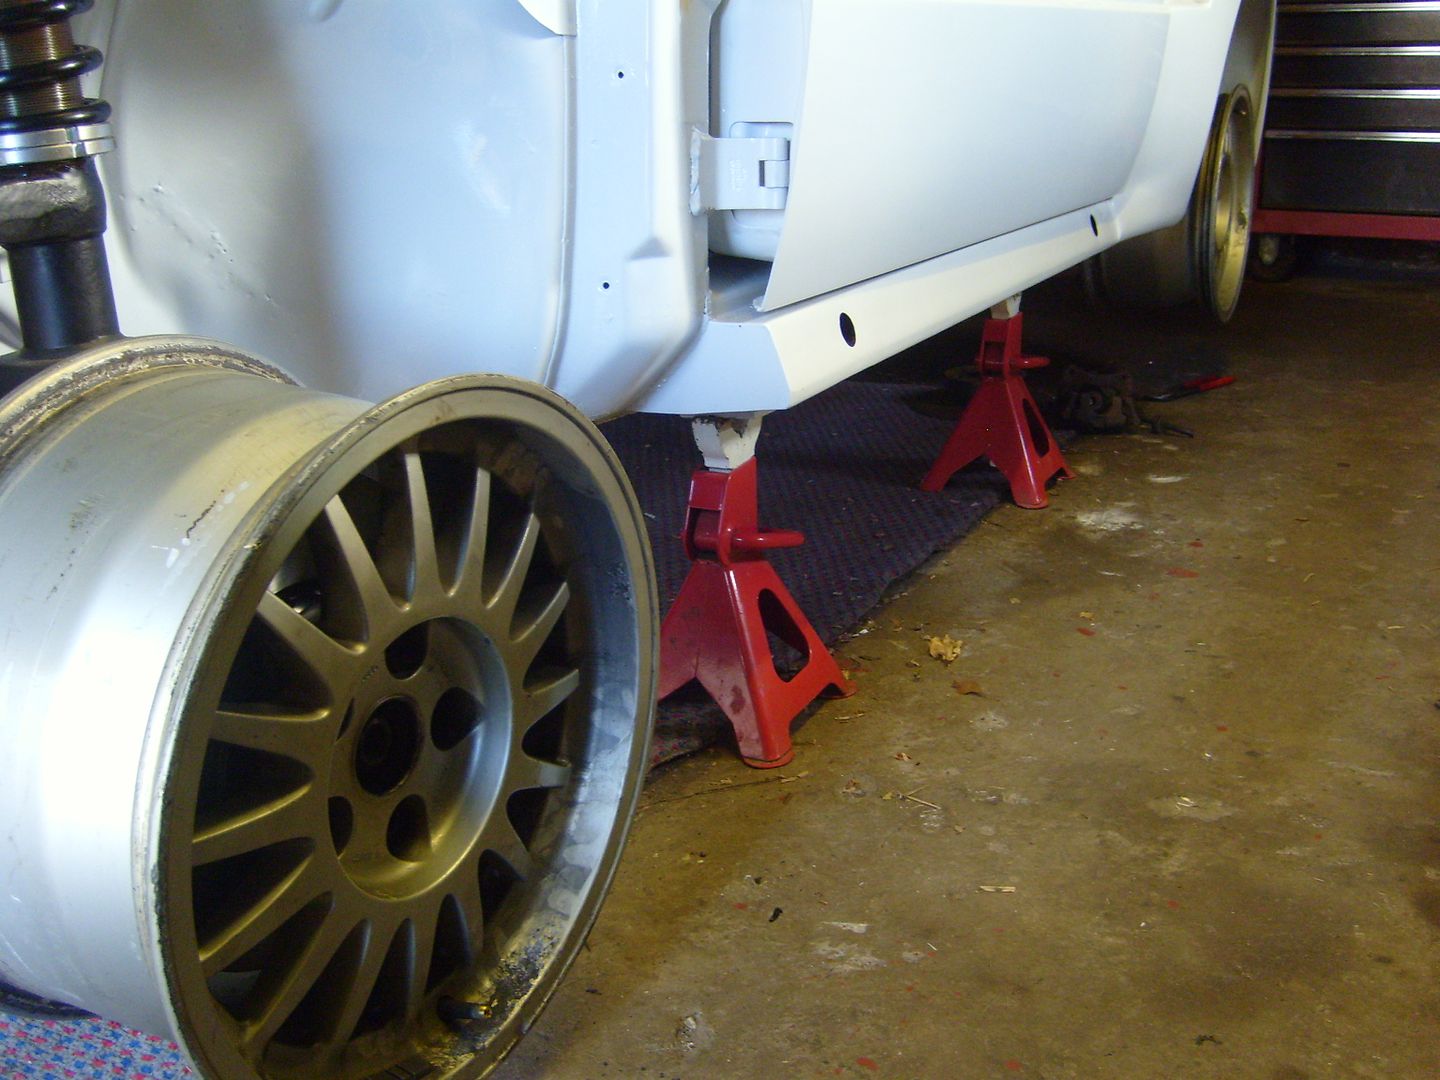
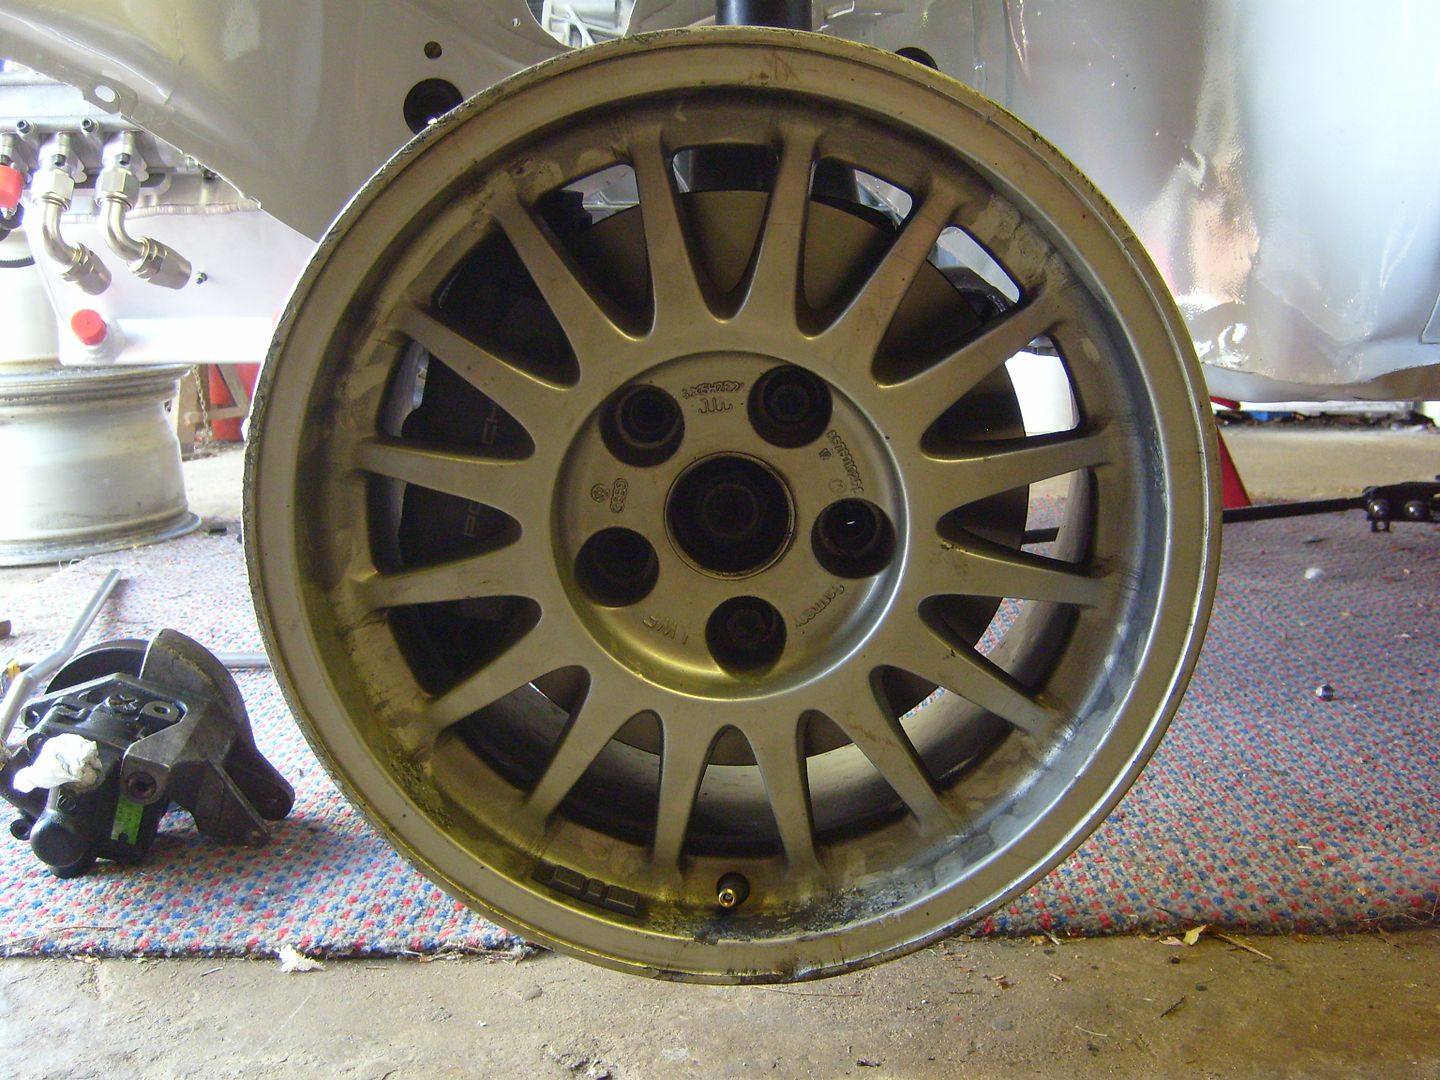
From a bit of research I found out the brakes fitted under 15's but apparently not the Fuchs wheels I had. I thought that was a bit strange and it must have been down the spokes hitting which I could sort with a spacer. However that wasn't the case and they have a large raised lip on the inside which means they go no where near! So I asked about for a swap with some Ronal’s. Managed to get the swap done and I now have some wheels which fit again and in my opinion look a lot nicer!
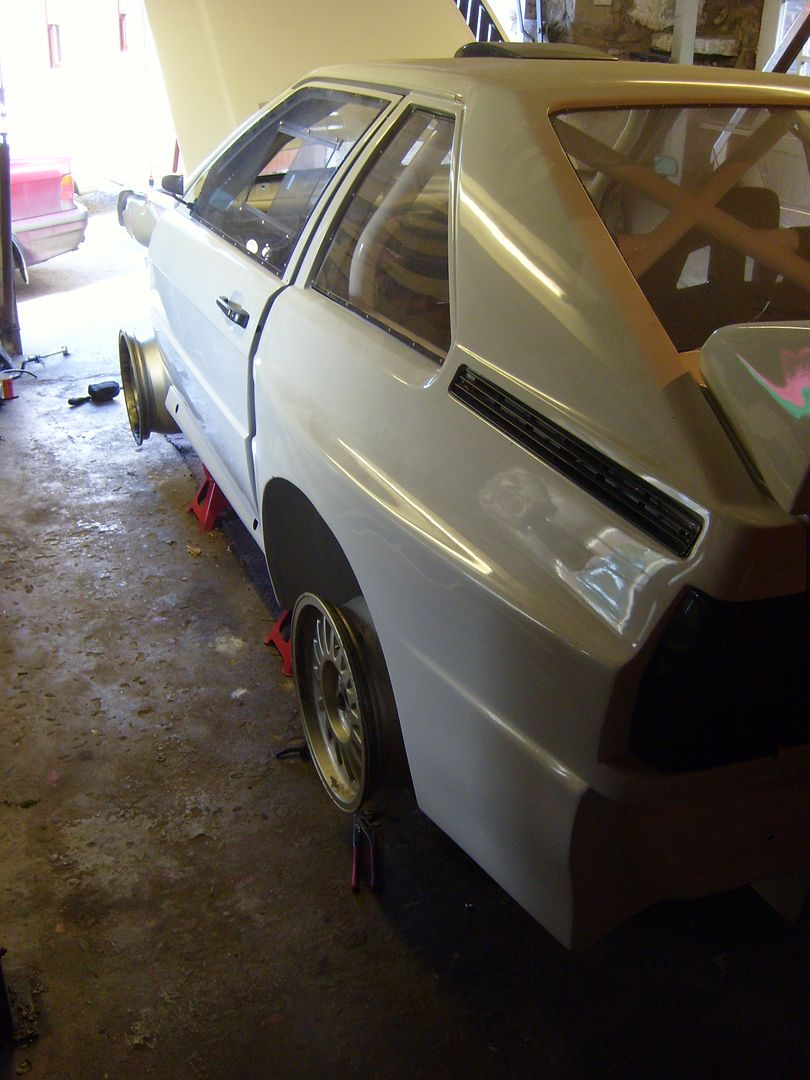
Lastly I got my spoiler and boot lid back from the painters so I now have all the panels back after 18 months!
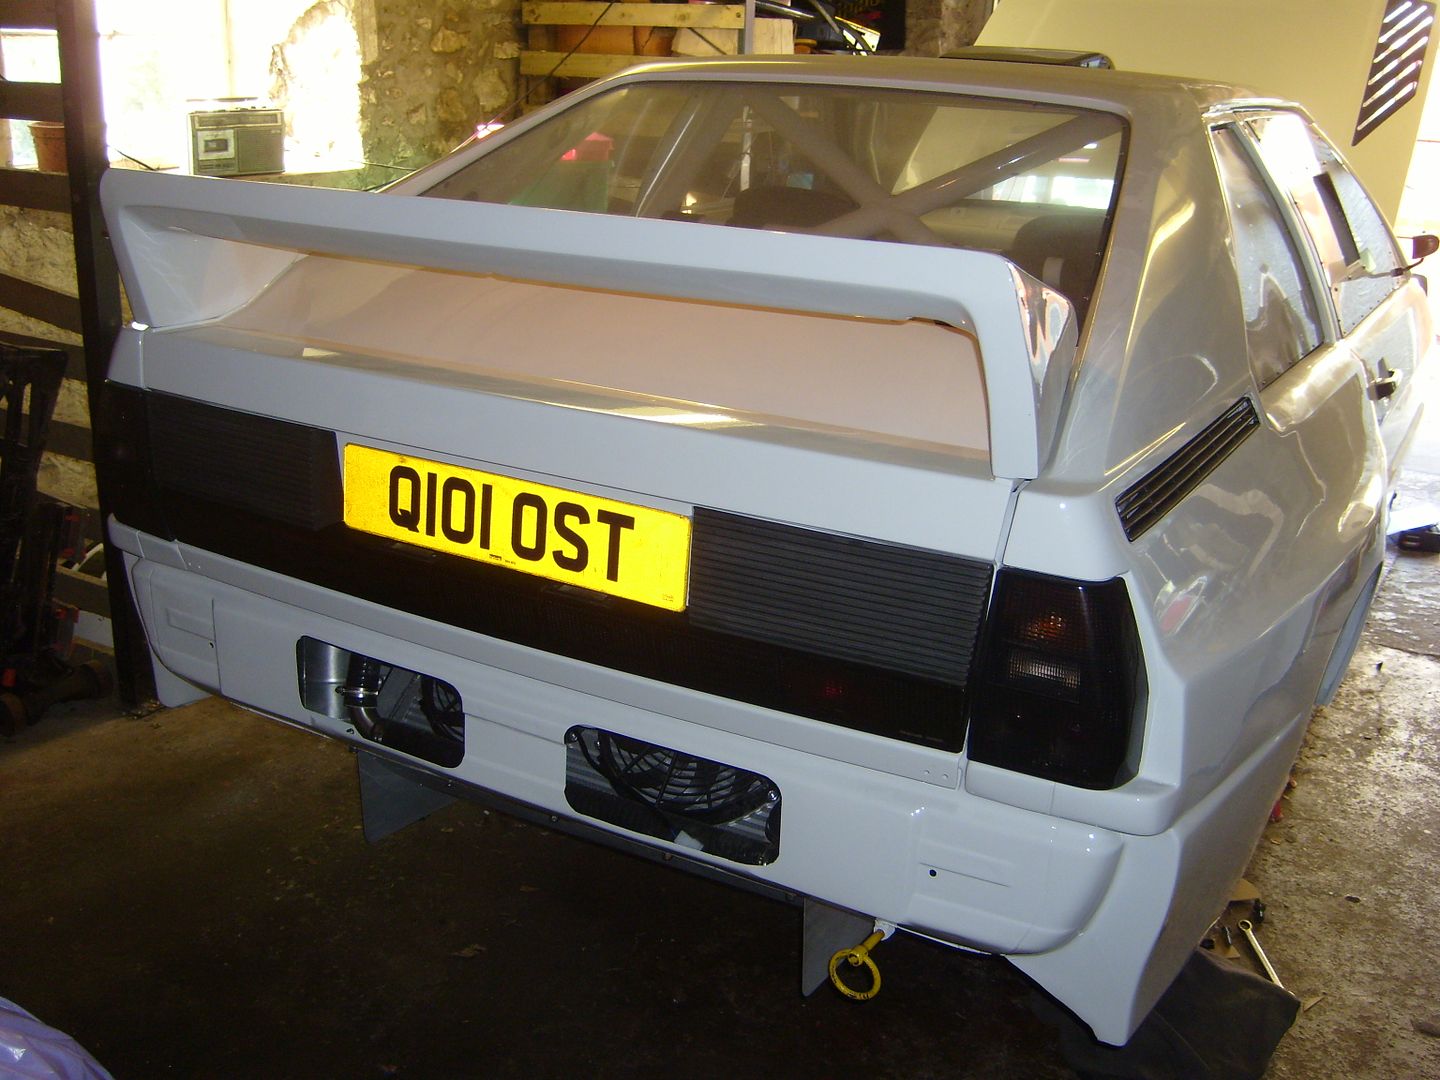
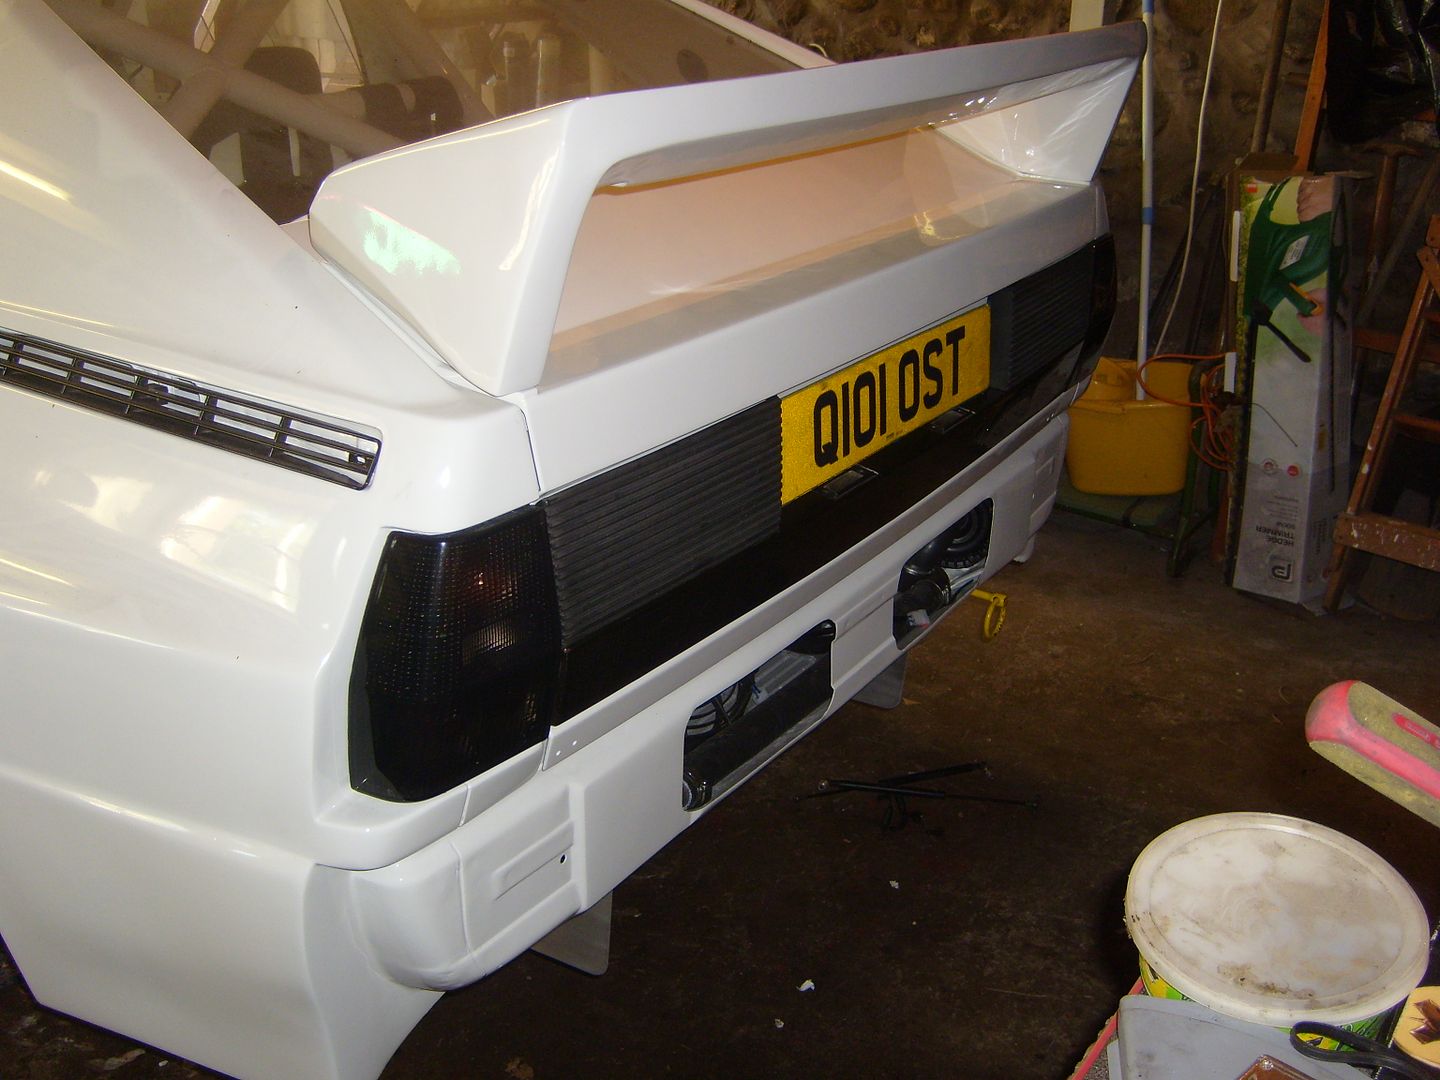
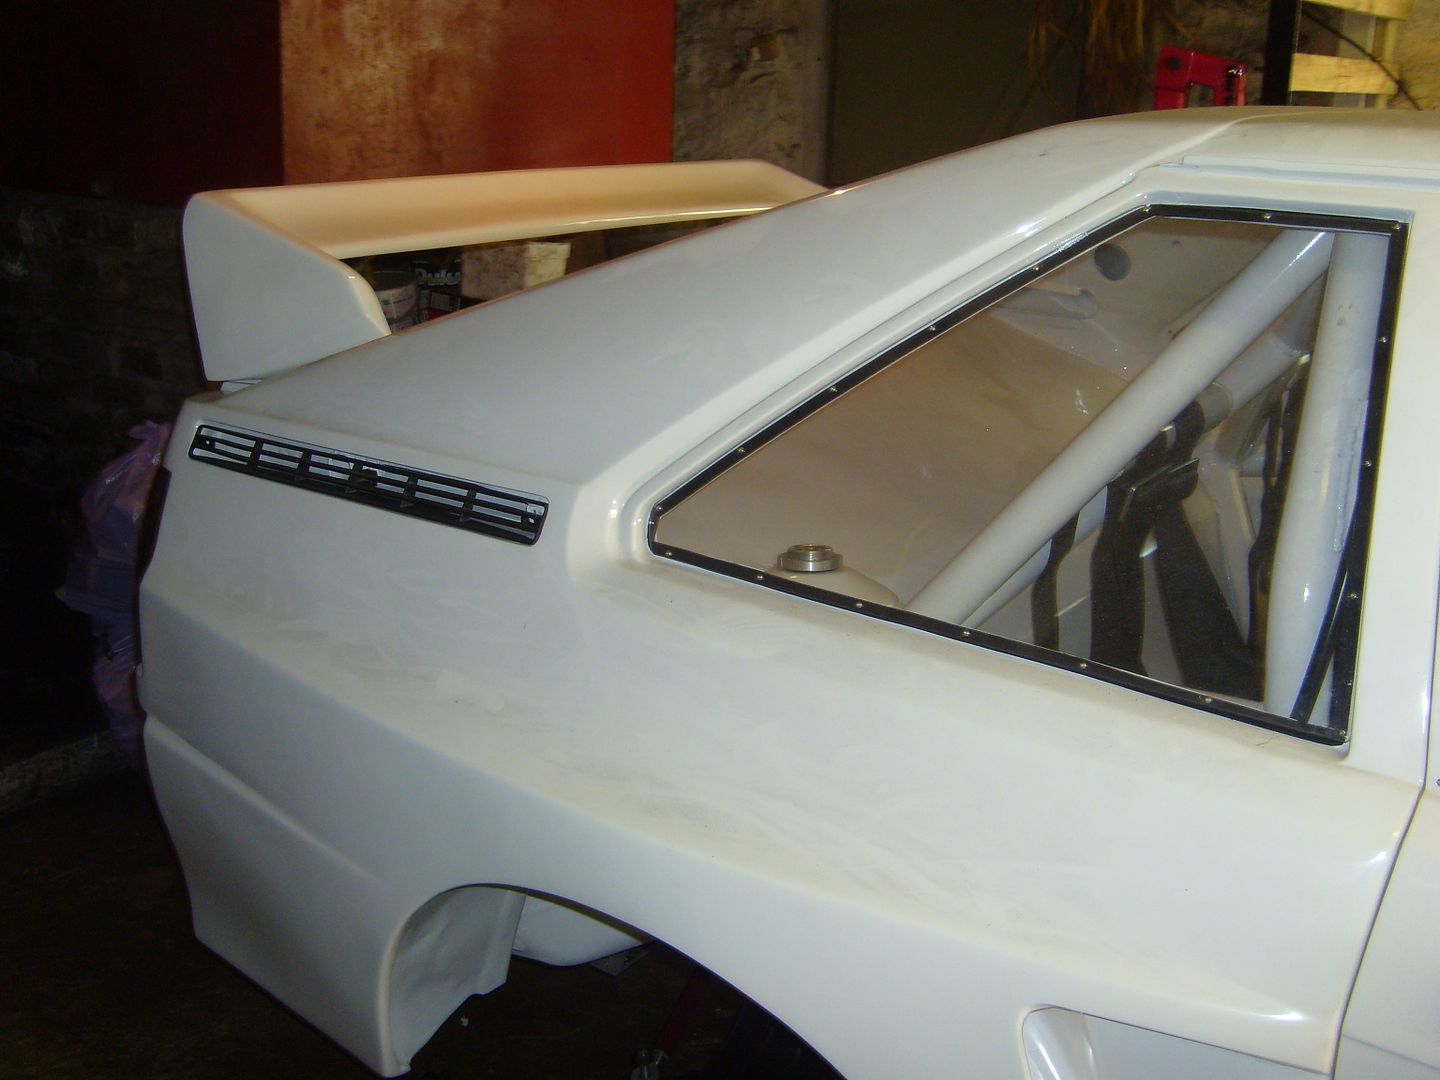
There is a hole behind the number plate 10mm smaller than it all the way around. The plate will be velcro'd on so it can be remove for additional cooling. The spoiler is also removable for drag racing and top speed stuff.
So that’s where I am currently up to. Still waiting on an exhaust manifold being made then I can sort a turbo and build the boost pipes, exhaust and turbo lines. I have ordered all the brake fittings and braided pipes to get them finished off then the chassis is just about done.Last edited by G60Rallye; 20 June 2010, 19:43.Comment
-
As we have cpme to expect, meticulous attention to detail. Hope to see this in the flesh when it is up and running.
Keep us posted Hamish.
Cheers
ChrisAudi 90 quattro (Typ 85)
20v turbo conversion
sigpicComment
-
Stunning. I love you.Comment
-
Very very very very very very nice.Anders - S2 Avant Clubsport - 8pots or die!
sigpic
Comment
-
-
LOVE the shifter Hamish! Can't even imagine how much work it was to get that spot on
Glad I'm not the only one who uses the garage chest freezer as a work bench
Roll on the July update Panthero Coupé quattro 20vt
Indigo ABY coupé
Imola B6 S4 AvantComment
-
just read it from the start very nice job there
audi s2 aby red 1993 powreded by prjComment
-
I've just read this from start to finish and it was awesome Great stuff

I wish I'd used a decent blaster for my 914/6 instead of a certain dipping company in Dudly that begins with Surface and ends in Limited who were, shall we say, not great.Comment

 .


Comment