You can change the style the forum displays by selecting your preferred style at the bottom left of the site.
We have made an enhancement so that old threads should now link from search results to the correct thread. This is not yet in place for single post links
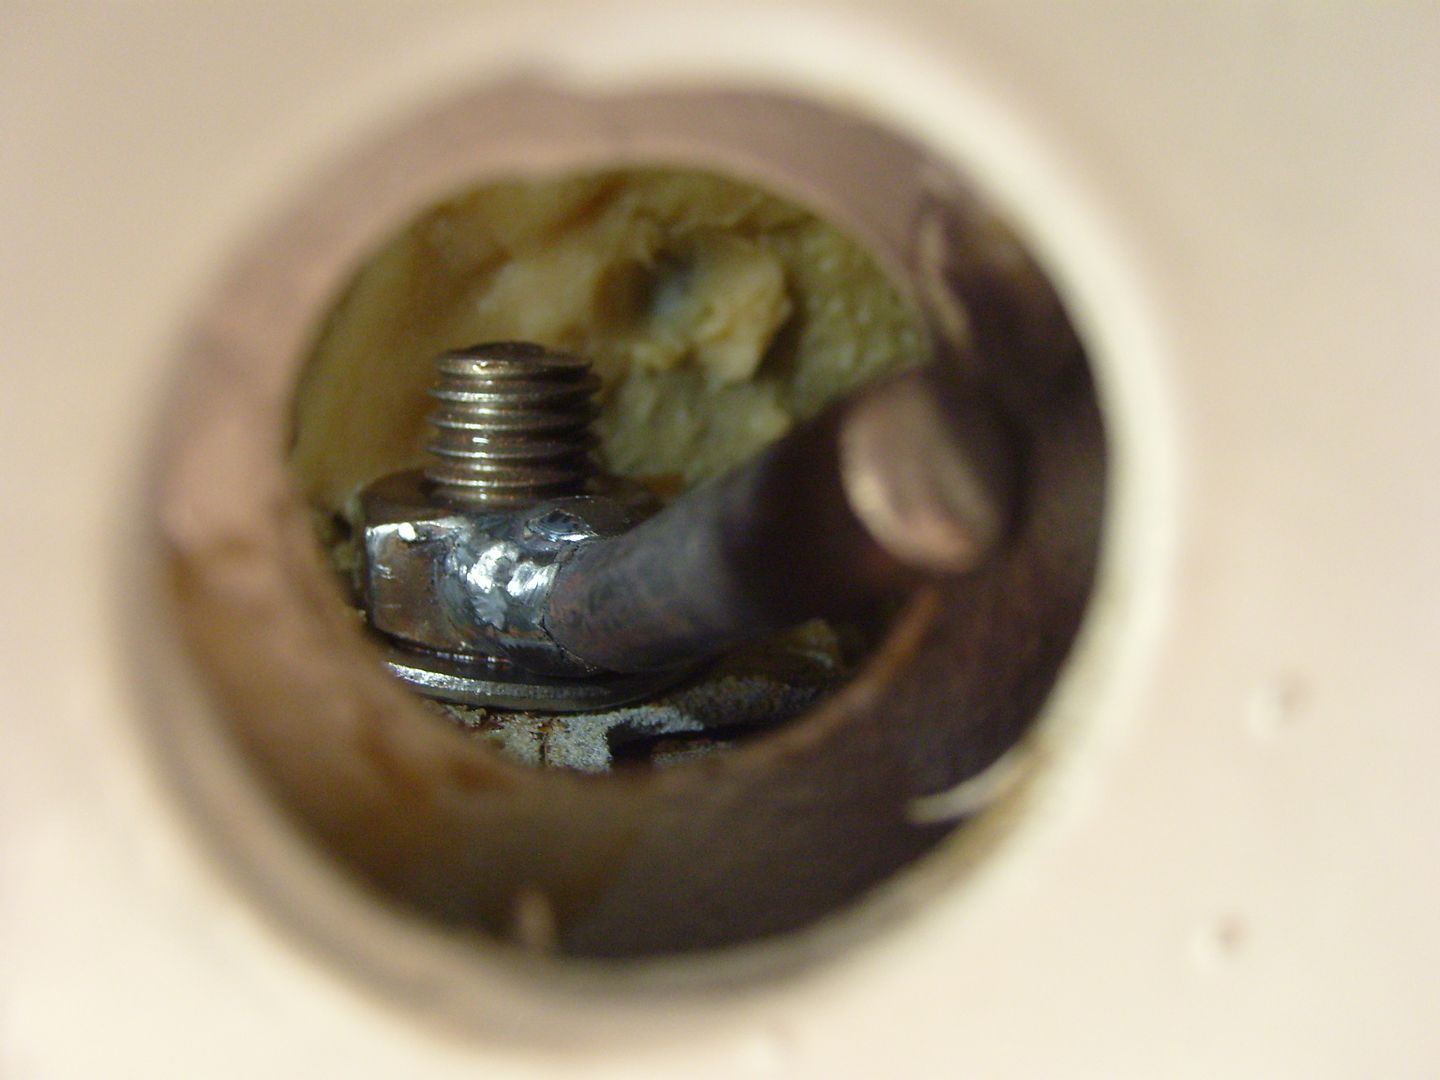
Spent today sorting a few issues that occured during the build up. The first was that one of the subframe mounting bolts managed to spin in the captive nut. This was the first thing I put back on the car which was a bit of a downer so I left it alone untill today to sort. Luckily there was a hole in the chasis rail right by it so I was able to put a longer bolt in and then weld a piece of bar onto a nut which I then cut to length so it jammed against the inner chasis leg. Far better than having to cut the old captive nut out and replacing it!
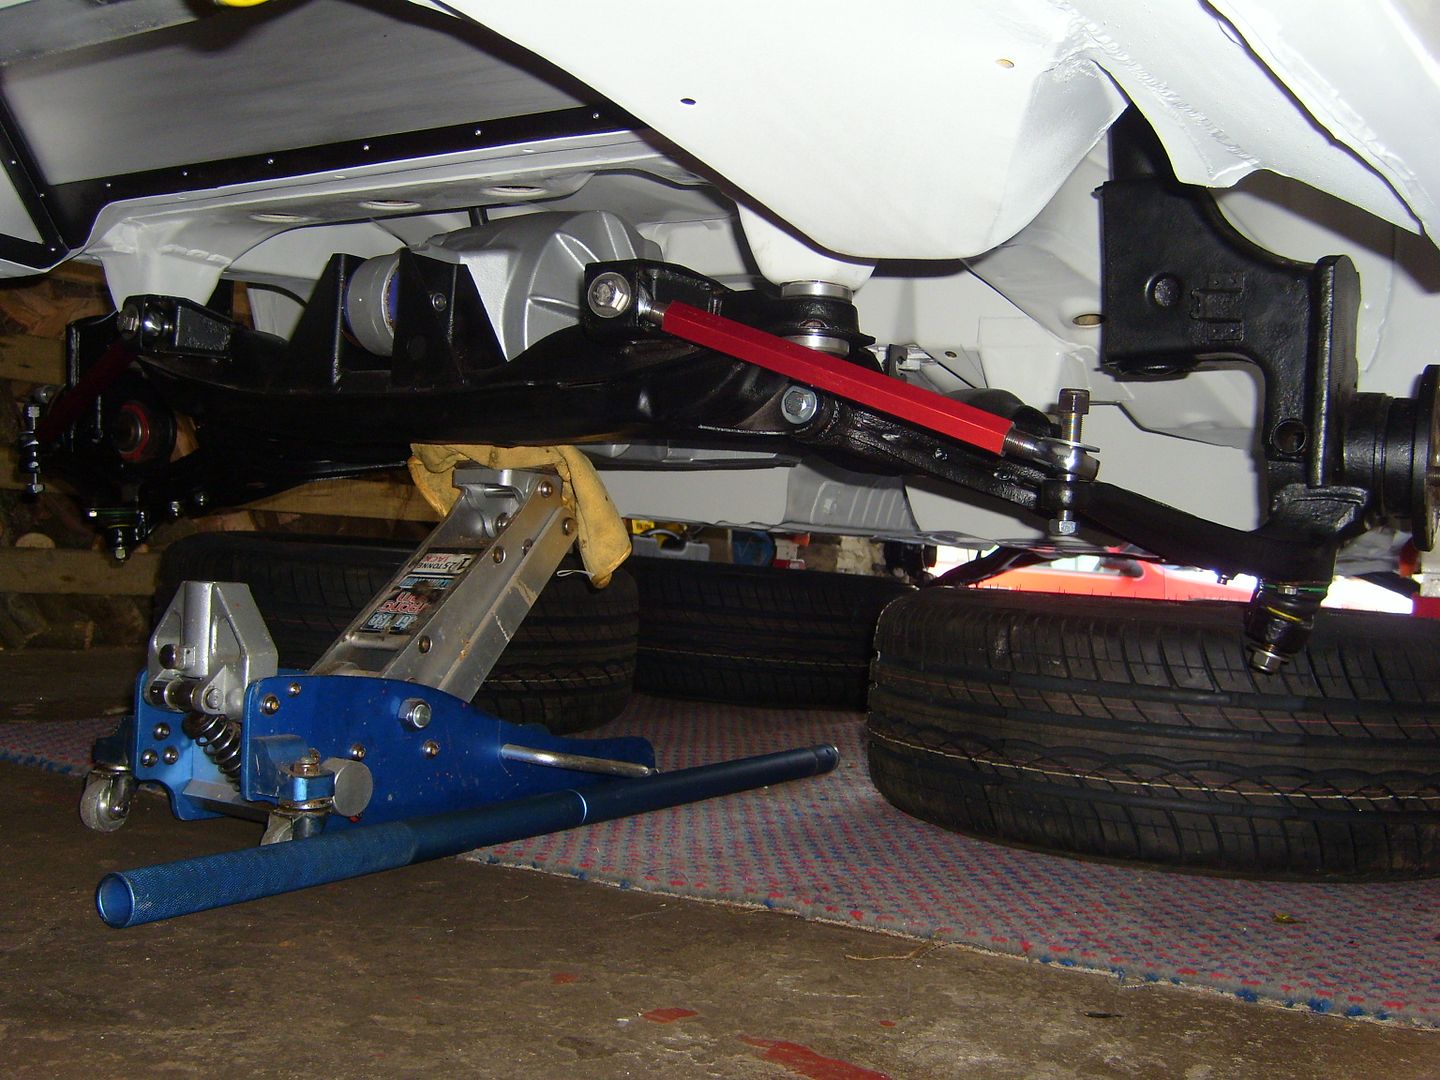
Next I had to shorten the rear tie rods even further as they were still too long causing toe in problems. As the rose joints were already bottoming out in the arms, I took all the 20mm off the right hand thread side. Then I used a 5/8th's tap and tapped it back to full depth. So they are finally on and the right length with some adjustment either way.
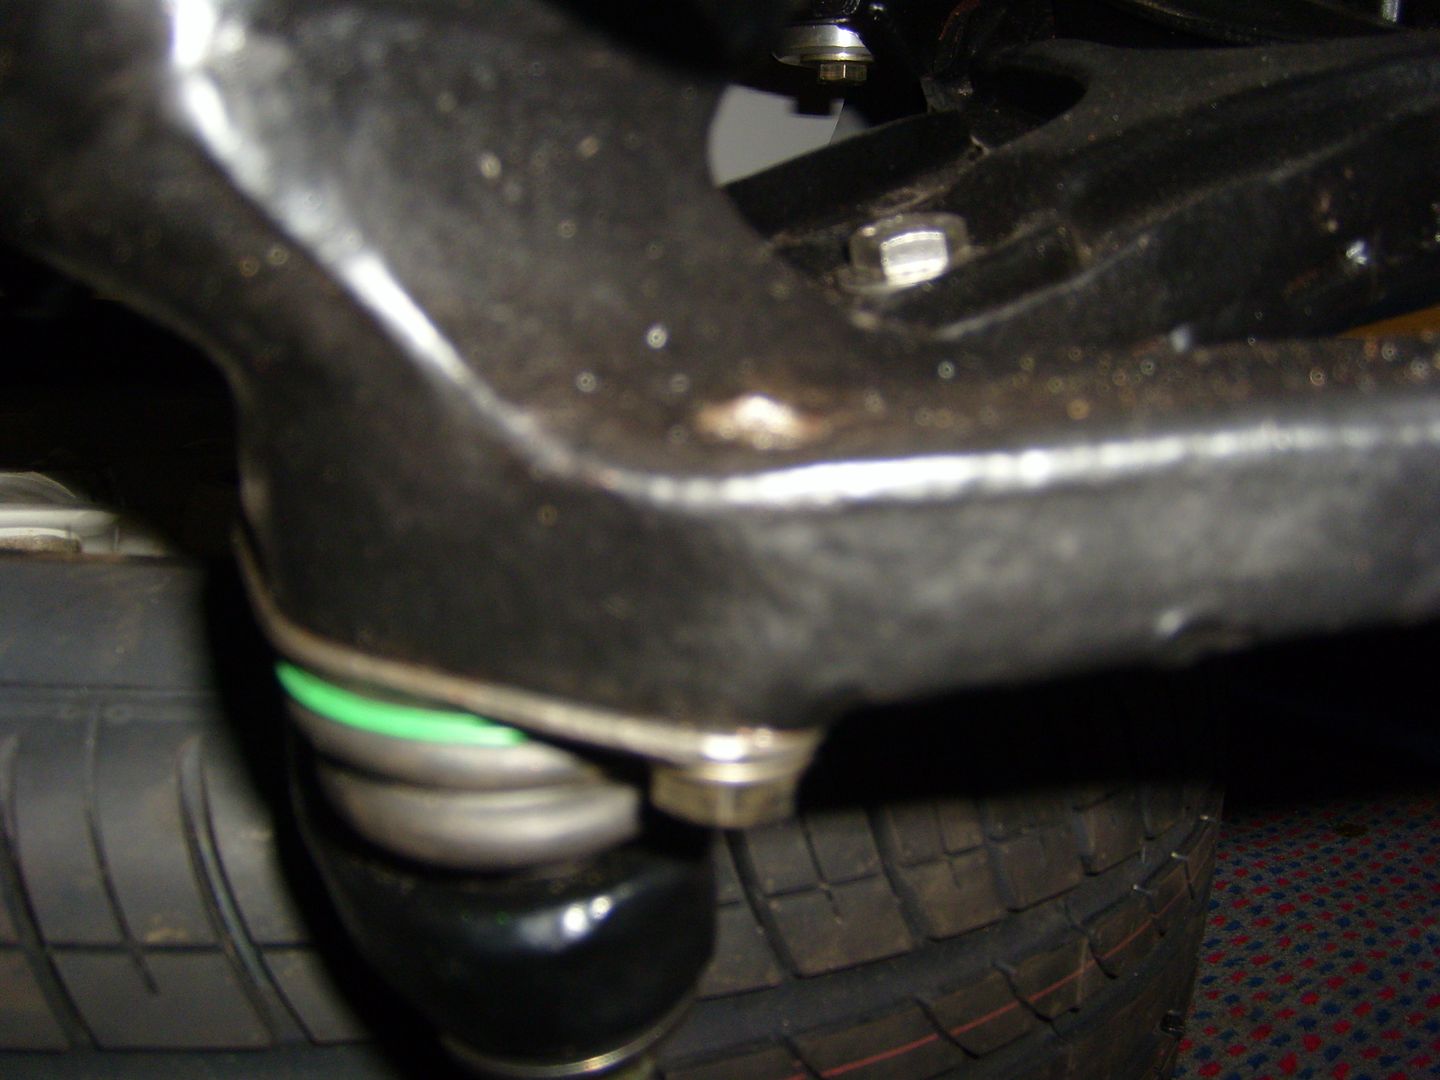
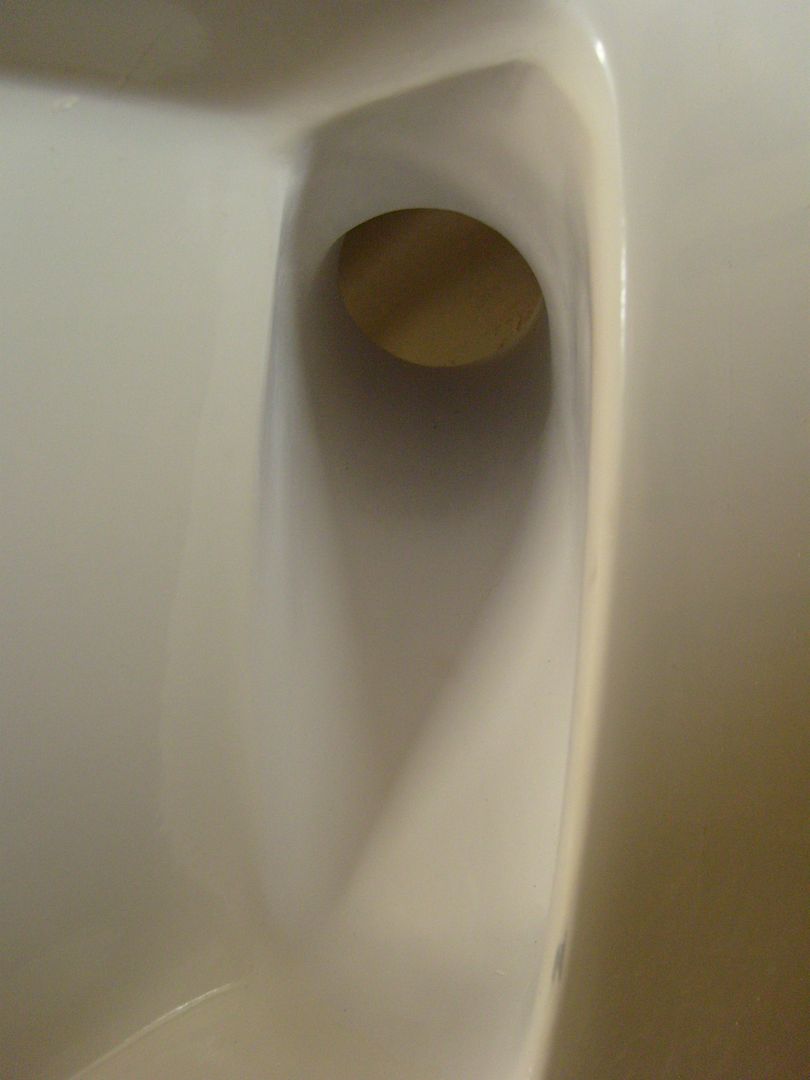
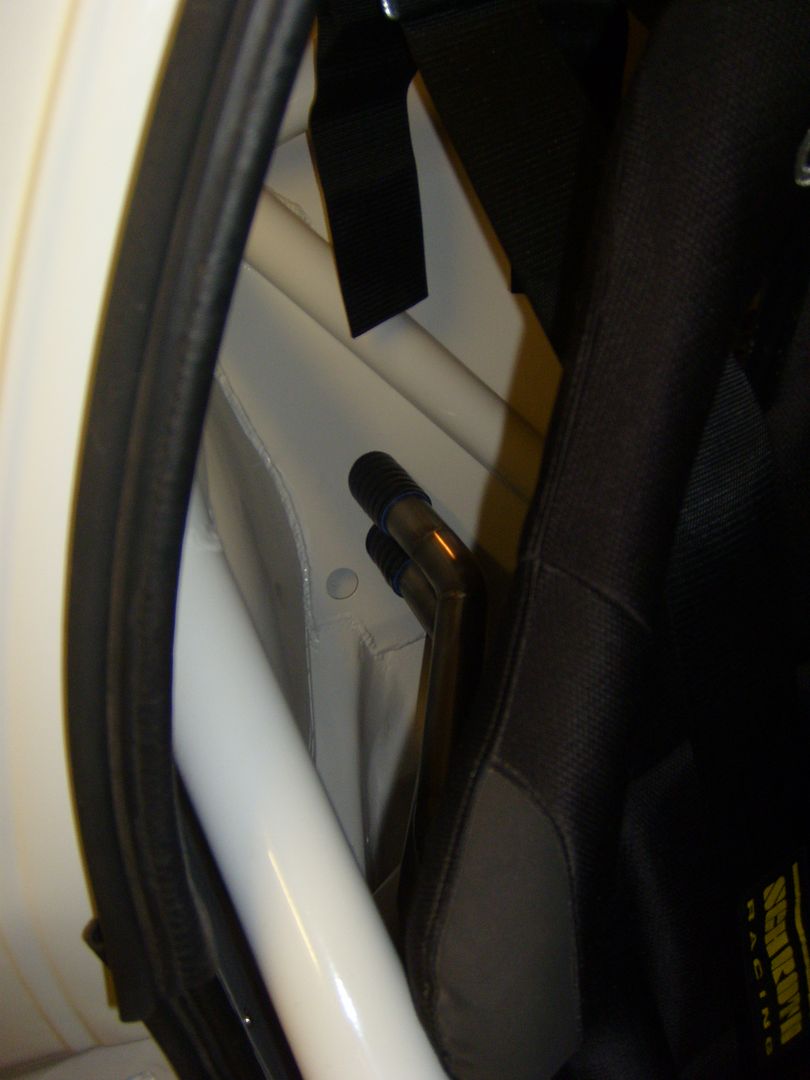
When fitting the rear ball joints to the struts there was a nut that had sheared in the strut which must have been in there when they were removed from the ur quattro they came from. So it got drilled out and re-tapped which was a nightmare as it wouldn't go in the press drill so it had to be drilled with a hand drill. Luckily its an open hole as opposed to the otherside which is blind so I am going to put a 10mm longer bolt in it and then put a nyloc nut ontop to make sure there is no chance of it coming out! Sorry about the crap pic!
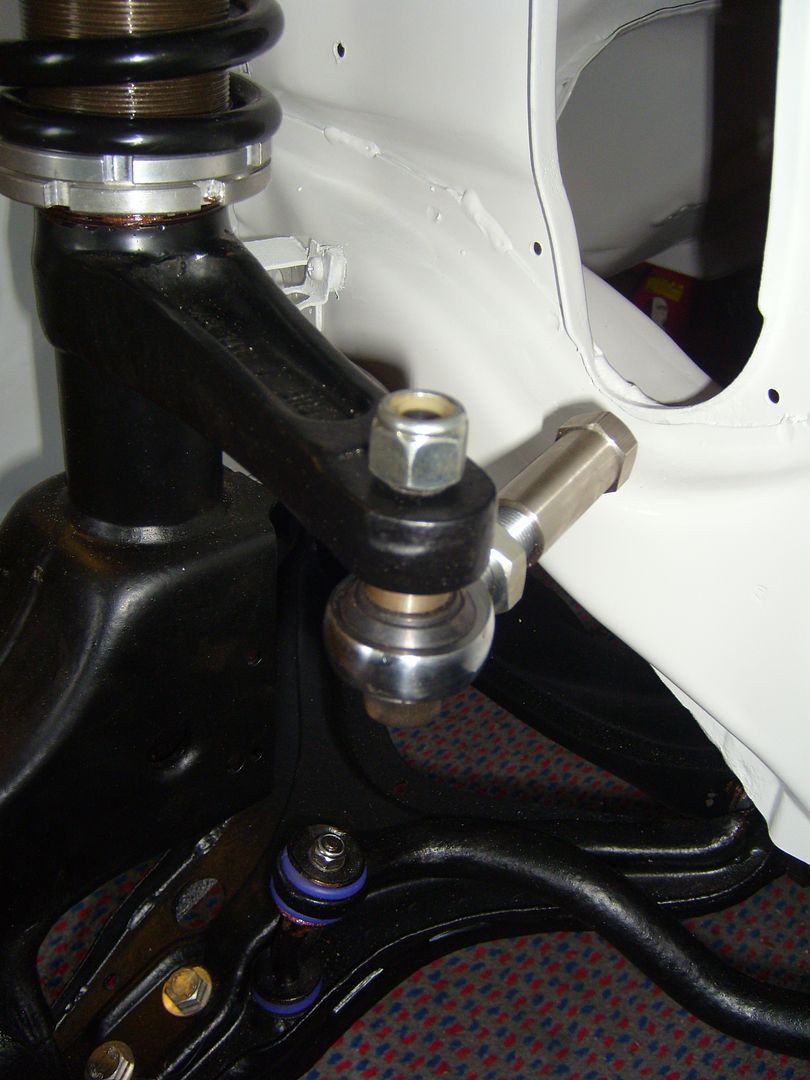
The last bit to modify on the drivetrain were the front tie rods which rather than using a taper fit just use a bolt through a rose joint. So I had to open them out with a file so the bolt just fits up through the strut arm, leaving the bottom with a taper should I go back to standard tie rods.
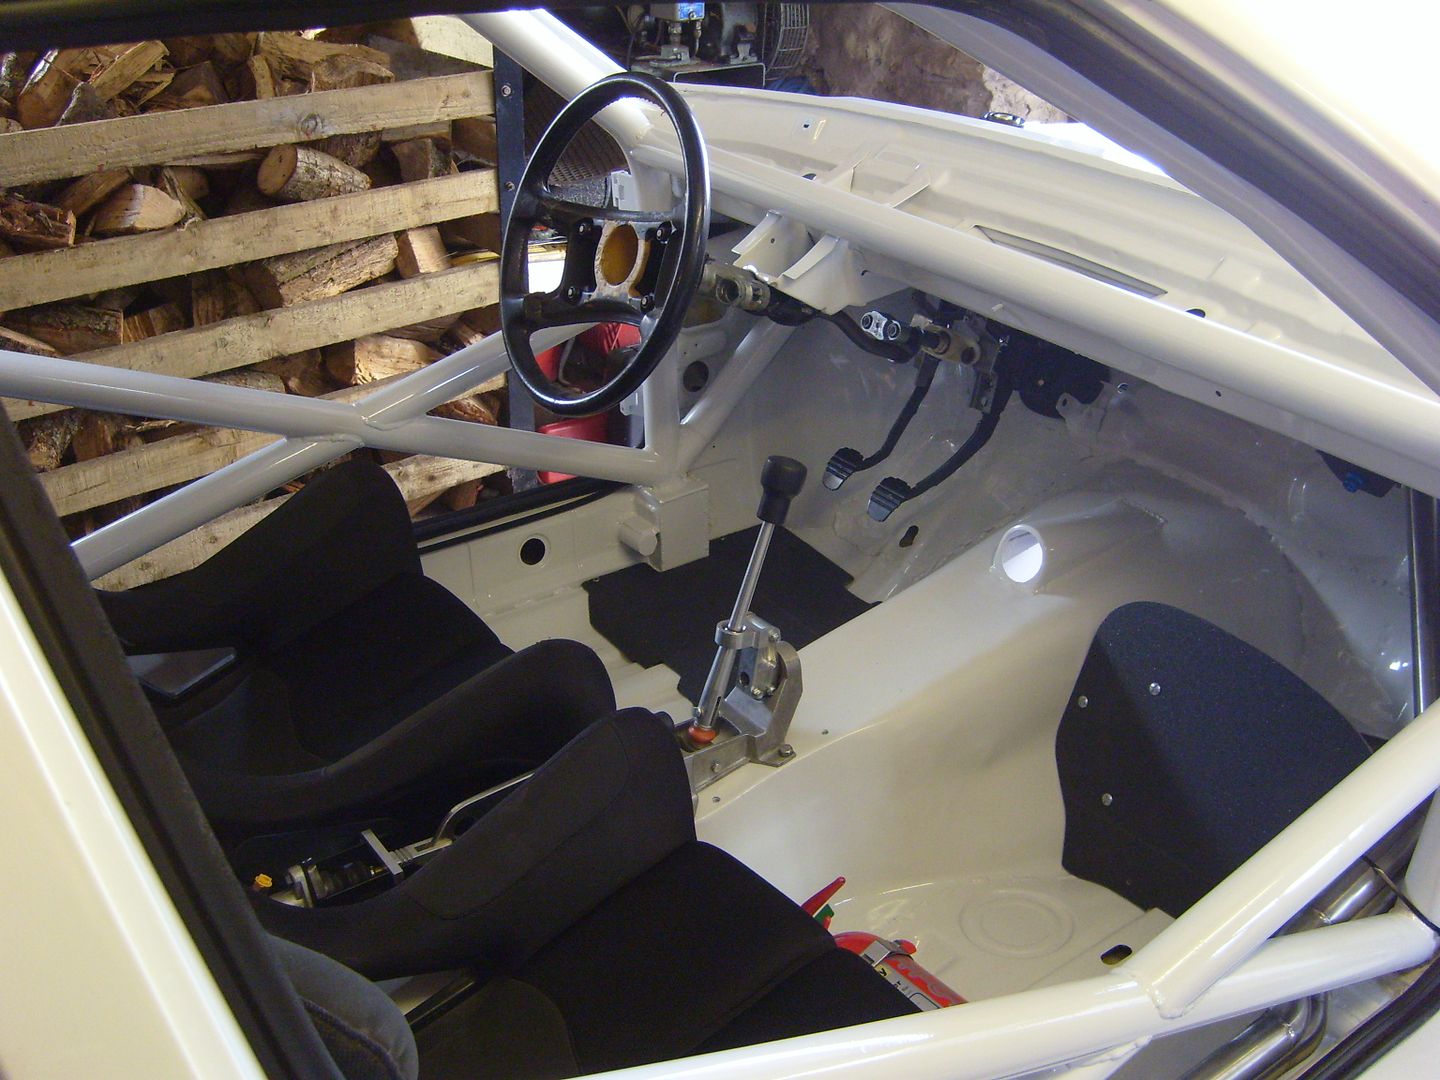
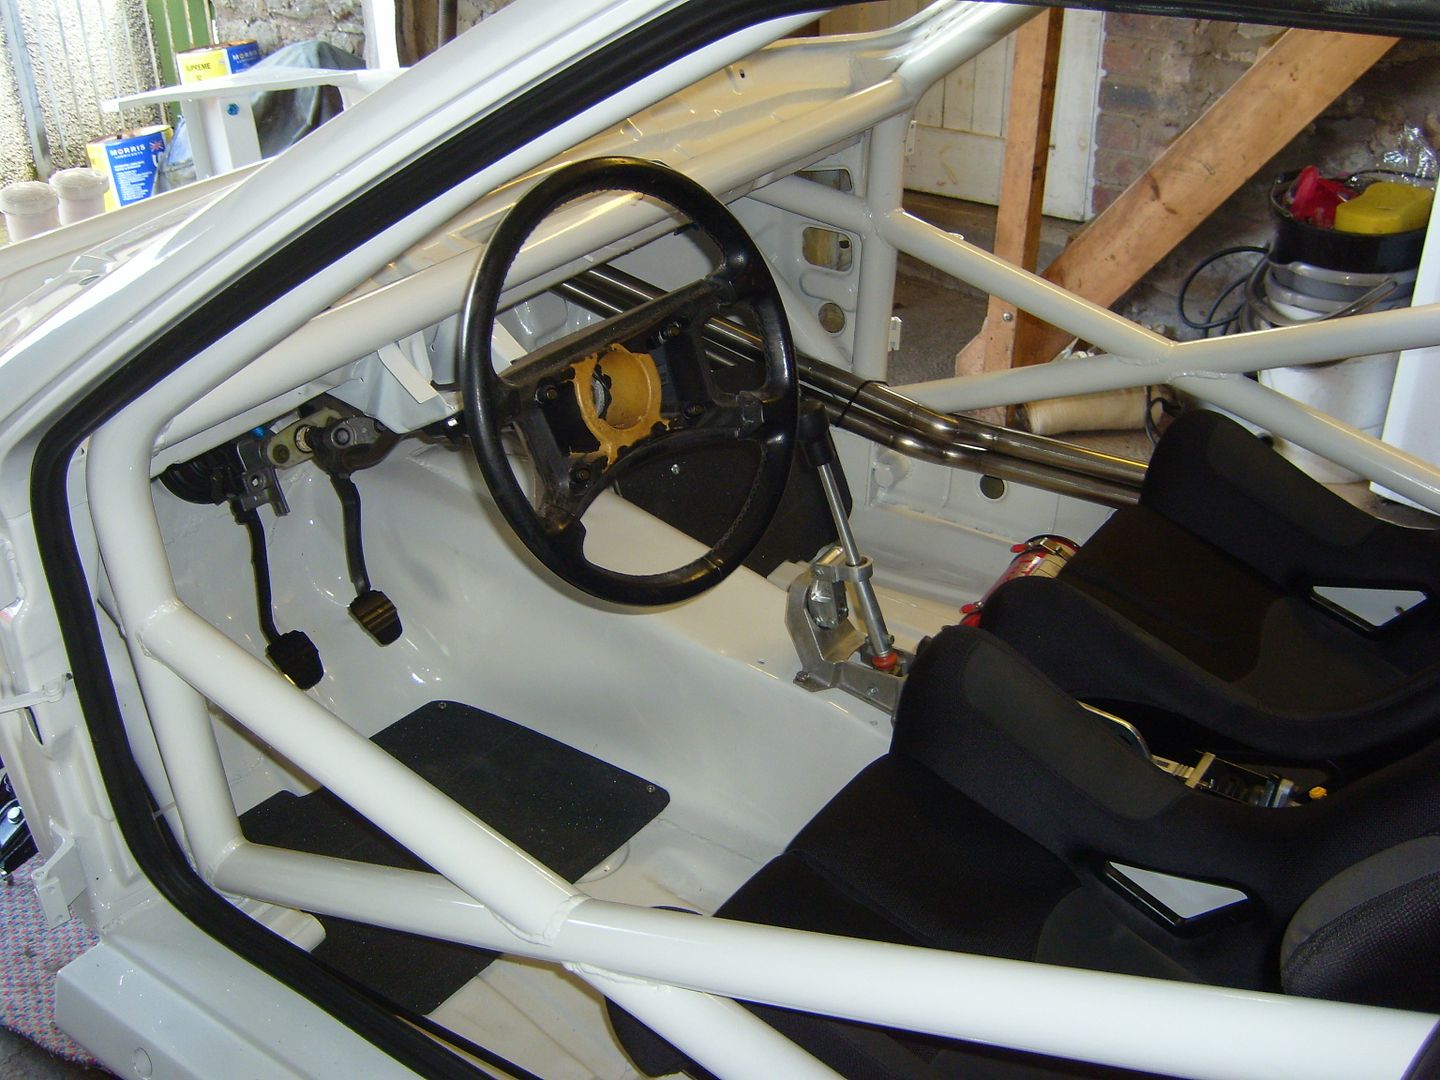
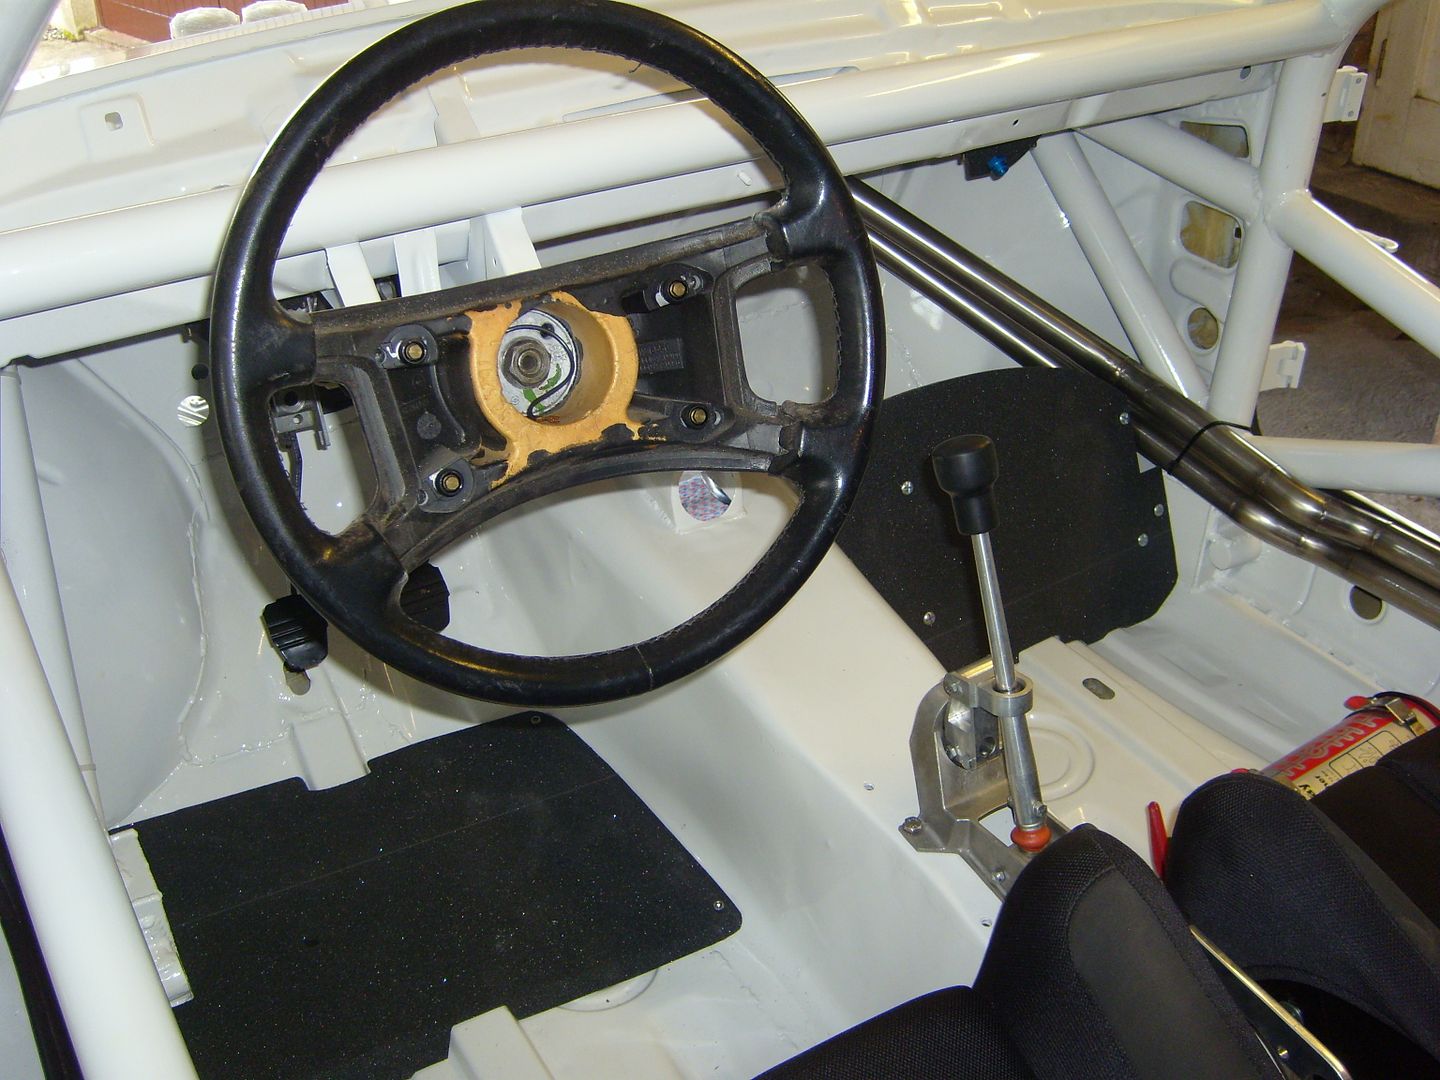
Finally the pedals, steering column and brake master cylinders are on the car. The steering position feels about right so no need to mess about with UJ's to drop the column. Obviously the wheel needs to come back but it will with the boss, and removable section, I might also go for a dished wheel to get it even further back.
i seen this car at solway blast cleaning when i took my metro turbo to be shot blasted and i thort it was a class car then. now its even better wouldnt mind having a look at it in person if at all possible? great work keep it up.
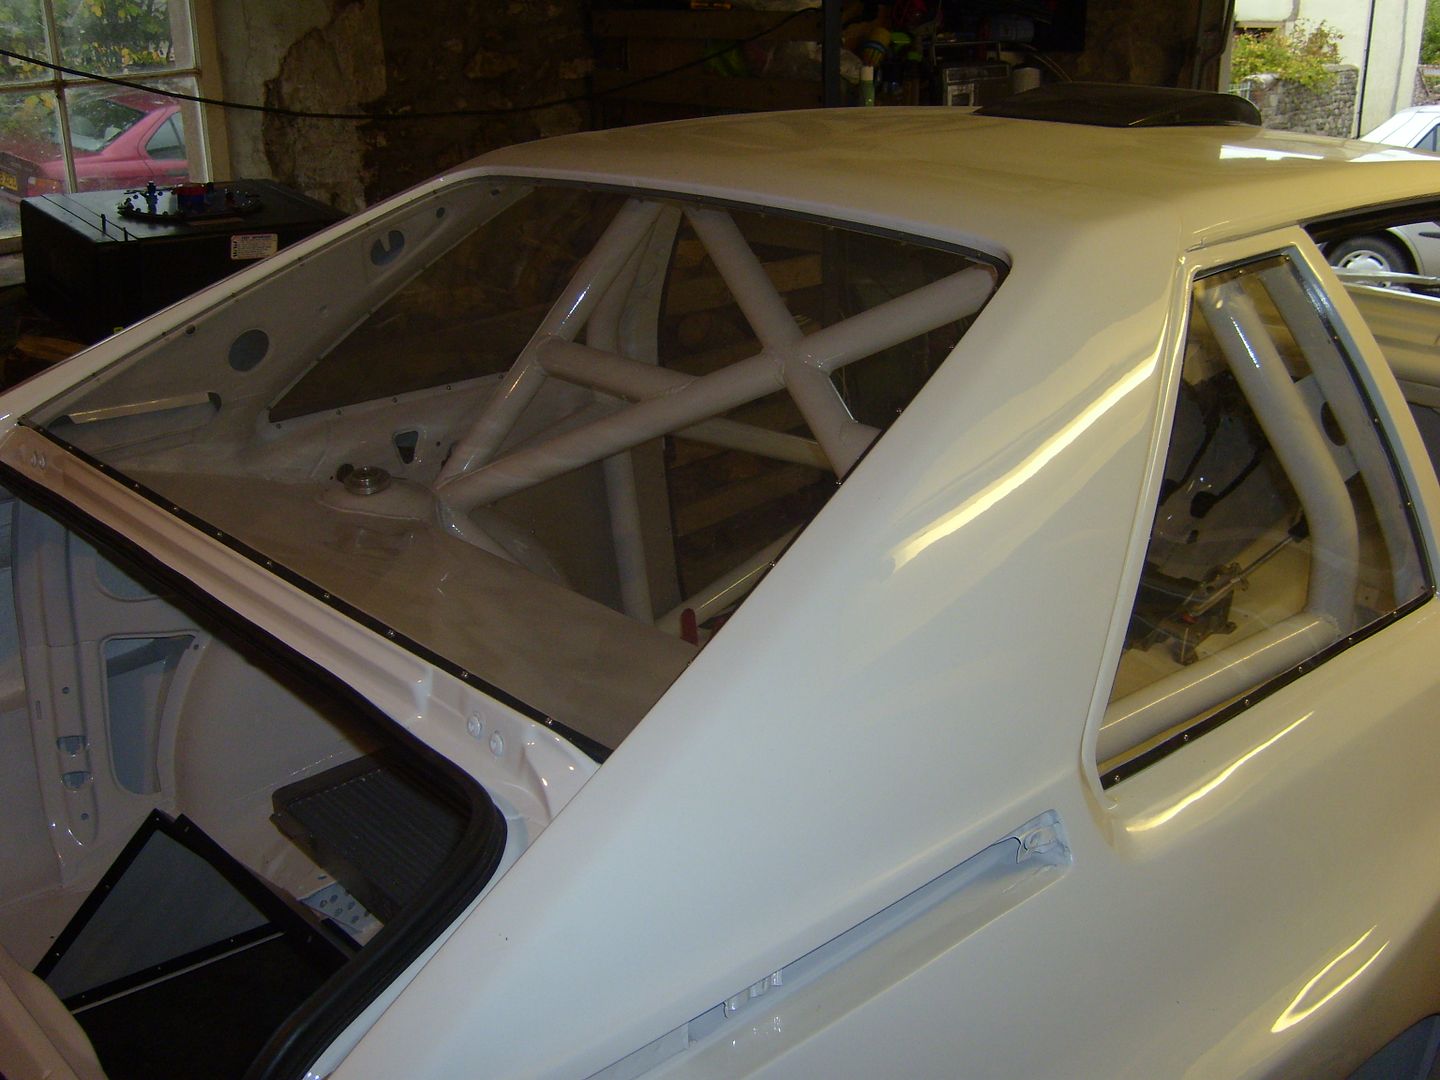
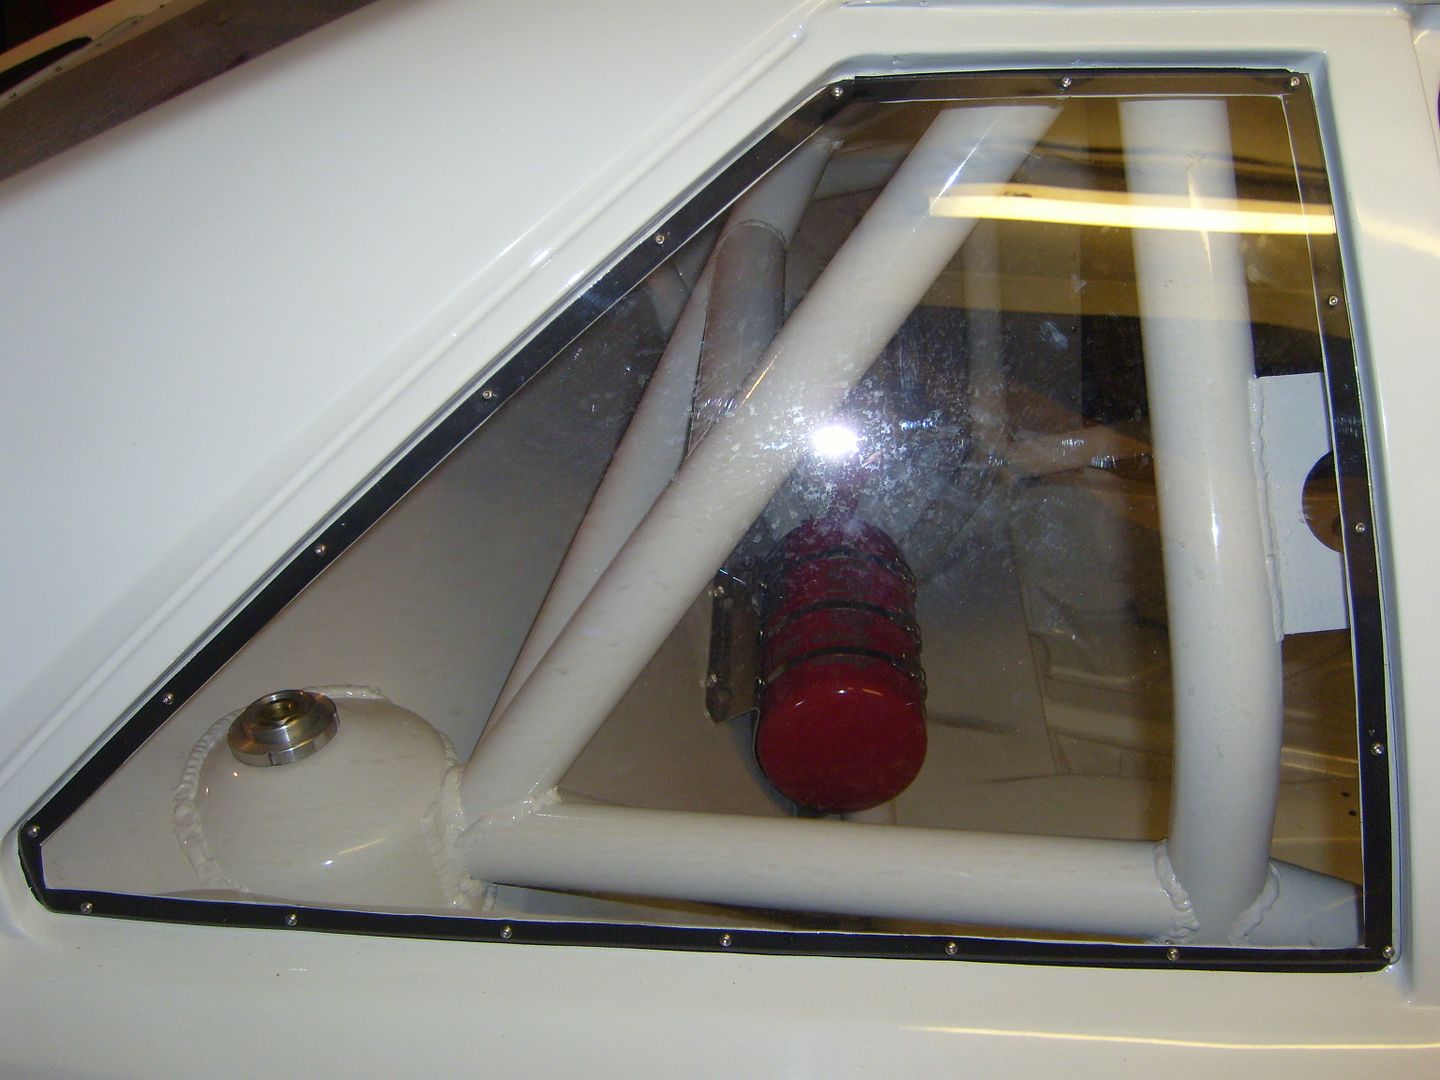
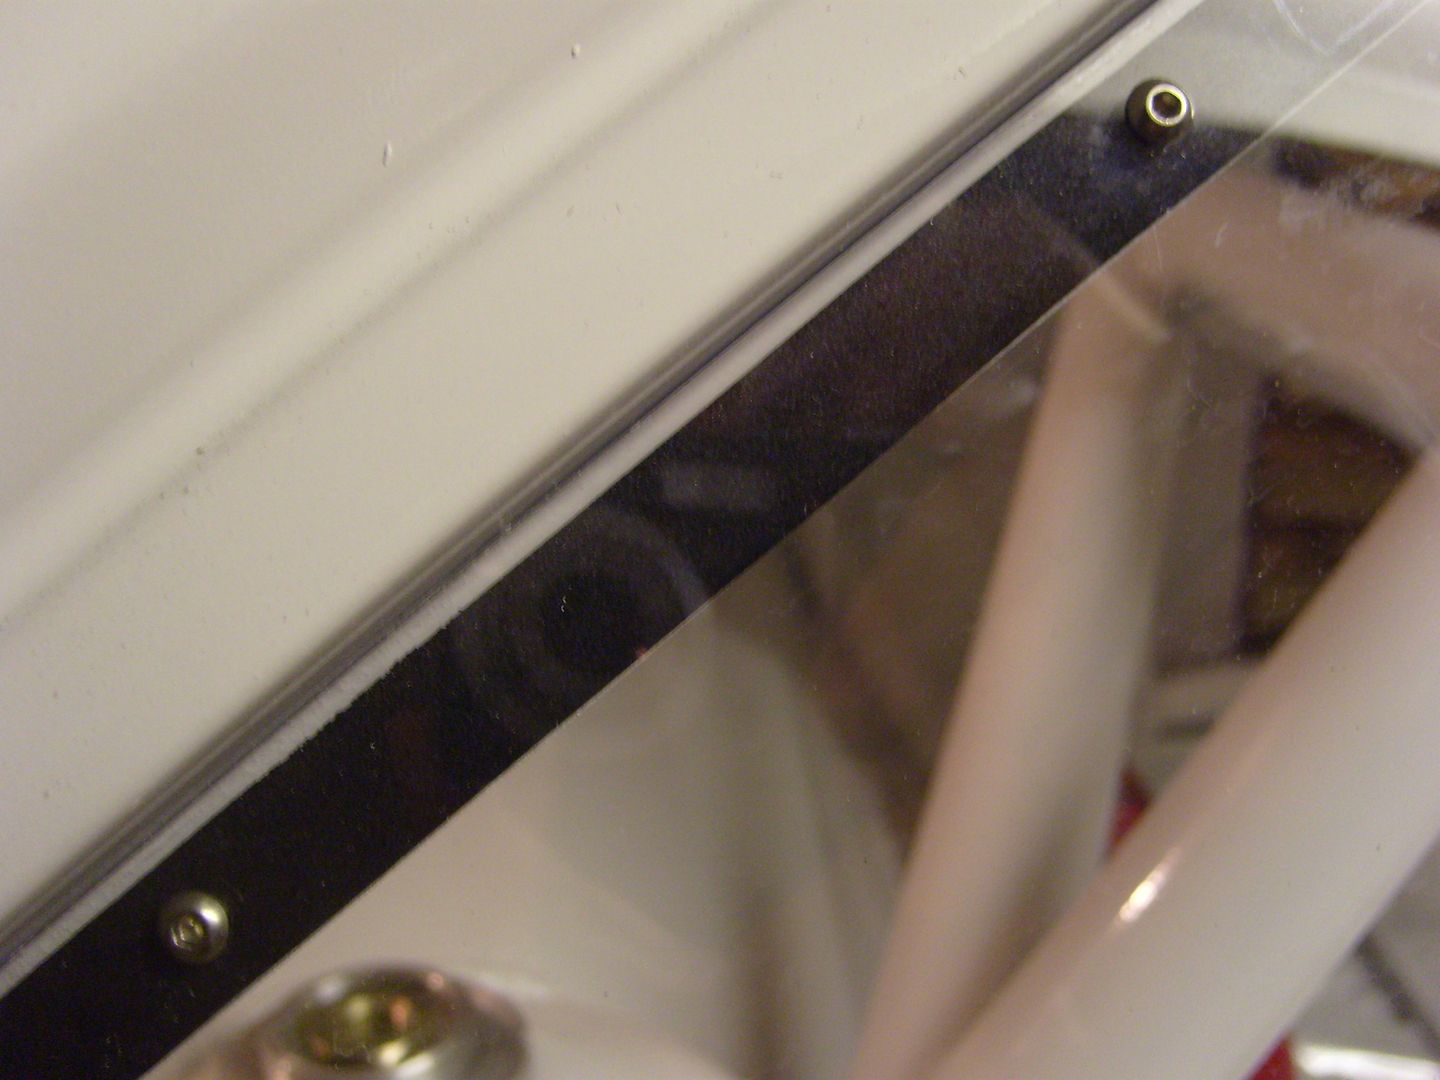
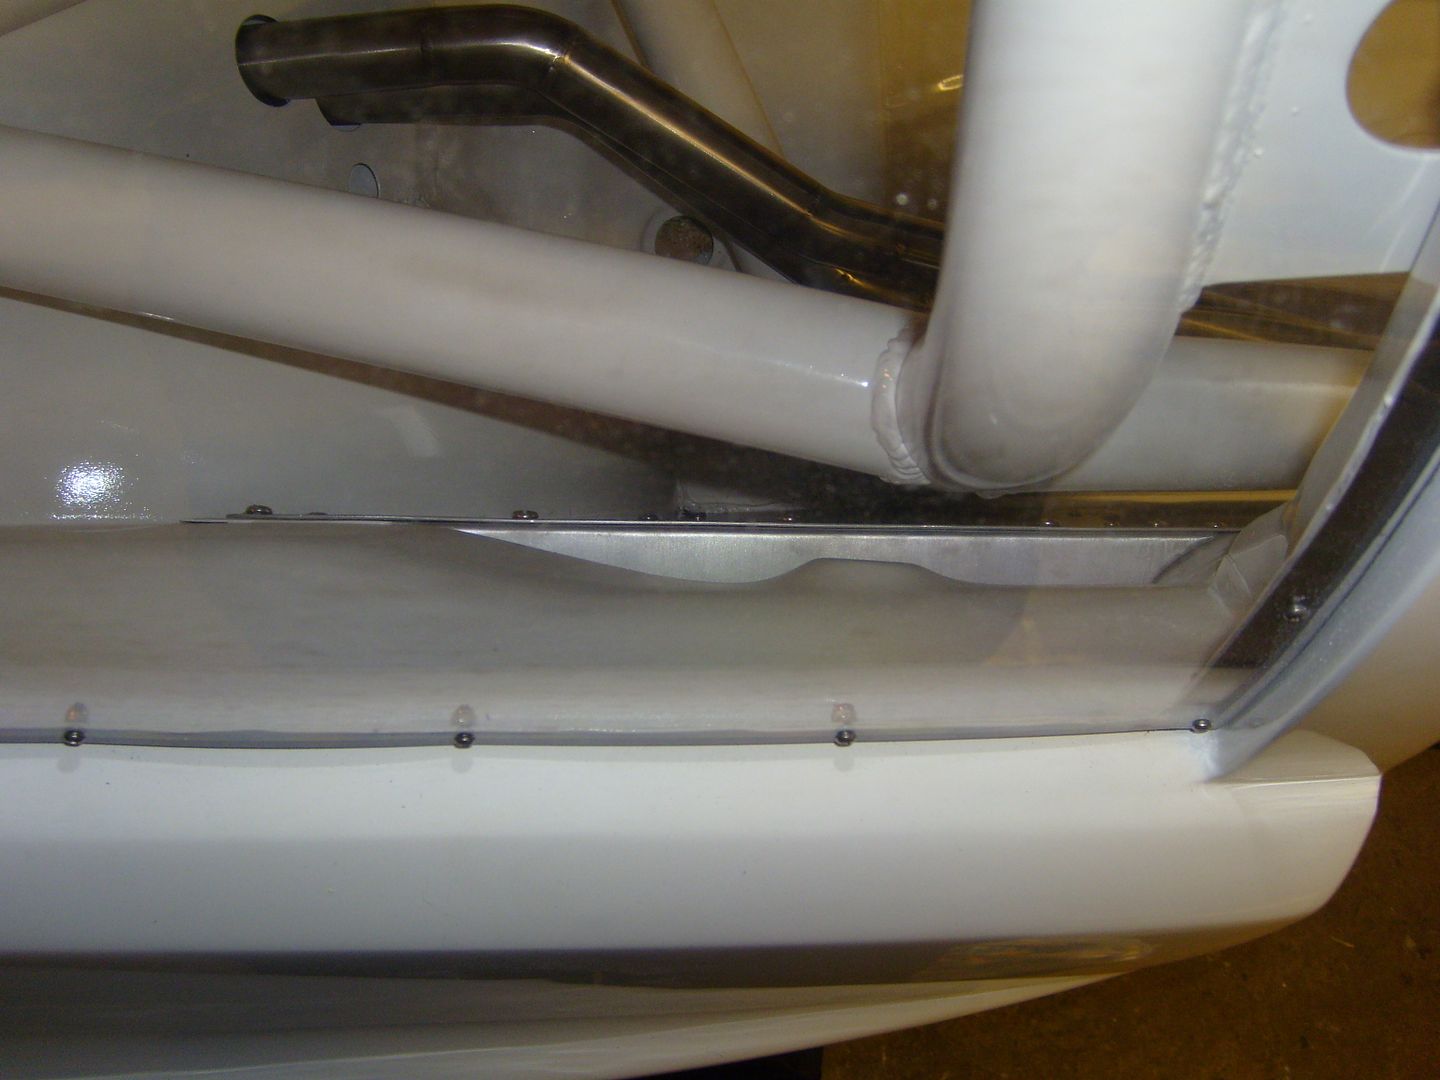
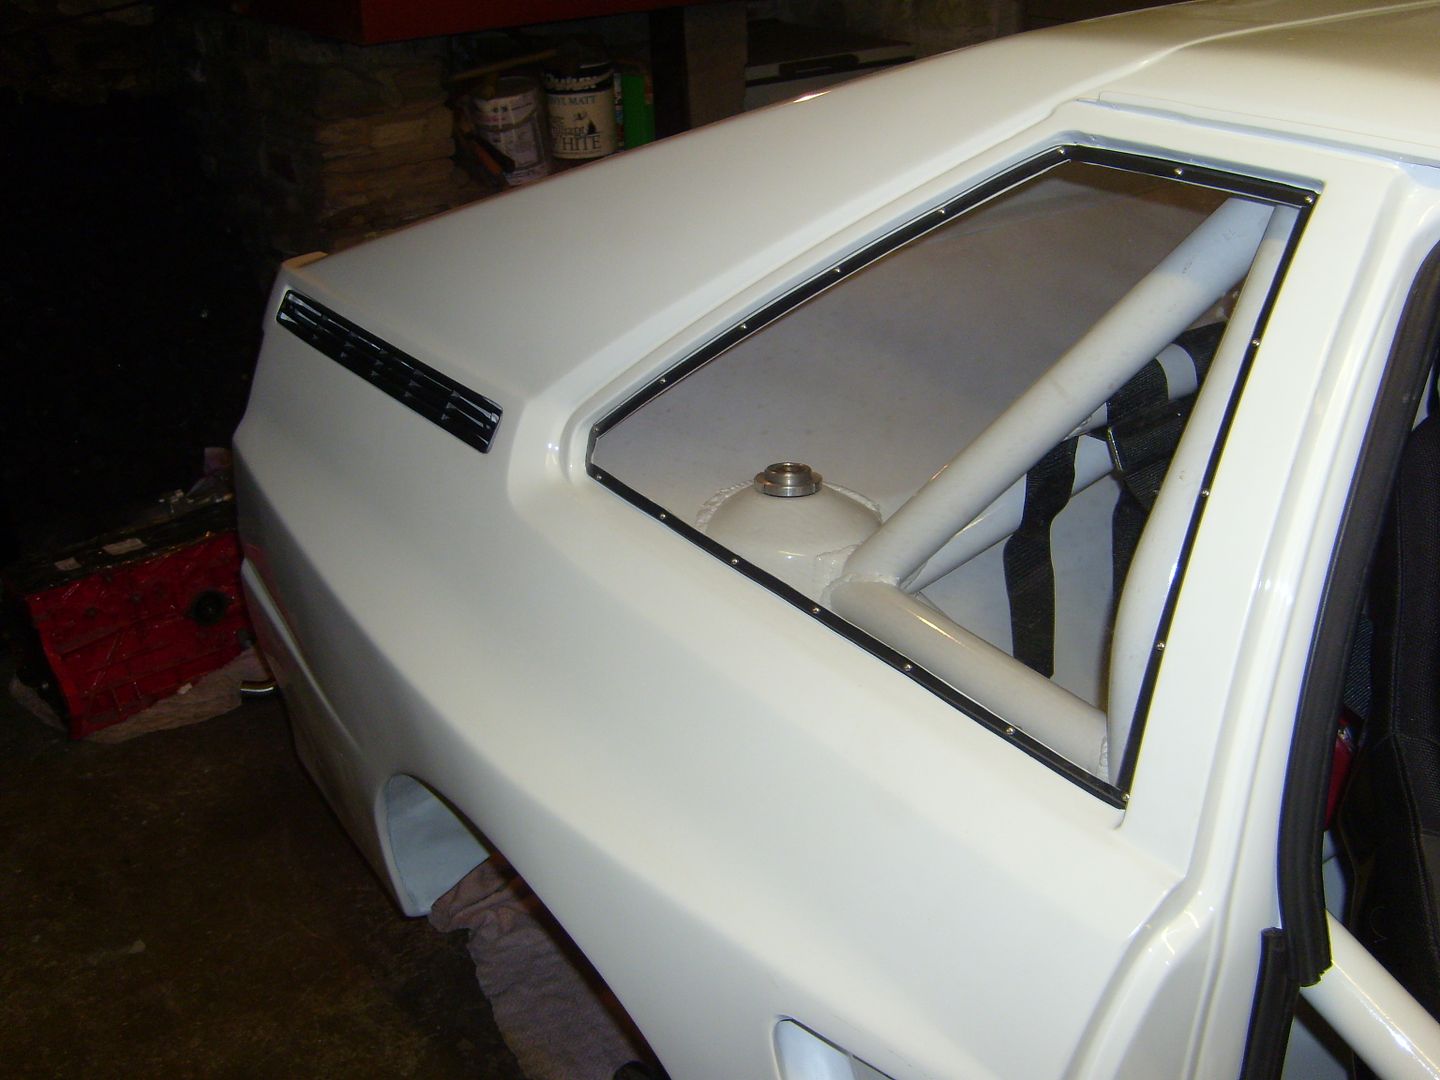
Managed to get a little bit more done to the car. The windows are finally in. I had to try a couple of different types of tape untill I found what I was happy with. The tape is neoprene, only sticky on one side as the double sided stuff looked crap as the window doesn't sit onto it all the way around. Bolted in with m3 bolts, and nylock nuts. Sorry they are not clean, I gave them a quick wash as they were filthy but never dried them!
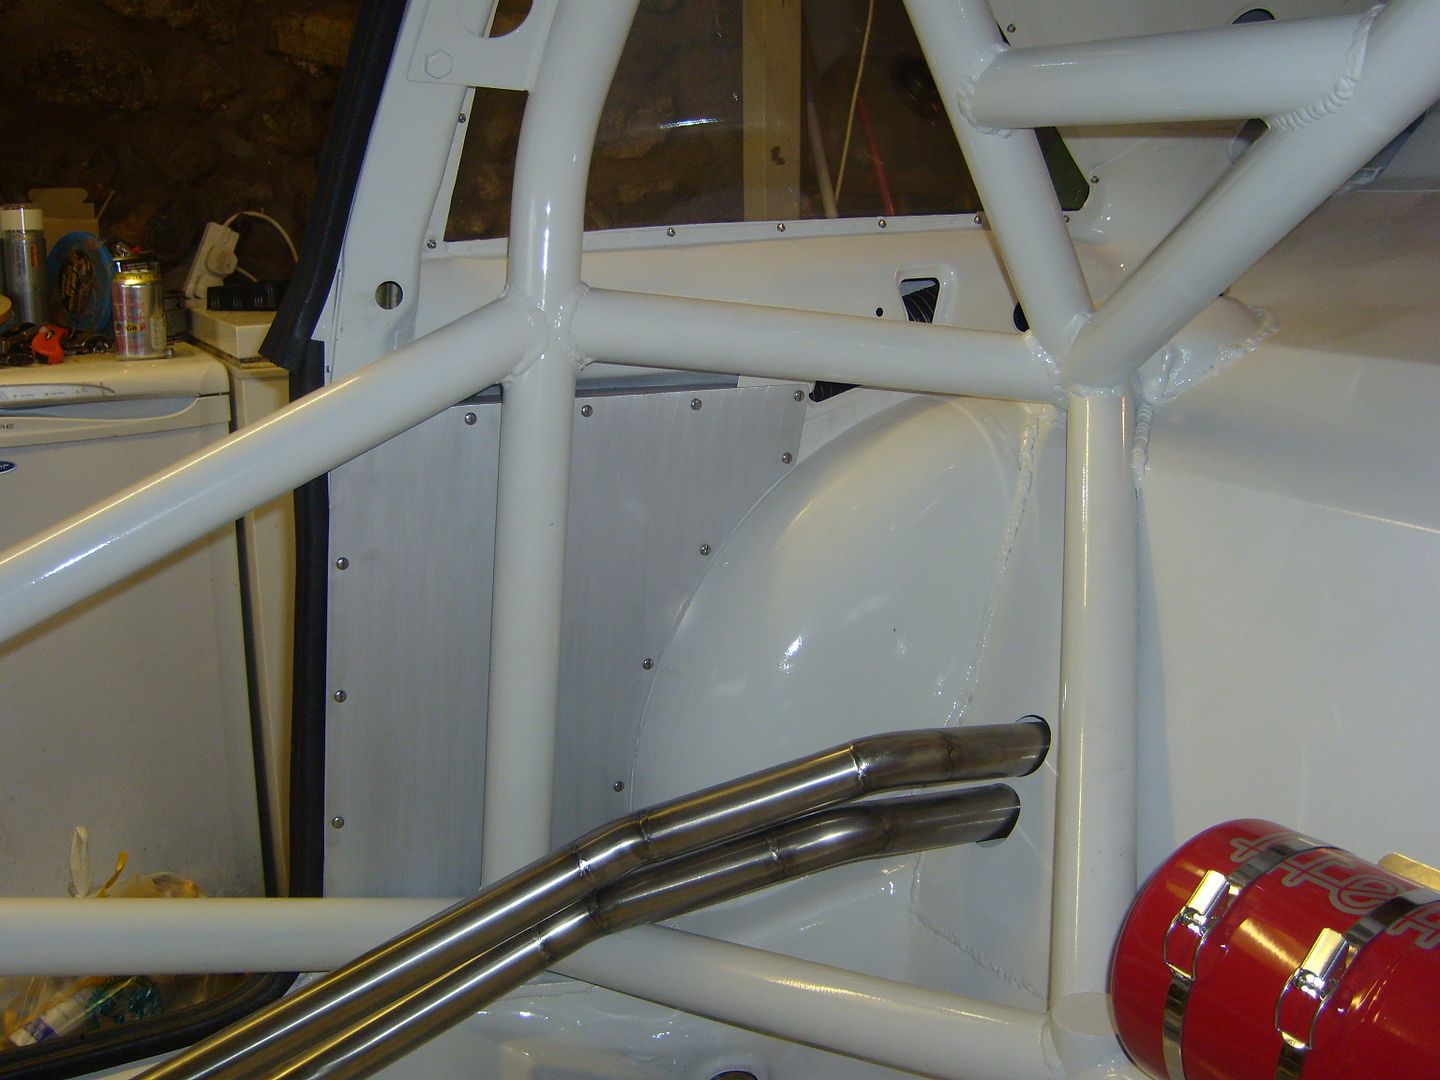
Then I re-made vents so I had something to get the pipe onto at the back. I used some roll cage tubing, split it down each side and opened one end up. Then welded a couple of cheese wedges shapes into each side. They then got fibreglassed in and a skim of filler before some paint, just need a T-cut to make the paint finish blend in. I also made some pieces up for the other end of the air hose. It was some roll cage tubing welded onto some flat metal then bolted into the firewall pieces inside the rear wings. I forgot to take pics of either bits before the panels went over them!
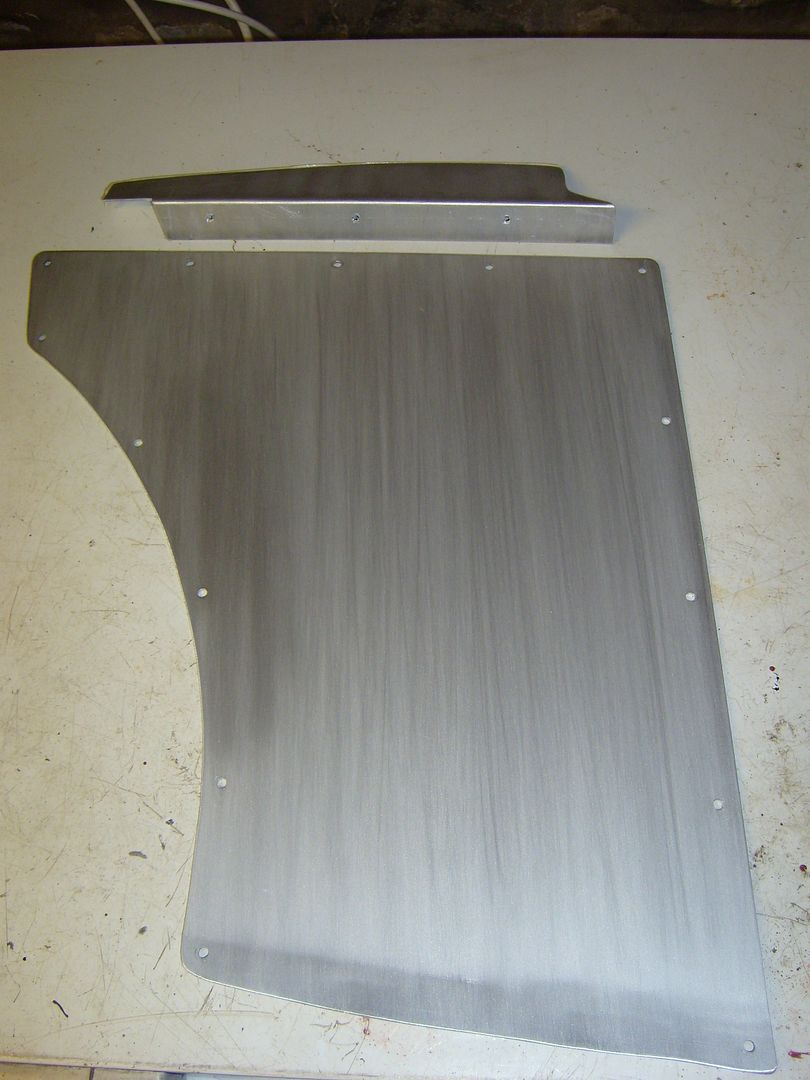
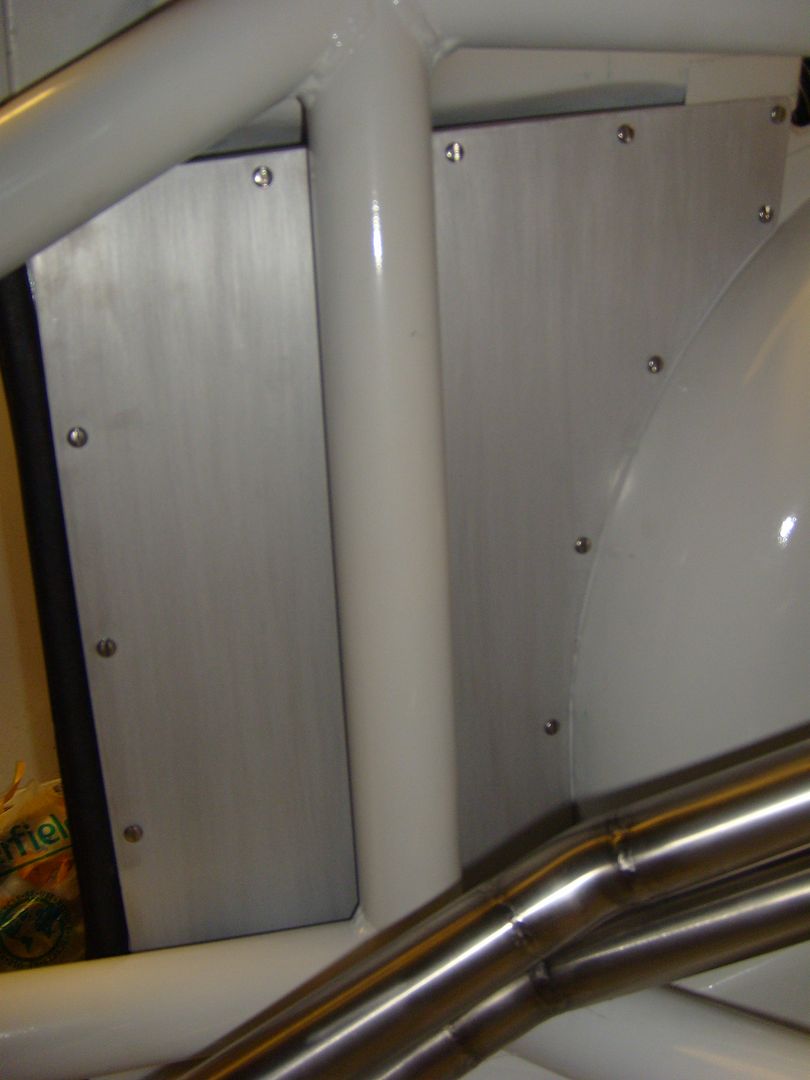
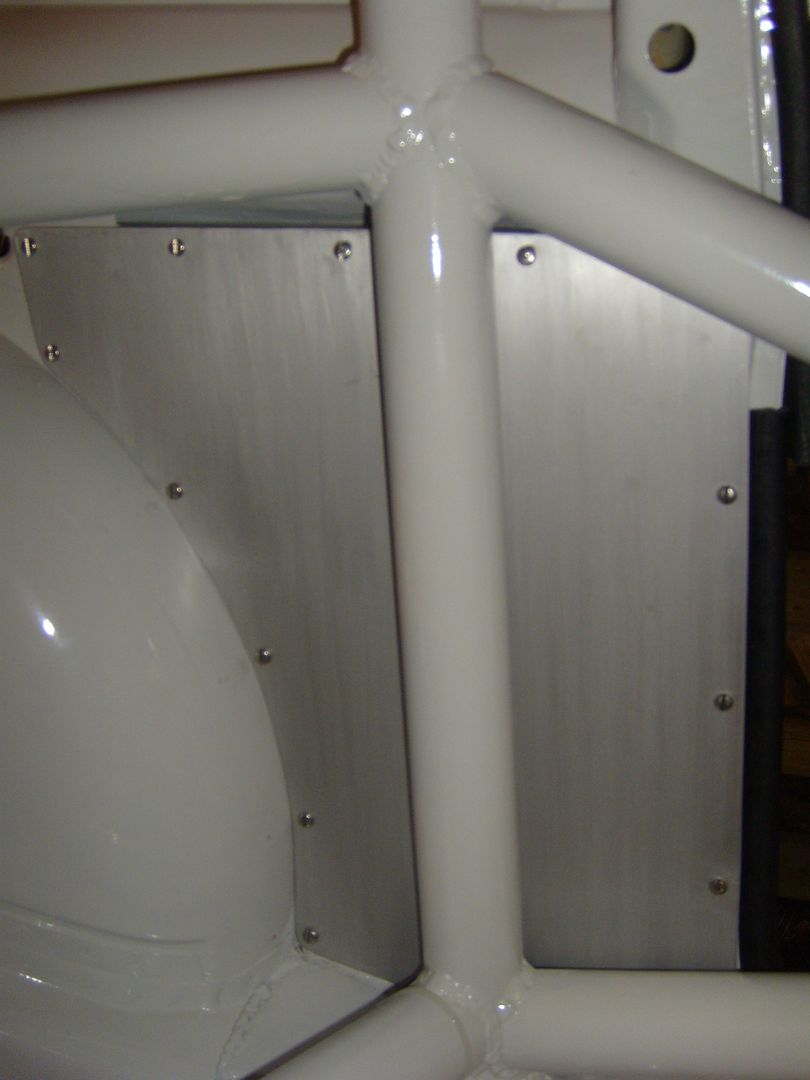
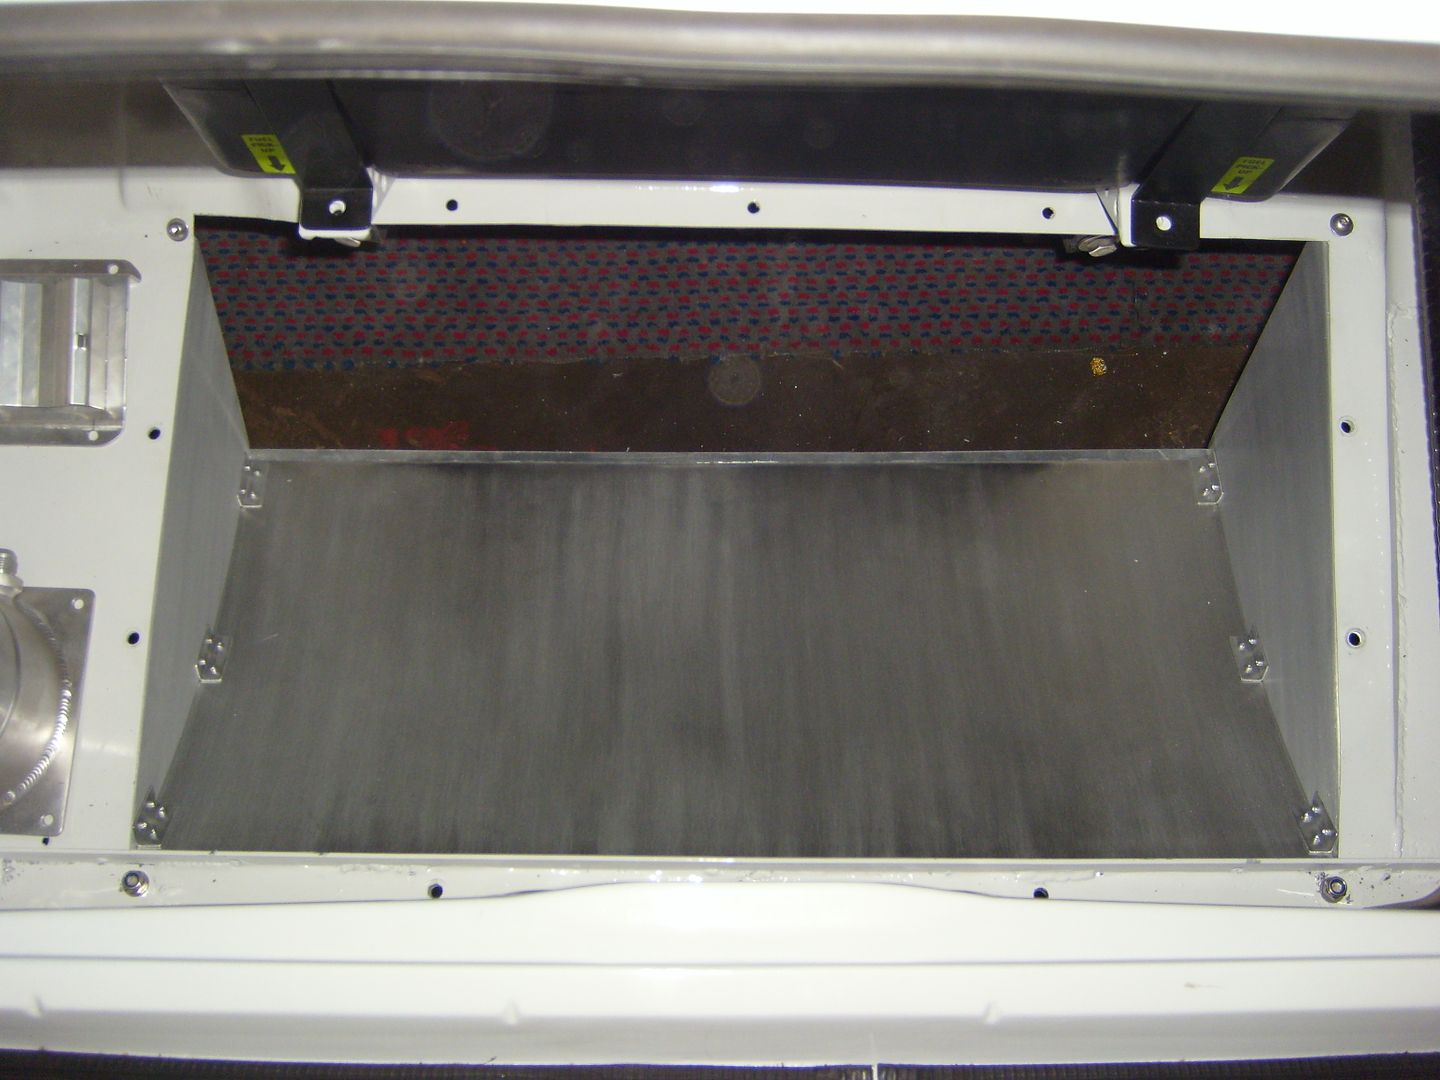
Finally to cover up the backs of the wings, vents, and air ducting I made some cover pieces. Had 3 goes at them before I was happy. Ended up having to be made in 2 pieces as the cage meant I couldn't get the 1 piece one in! Decided to go for a brushed finish with some wet and dry paper, and held in with some self tapers and double sided tape on the back to make sure it doesn't rattle.
I am going to be making the rear difuser/ air scoop for the radiator next, and then get all the boot area finished up. As usual all these job that might look easy end up taking far far longer to get right and usually a couple of goes!
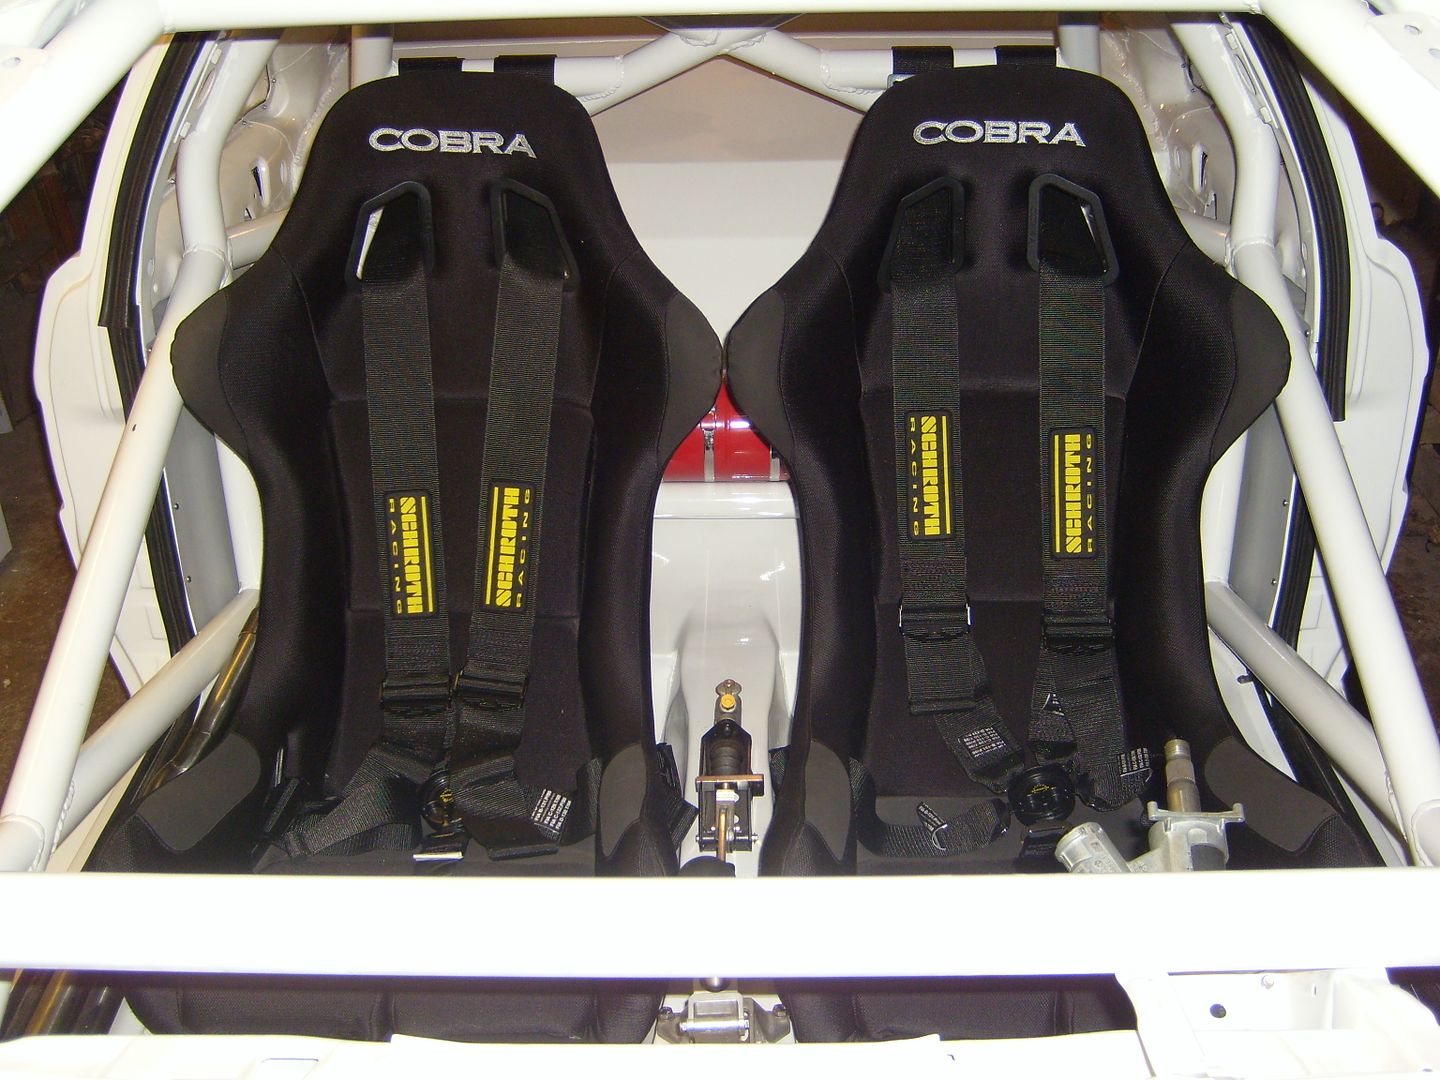
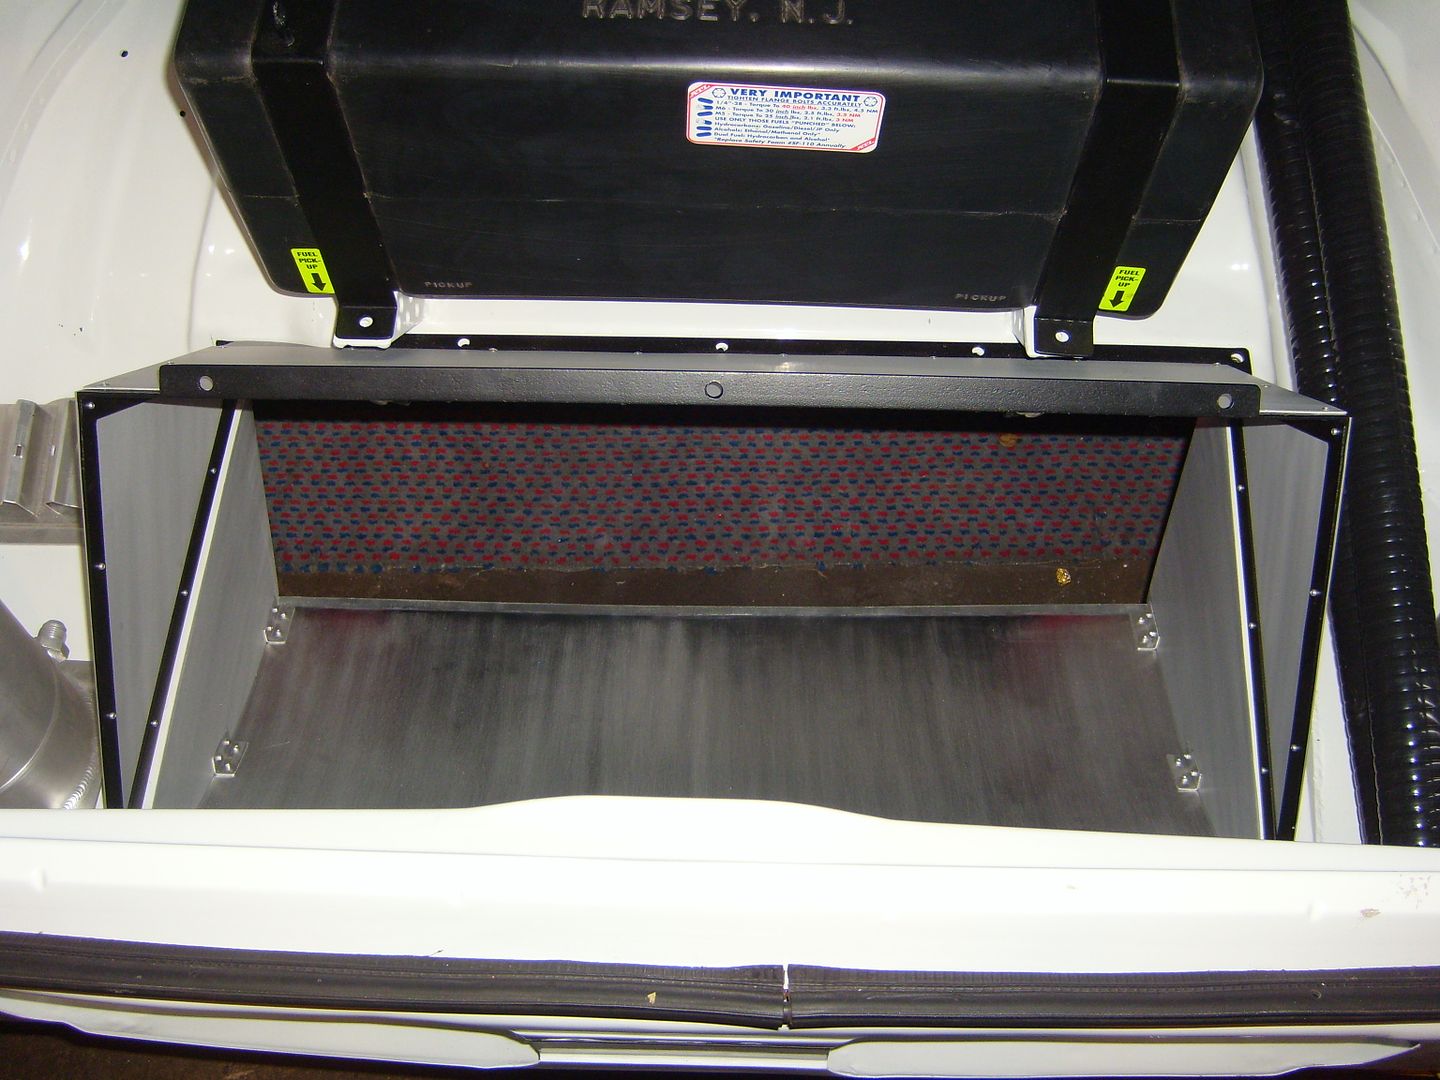
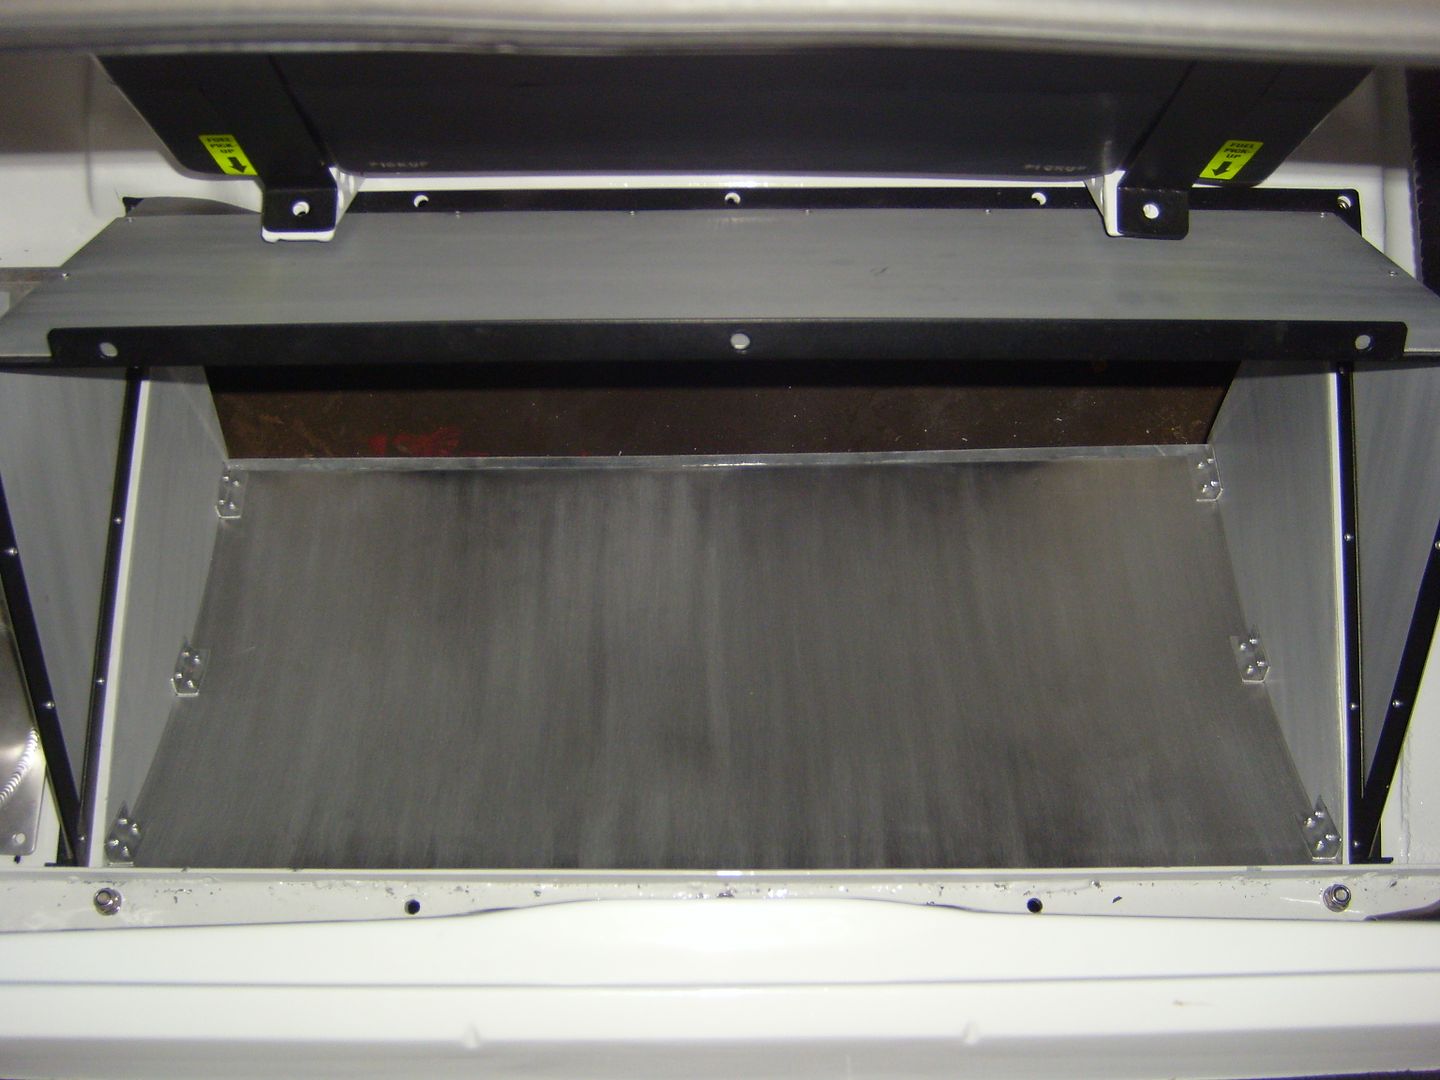
So another update! The harnesses are now in, 5 point schroth jobbies. The water pipes are also mounted after the silicone tubing finally arrived from samco. They are held together with a couple of brackets I made which still need a coat of paint.
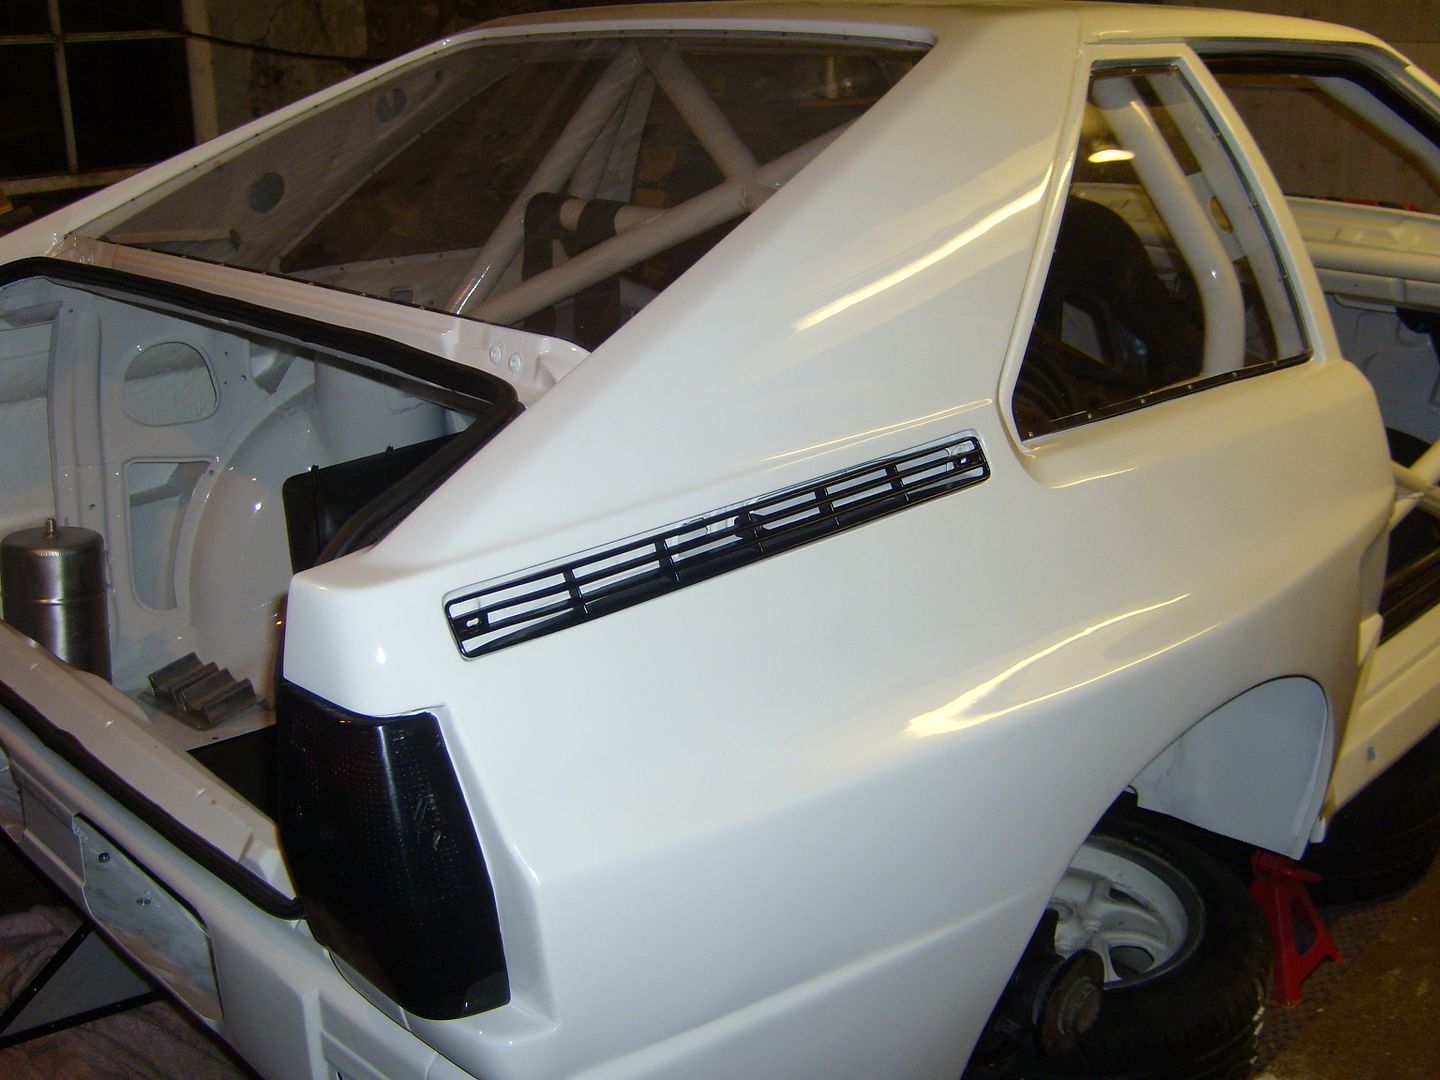
Picked the vents up from the sprayers so thought I would try them in to see if I liked the black on white theme that seems to be developing!
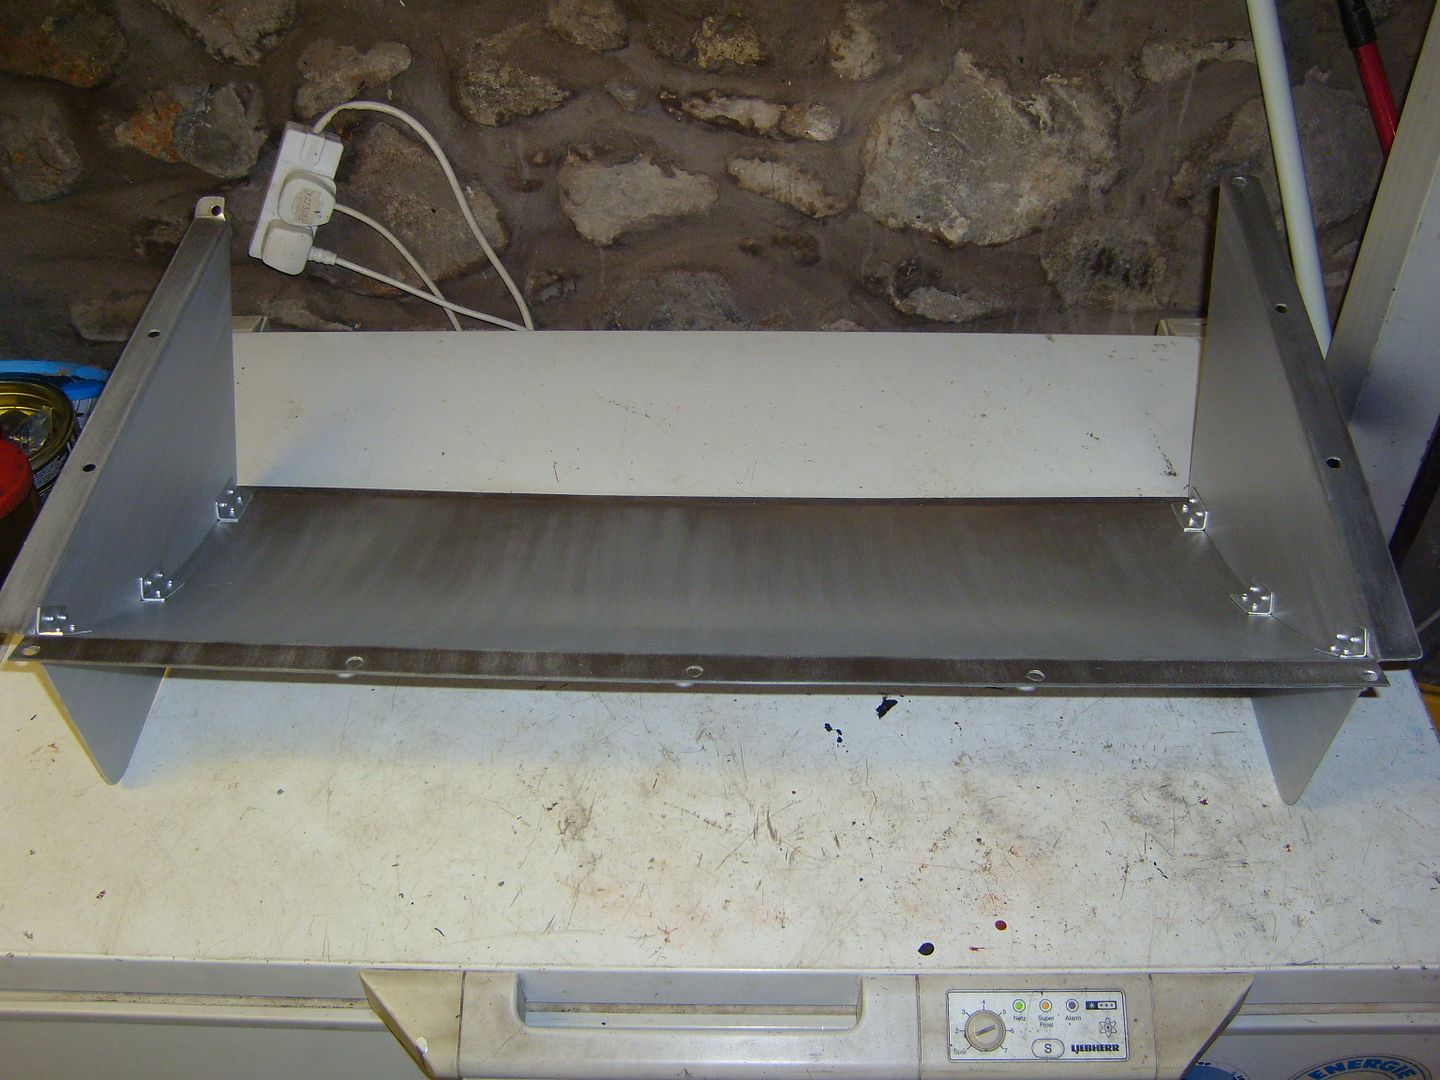
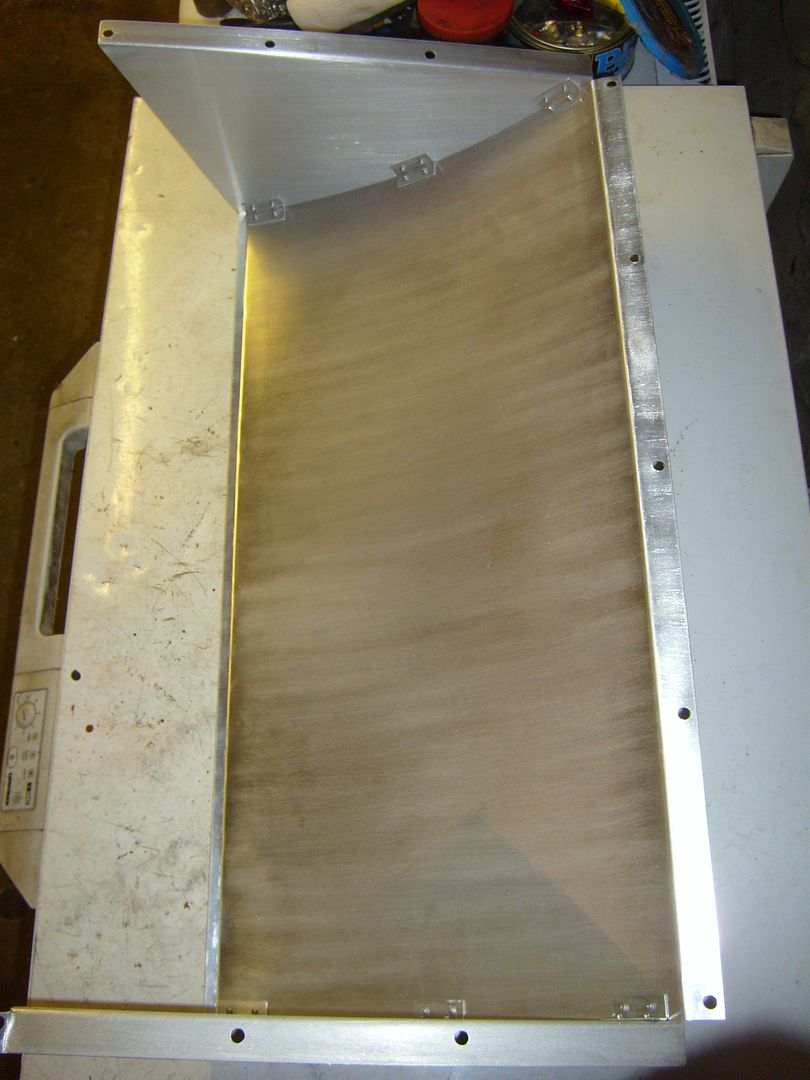
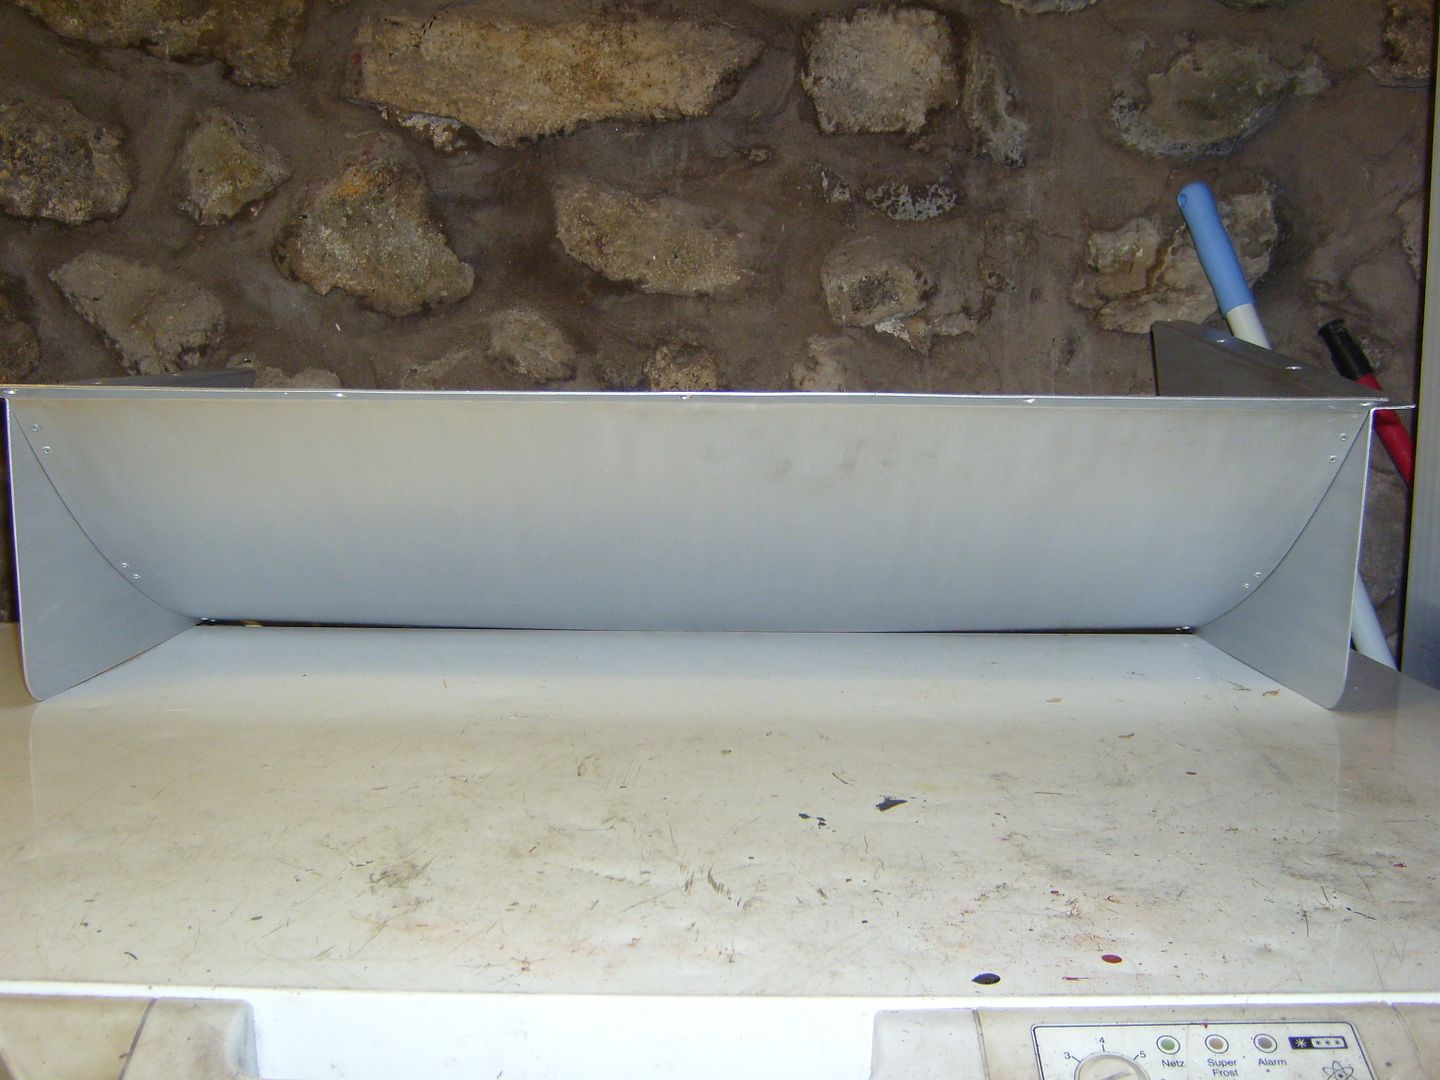
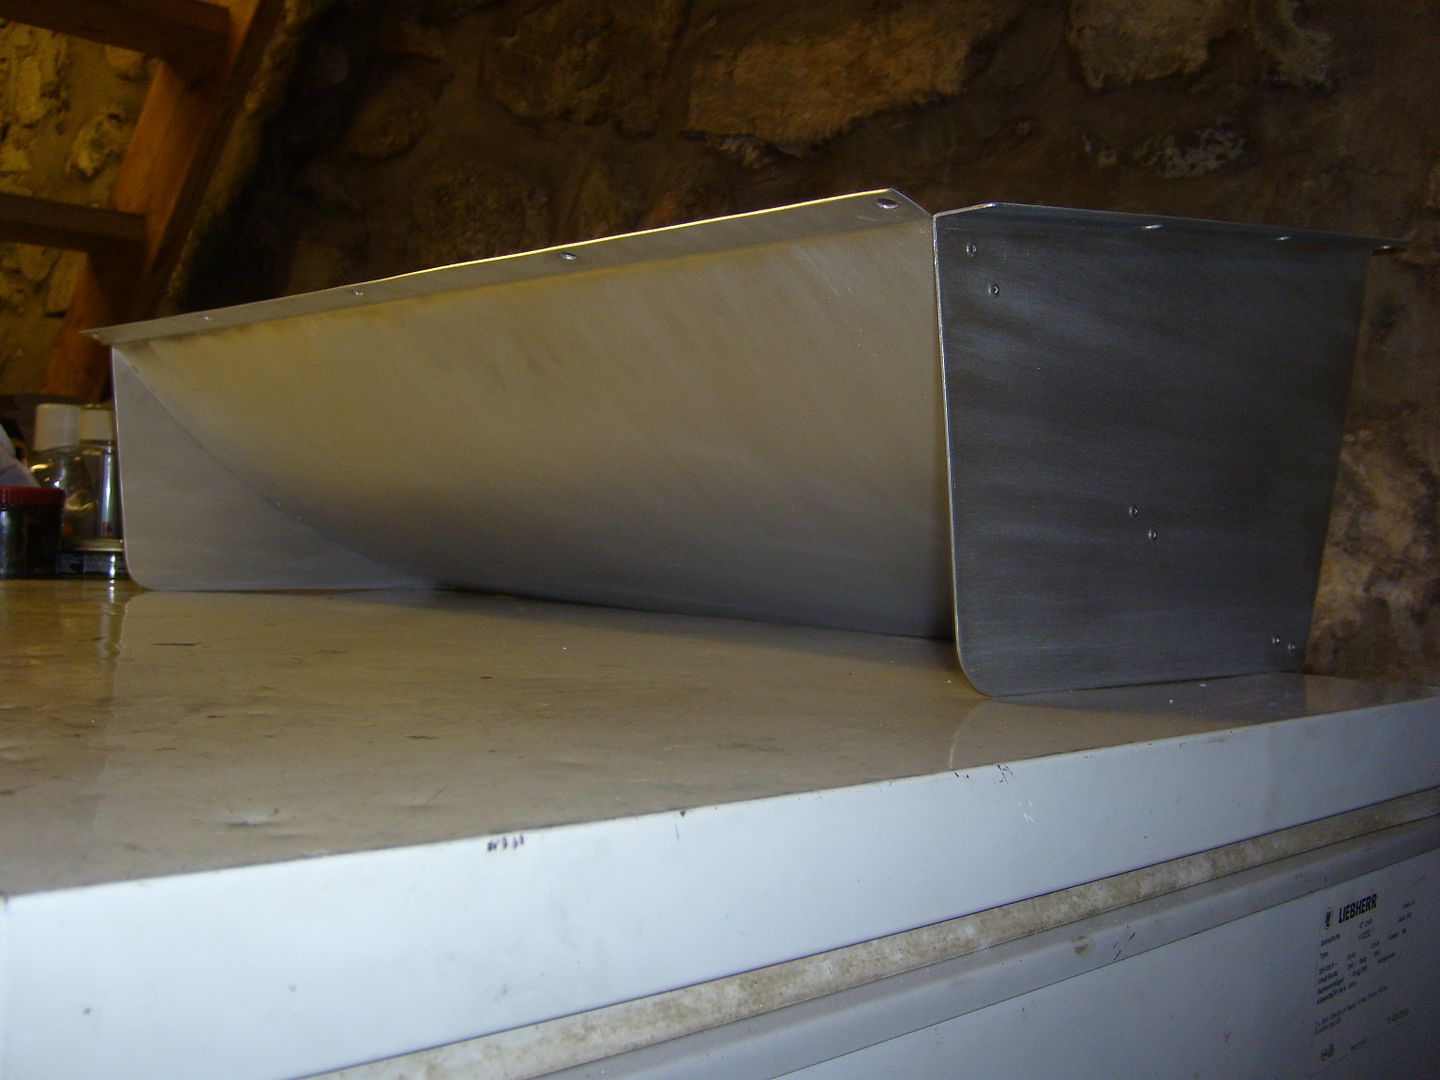
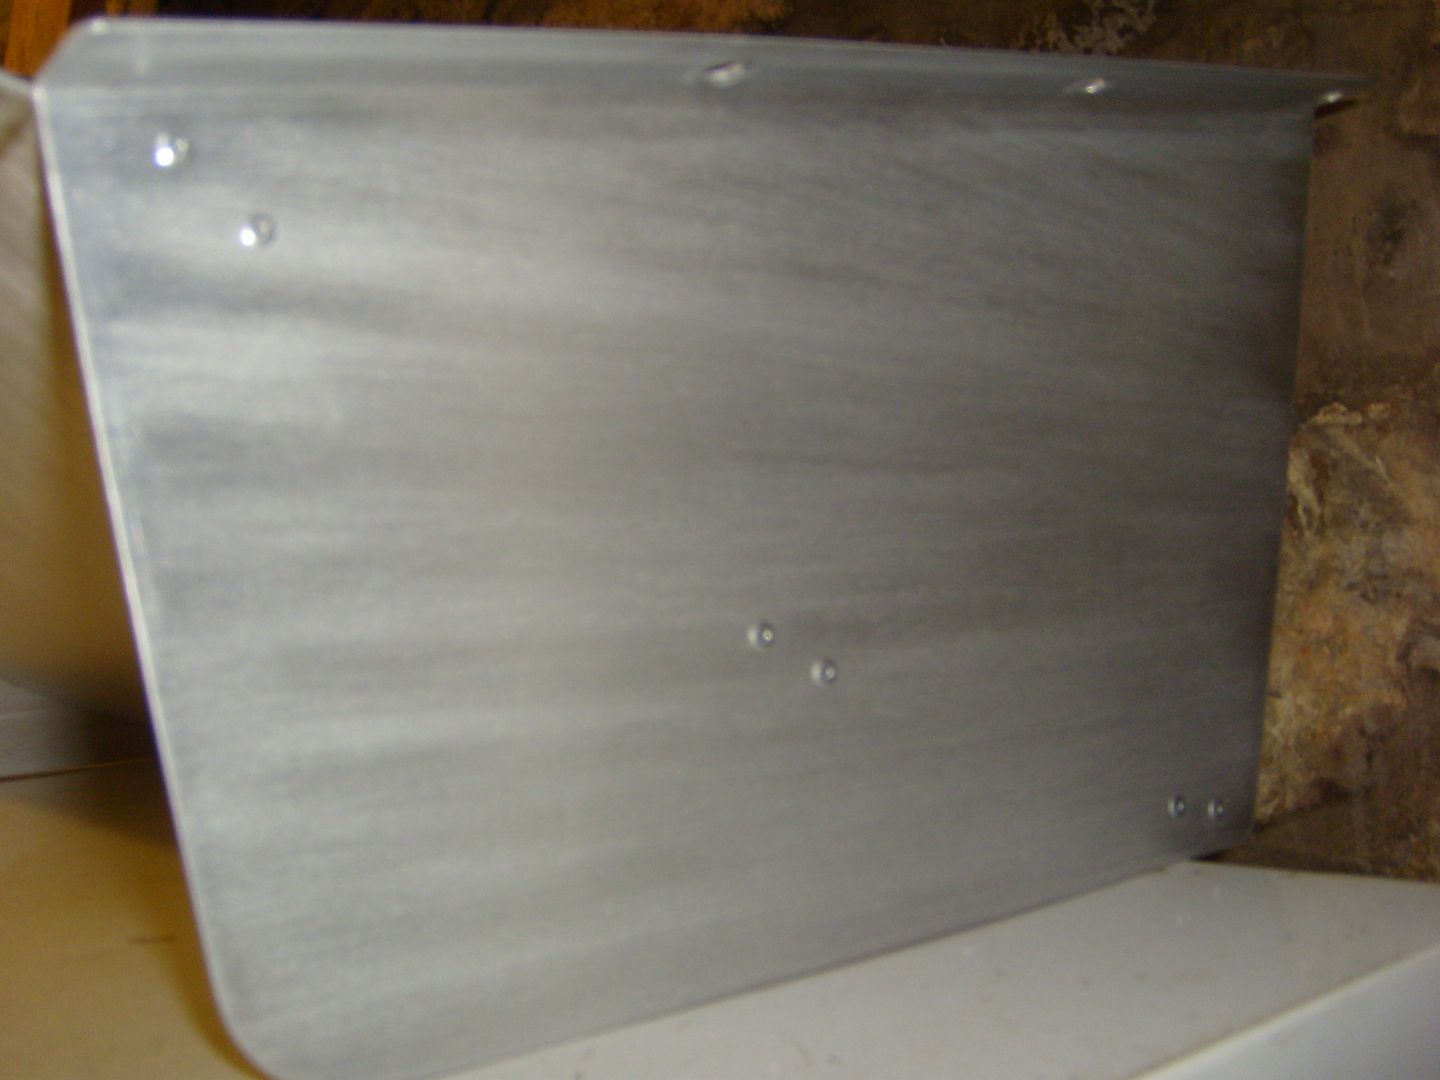
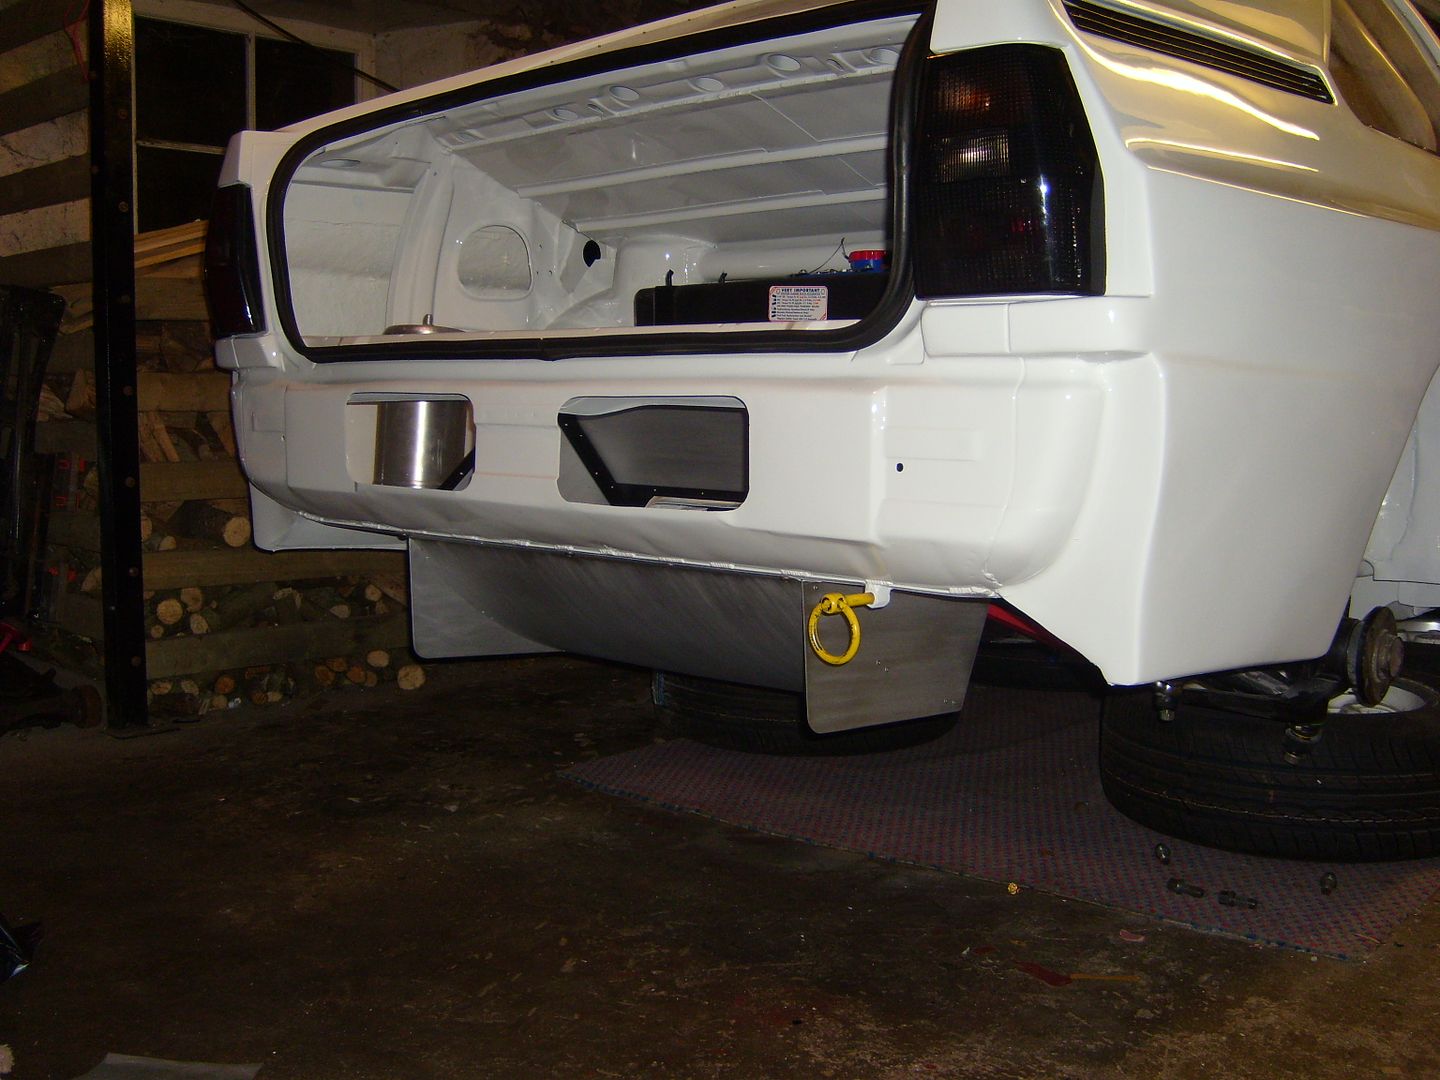
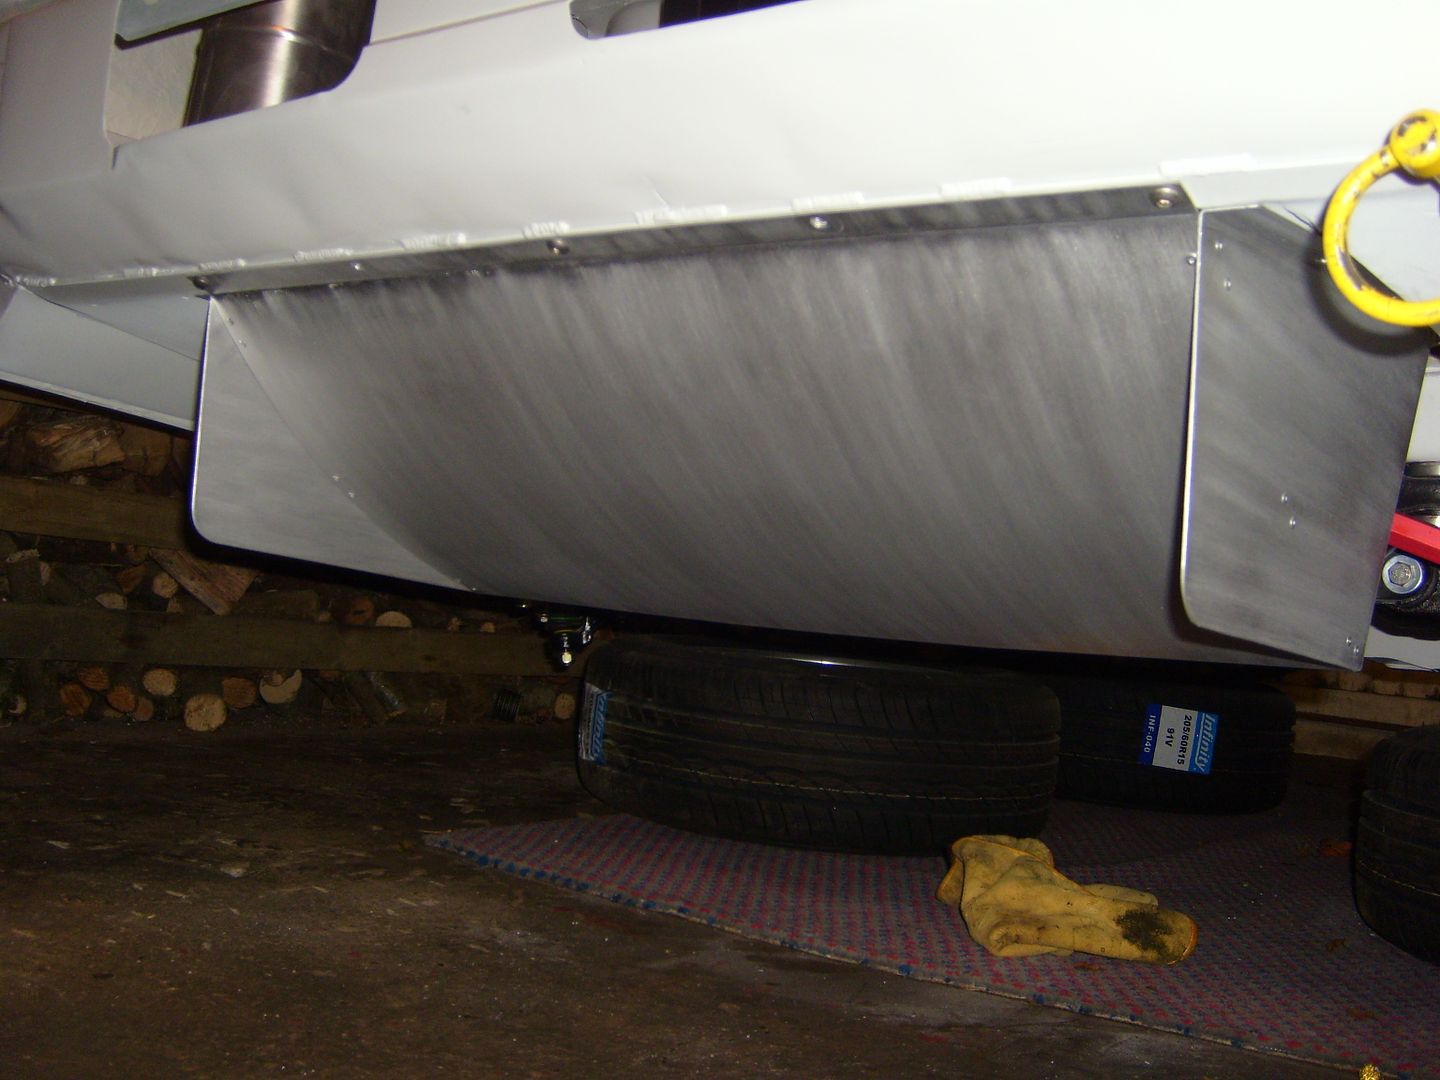
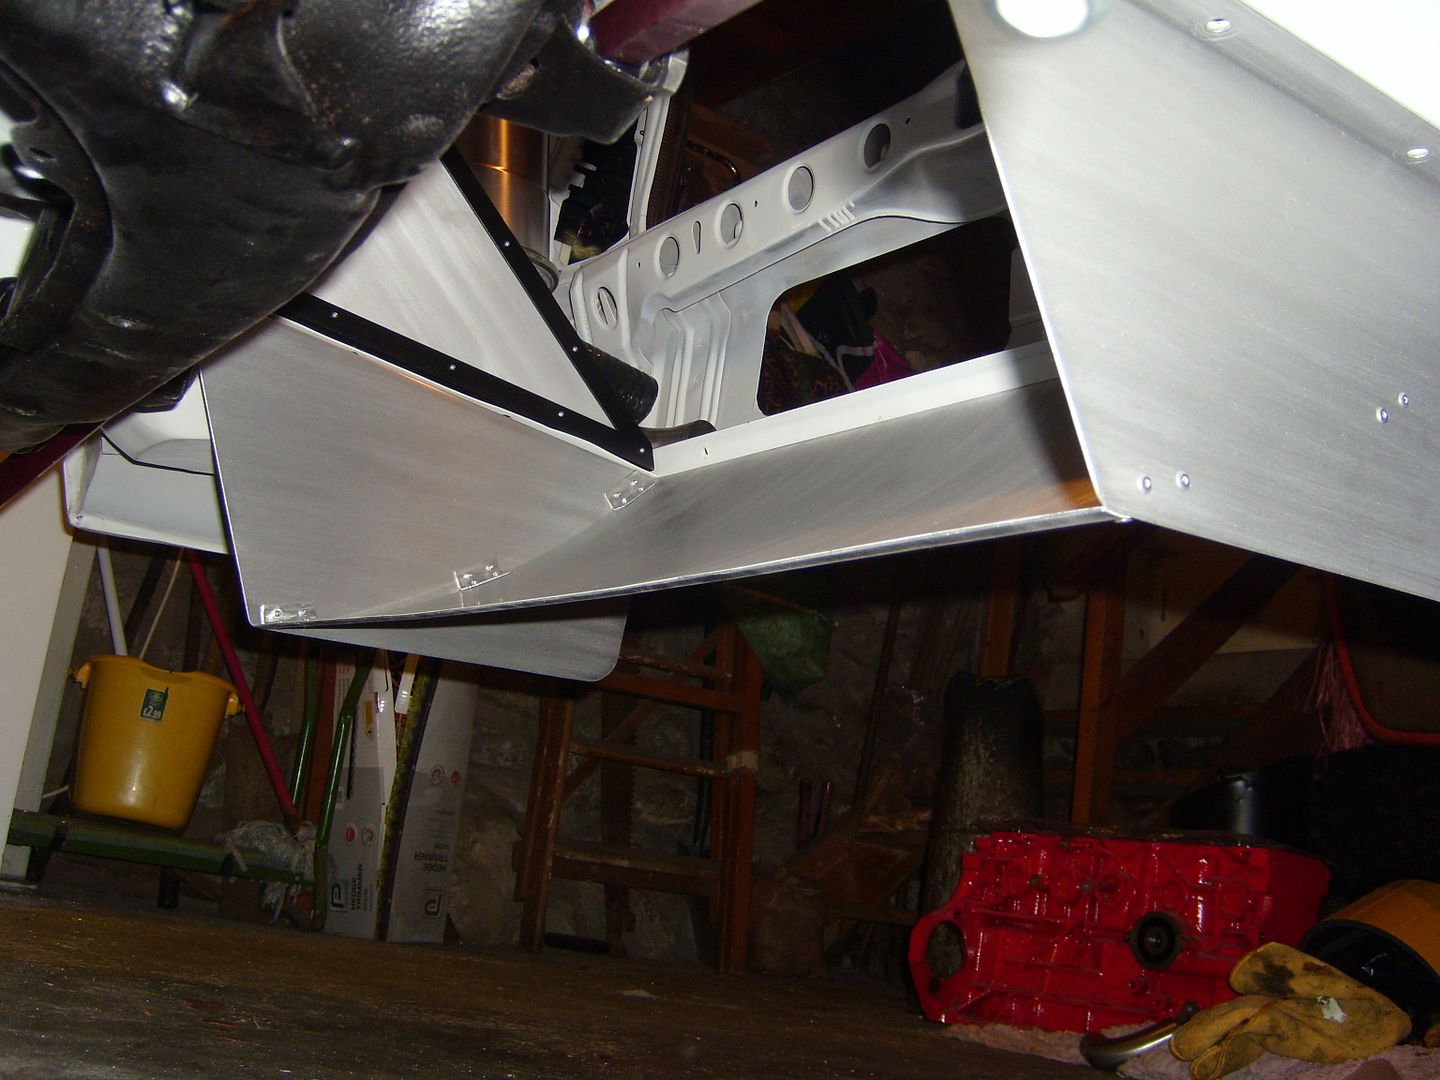
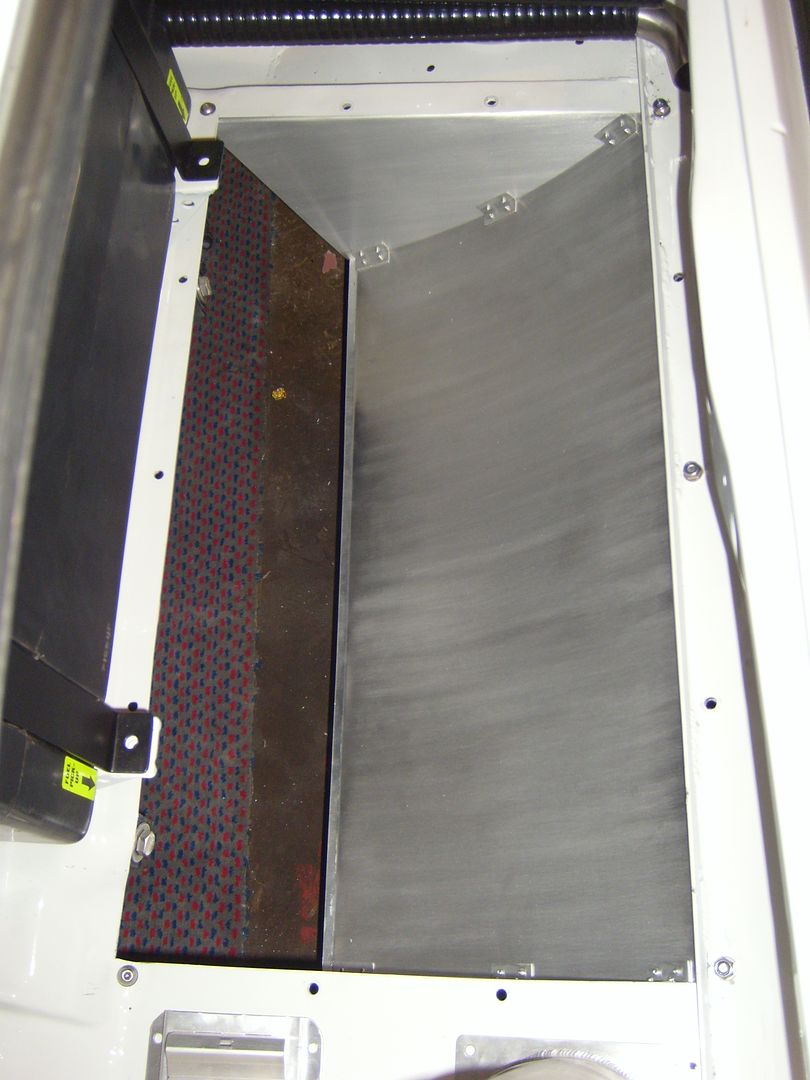
Then it was onto the air scoop/ difuser. All the F1 boys seem to be going for double layer ones, I think they will all be going back to the single layer ones next year so thought I would lead the way on that! To be honnest I think its going to be hard to follow the car now as its going to work the air so much! Obvioulsy made from aluminium, the main sheet is rolled to give the curve, then folded on the leading edge to strengthen it up and to stop it catching any debris. The leading edge does sit an inch higher than the floor of the car so hopefully it will survive! Then held together with the trusty rivets. There will be a sheet of mesh to go over the opening to stop any debris from hitting the radiator.
And with the radiator cowling in:
Looking at it on the pictures it needs a bit more going over with the wet and dry paper to brush it properly
Next job is to finish the boot area, so dry sump tank needs a mount making, water pump to fit, radiator to plumb up and a header tank. Hopefully some more updates soon!
We process personal data about users of our site, through the use of cookies and other technologies, to deliver our services, personalize advertising, and to analyze site activity. We may share certain information about our users with our advertising and analytics partners. For additional details, refer to our Privacy Policy.
By clicking "I AGREE" below, you agree to our Privacy Policy and our personal data processing and cookie practices as described therein. You also acknowledge that this forum may be hosted outside your country and you consent to the collection, storage, and processing of your data in the country where this forum is hosted.

 Tweet
Tweet

 ..
..


 Obvioulsy made from aluminium, the main sheet is rolled to give the curve, then folded on the leading edge to strengthen it up and to stop it catching any debris. The leading edge does sit an inch higher than the floor of the car so hopefully it will survive! Then held together with the trusty rivets. There will be a sheet of mesh to go over the opening to stop any debris from hitting the radiator.
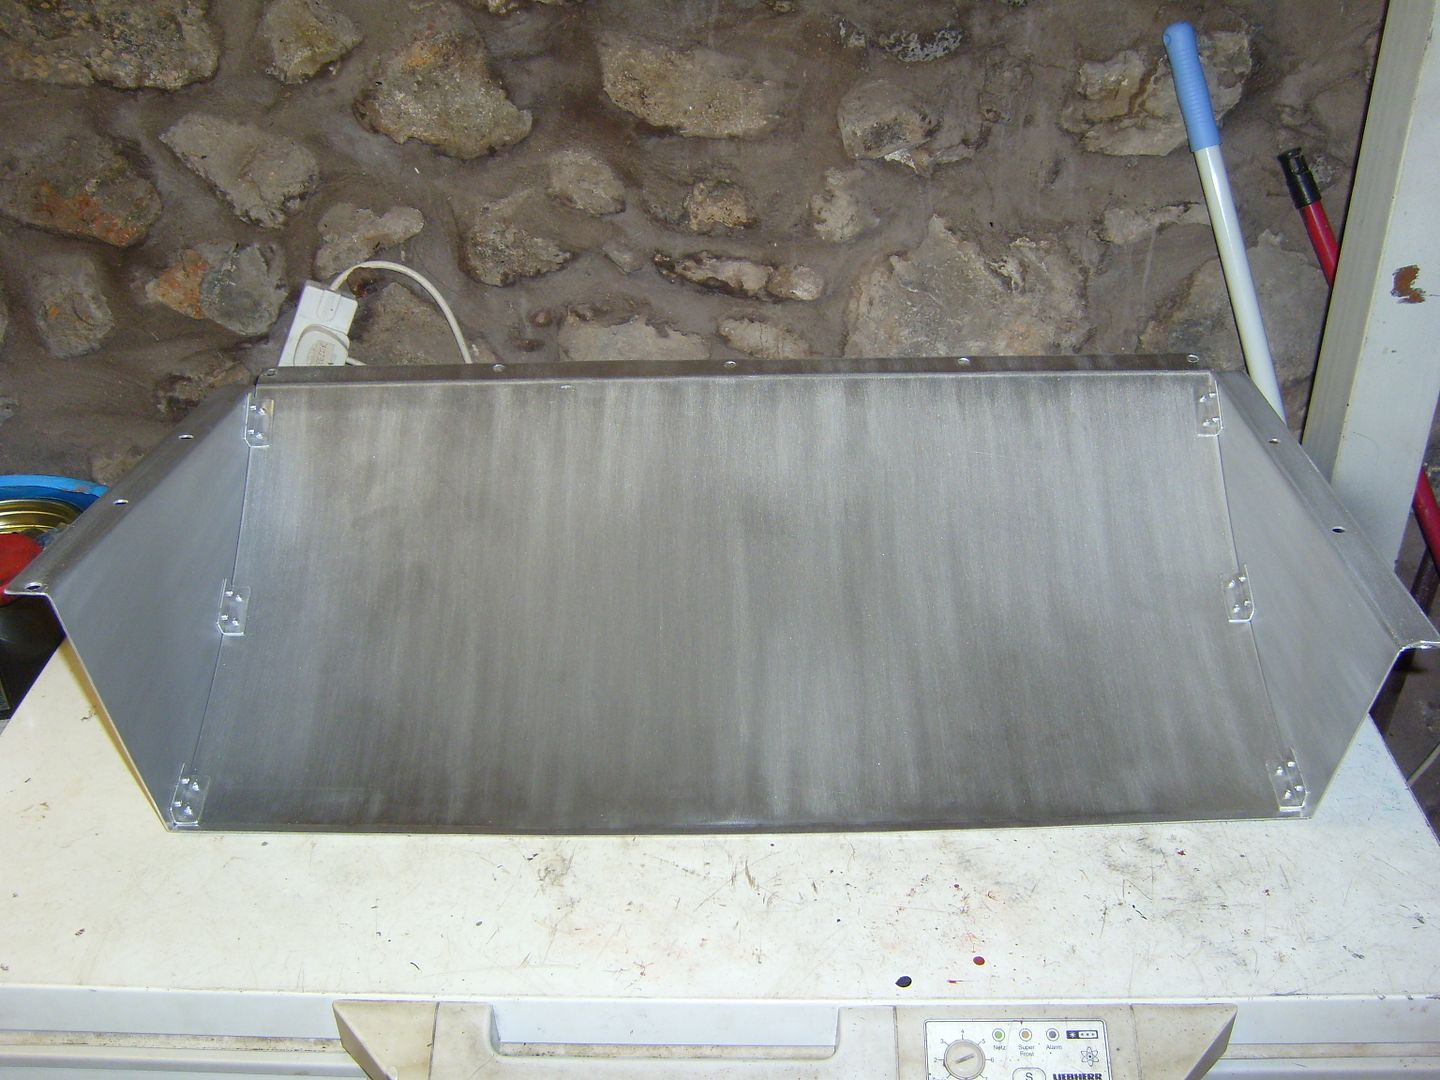


Comment