You can change the style the forum displays by selecting your preferred style at the bottom left of the site.
We have made an enhancement so that old threads should now link from search results to the correct thread. This is not yet in place for single post links
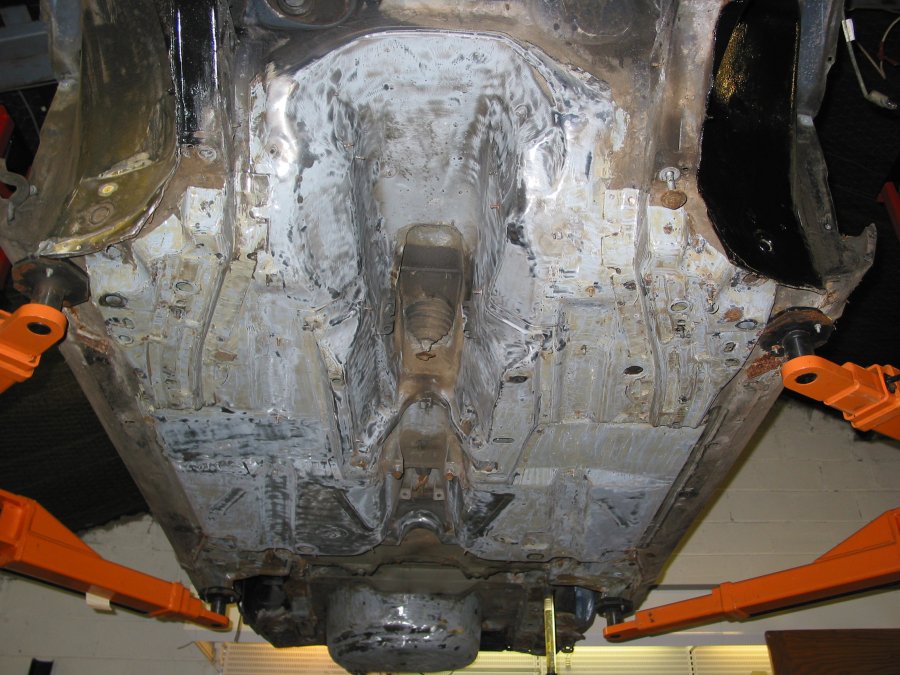
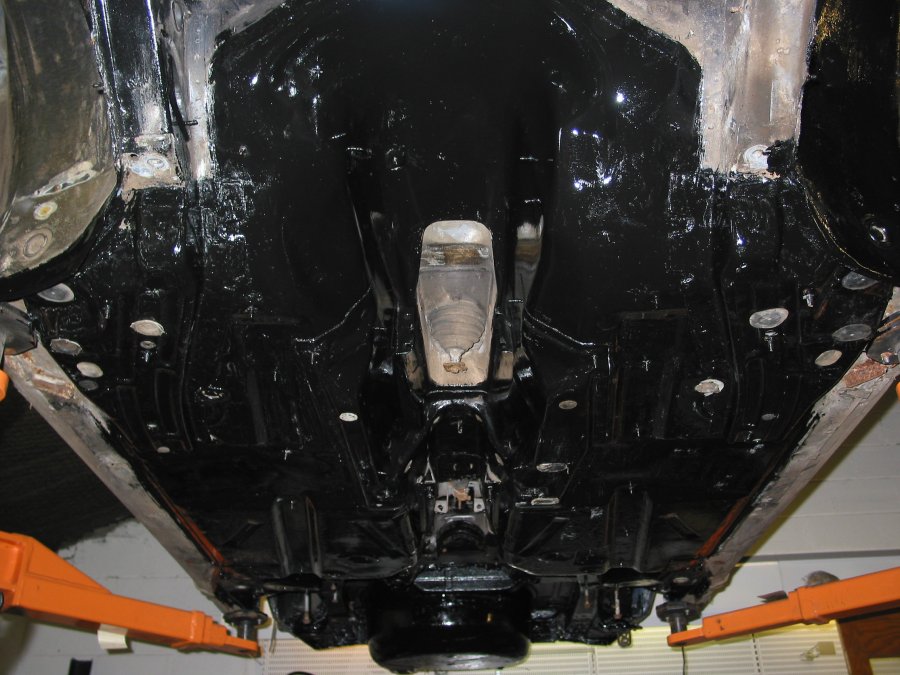
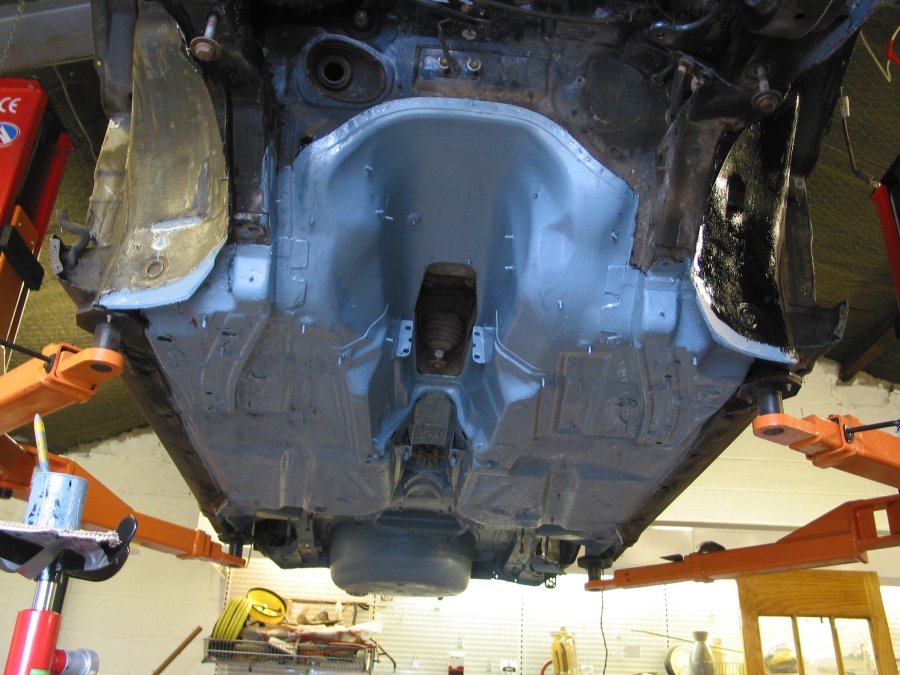
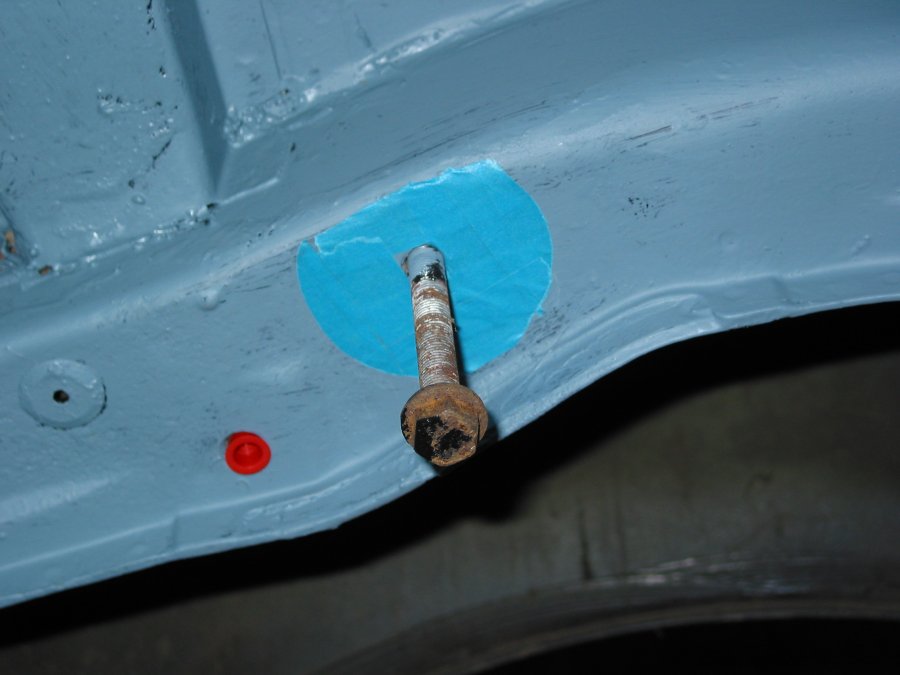
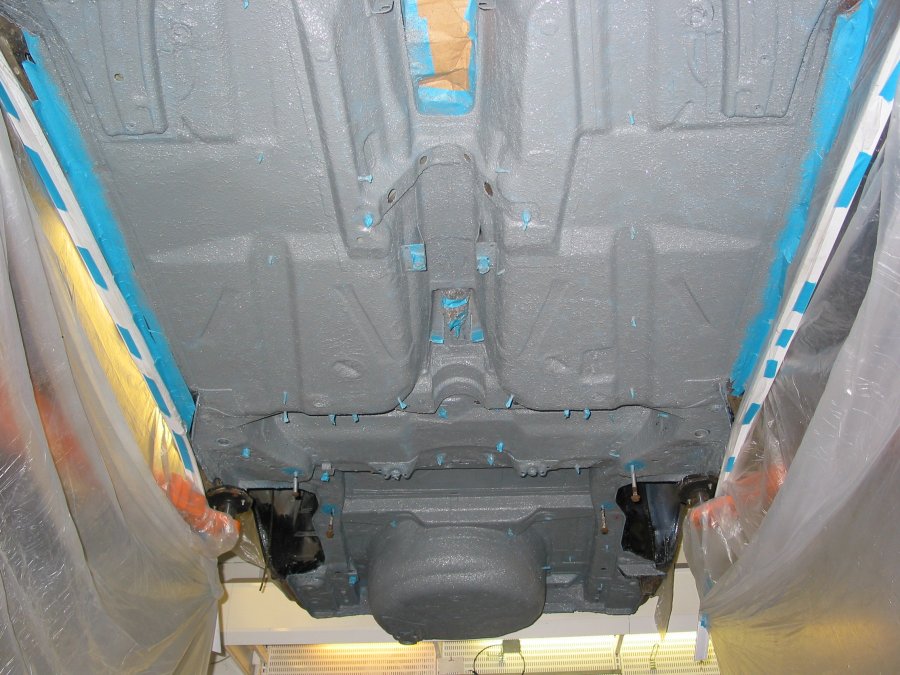
More underseal work this last weekend, as well as a little bit of assembly.
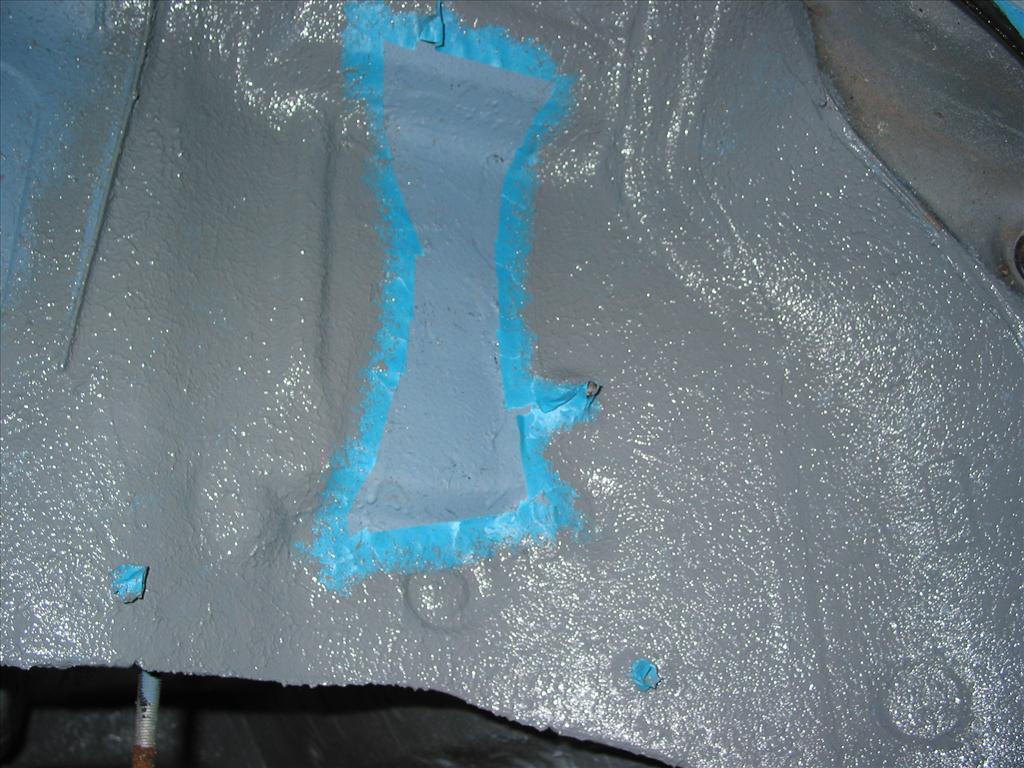
Timewise, I was not able to get time to do the two coats of POR15, and underseal done in one day, so I instead, decided to go with two coats of por15 on one day, then a few days later a use POR15 tie coat and then underseal with 3M 08800.
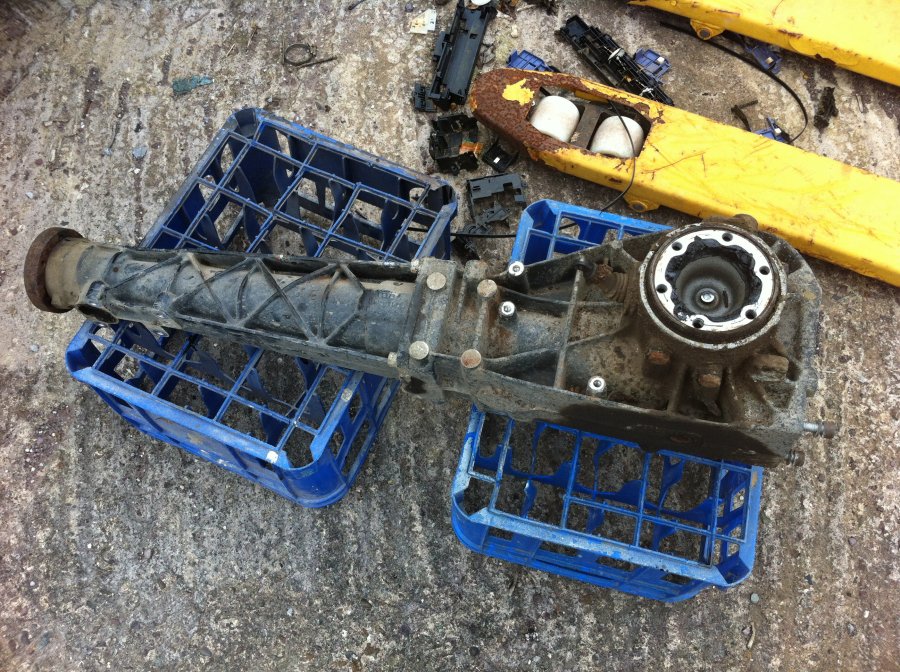
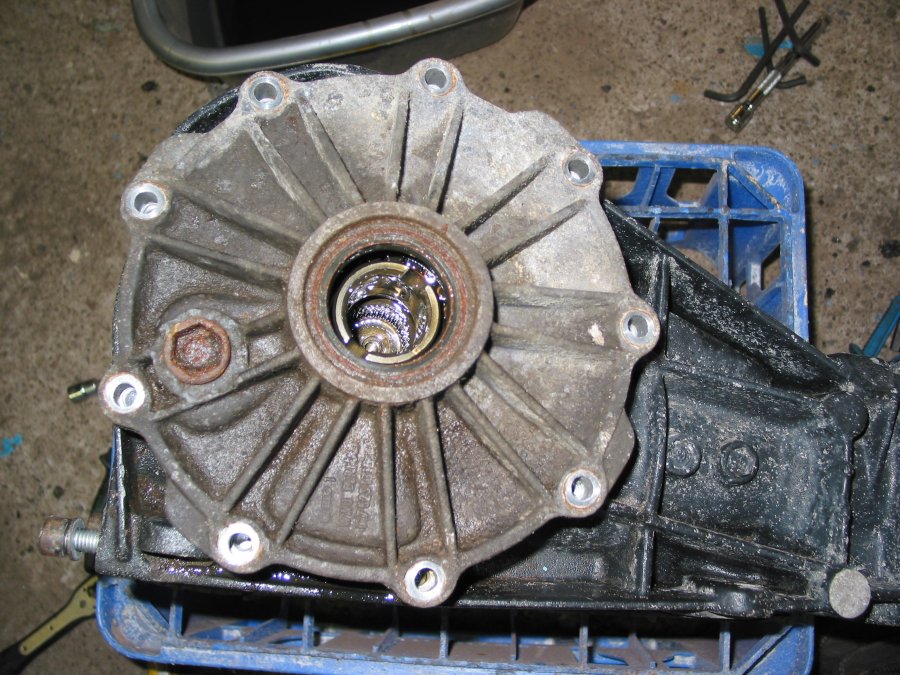
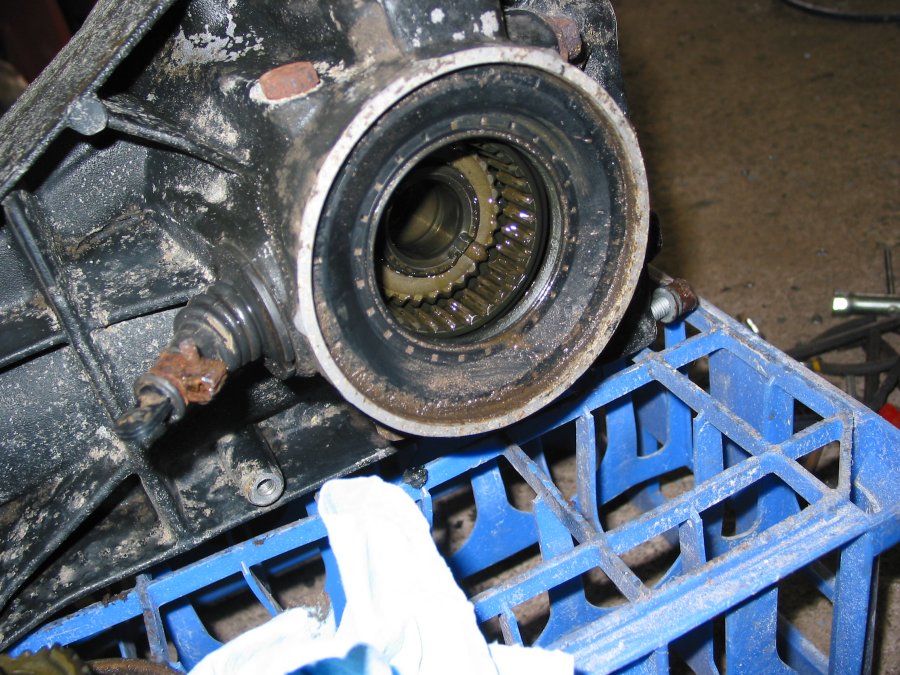
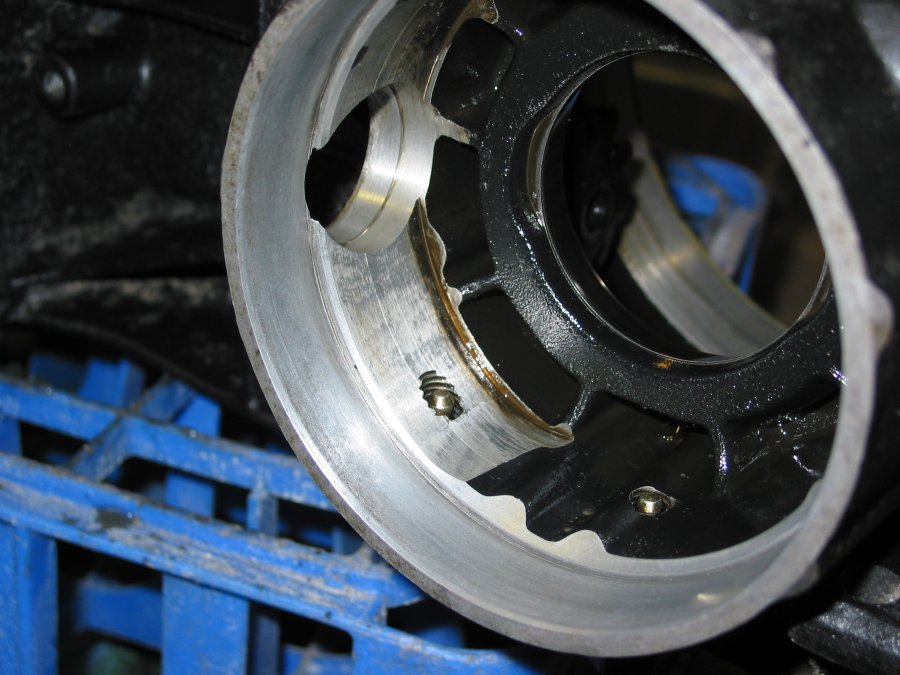
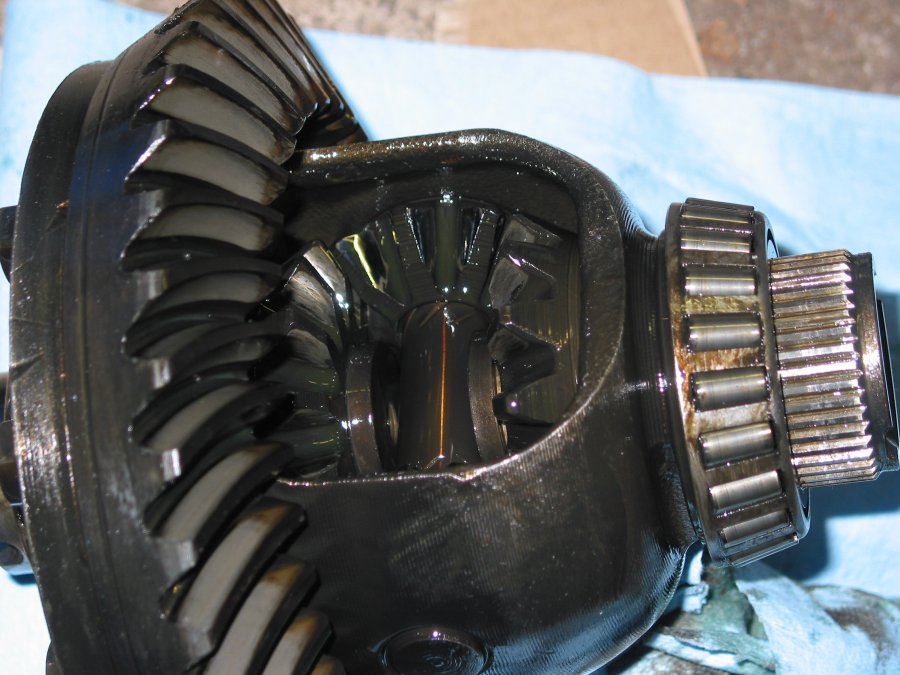
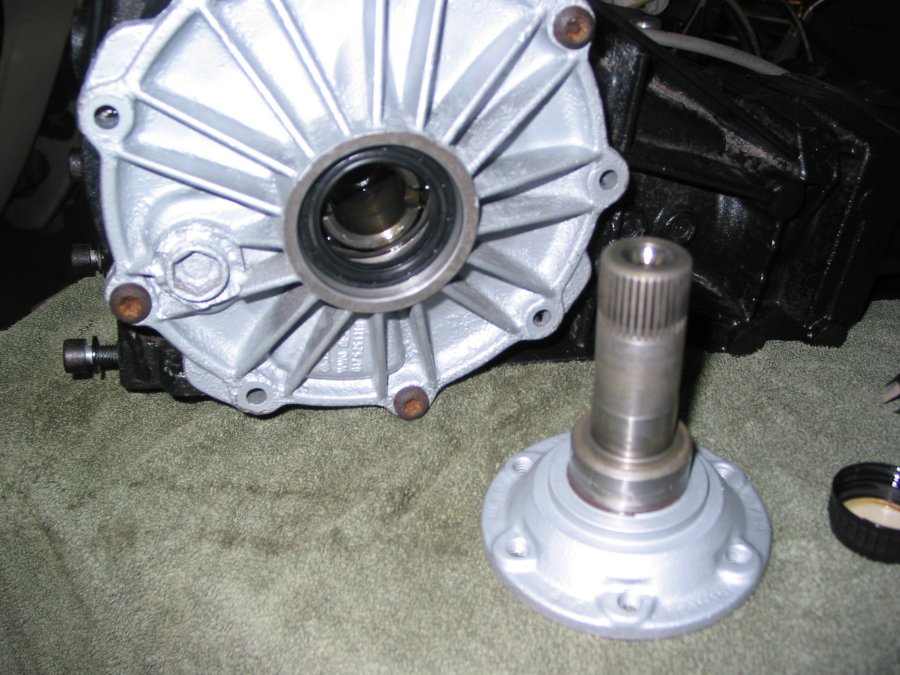
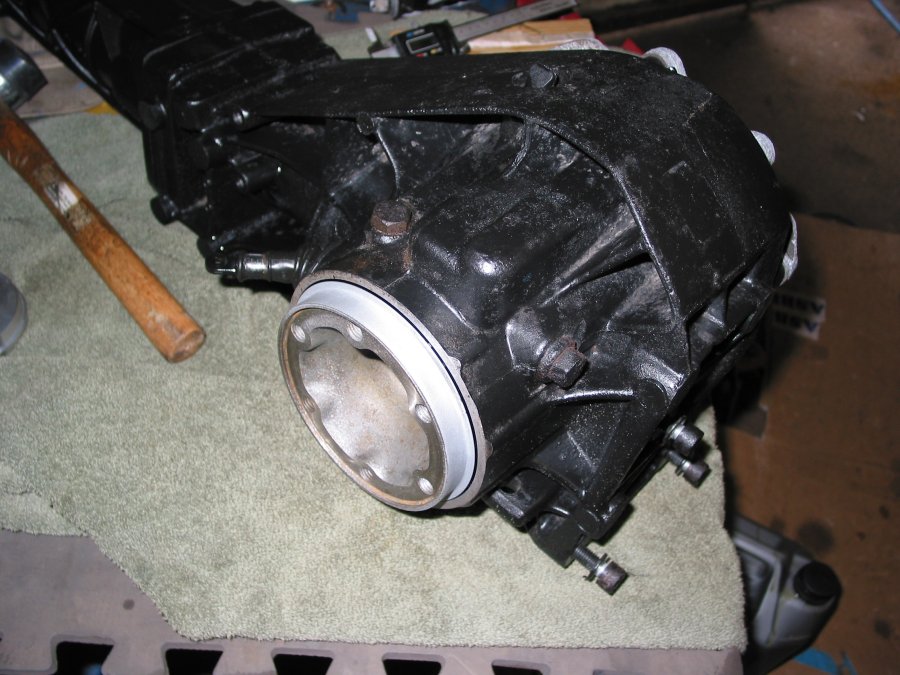
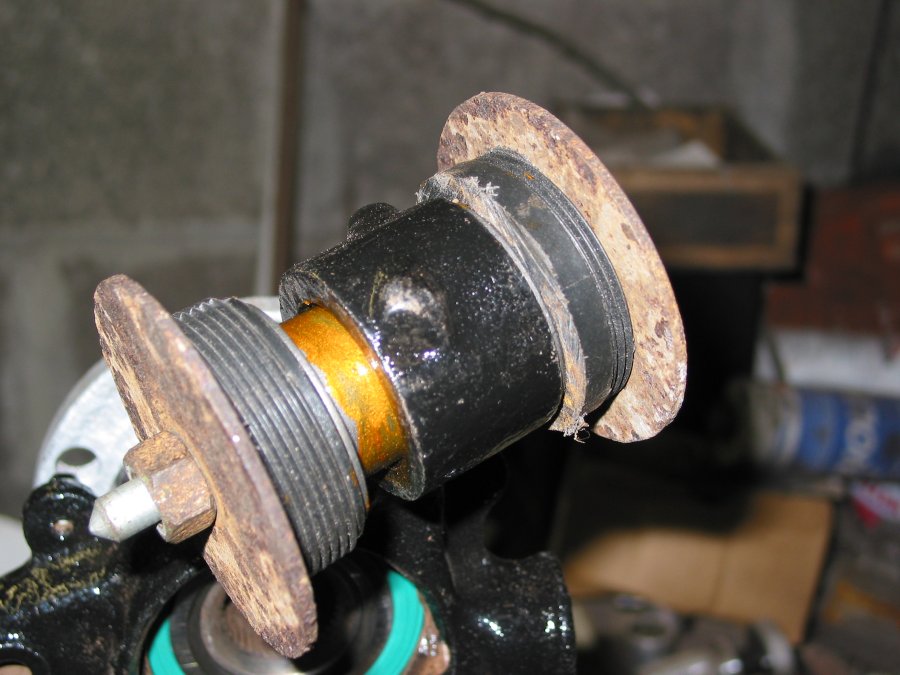
I got a chance to clean the diff and do the seals, both the refil and drain plugs are siezed solid so I will have to fill the oil from the difflock side with the flange out.
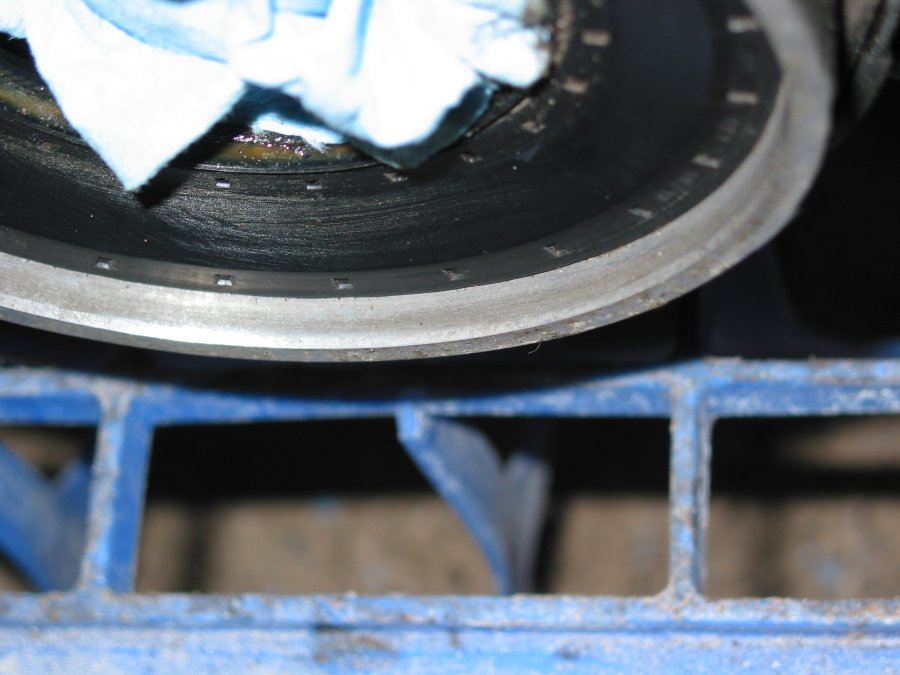
Both flanges are grove free, but I did measure the seal depth and changed it slightly upon refitting.
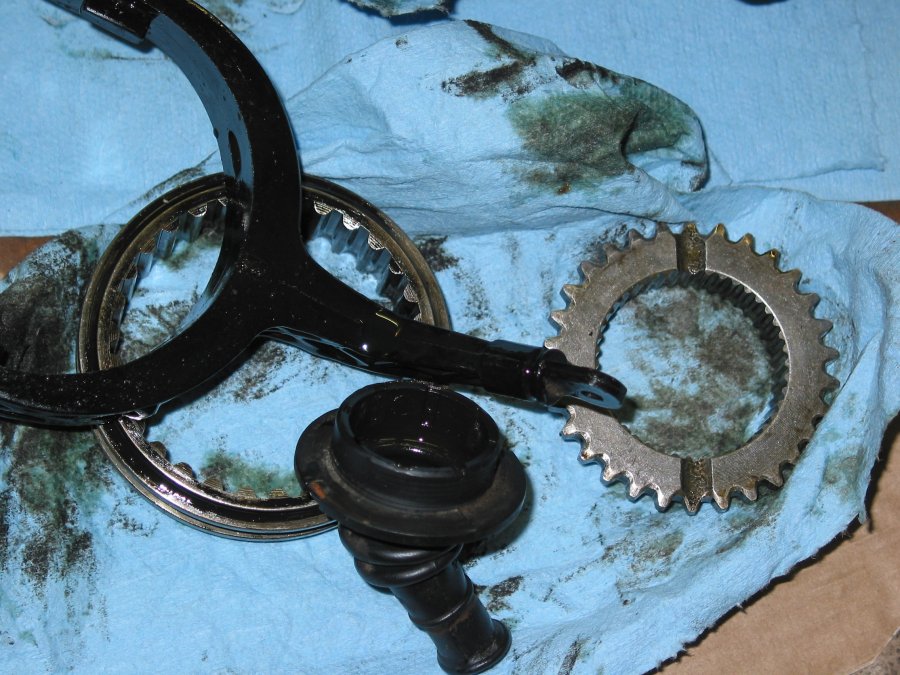
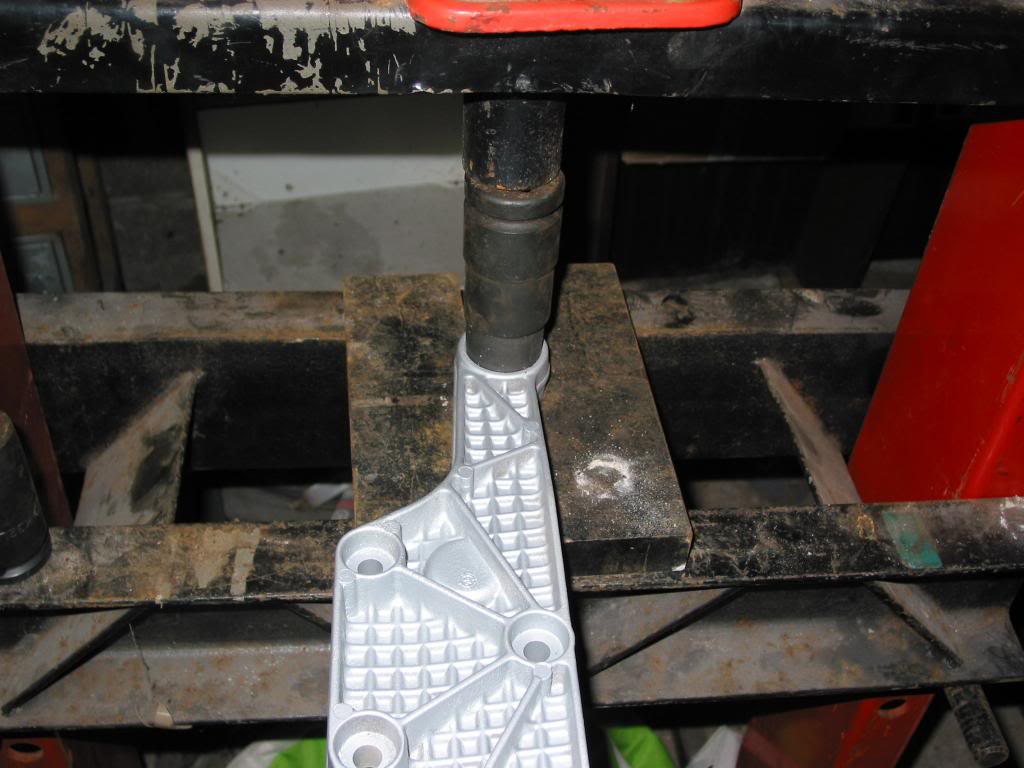
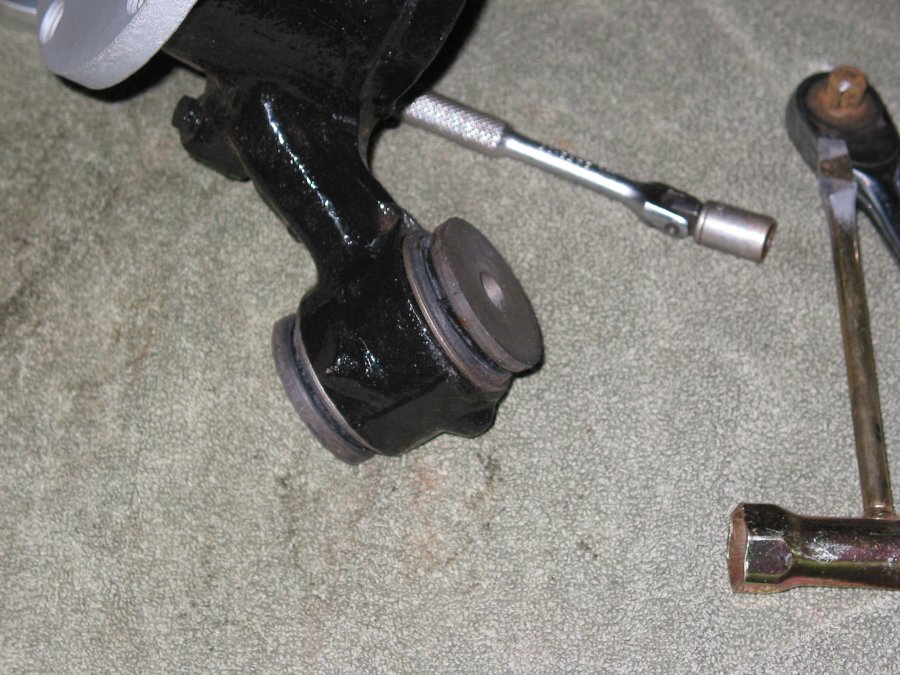
I was also able to fit the lower bush on the rear hub carrier. I got lucky and found a suitable spacer which I cut in half and used it as a driver for the two halves of the bush.
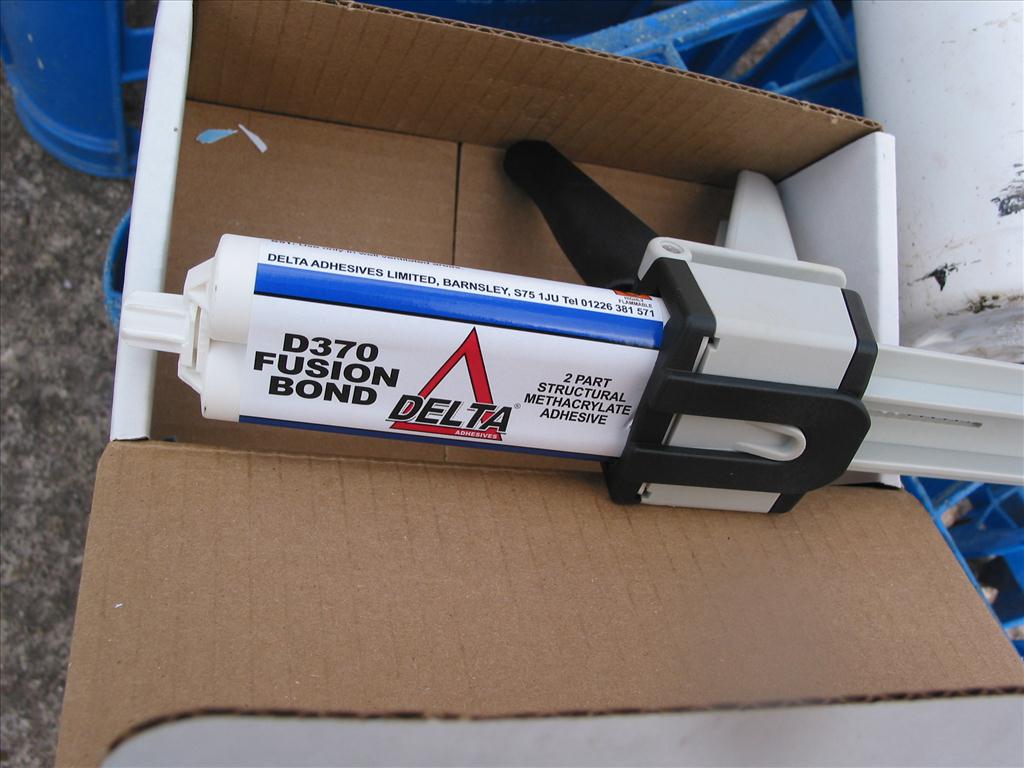
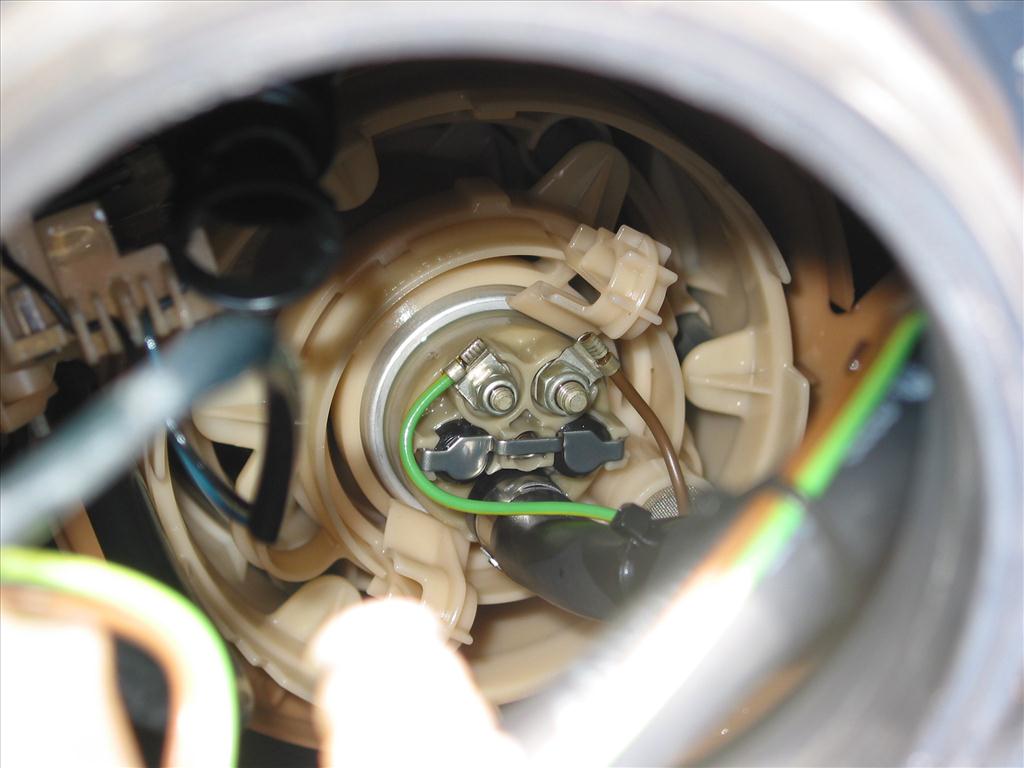
Just waiting on a few bits to finish off the petrol tank/ fuel filter and bits can start going back on the car. Woot!!
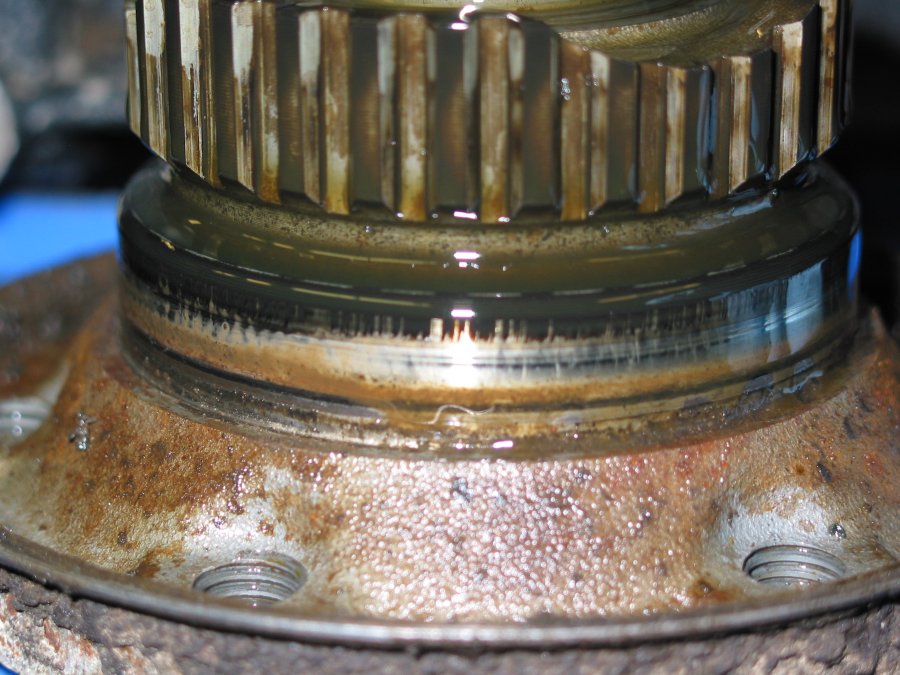
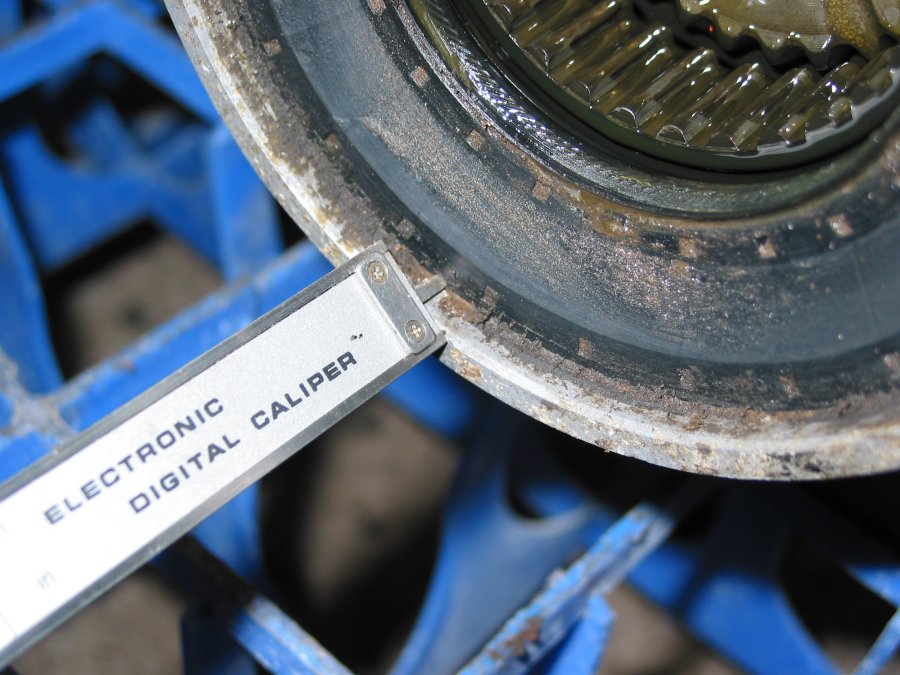
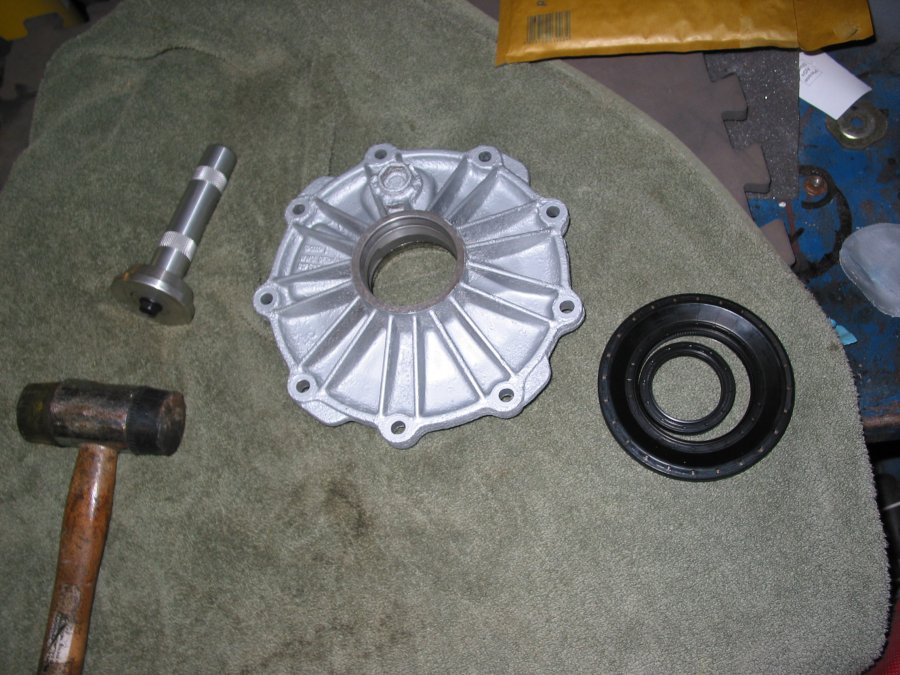
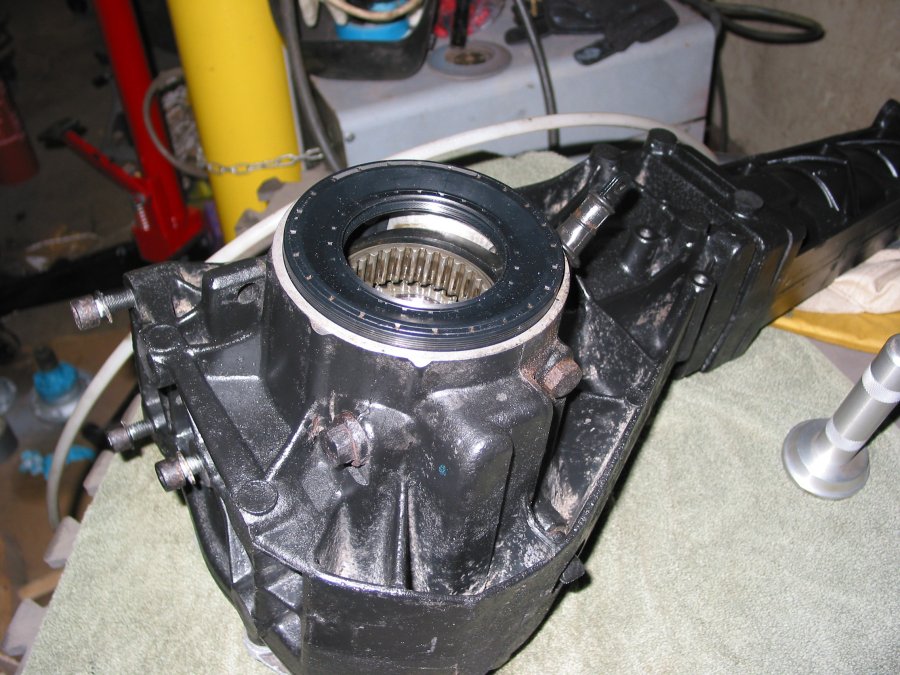
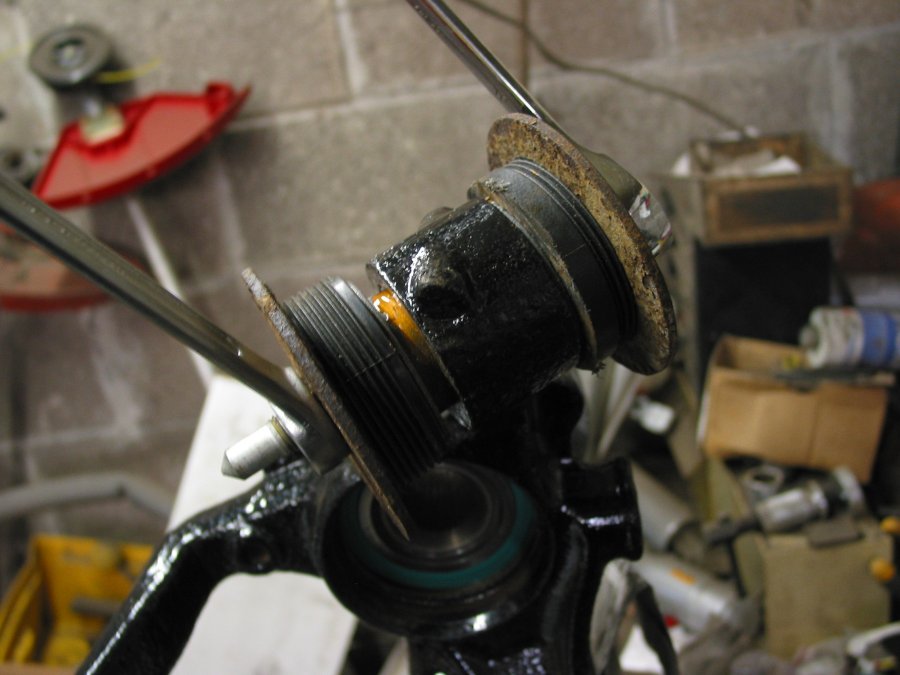
I cleaned around the outside of the seal with a scraper, hopefully to make it easier for the seal to come out. I also measured the depth of the seal.
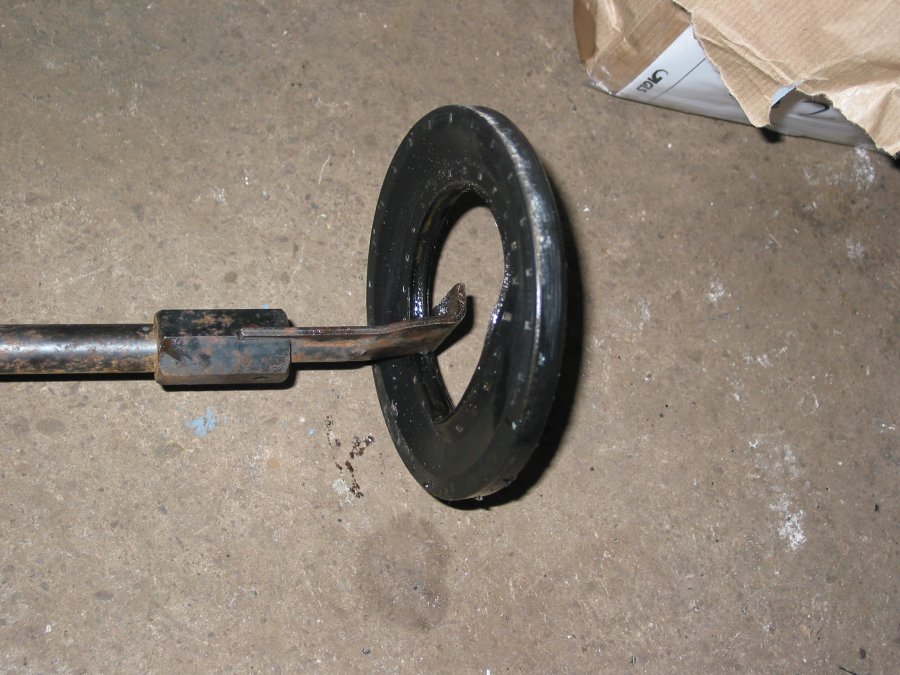
I used a sliding hammer to remove the seal
Some situations you can just lever it out, I am glad I didnt as it required a good deal of force than I thought. Messed up the seal, but no damage to the housing.
I used 800 wet/dry paper wet, to clean the surface all around.
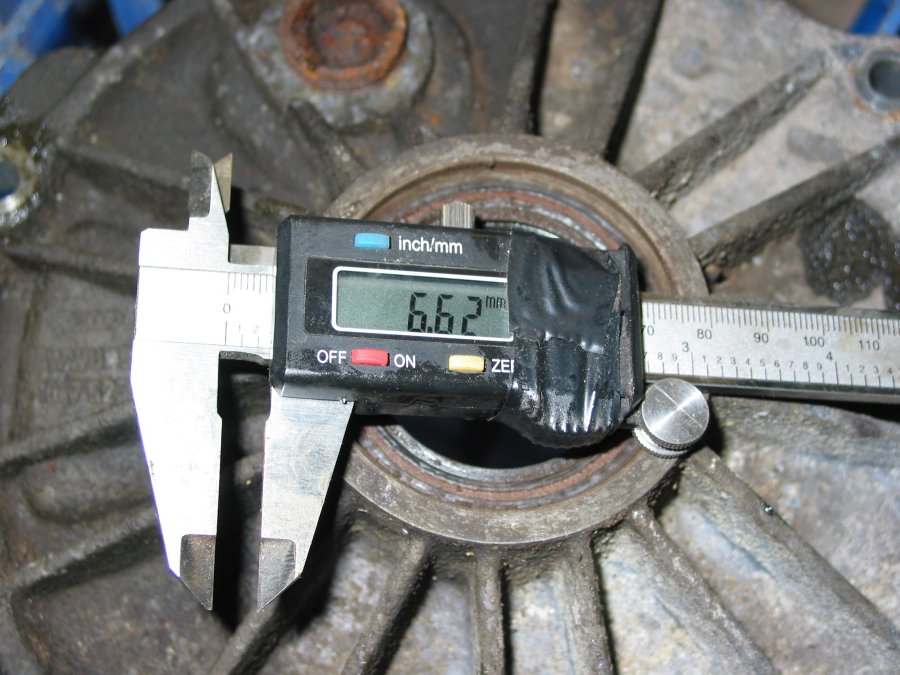
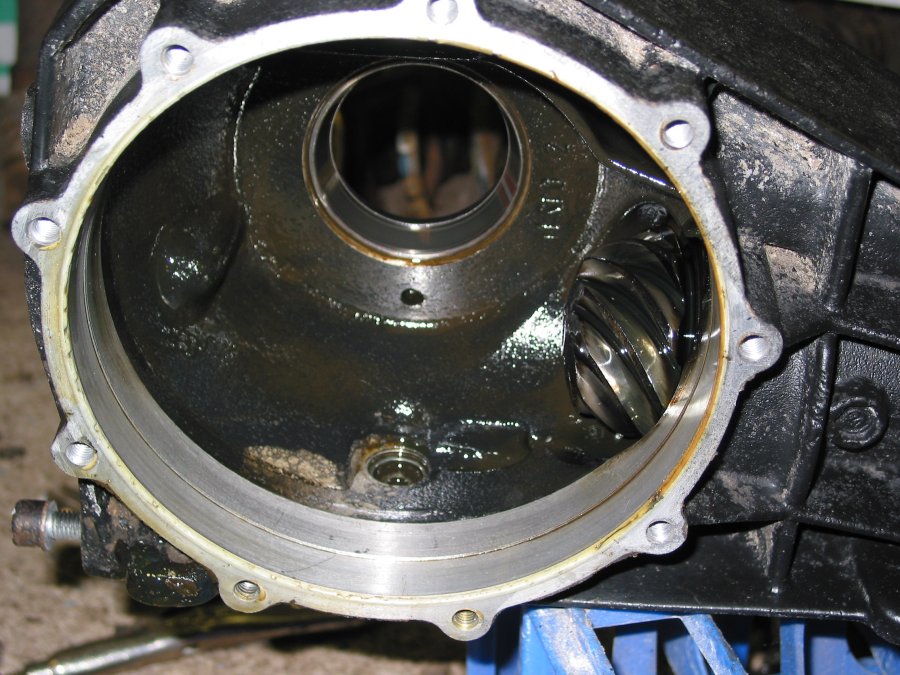
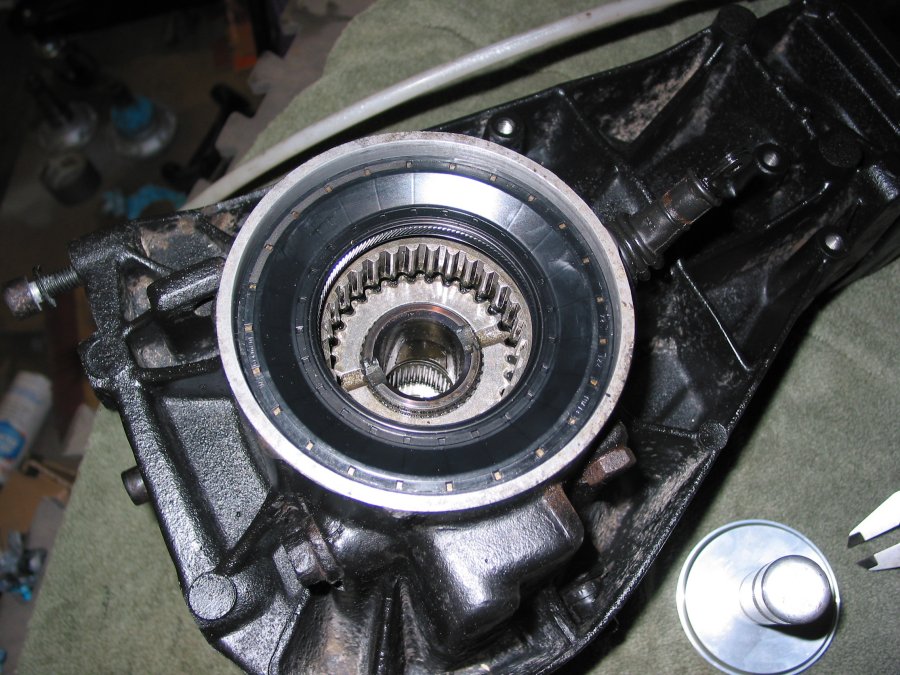
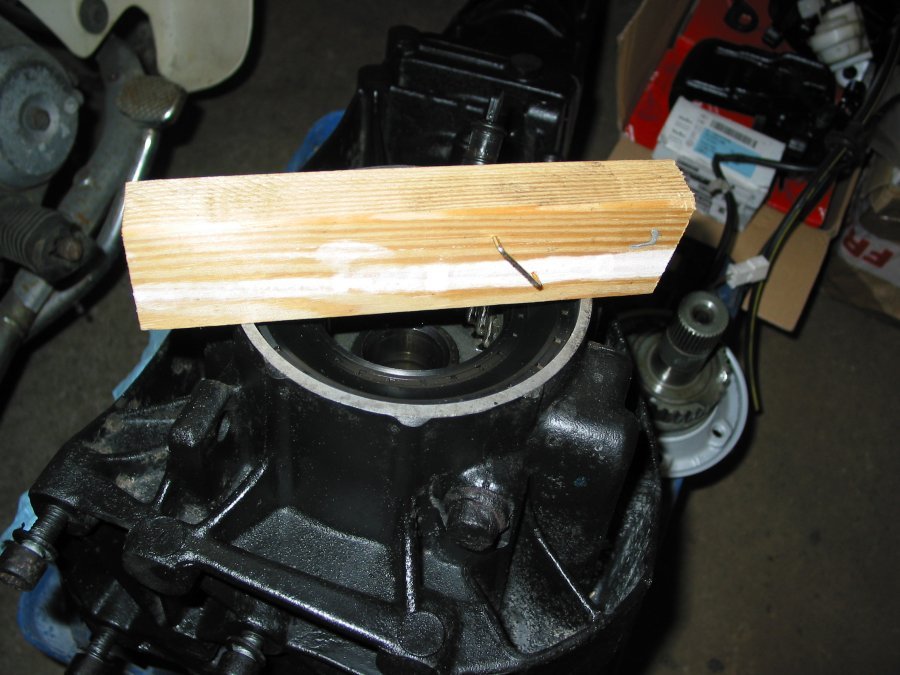
After the dif was cleaned and put back in, I went about fitting the seal. Sitting it on the housing as square as I could possibly tell. I really didnt want to mess up this seal.
I used a wood drift to gently tap the seal moving the drift 90deg to make sure the seal was going in square. I kept tapping in the seal until it was flush with the housing.
I didnt take a pic of this process, but you get the idea from the pic above.
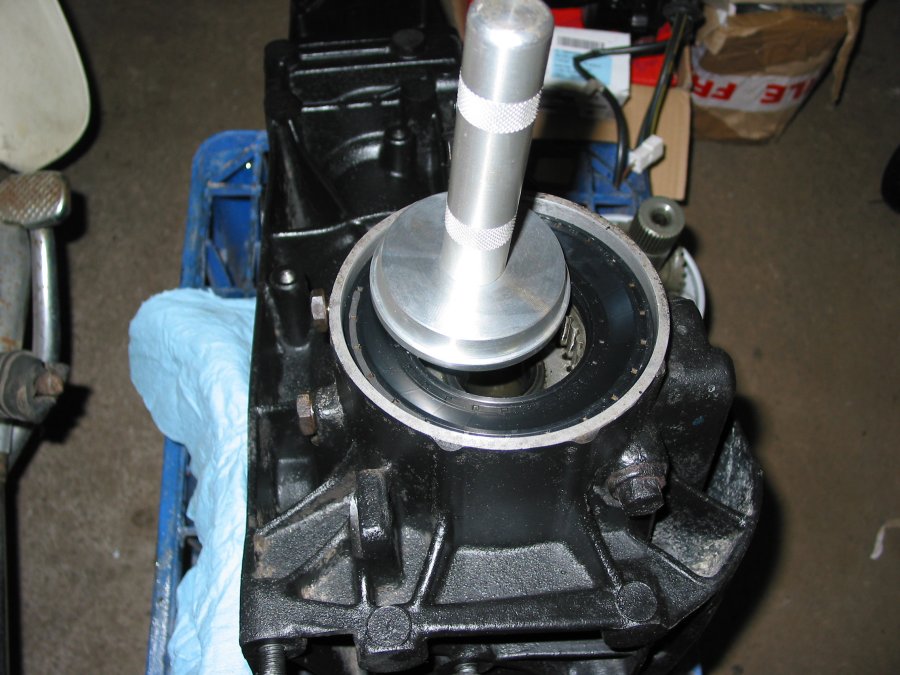
I then used this aluminium bearing and seal drift to tap the seal down into the housing, constantly moving the drift to keep the seal moving evenly.
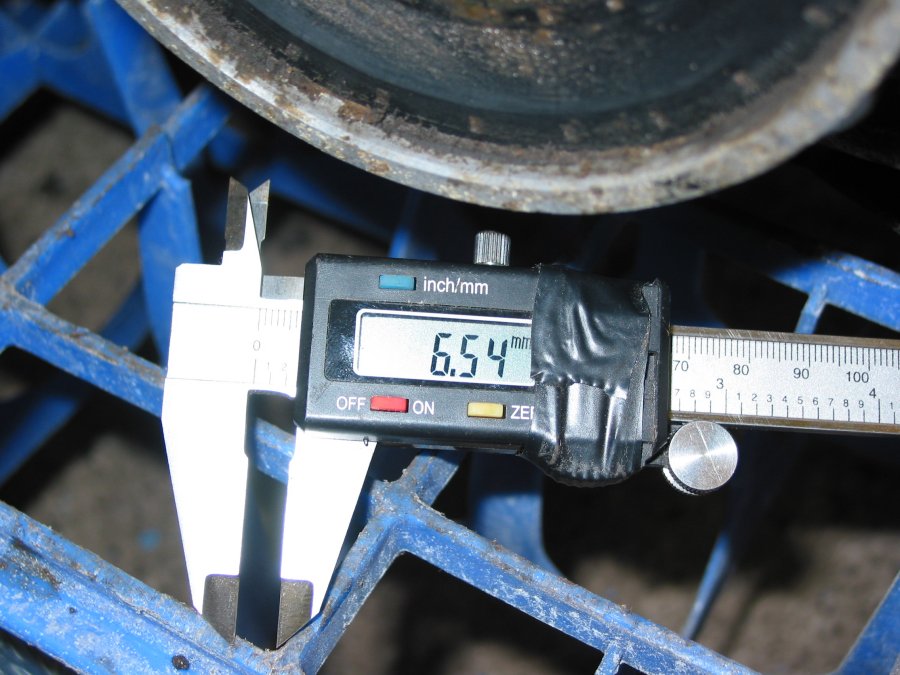
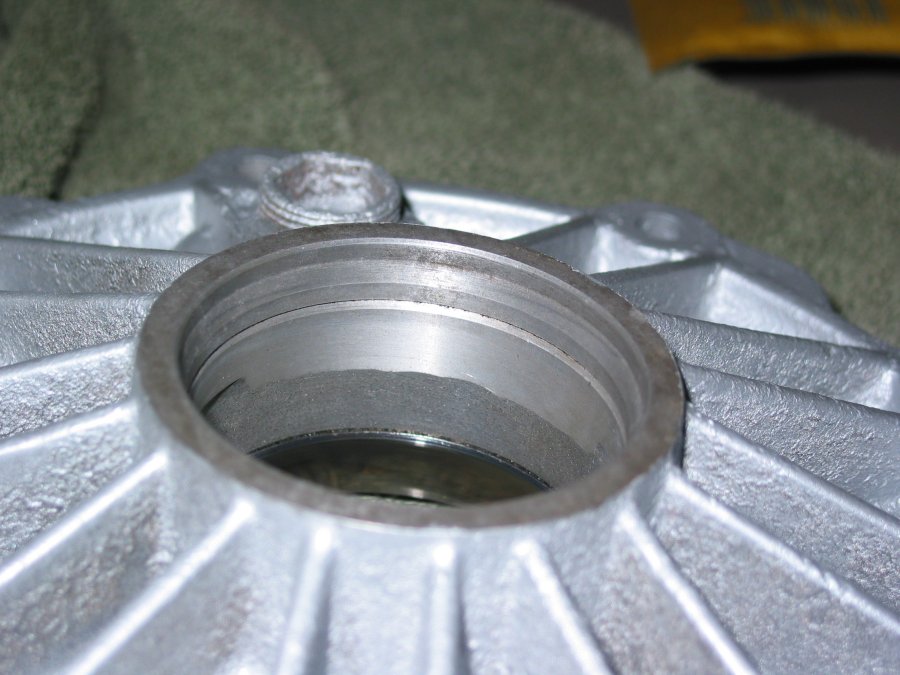
I measured along the way, making sure the seal was going in square. I left the seal sit at just less 0.5mm deeper than the old one. The old seal sat at around 6.54mm deep, the new seal sat at 7mm deep. It can do deeper, but I wanted to
keep as close as possible to where it came out.
Thats pretty much what I did, not sure if its correct or if there is an easier way but hopefully it works out. Hope that helps.
All this was covered in Dinitrol 4941 (photos later), thanks to Error404 for the advice.
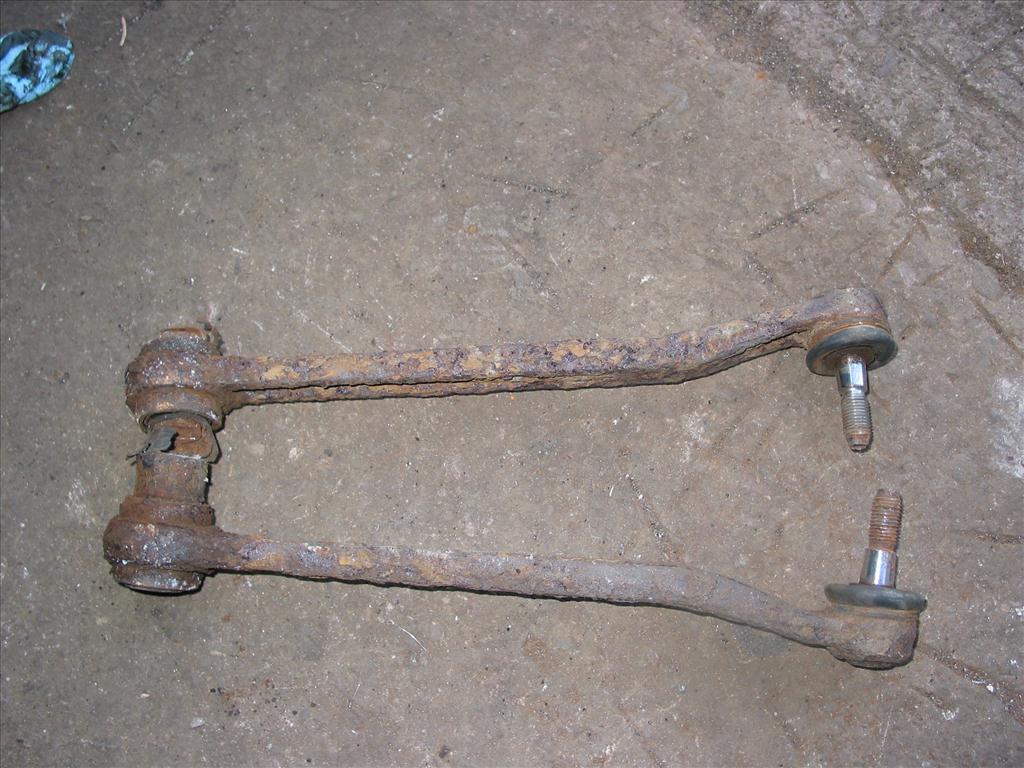
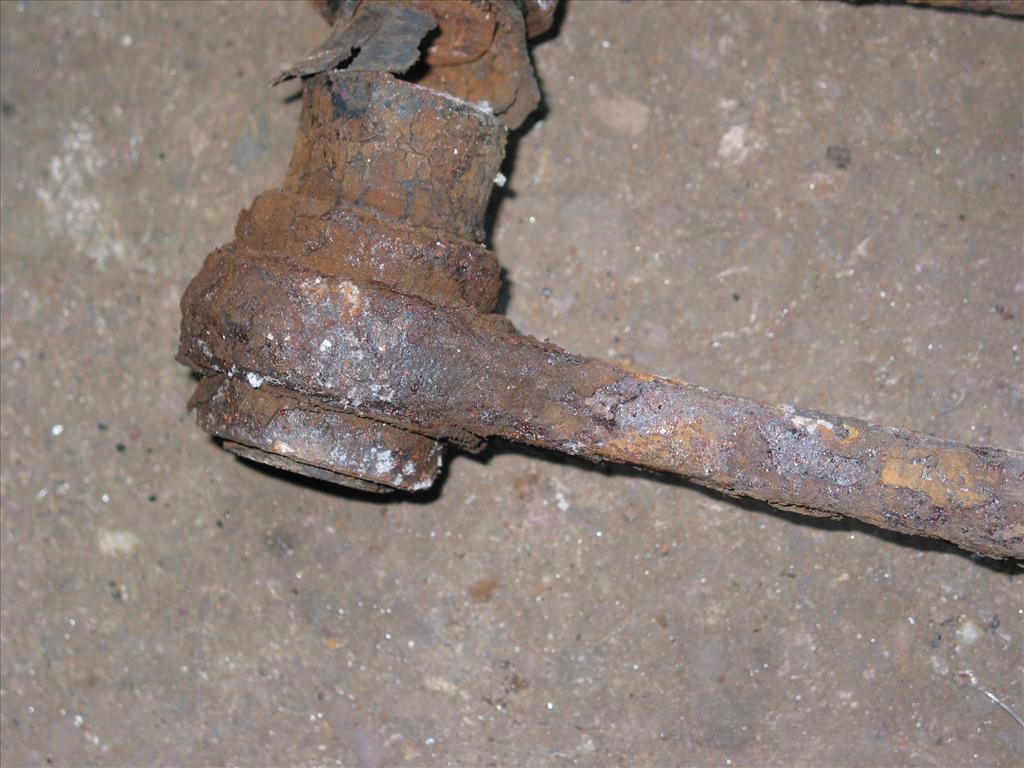
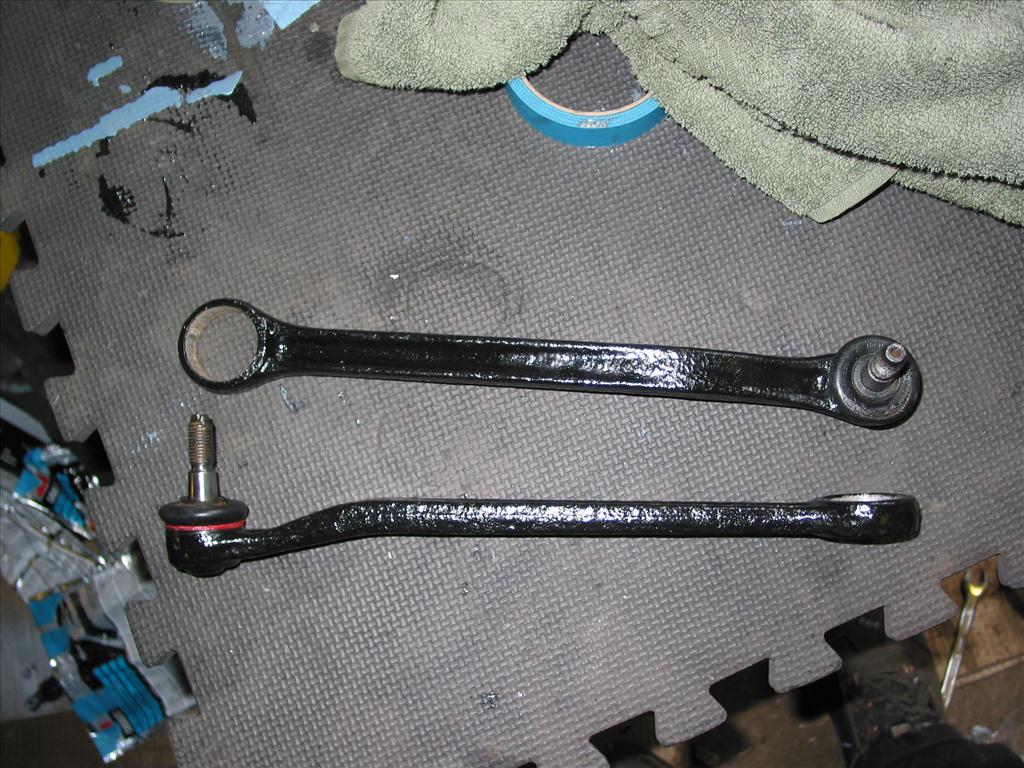
Refirb the rear ties
Nasty
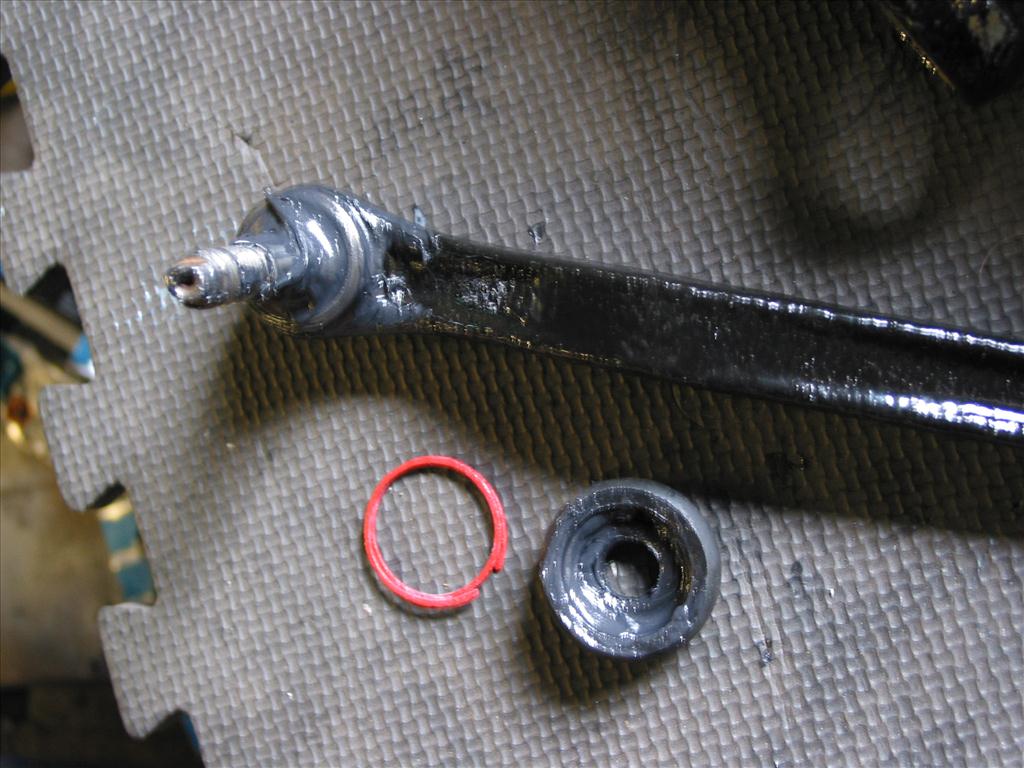
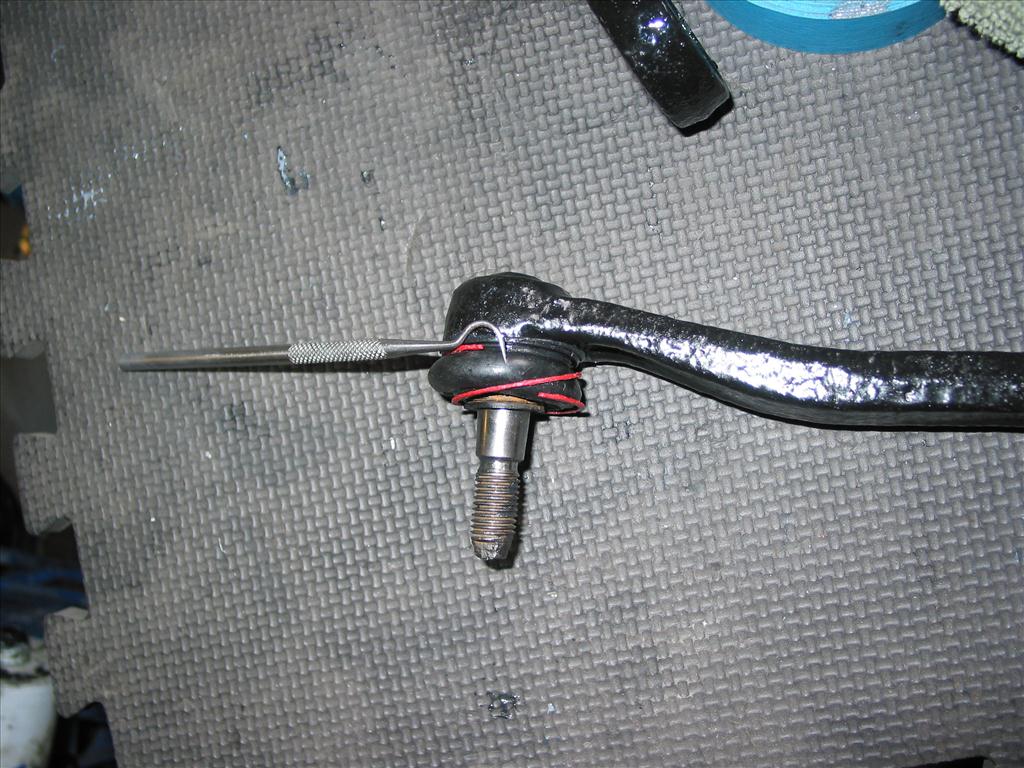
After Electrolysis + POR15 clean and regrease
Both done.
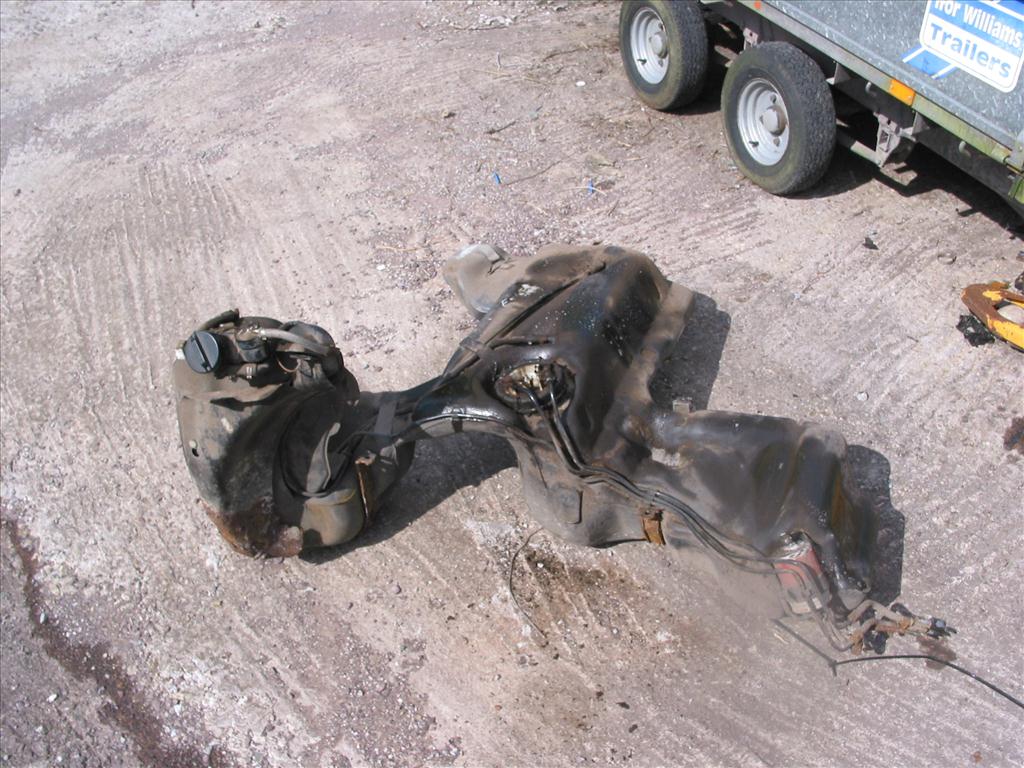
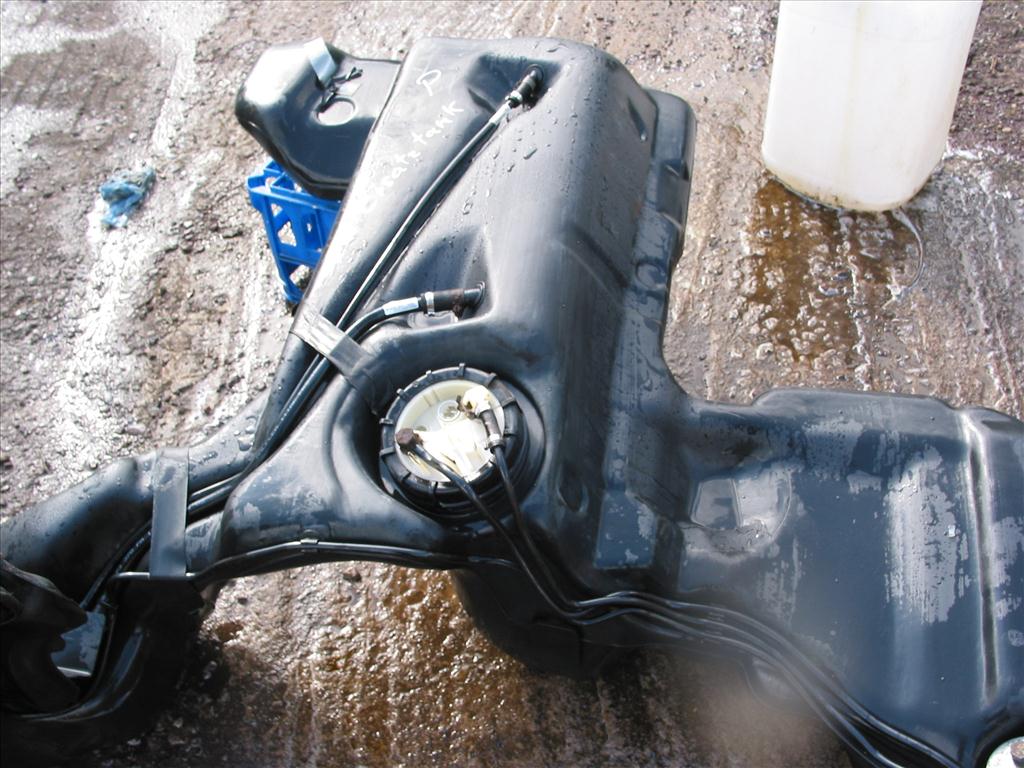
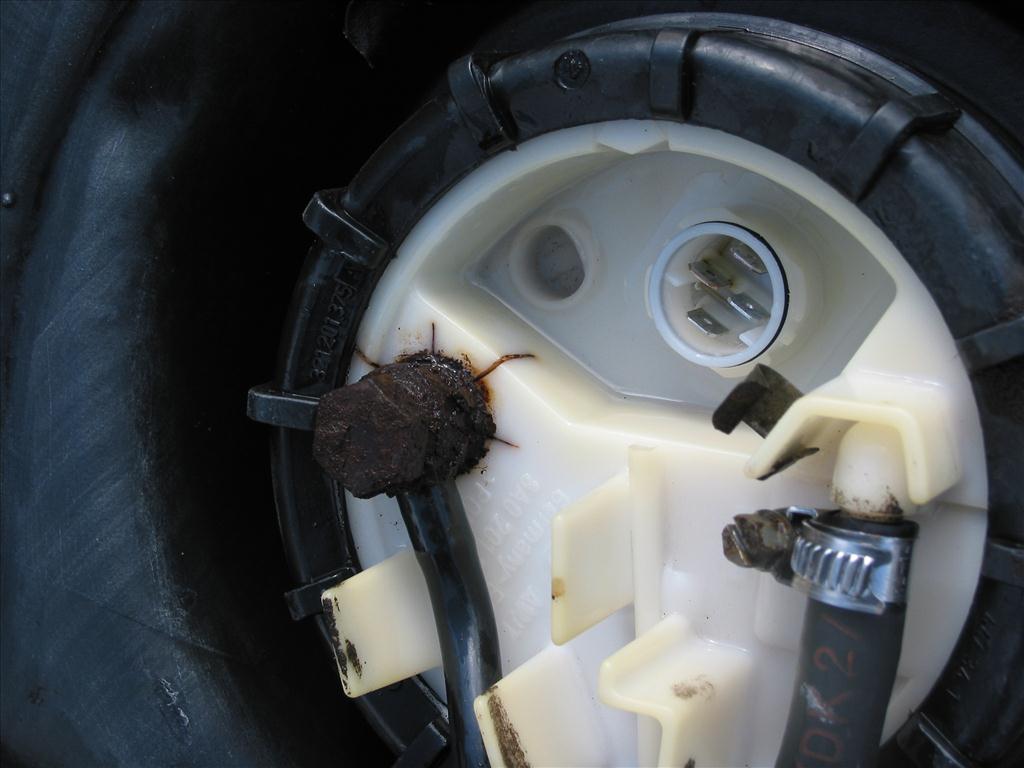
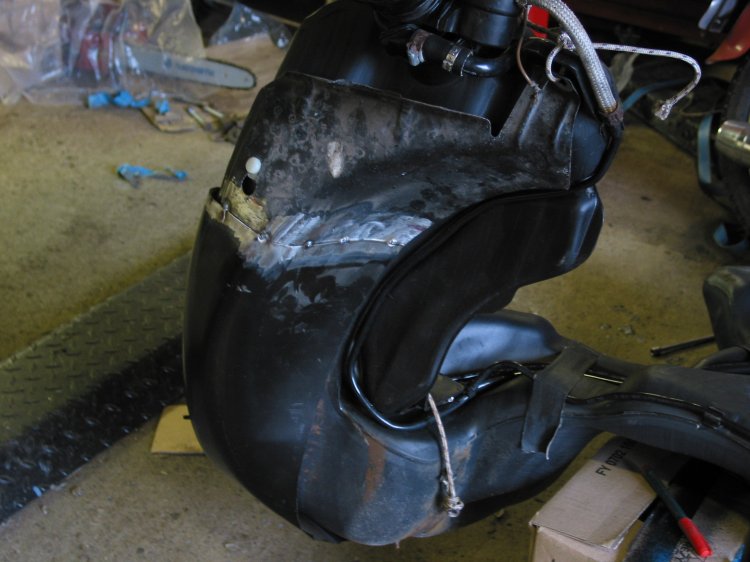
Petrol Tank:
The writing on the tank says: "Ersatz Tank" ... Replacement Tank. Did my avant history just get more interesting.
The little standoffs under the tank had rusted/failed so I ground them out with a dremel.
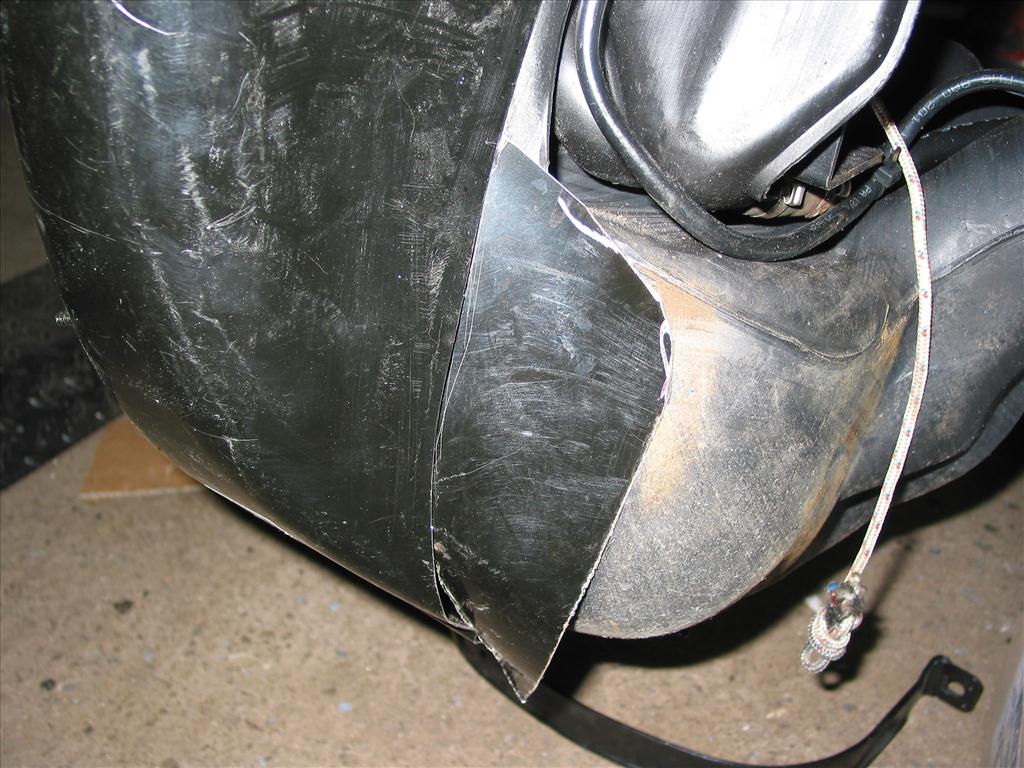
Shiny, hex head bold glued in.
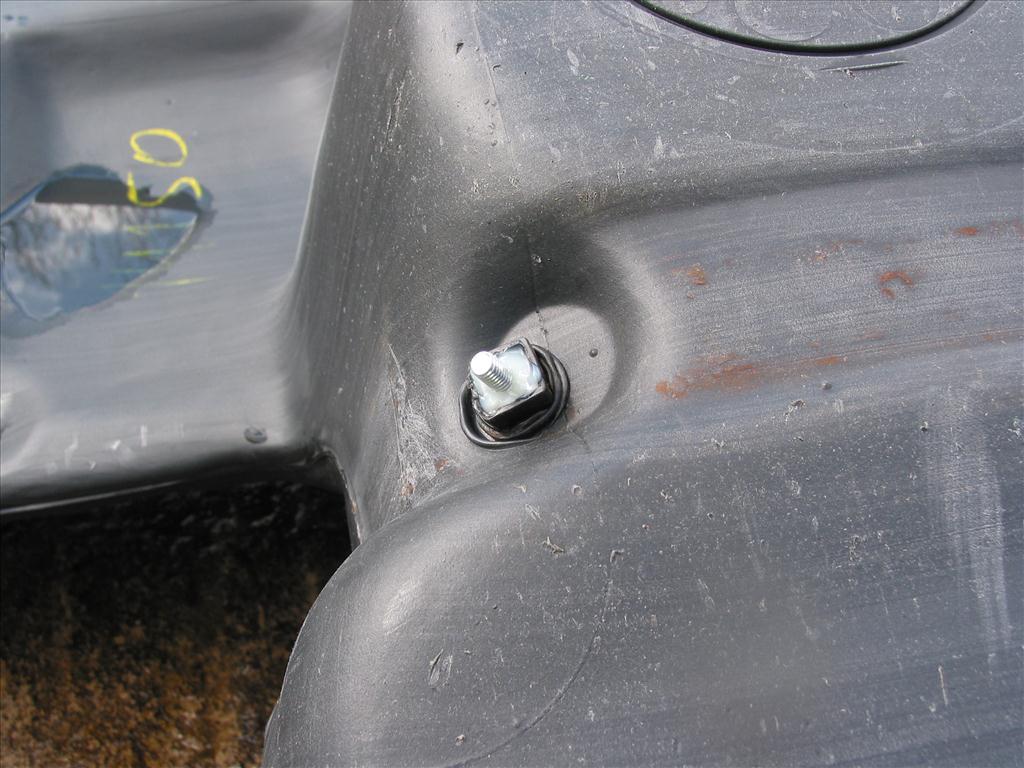
More rust damage.
Should those be connected together?
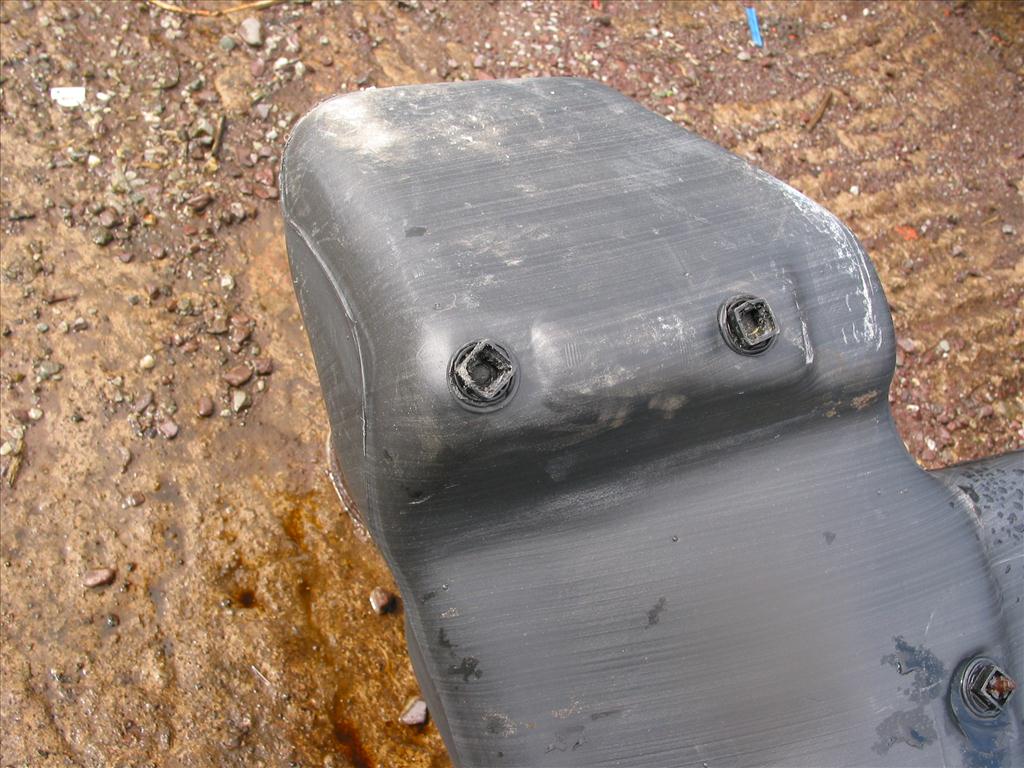
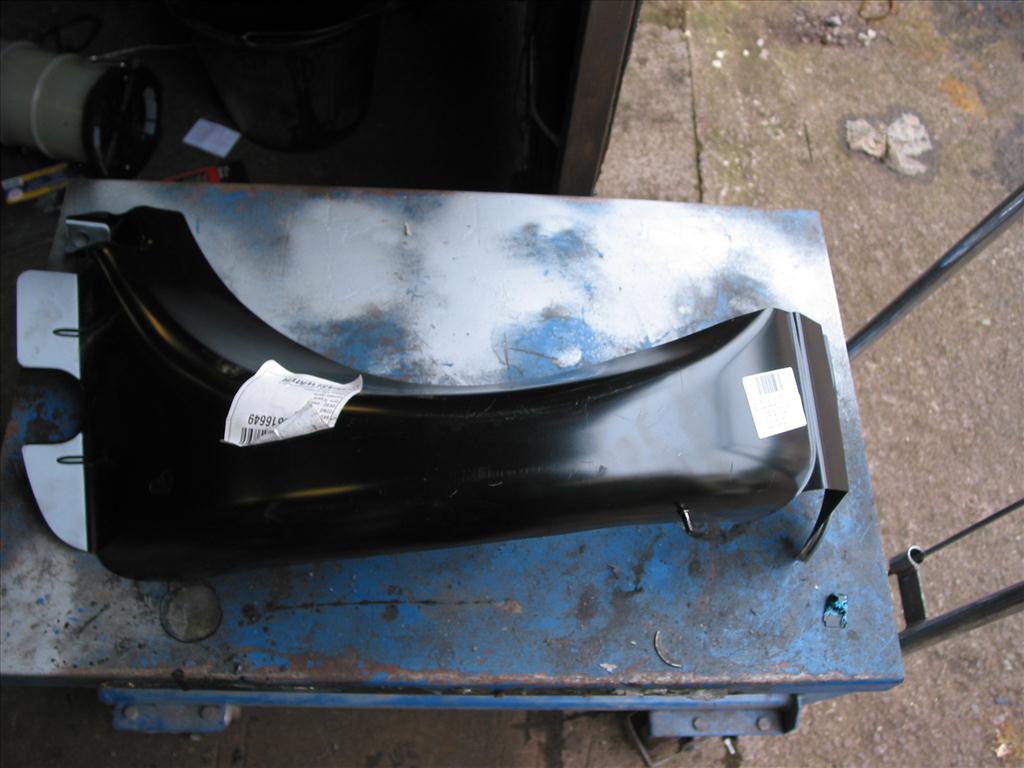
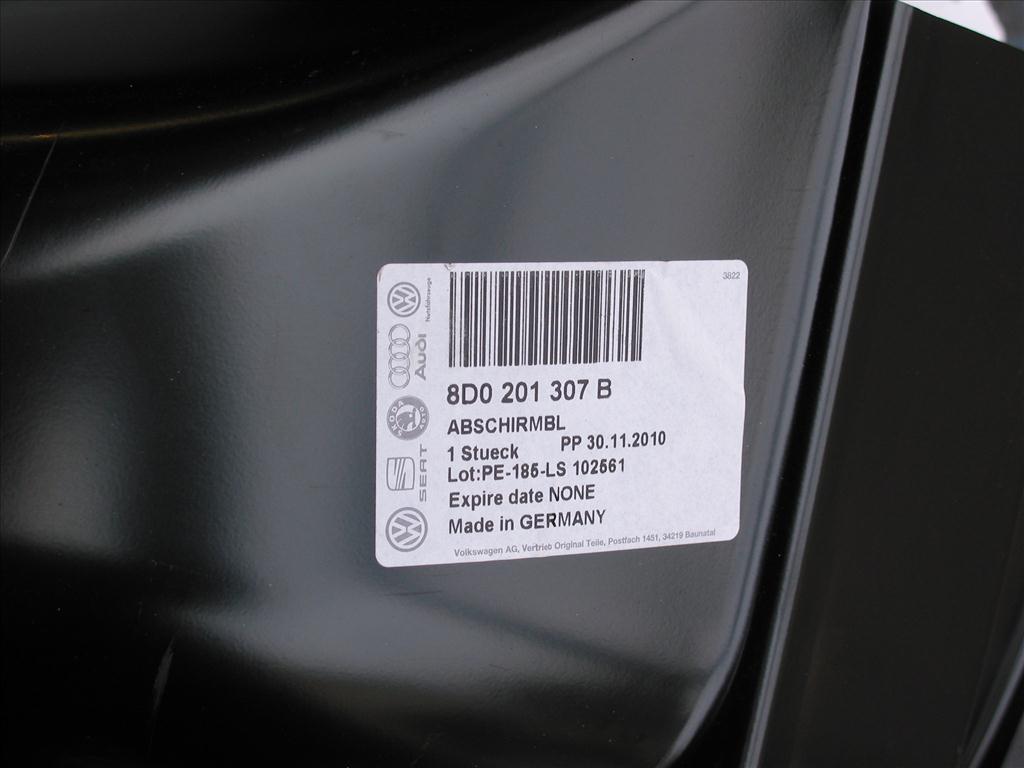
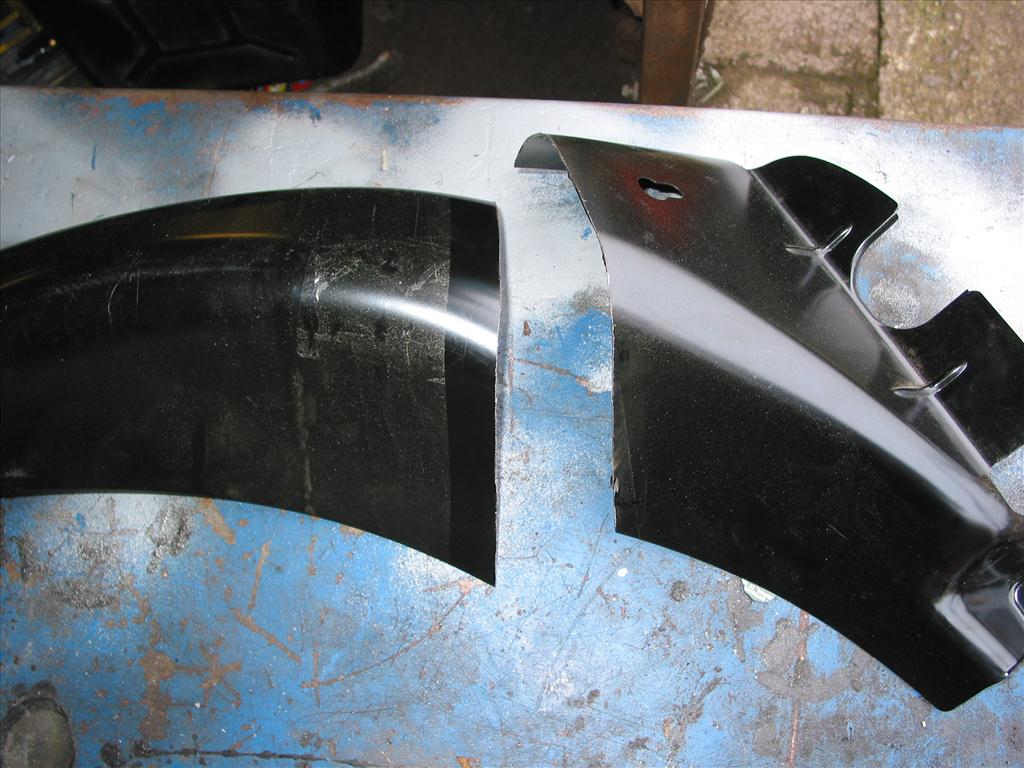
Tank shield as per usual is rotten and NLA
RS4/S4 Tank shield seemed to be a good match.... but no, the mount for the shield is in a different place, and the shape of the shield is completely different.
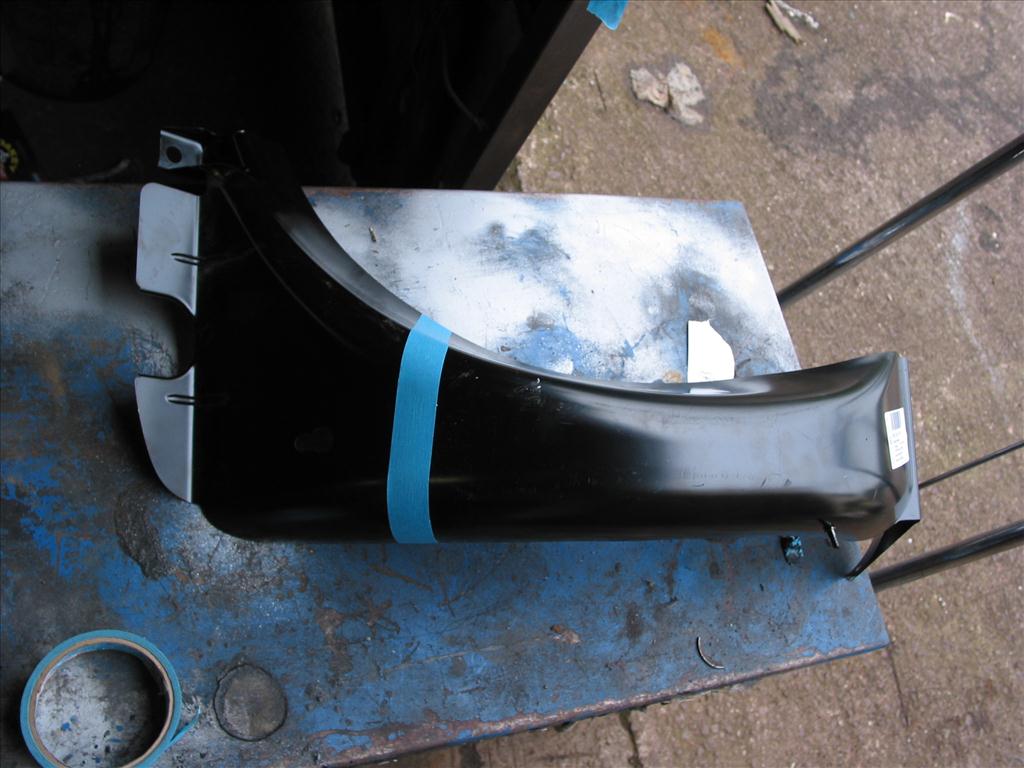
Superhero time, "COMBINE THE SHIELDS"
I picked a point where I knew I had good material on the old shield.
No going back now.
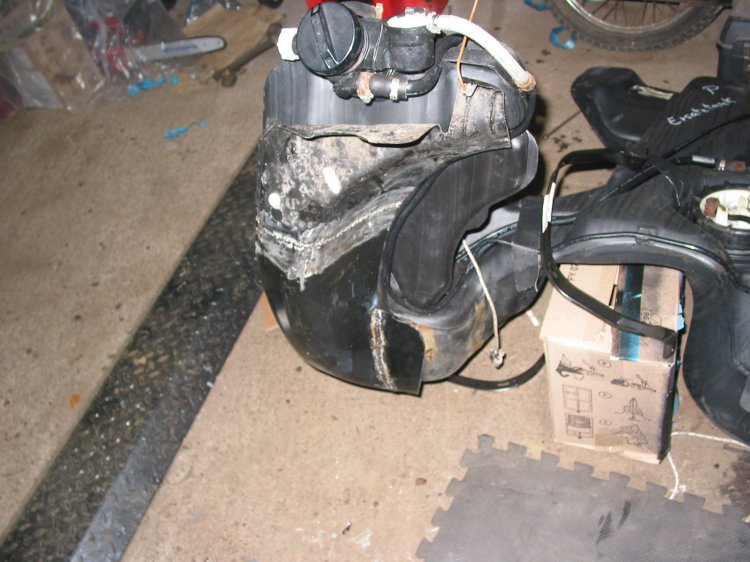
Offered it up in two pieces to the tank, marked it and then tack welded it. There also seems to be a rust shadow of the old shield left on the tank. More welding and cutting.
Cut a bit from the top of left overs to make this curved piece.
Finished welding. A little of grinding and painting is all thats needed.
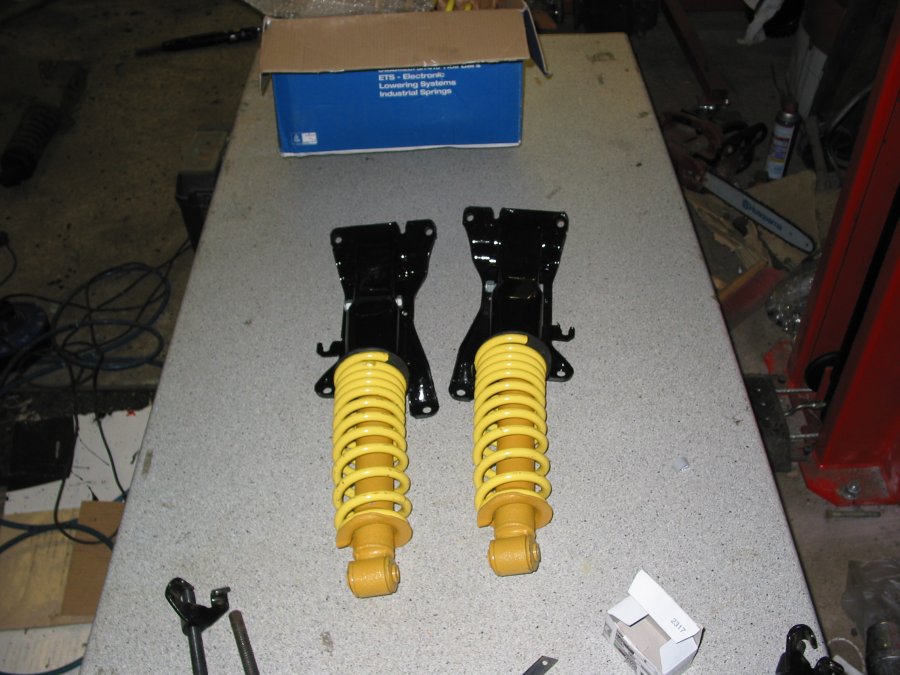
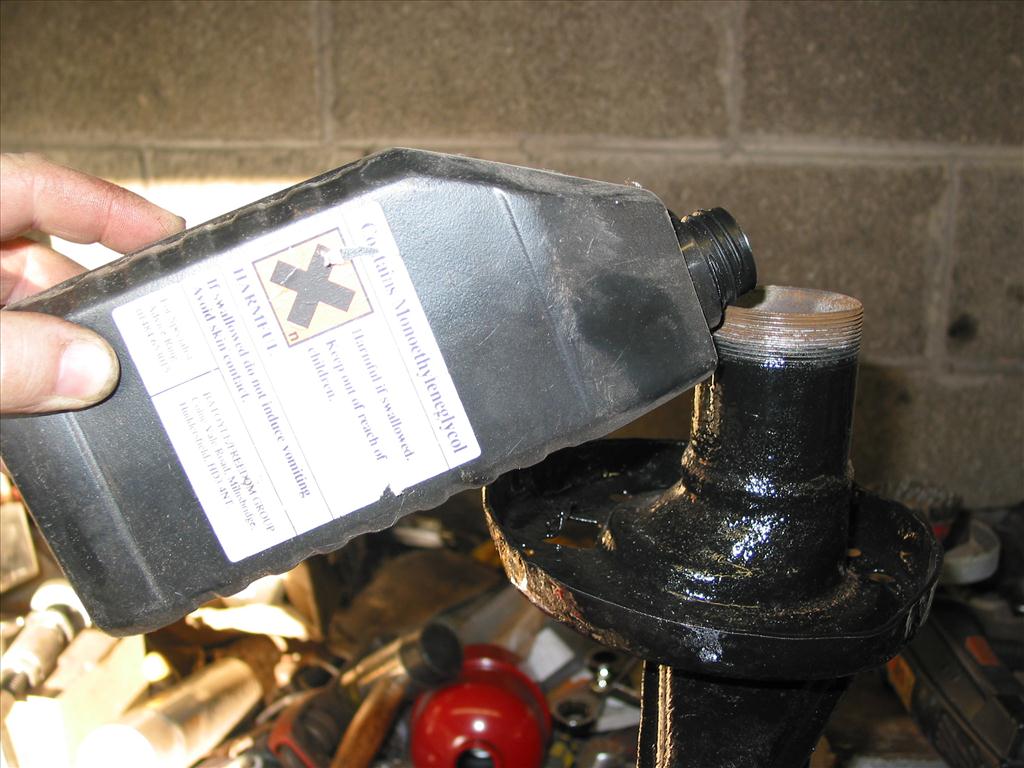
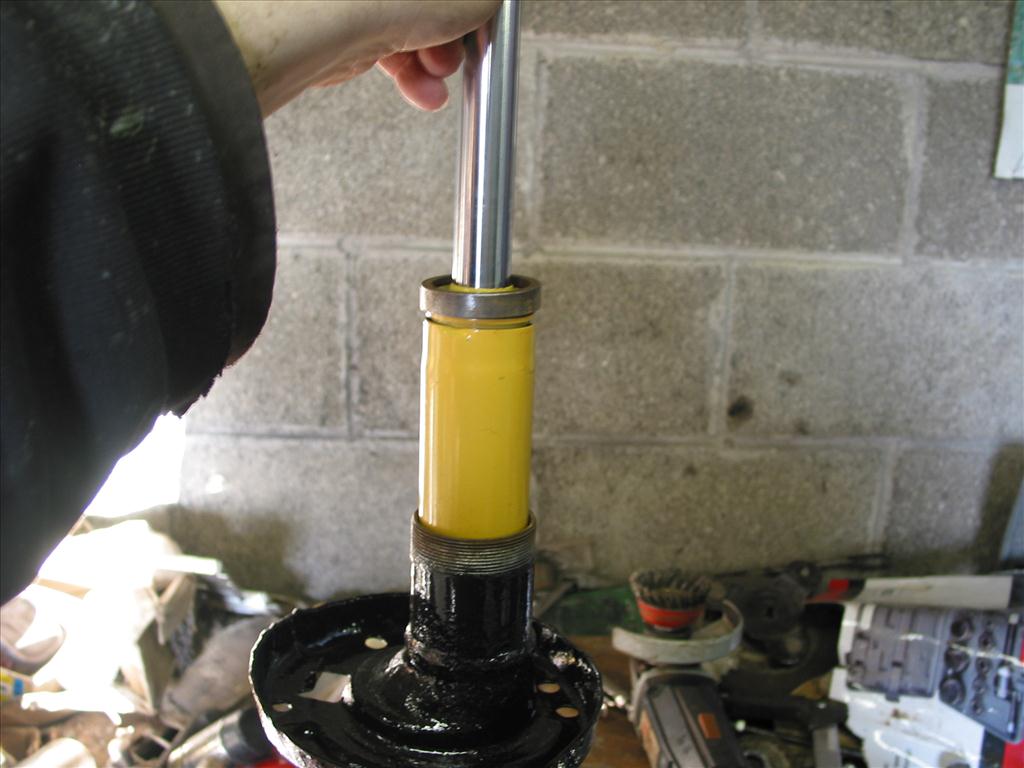
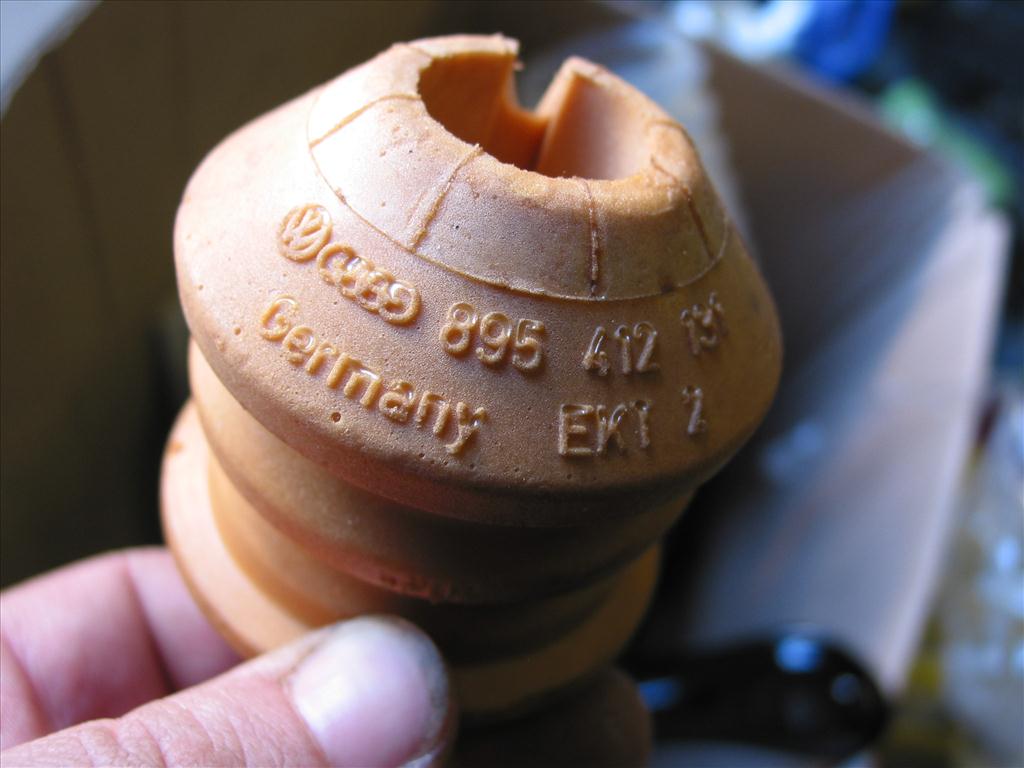
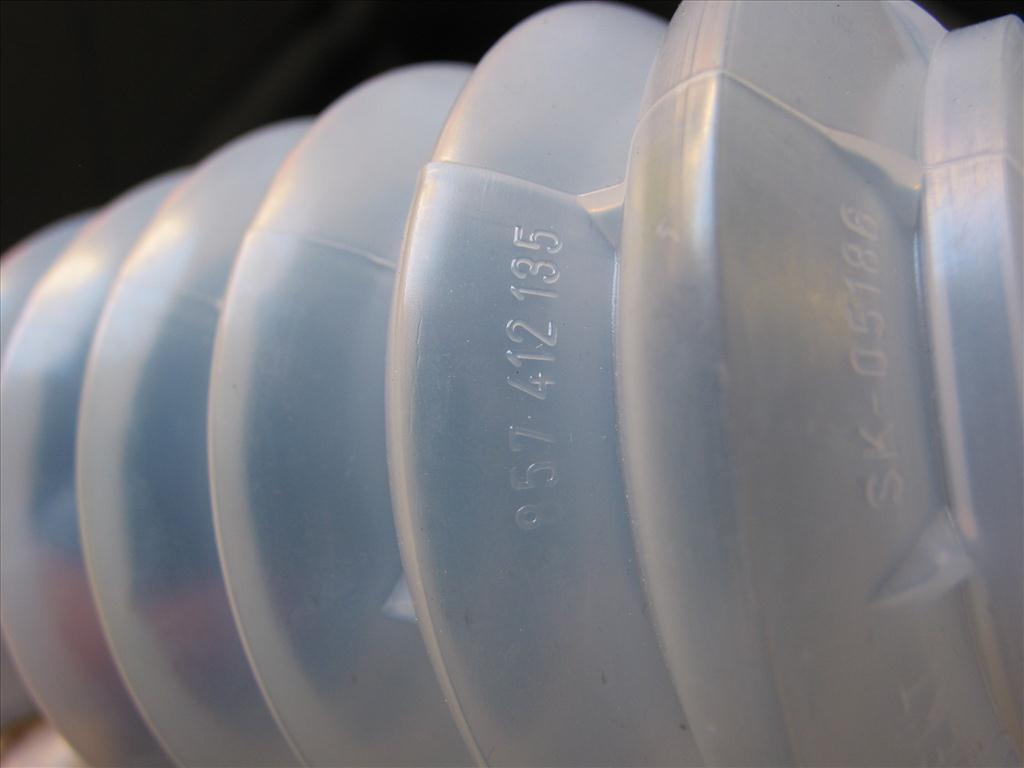
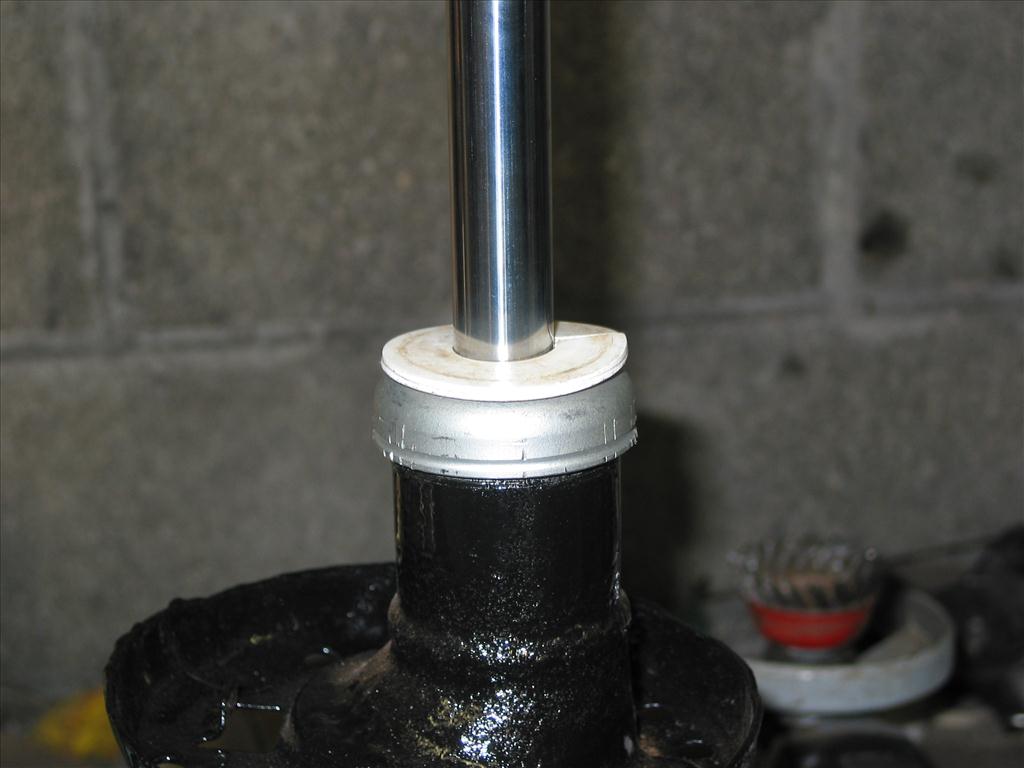
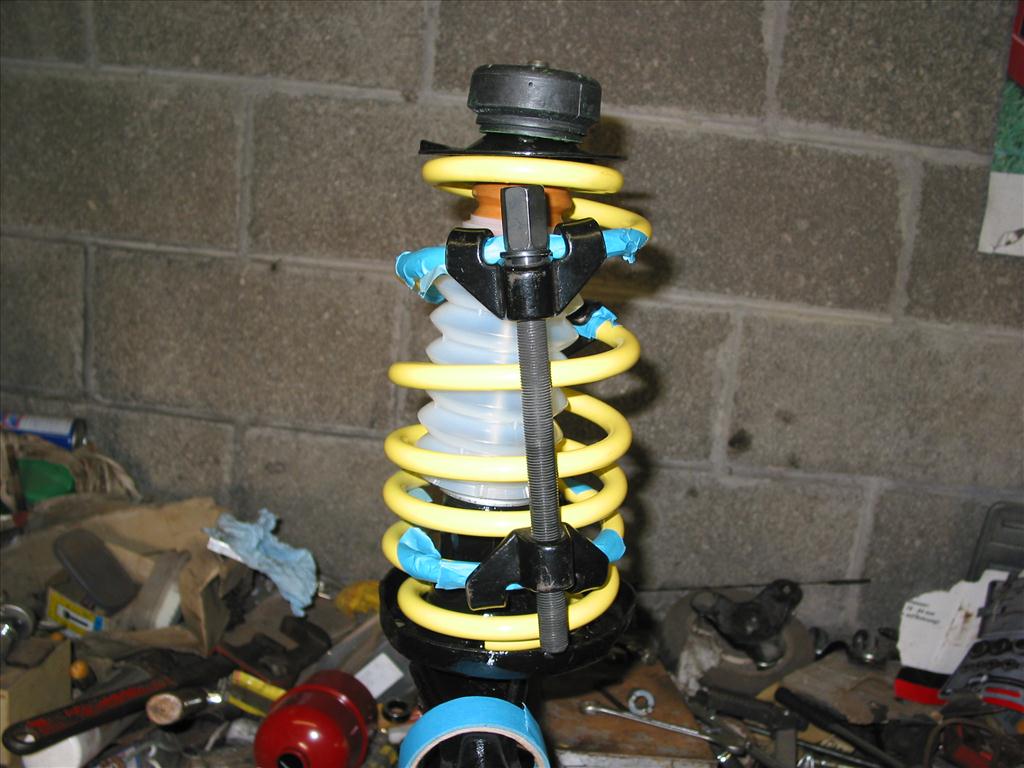
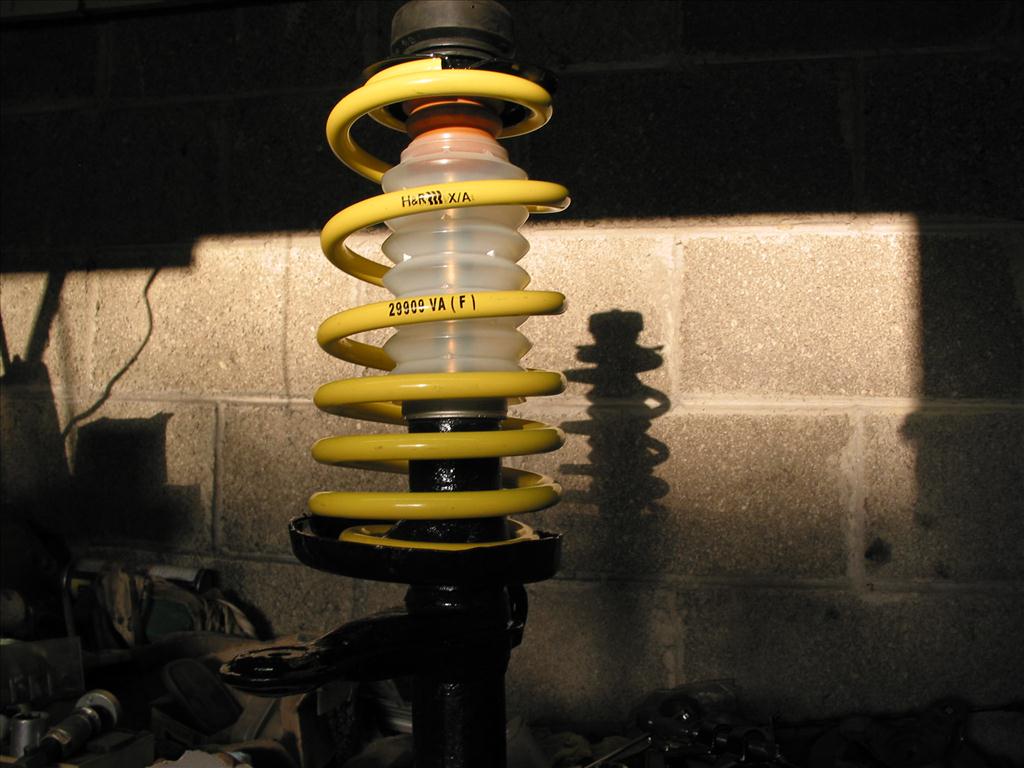
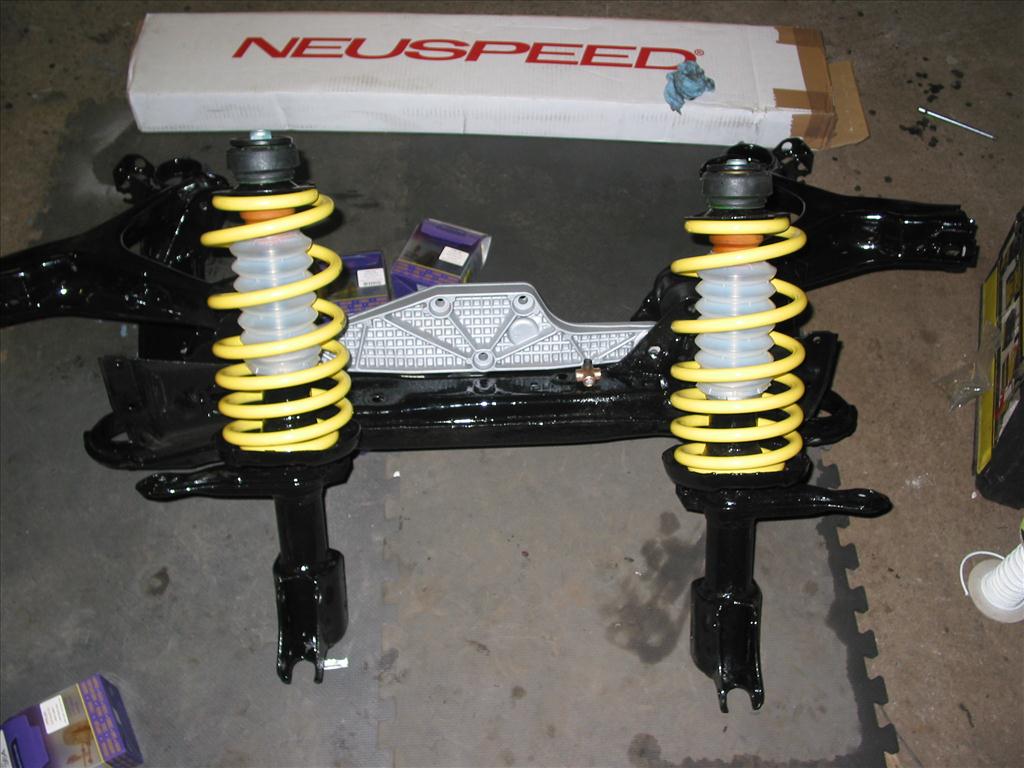
Rebuild the front suspension legs.
The sun was out yesterday, it was very unusual occurrence. I am sure people were running scared at the unidentified object in the sky.
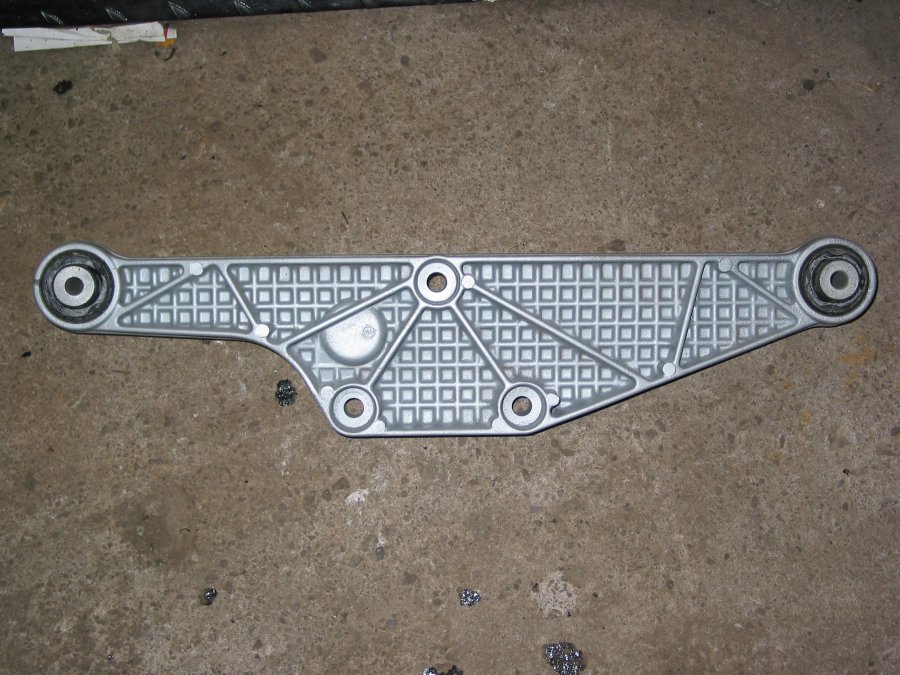
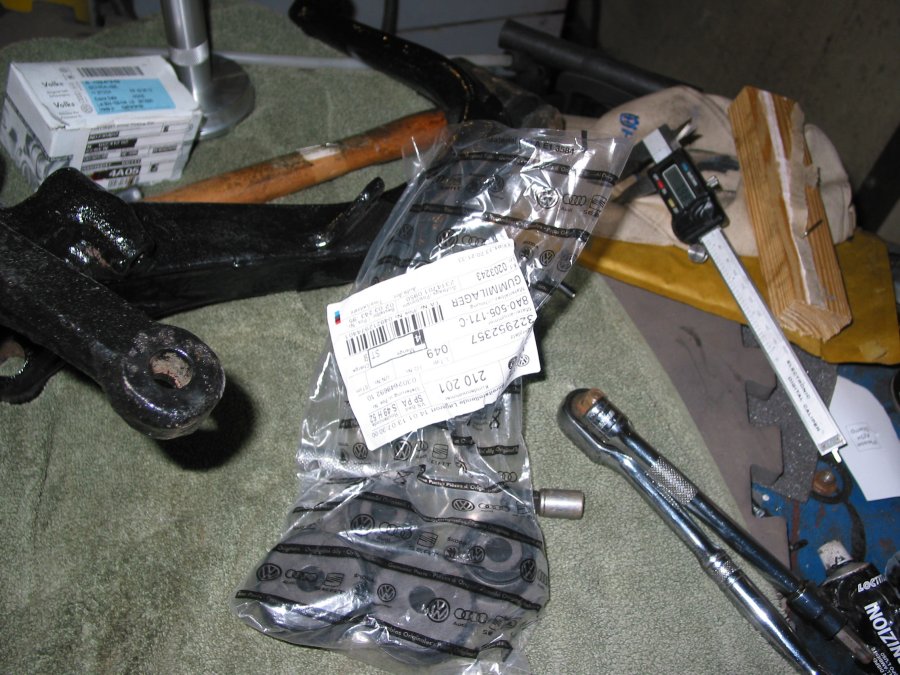
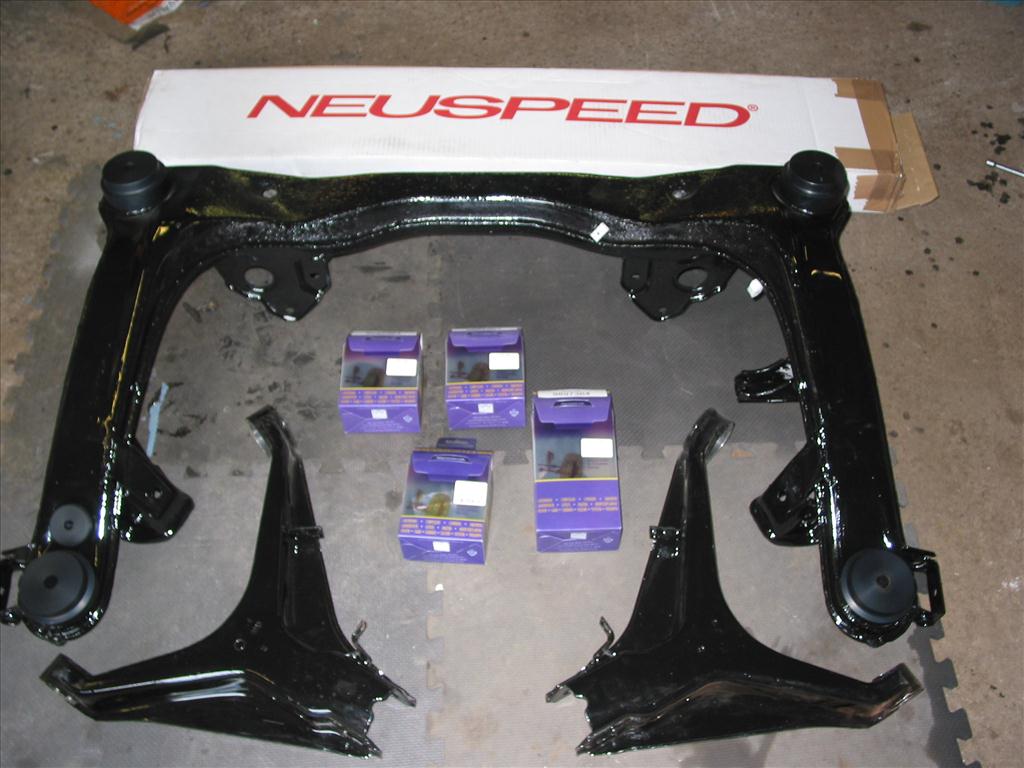
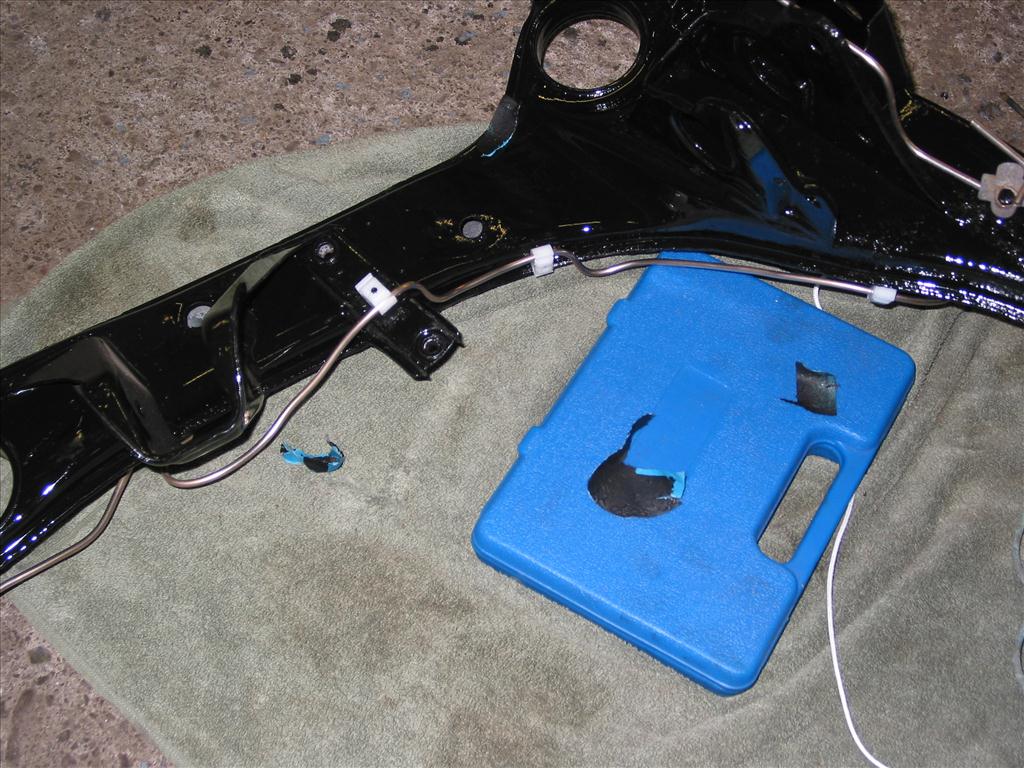
Rear wishbones end next.
Cutting my teeth on brake pipe laying. Very frustrating work to get pipes to bend the right way. Old pipes were crusty green, they had to go.
We process personal data about users of our site, through the use of cookies and other technologies, to deliver our services, personalize advertising, and to analyze site activity. We may share certain information about our users with our advertising and analytics partners. For additional details, refer to our Privacy Policy.
By clicking "I AGREE" below, you agree to our Privacy Policy and our personal data processing and cookie practices as described therein. You also acknowledge that this forum may be hosted outside your country and you consent to the collection, storage, and processing of your data in the country where this forum is hosted.

 Tweet
Tweet
 Thanks for pointing that out.


Comment