
Eric: Excellent work. On the ABS ring replacement, I thought that was so good, I stole your photos and text to share with my home forum (quattroworld UrS). I didn't know the ABS ring as a separate, removable, part. I can't find an OE PN for it, for sure.
-
RS2'd 93 UrS4 5 spd sedan
94 UrS4 V8 6 spd manual avant -
Your parts look clean enough to eat off, brilliant build
If I were you I'd strip the paint off the mating surfaces you mentioned. Nothing a bit of brake cleaner and some sandpaper can't fix!2013 Touareg TDI /// #farmenwagen
1992 80q 20v /// Eventual AAN'd Winter Sled
1990 Cq /// Project: Because RacecarComment
-
Thanks guys
I actually thought it was a single part until I clean it and noticed the cracked ring. I tapped it with a hammer and punch and the ring fell off.
Yea I am going to clean those mating surfaces. Best do it right as I am at it.Comment
-
super job man ! and there was a lot to do !
wish i had some time to do some work too !S2 's and oldtimersComment
-
Went to work trying to finish painting my engine bay this weekend.
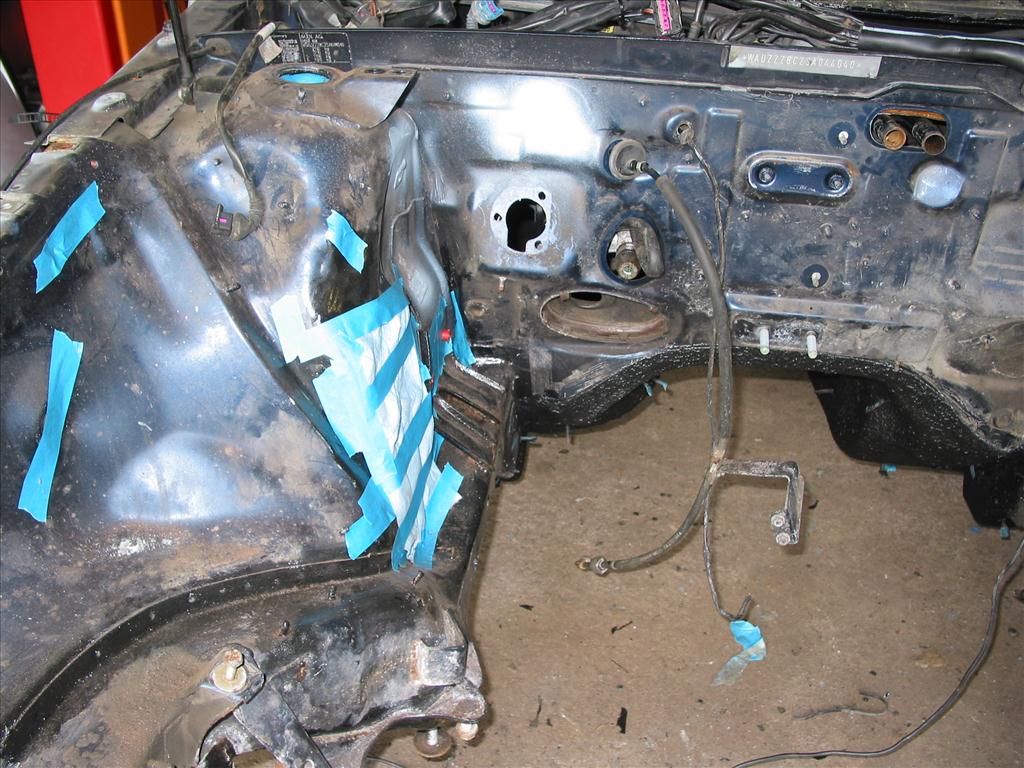
My quick and dirty masking from when I was undersealing the wheel well.
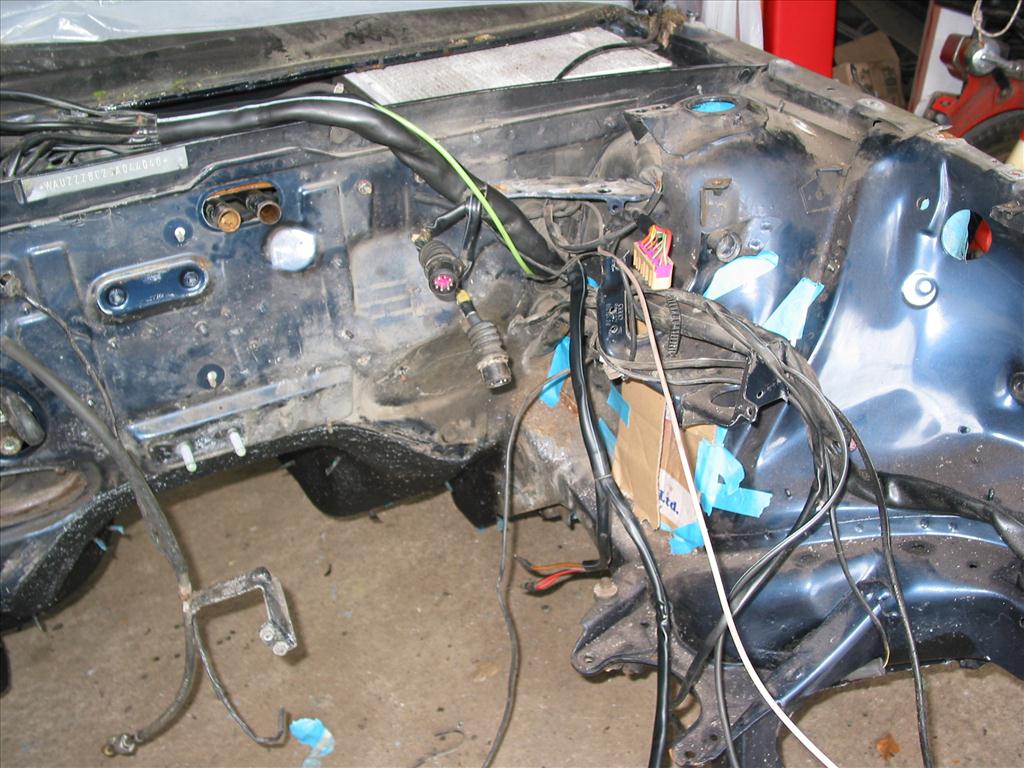
Passanger side. Still got rust to deal with. Both chassis legs were cleaned with a sanding wheel above and below where possible, the rest was by hand, with 80 for rough stuff down to 400 before filler primer.
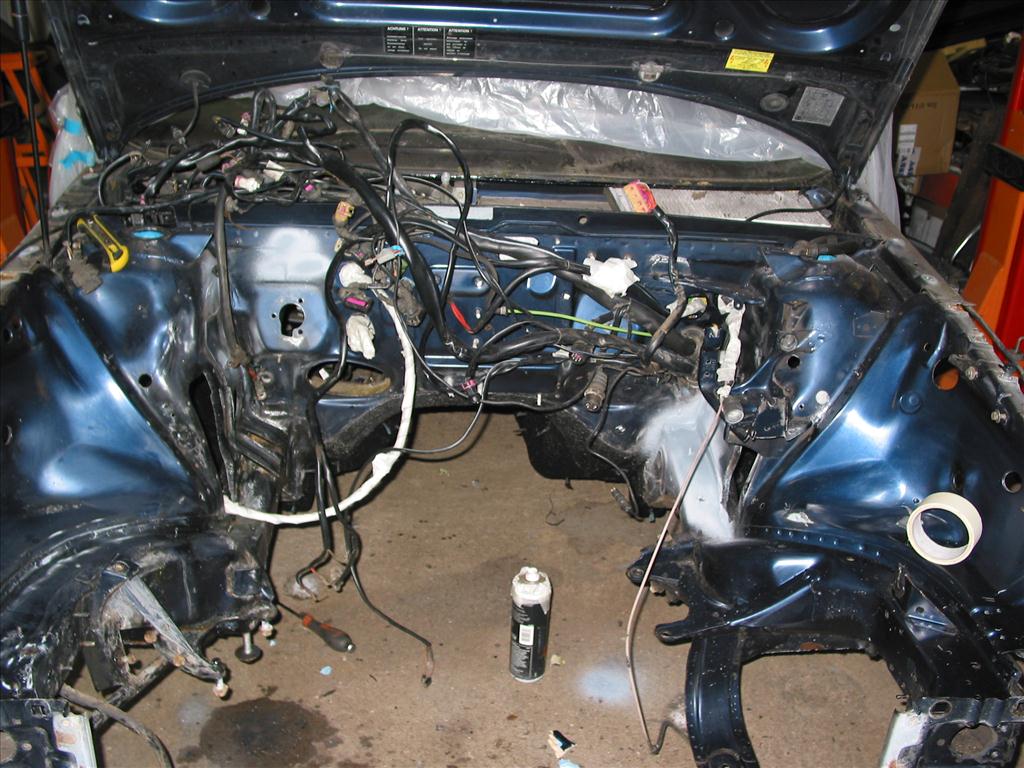
After first round of degreasing and cleaning, also removed rust and painted with zinc182 primer.
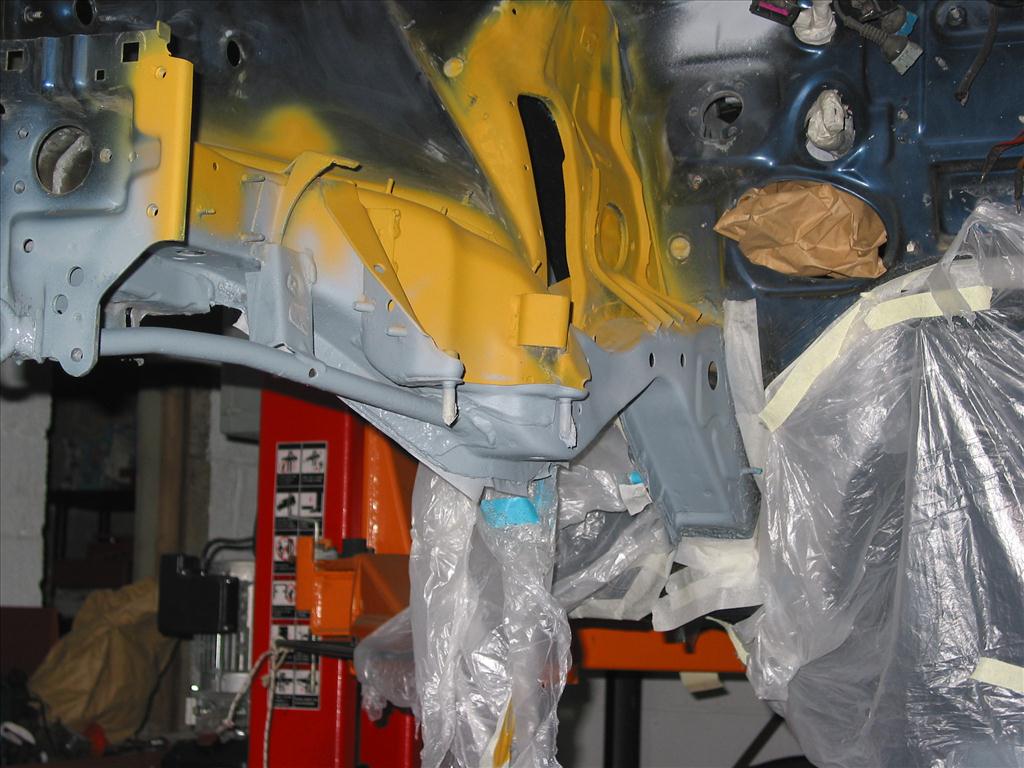
Learned the hard way that POR15 is not good for body work type finish, so most of the por15 had to be sanded back or keyed and feathered into the existing paintwork. The yellow stuff is halfords filler primer.
The welding spatter on the body panels from manufacture was also removed so I could properly sand later on.
The chassis legs were sprayed with zinc182 and 3M 0880 underseal like the underneath of the car.
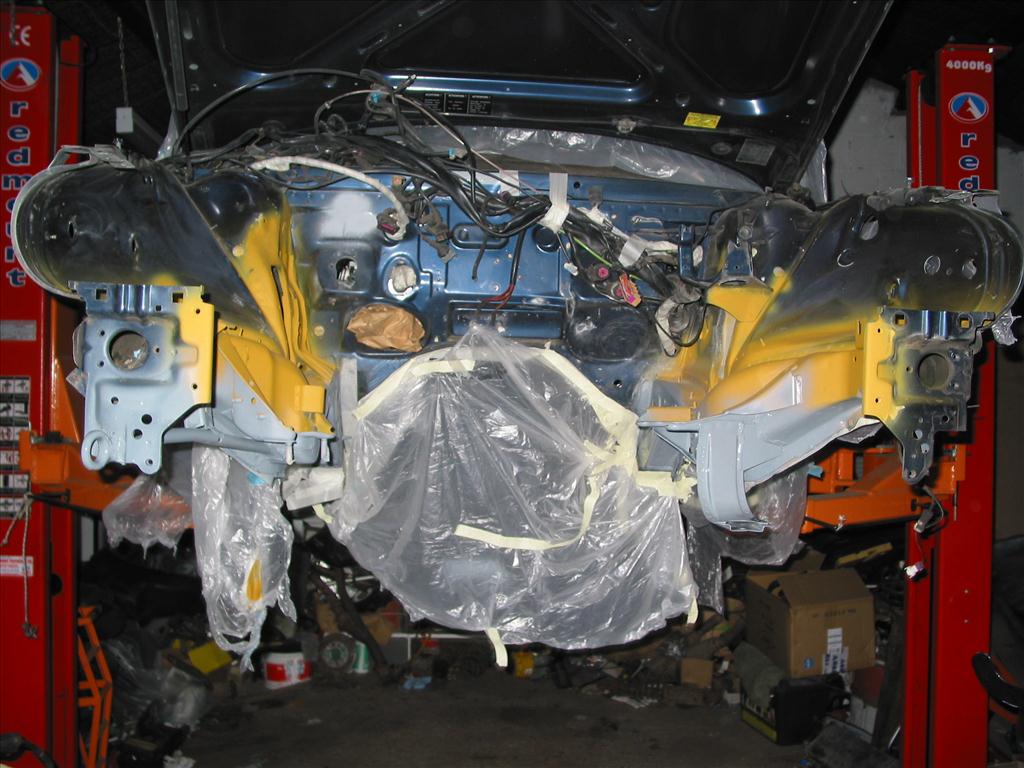
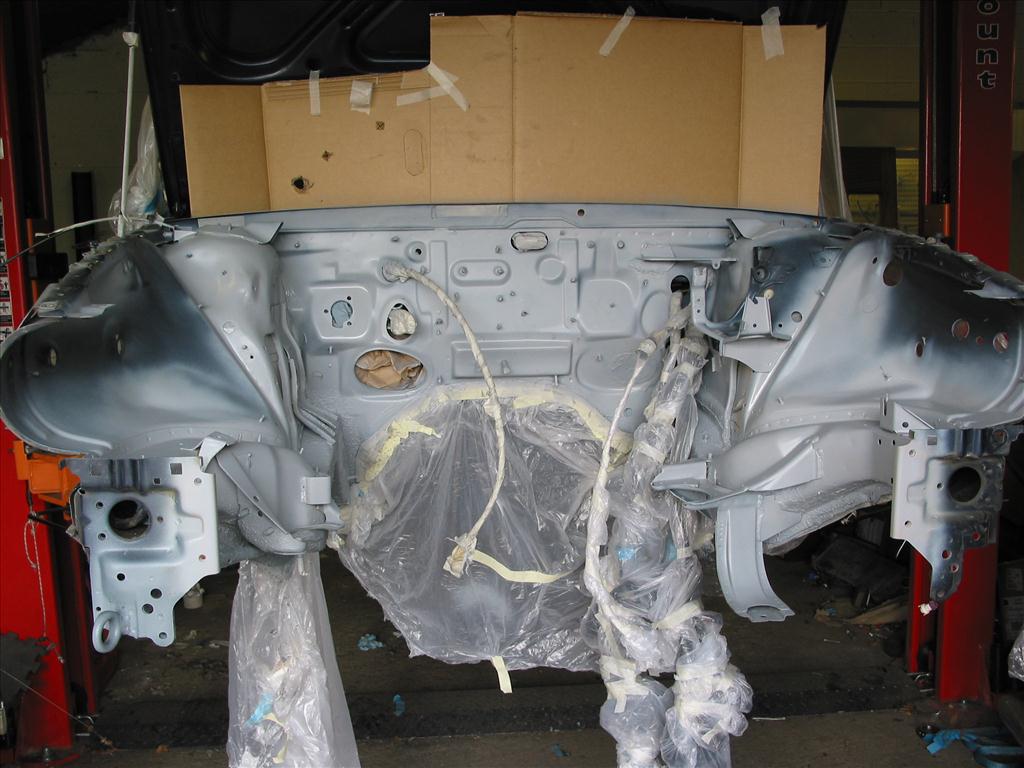
The bay was then prewiped, and sprayed with the primer that came with the paint. After that was dry, I wet/dry sanded with 800 then 1500
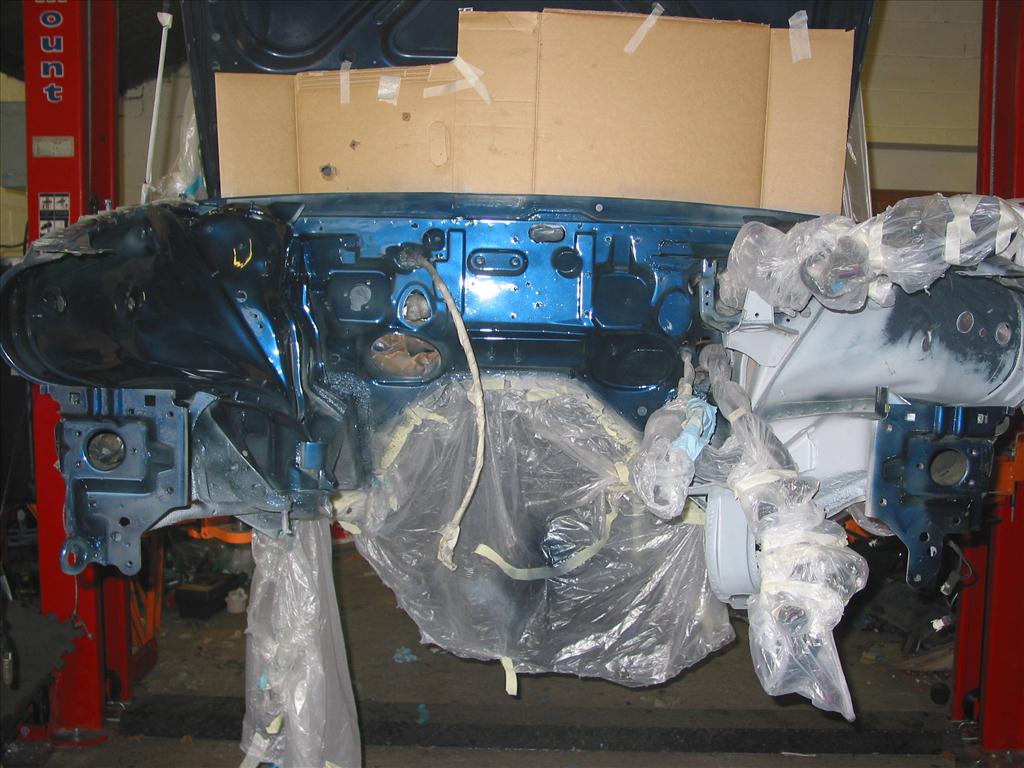
First coat of base , doing it in sections so I could move around the loom. Big stupid loom lol
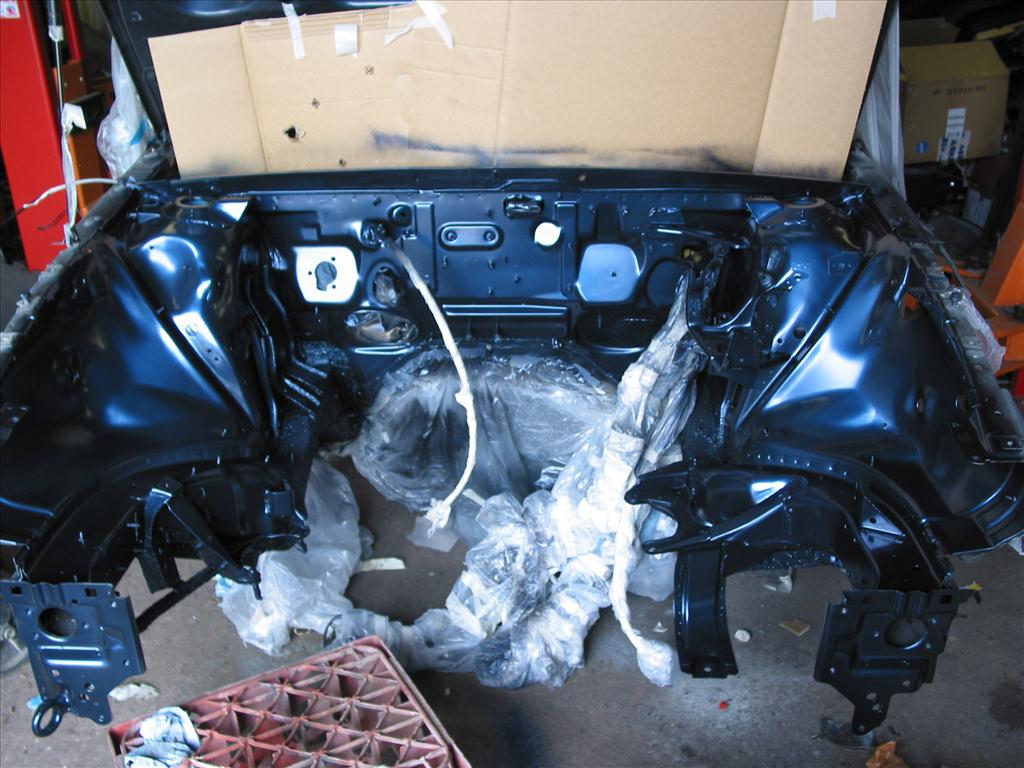
Getting excited now. Base coat down.
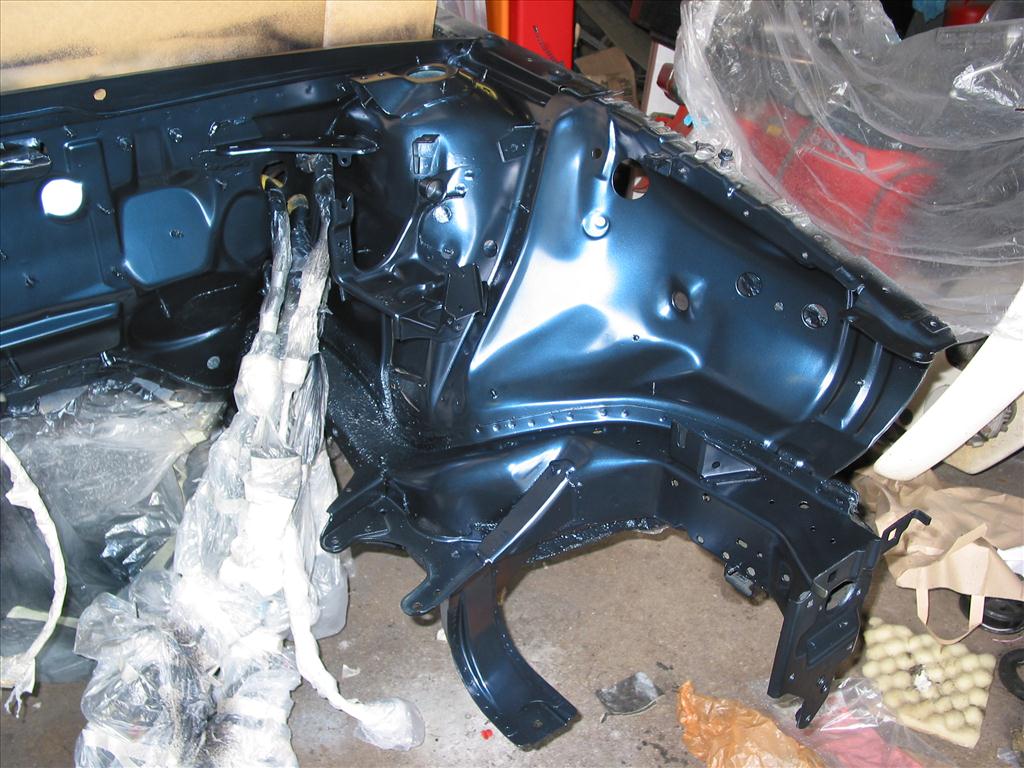
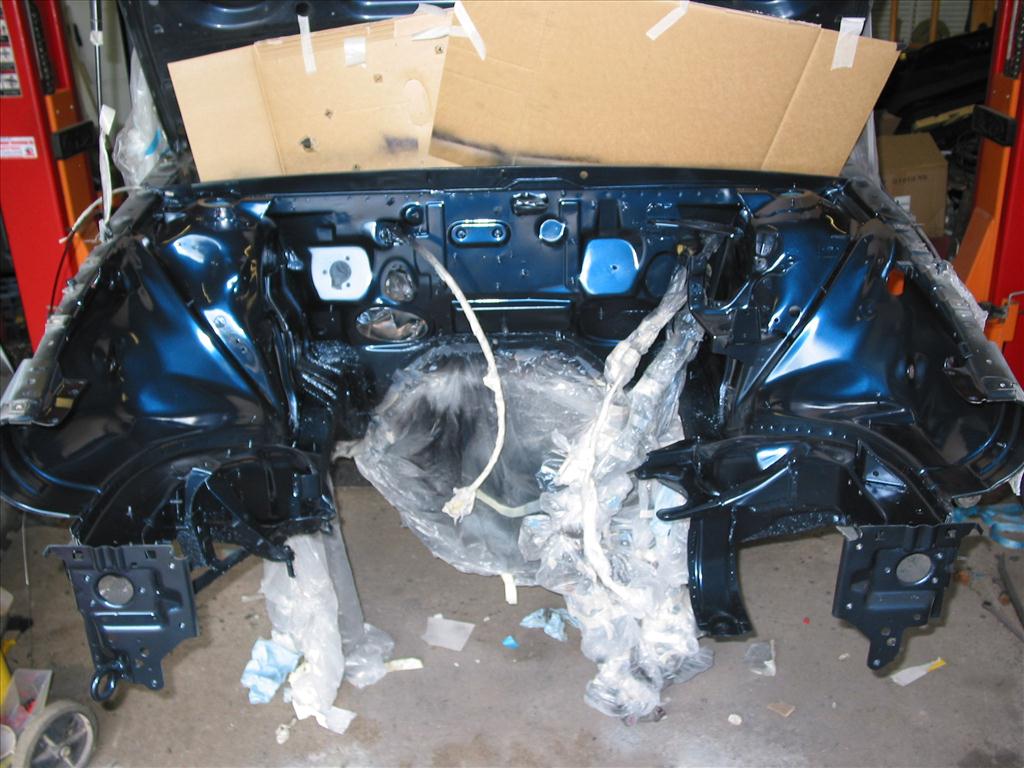
I didnt sand between base and lacquer. The lacquer I got was super, not bad for rattle can.
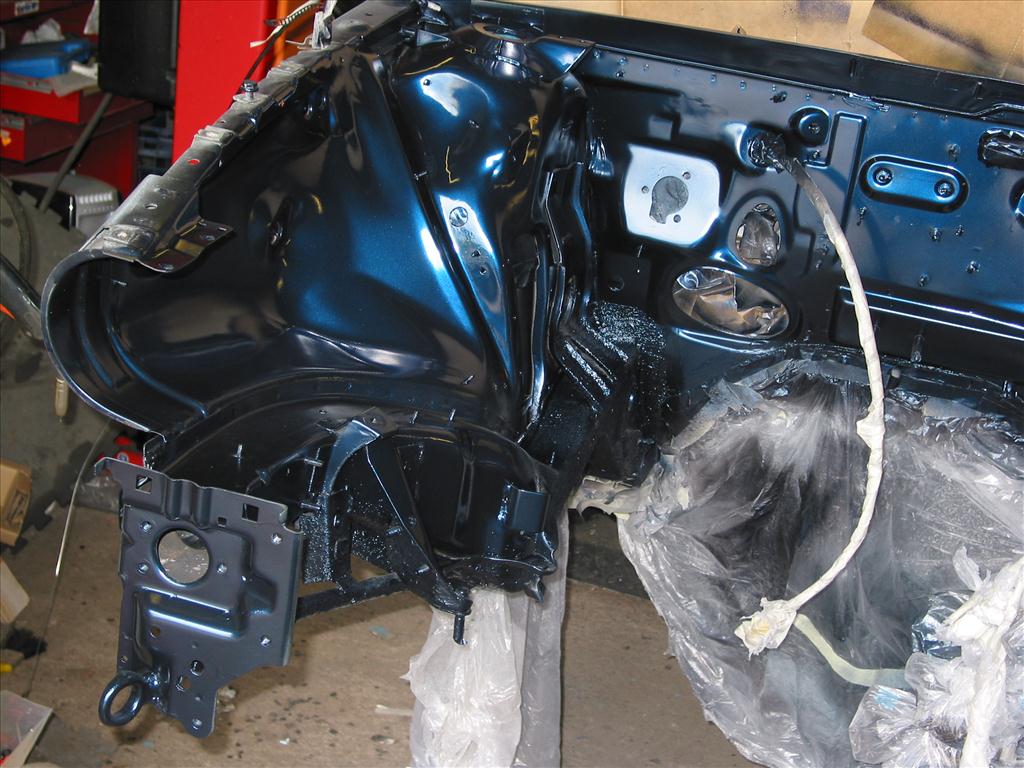
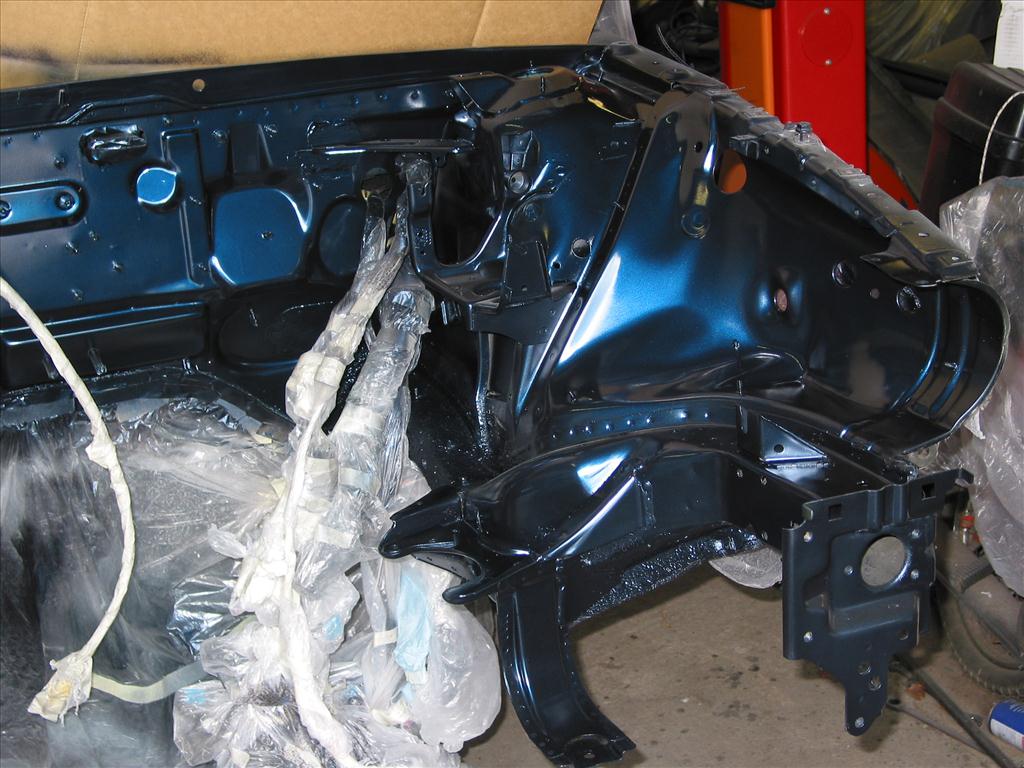
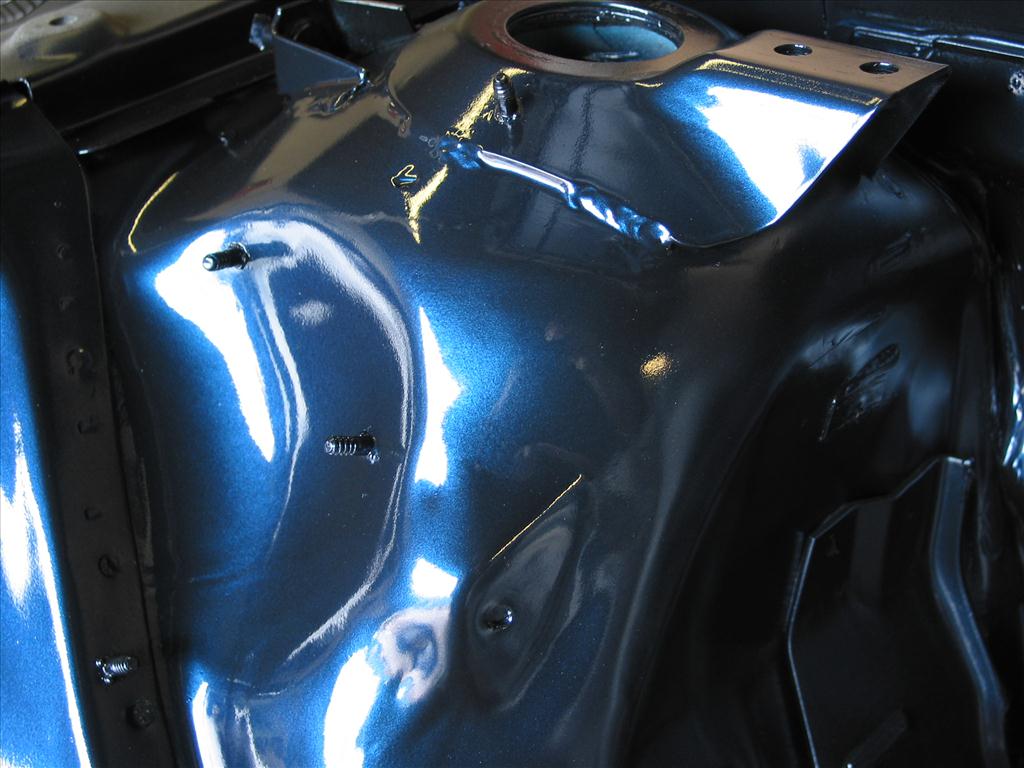
You can nearly see me with the camera.Last edited by irishs2; 7 July 2017, 14:21.Comment
-
Pur-dee. Very pur-dee. Envious.
RS2'd 93 UrS4 5 spd sedan
Envious.
RS2'd 93 UrS4 5 spd sedan
94 UrS4 V8 6 spd manual avantComment
-
way surpassed my rebuild ! - just wana drive mine now lolNOT a car dealer! just an S2/RS2 enthusiastComment
-
if Heineken did avant rebuilds ....
 1991 S2 3B Coupe, KW v1, solid sub frames, poly bushed, chipped, about 260 ish
Comment
-
What makes you think I know where any of it goes, I'll need to watch yours
Seriously good work you're doing here mate and I know just how much work it is
You will really enjoy refitting all those lovely shiny parts back into that engine bay, makes it all worthwhile
BTW what paint did you use on your gearbox? Etch primer & topcoat? Looks excellent
Panthero Coupé quattro 20vt
Indigo ABY coupé
Imola B6 S4 AvantComment
-
Excellent work, and hours are definitely paying off on the engine bay sprayingGreg
S2Forum.com Administrator & Webmaster
'93 Coupe with a few tweeks
Comment
-
thank you 
I used eastwood aluma-blast it goes straight onto aluminium with por15 on the steel
I am thinking of using Eastwood detail gray for the top of the engine like AndersS2's lovely avant. Going to do a test with the coil cover I got from you.
I used Motip primer,paint and lacquer spray can paint in the engine bay.Comment
-
This project is steaming ahead at full speed now. Top notch work here and it shows. Good to see another avant cared for.Comment
-
Bank Holiday Monday
Since I am running new brake lines in the engine bay, and as there are loads of lines running parallel any kinks will be amplified.
So I went looking for brake line straighteners online.. I was shocked how expensive they were. Time to build one out of scrap and some rollers.
I rumaged around and found loads of these plastic belt guide rollers, two bits of think steel, and some assorted spacers, nuts and bolts.
The hardest thing was drilling the 3 straight holes for the front rollers.
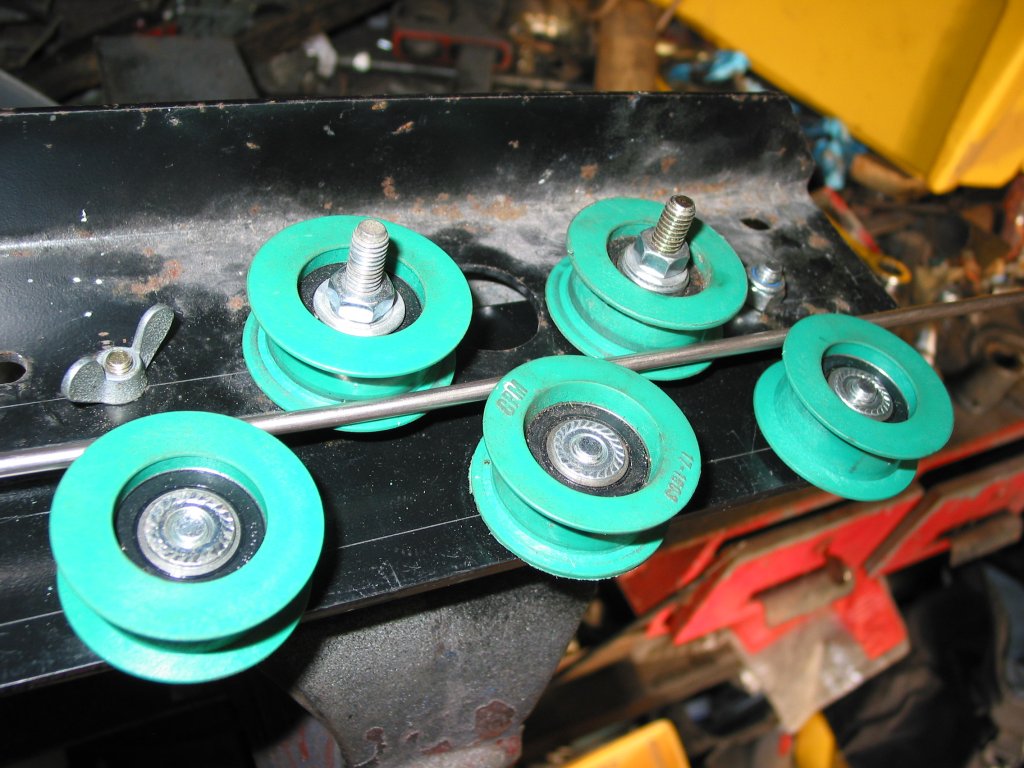
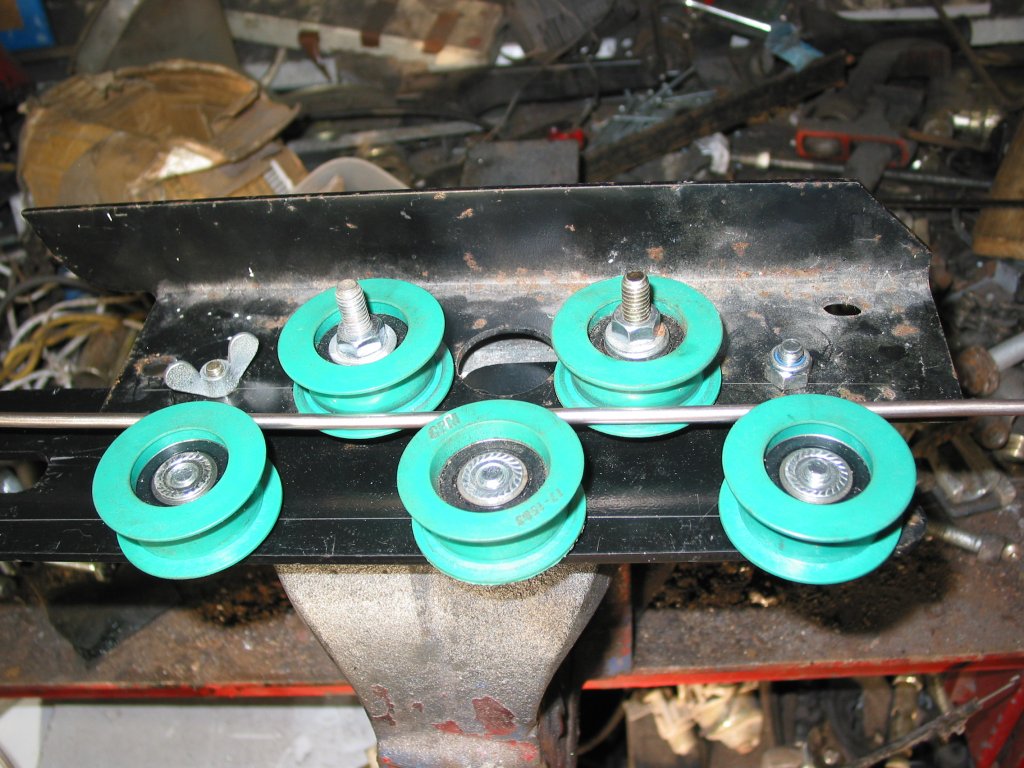
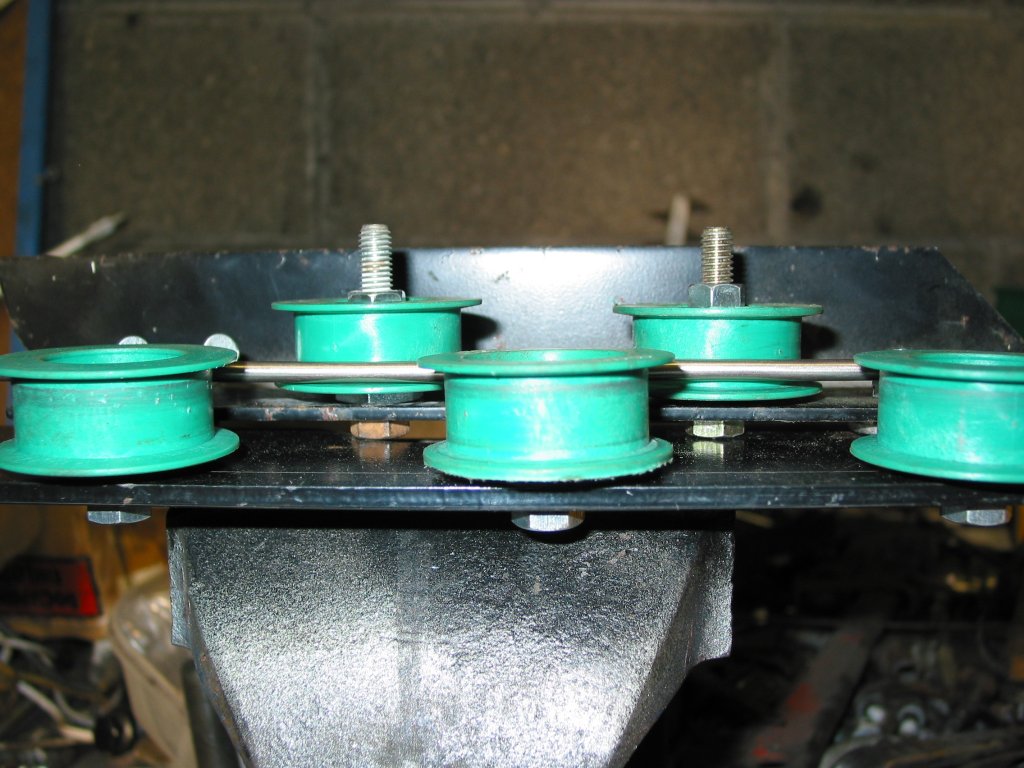
The rear right roller might come up a tad, just to meet the bottom of the line.
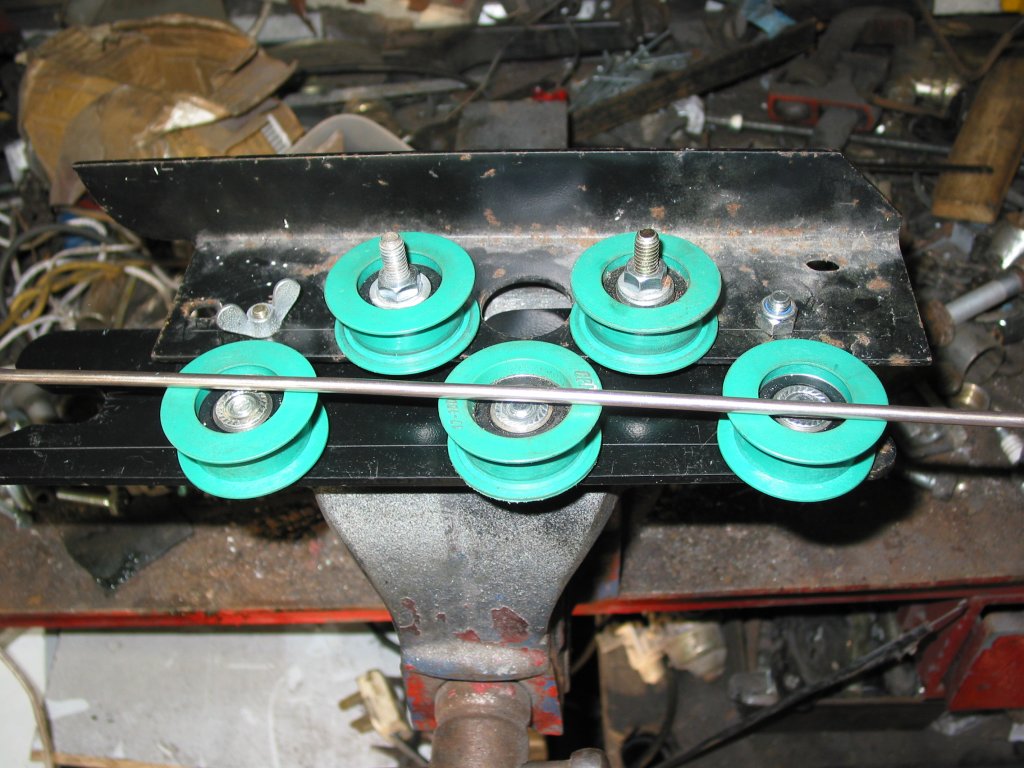
After pushing the line in and out a few times and rotating the line , I think it looks ok
Last edited by irishs2; 7 July 2017, 14:22.Comment
-
Nice, looks like it worked pretty well mate. I spent hours getting mine straight by hand  Panthero Coupé quattro 20vt
Indigo ABY coupé
Imola B6 S4 AvantComment
-
Looks straight as an arrow to me. A job well done and on a budget too. I love it.
I have this looming over me and will be doing it "soon". I have been looking at line straighteners also and could not believe how much they cost. I've already dropped a pretty penny on the correct flare tool and now I've got to spend more for the straightener.  I might make one also. Don't get me wrong, I'm a tool collector, but 200USD for a tubing straightener is a bit mad.
Comment



Comment