You can change the style the forum displays by selecting your preferred style at the bottom left of the site.
We have made an enhancement so that old threads should now link from search results to the correct thread. This is not yet in place for single post links
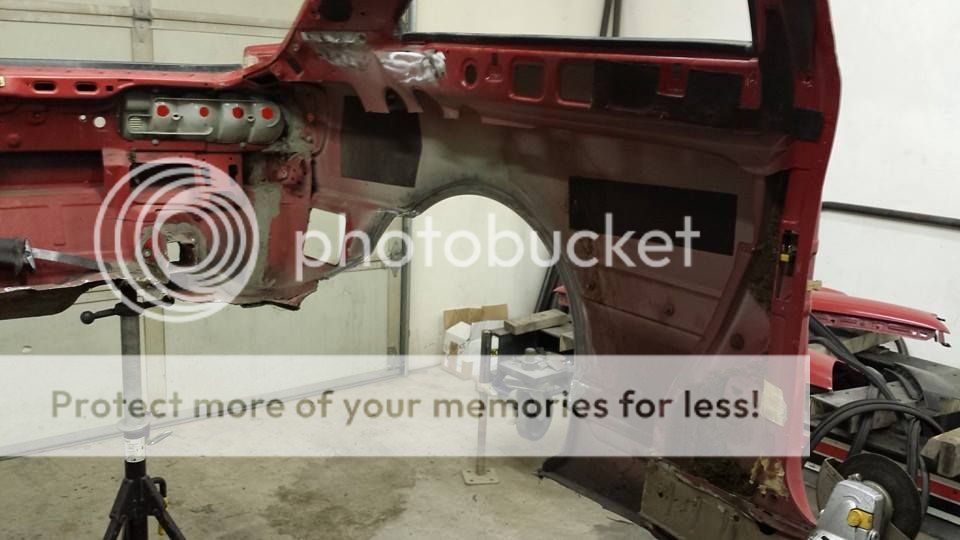
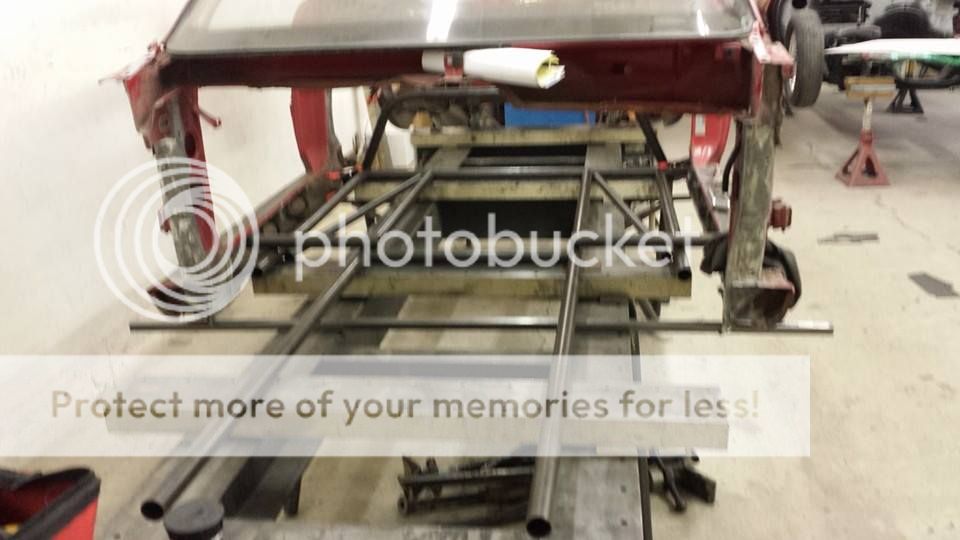
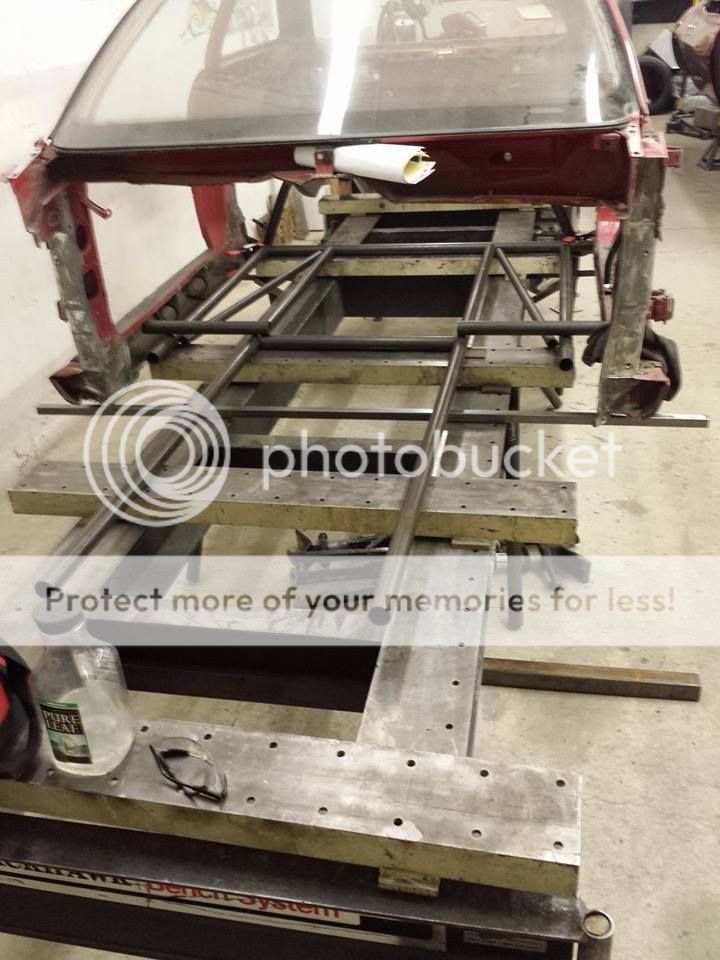
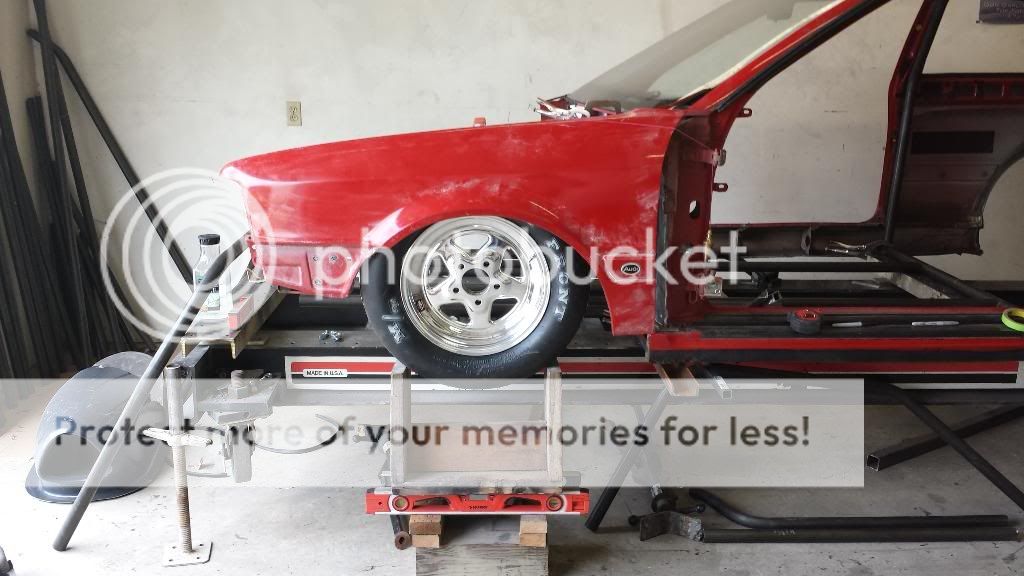
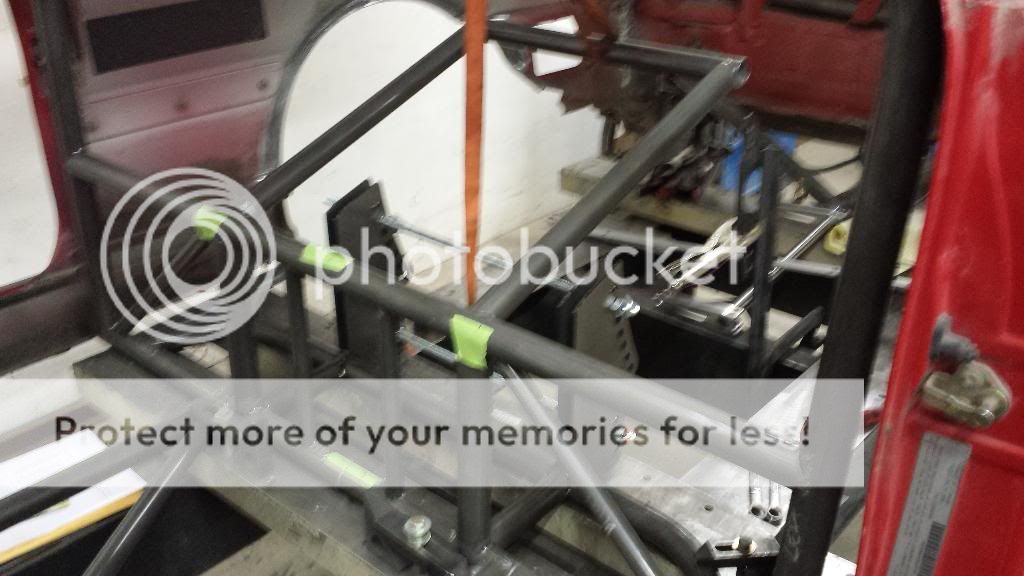
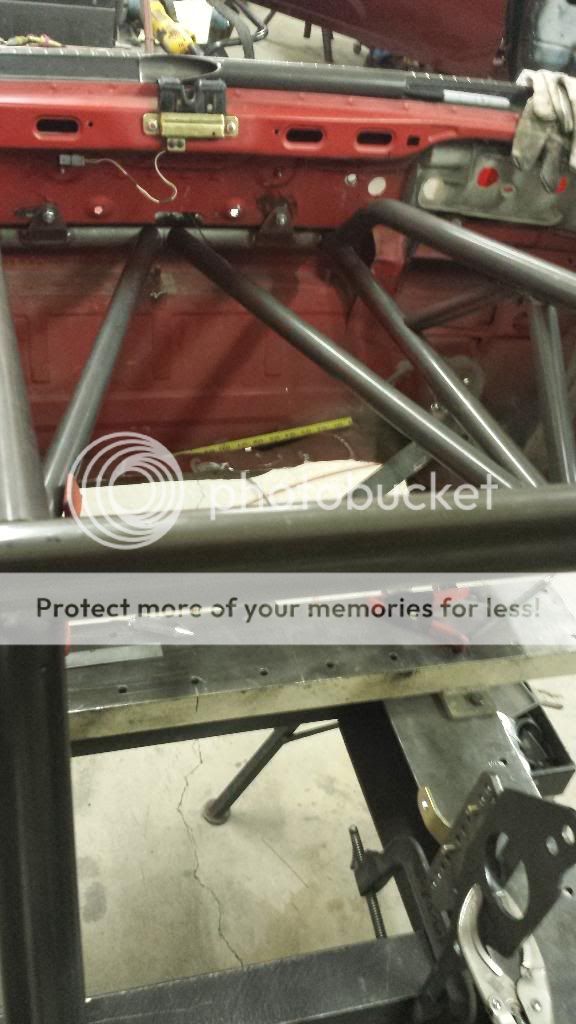
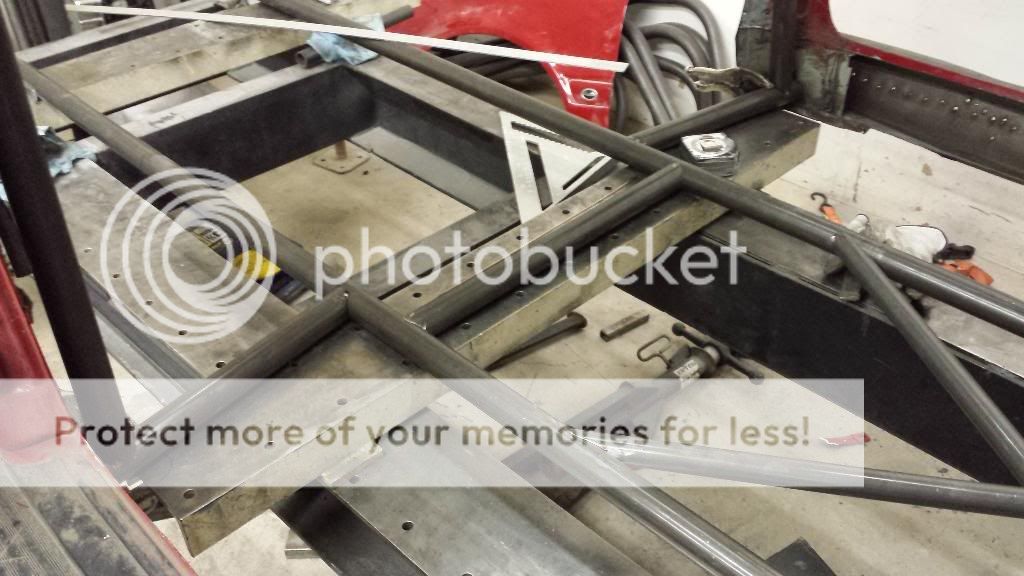
did just a little bit of cleanup on the chassis table, wire wheeled all of the surfaces and wiped them down. car is set up on the table but not in a final height yet.
so i played around some with putting pieces of the puzzle into place. just taking dimensions off the blueprints and putting pieces here and there. looks neat.
laying out pieces like a puzzle, and then we rebent the hoop as it was shorter than we had wanted. i measured up the Monza, but did not take into account that it has been dropped about 4" over the rails, and thus has an even shorter hoop. they did appear to have added a couple inches to the length of the legs, but that was to the as-built size, and the Audi is much larger inside than that Monza was.
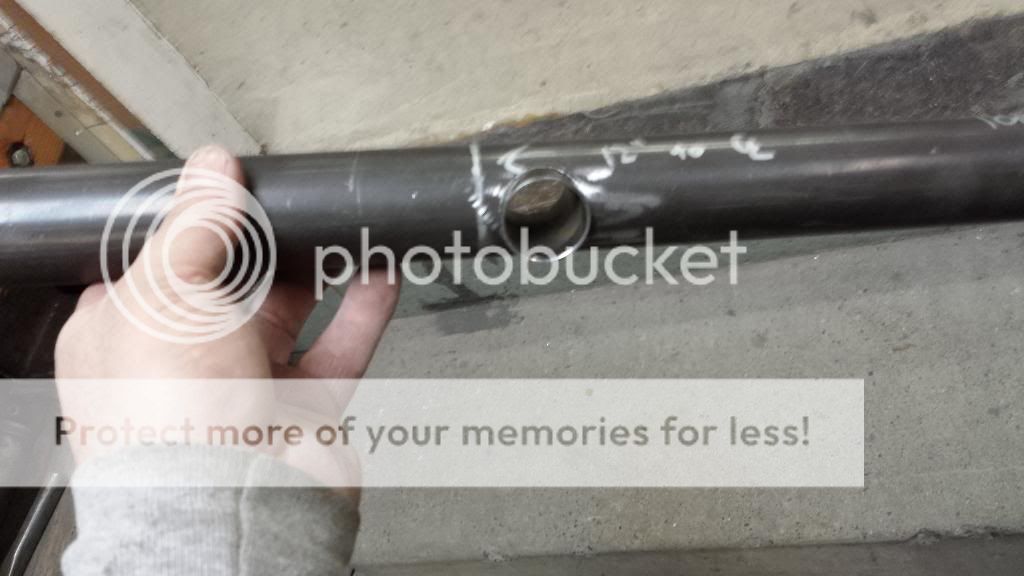
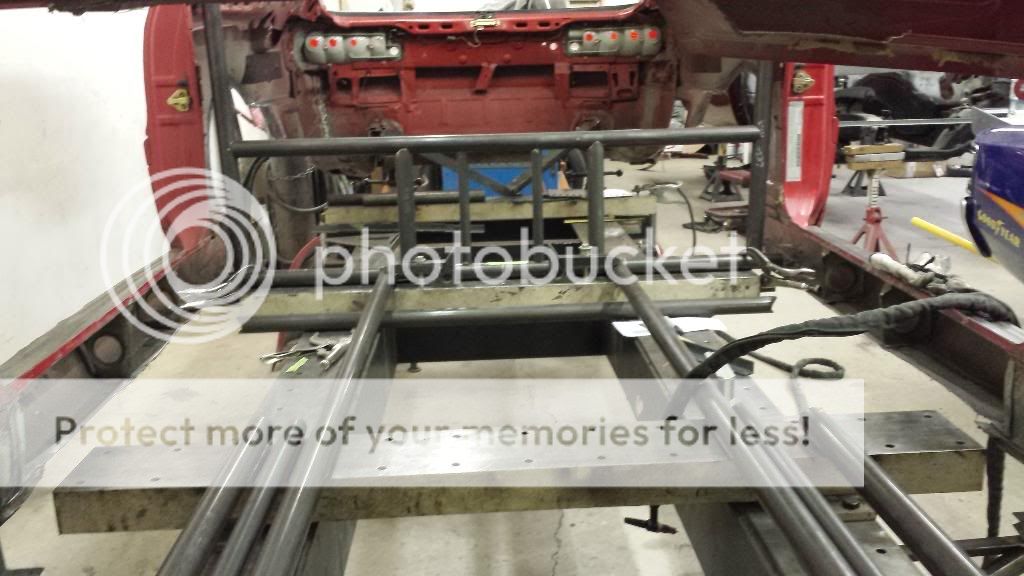
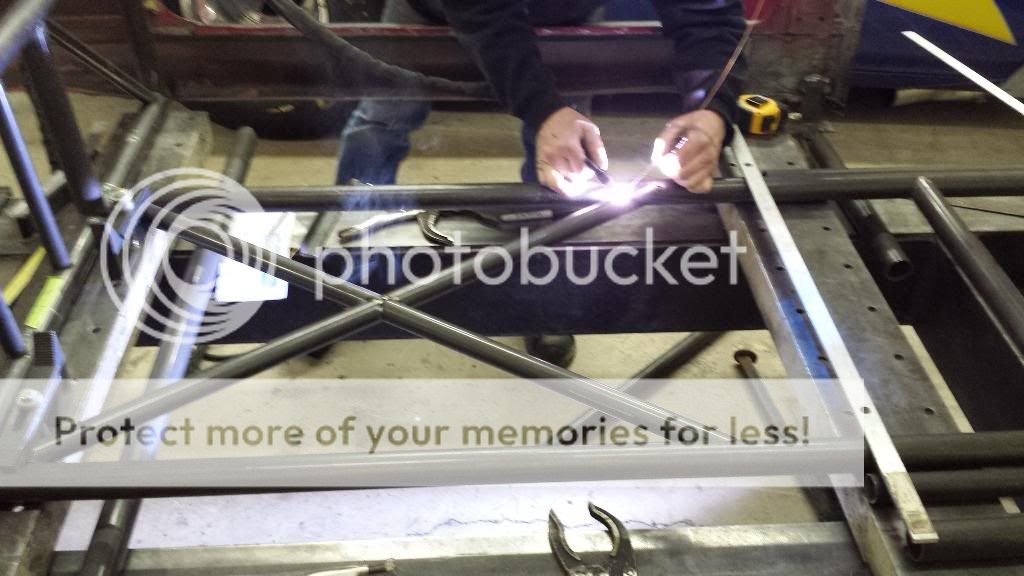
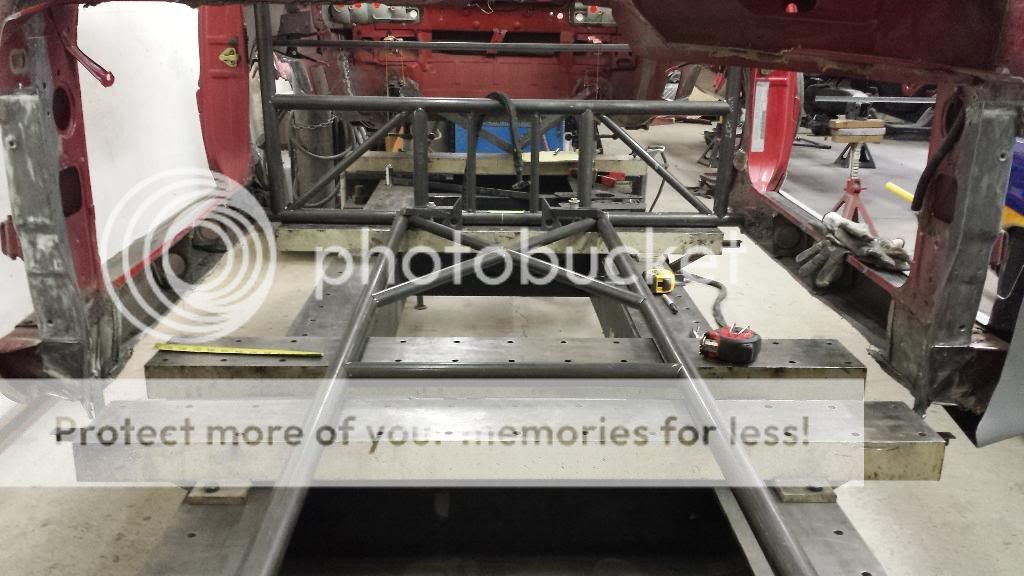
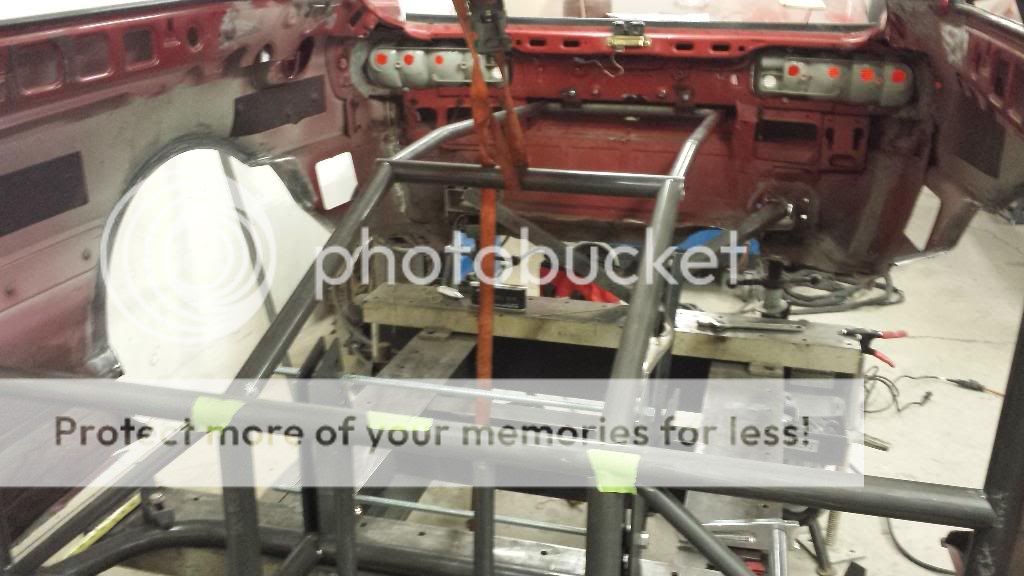
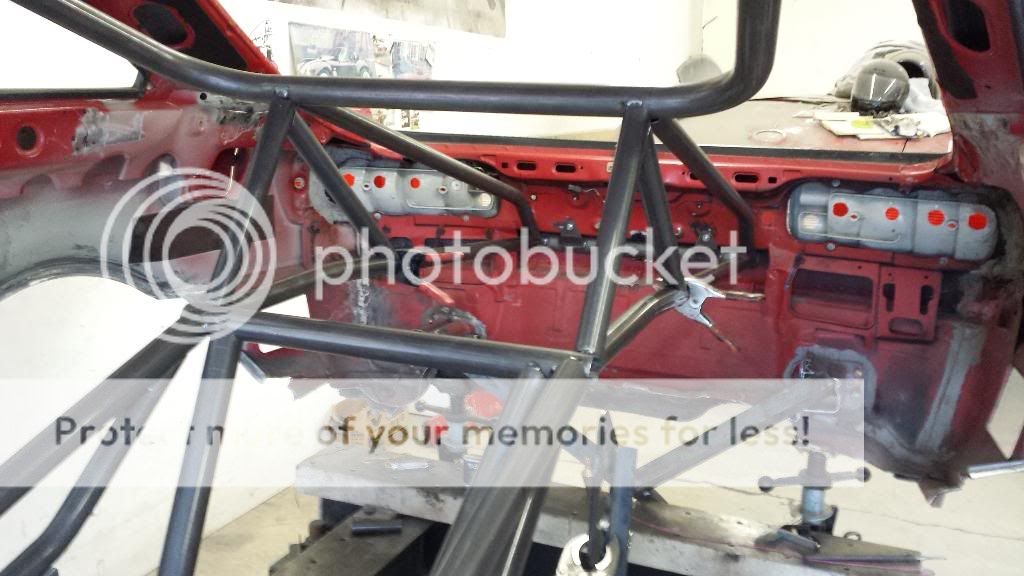
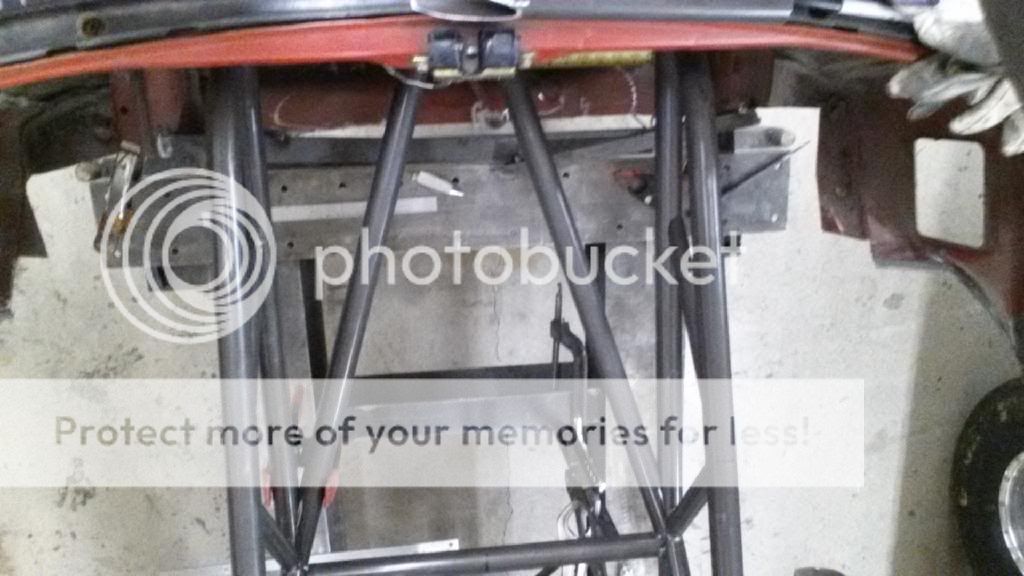
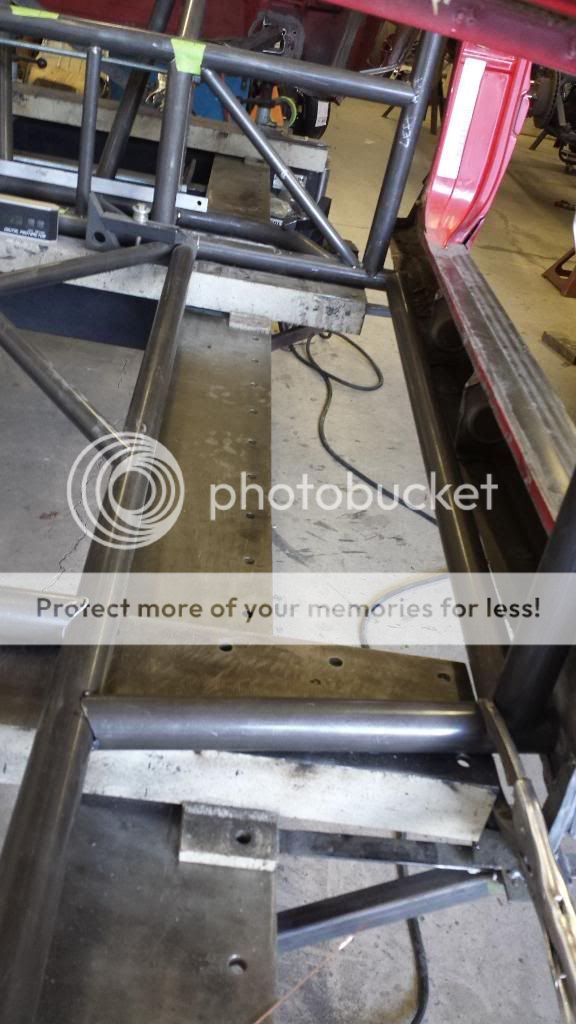
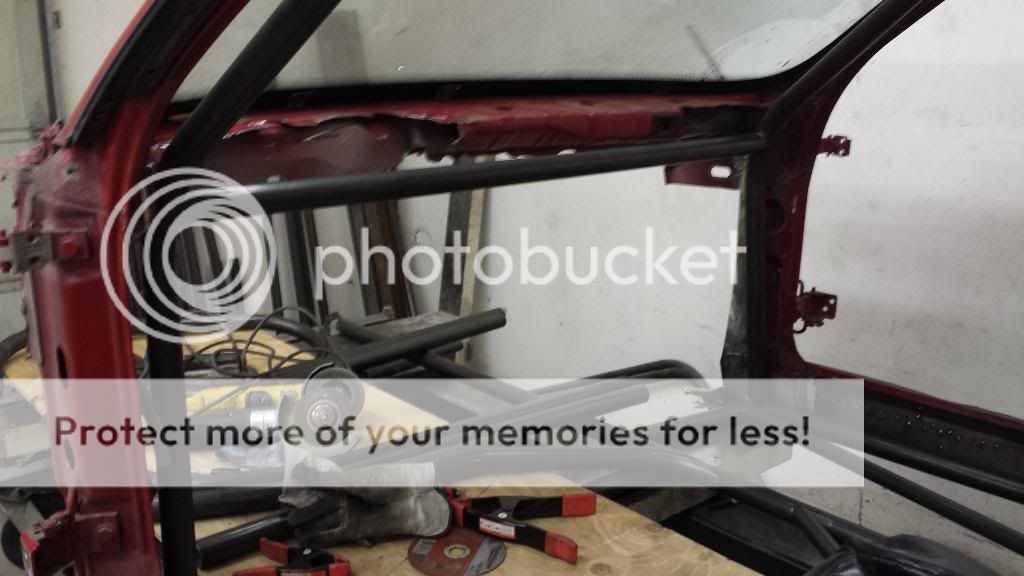
i Spent most of the day at the shop today, working on squaring up the frame rails, coping them to fit crossmember, etc. Drilled and sleeved a hole for the batter cable to run thru the framerail so its protected and hidden. And I am doing all of this work myself so far, and he is welding and directing me as to whats next. So milling parts, coping, lathe work, thats all me so far and I am really happy about that. Learning while saving, how can I go wrong there? hoop crossmember and rails are now tacked in place and will not be changing.
Established what we want to do for wheelbase and rear end placement. Moving the rear forward two inches and widening the opening 5-6". Stretching the front of the car 4", leaving us with 102.5" wheelbase instead of 100".
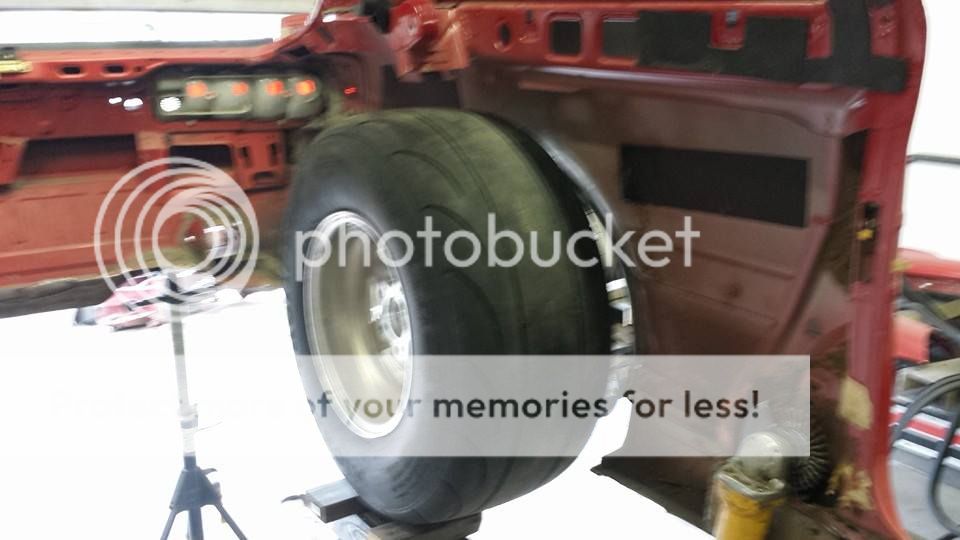
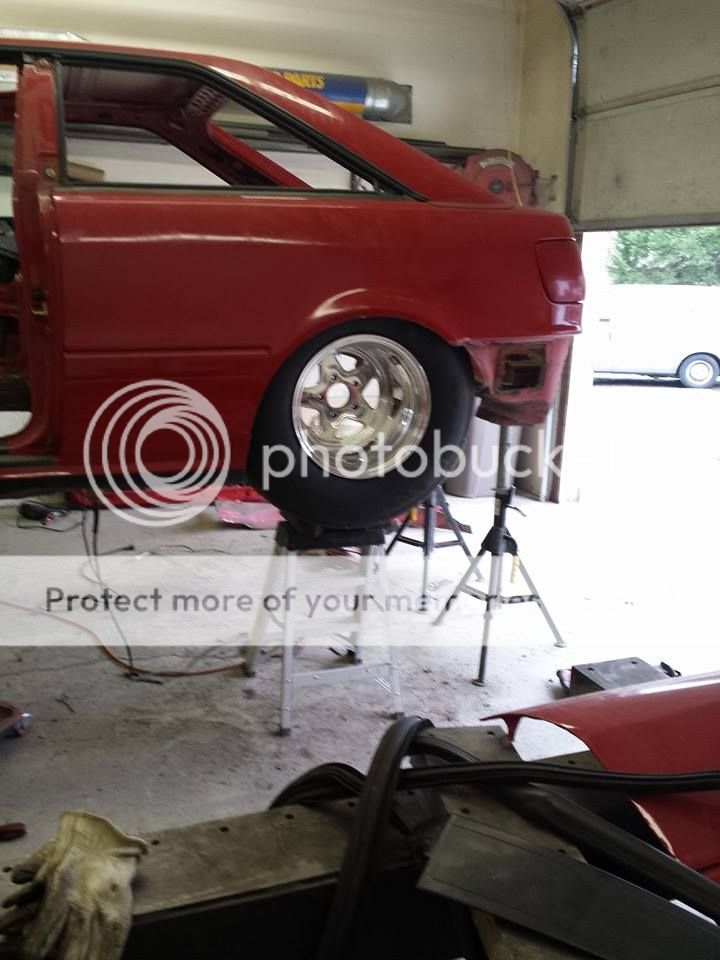
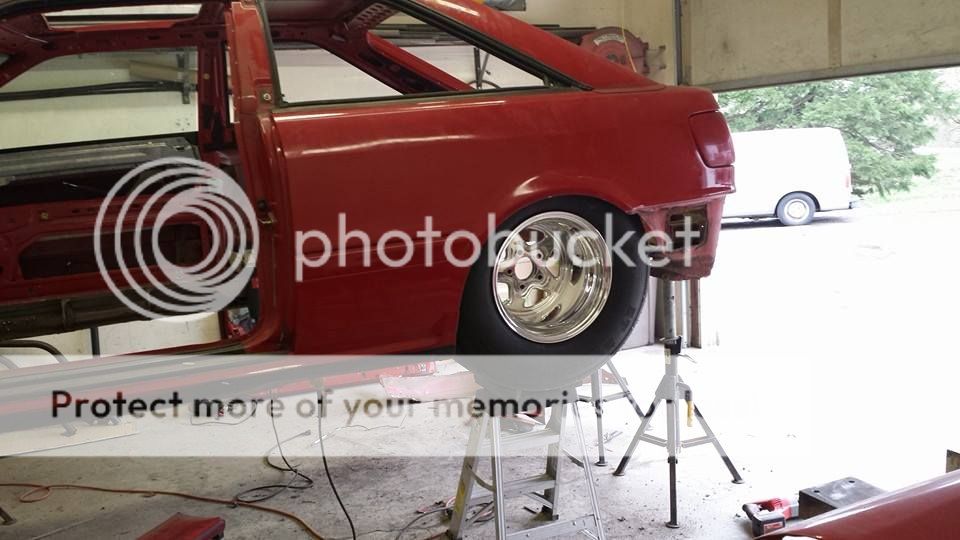
Aaaaaand, looked at the slick size I will eventually use in the future, and MAN THATS A BIG *** TIRE! Something about real life and cardboard template that just doesnt relate. No comparing the two in person, thats for sure. This is also with the front fender 4" forward of its normal spot.
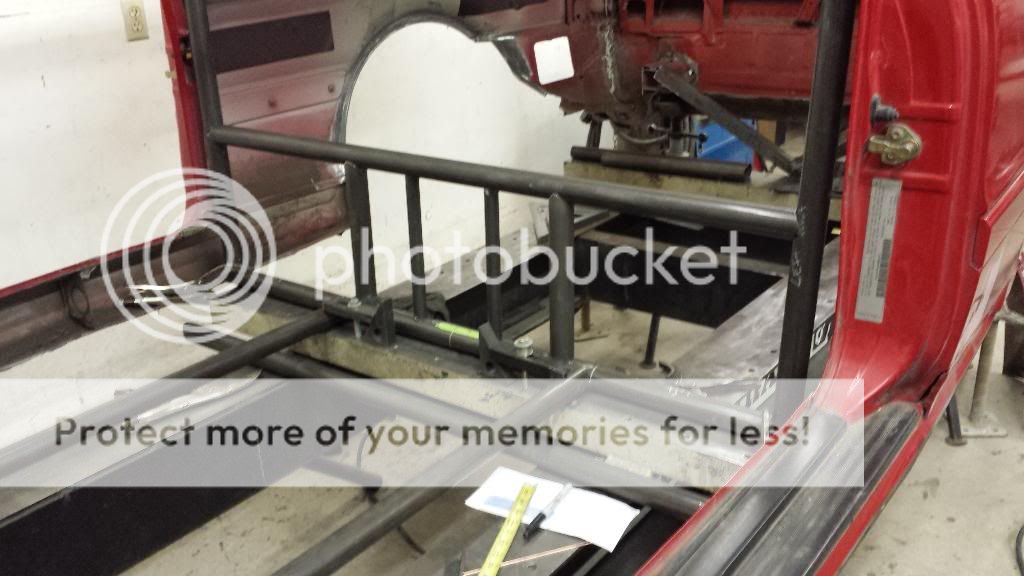
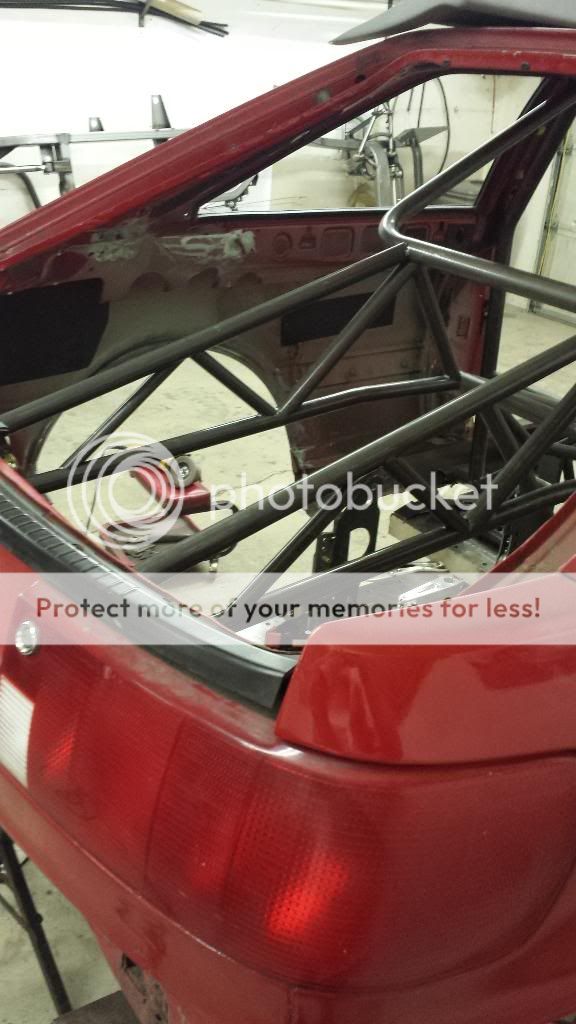
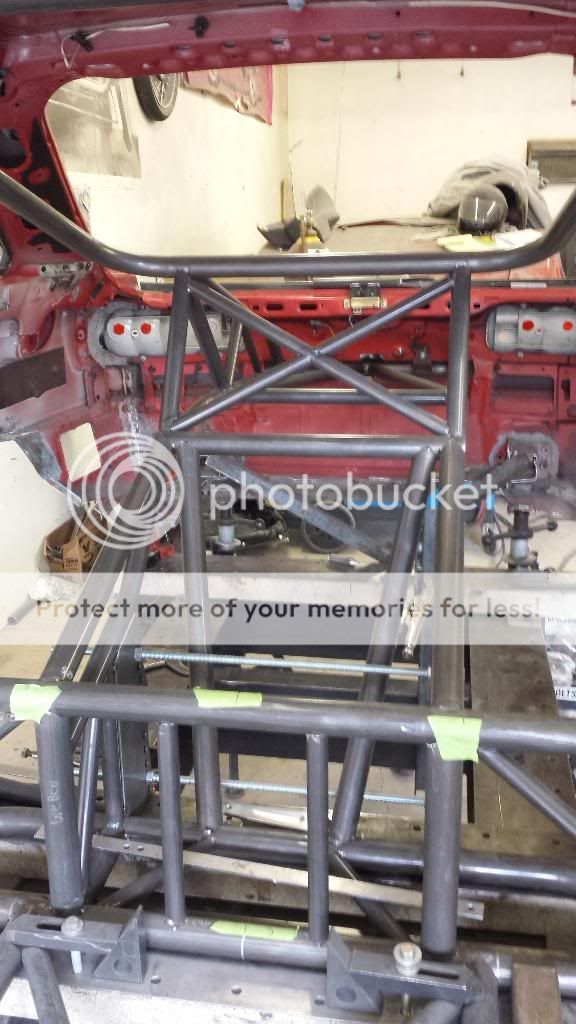
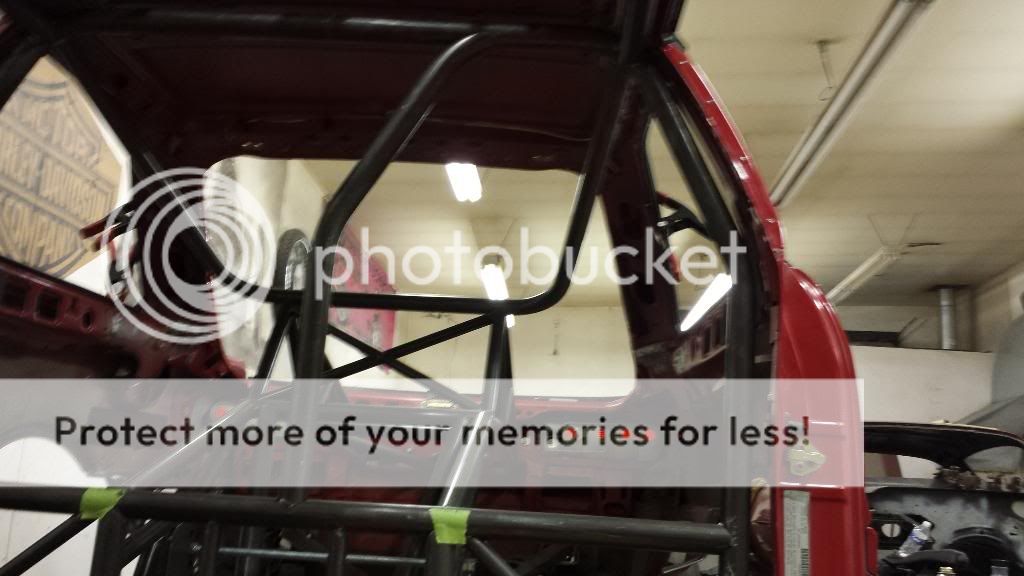
So I have been building the main hoop bulkhead (I dunno what else to call it) and just working away at what I can do myself. Every tube I lay out and measure/cut/notch/fit, it saves me money. So I am doing everything I can, as I OWN my time and its value is how I see it. And if I can save dollars by trading TIME, then I am all for it.
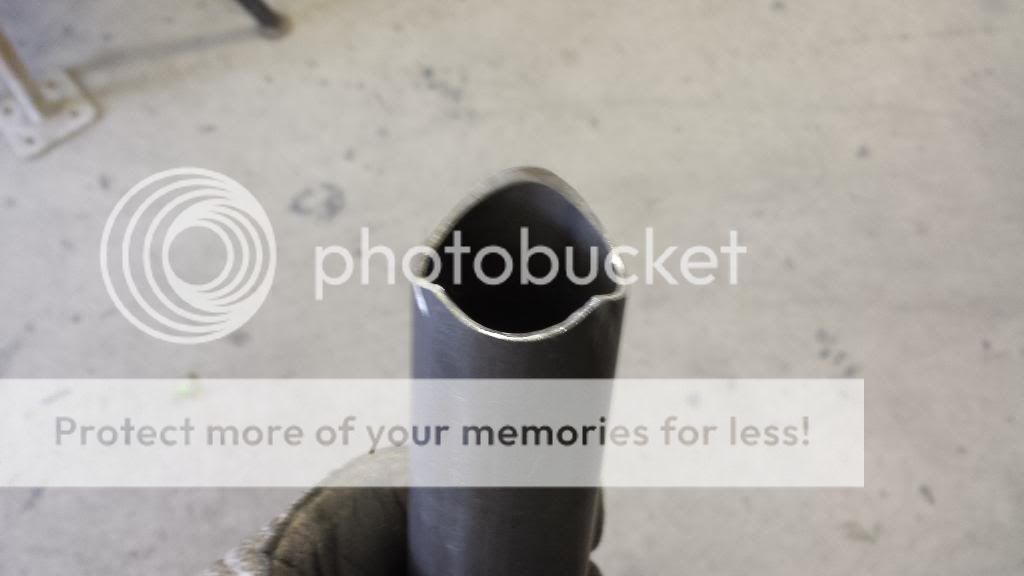
Having the RIGHT tools for the job certainly makes things much easier, such as this “Tubing Notcher” aka end mill. Its a beast for sure, and it just eats and eats.
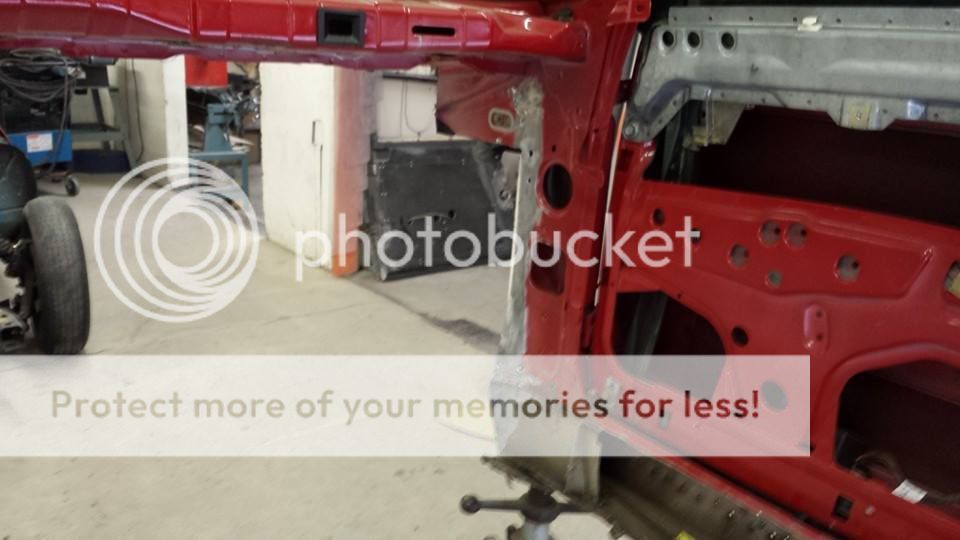
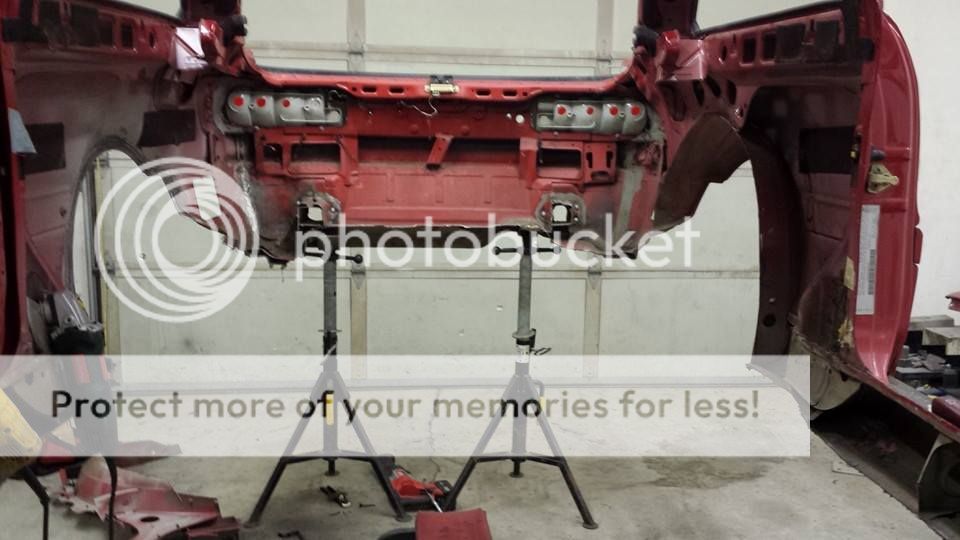
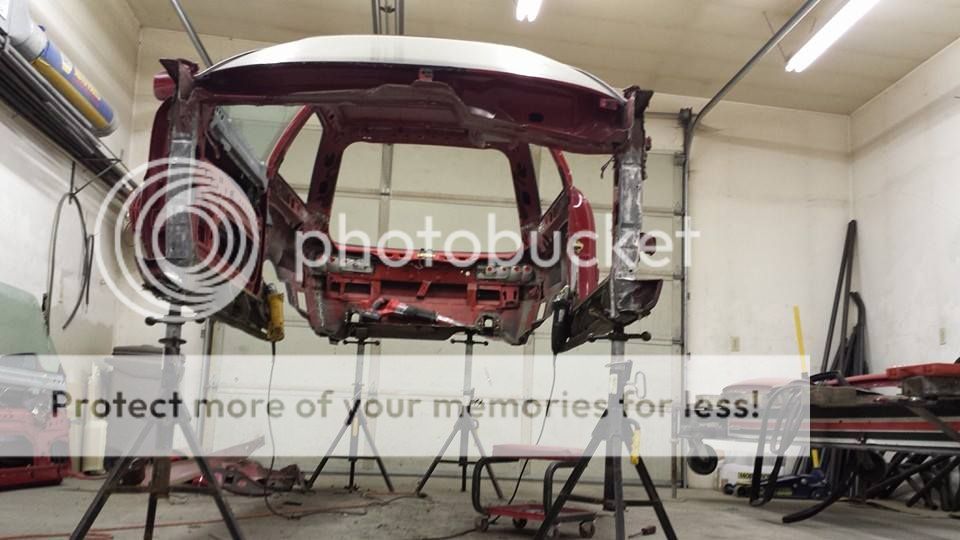
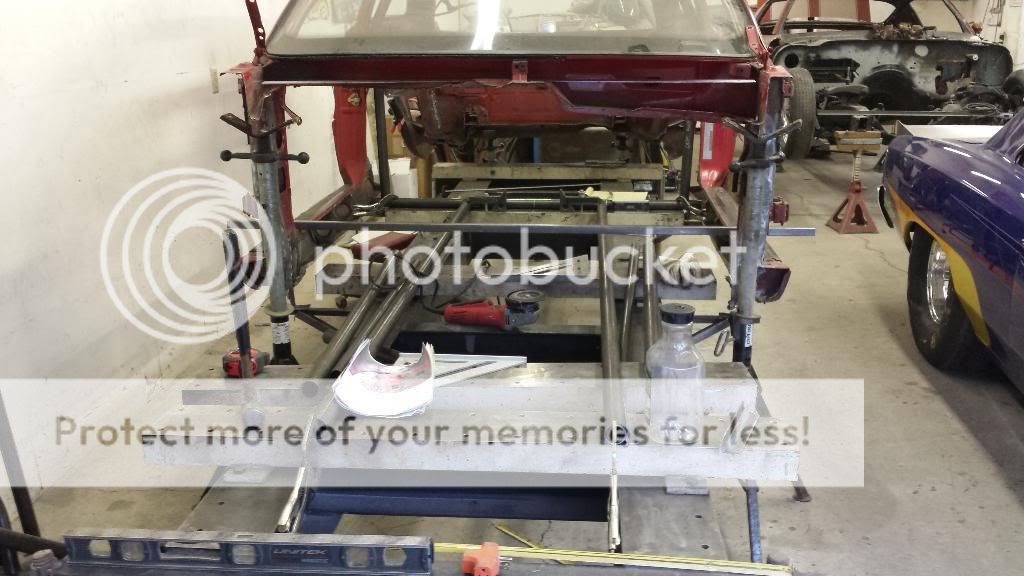
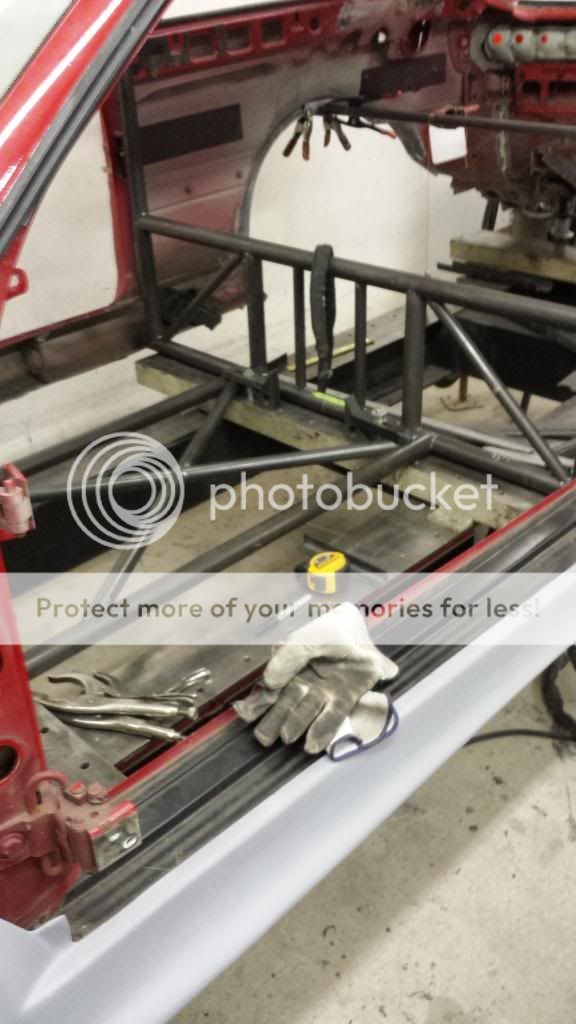
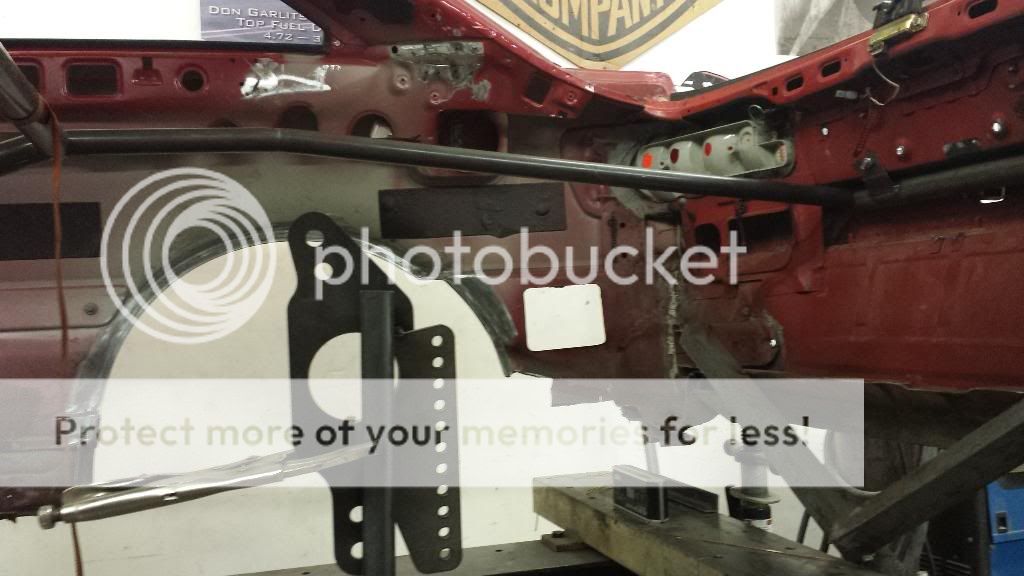
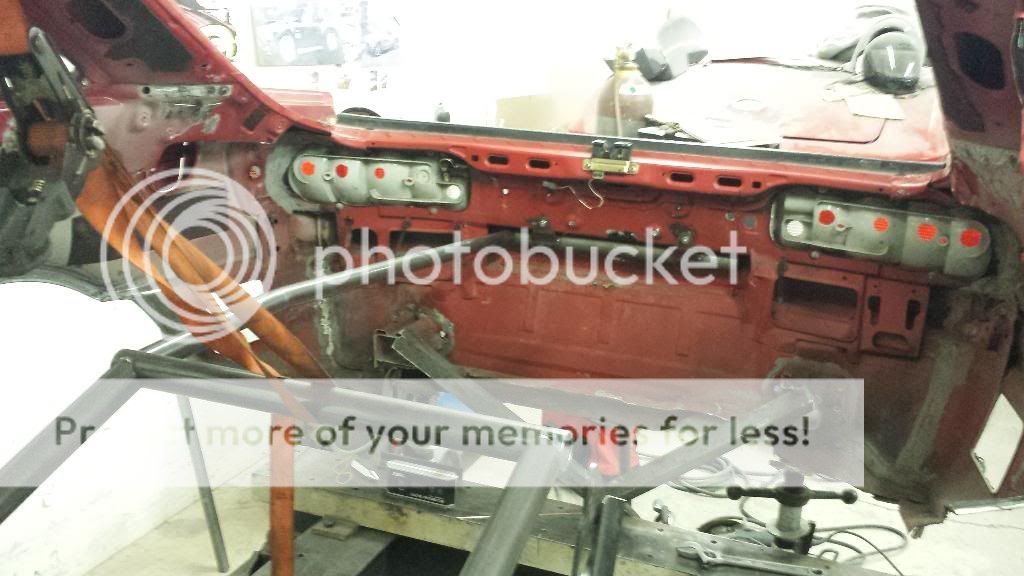
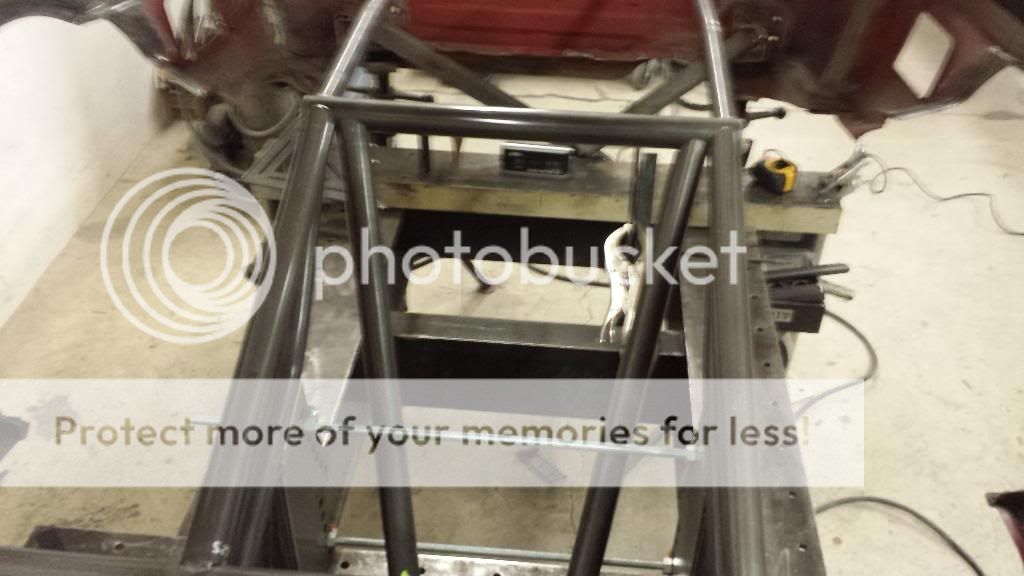
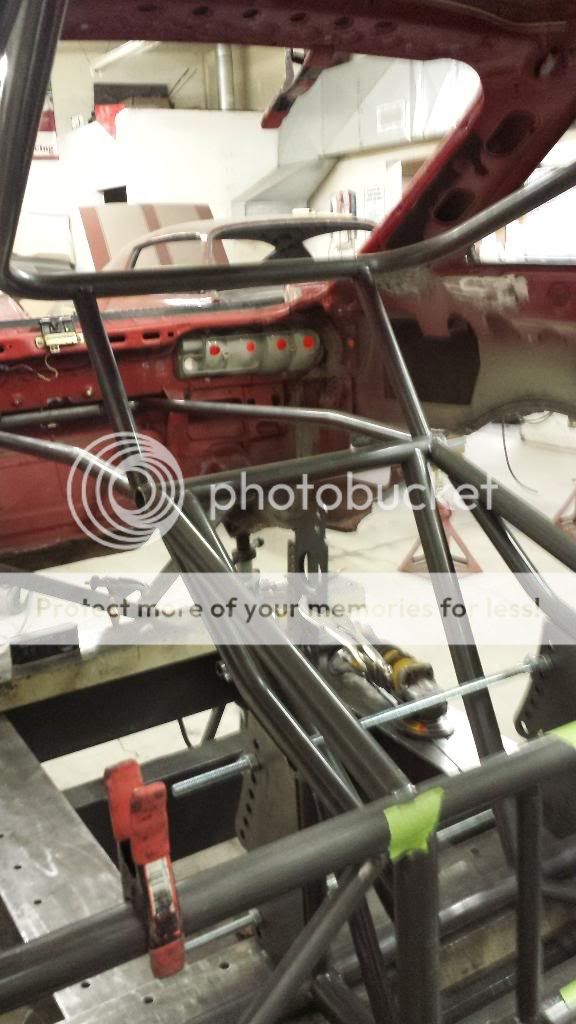
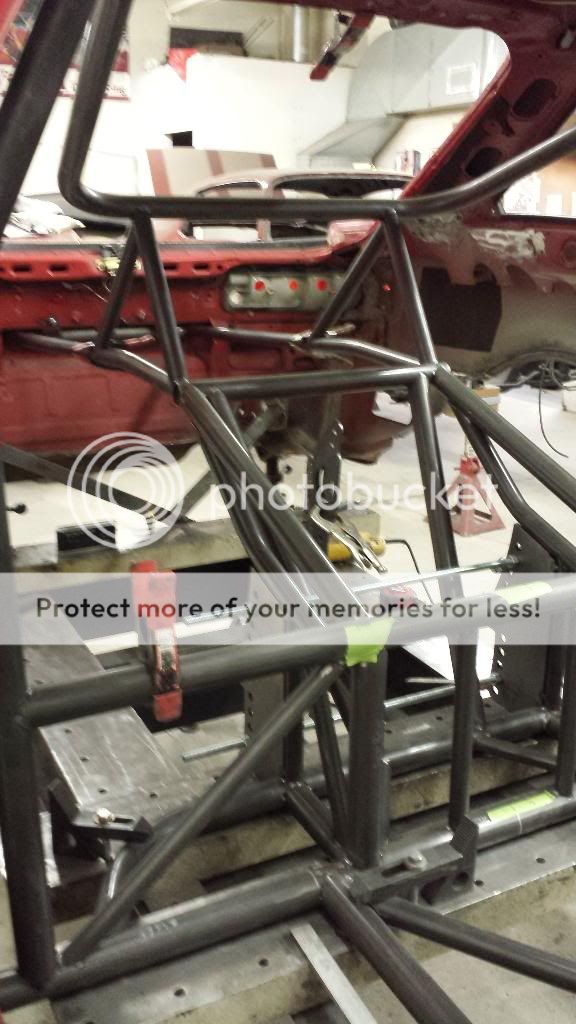
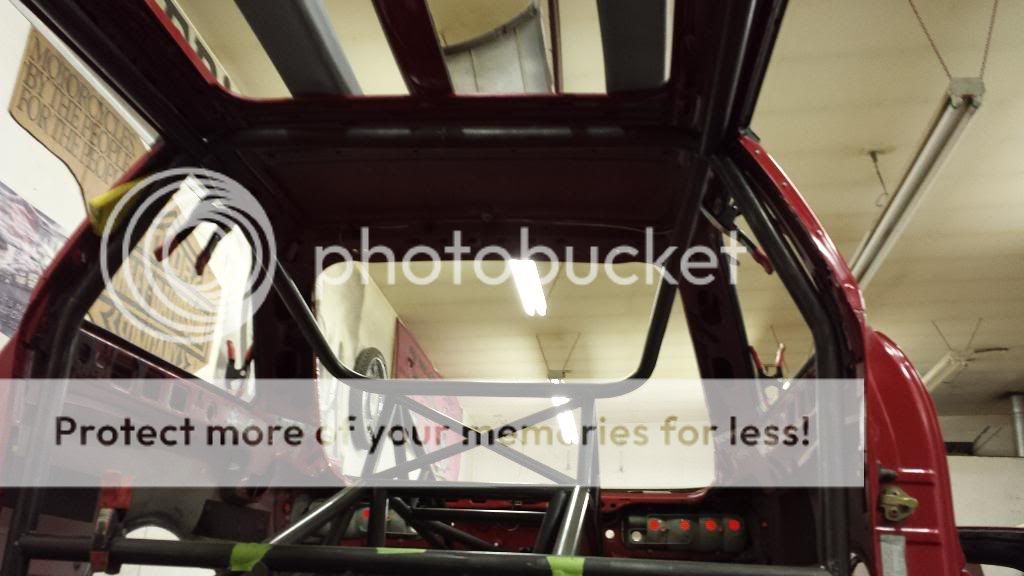
I didnt update yesterday, but I spent the greater portion of the work squaring up and leveling the body, making it square/level/plumb to the chassis rails and hoop, and welding it down so it does not move. Then I proceeded to make the first upper crossmember in the hoop; I made it a tad shy of the length it needed so I quit for the evening and came back today and remade it. Material not wasted, just my time. I will use the piece in some place or other……
and the SUPER NOTCHER!!!! aka Endmill
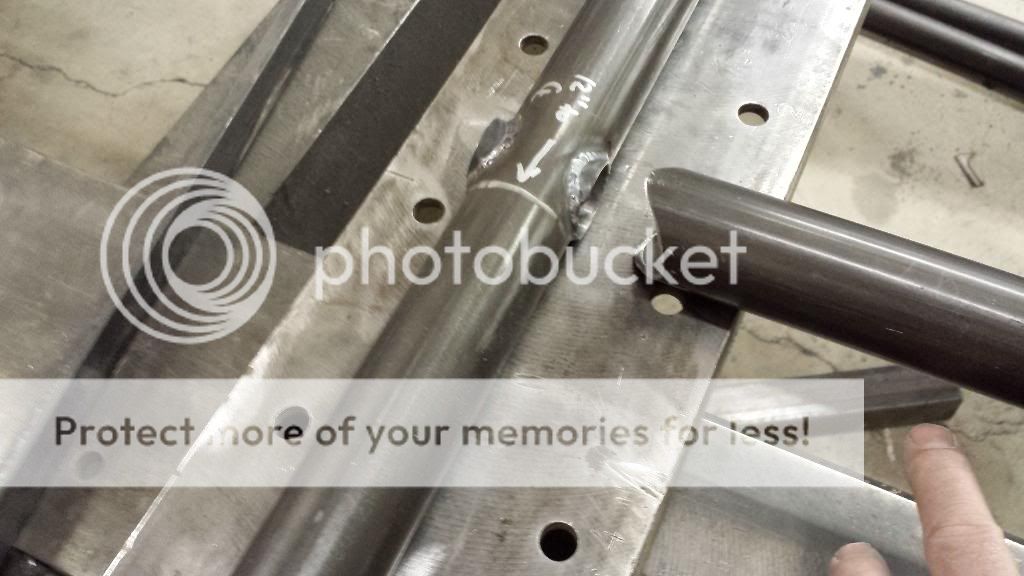
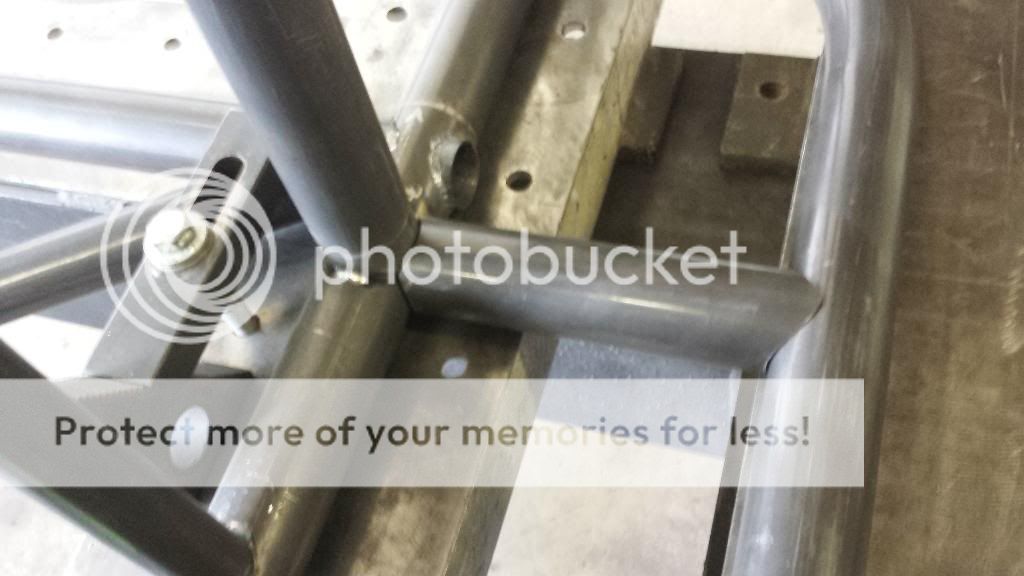
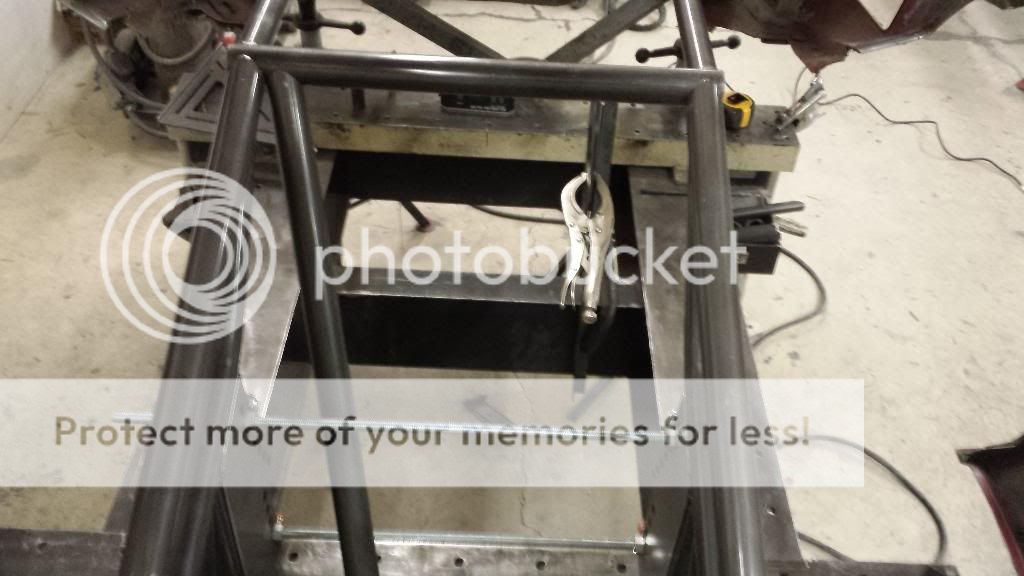
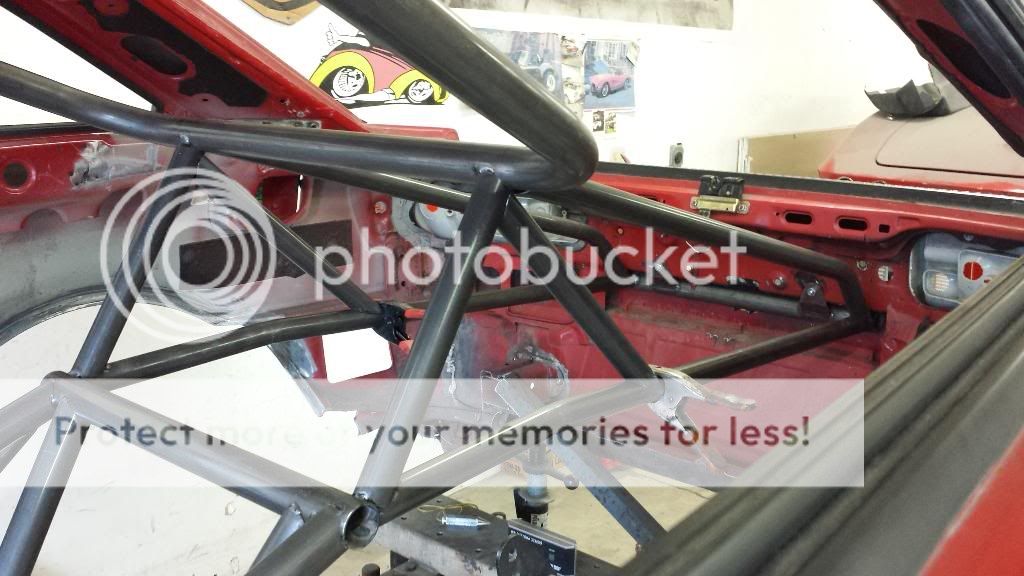
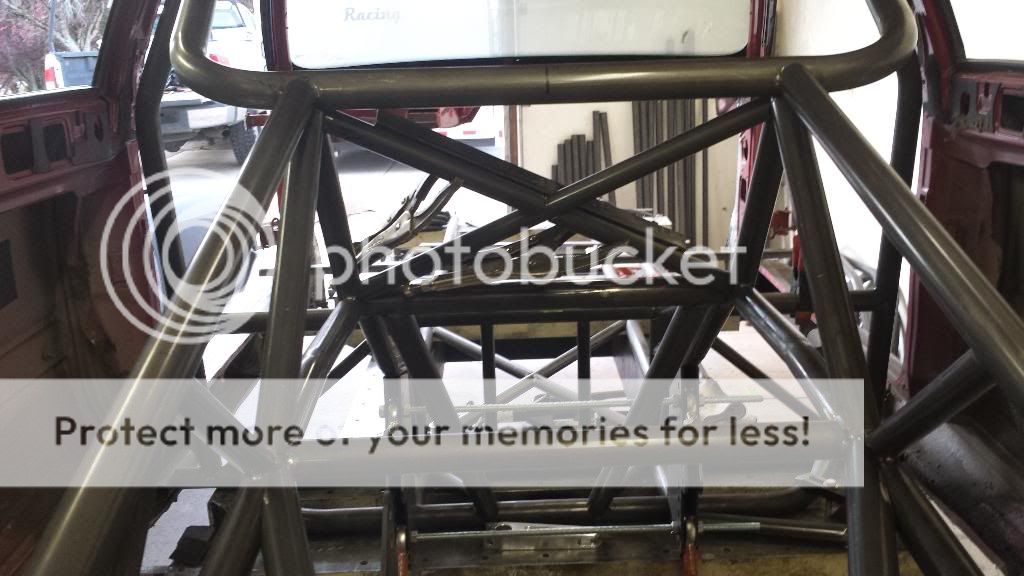
More done today. Made the diagonals for the bulkhead, and then made the main floor X-bracing. That was tricky as I have no experience with this really and this one was coping a 1.25″ bar into a 1.625″ bar offset so the tops were flush on one end and then center intersected on the other. Vanderbeck is showing me how to do the work, and I am learning quickly! ITS FUN I TELL YA!!!!
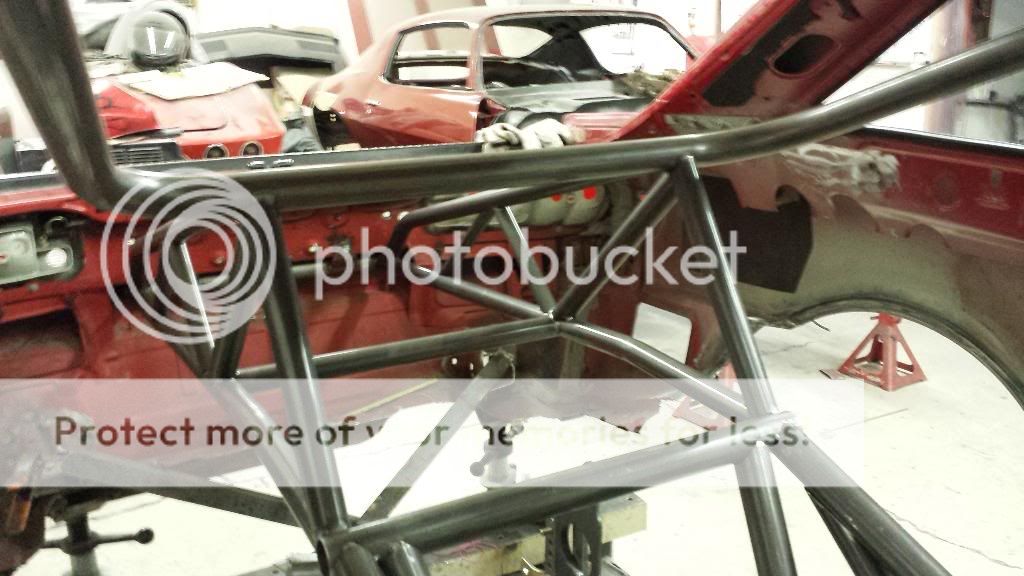
Then we set up the rear end centerline and elevations, and were talking about what to do to box out a frame section for the front plates. I suggested we scavenge the first hoop and use it that way we will not have to add lateral diagonals or internal diagonals, and he likes that idea. So I started to cope that tube after i cut out the end parts I do not need, and have the angles set and just need to make the legs to length now.
but here is updates. i was just gonna post on Sundays but here is some work done. keep in mind i do this AFTER my regular job. i can put in a couple hours a day its all good with me.
3-24:
I did some more tube work after my real j0b today; I stop by the shop each and every day I am able to, and do something. So today I made a few more tube notches and copes, getting the bulkhead stuff expanded for the extended wheelbase stuff. Not a lot of work done, but some is better than none. And yes, this is reclaiming the original hoop. He is worried about how it will look, and does not want it to look cobbled together no matter how structurally sound and effective it is. And the only way it would ever be seen is if I were upside down, which I do NOT want to be!
I really like being able to be involved hands-on in this build, it really is pretty cool. Two copes and a notch, coming up!
3-25:
So I go to the shop every day after work, that I am able to. Every hour I spend there coping tubes or laying out or whatever is ~40-45 minutes less of his time I have to pay for. I say only around 75% because obviously he is much faster than I am at building chassis, coping tubes, etc. He has much more experience than I do. BUT, every hour saved on his part ($75/hr I think) is savings on my part. I guesstimate to date I have saved over $2k on this work alone due to the work I have been doing. PLUS, I get to say I built it, or at least did a lot of work myself. And that speaks volumes for a guy like me.
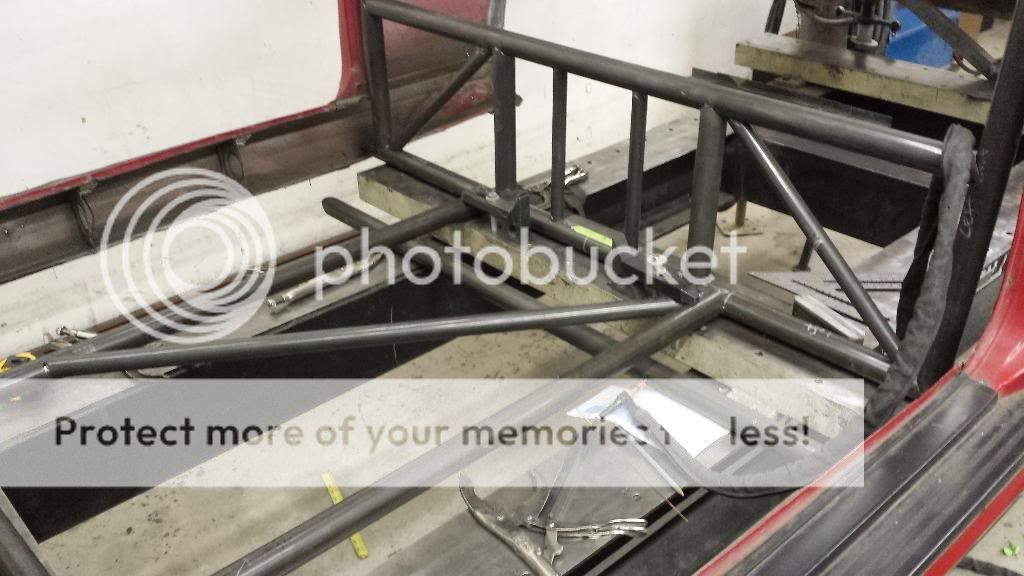
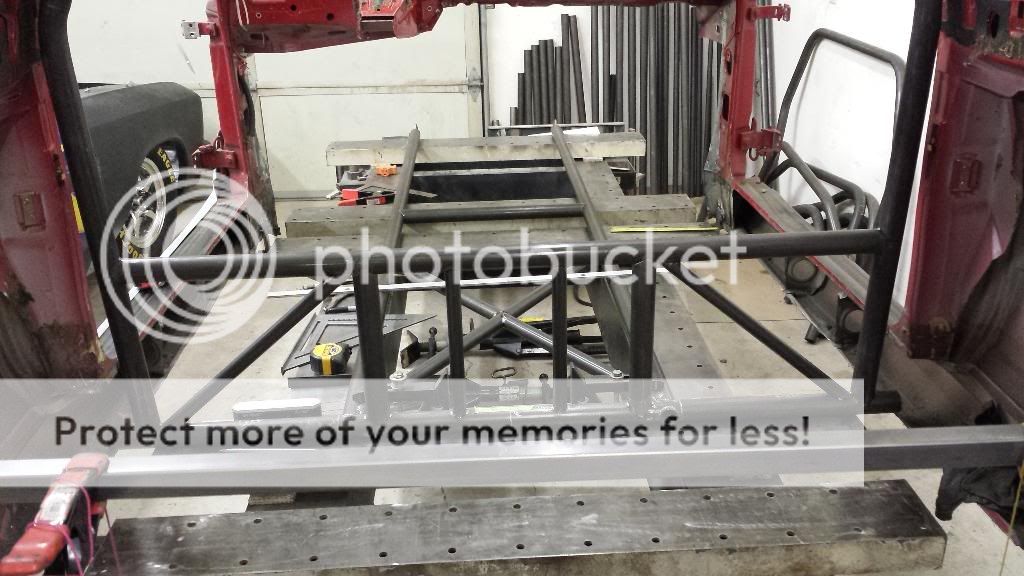
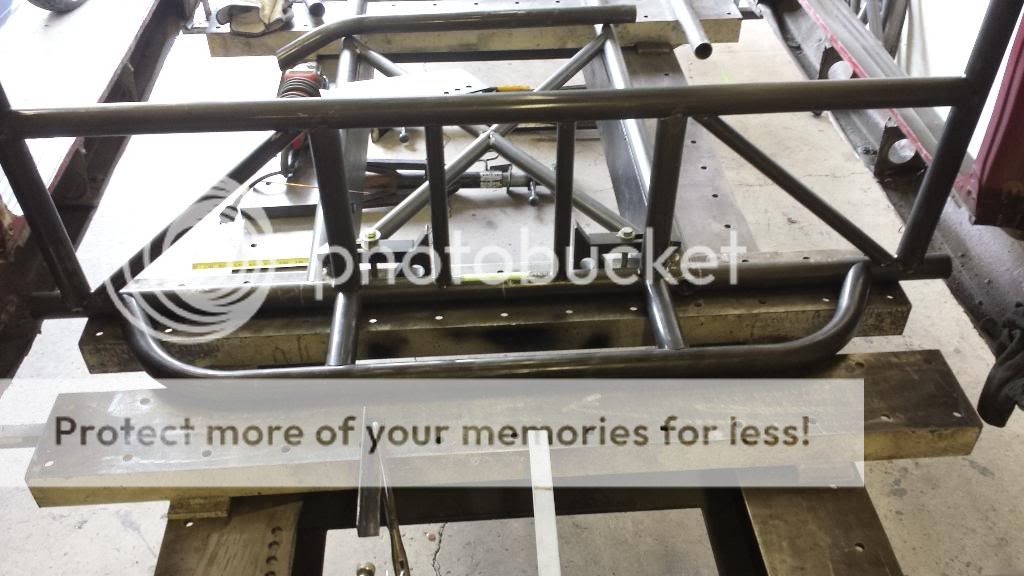
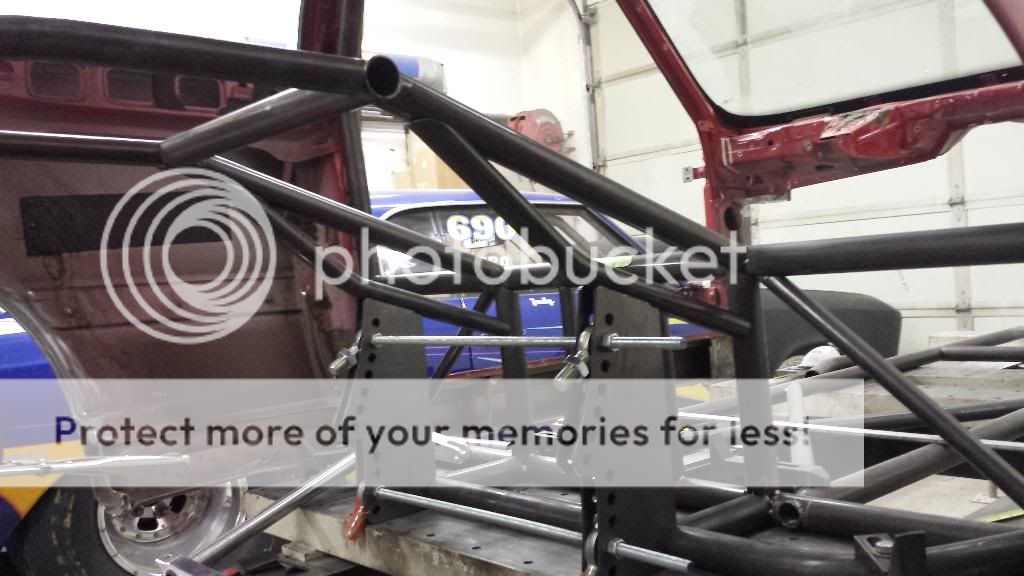
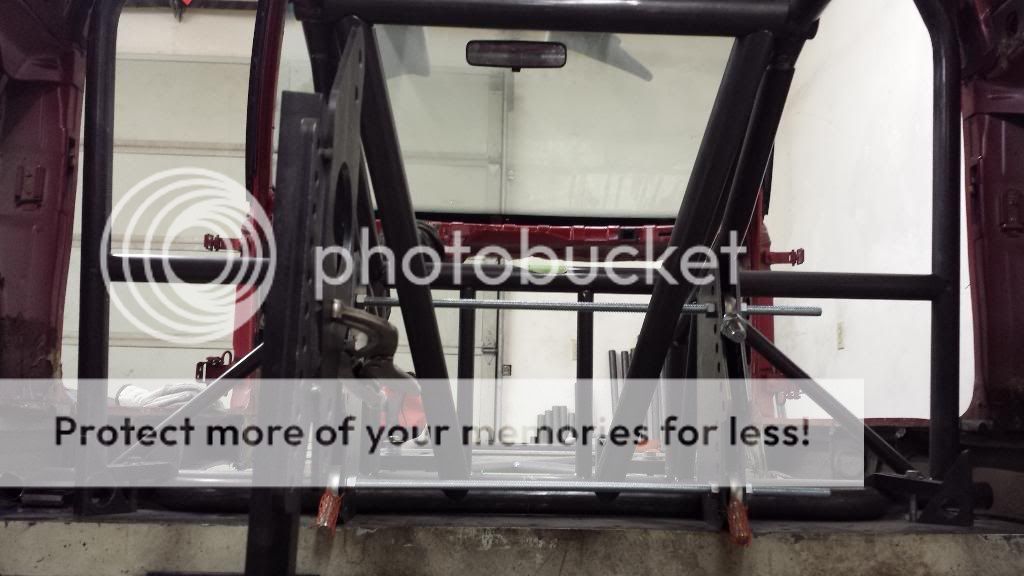
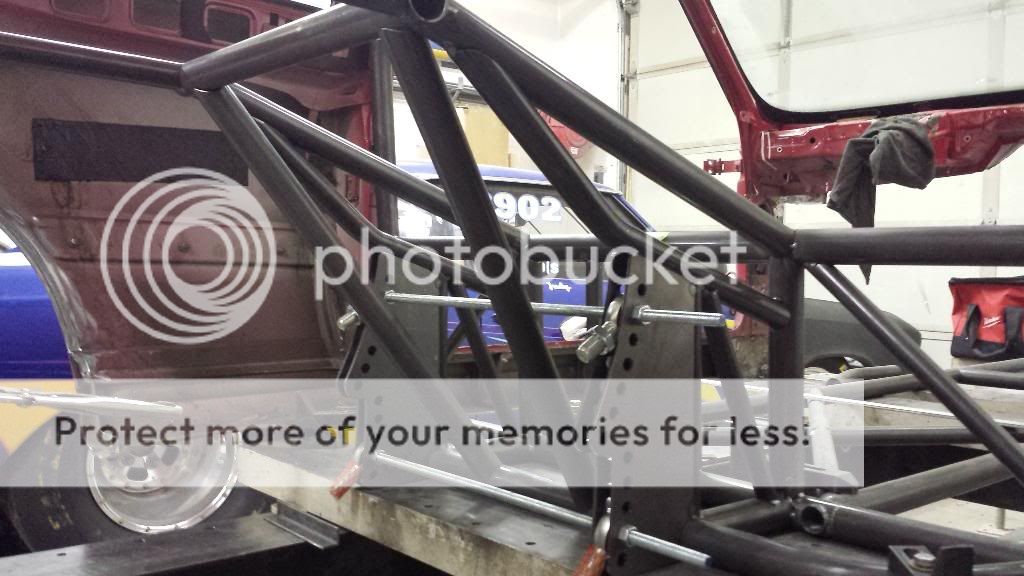
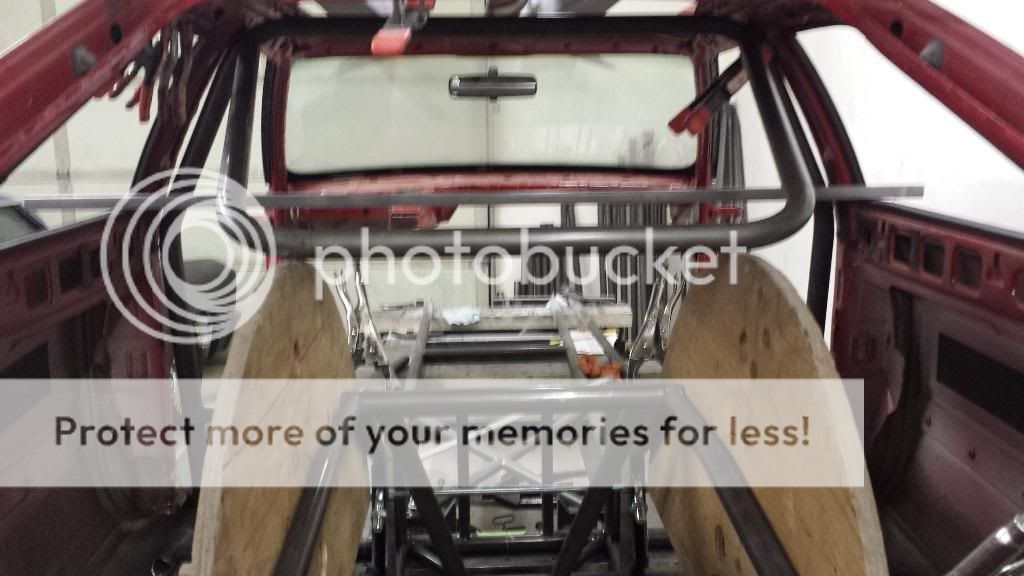
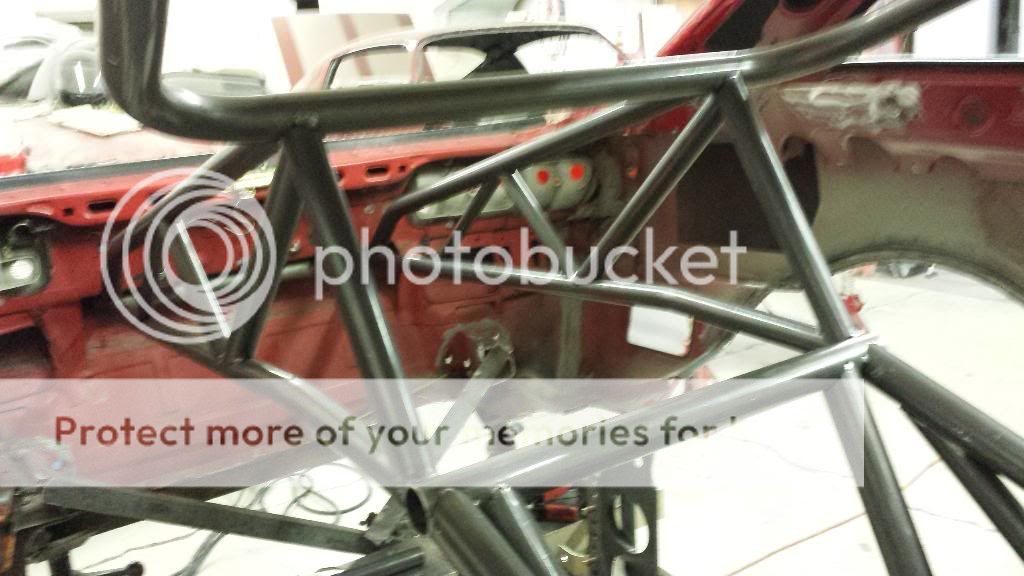
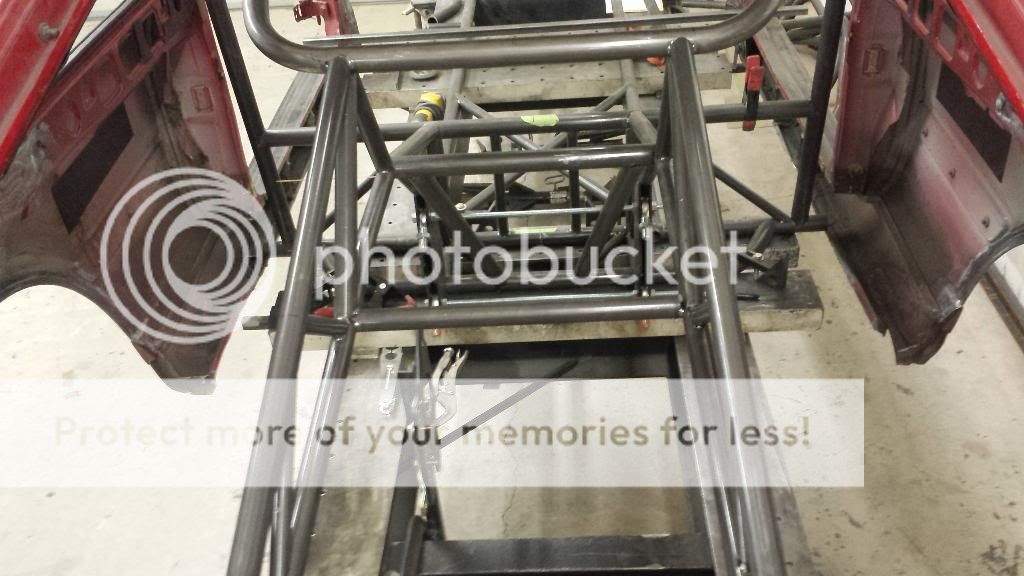
So today, for the couple ~3+ hours I was there, I worked on squaring up the tubing floor package behind the main bulkhead and setting up the front four link plates. I also built the first set of rear end locator farming parts. It is getting a lot of influence from Pro-Mod cars, this rear end chassis work. It will have an upper rear halo, and a mid set, and lower set. It will also have two sets of bars for the tunnel. It is actually pretty complicated, as we see when things progress.
Tomorrows plan is to make the rear framerail final upper piece, mount the rear body to it, and the parachute tabs, etc. Man, I really dig all of this fabrication work. I personally feel that I am getting the hang of coping tubes and notching and stuff; I had to field-fit the notches for this piece I made today after we established an angle and elevation for it.
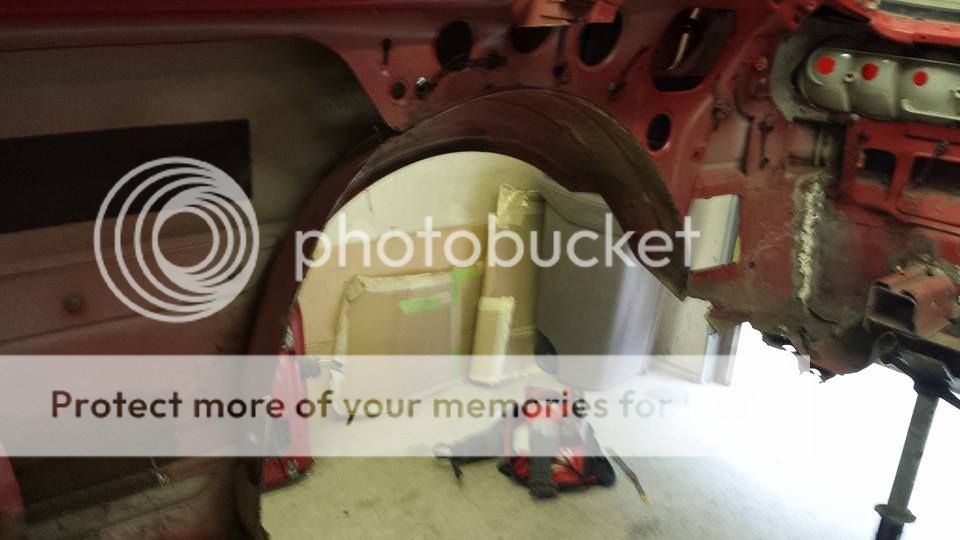
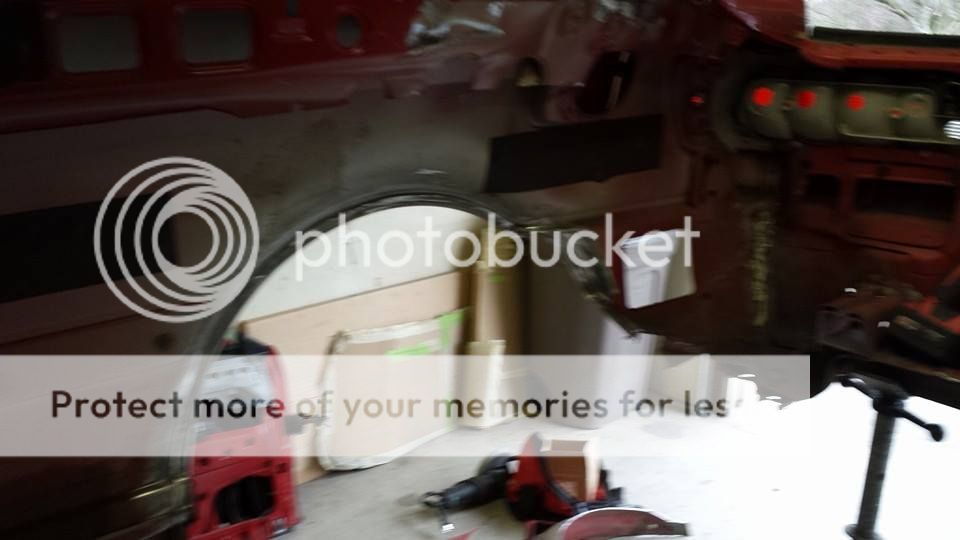
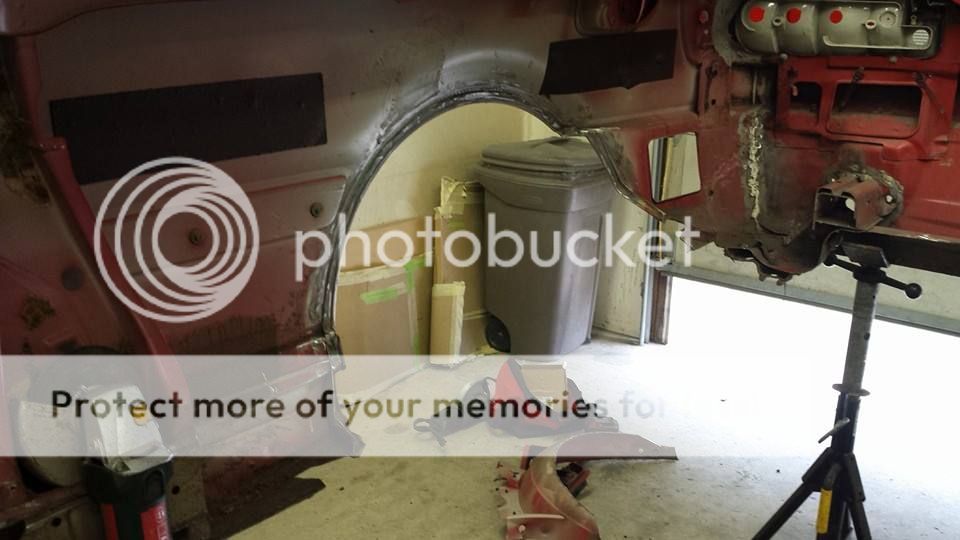
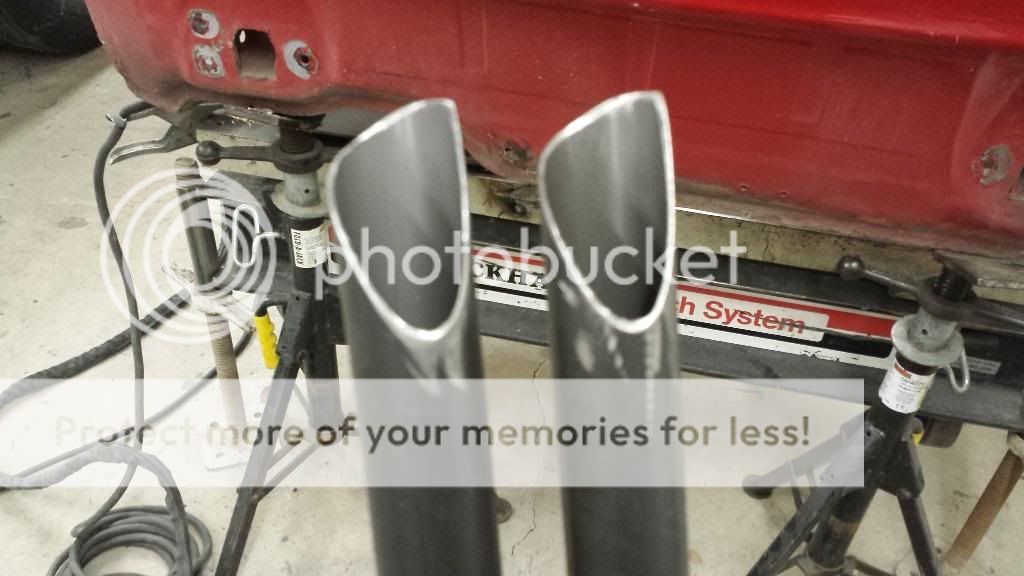
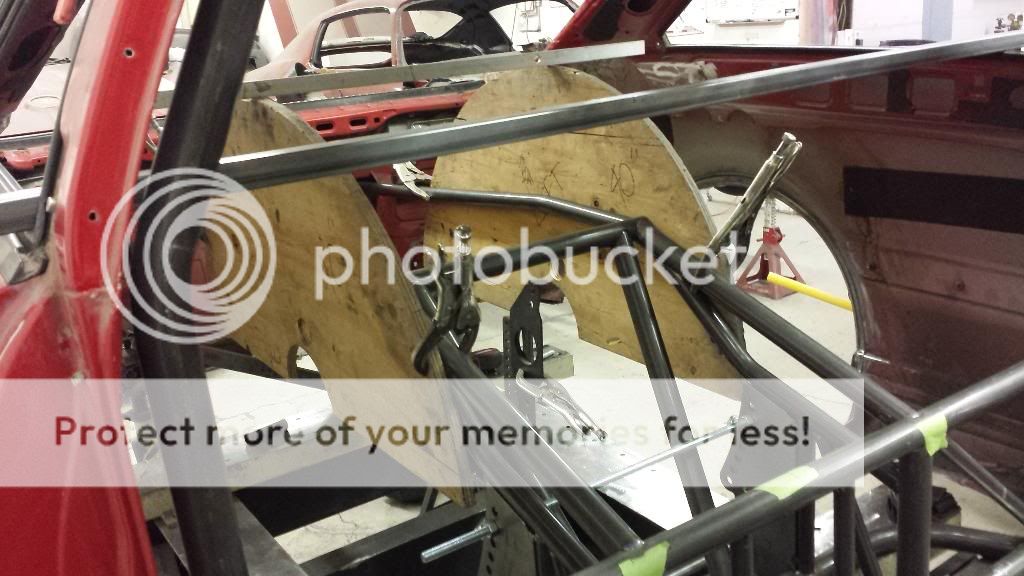
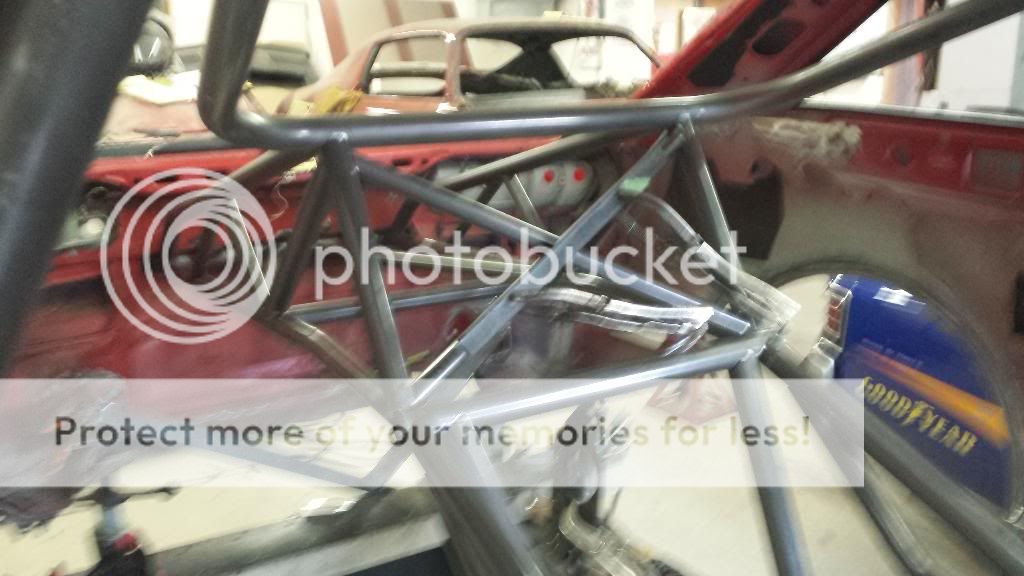
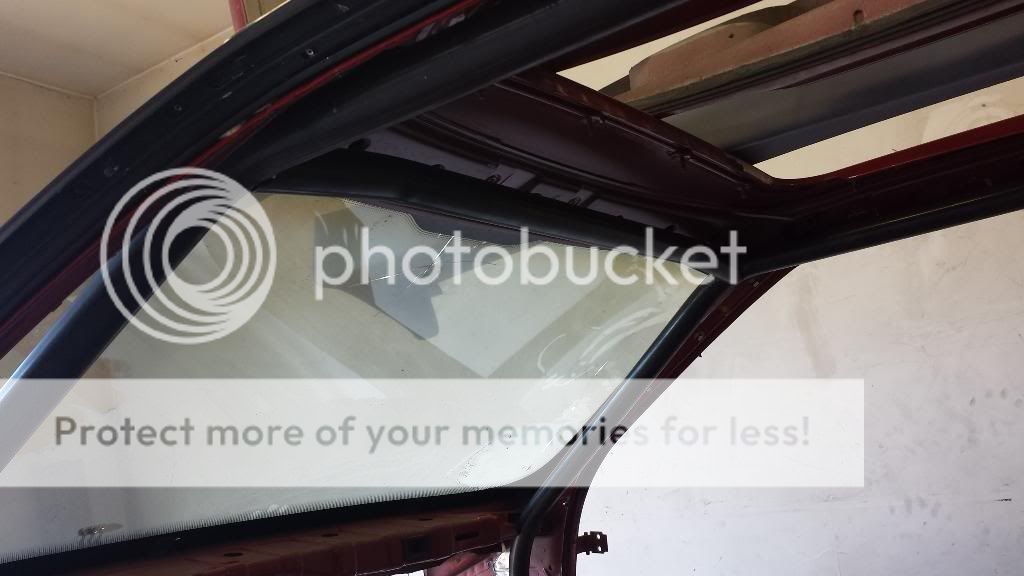
so that last horizontal crossmember. that is the inside edge of the wheel tubs when they are completed. yeah they are gonna be that big. basically from the cage hoop back is going to be all sheetmetal work. sorta like this. mine is basically being patterned after the Monza..... with changes due to body structure, etc.
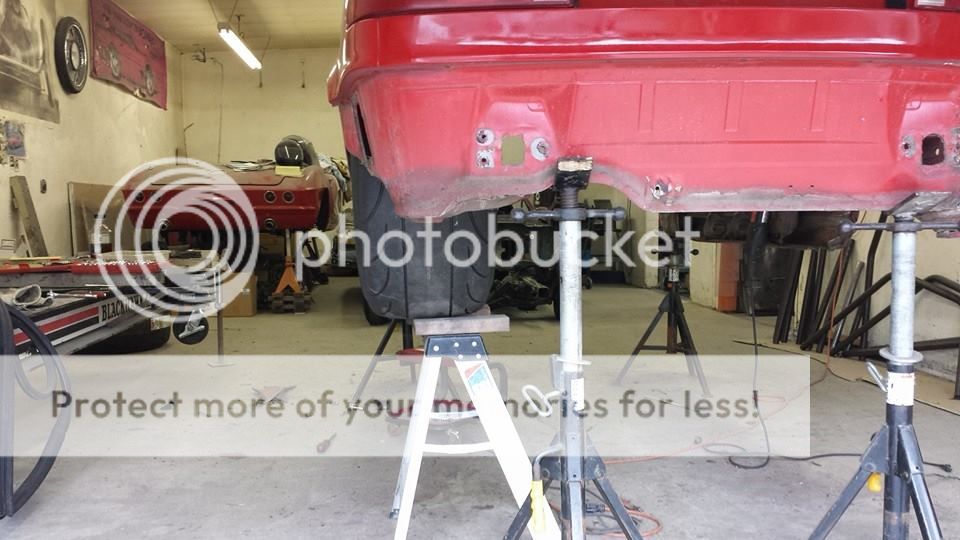
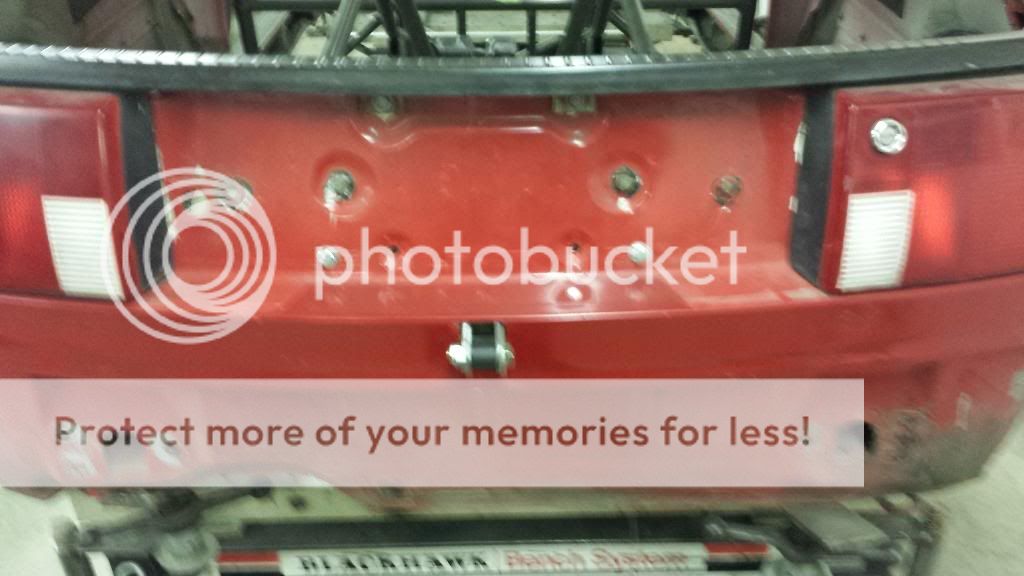
I did a little work yesterday, but more work today. I got the rear end of the body tied in to the cage now, tabbed up and mounted. And the parachute mount tabs as well. Made a little inconspicuous hole in the rear panel, between the license plate tub and the bumper area.
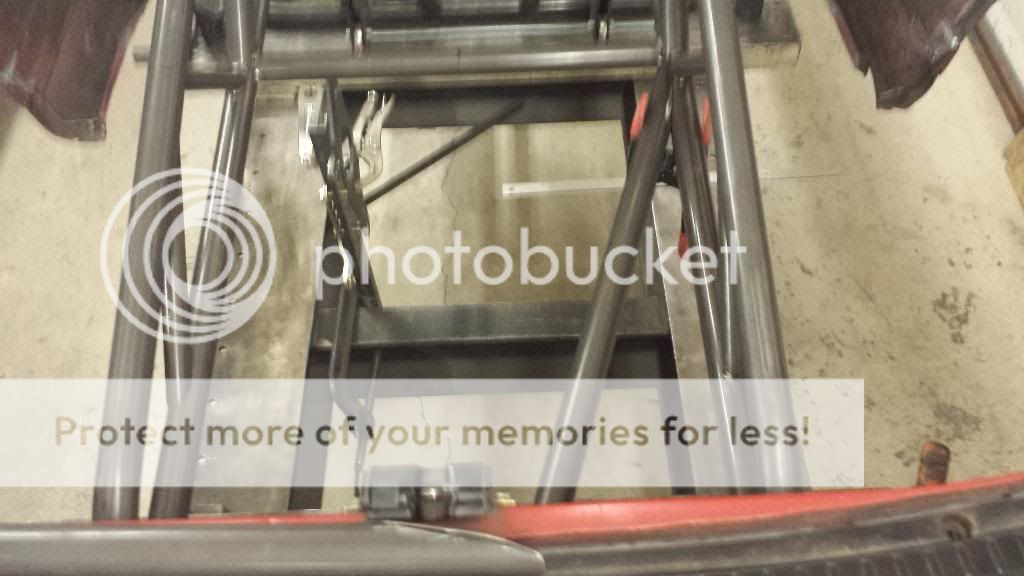
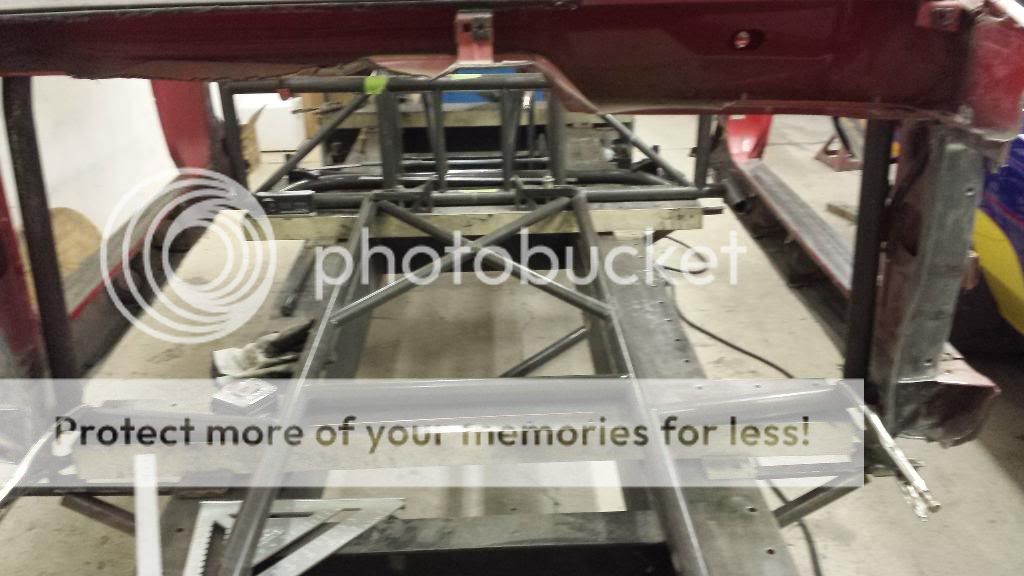
Then I made the lower frame rails and tied them in to the lower crossmember and the chute mount.
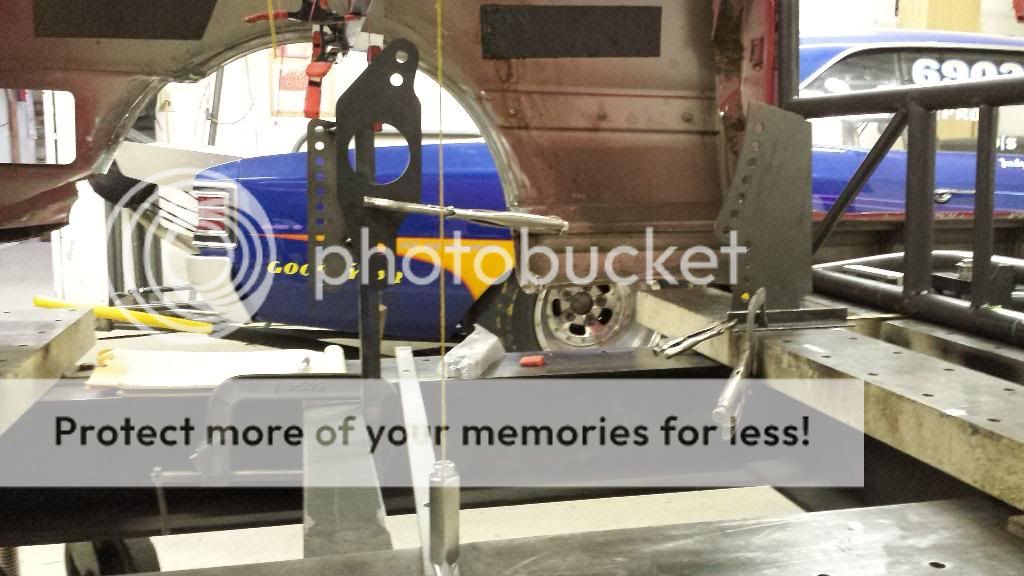
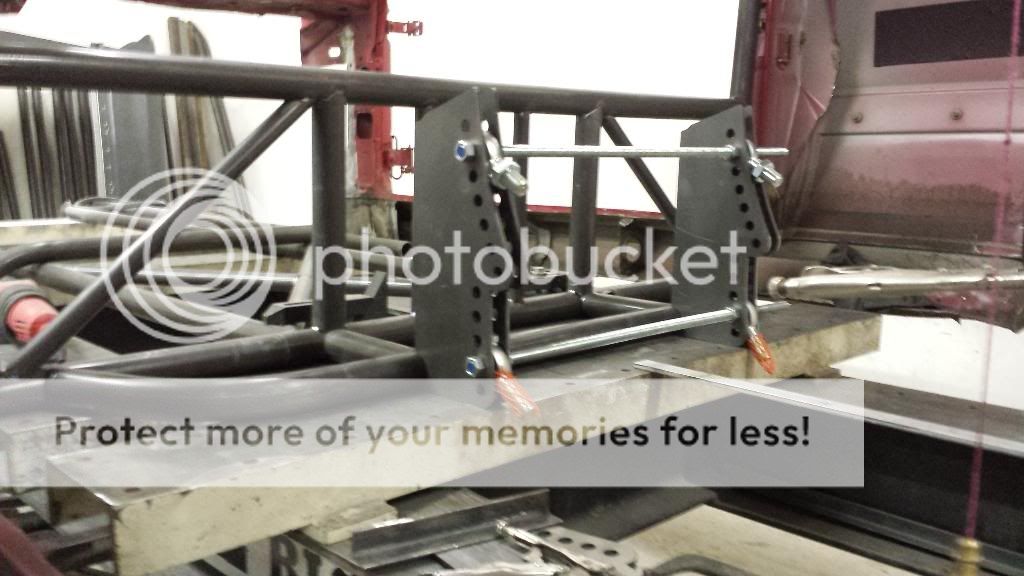
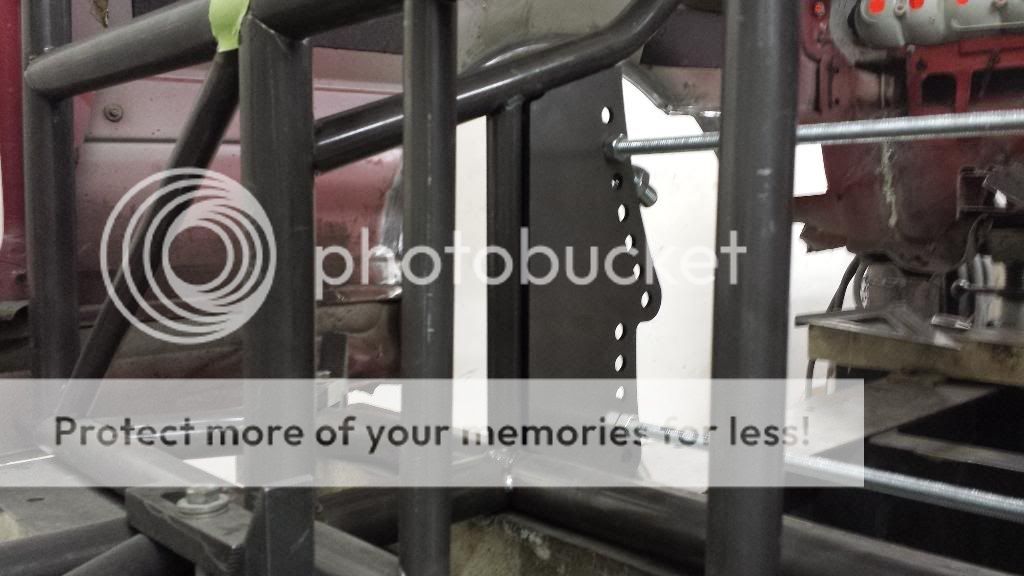
Built some more bars to mount the front four-link plates, and am making some triangulating braces next.
Also built the strong-backs for the four-link plates and welded those in fully, so the area between the plates is welded.
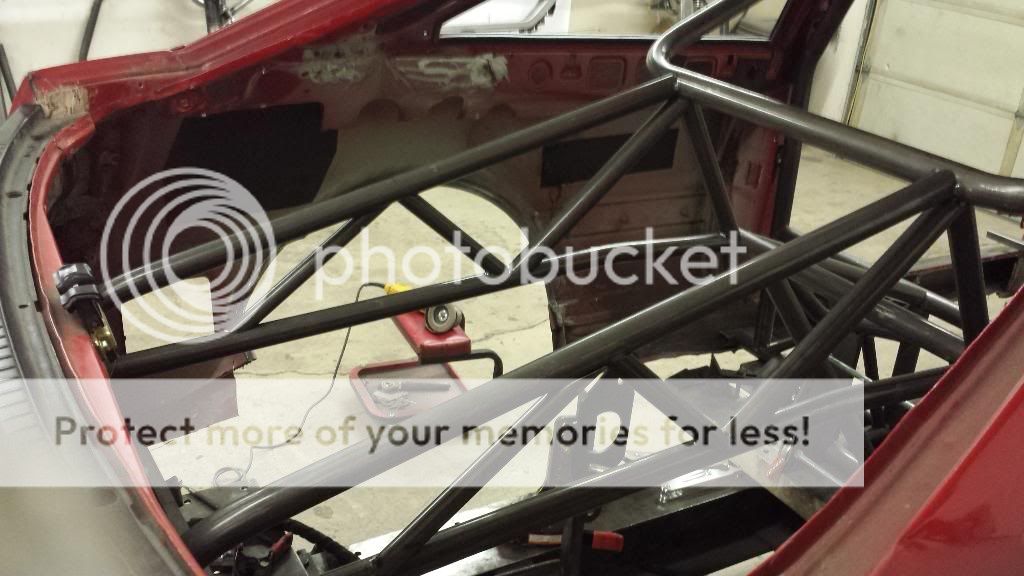
then i started the support work for the rear halo.
after that stuff, i did the rear upper rails. thats where i left it for a couple days off as he had to go to the hot-rod swap meet. back at it all day tomorrow. i do this after work from my day job. next is more bracing in these long bars, and x-bars and v bars and such to mount the tubs to and strengthen everything
wow i have not seen any action here so i have not made any reply. but i do work like always lets catch you folks up to todays progress shall we?
Did some little bit of work on the rear framerail supporting. Made the rear diagonals to help stabilize the chute bar, and then started on the x-brace in the lower rail to pro-mod halo. still gotta redo the lower short x piece. it is too short.
So, I re-did the lower leg of the X-brace, and then moved on to the front portion of the cage.
The cage was built/designed from a Monza, but there are differences. So we had to un-bend the front bars ~5″ to fit our plan. No problemo.
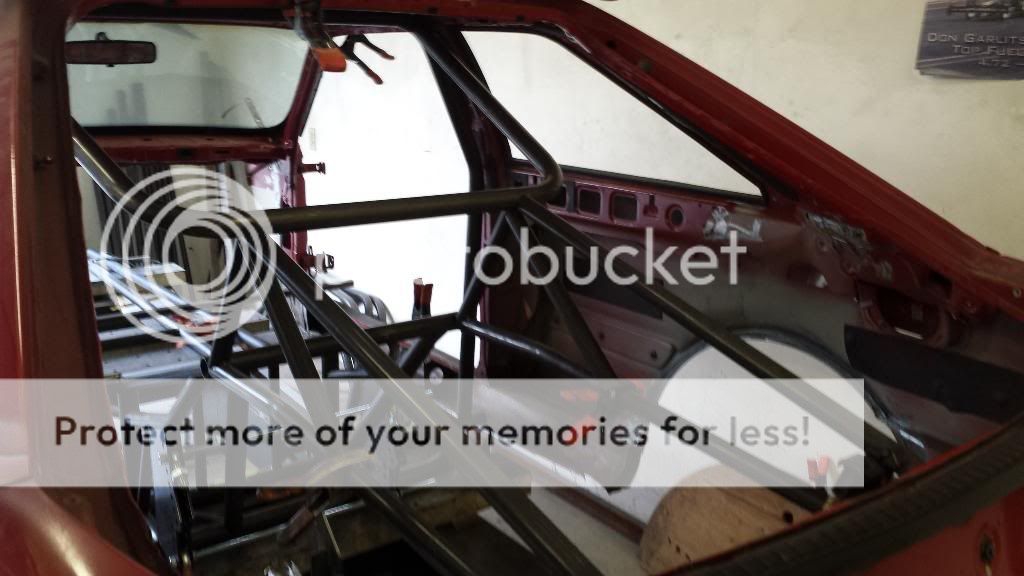
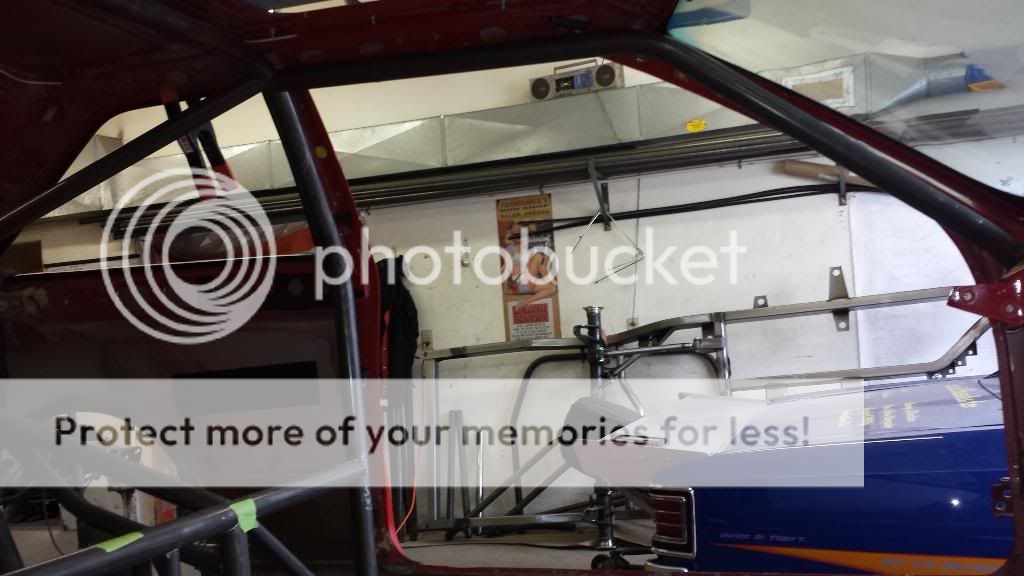
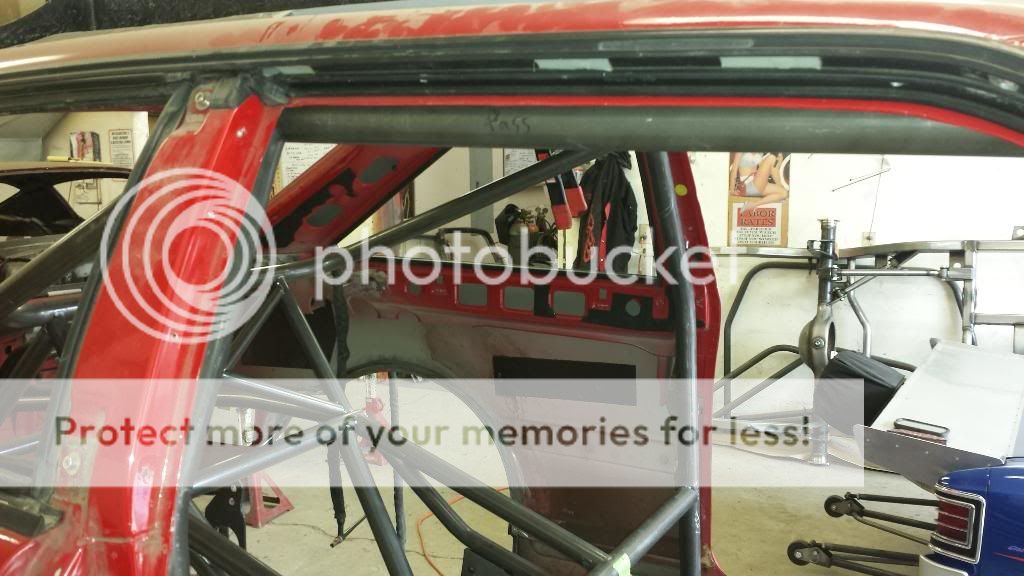
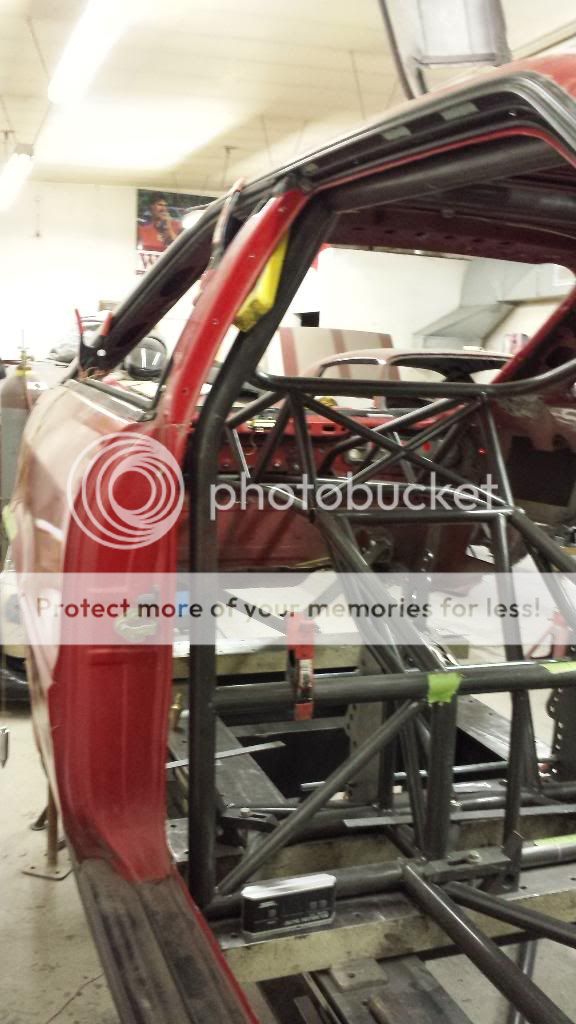
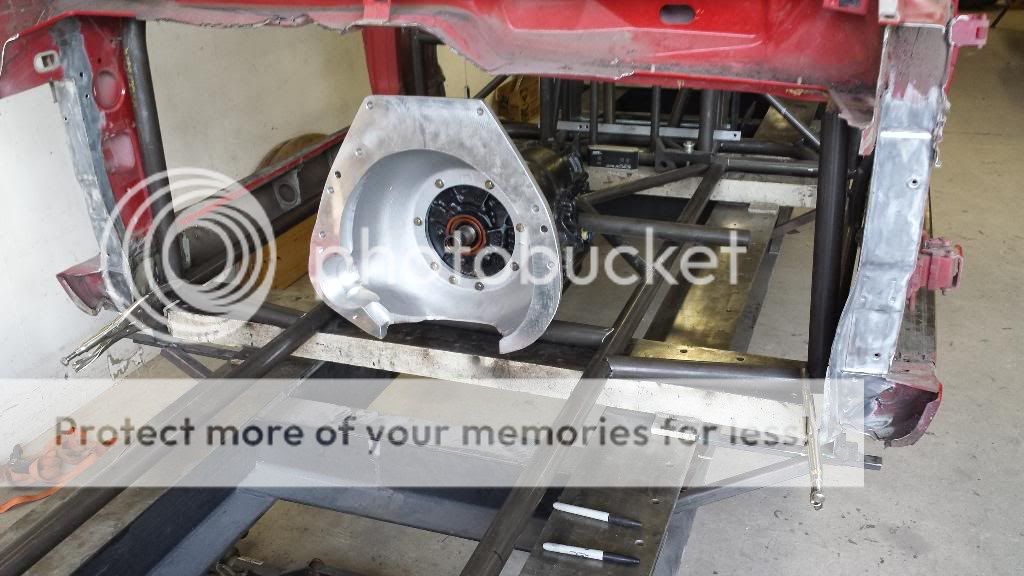
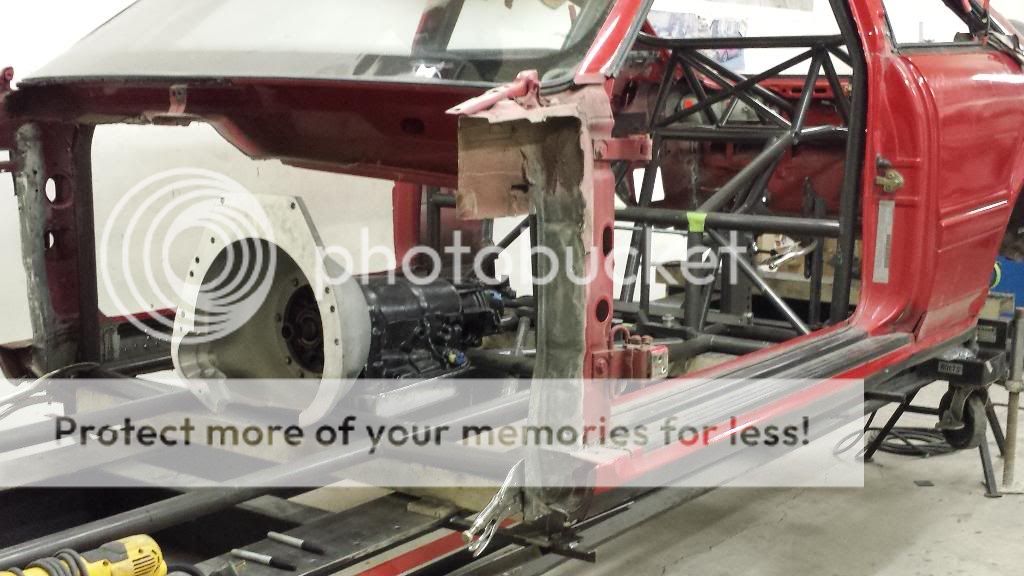
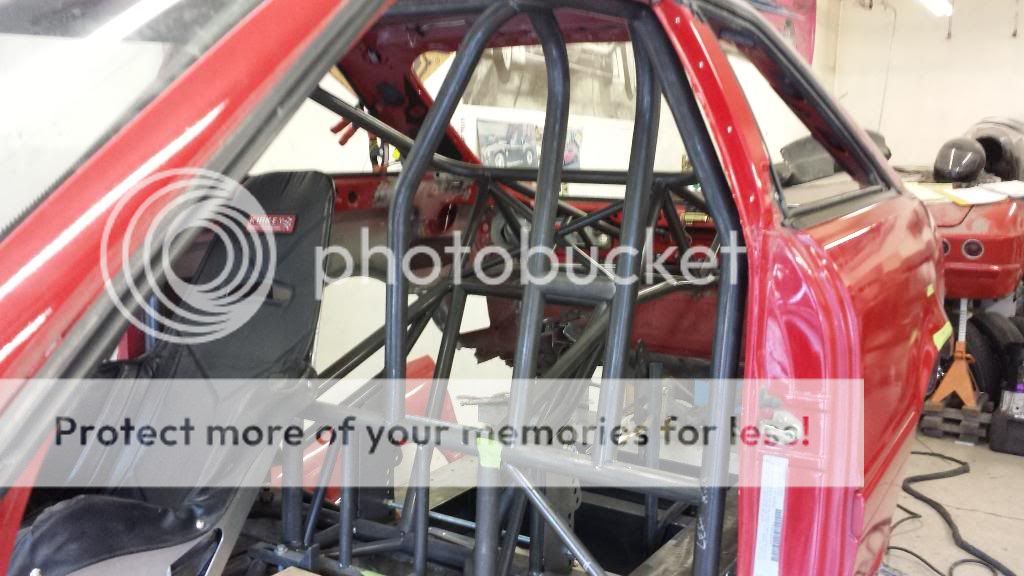
Got the bars over the doors finished, in and tacked, the front floor bars made and tacked in, and the rocker/sill bars made and in. Then I tossed in the mockup transmission case in there to see how that looks.
Laid out and set up front spindle location, and got an idea of where the motor is actually going to sit. I have decided to locate the motor/trans for future possibilities, as in LS motor maybe later on down the road, as the 4cyl VW motor I run is so much smaller than the LS motor anyhow.
worked on diagonals in the floor, and the seat-crush protection crossbar. then the eyebrow bar.
working on this all this weekend.....
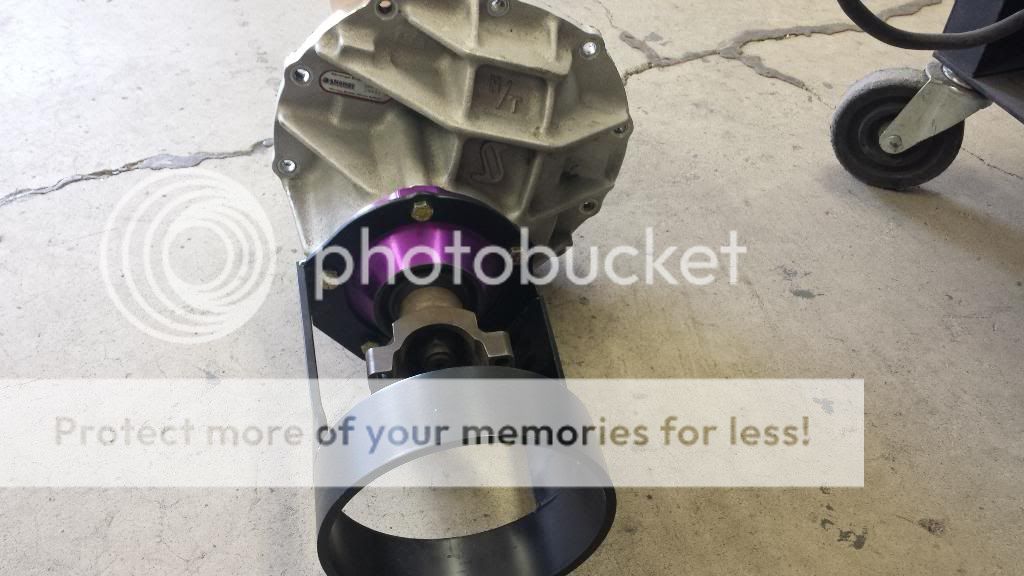
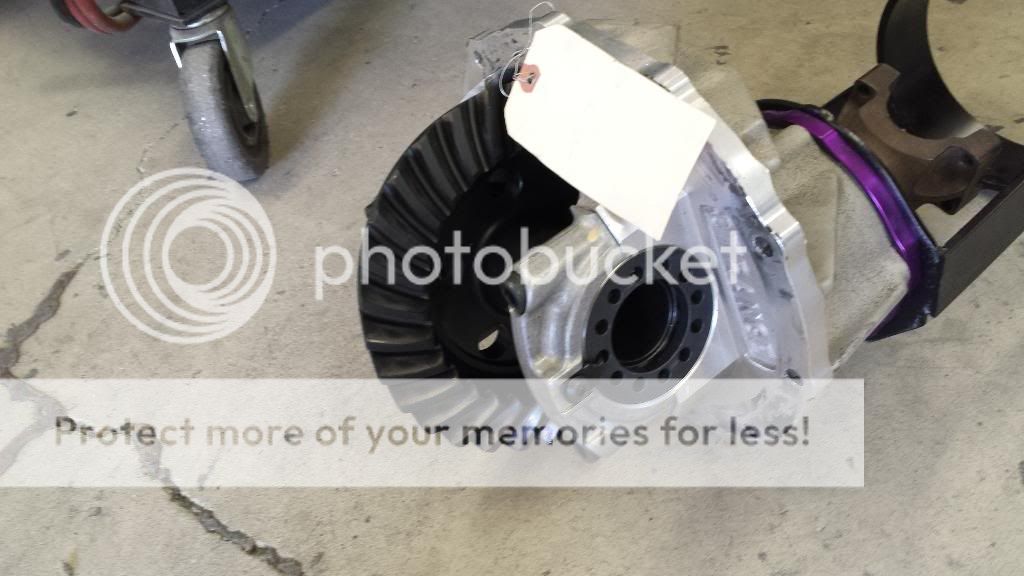
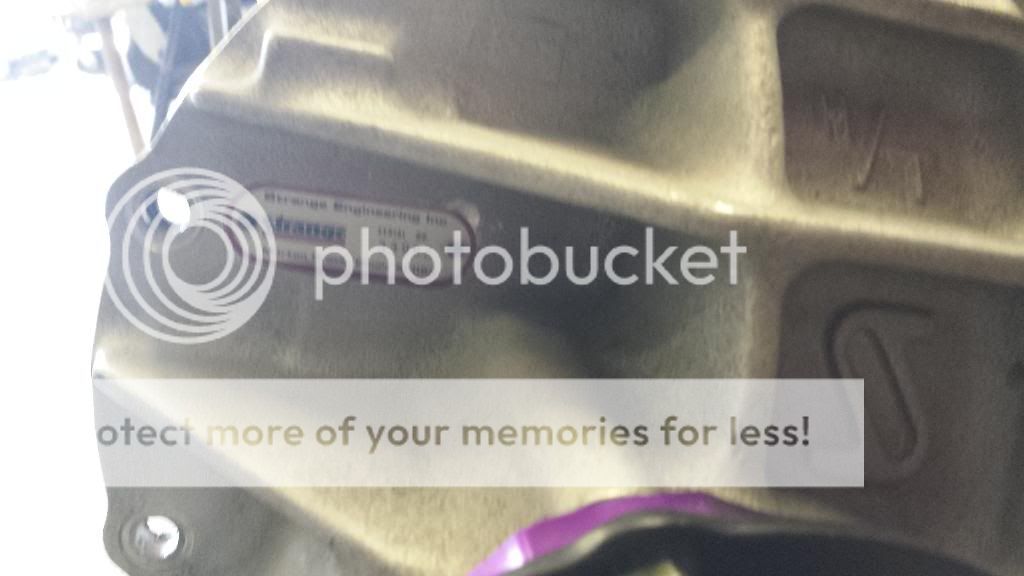
this catches us up to Saturday evening. i think i have the 3rd member now. havent committed to it yet, but i think i am going to. 4.30 Pro gears, lightened ring gear. 40 spline steel lightened spool. Strange aluminum case, forged yoke, Pinion support, and yoke collar thing. all set up and ready to drop in. came from a 7.20's '63 glass body Vette drag car here, one of the builders buddies. it was his backup, wrong ratio for him.
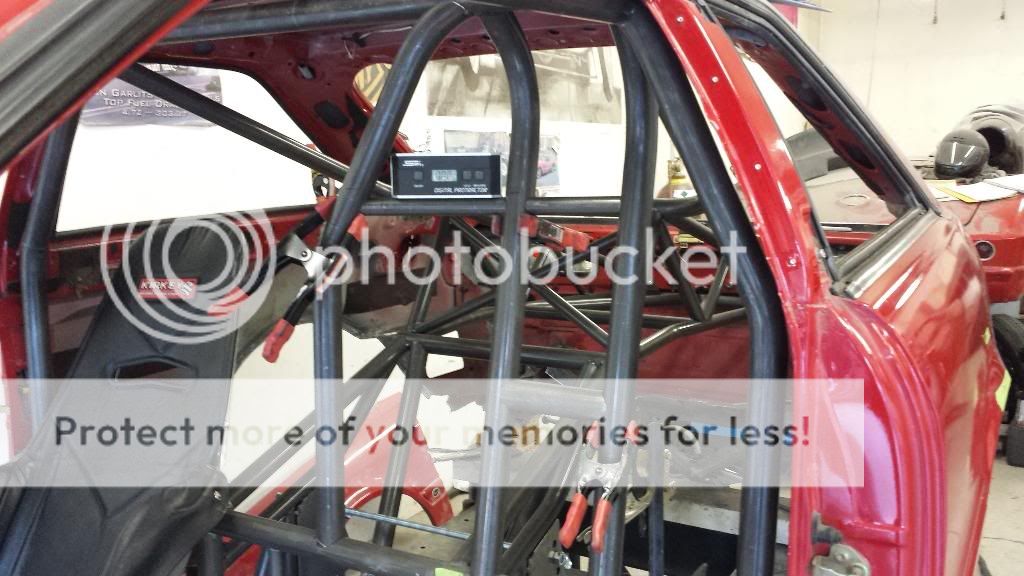
Got some more crap out of the way of the dash bar, and put it in. Then I started on the funny car cage portion. I messed up the very first bar, and I dont know if we can save it. I will work on that tomorrow. I hope to have the whole cage portion tacked into place and the roof bar also. It may be wishful thinking but whatever.
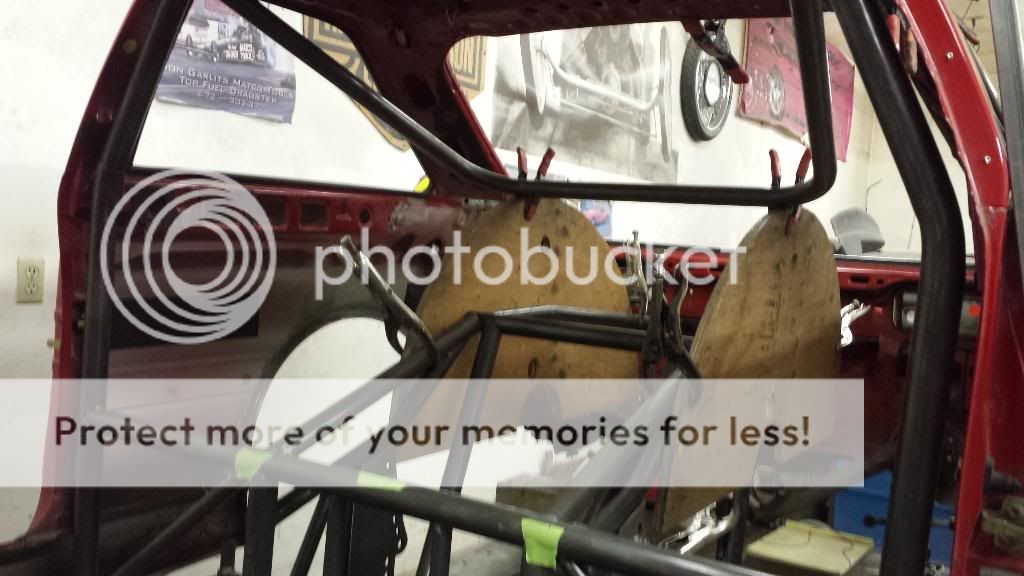
Also, test fitting a seat so I can build the cage portions around it. Kirkey drag seat.
Sooo, we were able to save the piece I thought I eff-ed up yesterday, but it made the two back bars near impossible. I messed around with the outer bar behind the seat for about 3 hours, and finally we just cut the rear halo leg off the hoop and coped that bar into it. It will be fine but I was not trying to chop up that halo bar.
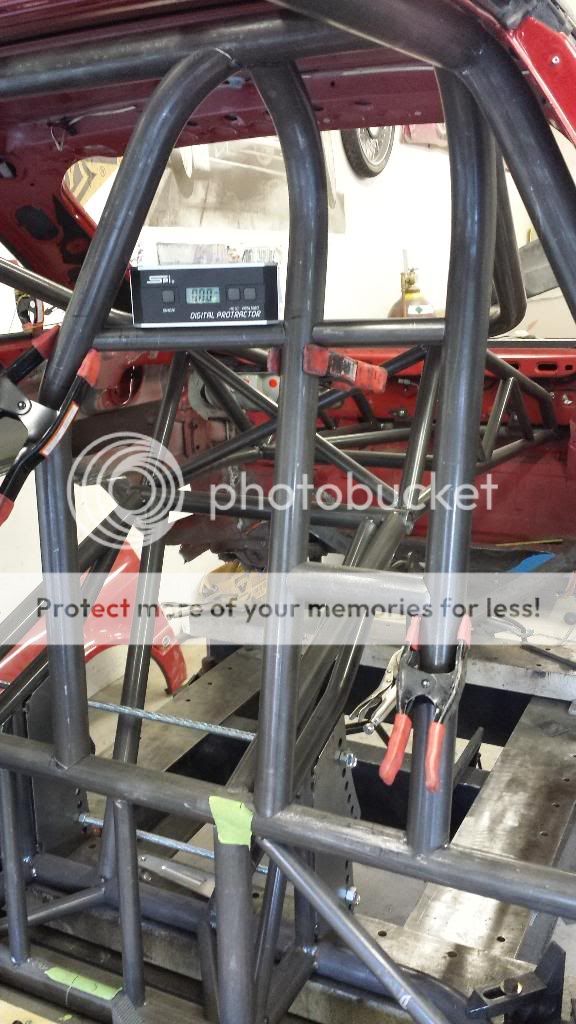
Then, on to the harness bar and helmet bars. Tomorrow I will go in and try to knock out the rest of this portion of the cage. It is a lot of work, this cage/chassis building stuff! And of course, he needs everything dead nuts perfect! 00.1° is not acceptable….. 00.0° is.
We process personal data about users of our site, through the use of cookies and other technologies, to deliver our services, personalize advertising, and to analyze site activity. We may share certain information about our users with our advertising and analytics partners. For additional details, refer to our Privacy Policy.
By clicking "I AGREE" below, you agree to our Privacy Policy and our personal data processing and cookie practices as described therein. You also acknowledge that this forum may be hosted outside your country and you consent to the collection, storage, and processing of your data in the country where this forum is hosted.

 Tweet
Tweet


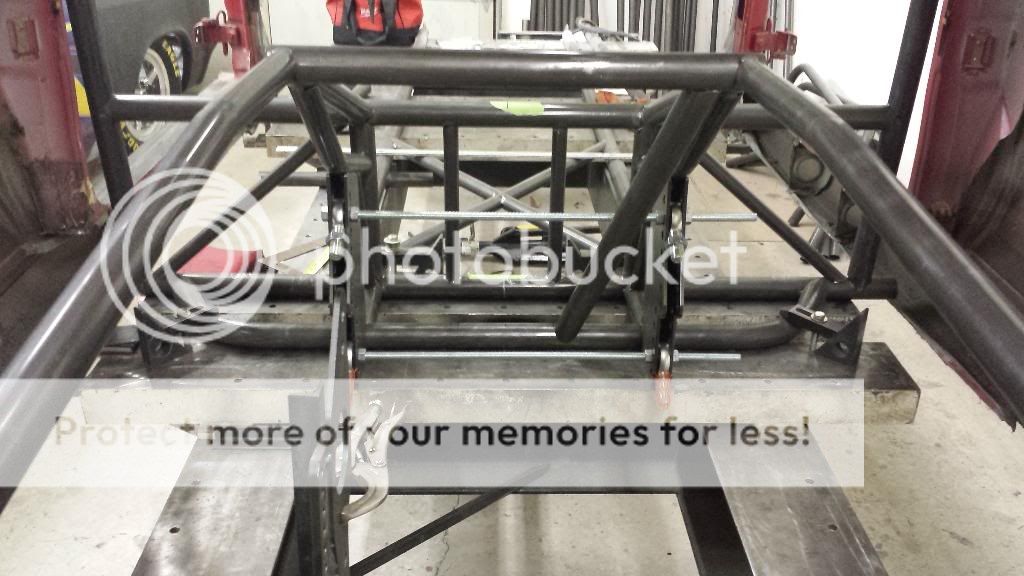


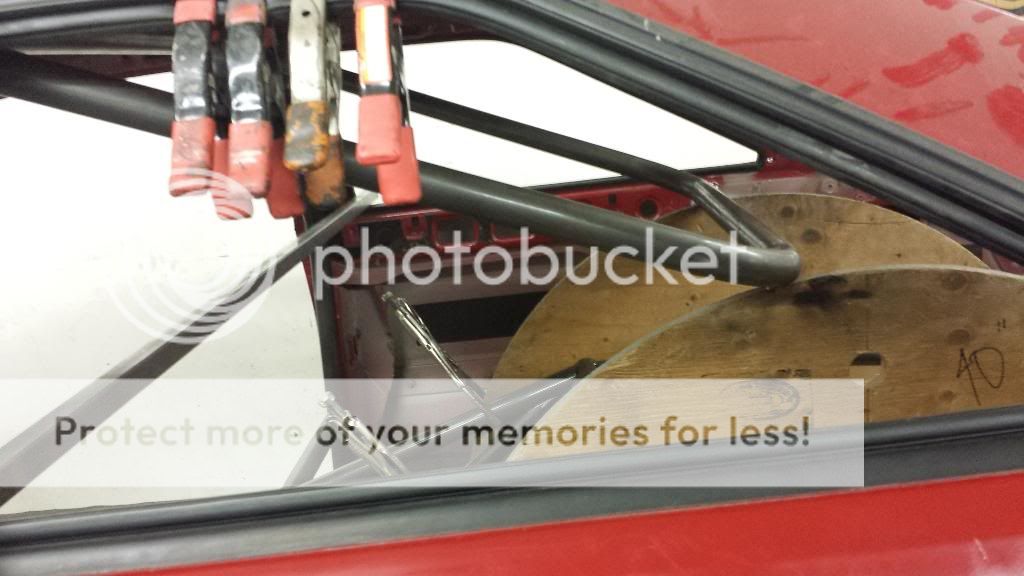
 built the Pro-mod style upper rear halo, and the upper frame rails.


Comment