Announcement

Collapse
No announcement yet.

Aarons 8's or better RWD tube chassis build

Collapse
X
 
  • Filter
  • Time
  • Show
Clear All
new posts

  • #31
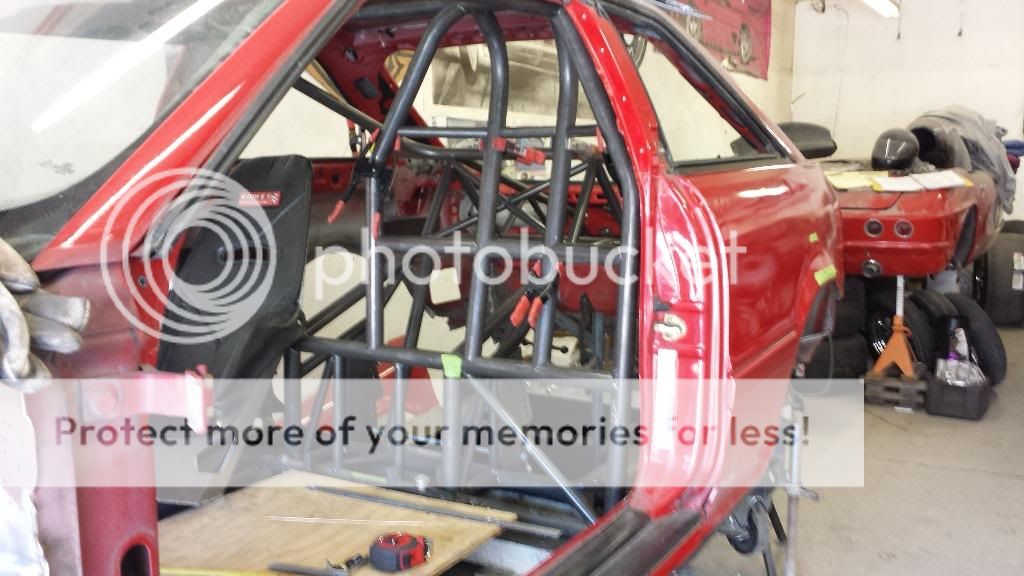
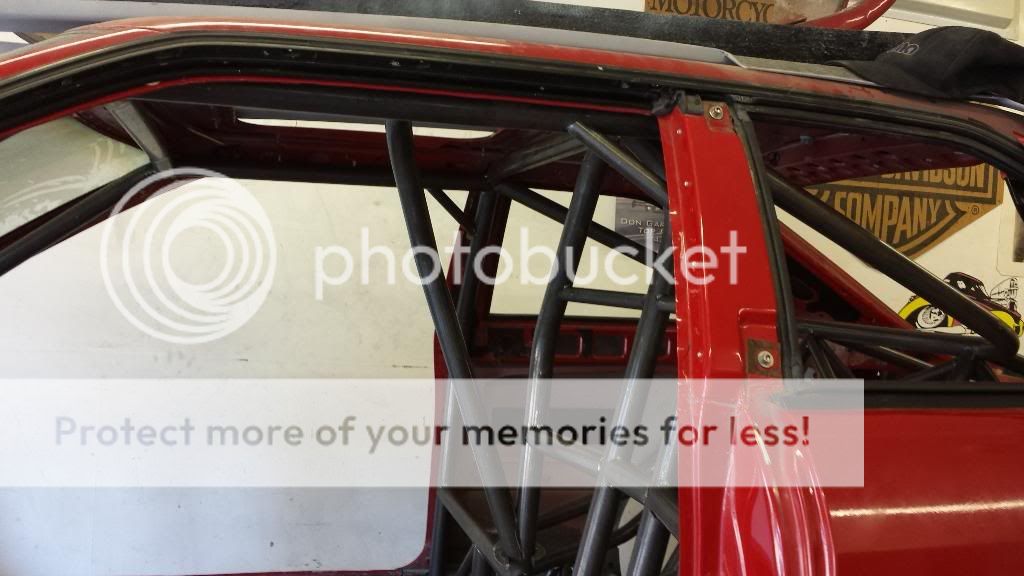
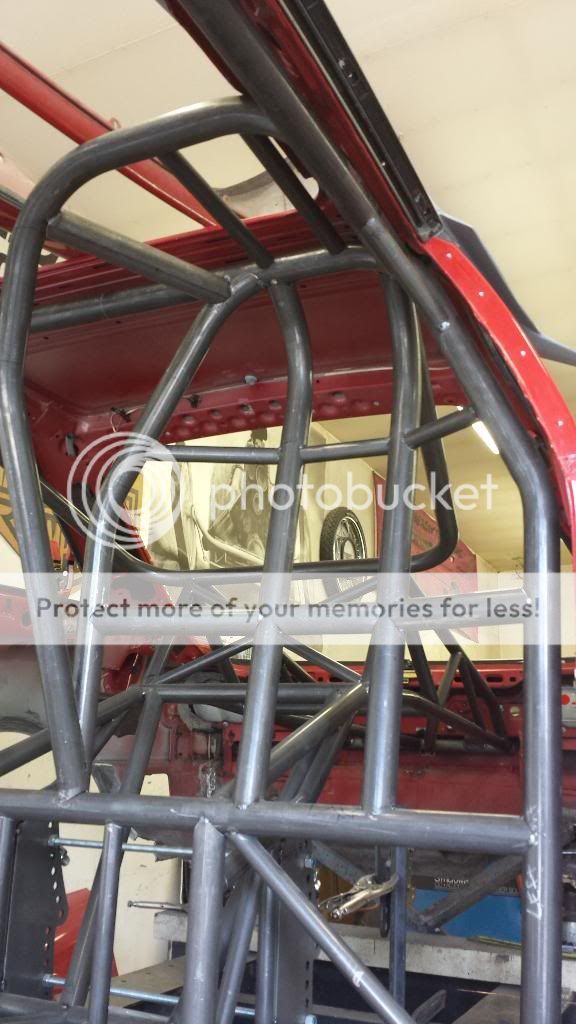
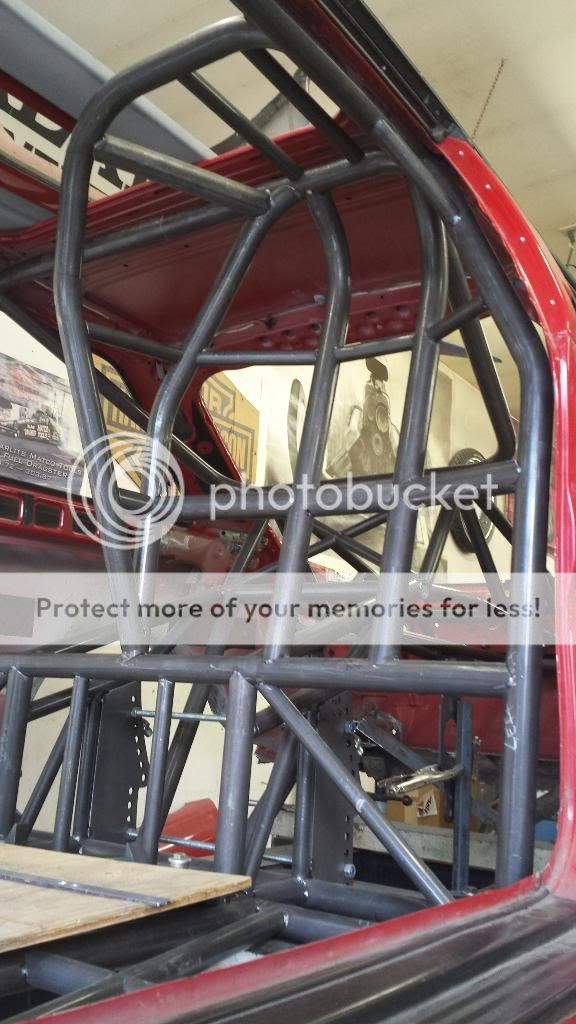
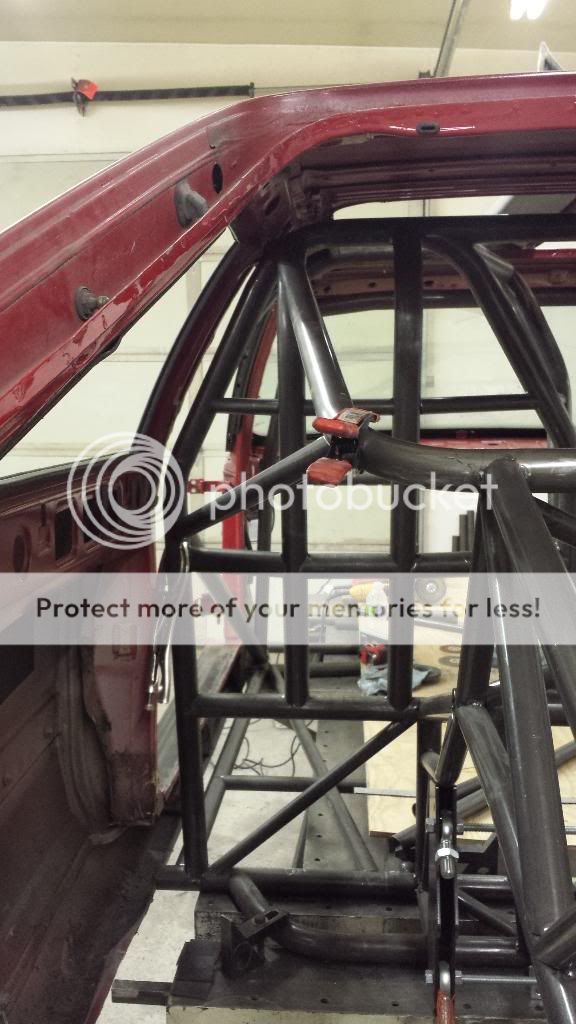
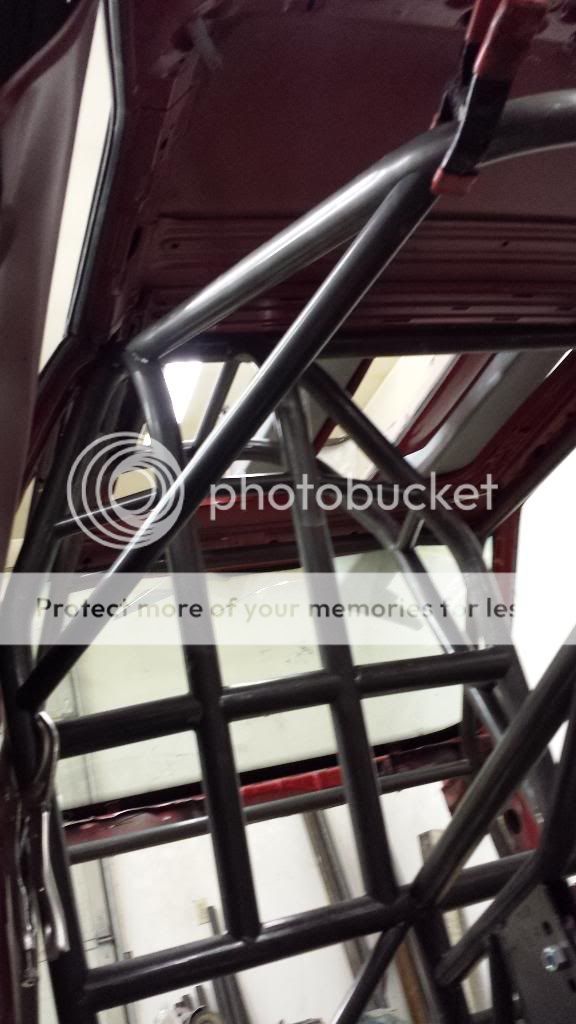
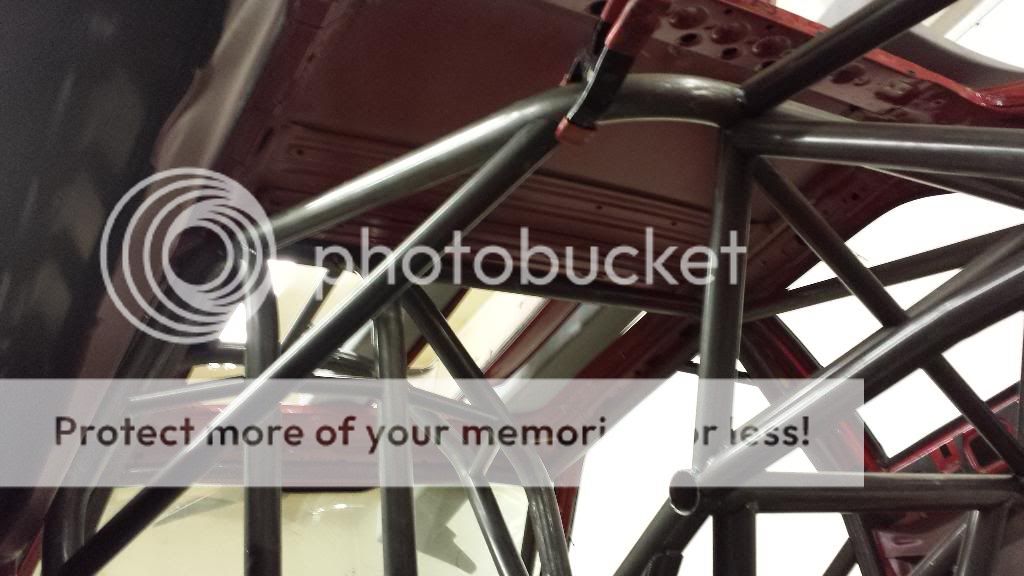
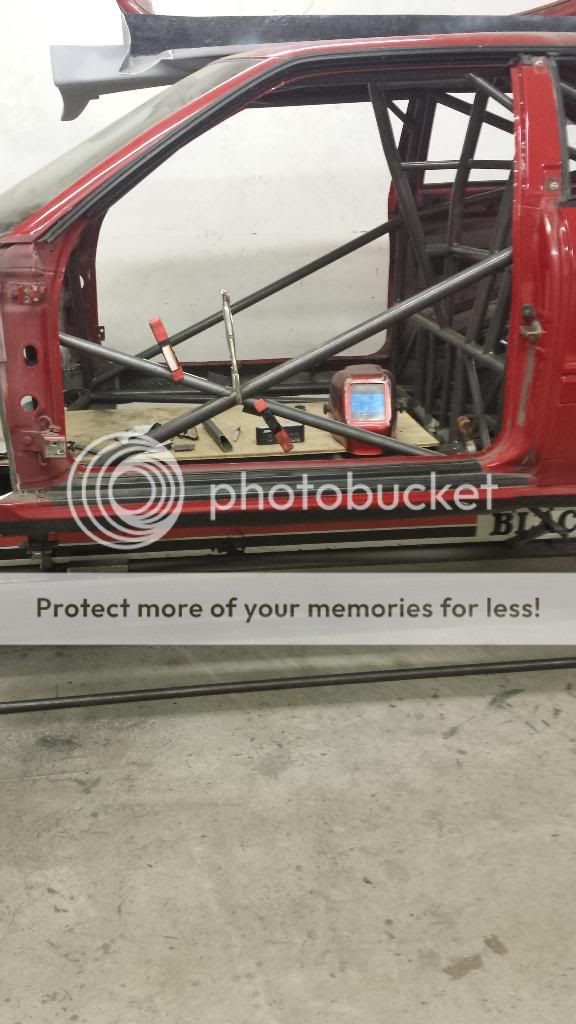
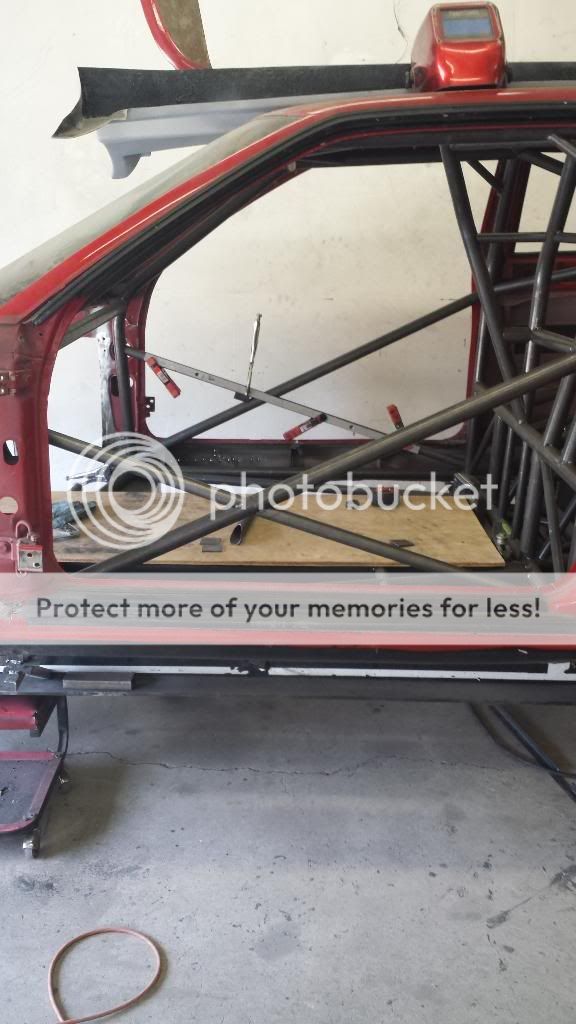
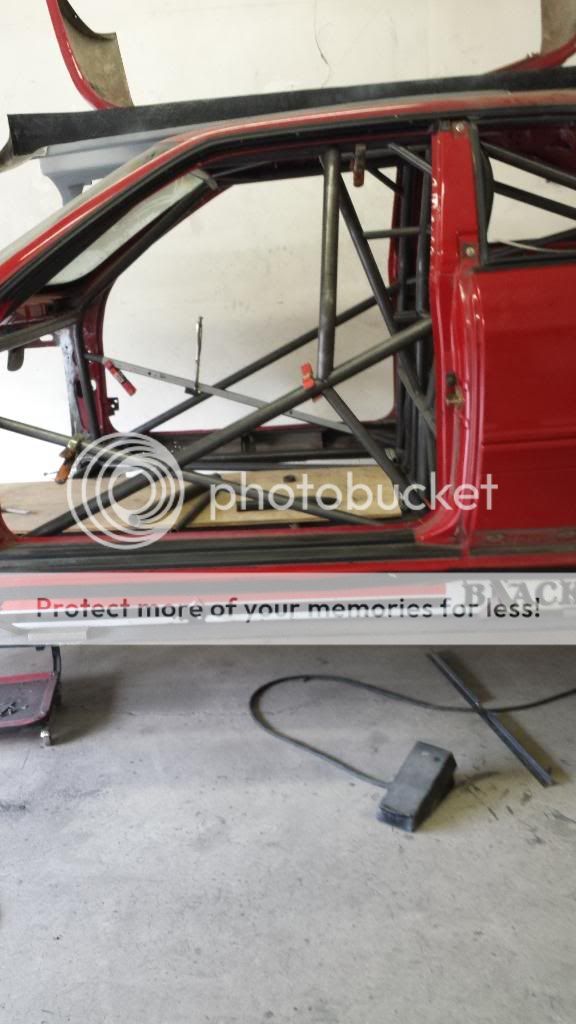
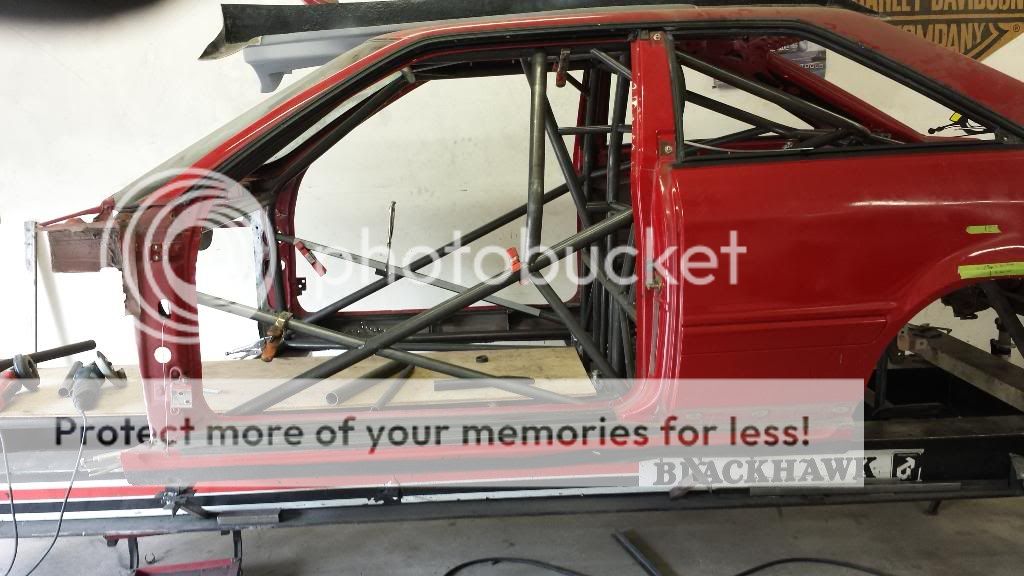
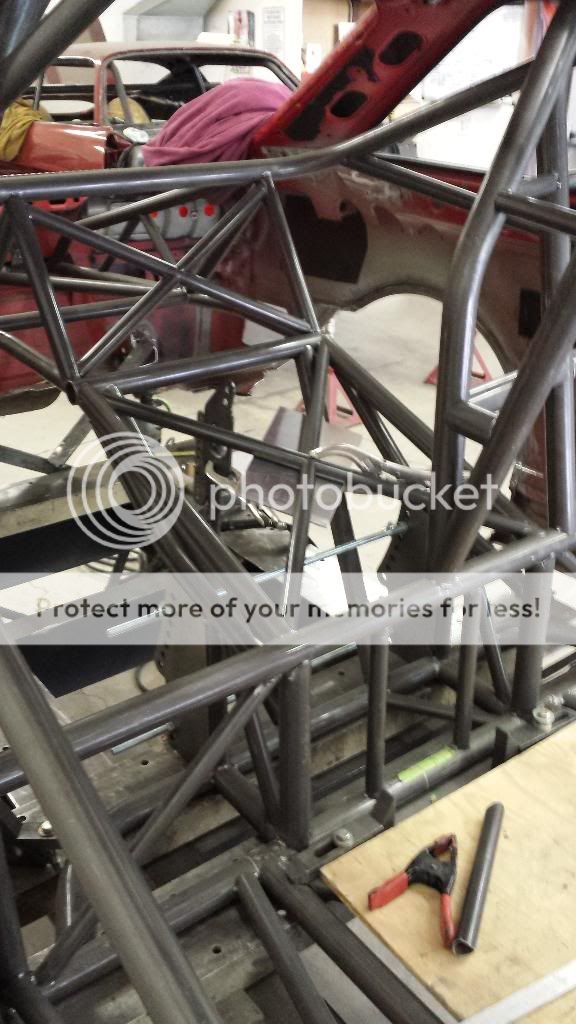
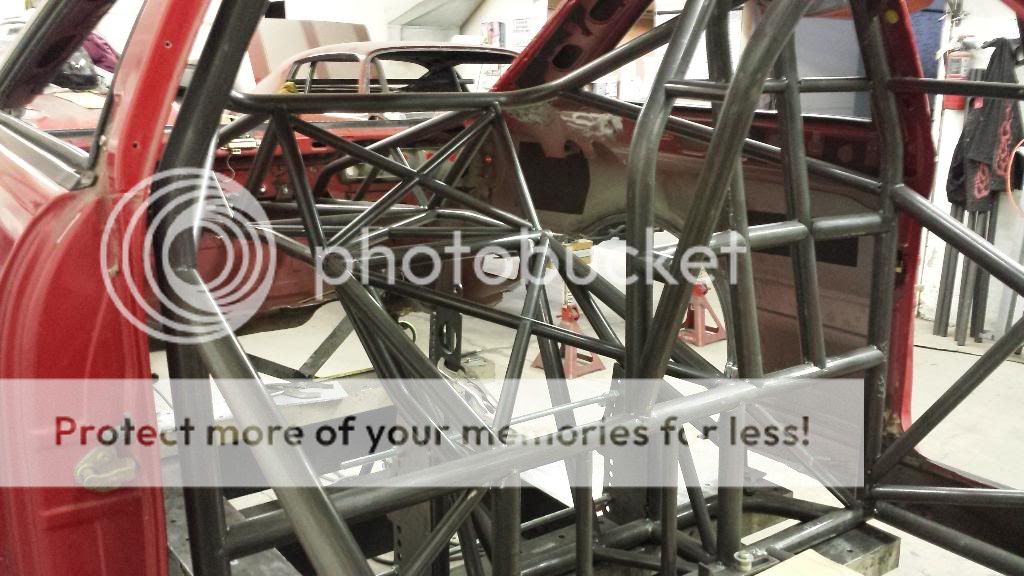
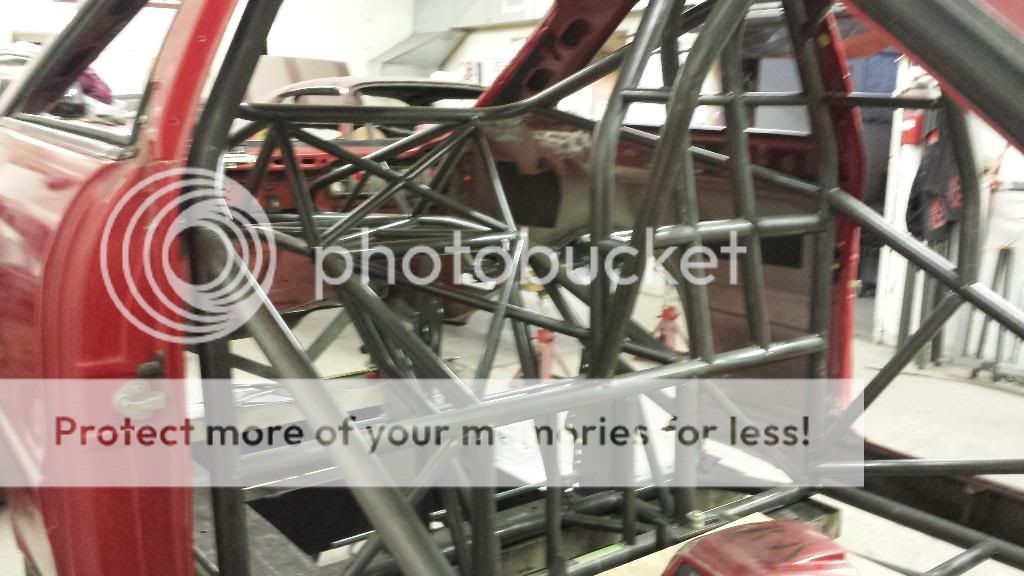
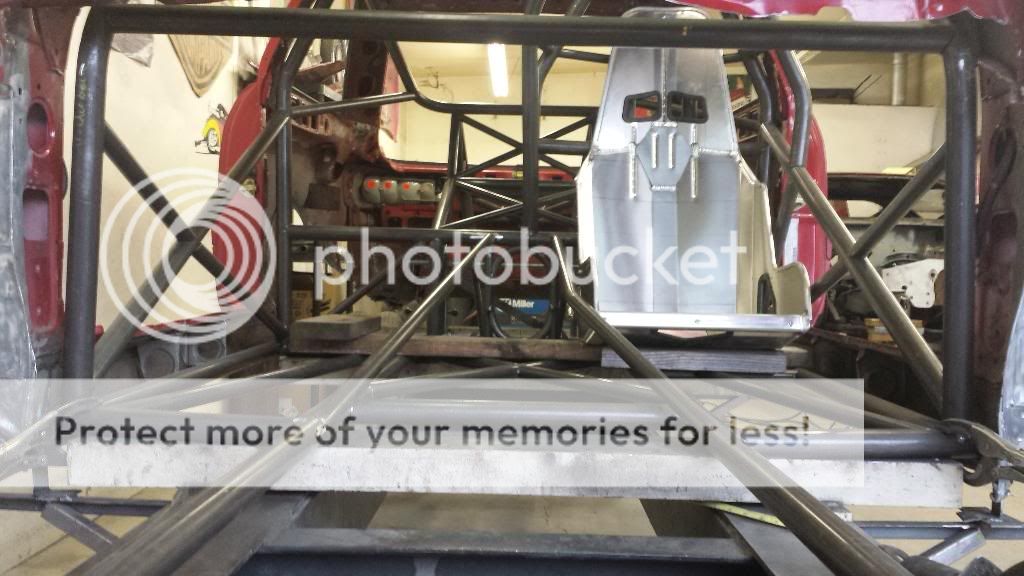
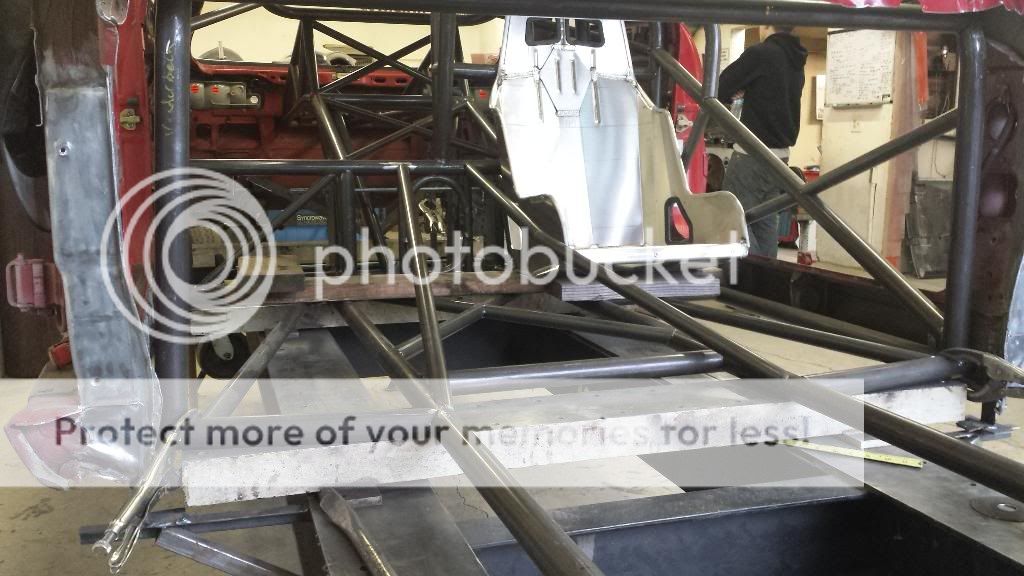
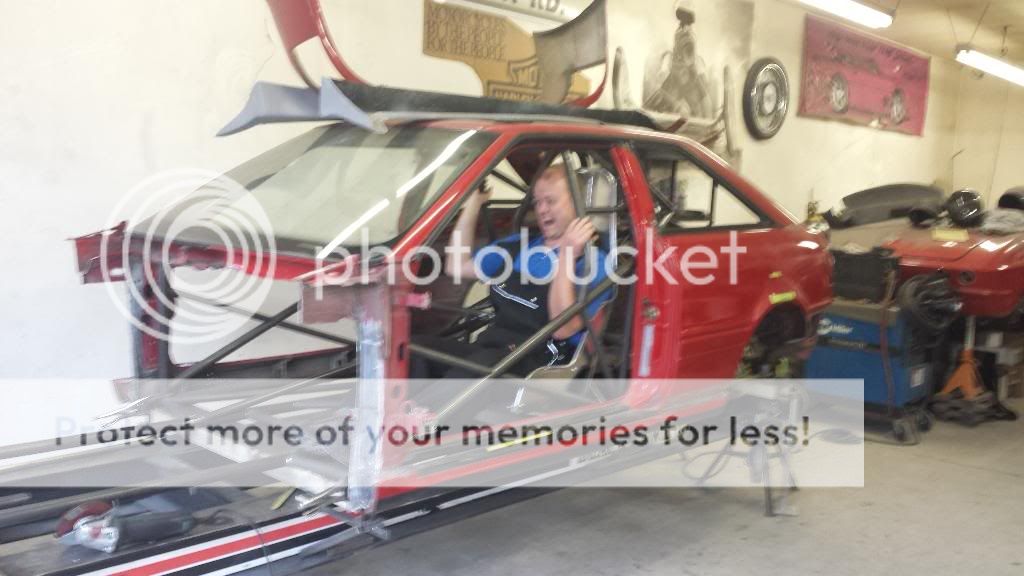
    some more work done. spent a long time working the bar over the driver, i didnt want to **** it up. level, flat, square, parallel, blah blah. i can live with sooooo much more than Carey can, i am a simple guy. but, his name is on it so its gotta be right and look good.

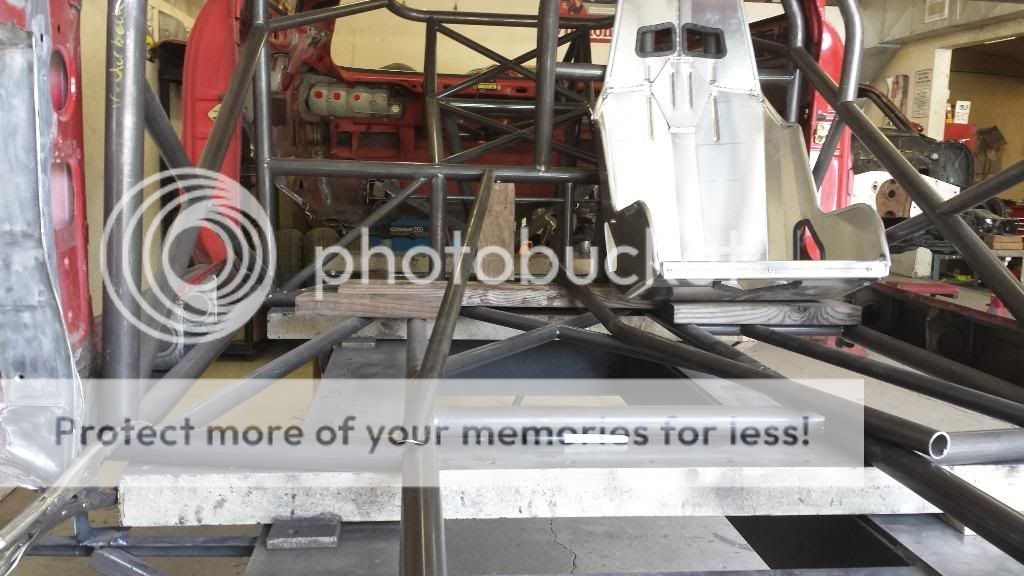
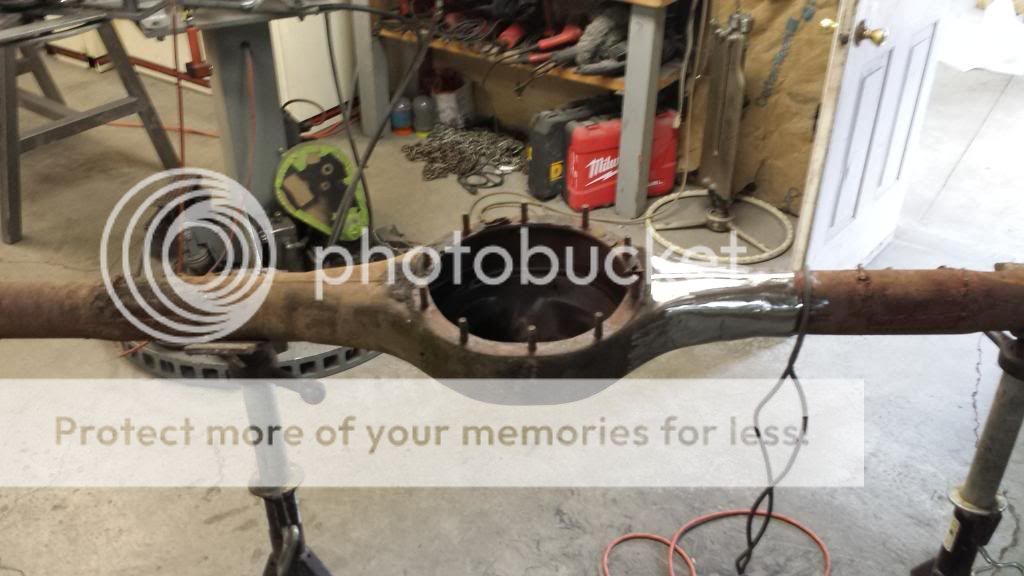
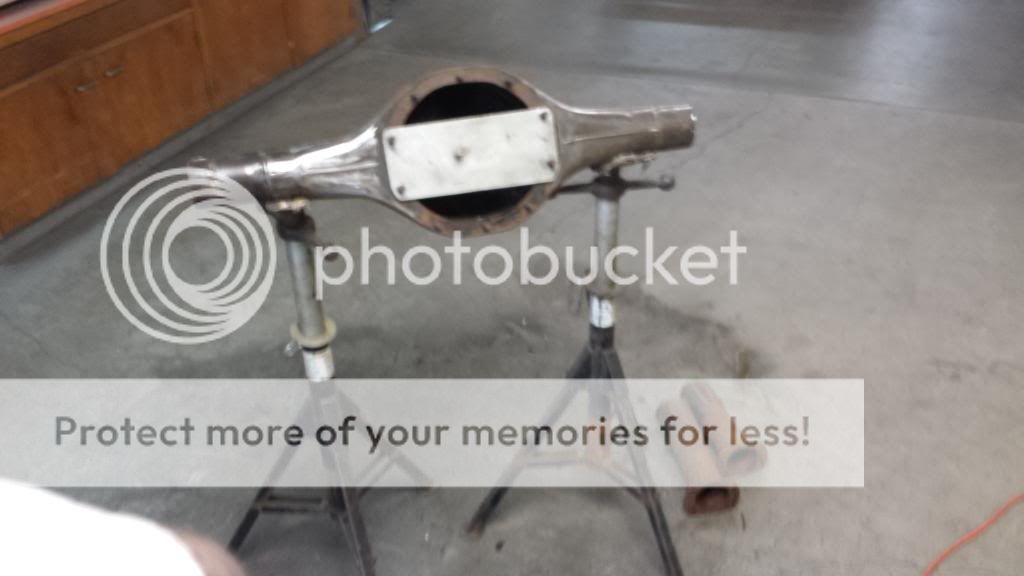
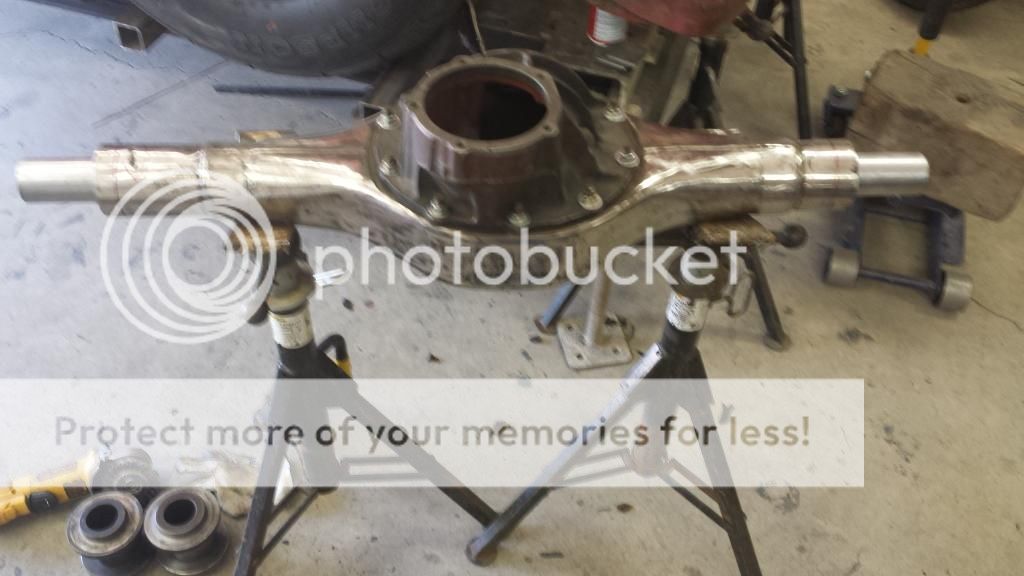
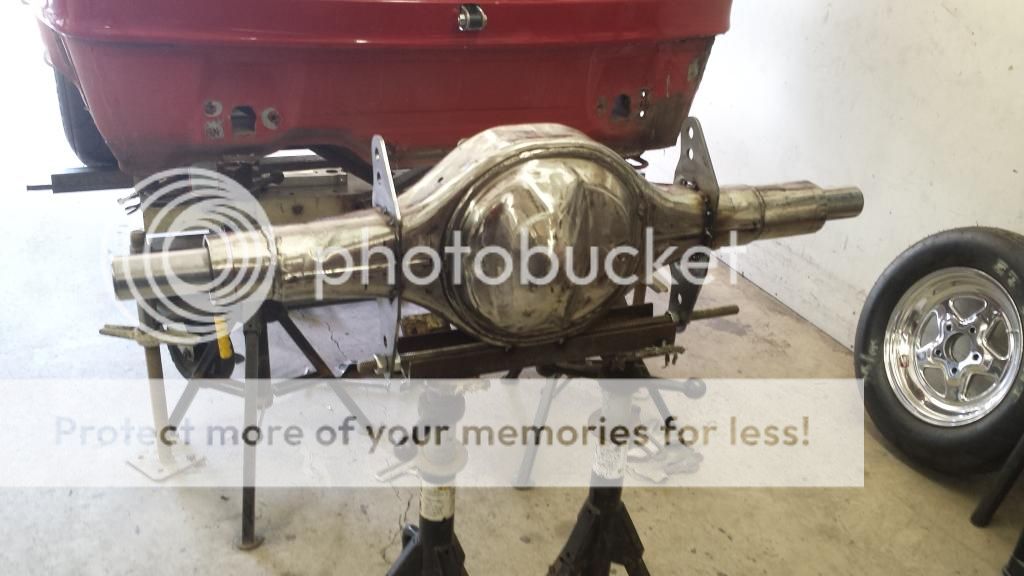
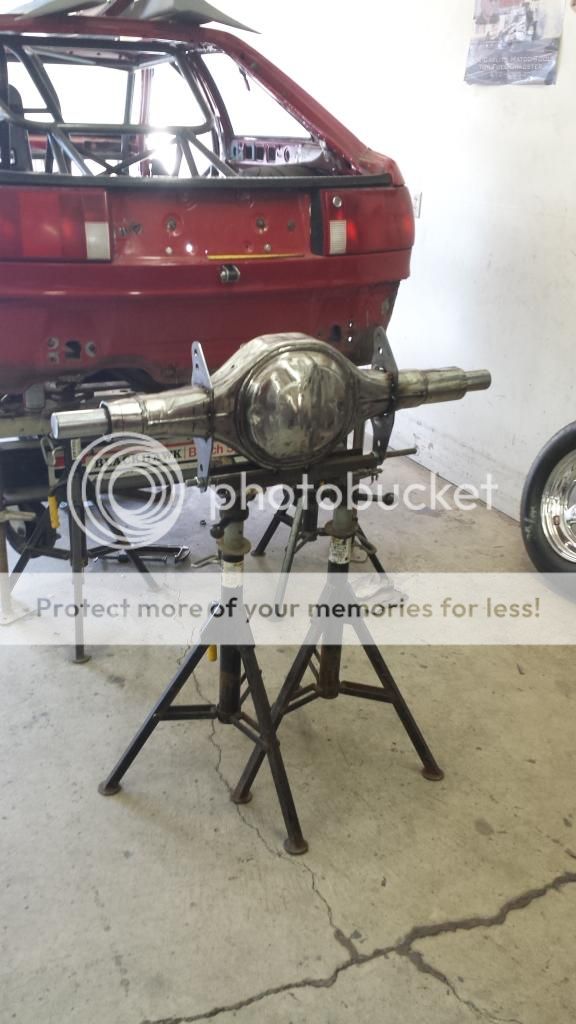
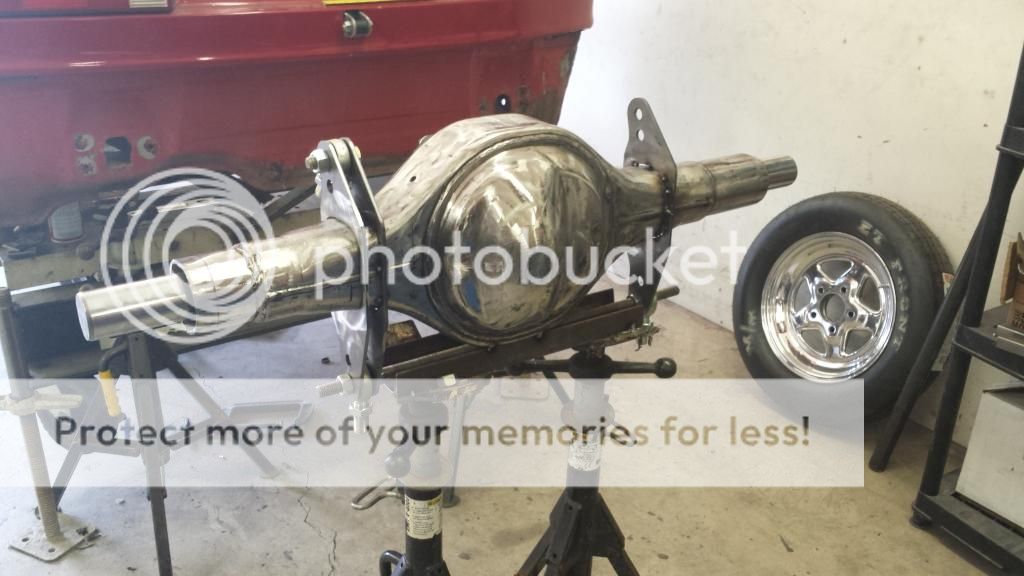
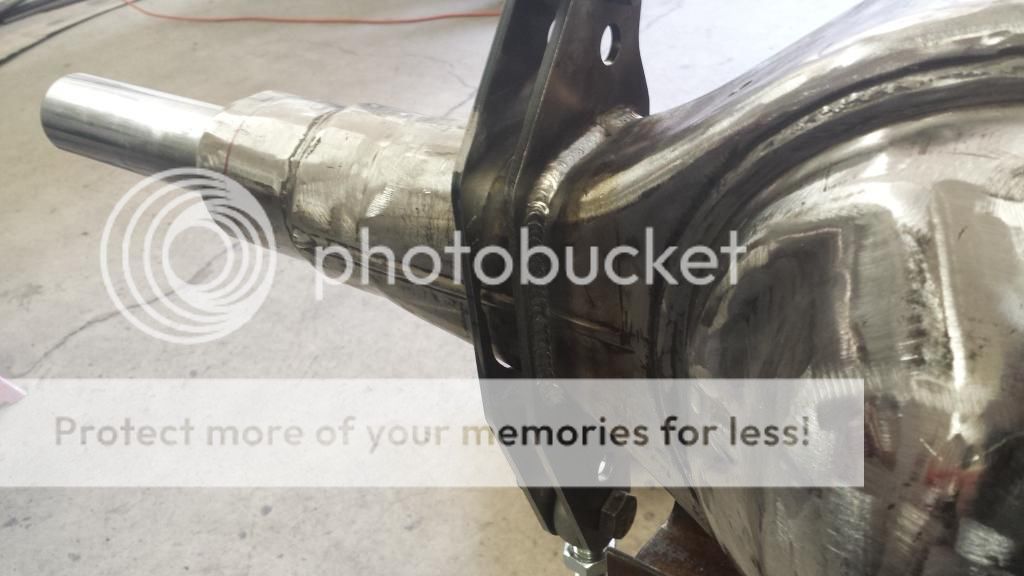
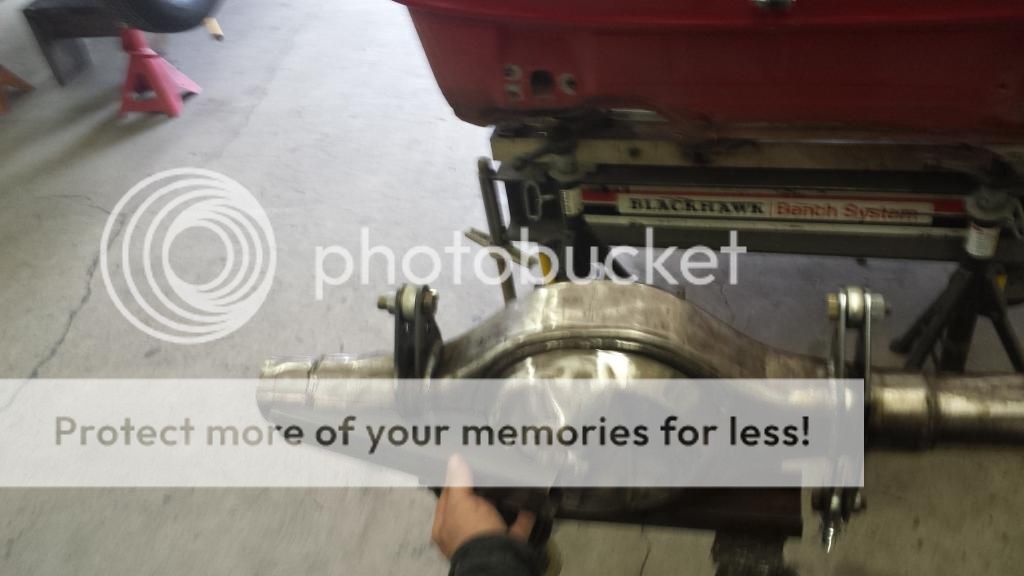
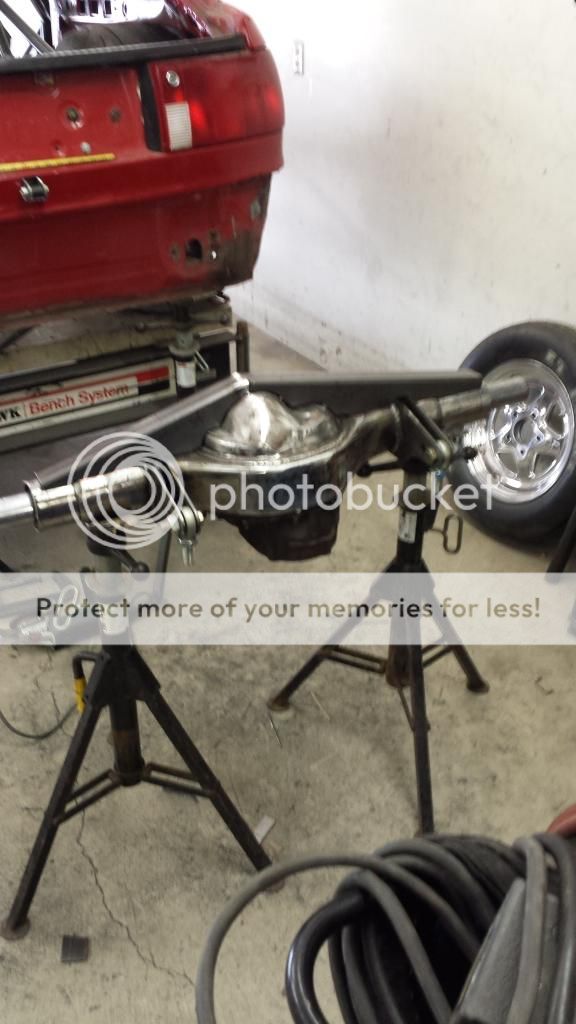
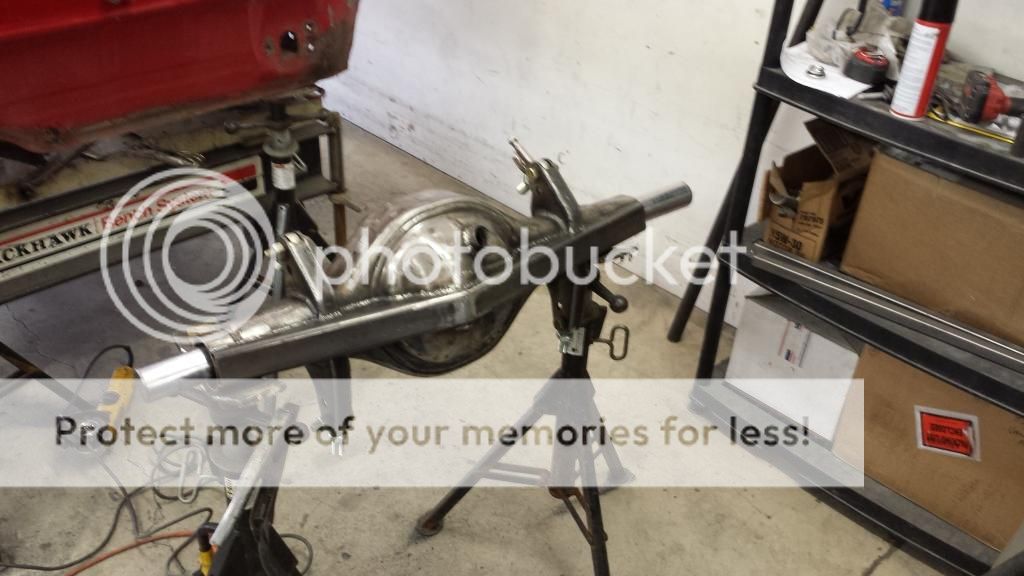
    also bought the 3rd member.

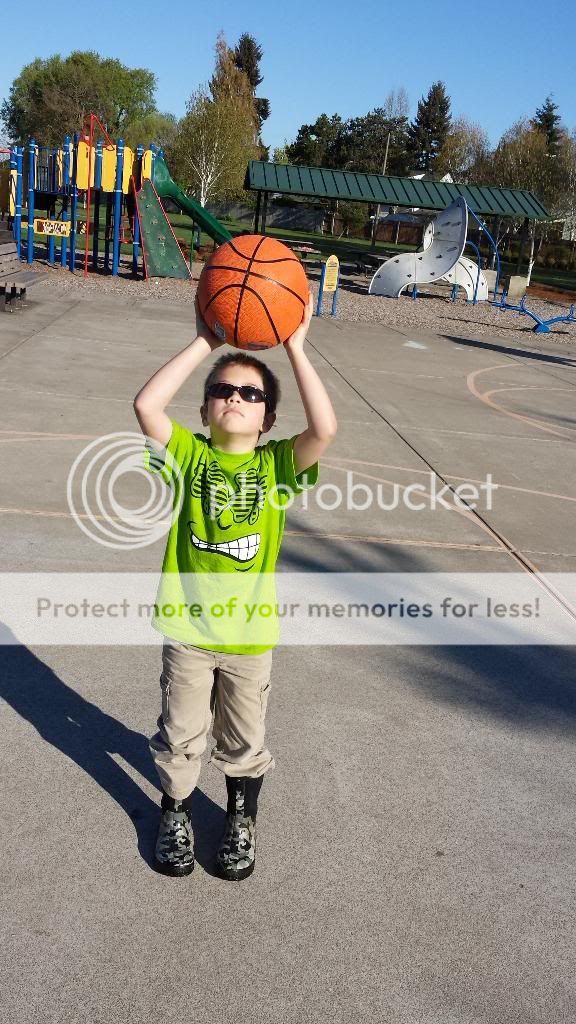
    but, i told Chub i had today off from the car, and since i had the opportunity to go i went. time is money. soooo, before going in we went down to the park and shot some hoops, and played on the structures for a bit. he was happy.


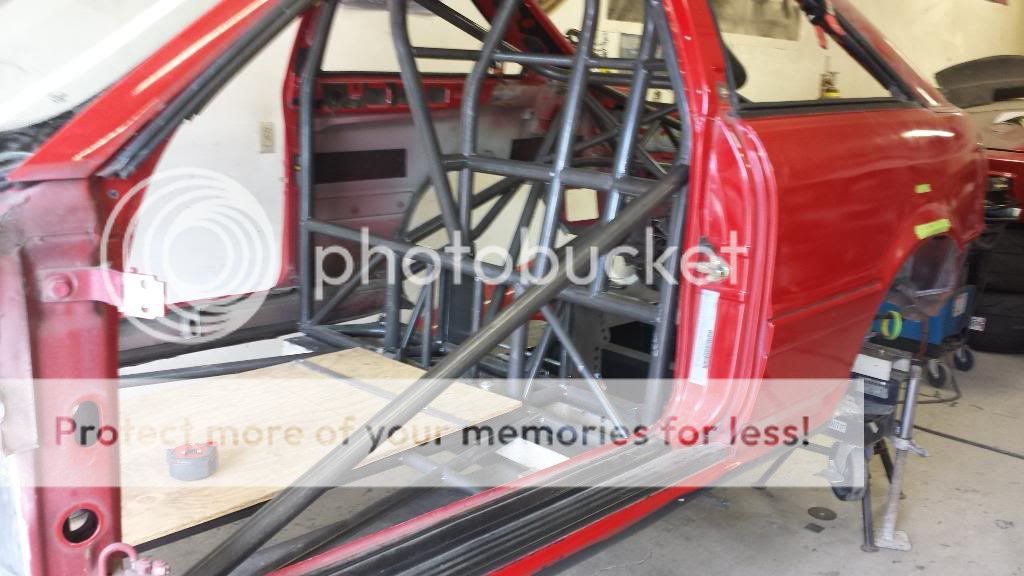
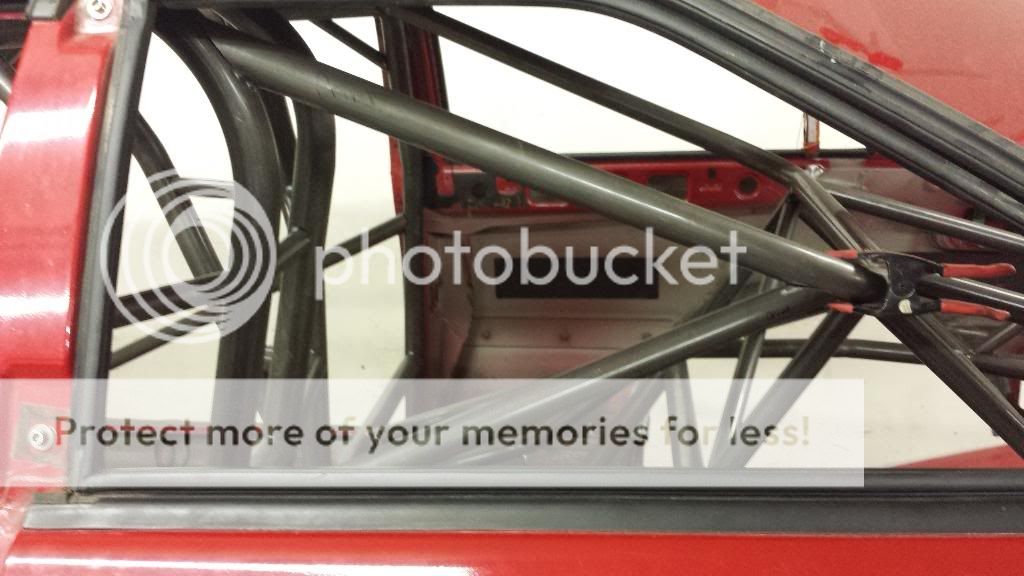
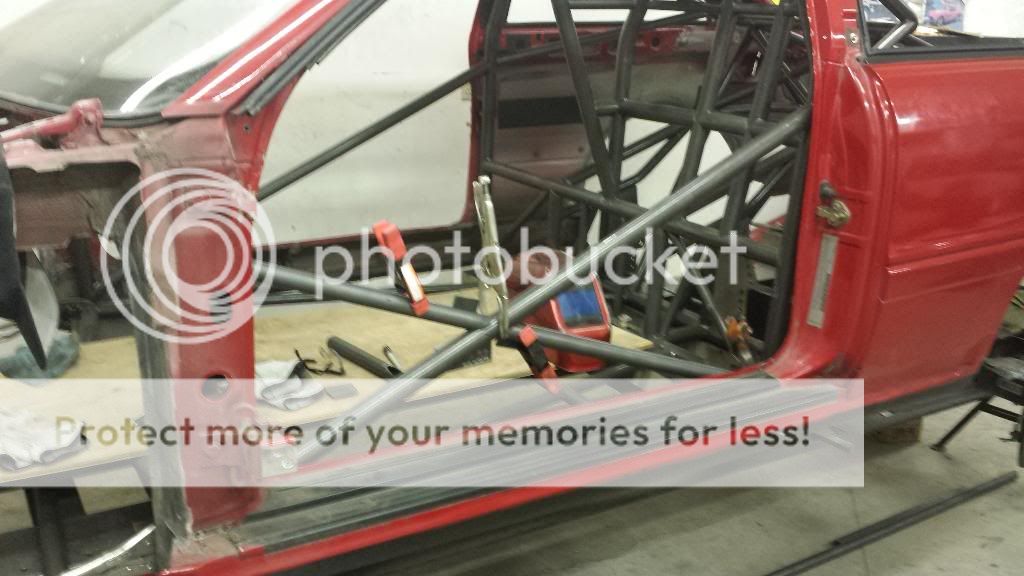
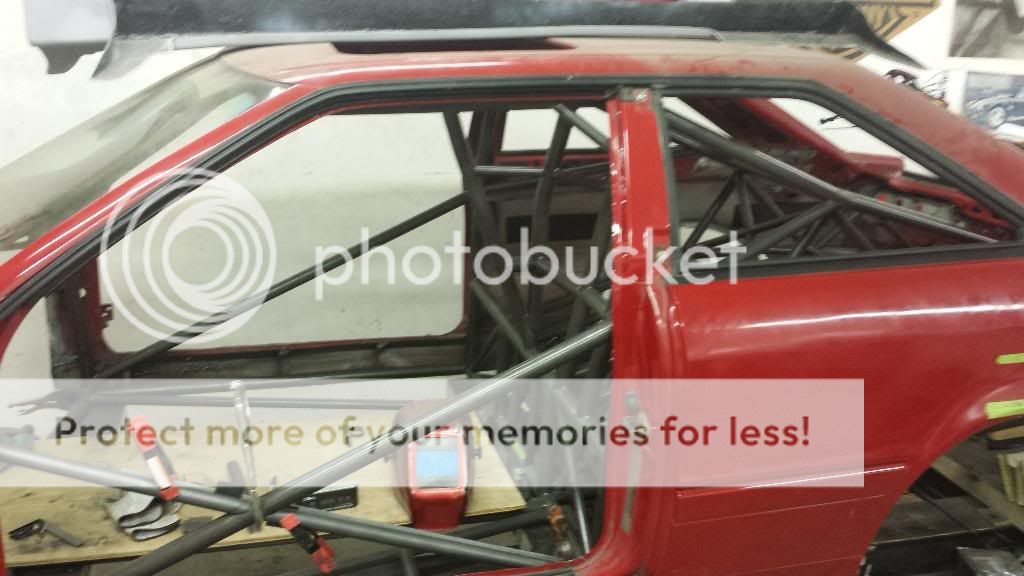
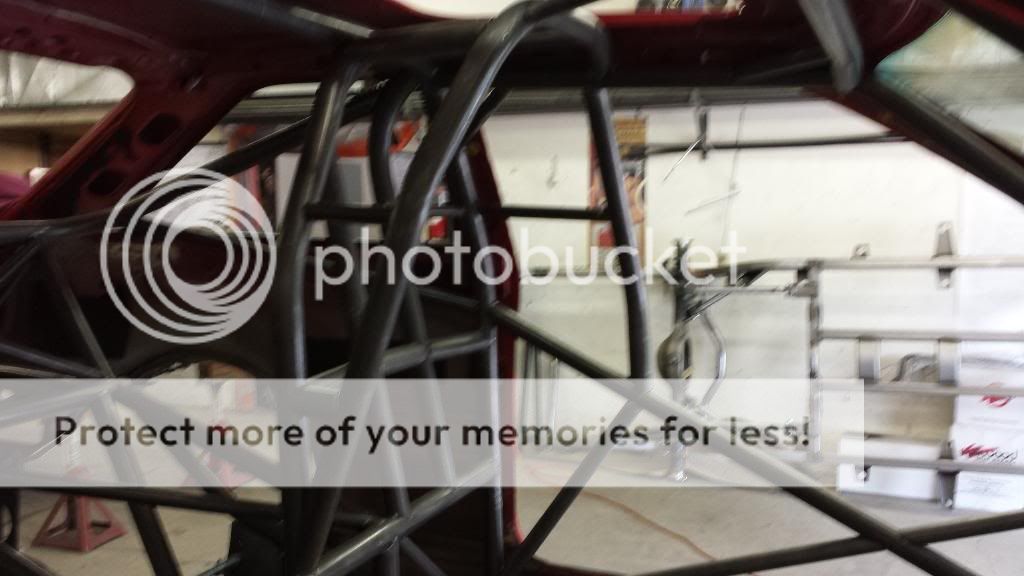
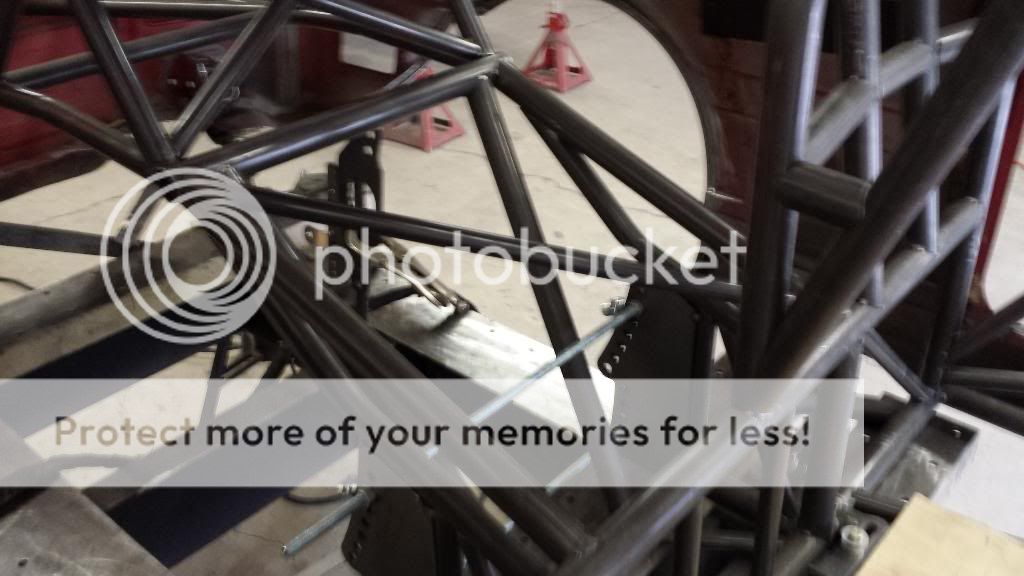
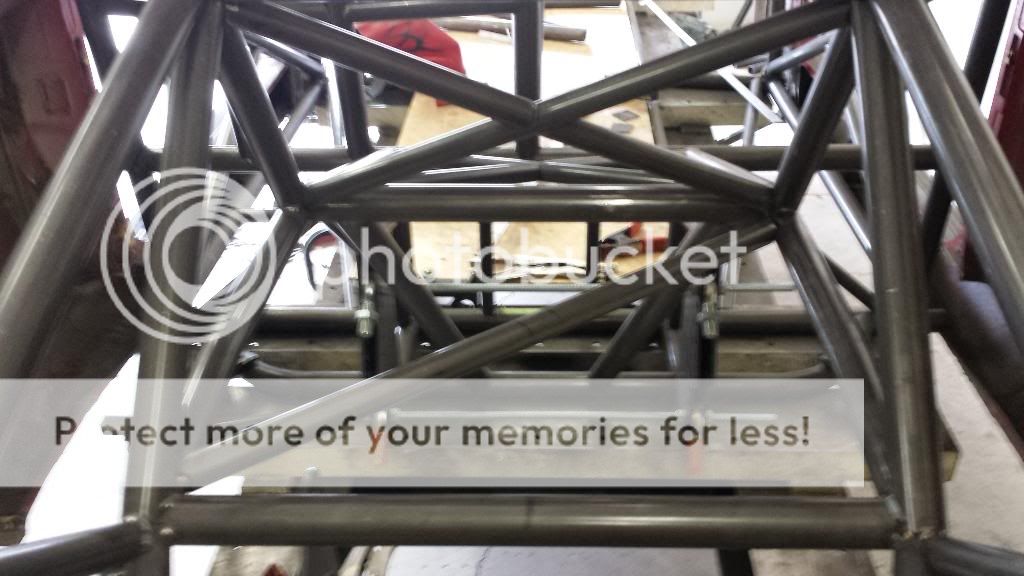
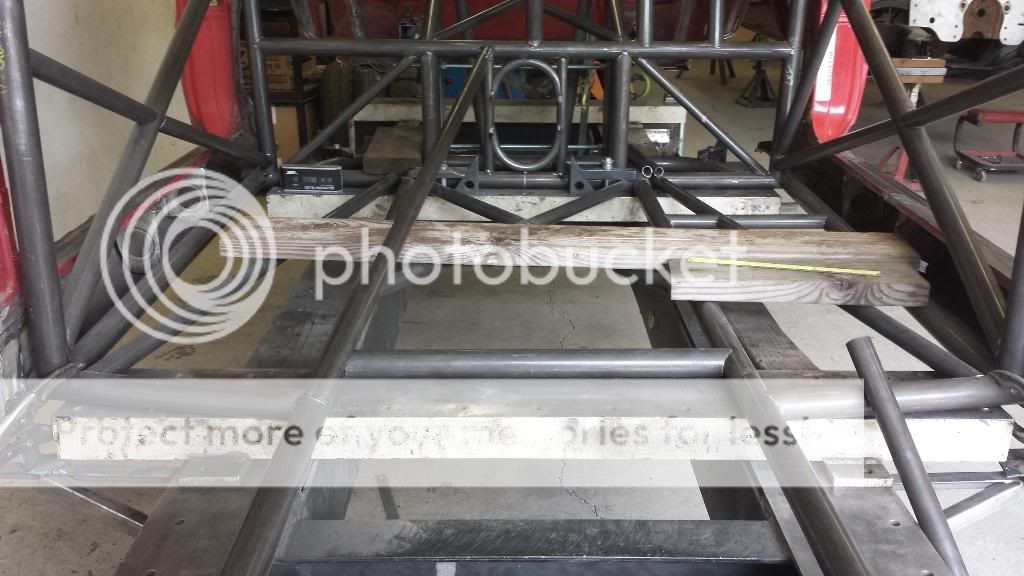
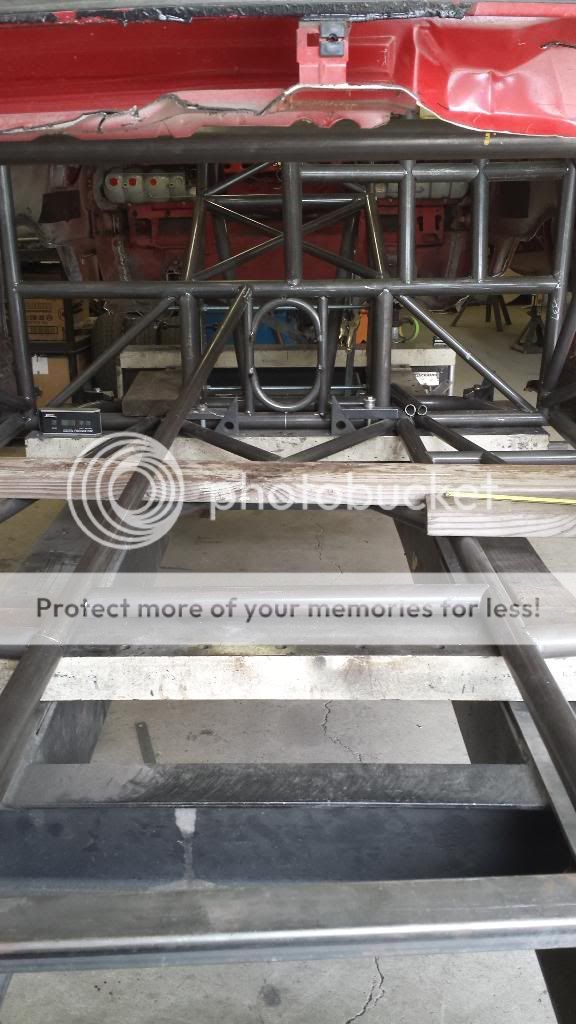
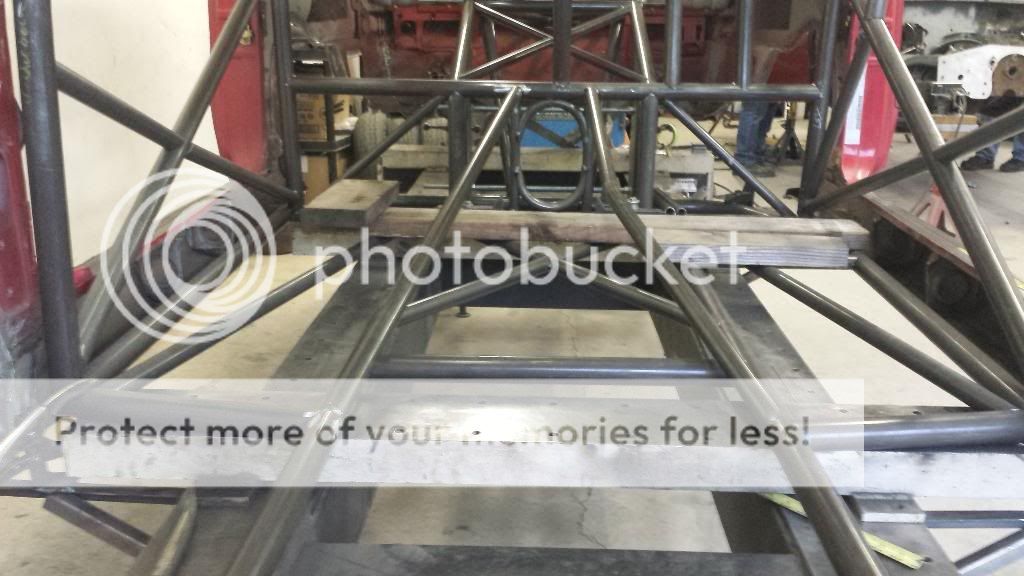
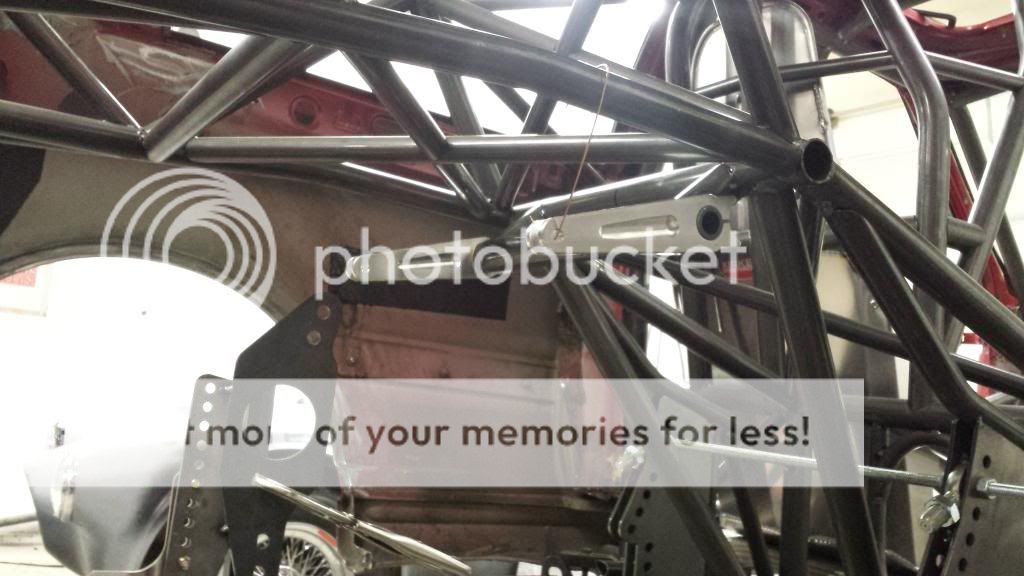
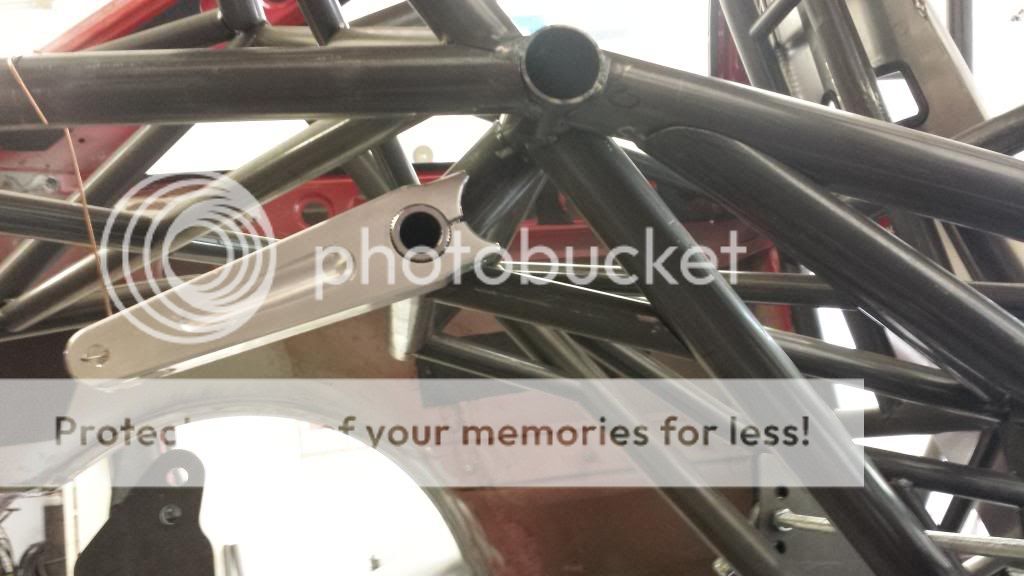
    so first i finished off the horizontal bars. then spent a few hours on the over-drivers head bar. also made the corner gussets for the hoop to over-door bars.


    Comment


    • #32
      i am trying. learning. doing. building. it is also very trying to my OCD/ADHD type behavior, by being so asymmetrical in form. but, there are rules and this has to conform to those rules.

      i just feel it is that time, to go all out.


      rumor has it that it will be registered, and it DOES have DOT legal drag radials on it

      So, I started the door bars yesterday. They get X-braced in, and also made (almost complete) the two diagonals for the rear upper halo (Pro-Mod halo). Need to finalize the door bars so I can make the driver cage outer bar and diagonal to sill bars.

      This stuff, is pretty fun to do.


      Comment


      • #33
        and this should put us even up-to-date. didnt do anything this week, as my real job kept me plenty busy and next weeks work is long long hours at a steel mill shutdown. no extra curricular car work is to be had. and i still need to be reassembling the new block for the AWD racecar and reinstalling it so i can race it at LEAST at the track rental June 6th.

        Worked on the roof bar braces and diagonal. Rules are fairly lenient on that bar, so that is how I made it. Good place to tag the chute lever on to as well. And I started fitting the door X-bars. Also got the two lower bars to the Pro-Mod rear halo in as well.


        Comment


        • #34
          Worked on more. I have to redo the lower x brace on the passenger side, its a hair too short.

          Made the driver funny car cage bars today as well, that should be almost done; one more 1″ tube around the head area.


          I wonder what I am going to be able to work on tomorrow hahaha. Also, the Kirkey seat showed up today….. Maybe I will get to mount that thing haha. Chub had to have his picture taken with the new car part and his Minecraft Creeper guy.


          Comment


          • #35
            I got quite a lot done I feel today. Started the day with a test fit of the seat, a Kirkey fat guy model 41900. And it looks quite good in there.


            Then I finished the lower leg of the outer driver protection, made the upper helmet bar on that side, and remade the passenger side lower X-brace piece. 1/8″ too short so I remade it. It looked “off”.


            Then I started working on X-bracing some of the rear framework. It was not “needed” or “required” but it looks good AND it really adds strength to this whole area. Plus, I am not welding it, so whatever. Just more money haha.

            I did the area over the 4-link front plates first.


            Next I worked on X-bracing the square directly over the rear end, where the front crossmember will be for the anti-roll bar and the rear crossmember (of this square) will be for the upper shock mounts. Both of these were coped to hold the bars flush, for tin work in the future.


            And a couple shots of all of the current progress. Tomorrow I will be working on the seat mounting and the upper dual rails for the tunnel.


            Comment


            • #36
              Even on Easter.... No rest for the wicked. Or determined. Or whatever. I did some work, but also helped him tear down the Model T motor he is doing a full restore on. 1924 technology sure has come a long ways. The crank trigger setup on it is amazing for 90 years ago!!!! No water pump, nor oil pump.

              I chopped a slice out of the brand new seat, and then we decided that now was the time to put in the loop system in the bulkhead if I wanted it in there. And what a PITA that was to do. I made three 180′s and wrecked the first one completely. I cheated and unwelded one side of the box to make it happen.


              And then I started the double rails…. I got the passenger side done, and the driver side was giving me grief. It is finished now but I need to unweld (tacks only) the passenger side and shorten it now to match. The hard part, aside from the 17° angle cope at the rail end, is that the driver side has a bend in it and has to be timed just right; and it needs to remain level all the way, which it won’t in my mind, but its ok by me however it gets done.


              Comment


              • #37
                Got the double rails for the tunnel in, and started the corner braces.

                Also got a couple more corner braces started, and the stubs for the anti-roll bar setup started as well. And had a visitor, who wanted to try out the view.


                E-ticket ride parting shot. Derek, aka Derracuda, dropped in to grab a piece of tube for a B2 4000 Quattro with S6/S8 40v 4.2L swap that he is building a tube frame front end with full custom suspension for our buddy Dan.

                Comment


                • #38
                  Great construction work going on

                  Comment


                  • #39
                    doin some work like always. actually been not doin work.

                    fitting the rear wheels in to measure the width to make the axle.


                    and added the anti-roll bar.


                    Comment


                    • #40
                      and i have been working on the rear axle now. started with the first move cleaning it up a little and chopping a foot off each end, roughly. and it all progresses from there.


                      now have it set up with the welding jig in place.


                      now to start on the truss.


                      and plating the four link bars


                      thats about where i left it today, i may go there tomorrow to setup the shockplates and wheelie bar mounts. i may not.

                      Comment


                      • #41
                        Just catching up on this Aaron - you have been a busy boy!
                        The frame looks superb, what tooling have you been using to notch it?
                        Panthero Coupé quattro 20vt
                        Indigo ABY coupé
                        Imola B6 S4 Avant

                        Comment


                        • #42
                          i took a few weeks off, and will probably take a few months off soon.

                          notching is done in an endmill. getting offset copes you shim one side or the other in the vice. different rougher bits for different sized tubes. angles are set on the vice as well. when it gets hard is when doing a long angle offset and rolled. or any time you have to keep the rotation of the cope "timed" correctly from end to end.

                          Comment


                          • #43
                            Looks great, nice piece of kit.
                            The compound notching still must be real tricky, how do you measure the intersection angles etc?

                            Panthero Coupé quattro 20vt
                            Indigo ABY coupé
                            Imola B6 S4 Avant

                            Comment


                            • #44
                              I guess. Or use a protractor or angle finder. Or lay the tube under, draw a line and cut. Notch and test. It's not super easy but I bet it gets better with time and use.

                              Sent from my SCH-I545 using Tapatalk

                              Comment


                              • #45
                                Cut a bit, test fit, cut a bit more, test fit again etc

                                Looks great. You need some tig gloves
                                Panthero Coupé quattro 20vt
                                Indigo ABY coupé
                                Imola B6 S4 Avant

                                Comment

                                Working...
                                X